Part 2
A chronological development of my work. Click on the image to enlarge the work.

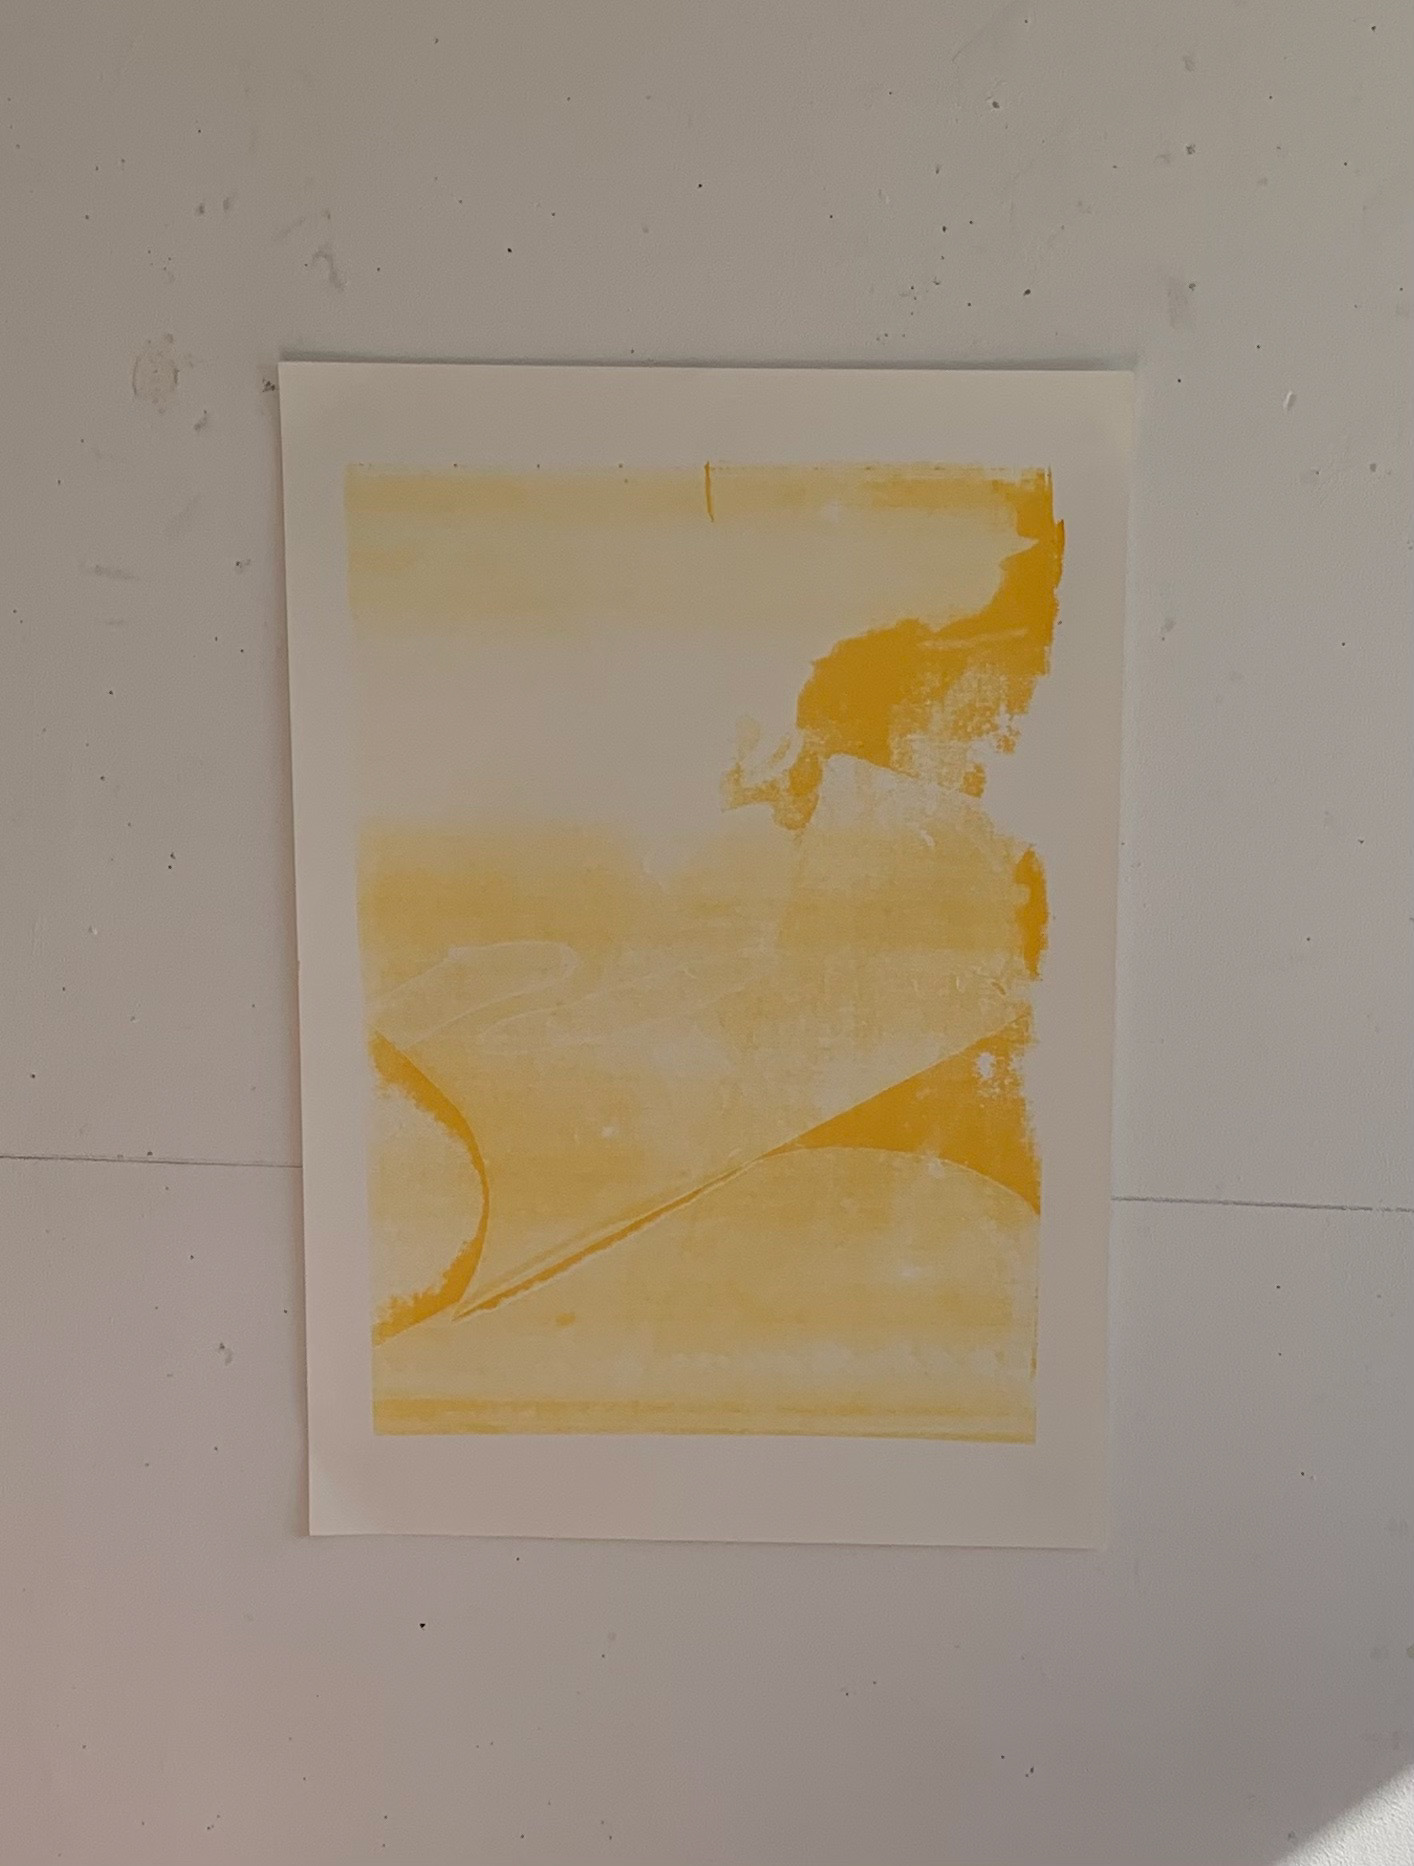
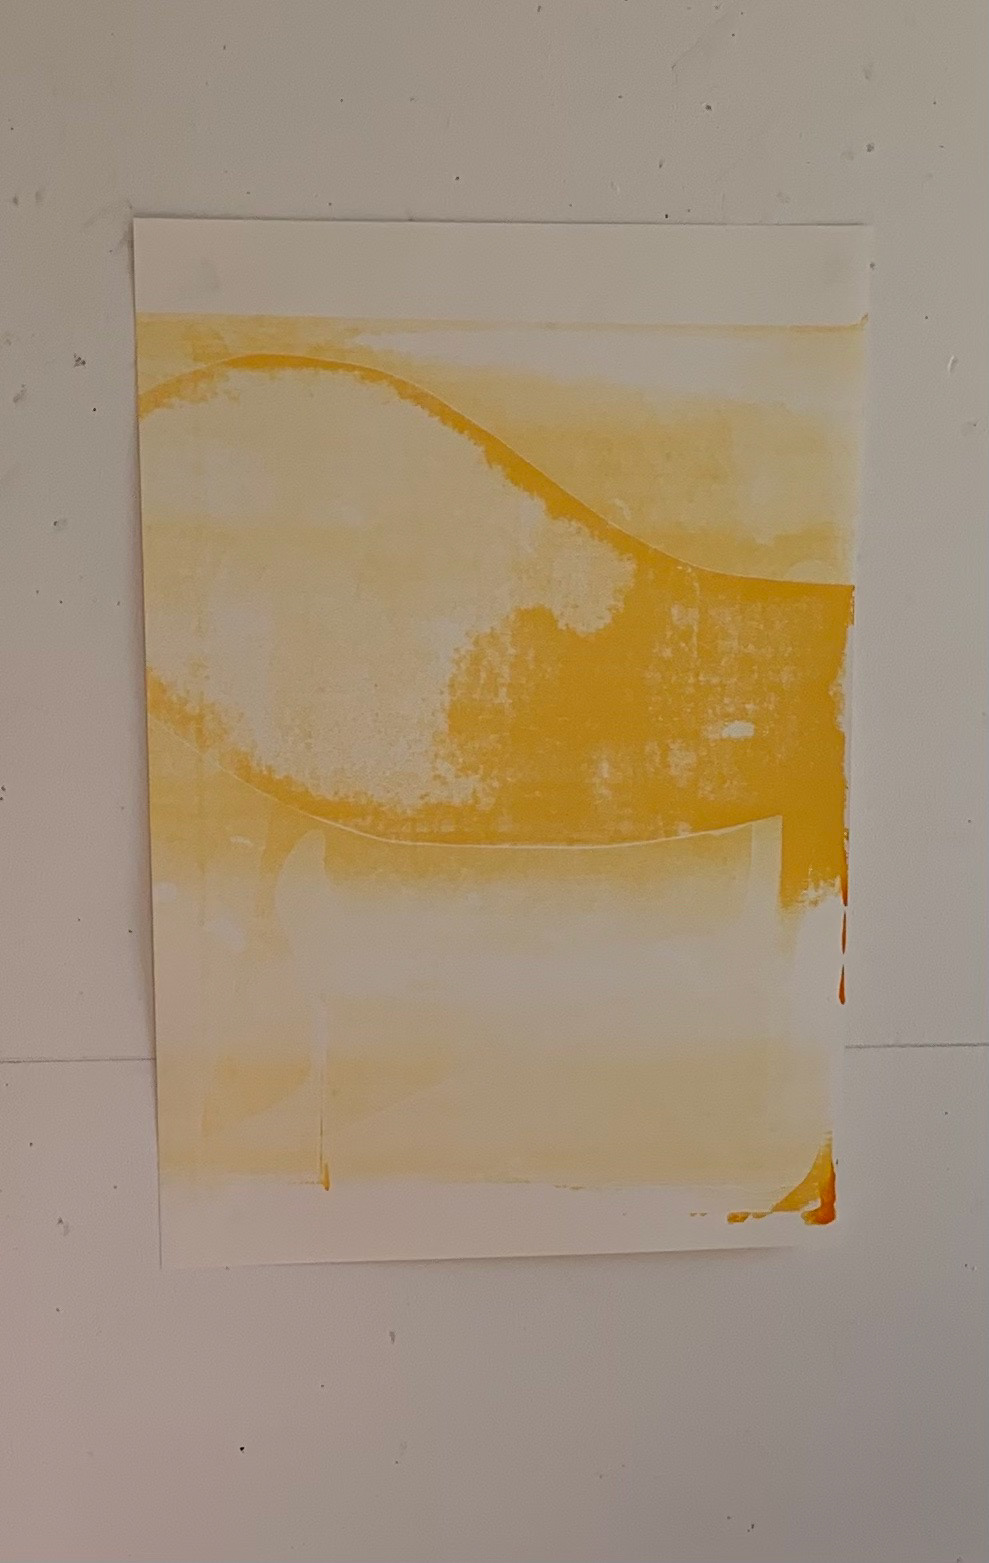
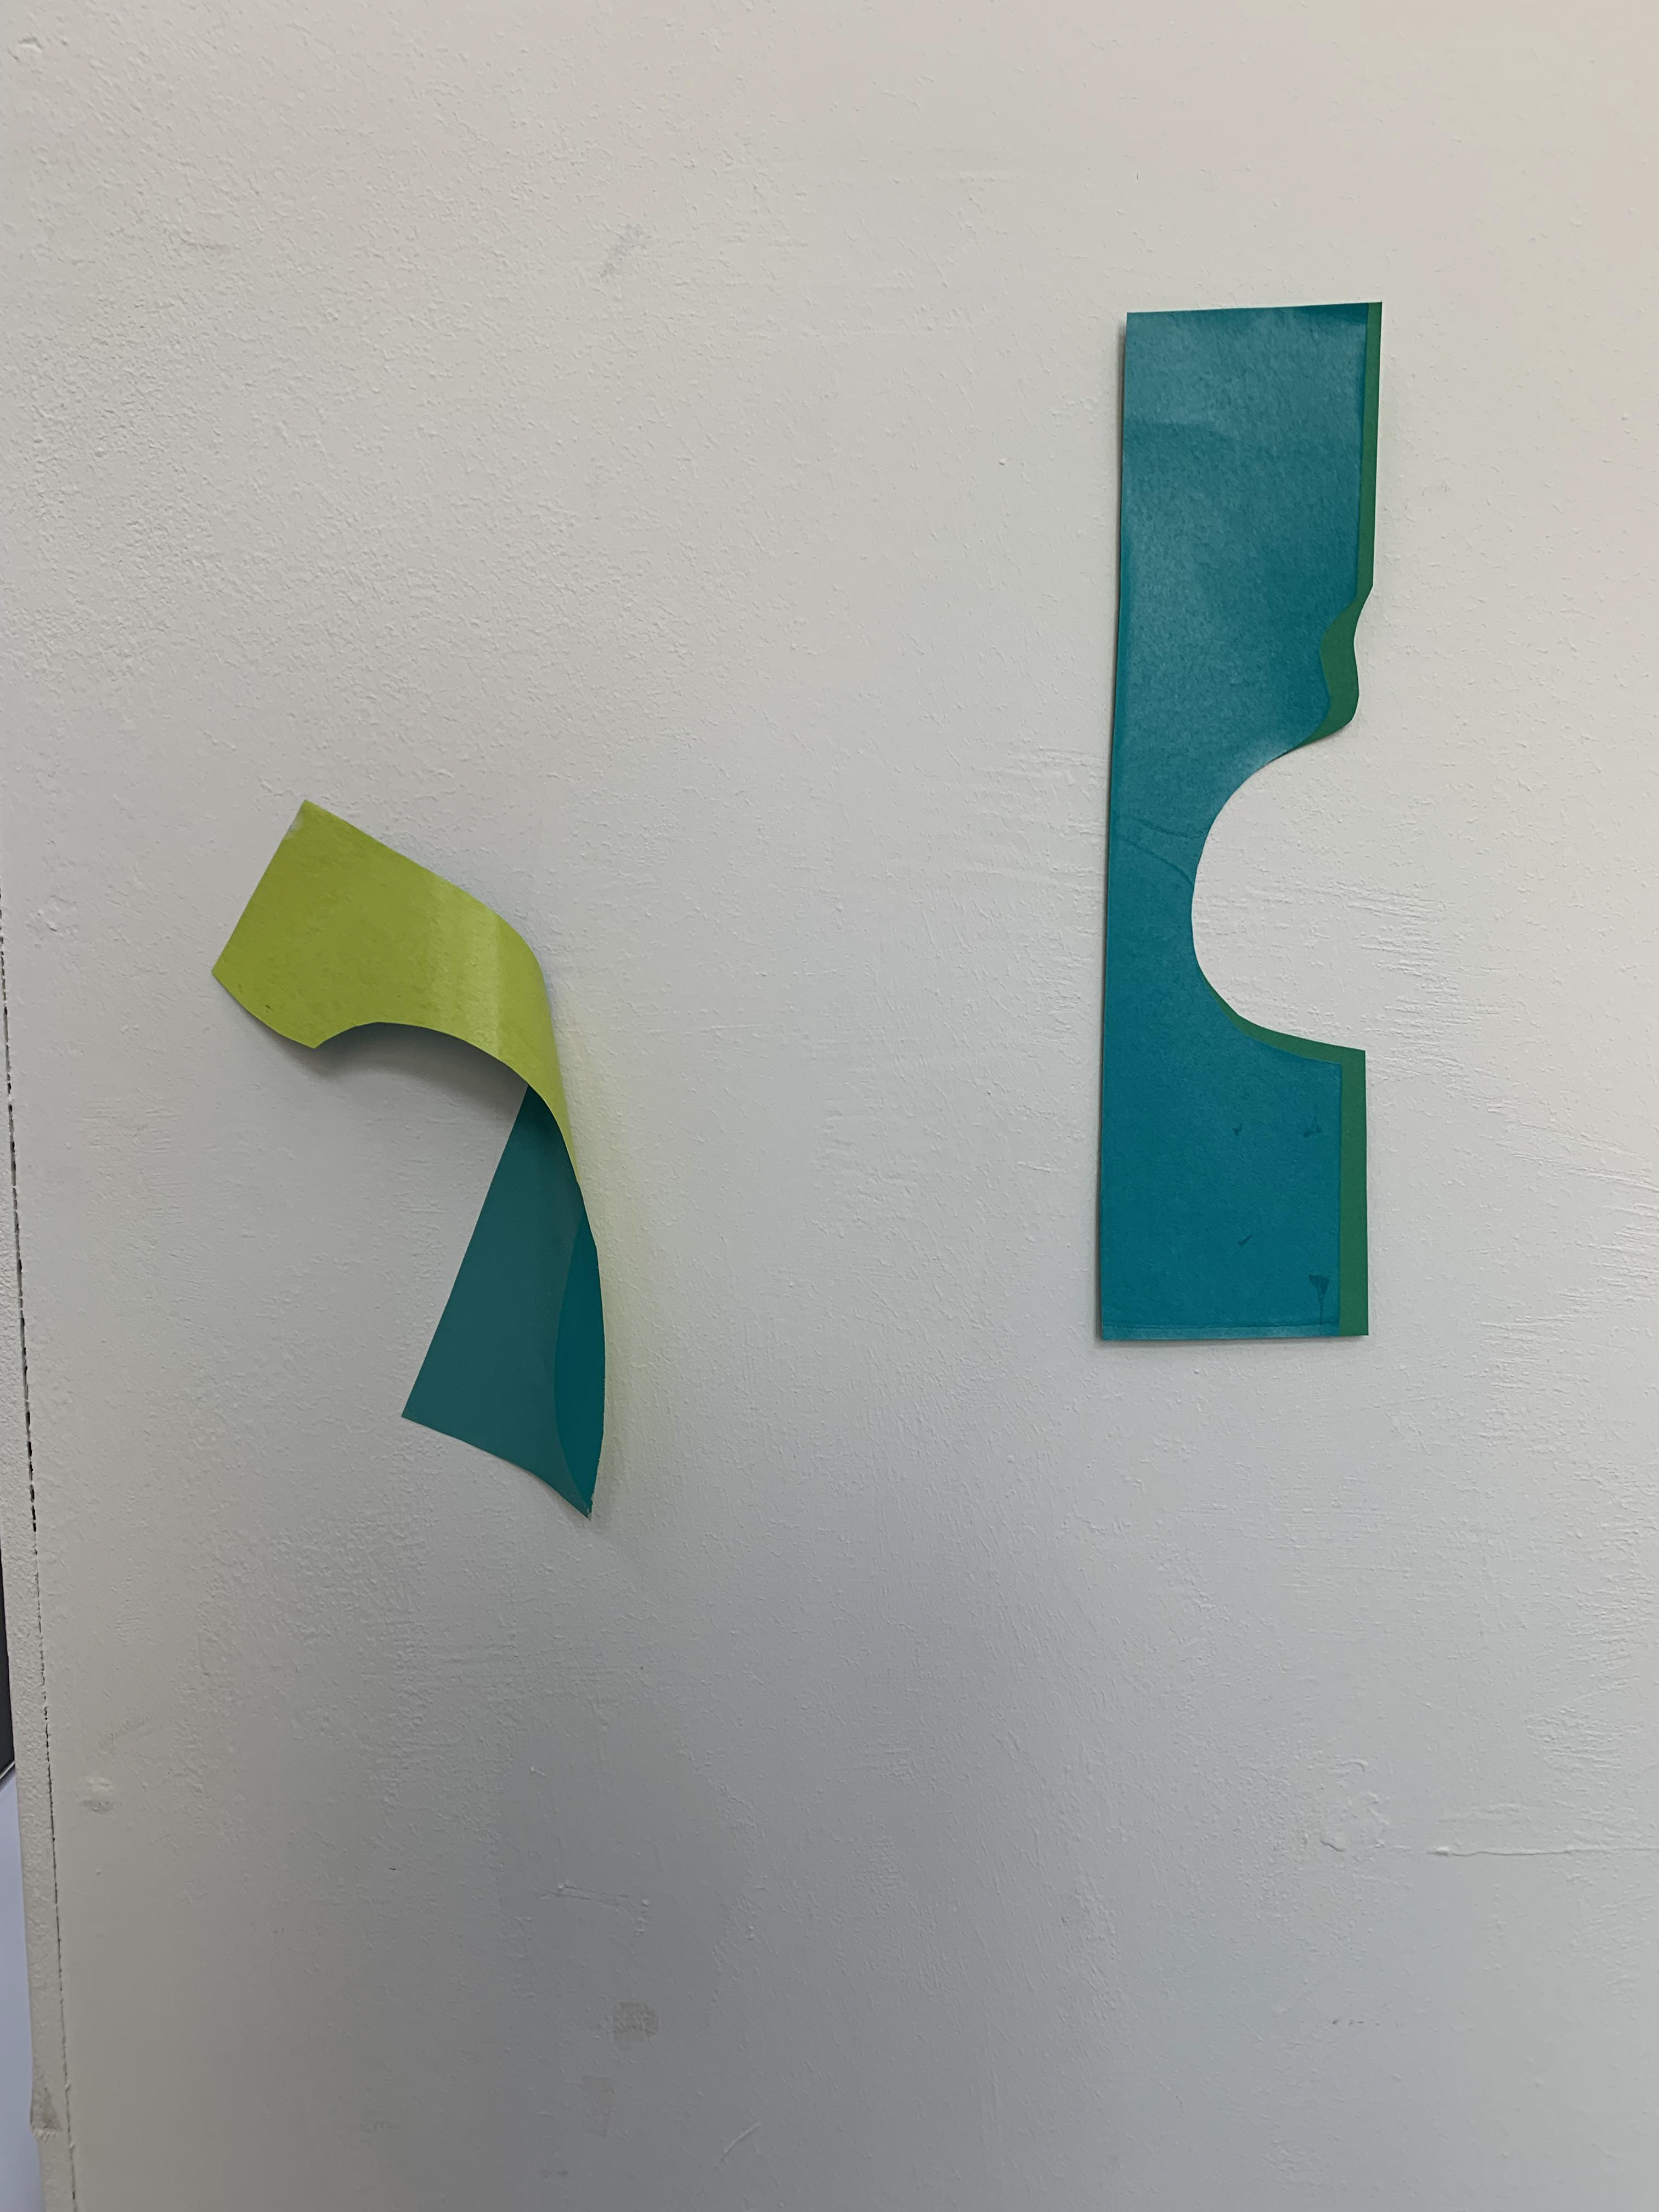
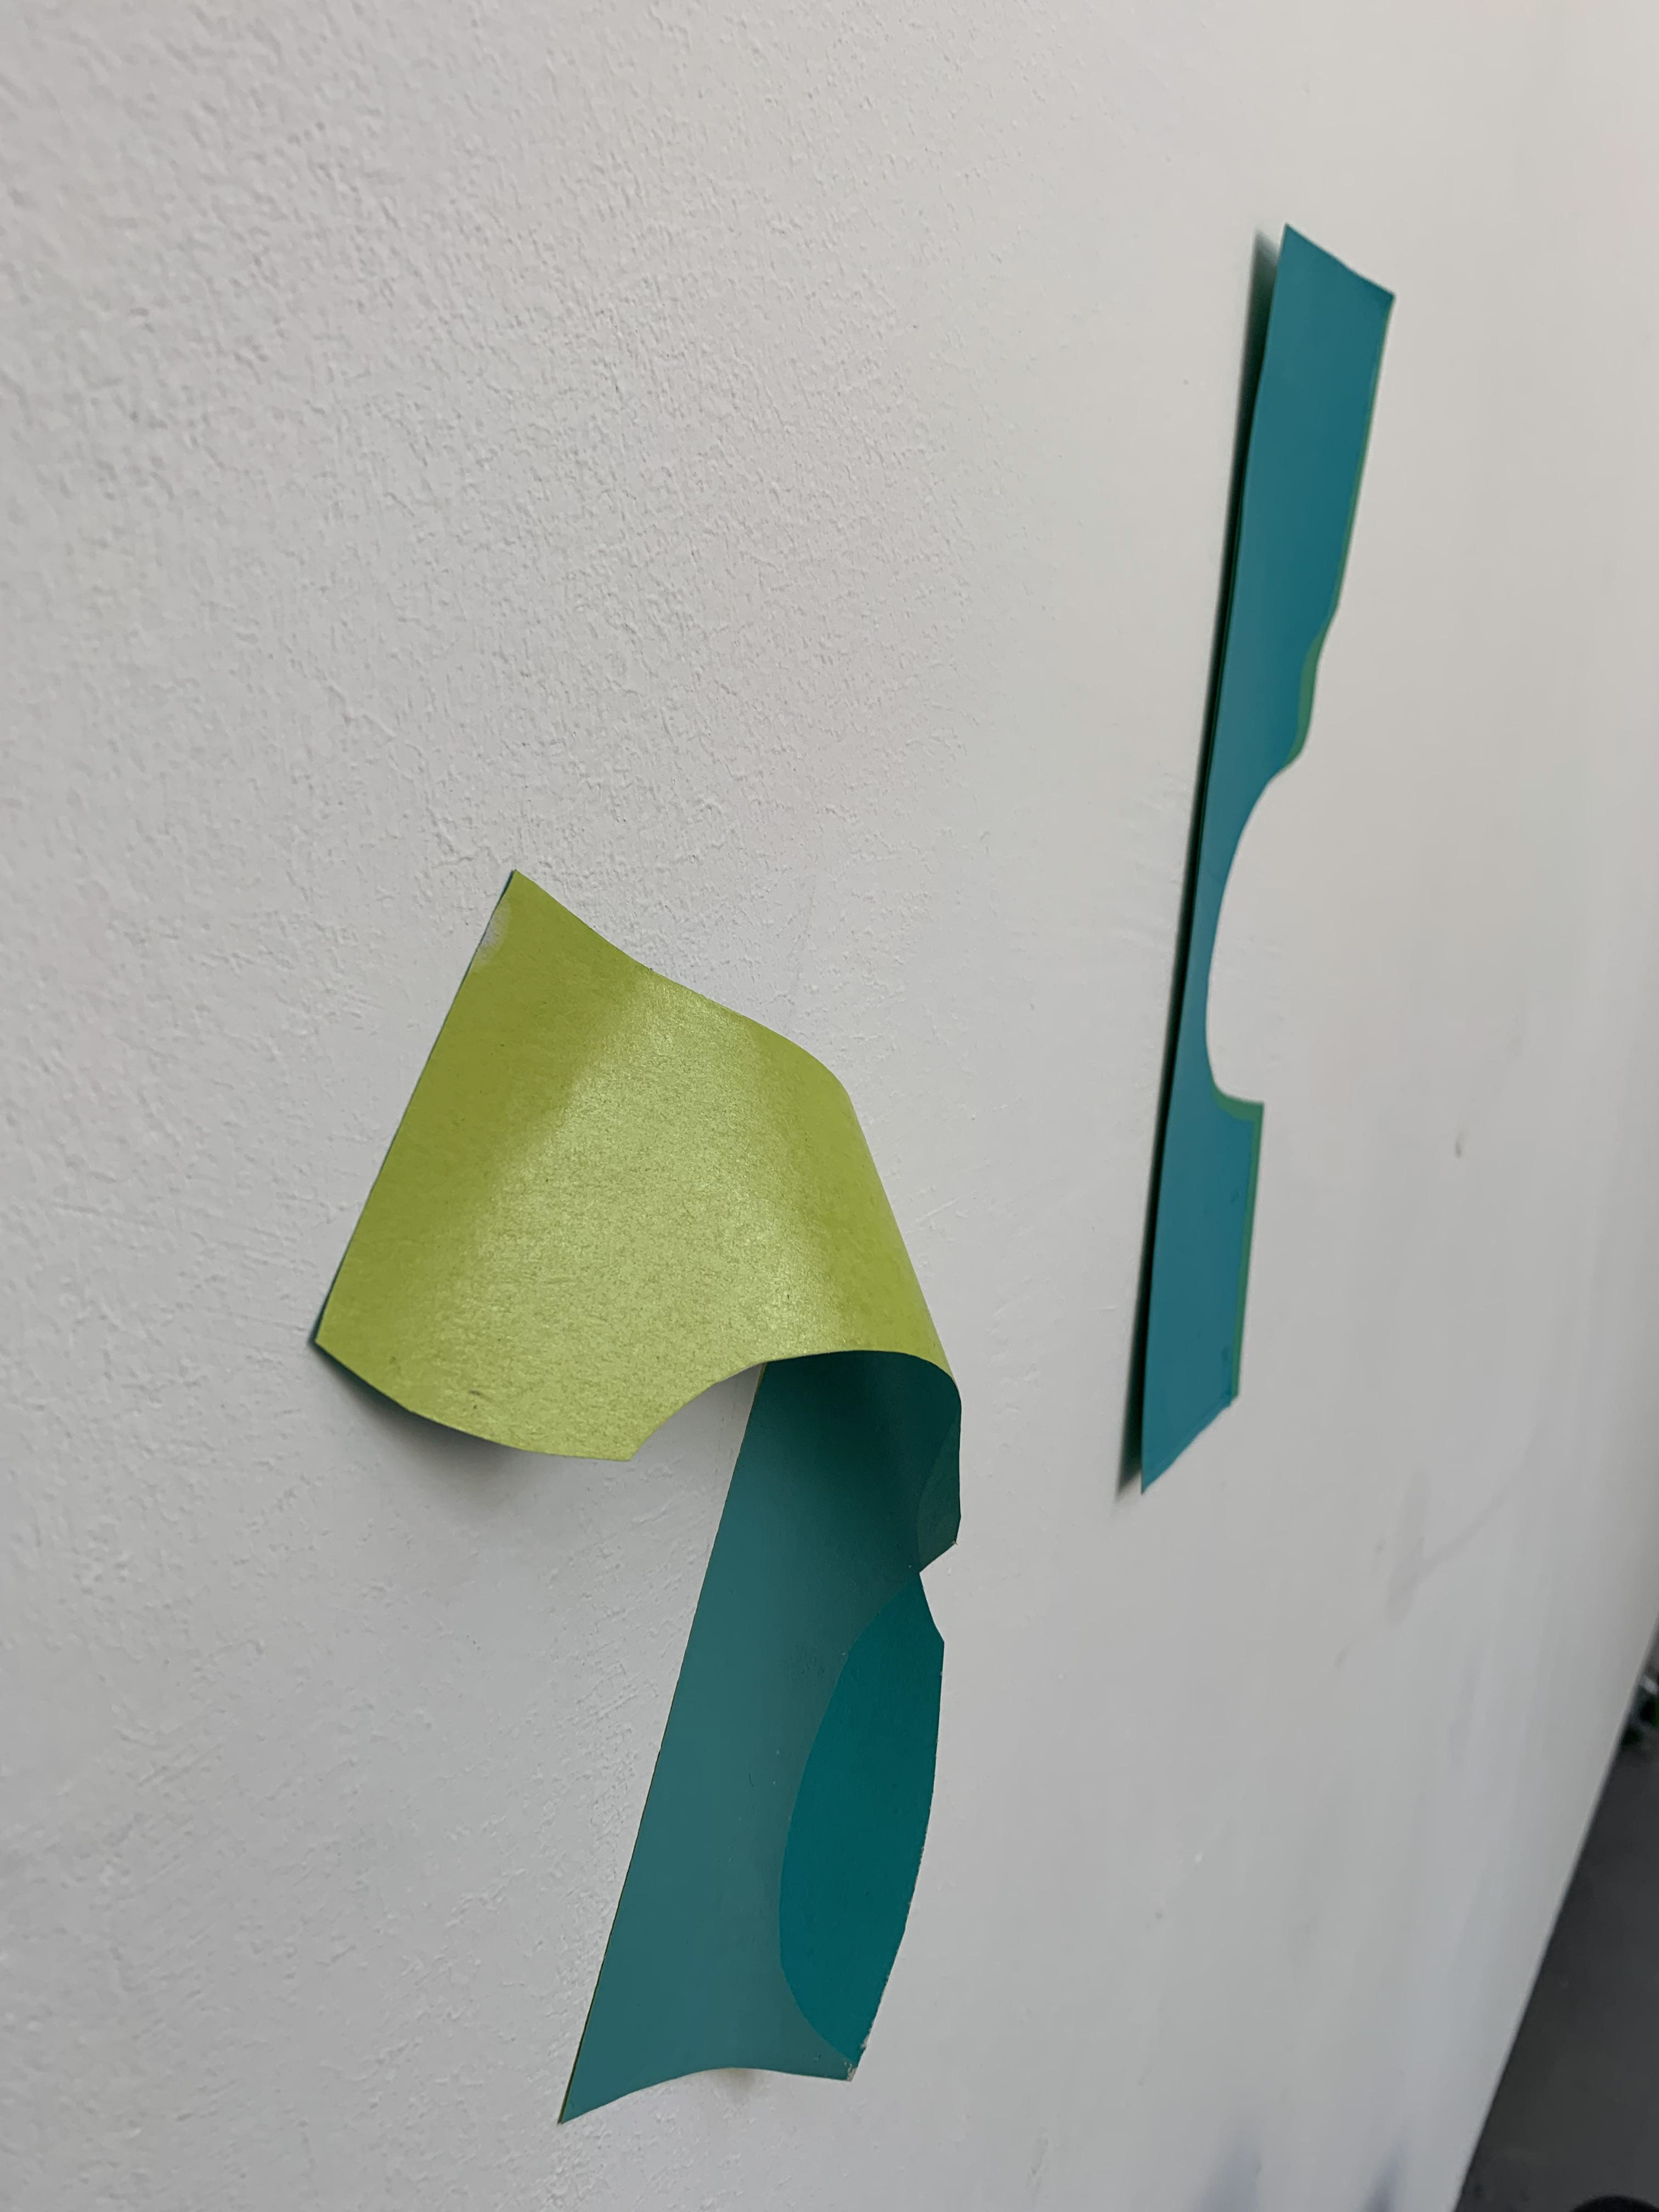
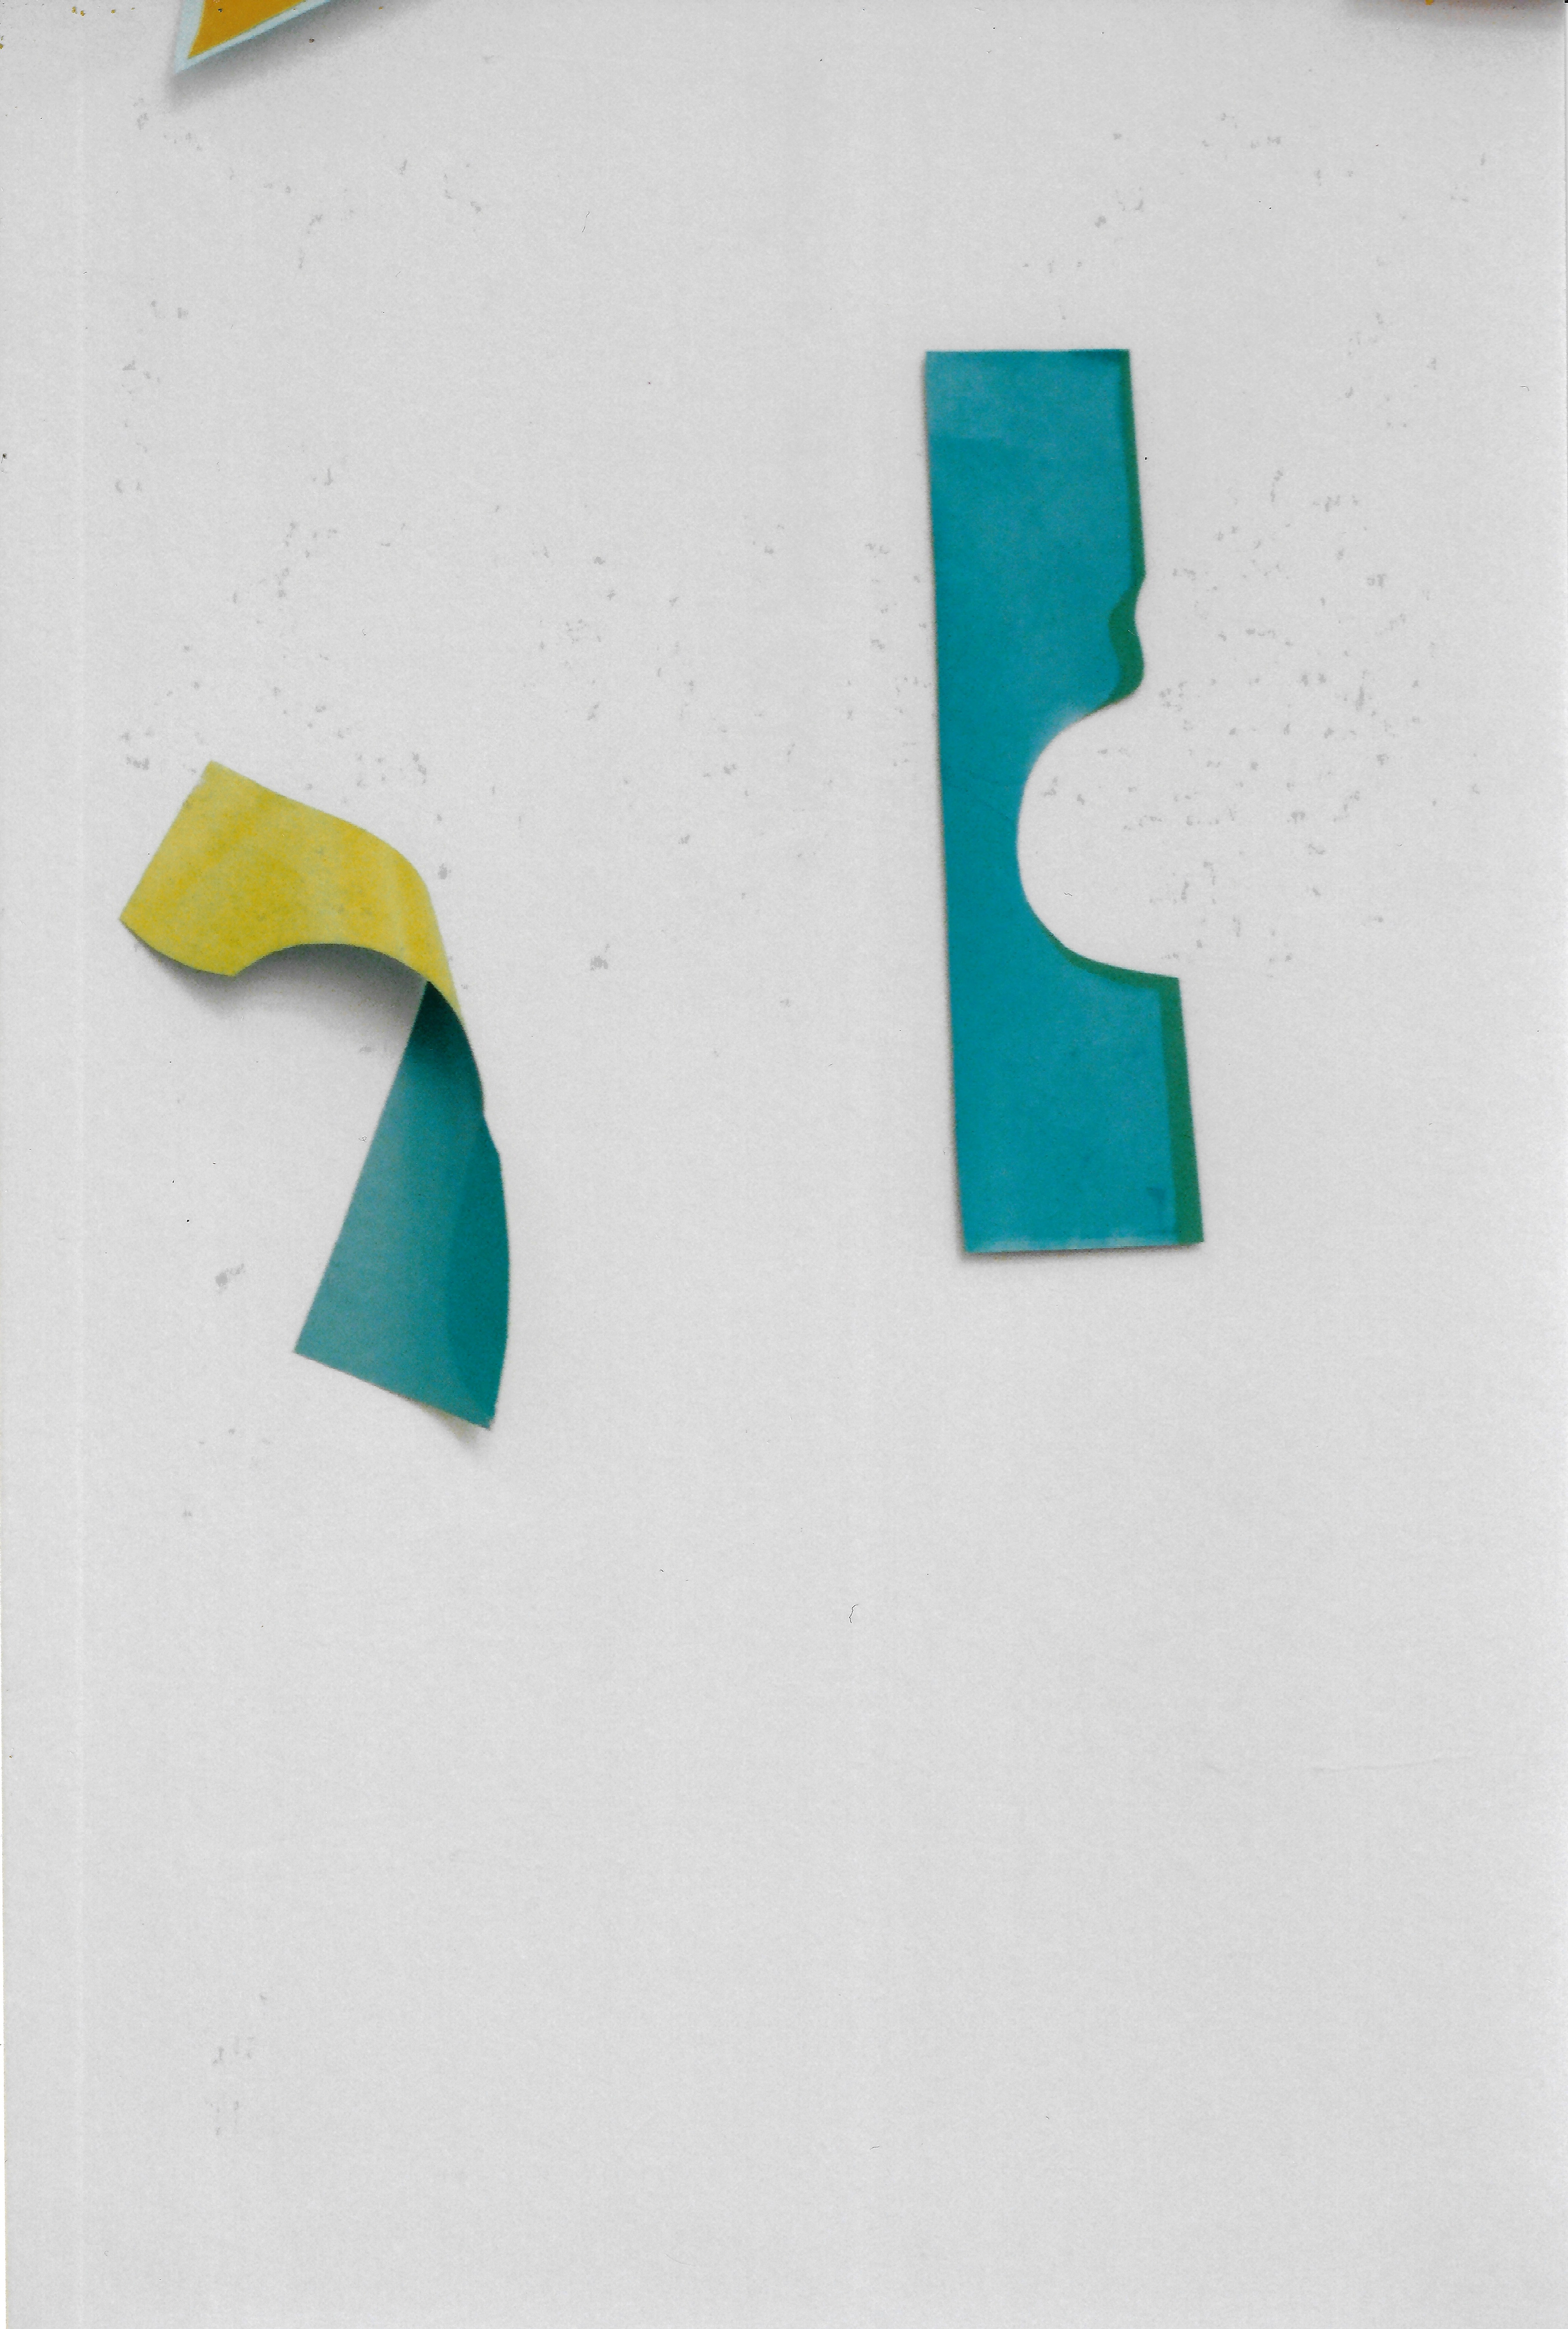
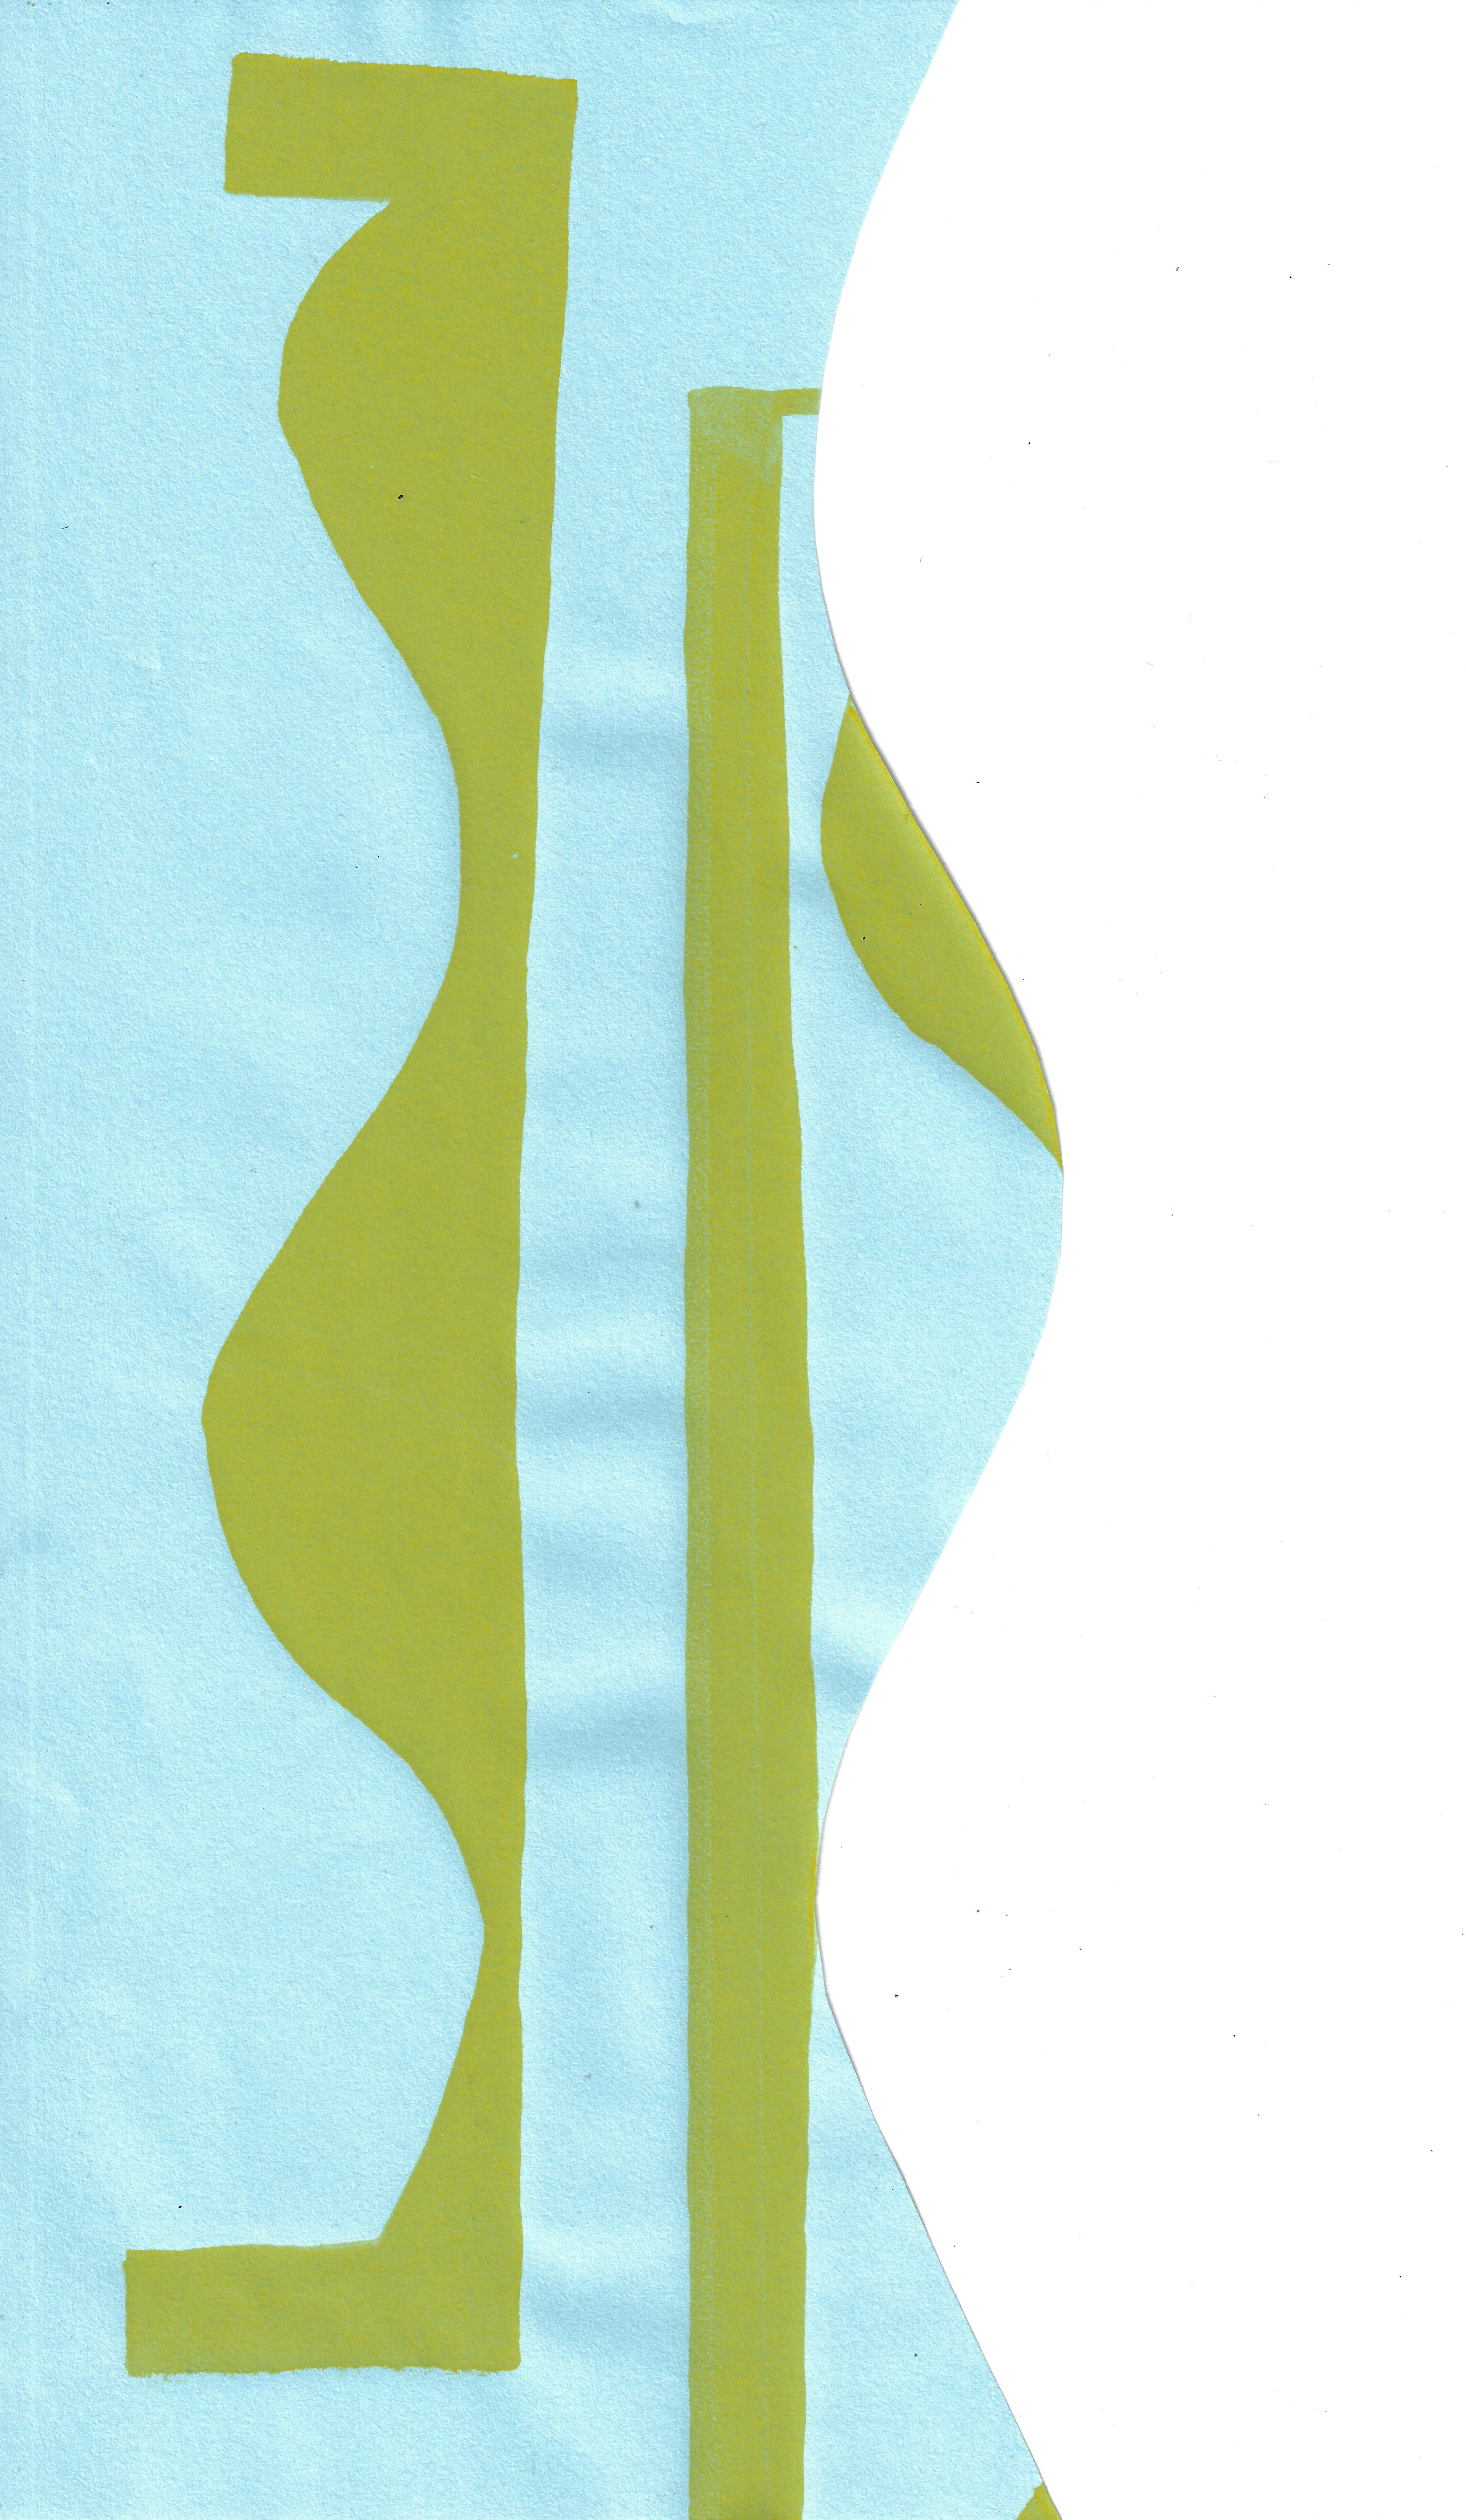
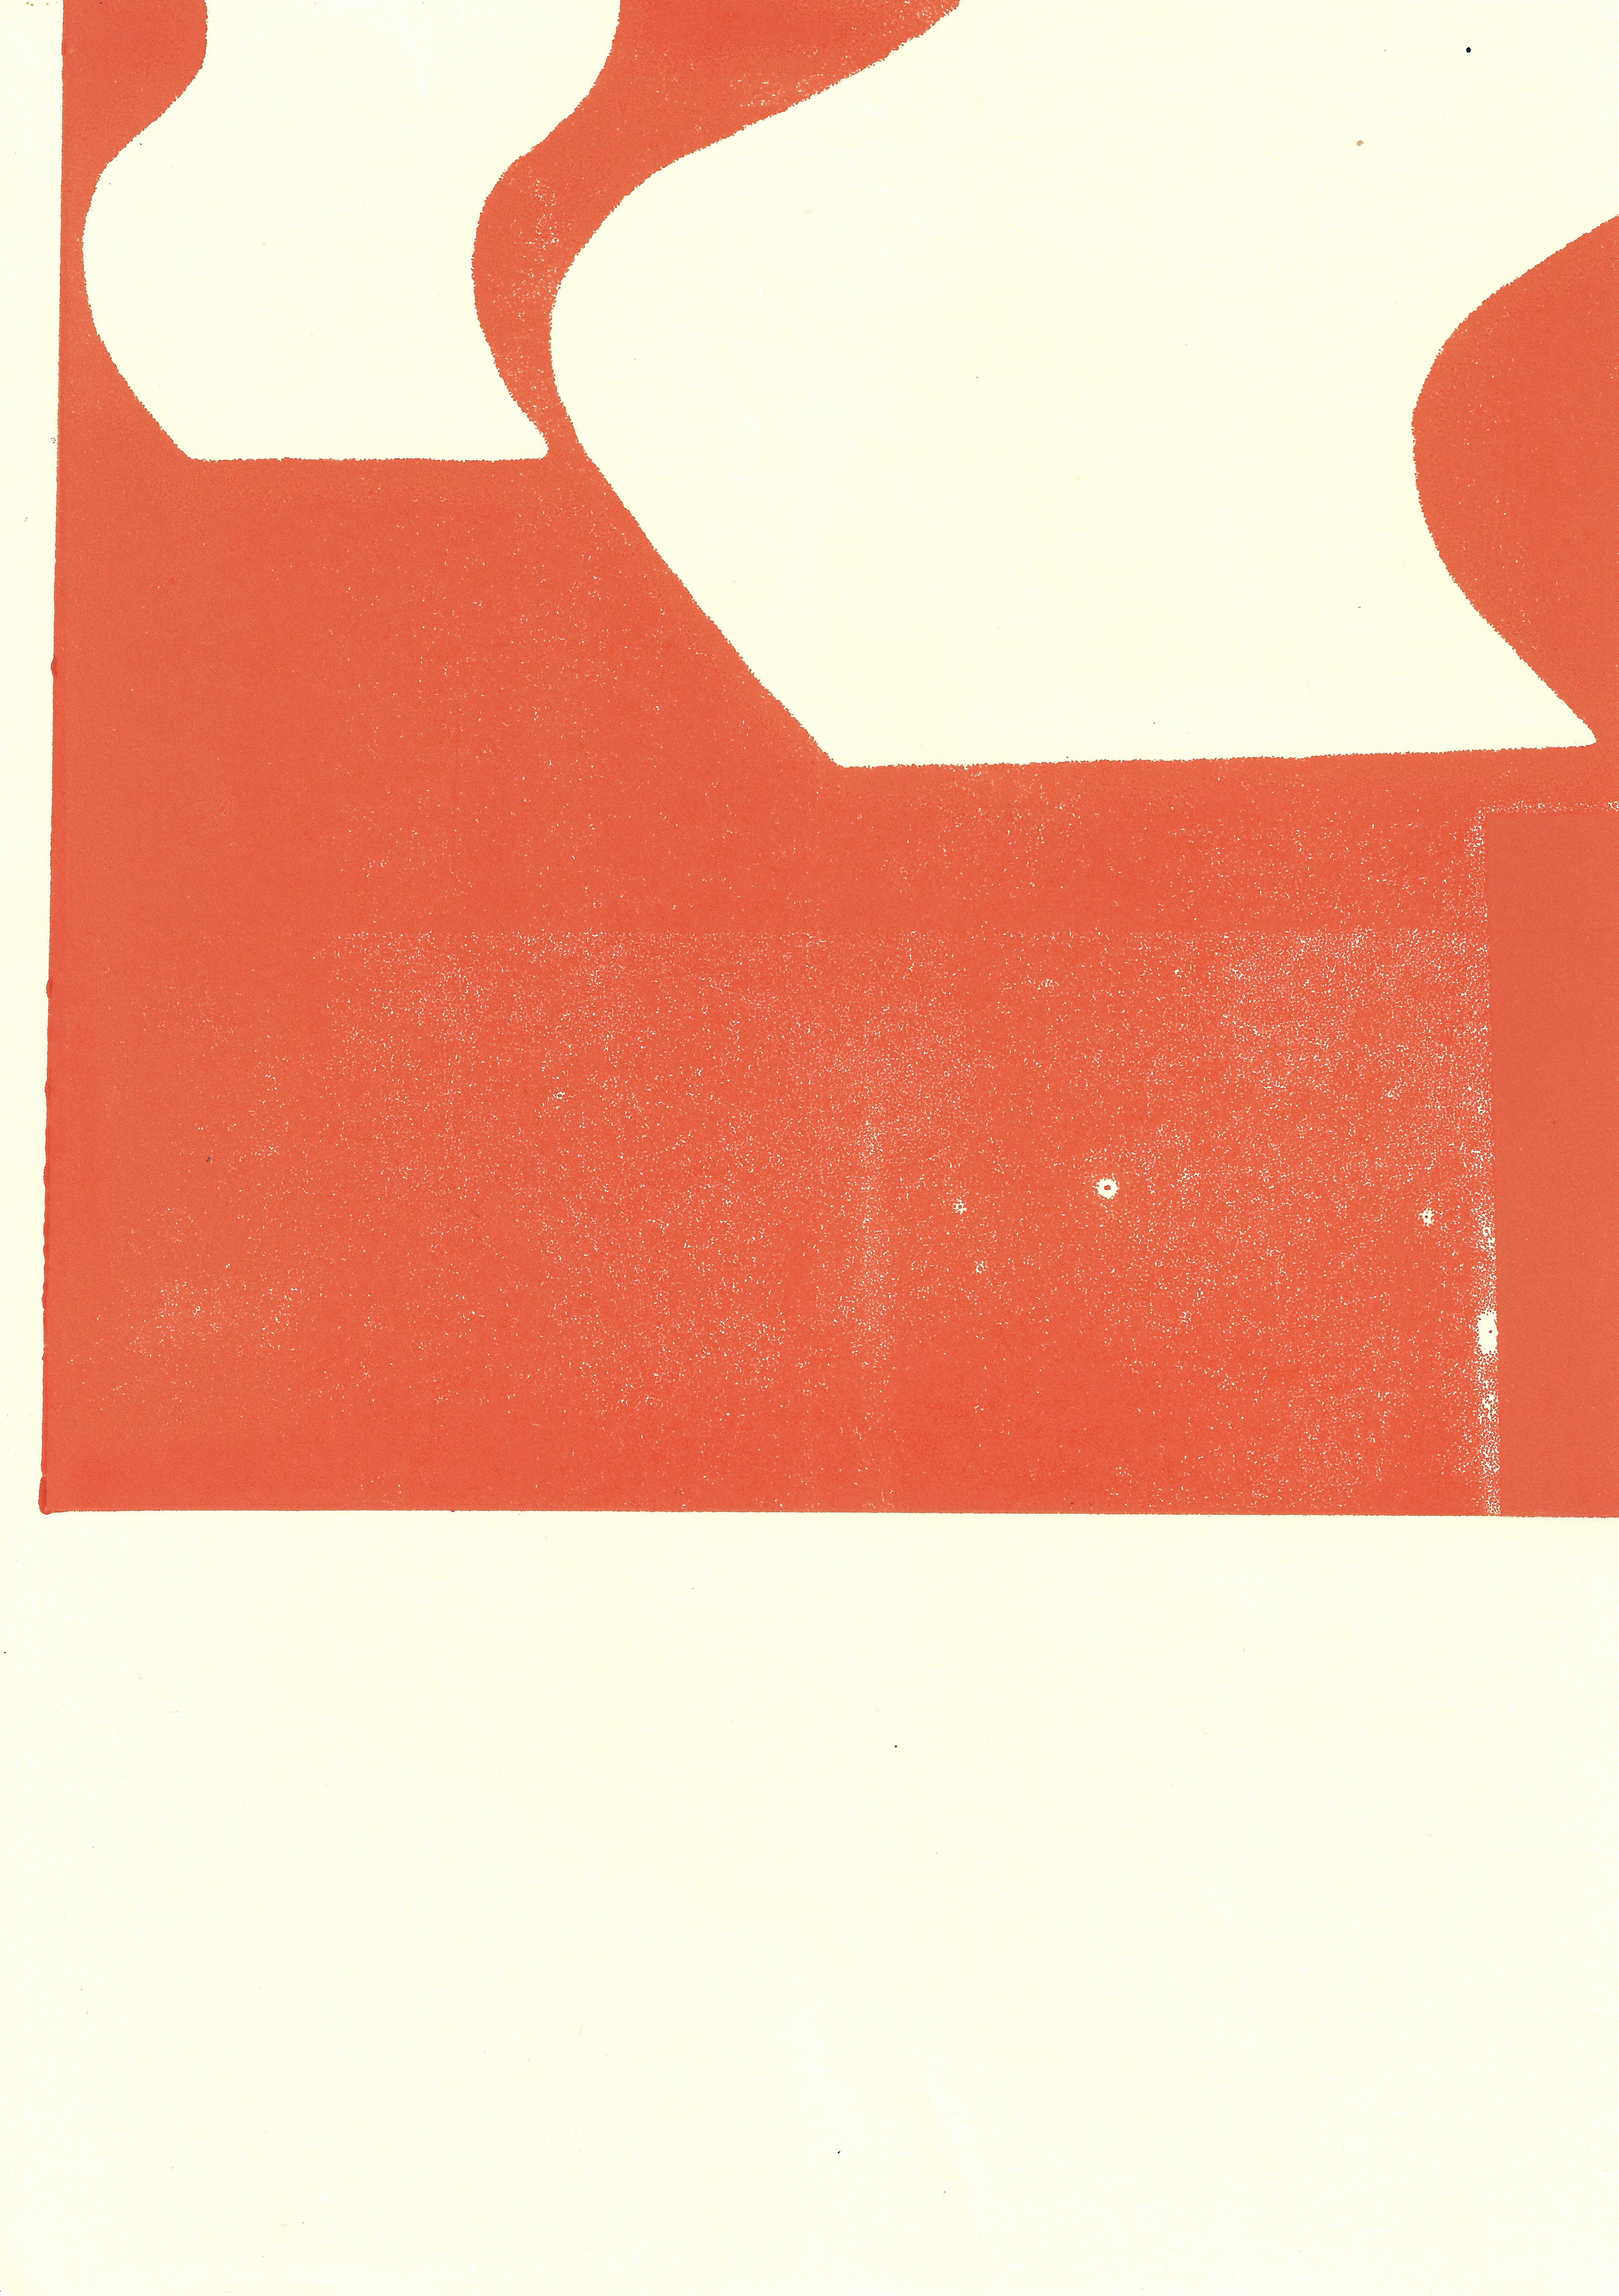
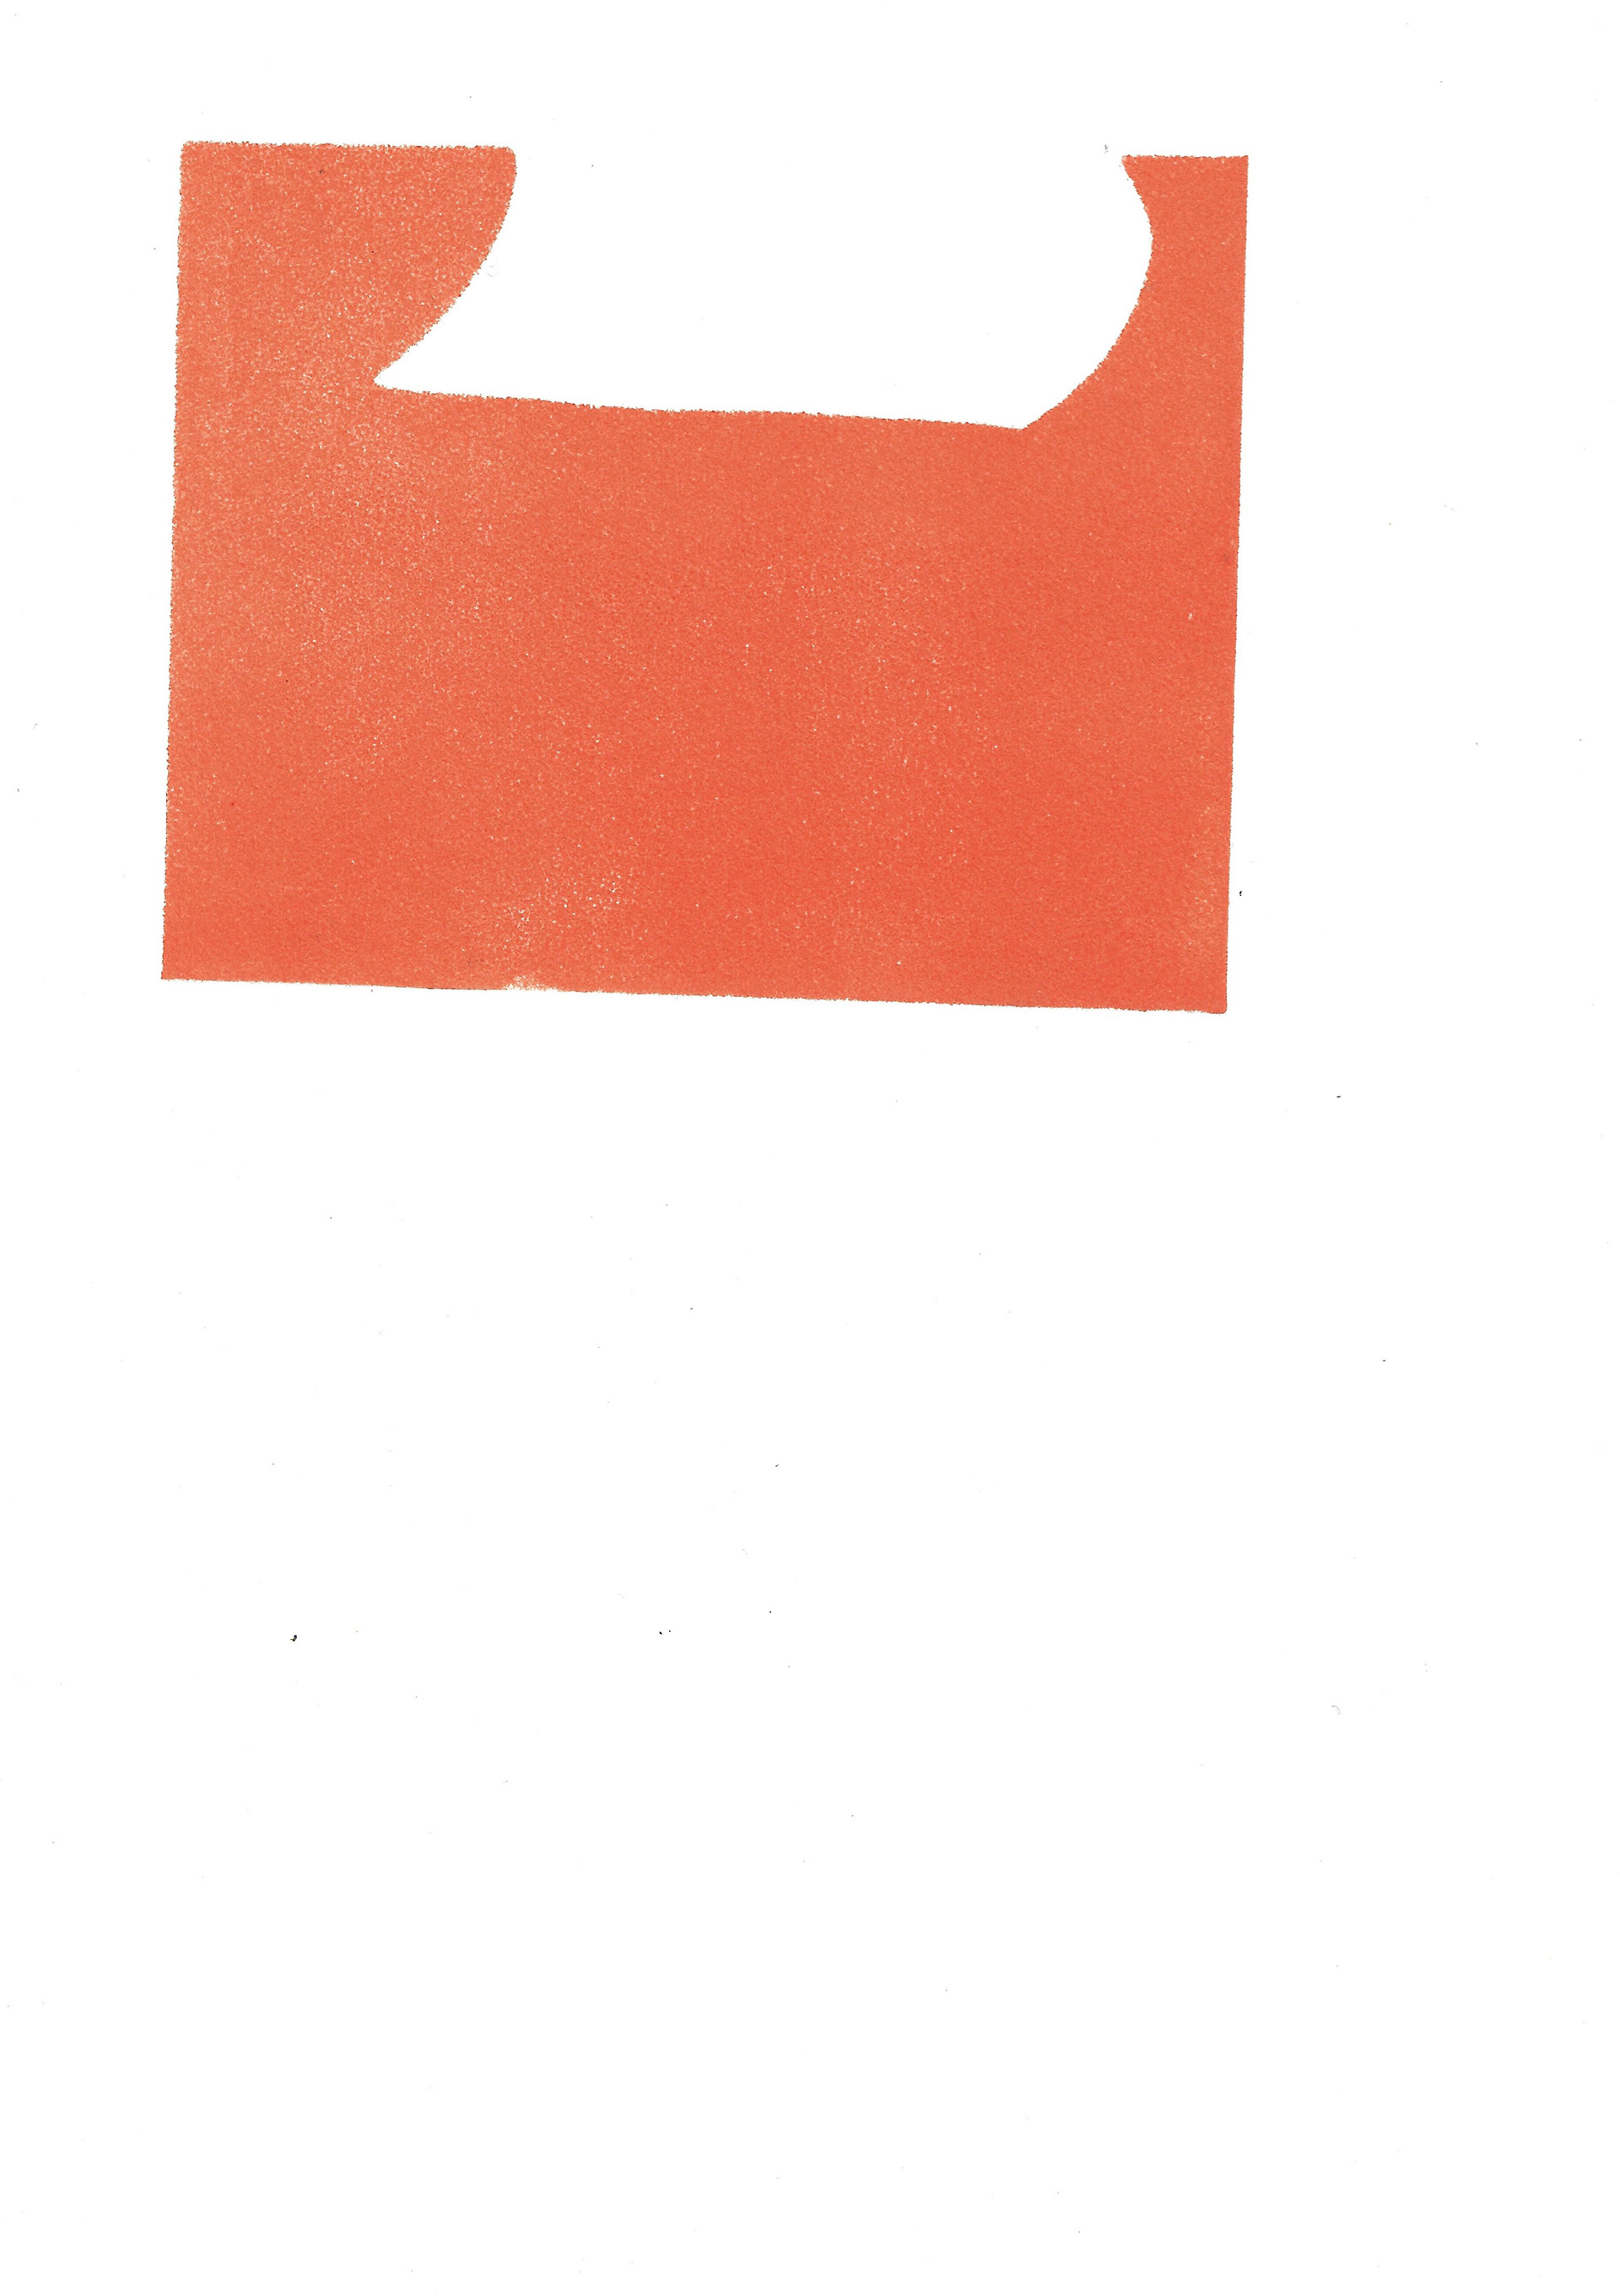
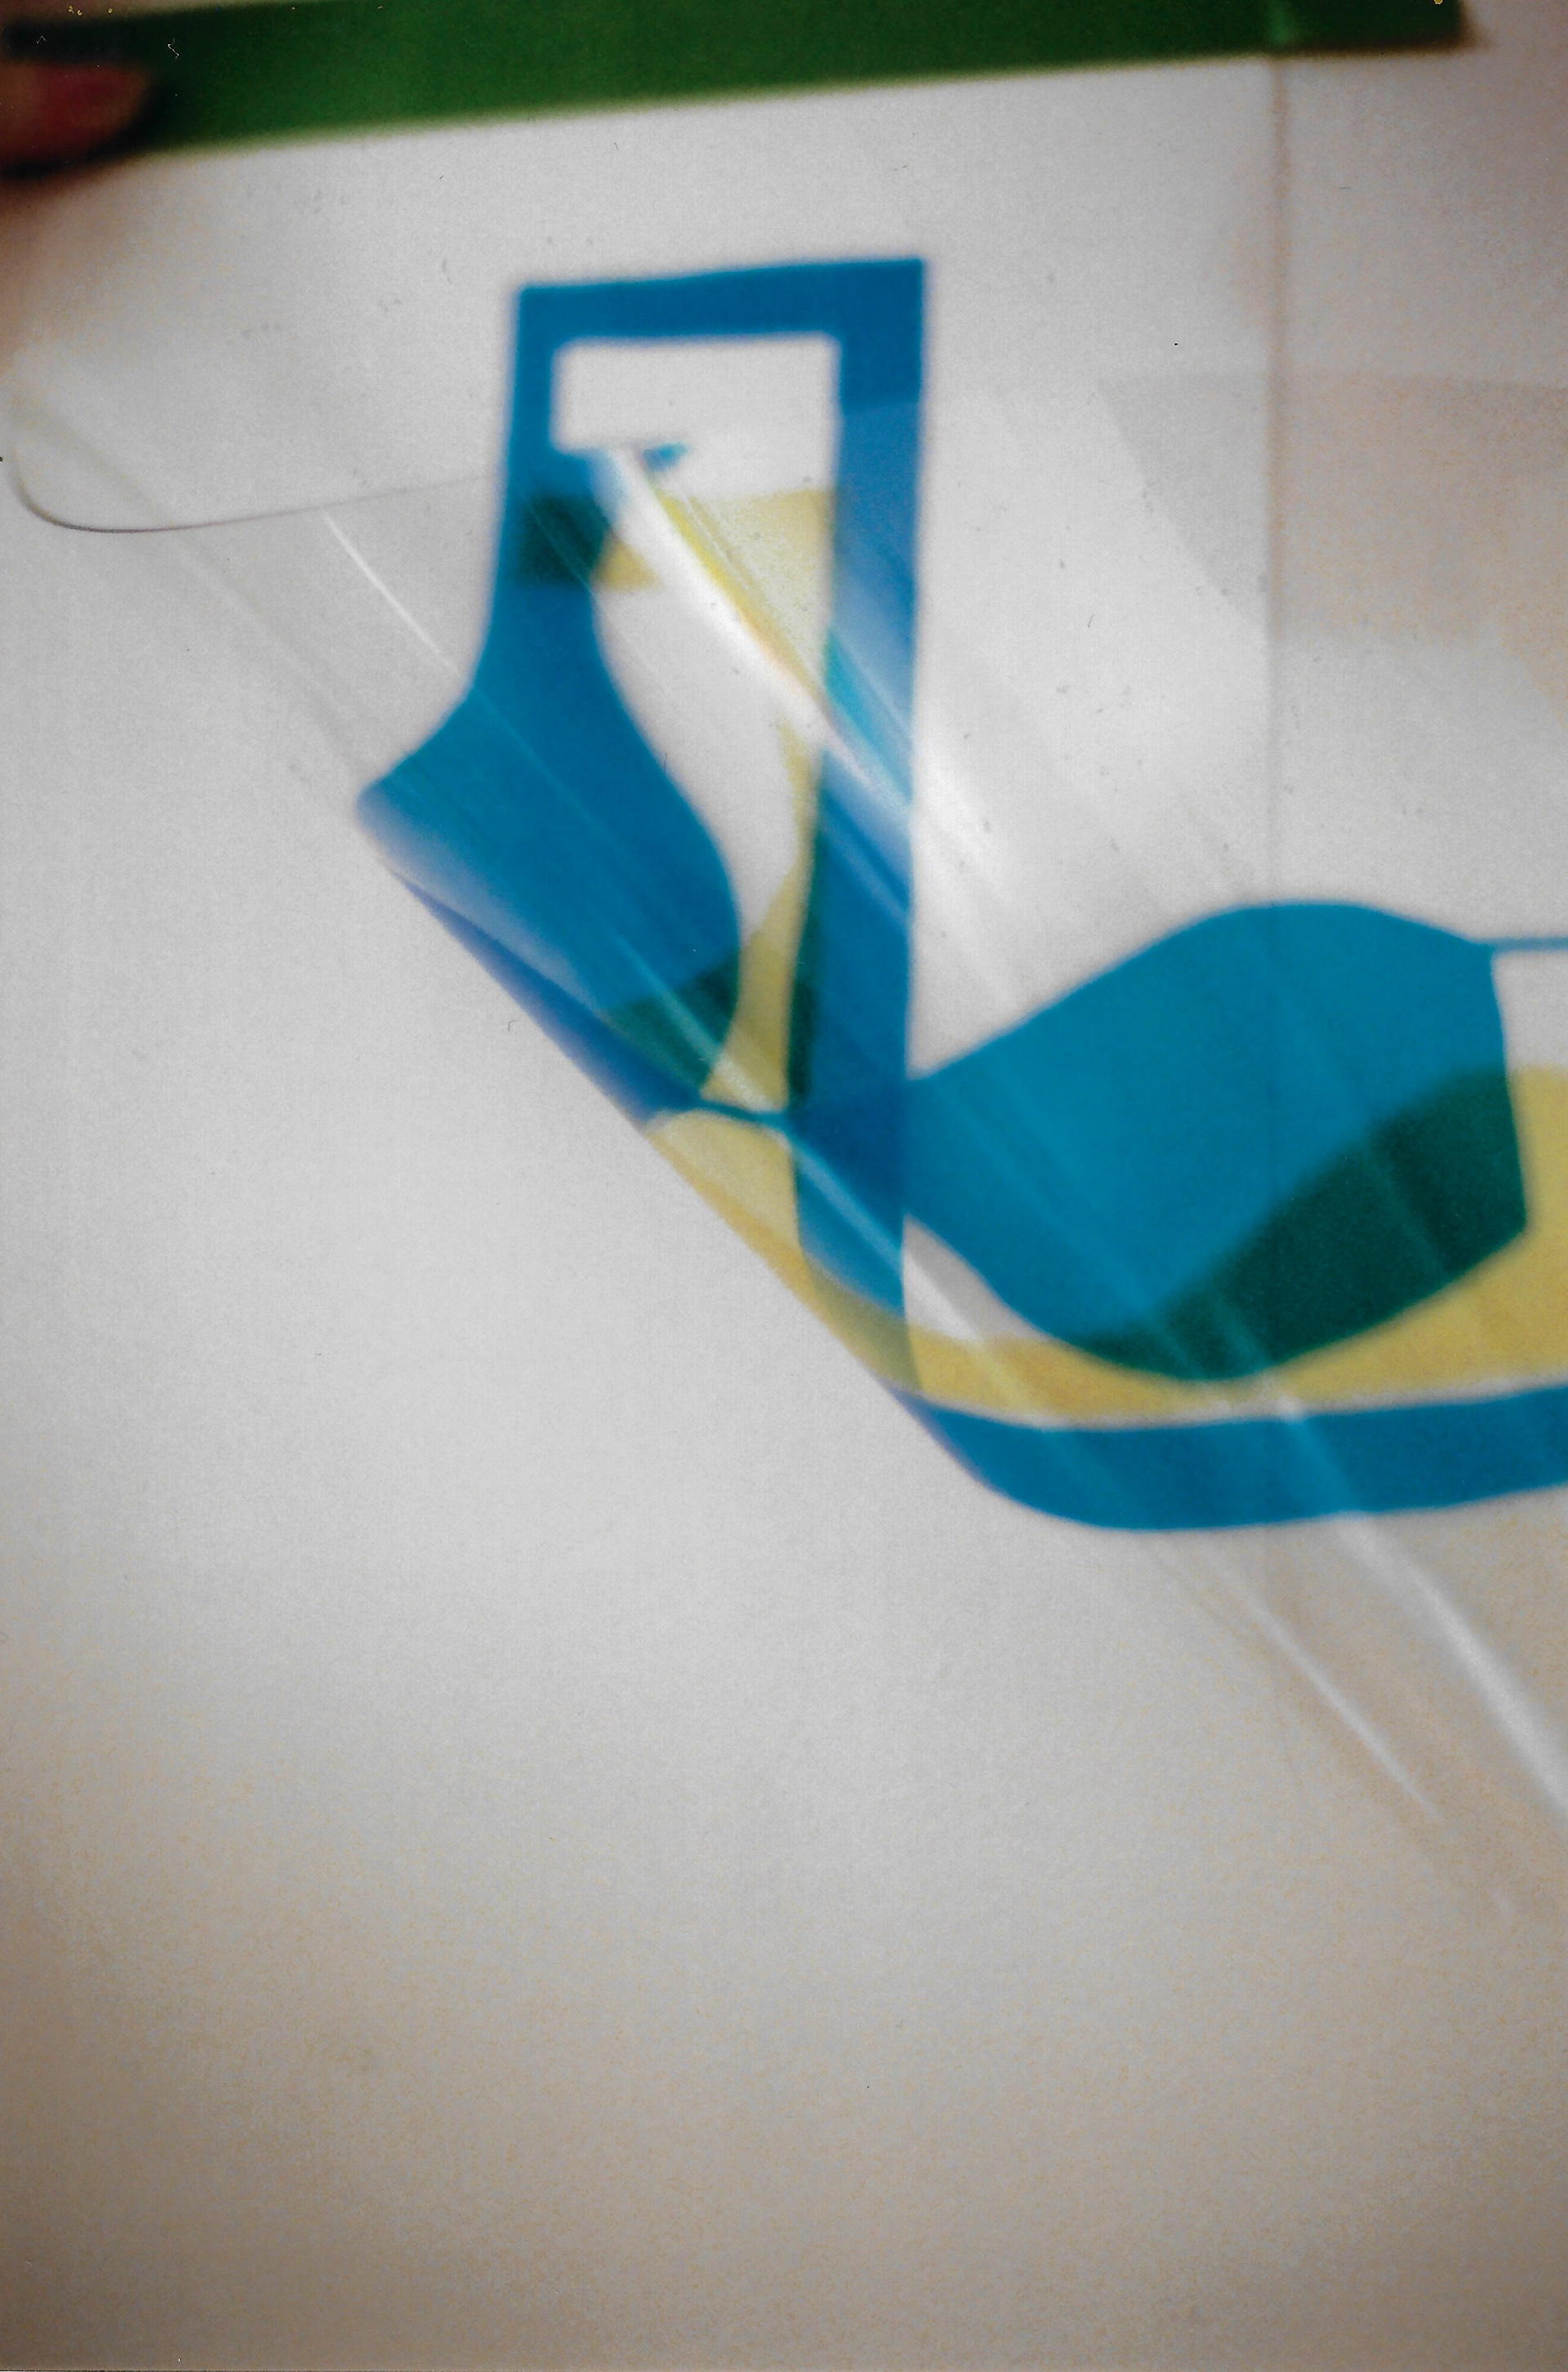
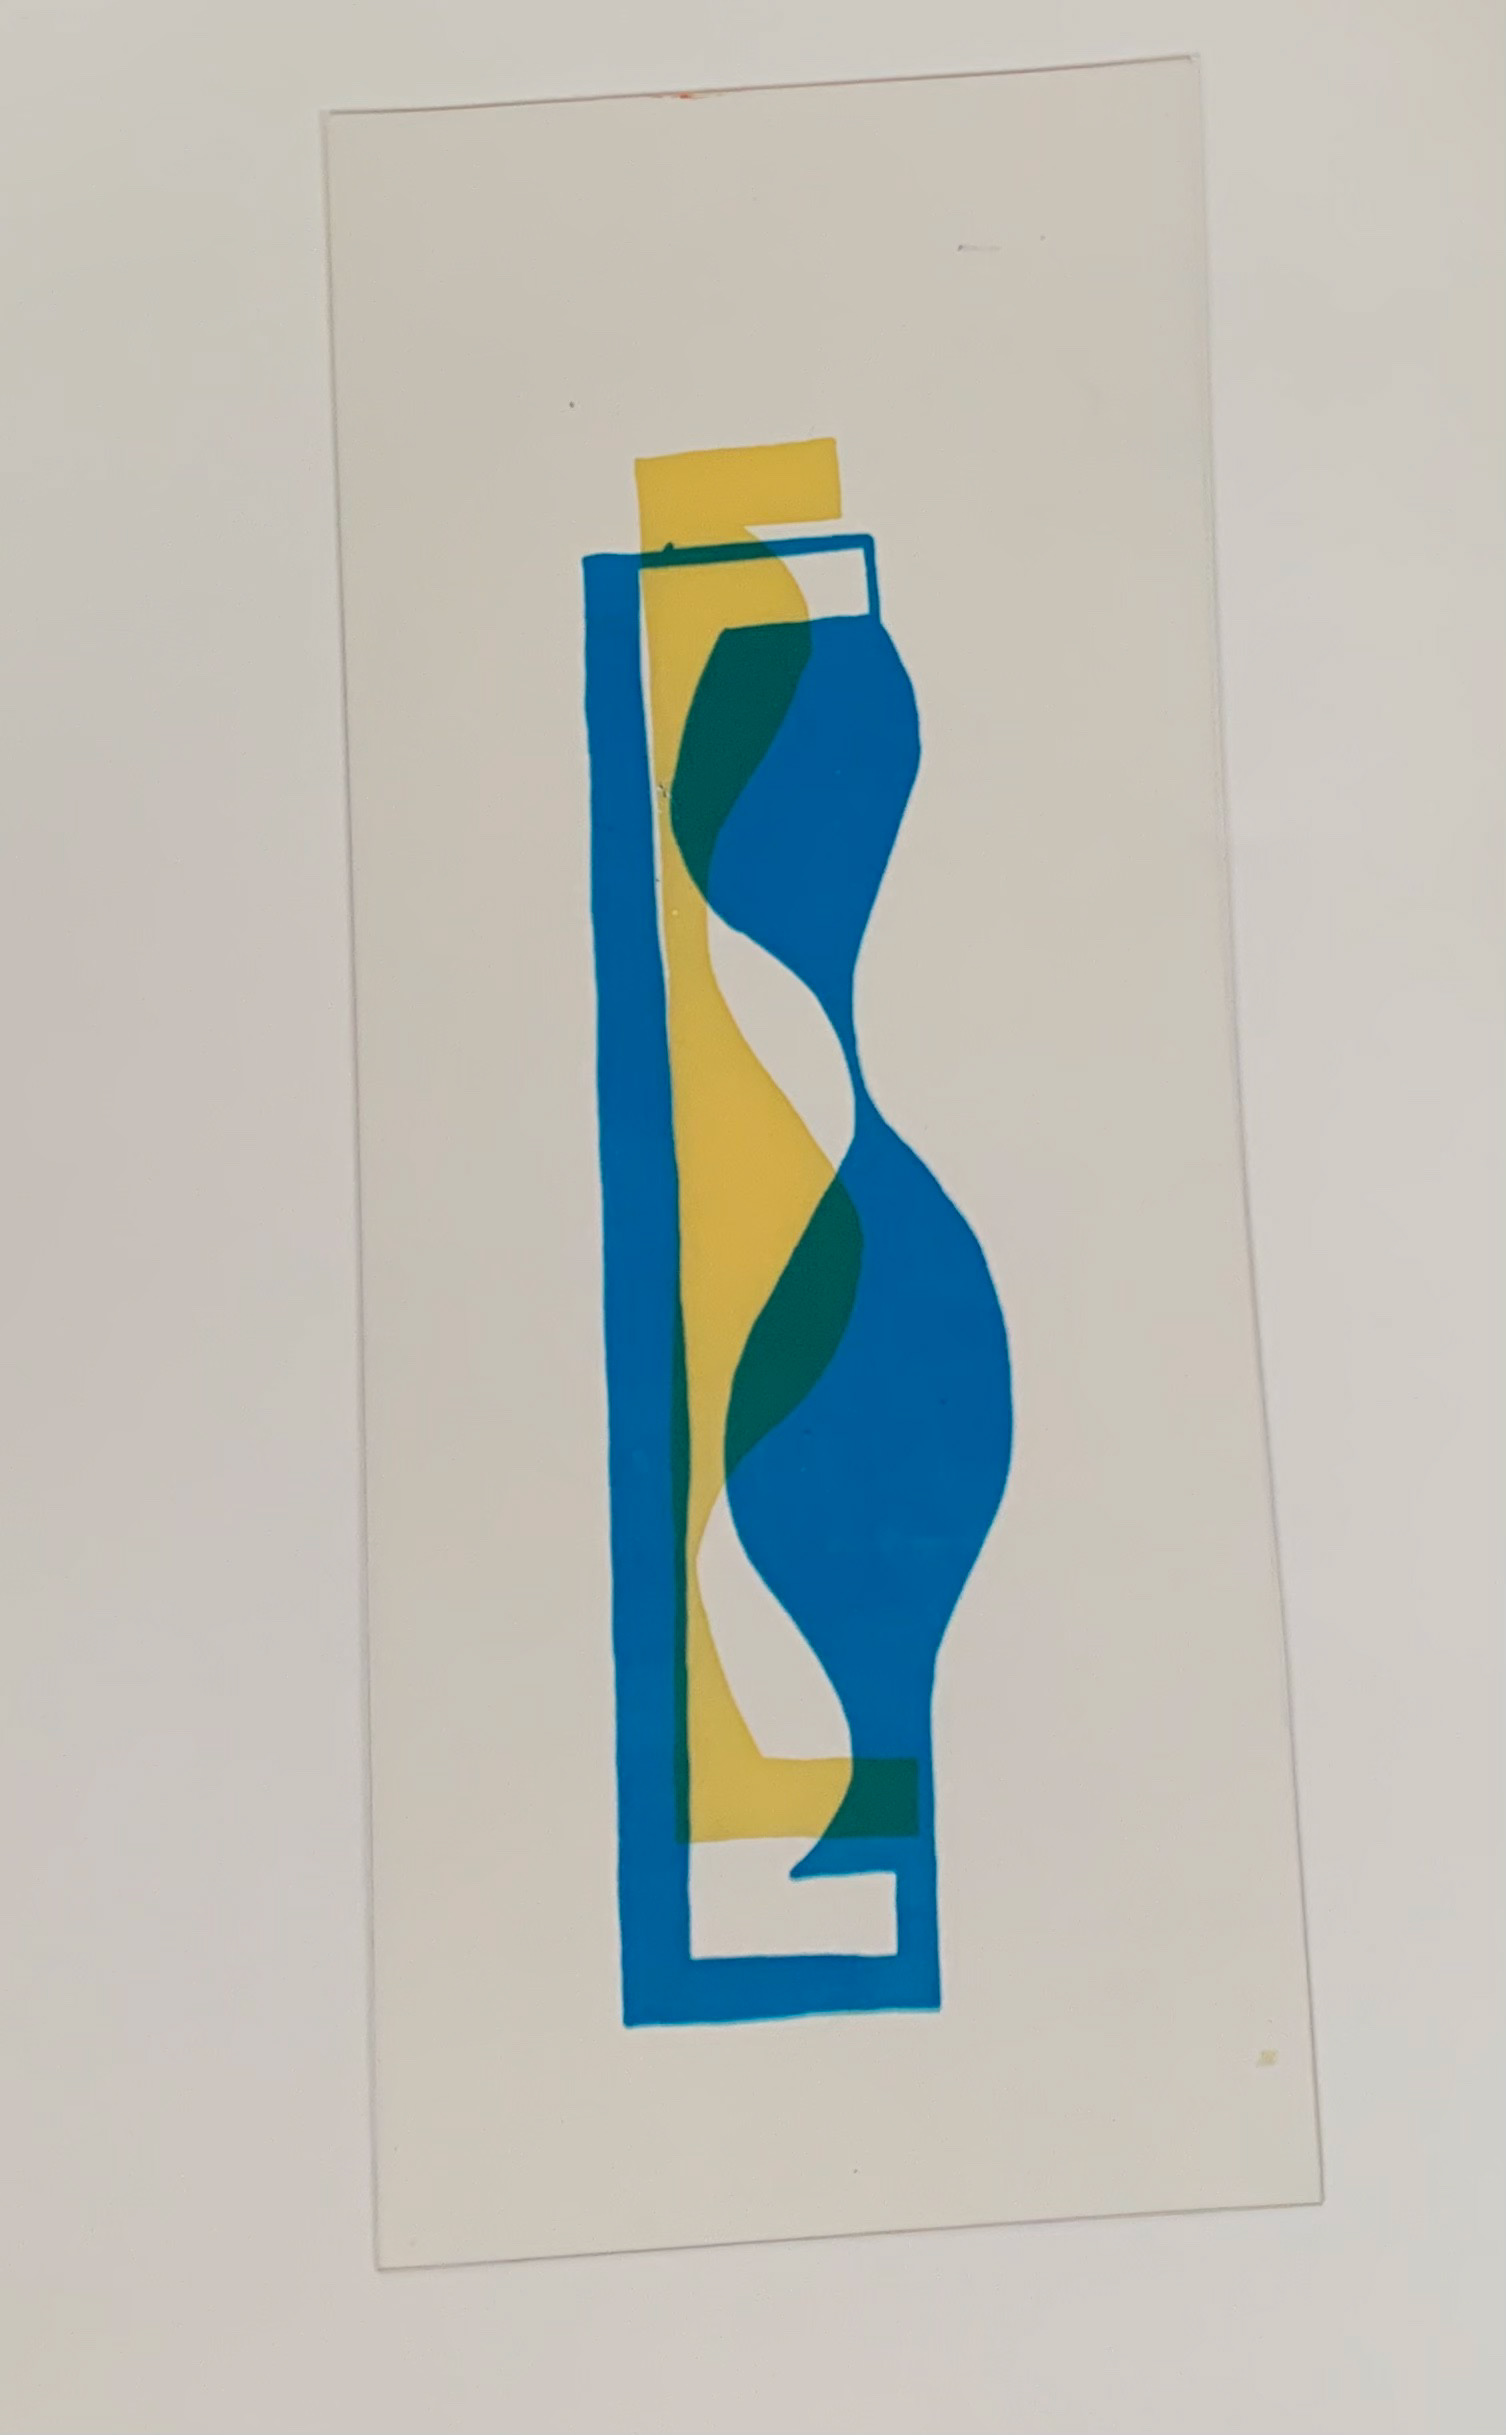
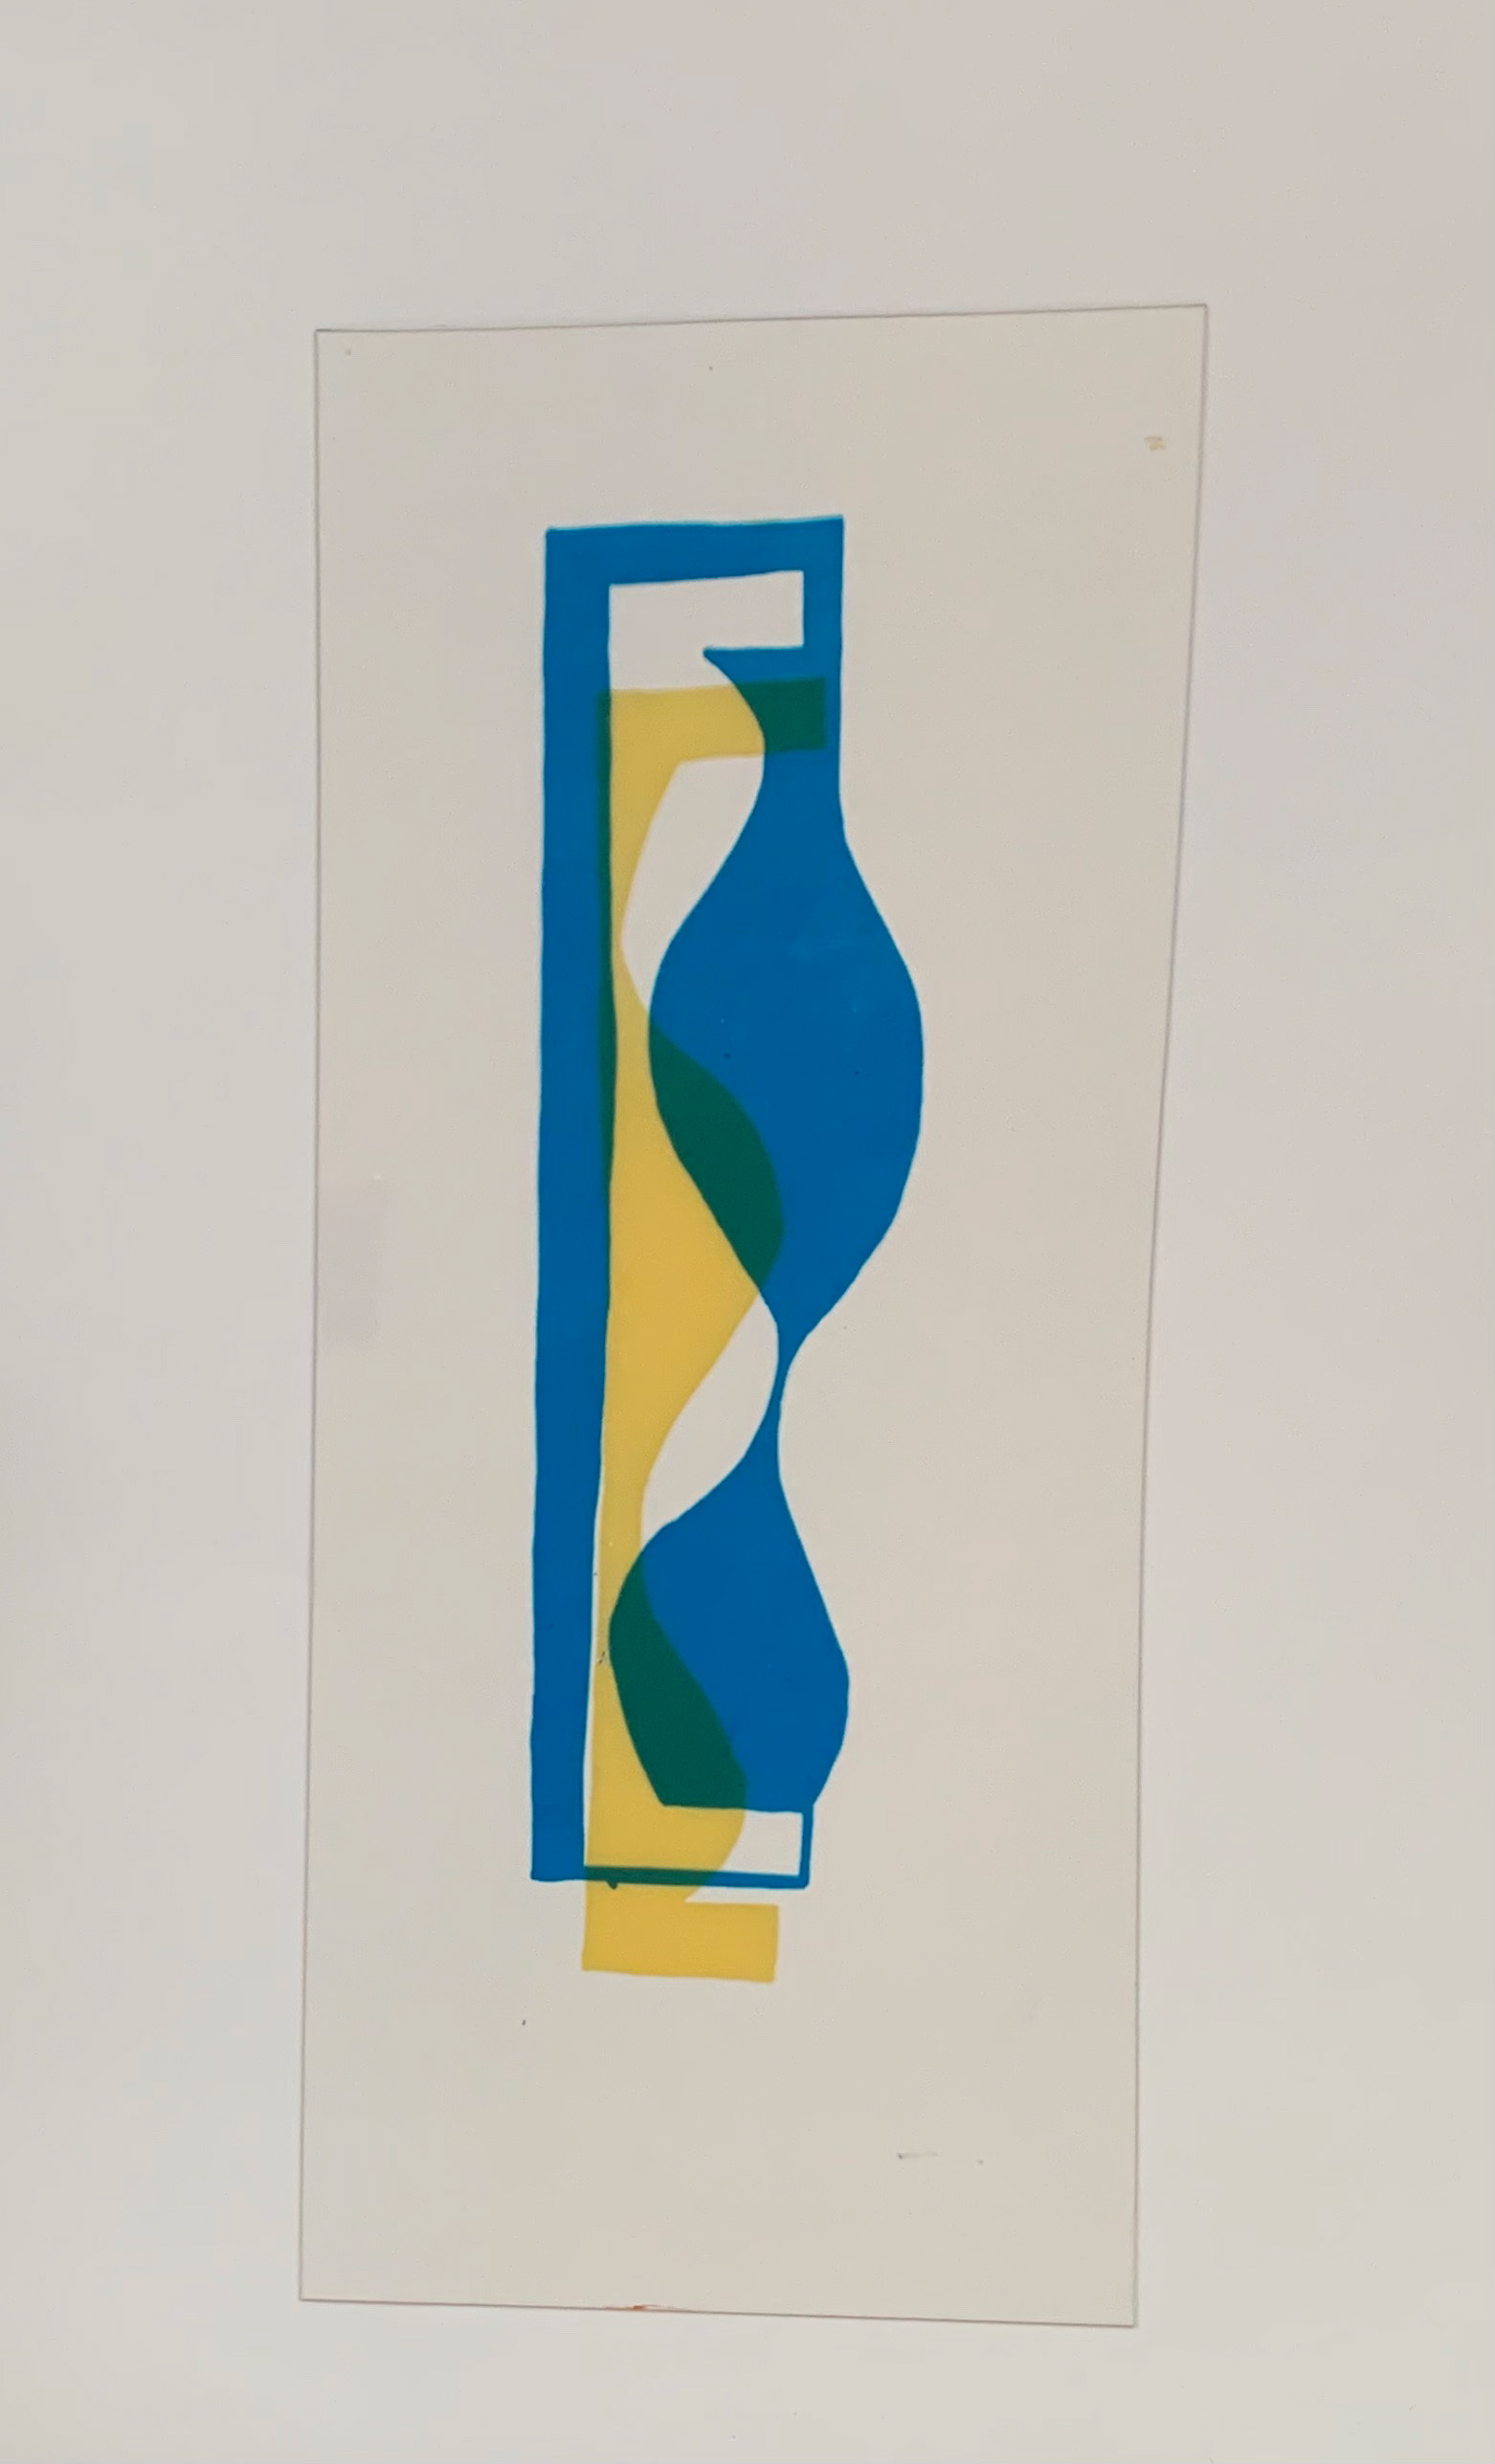
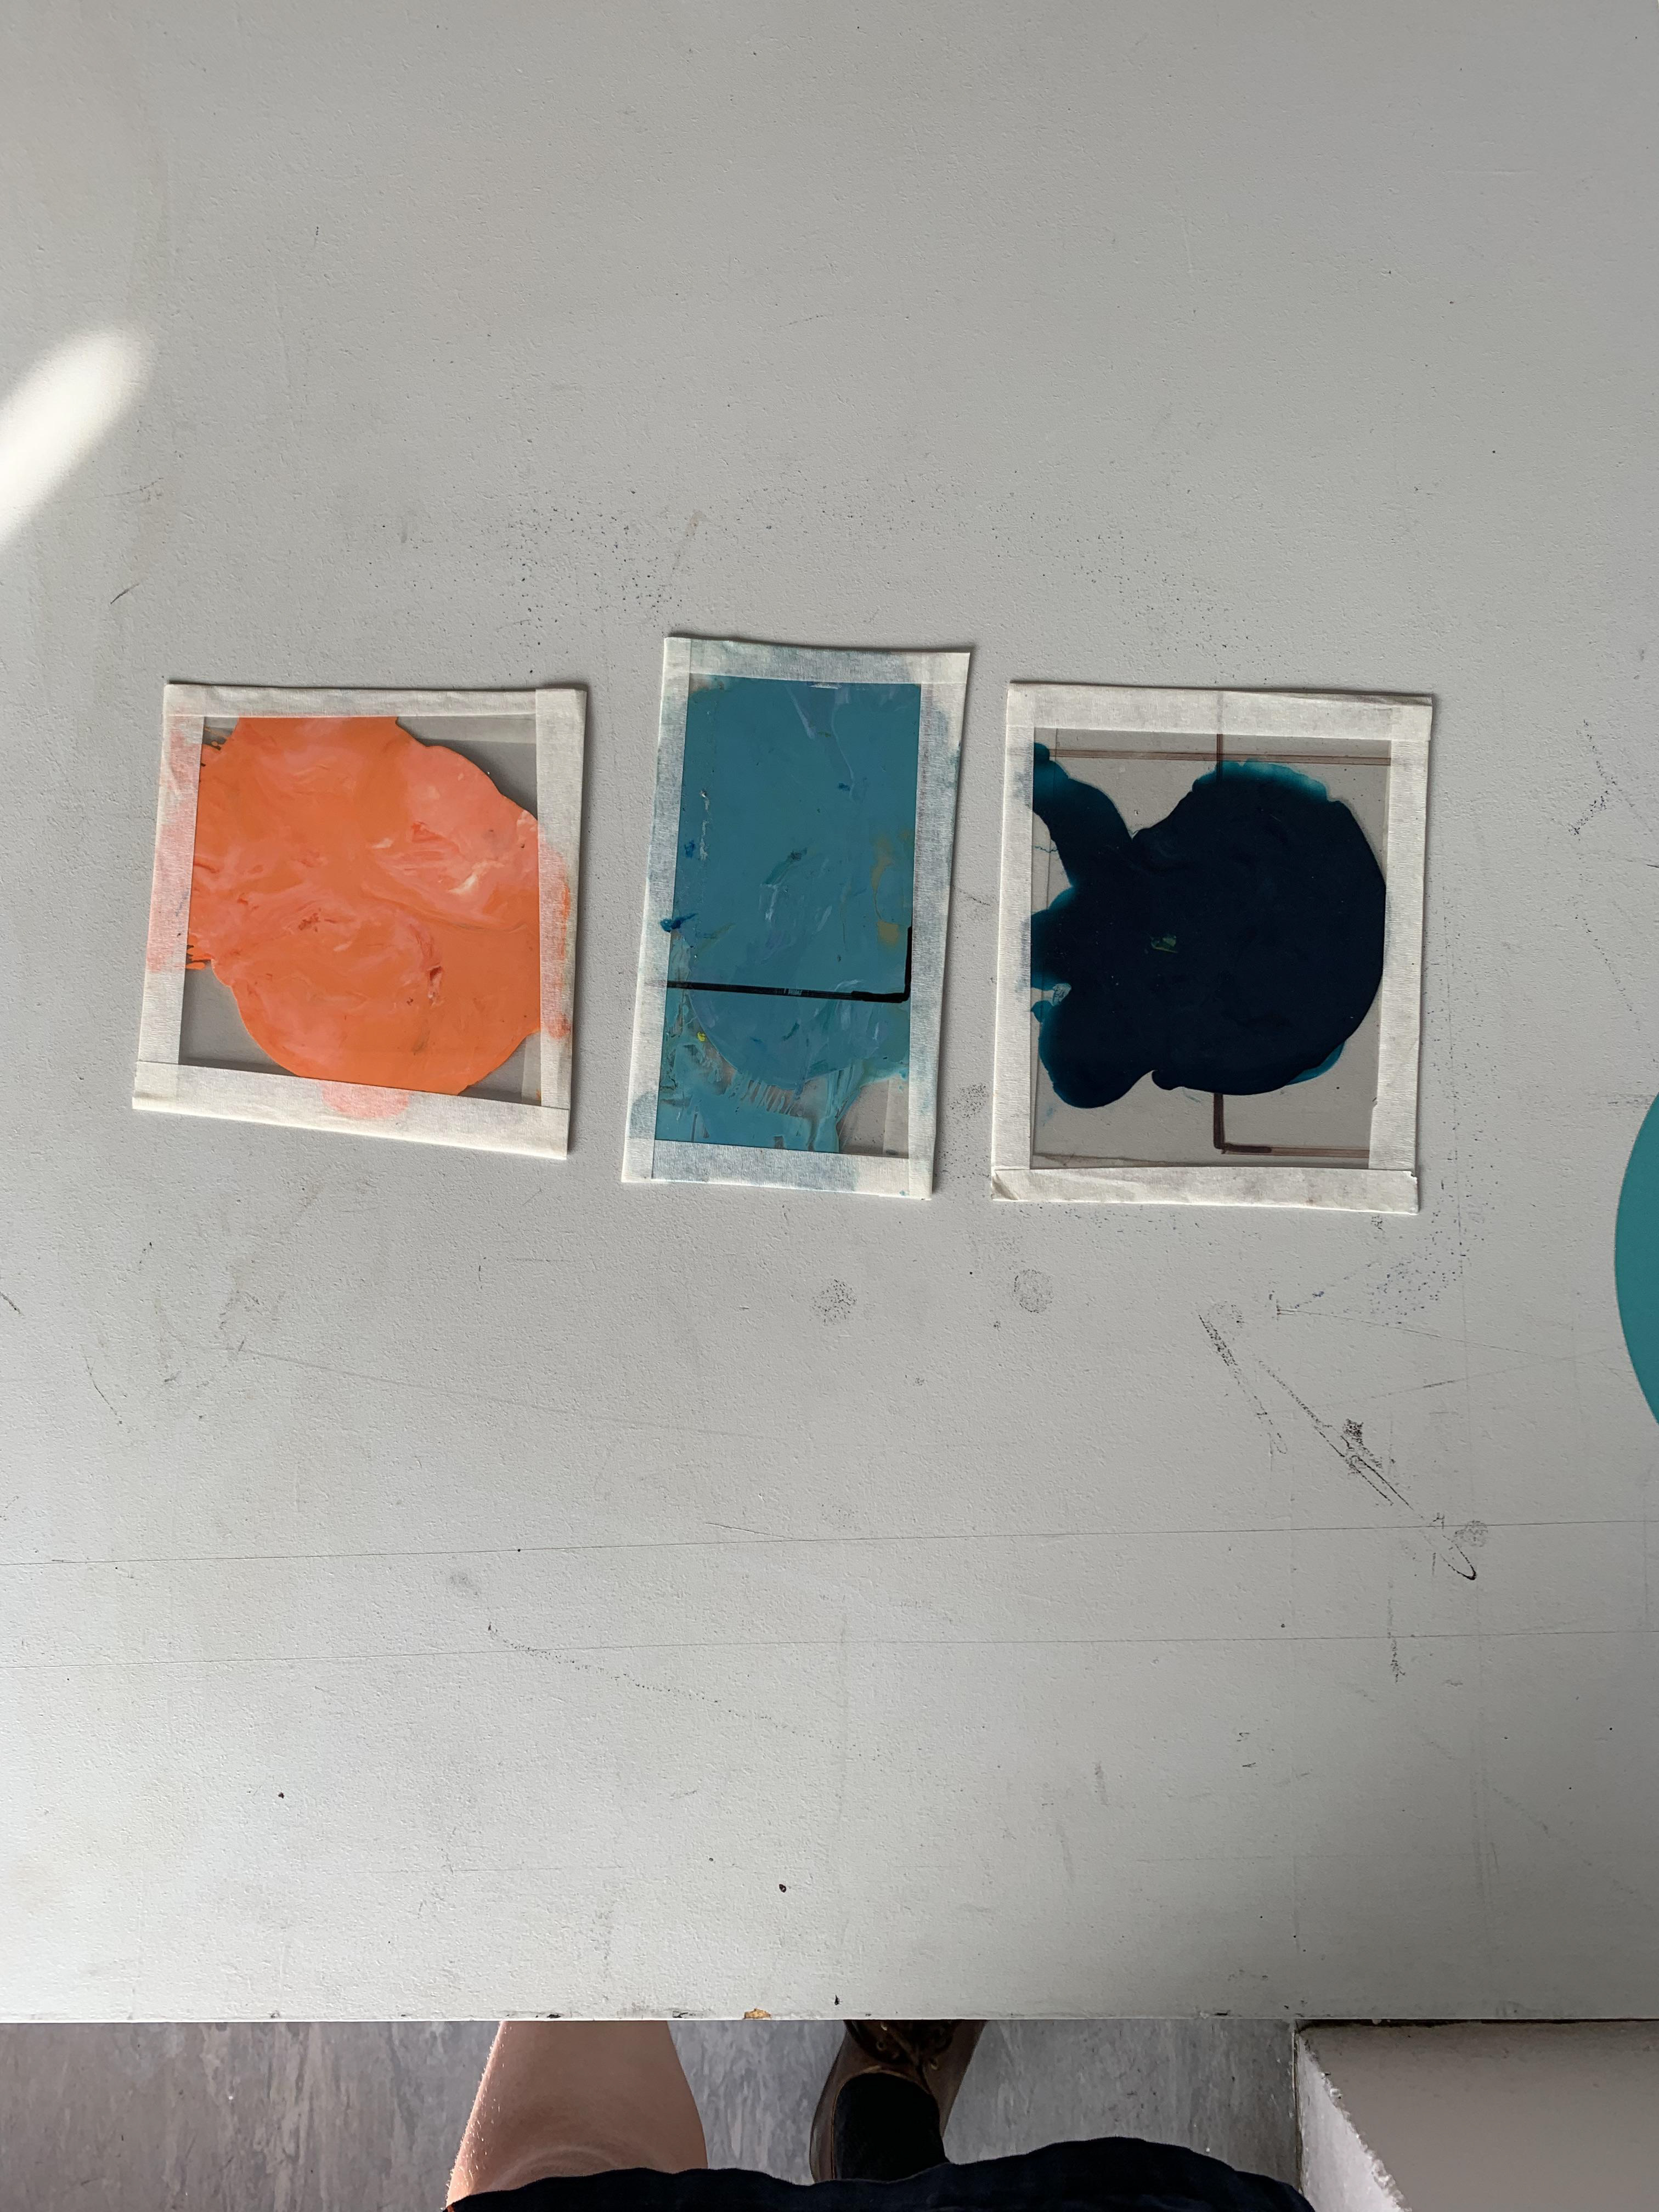
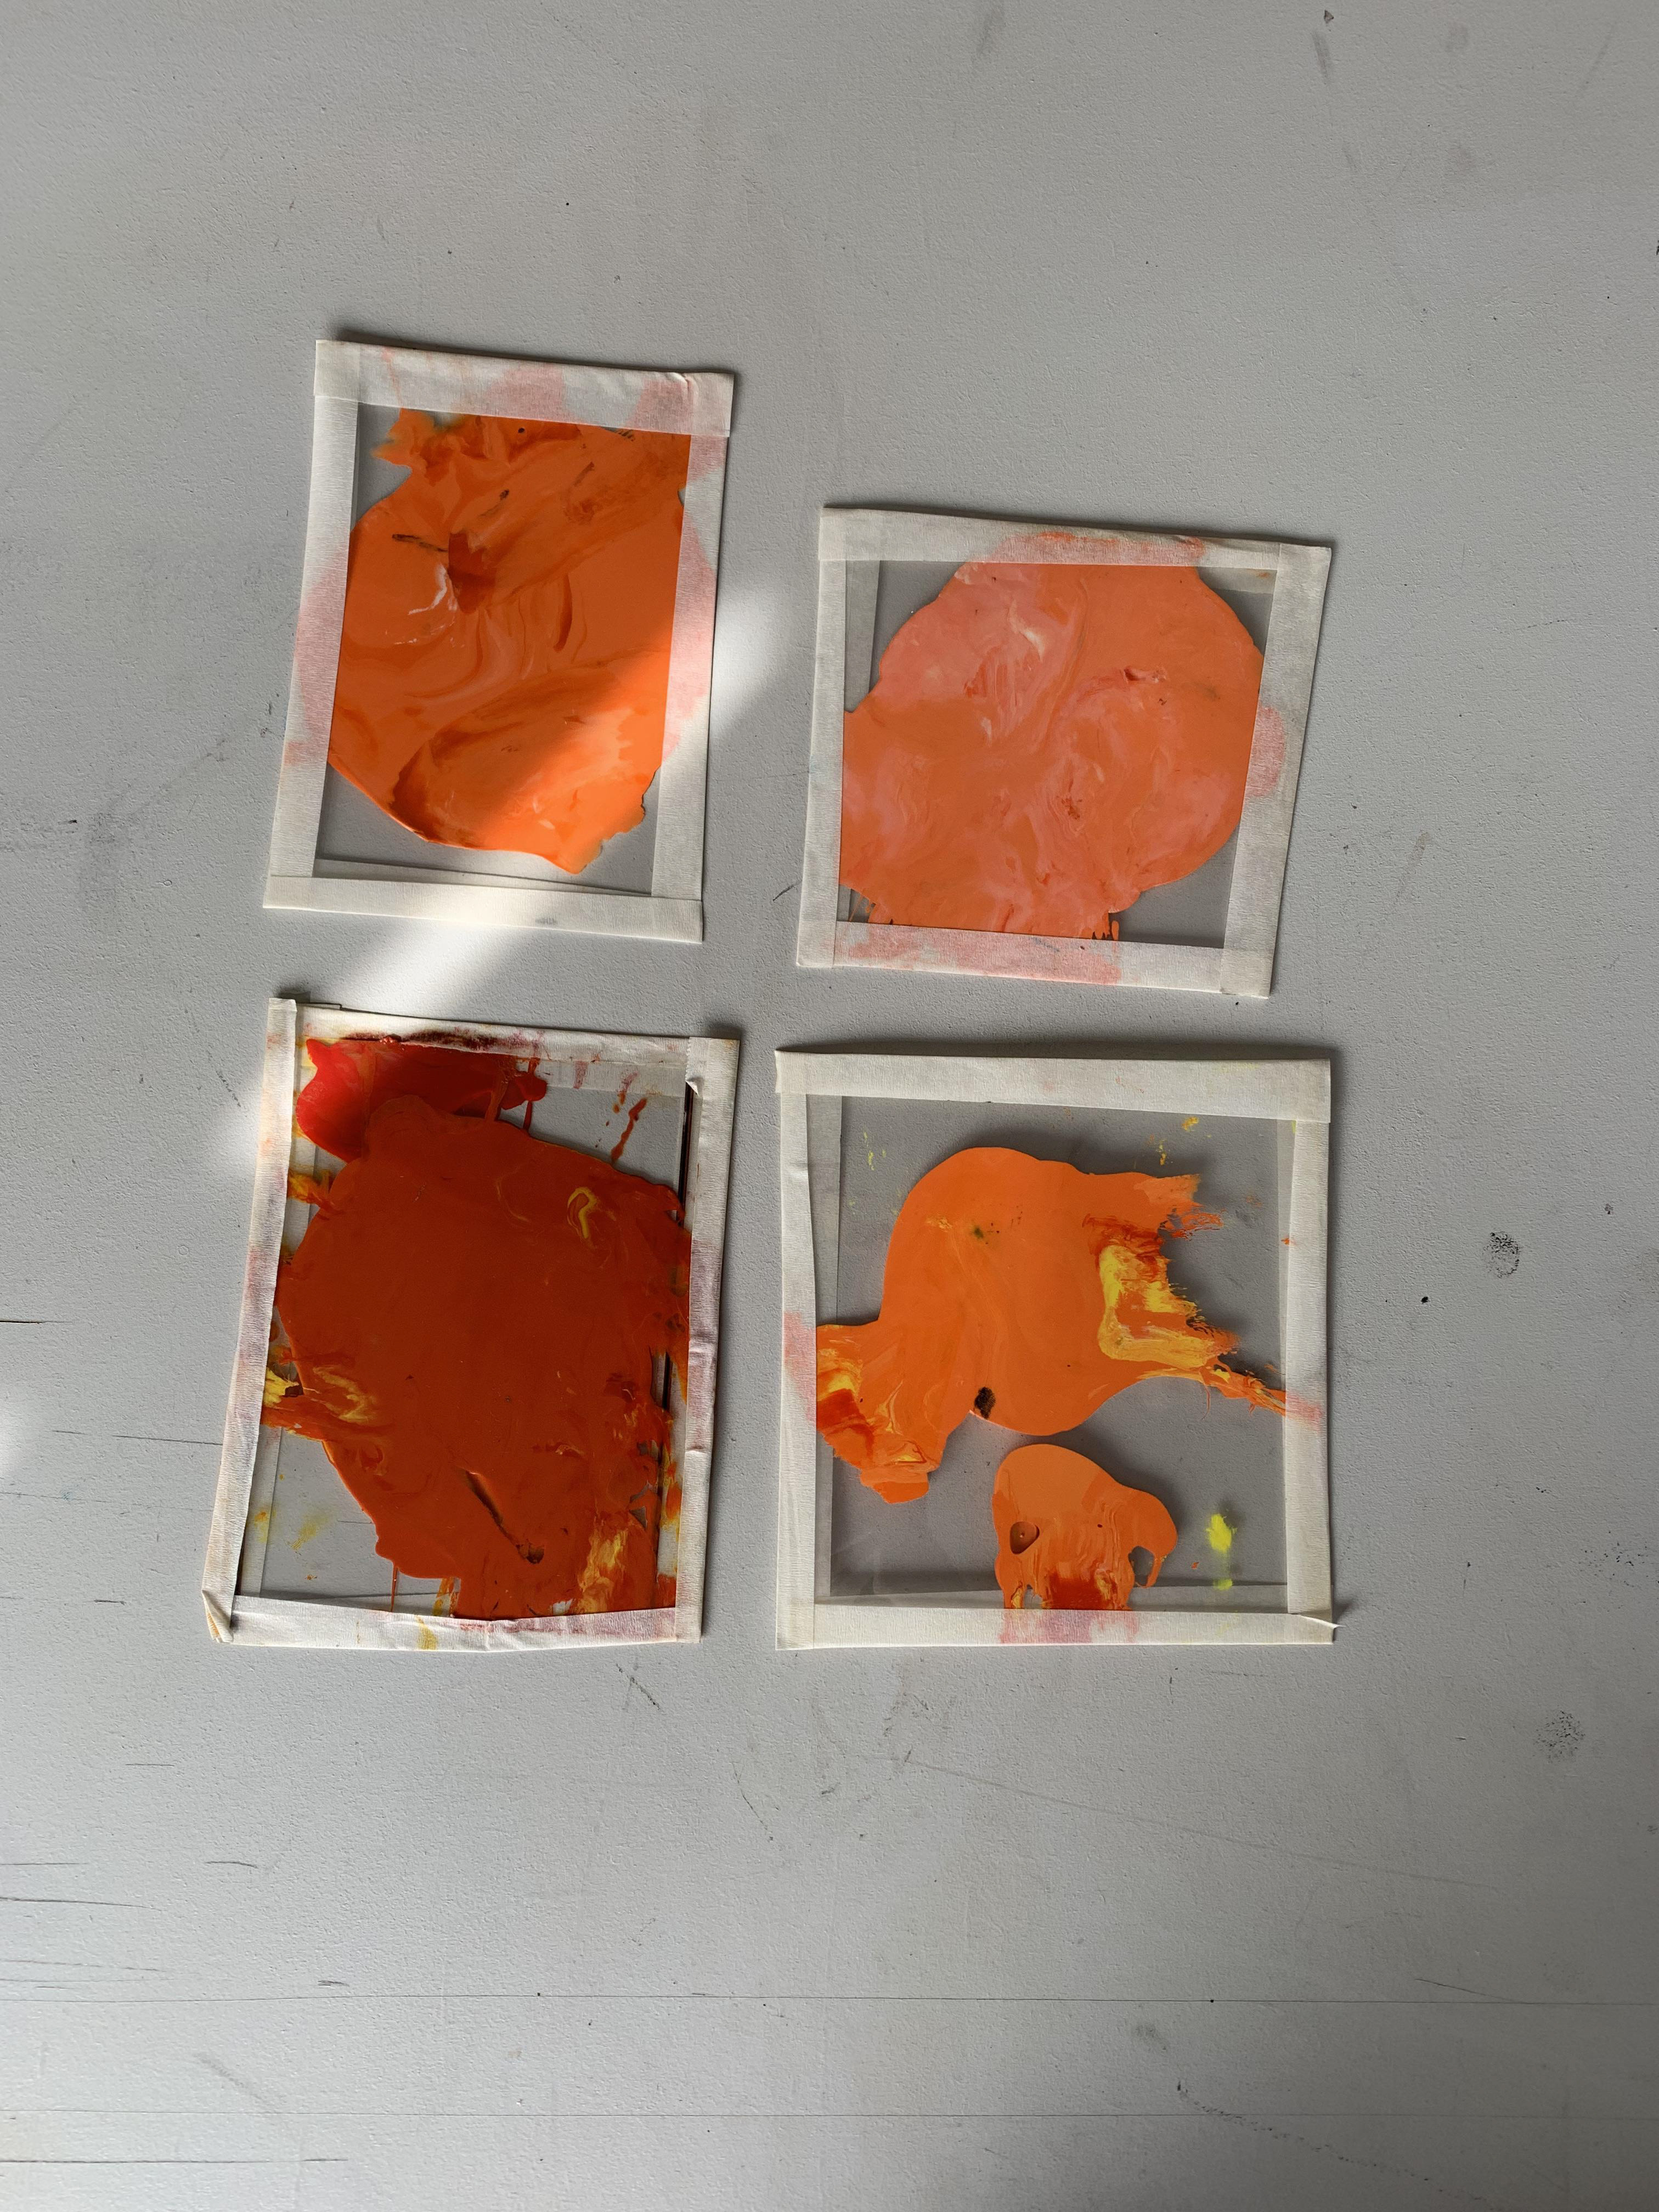
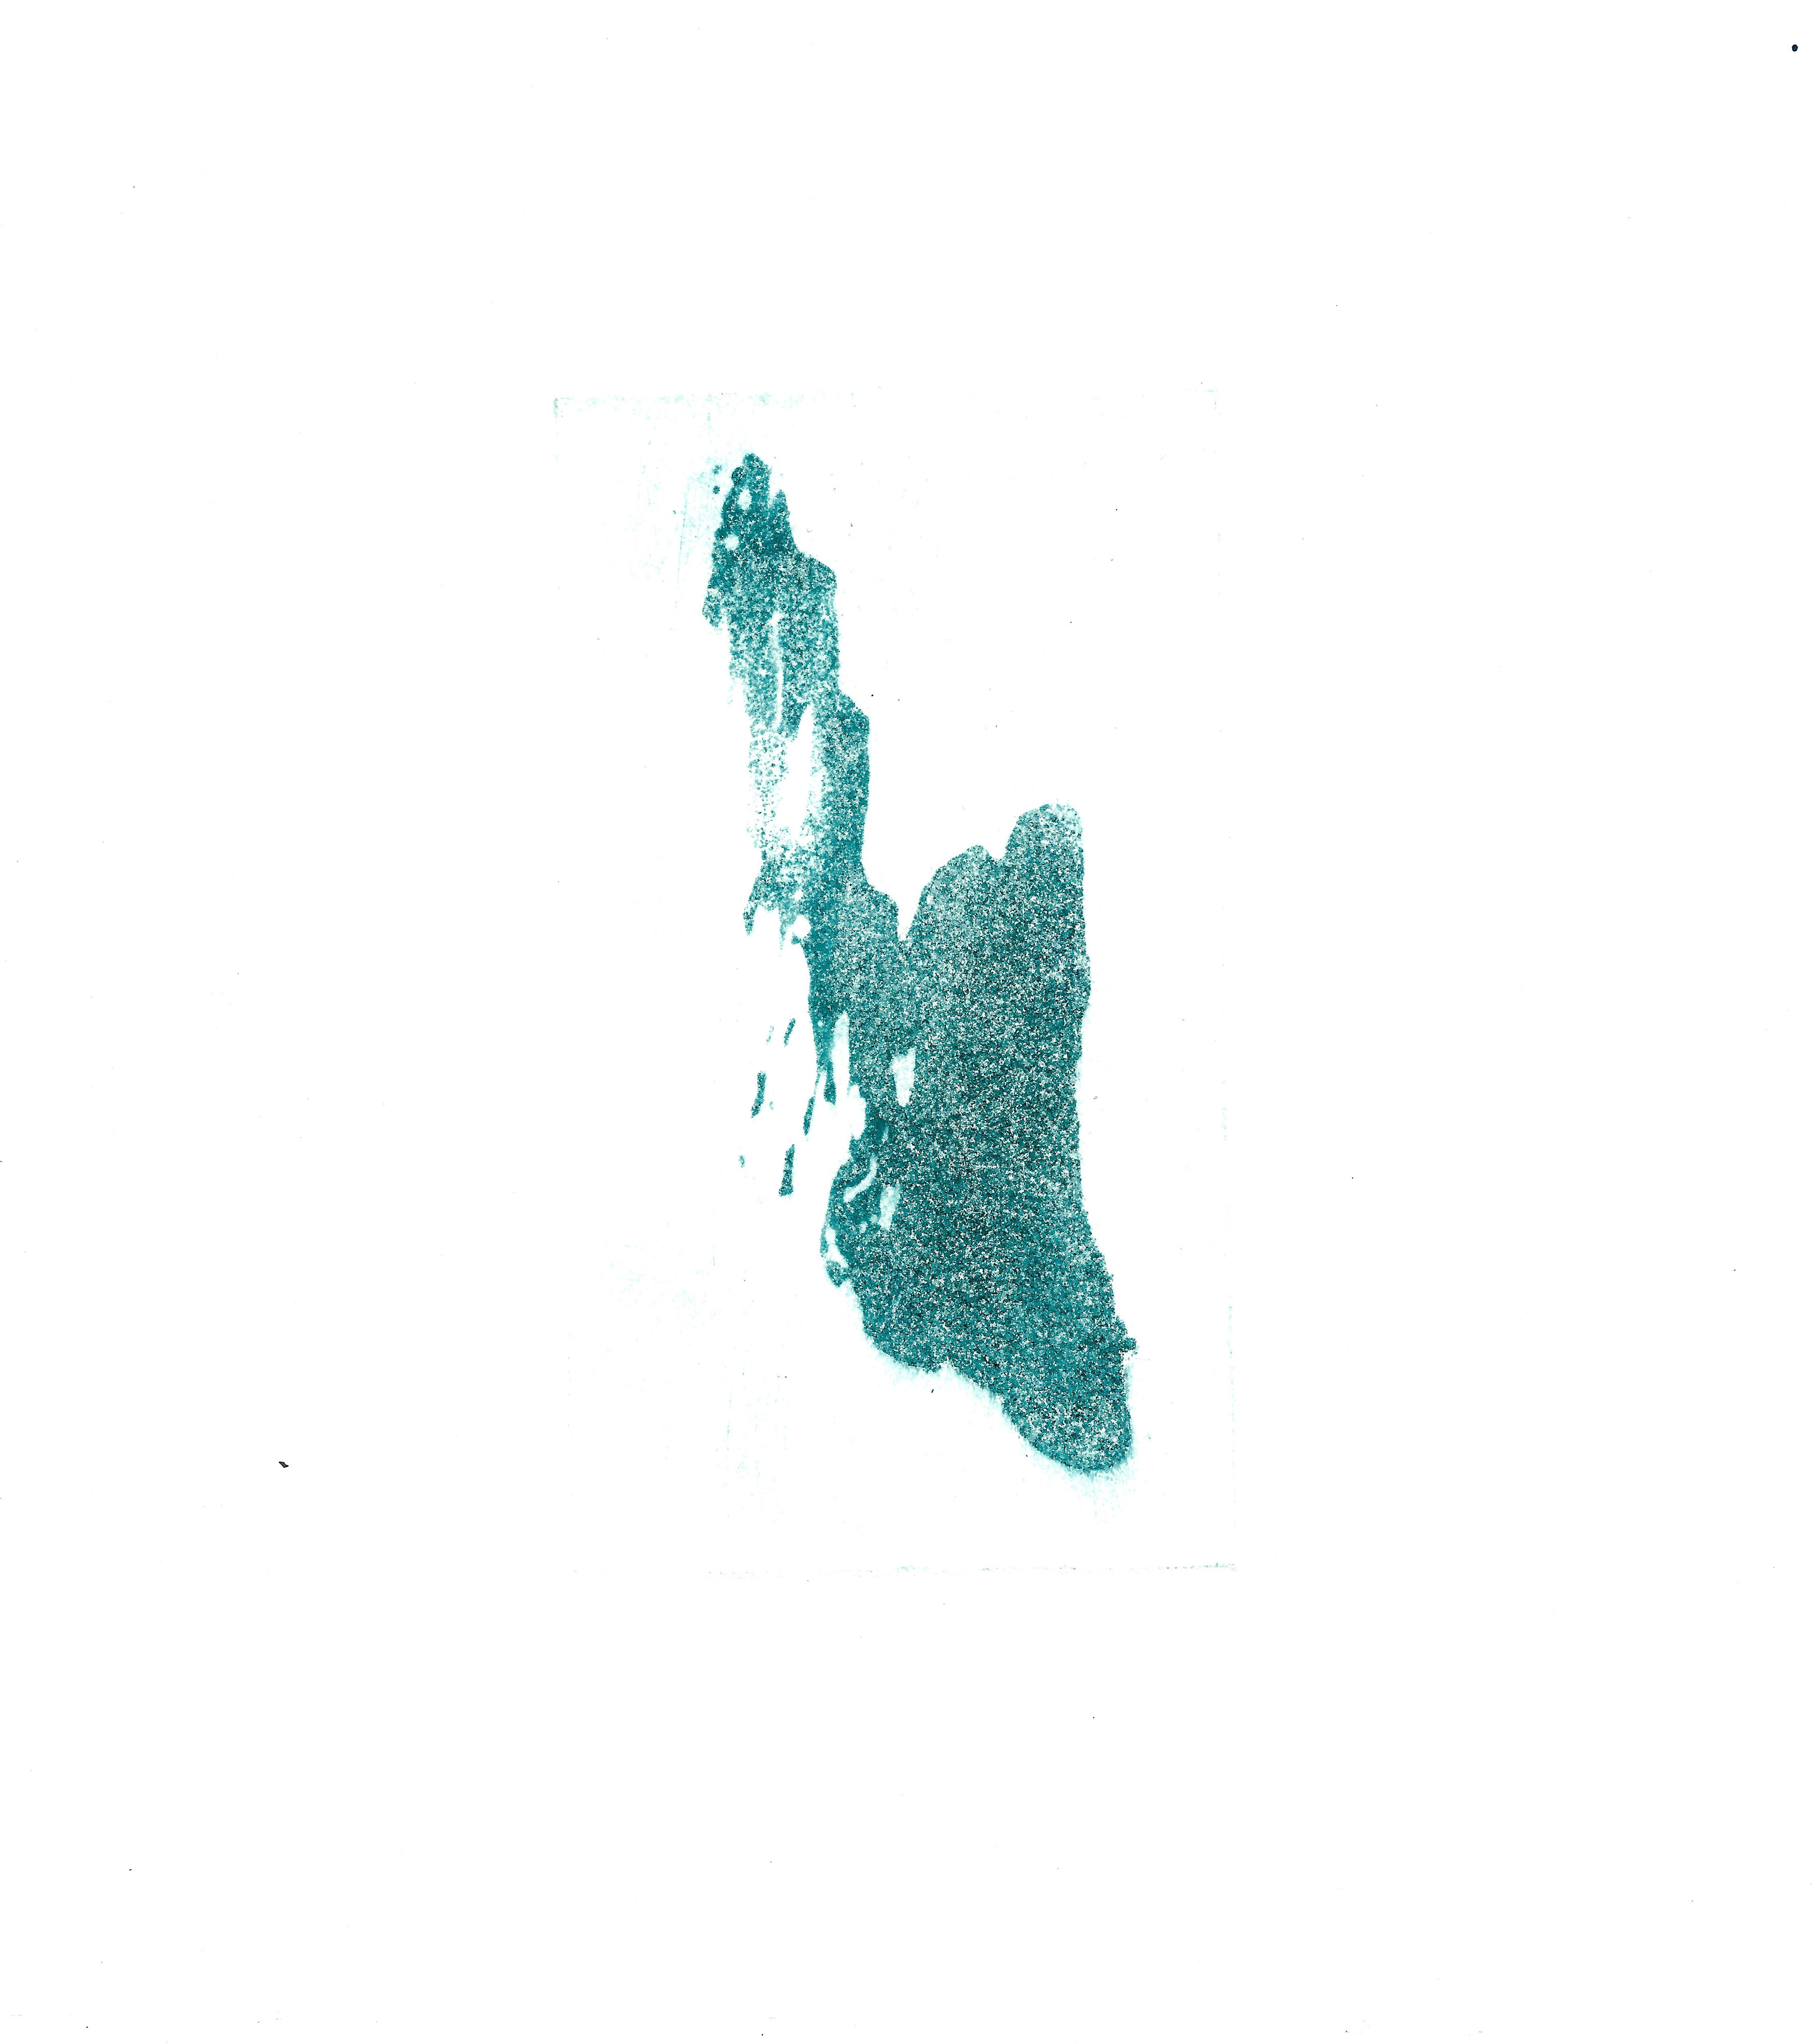
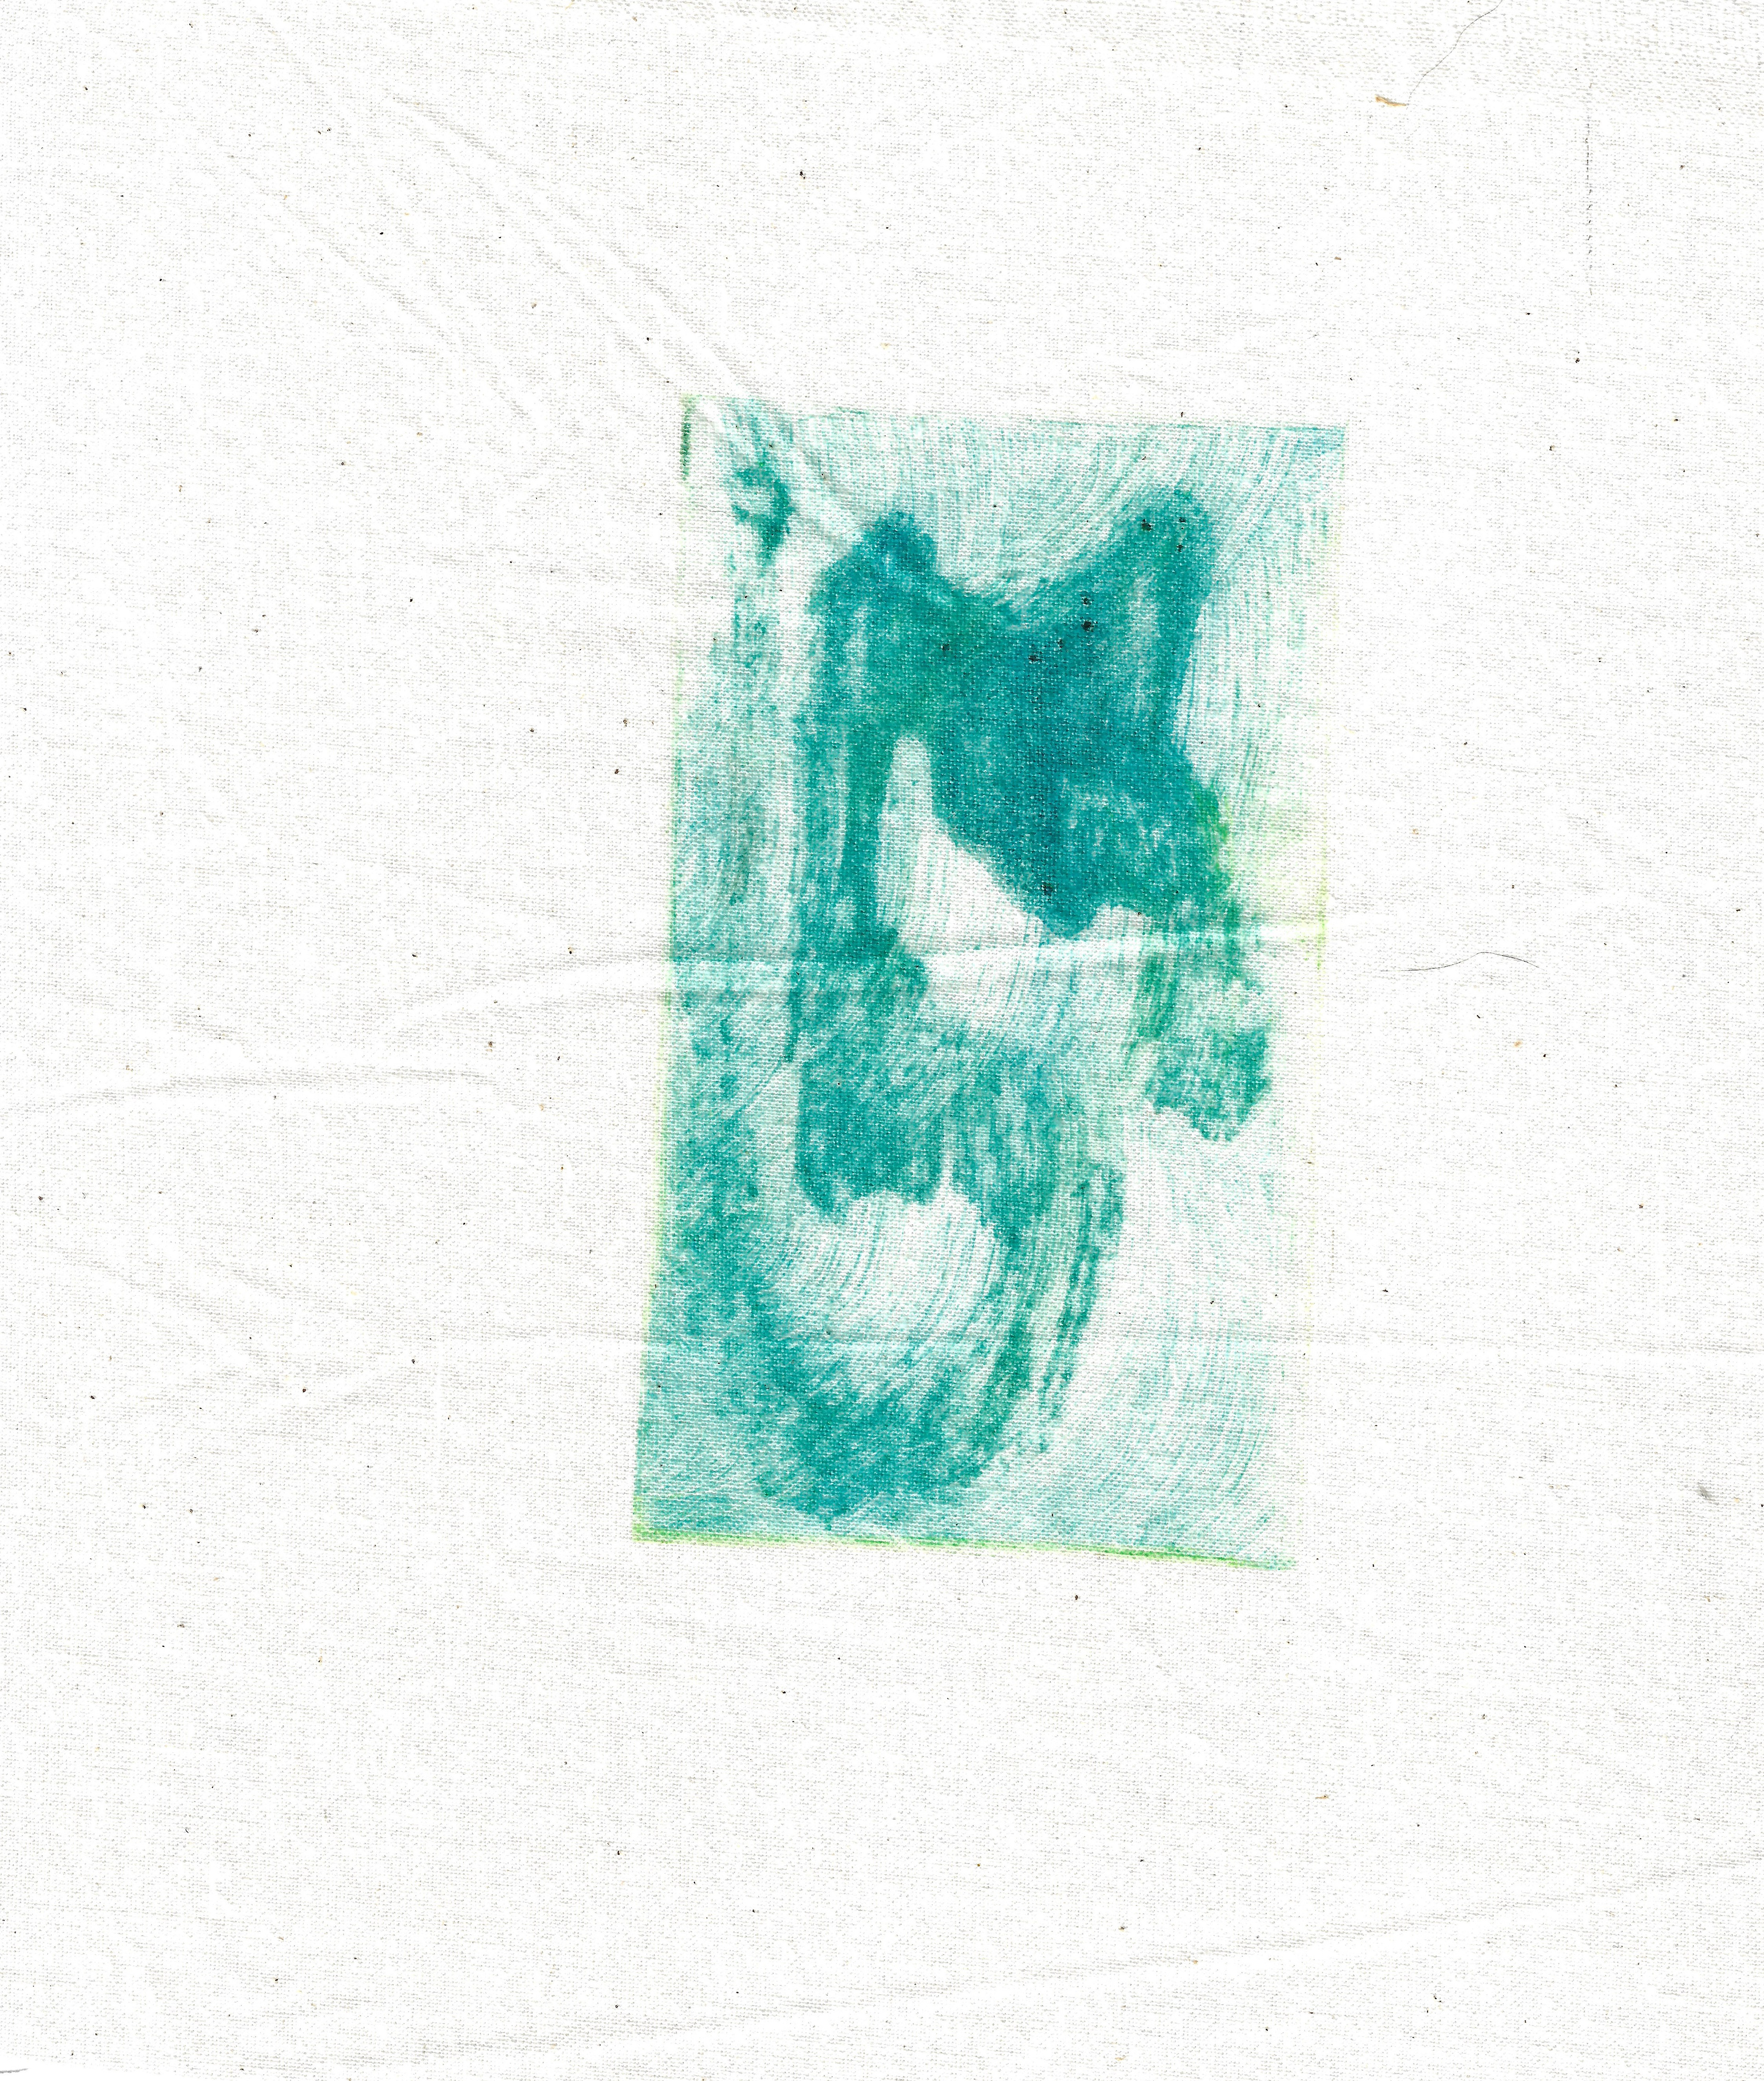
Screenprint on paper, 21 x 29.7 cm
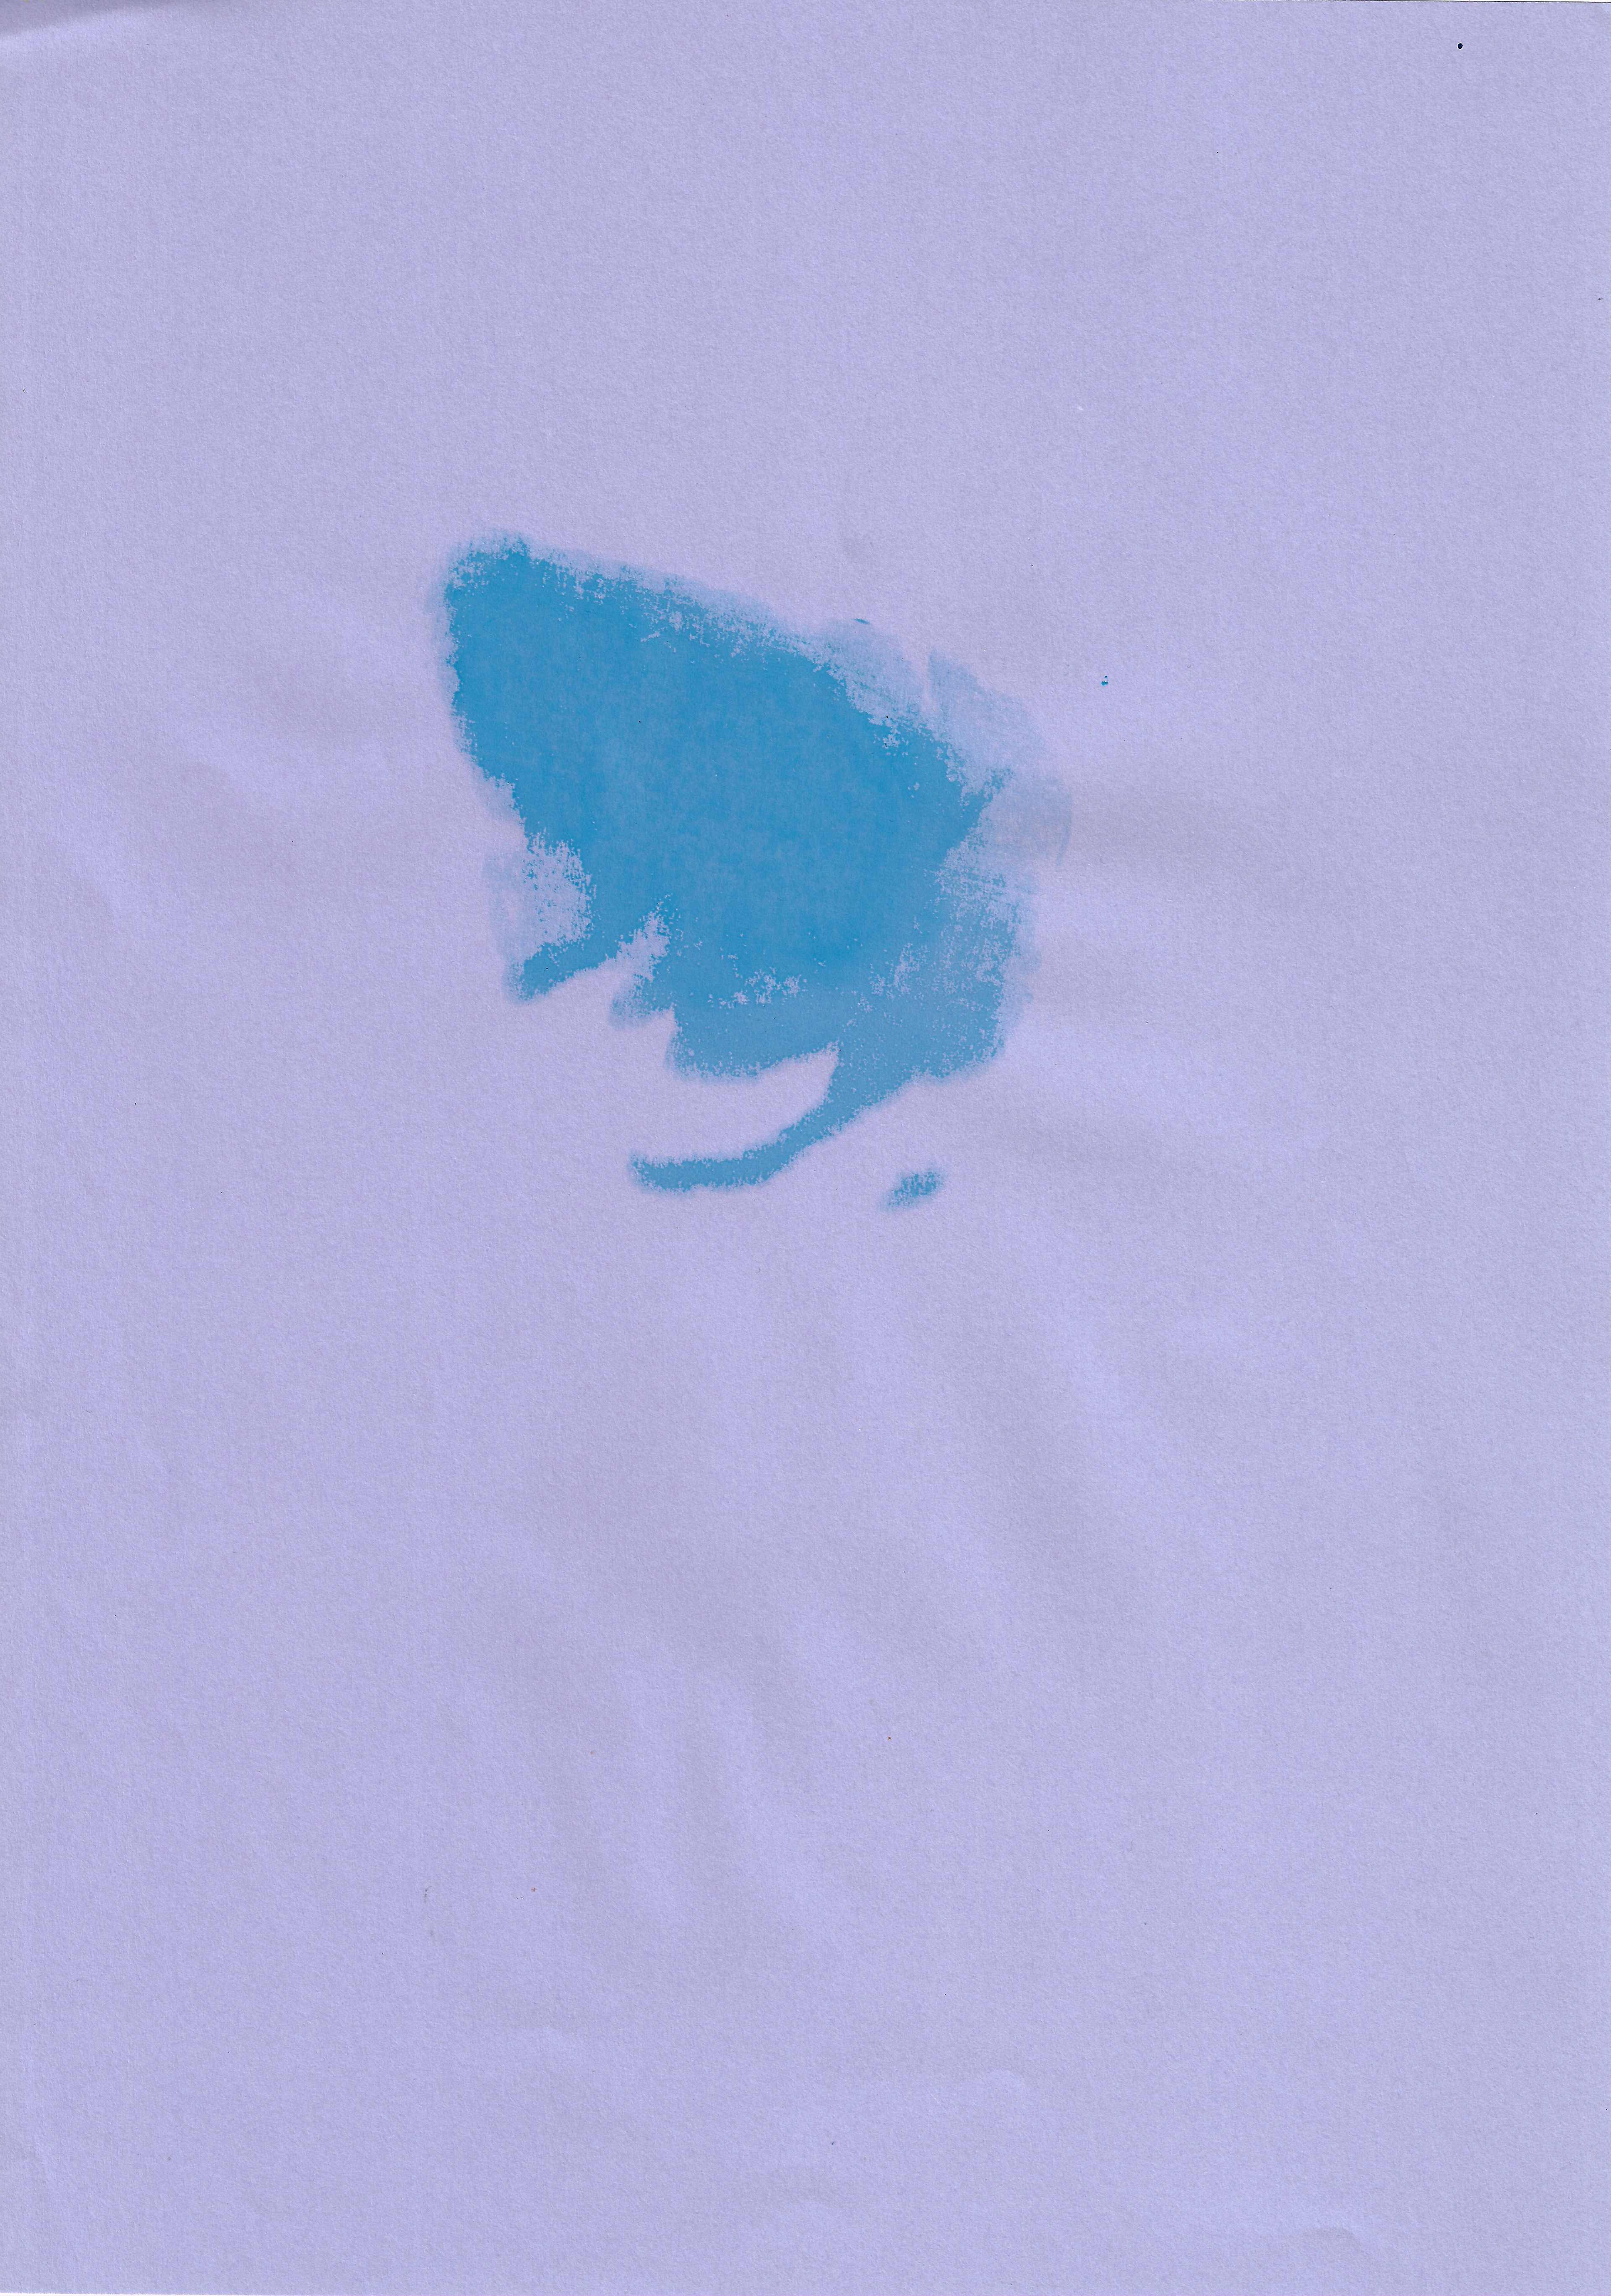
Screenprint on paper, 21 x 29.7 cm
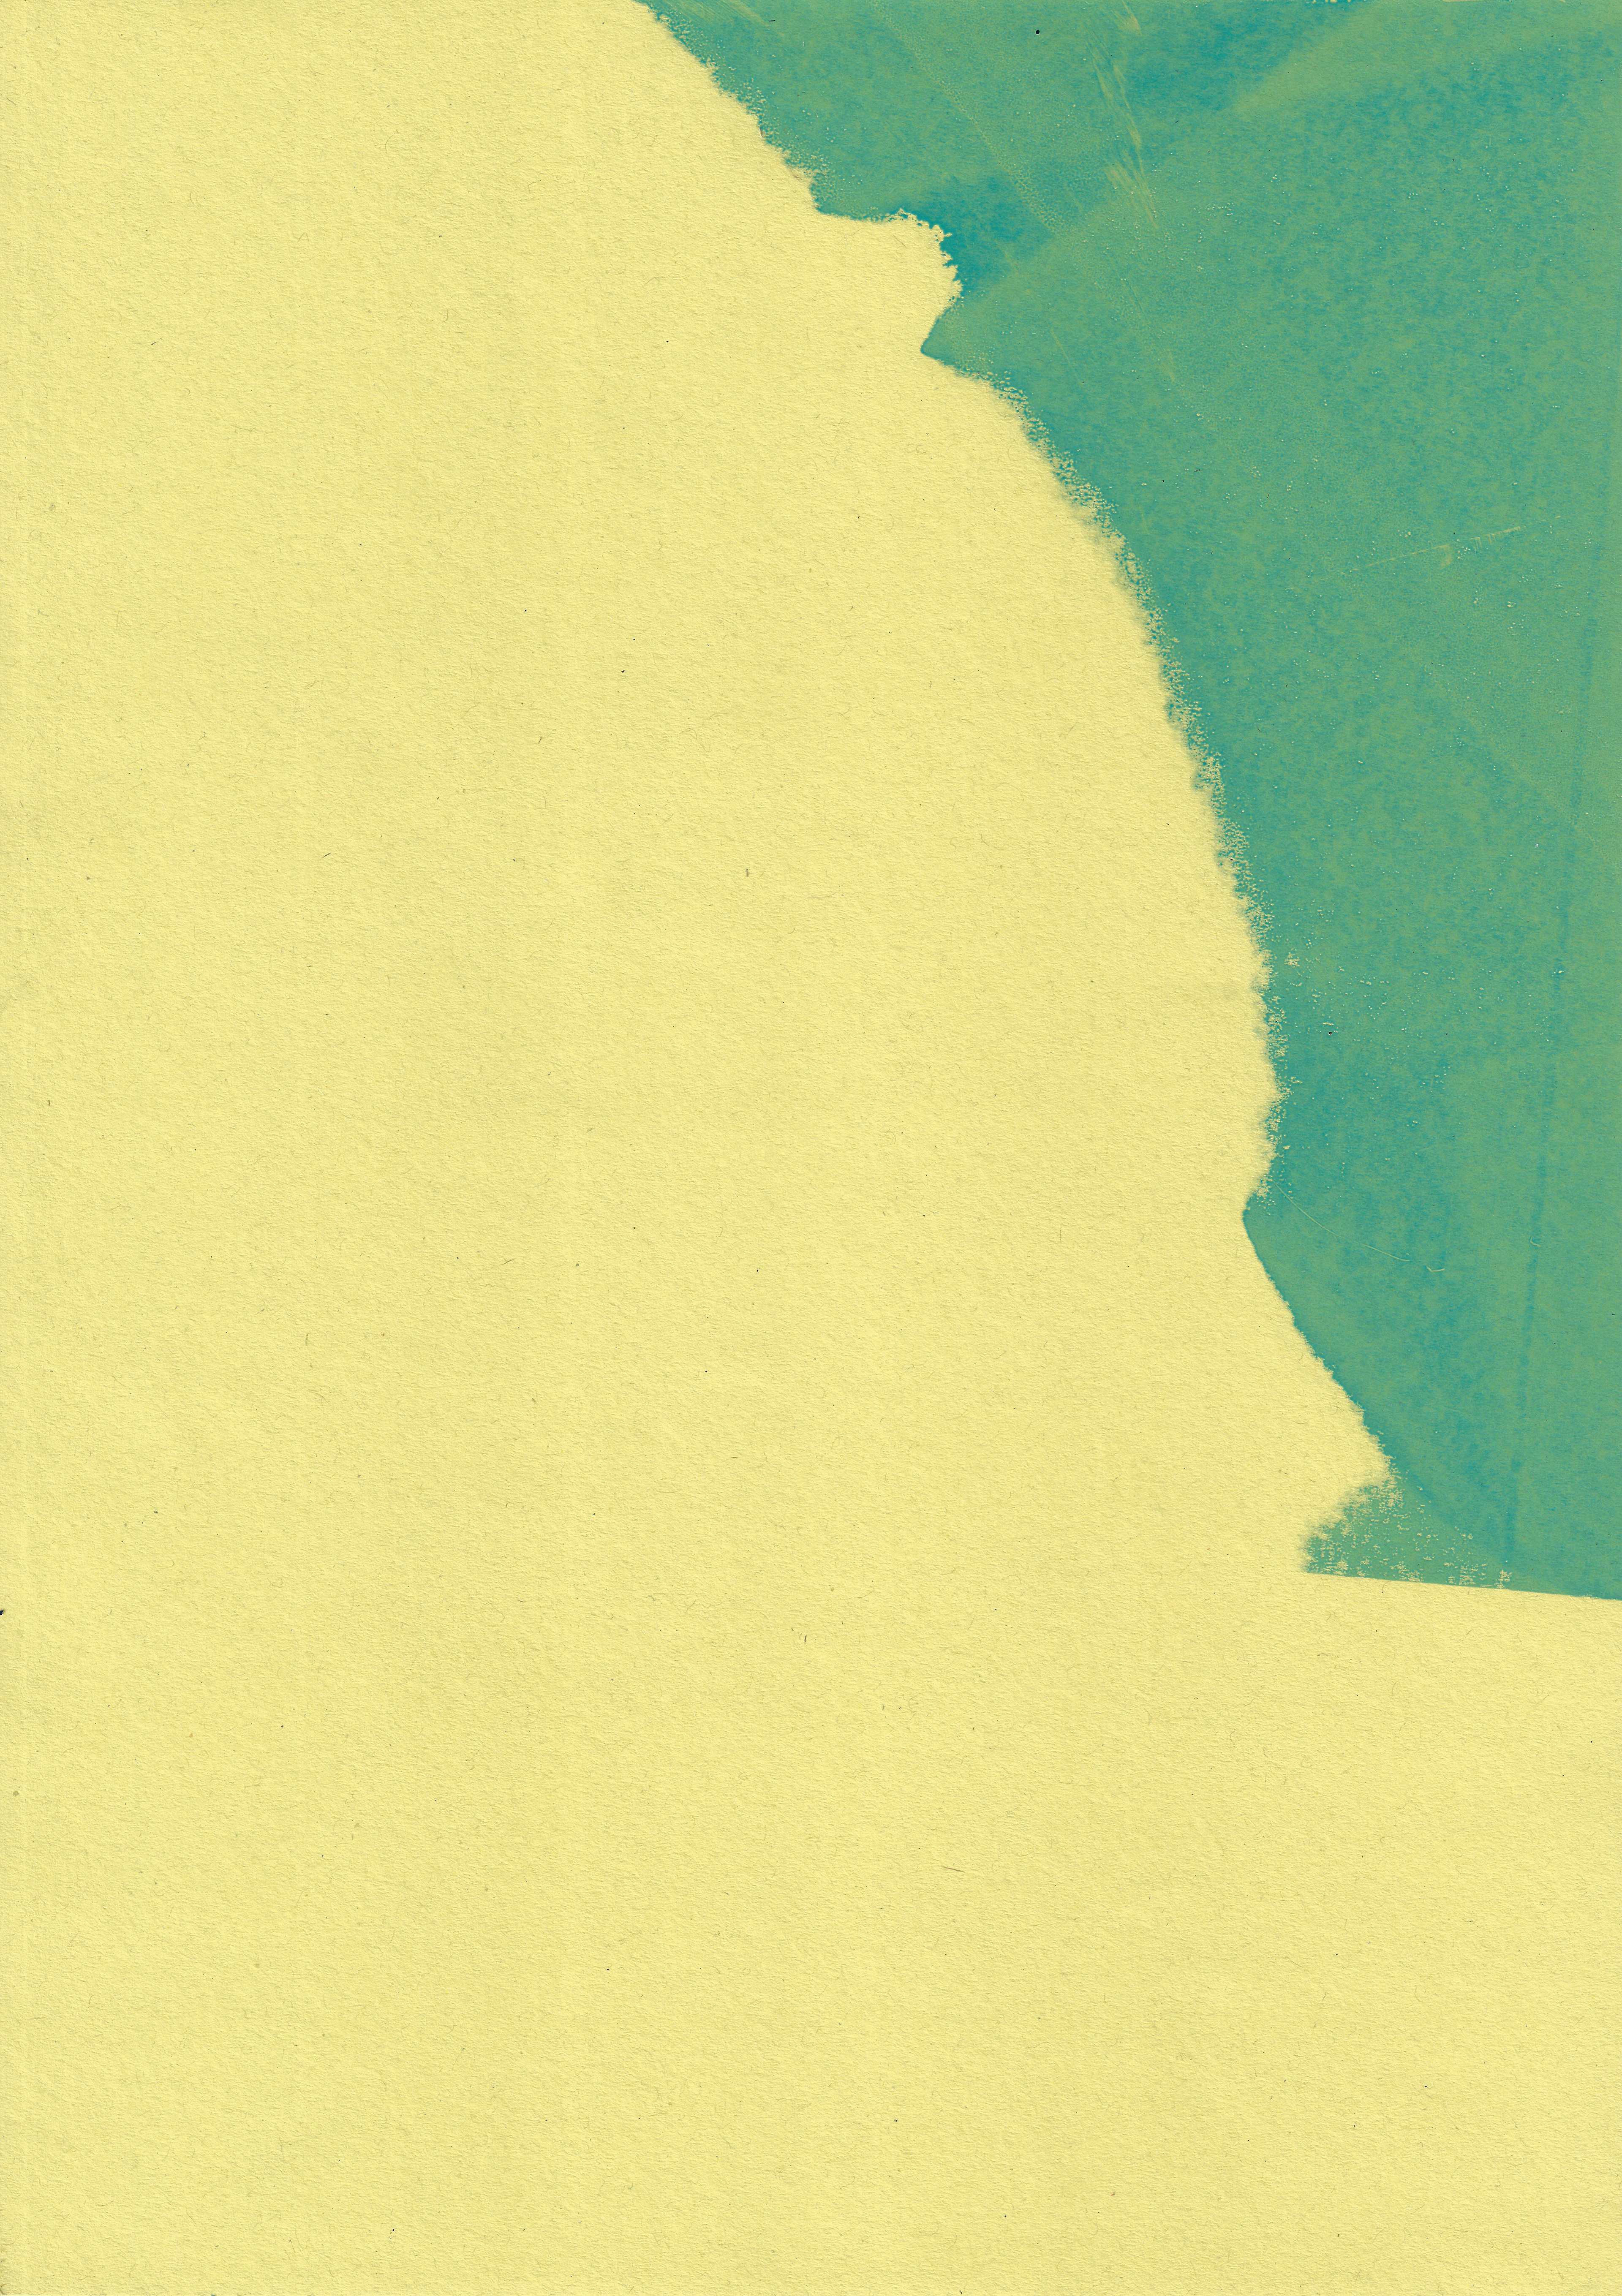
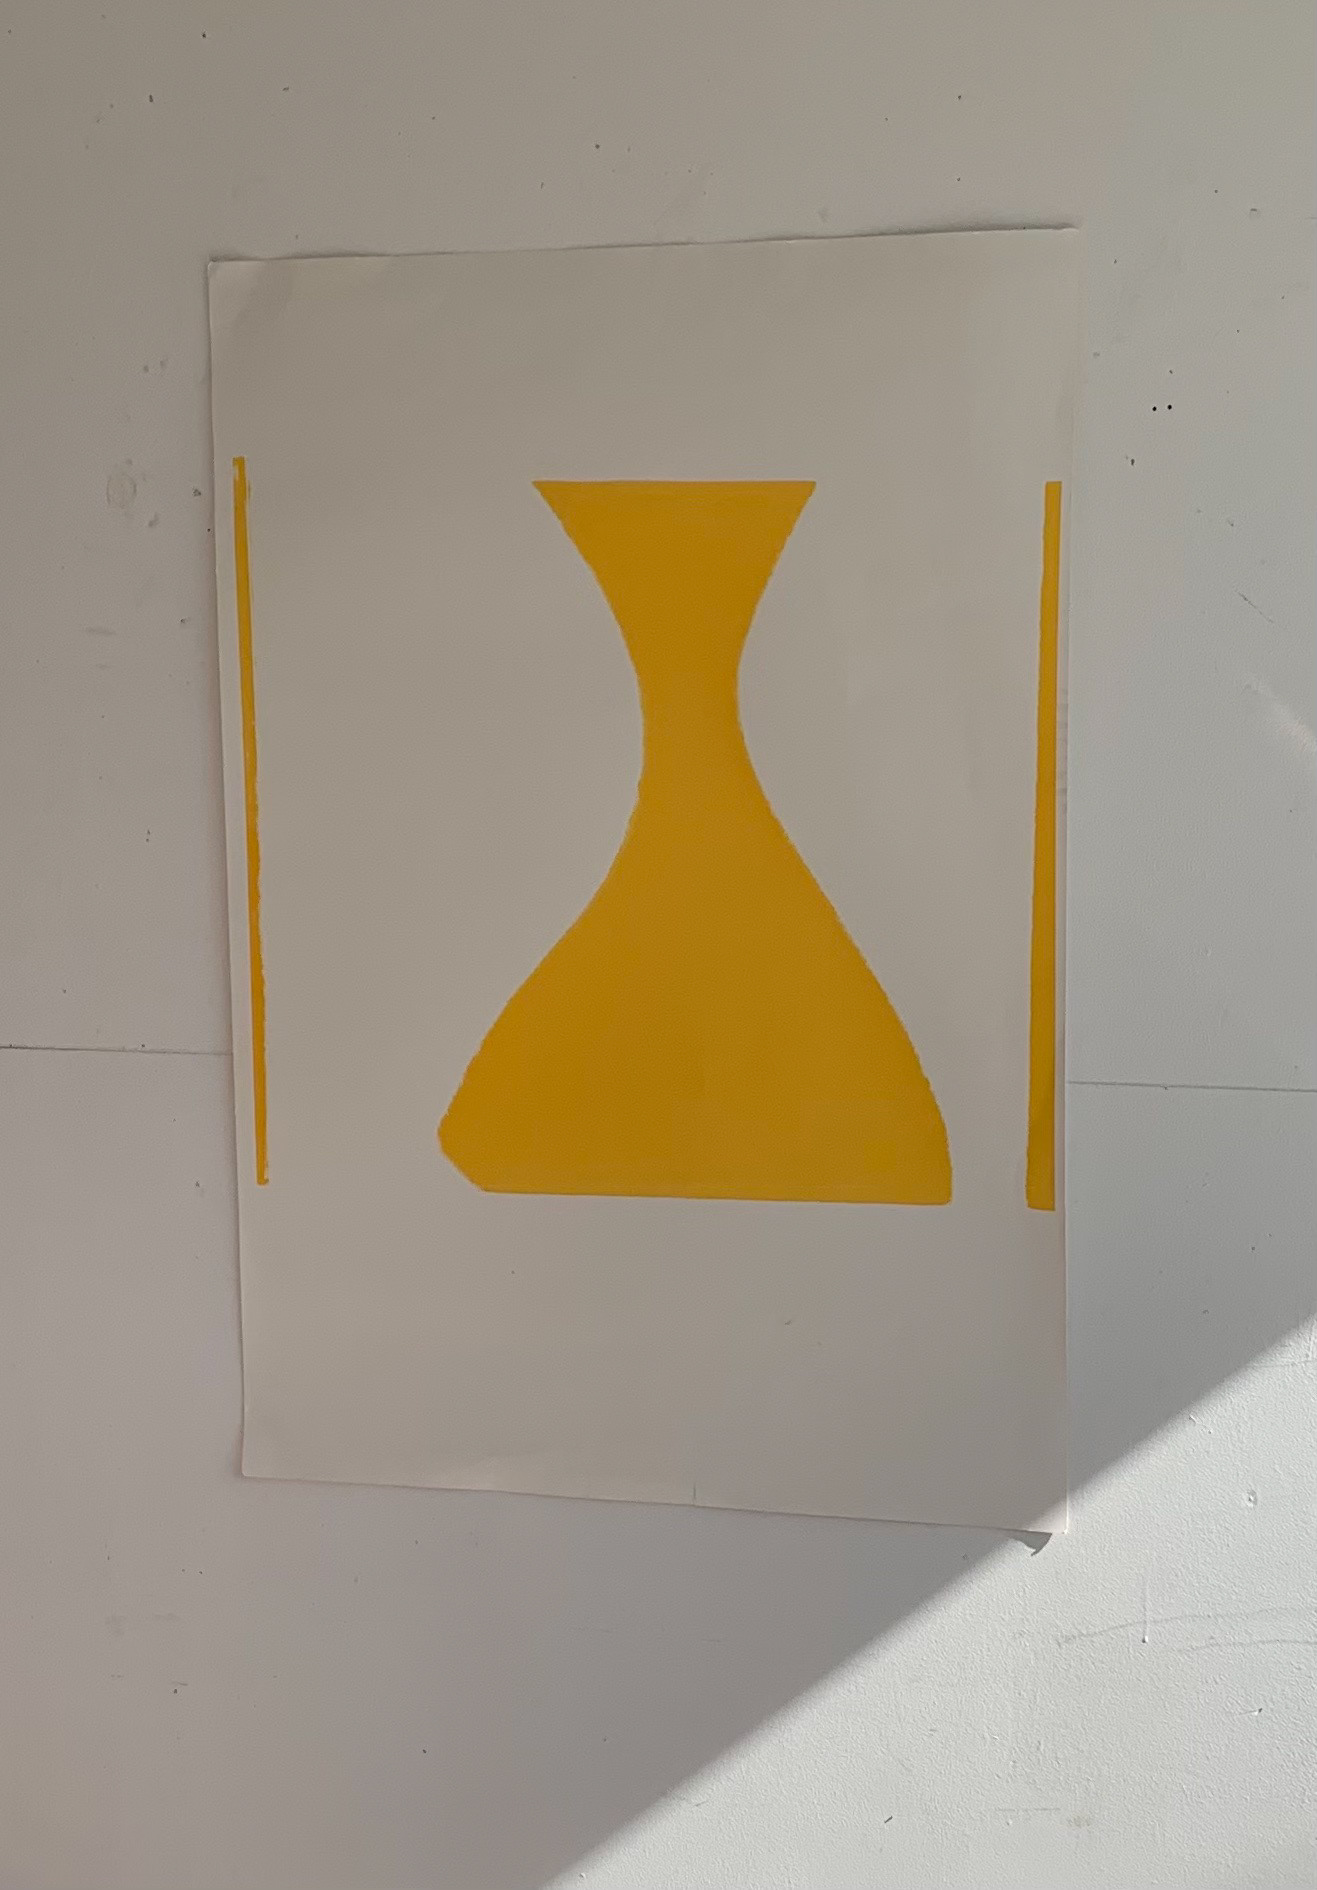
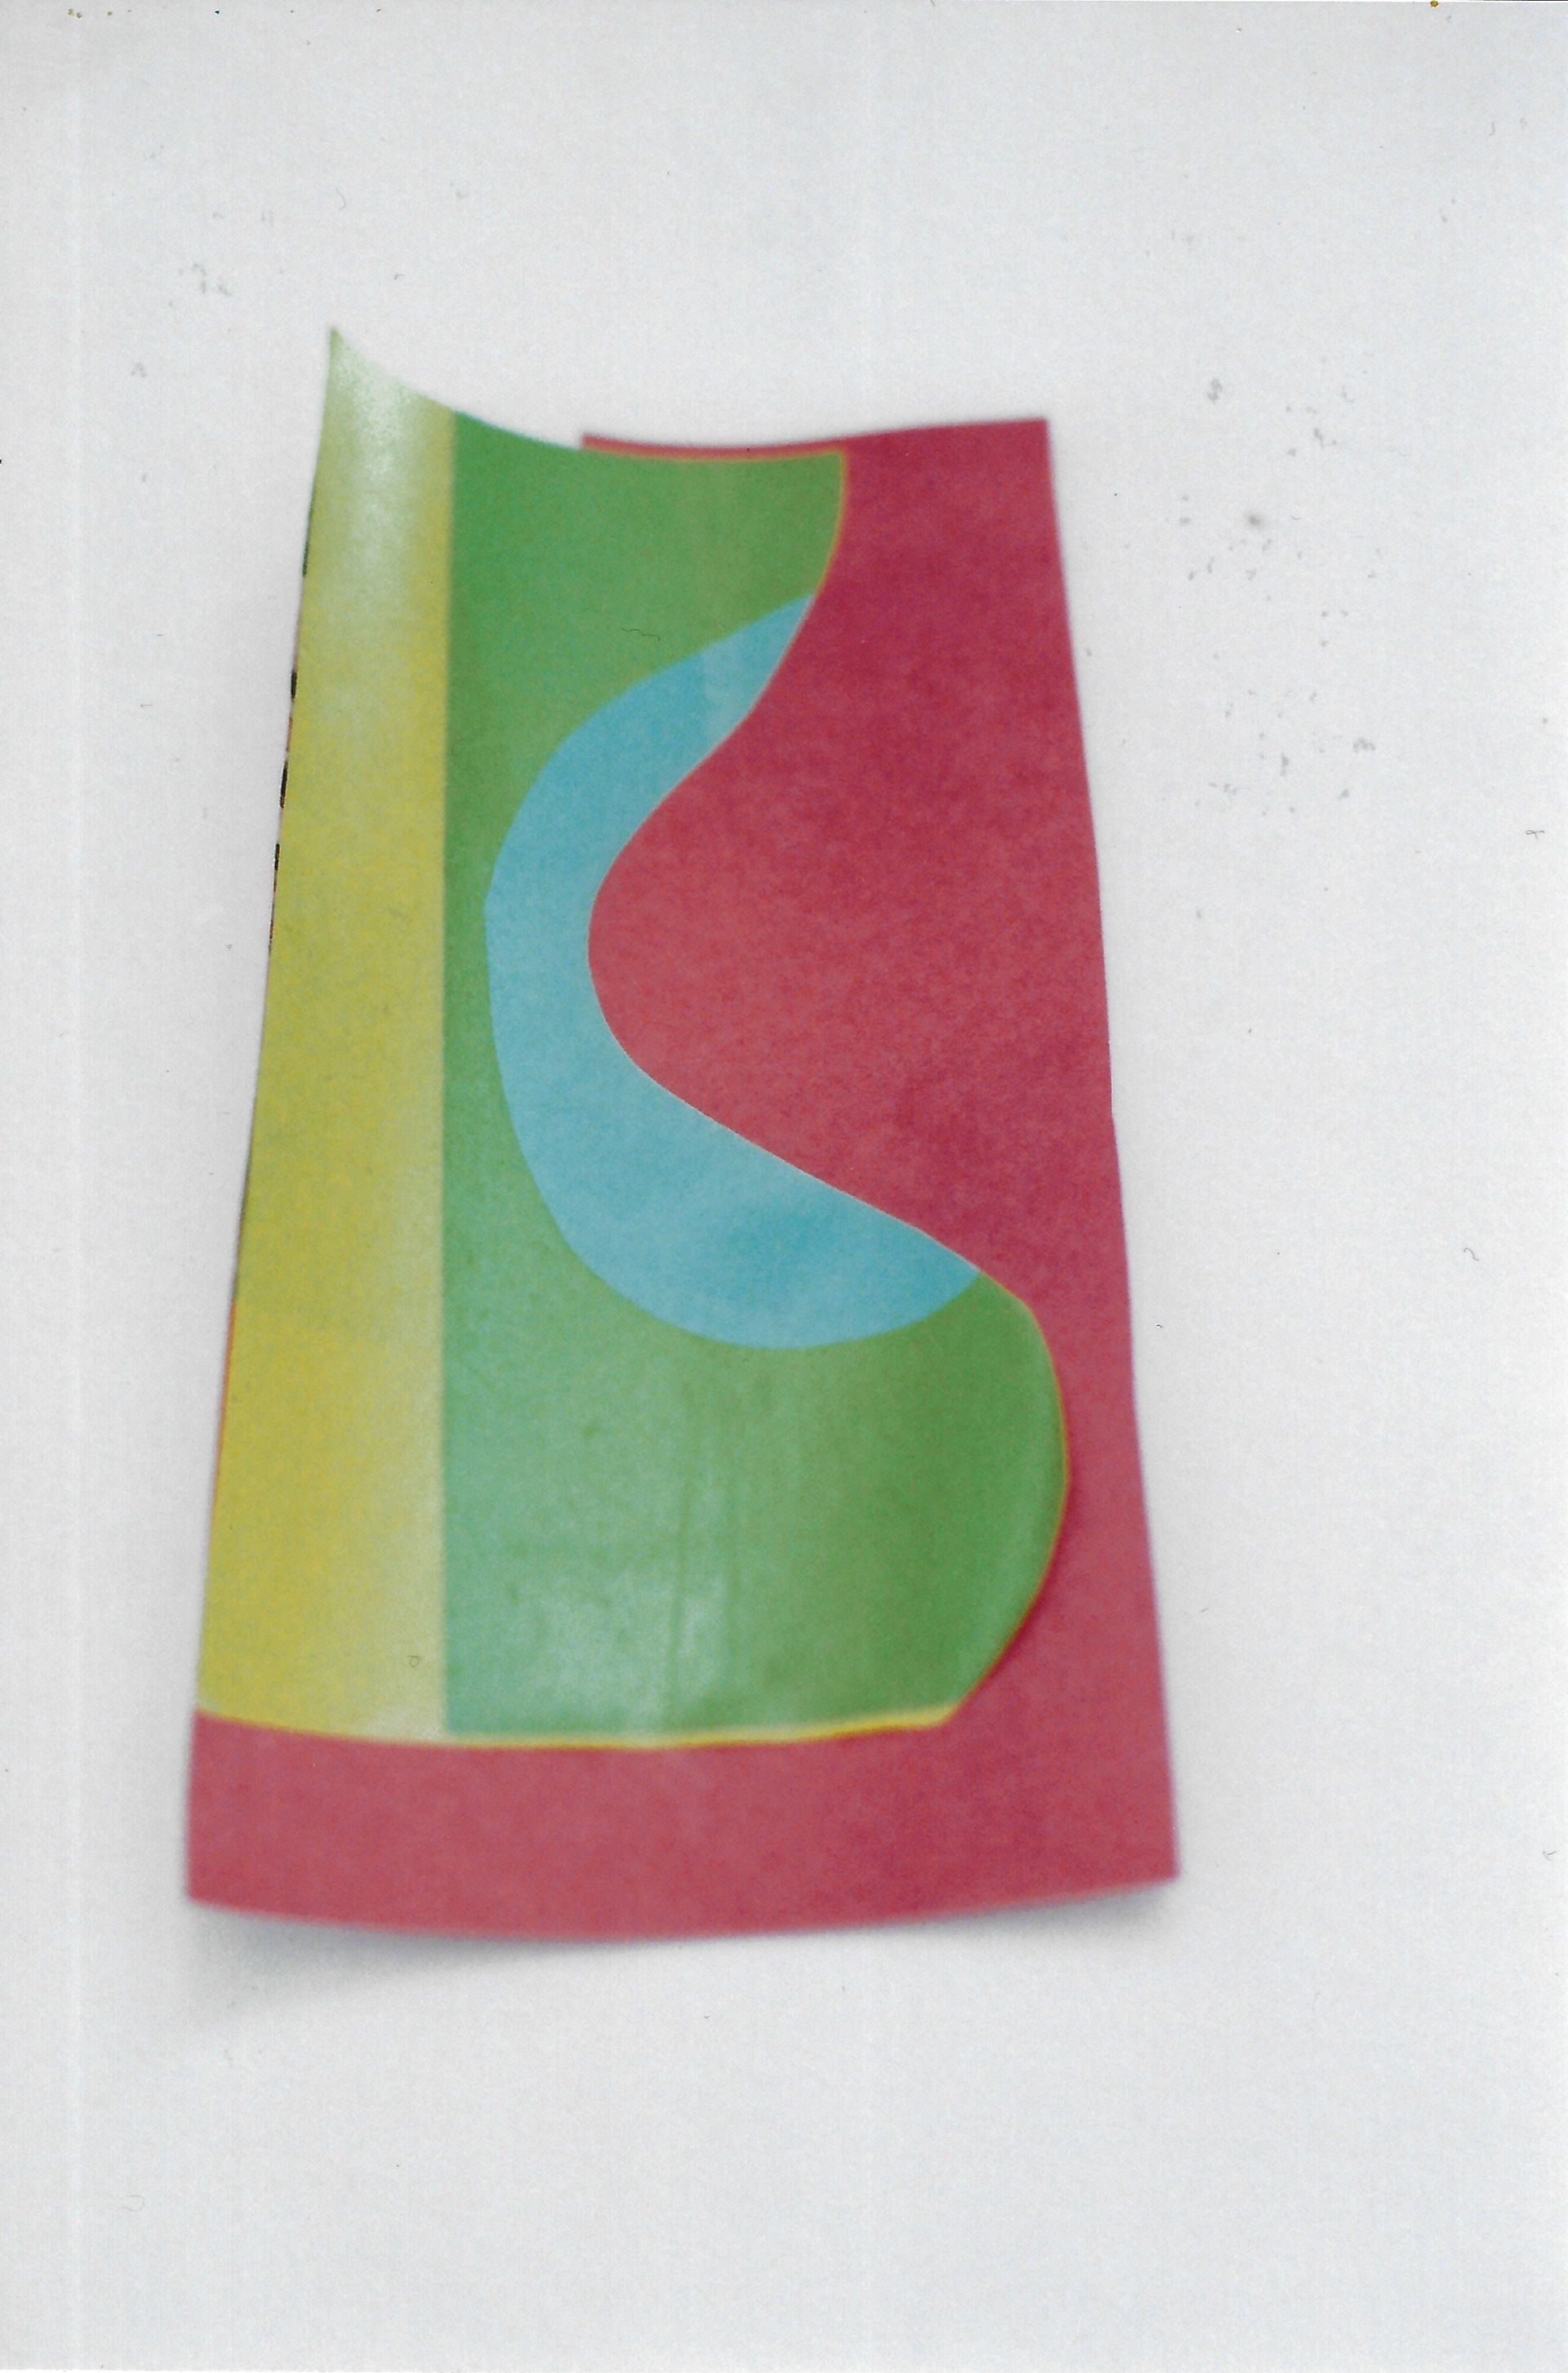
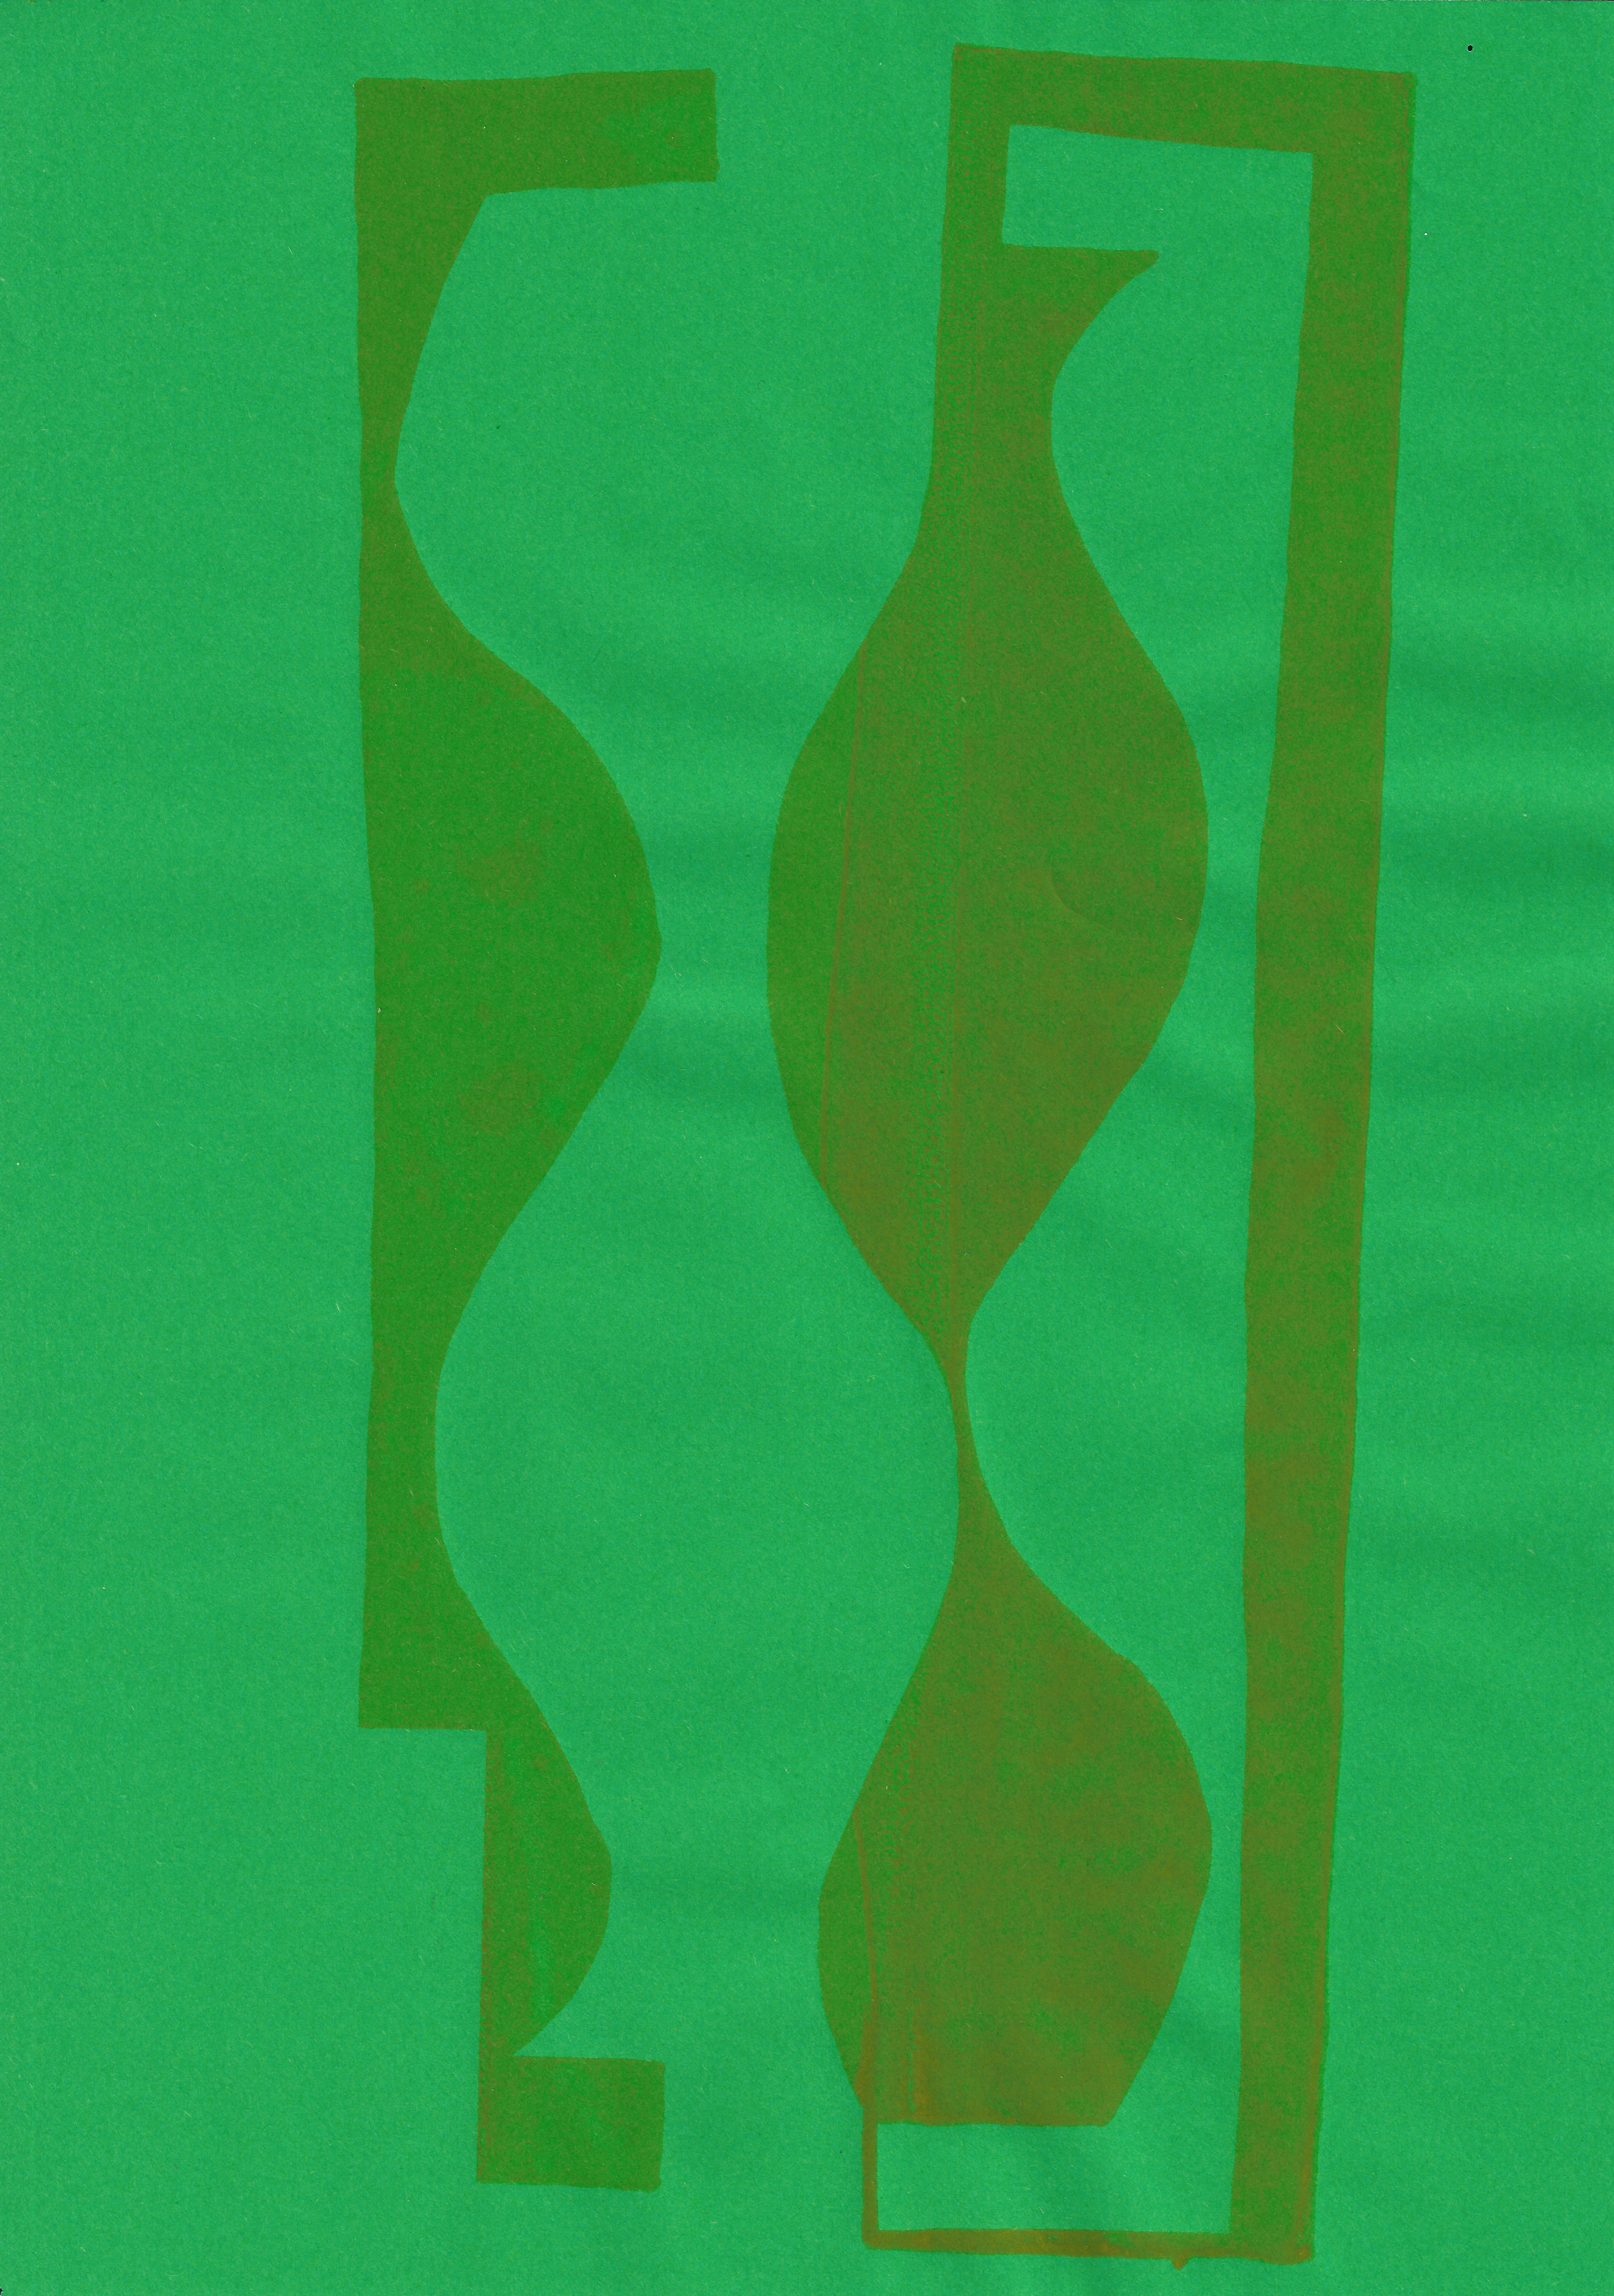
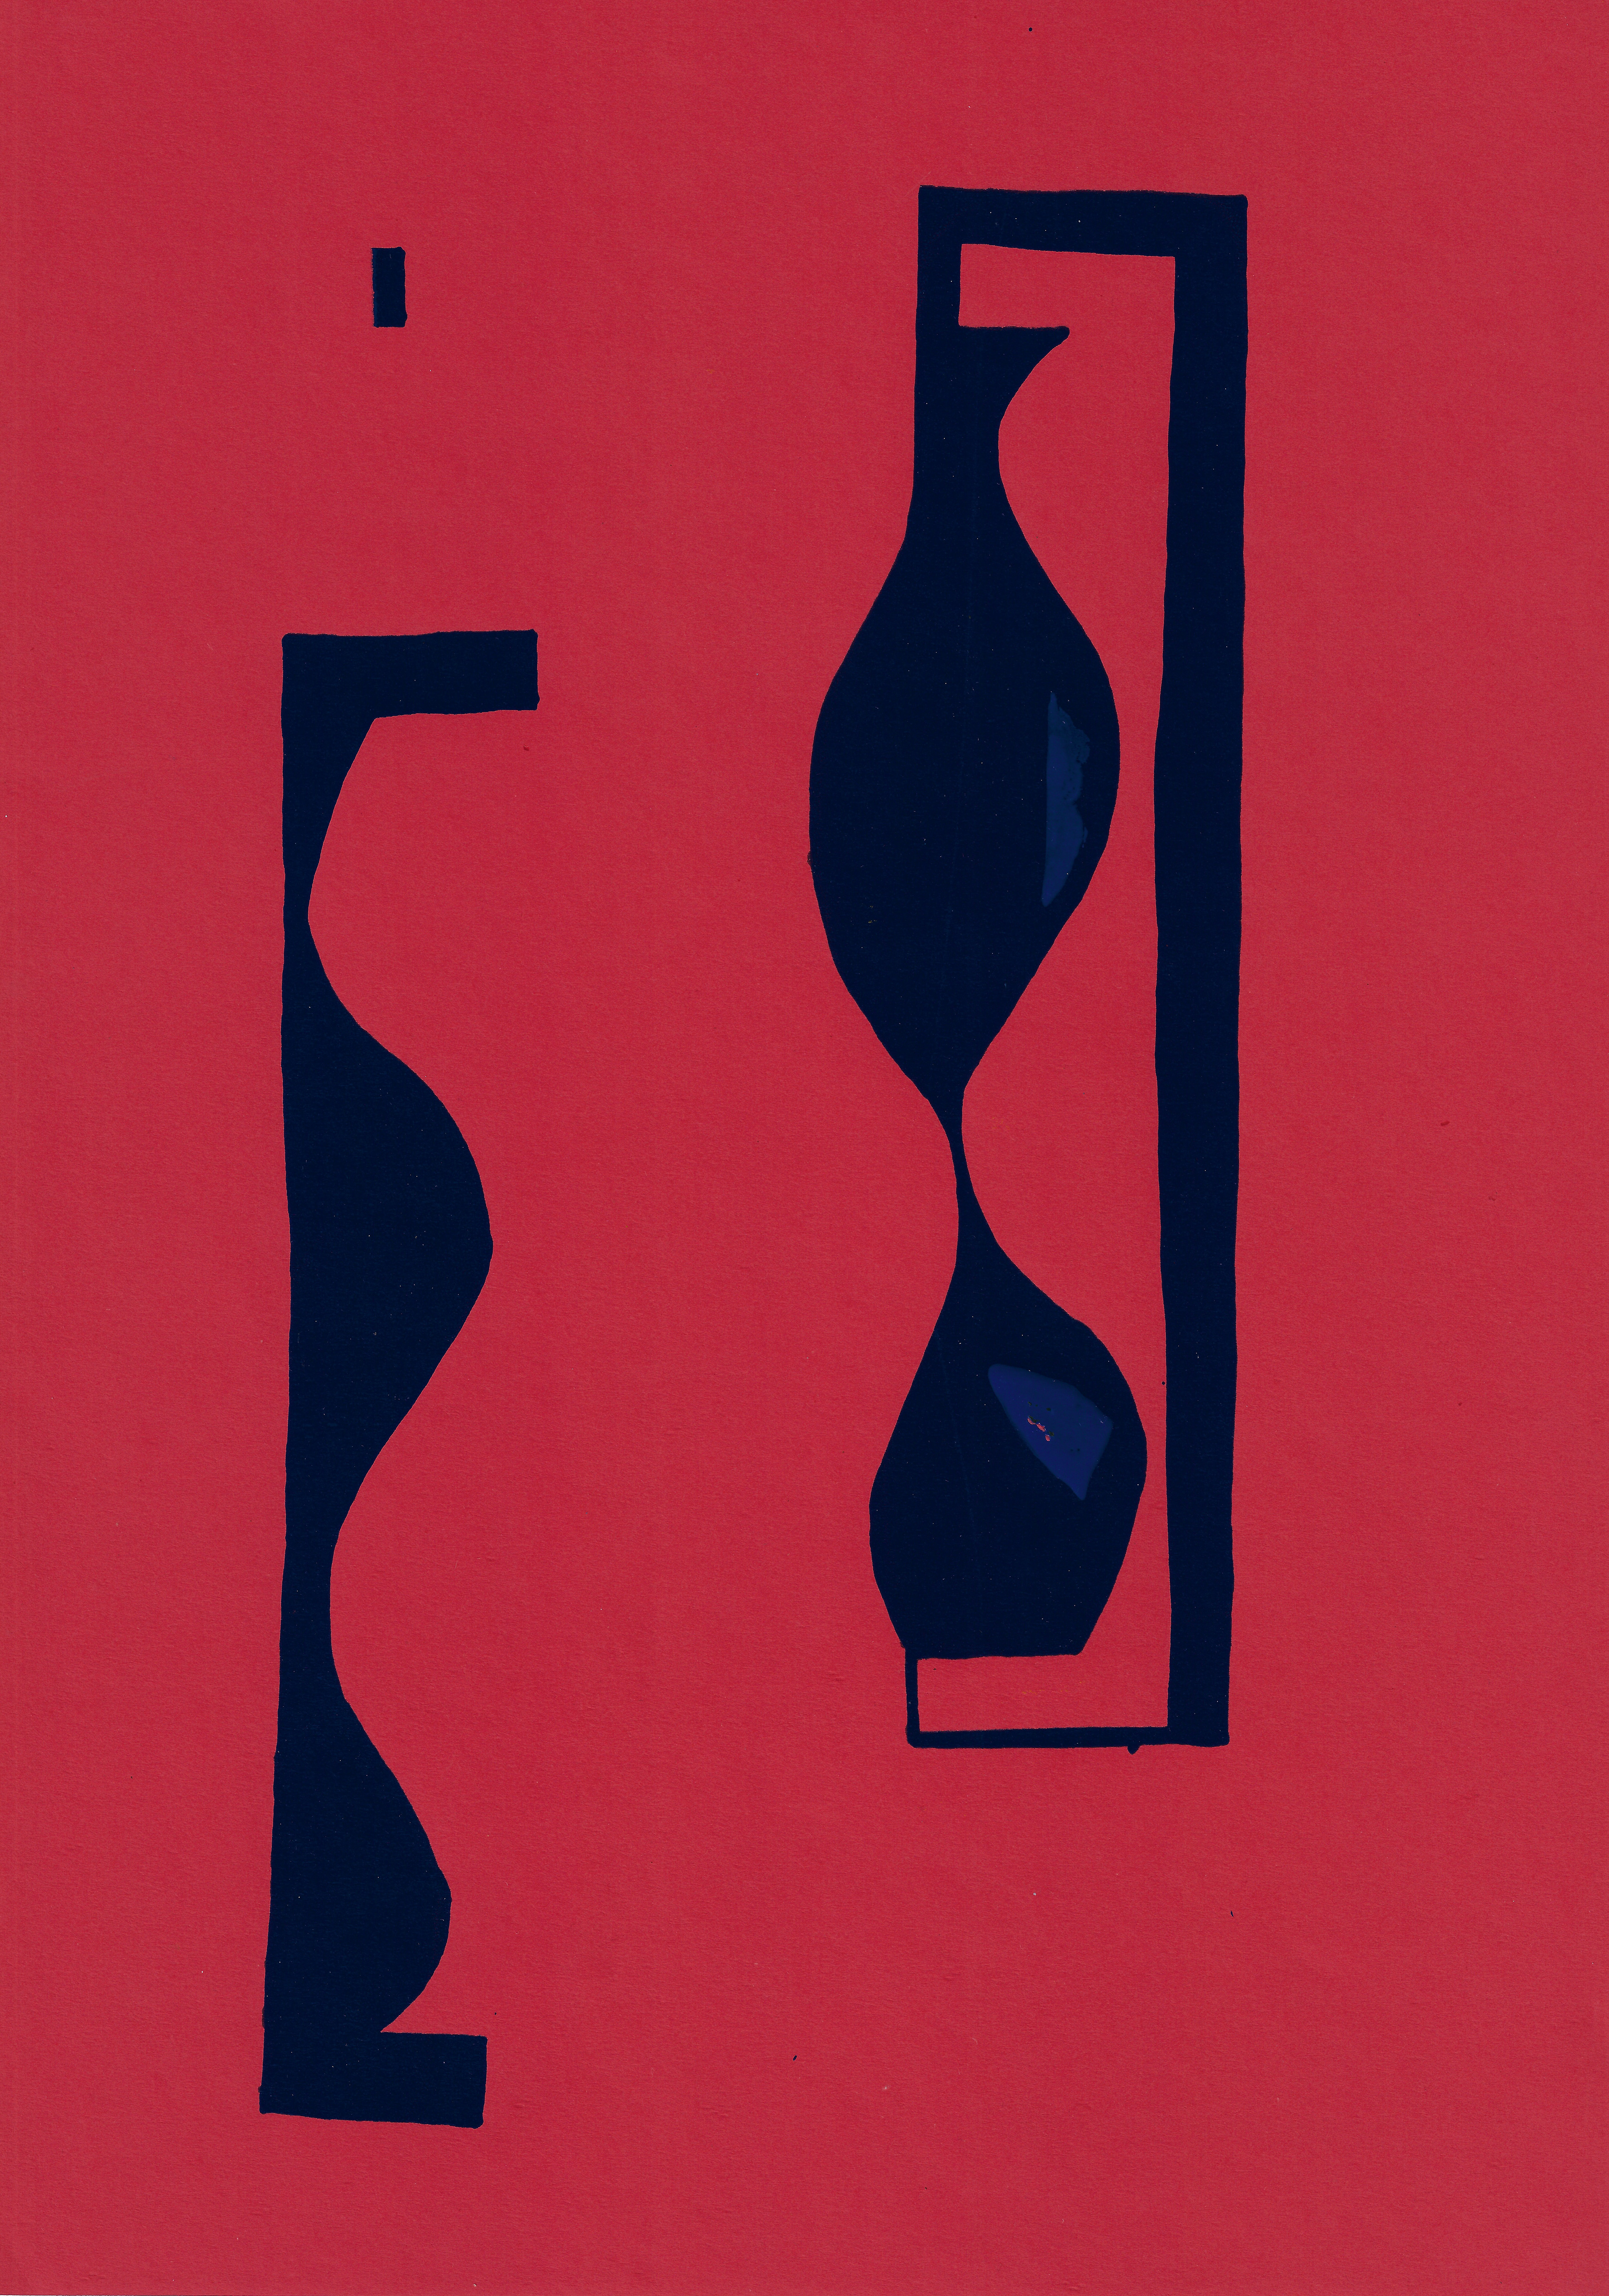
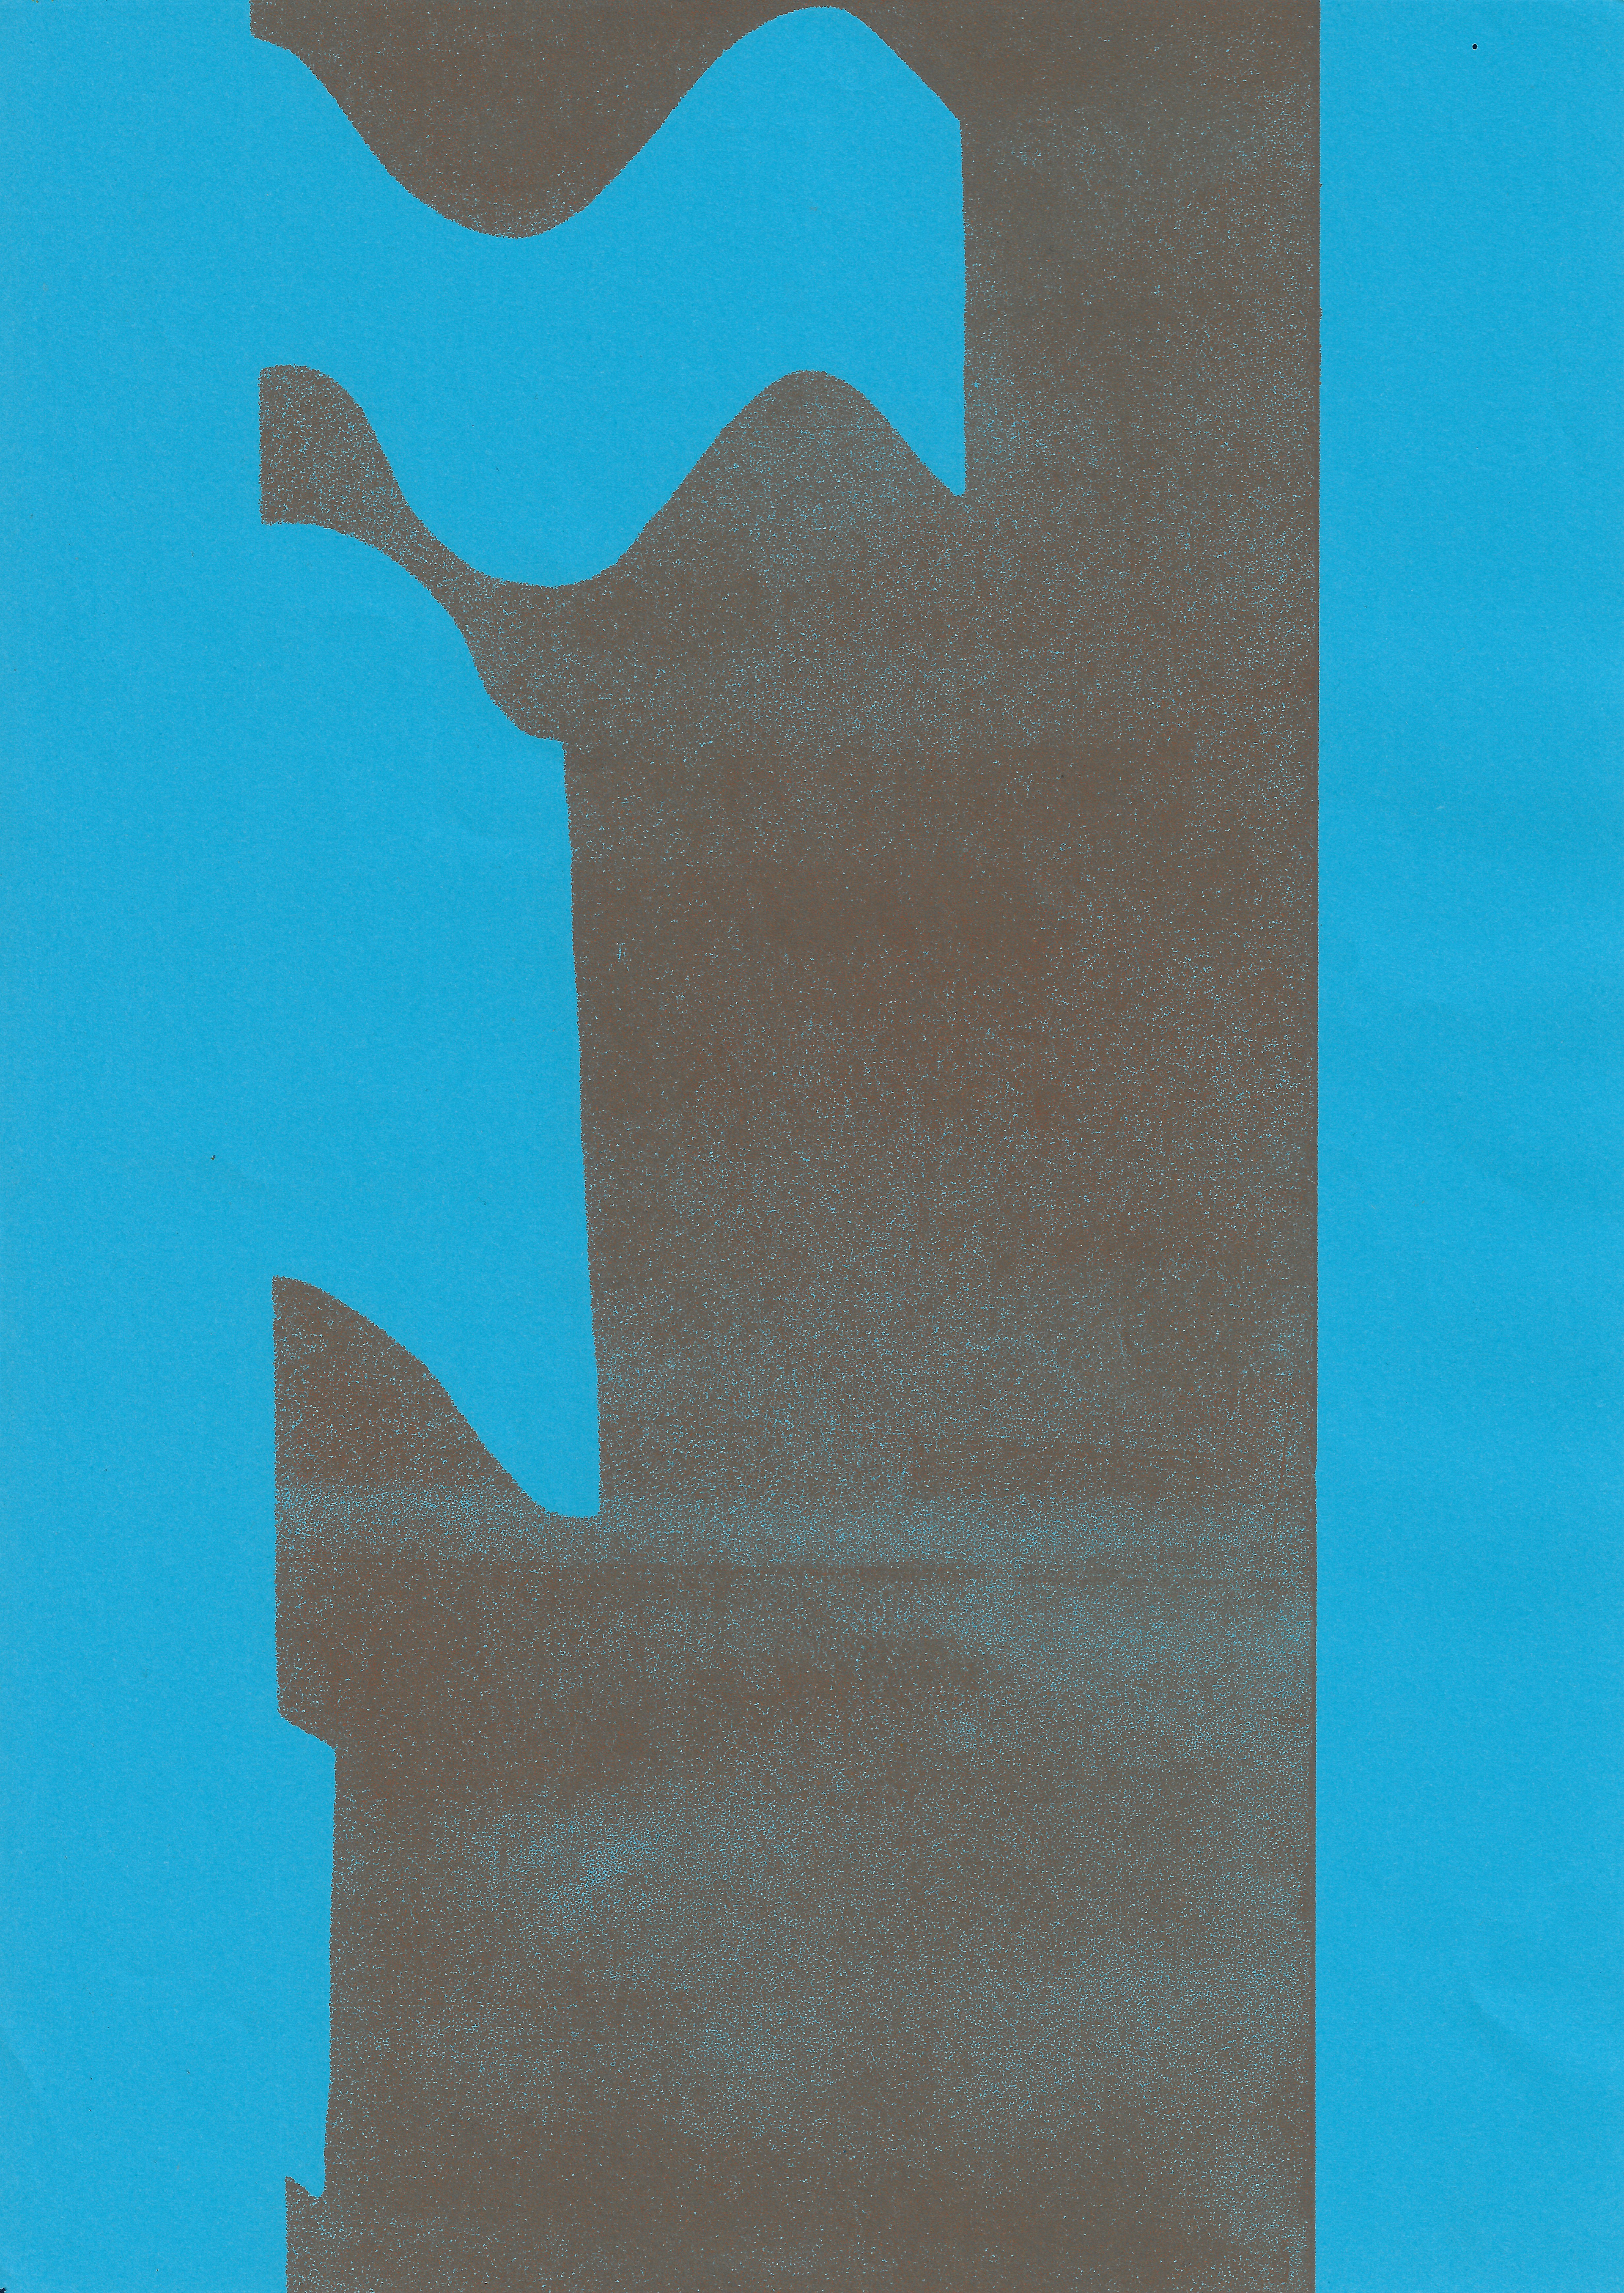
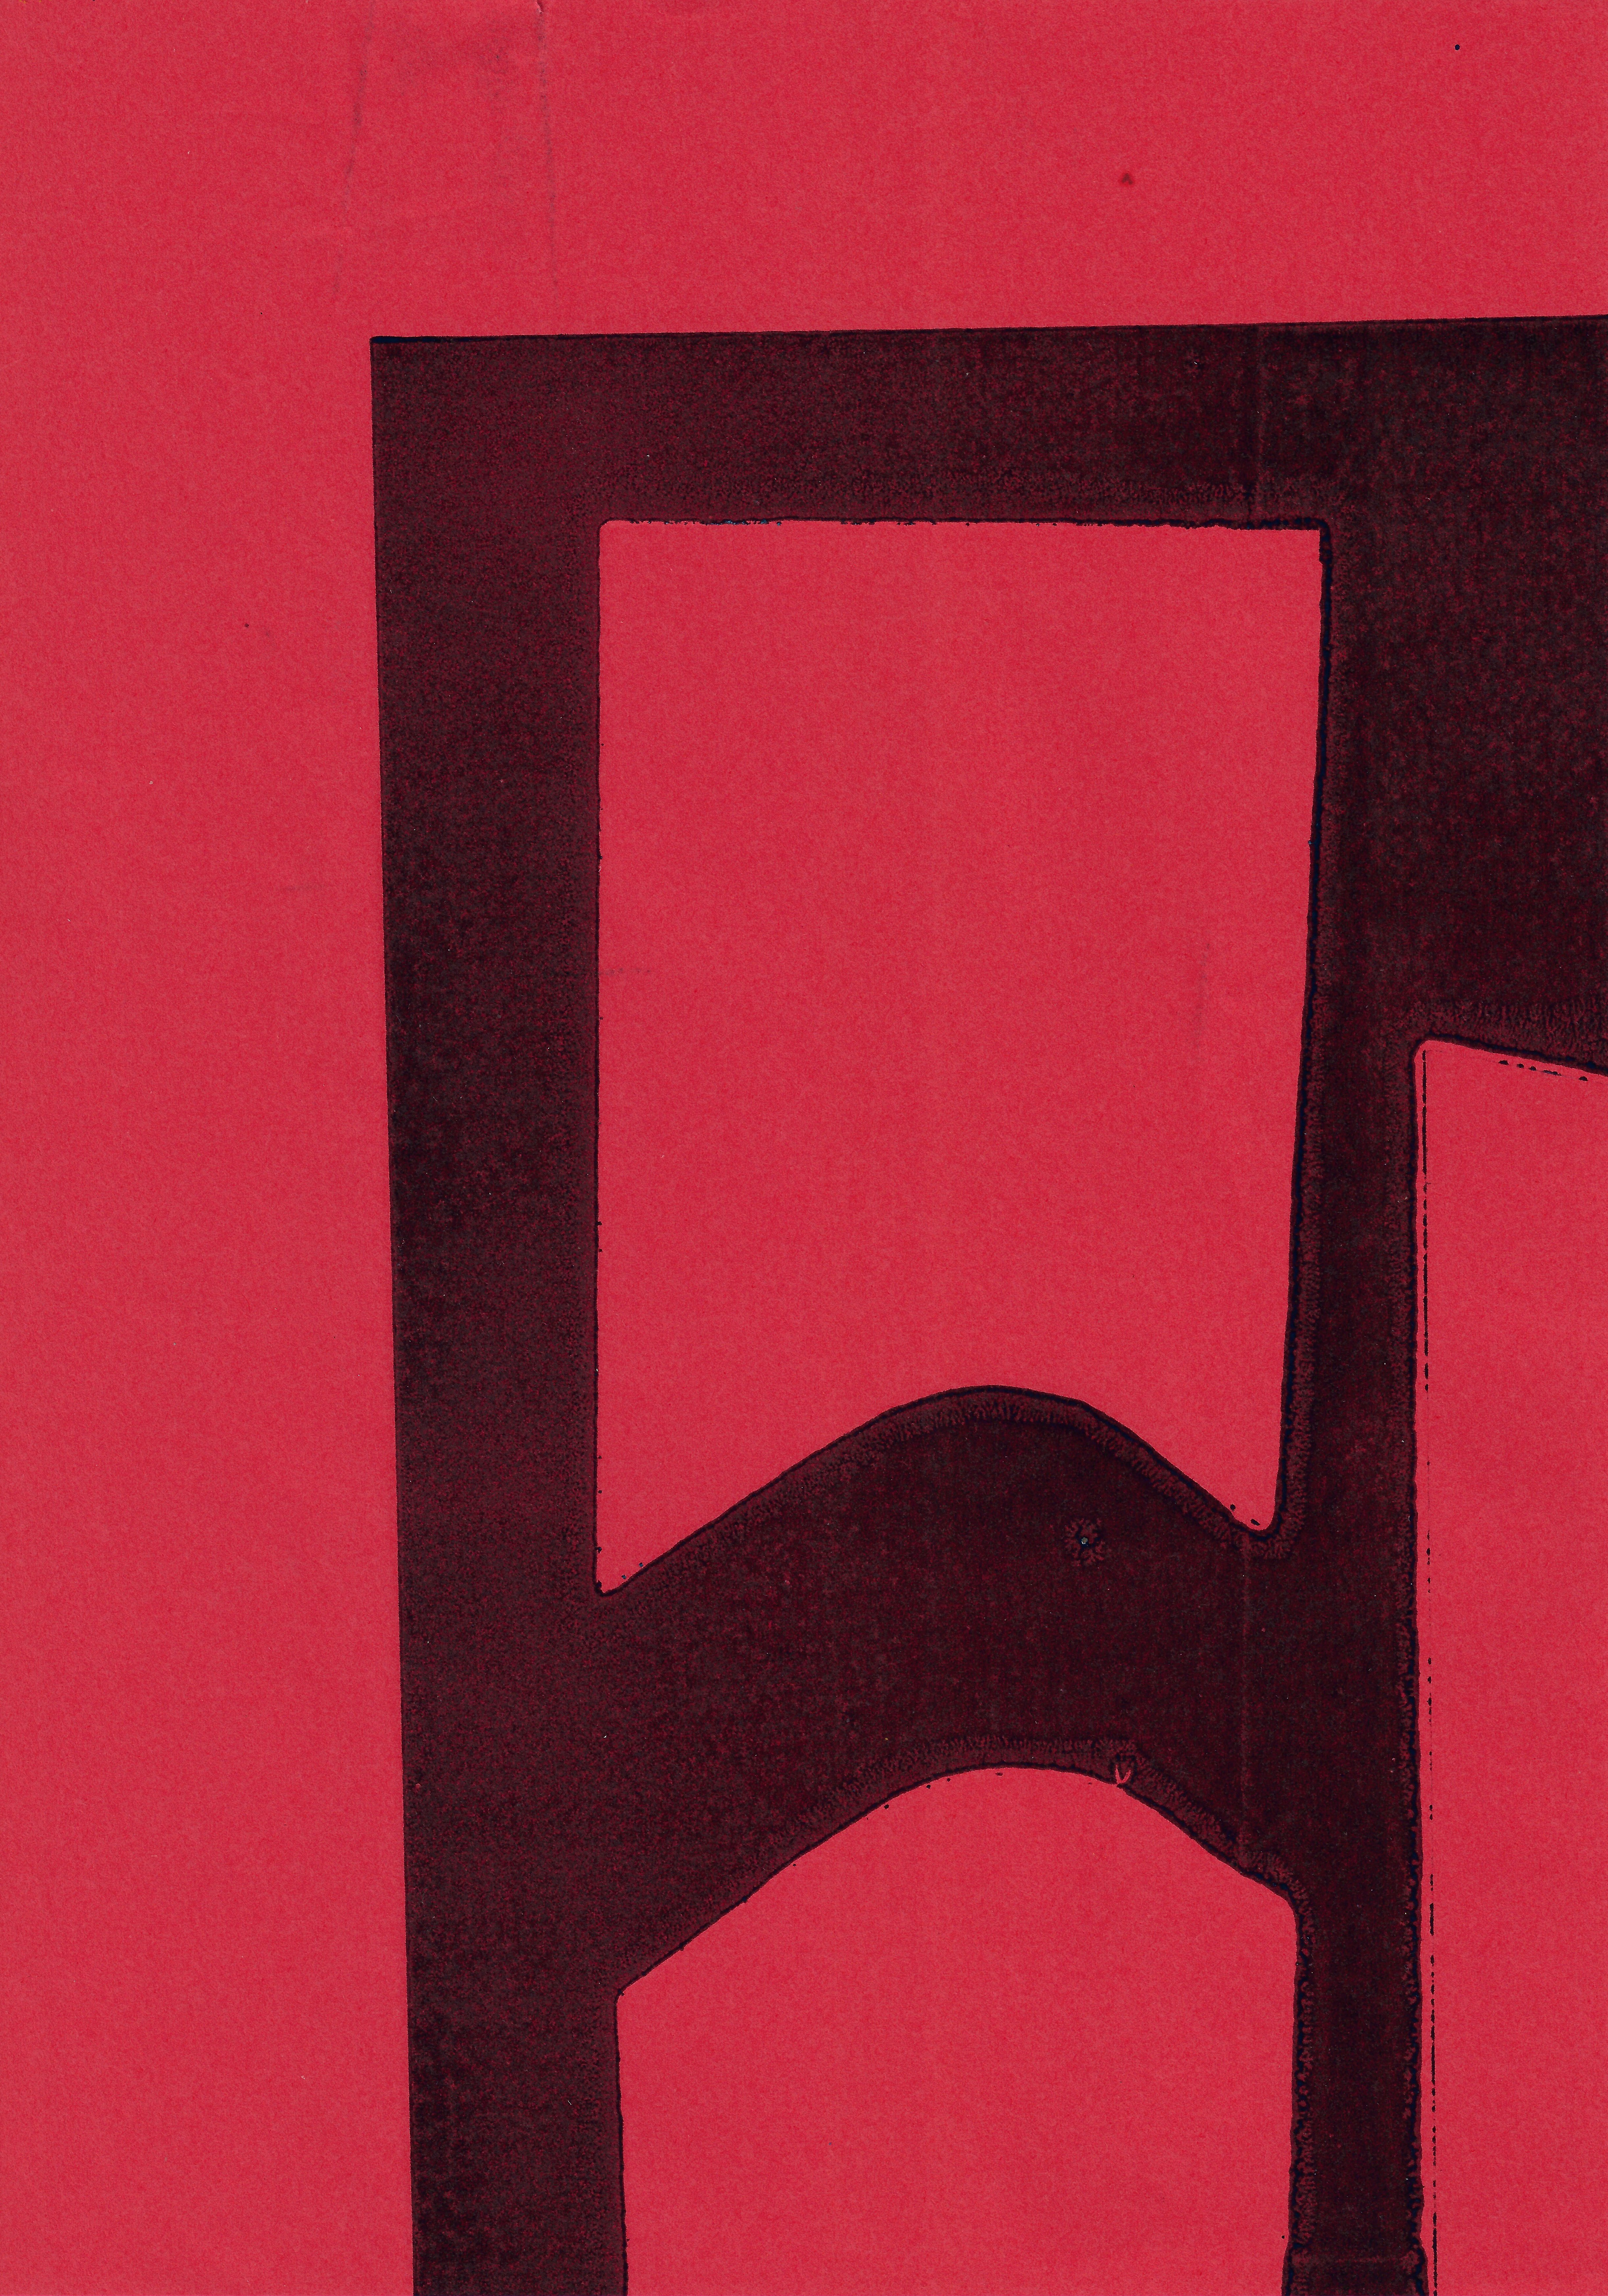
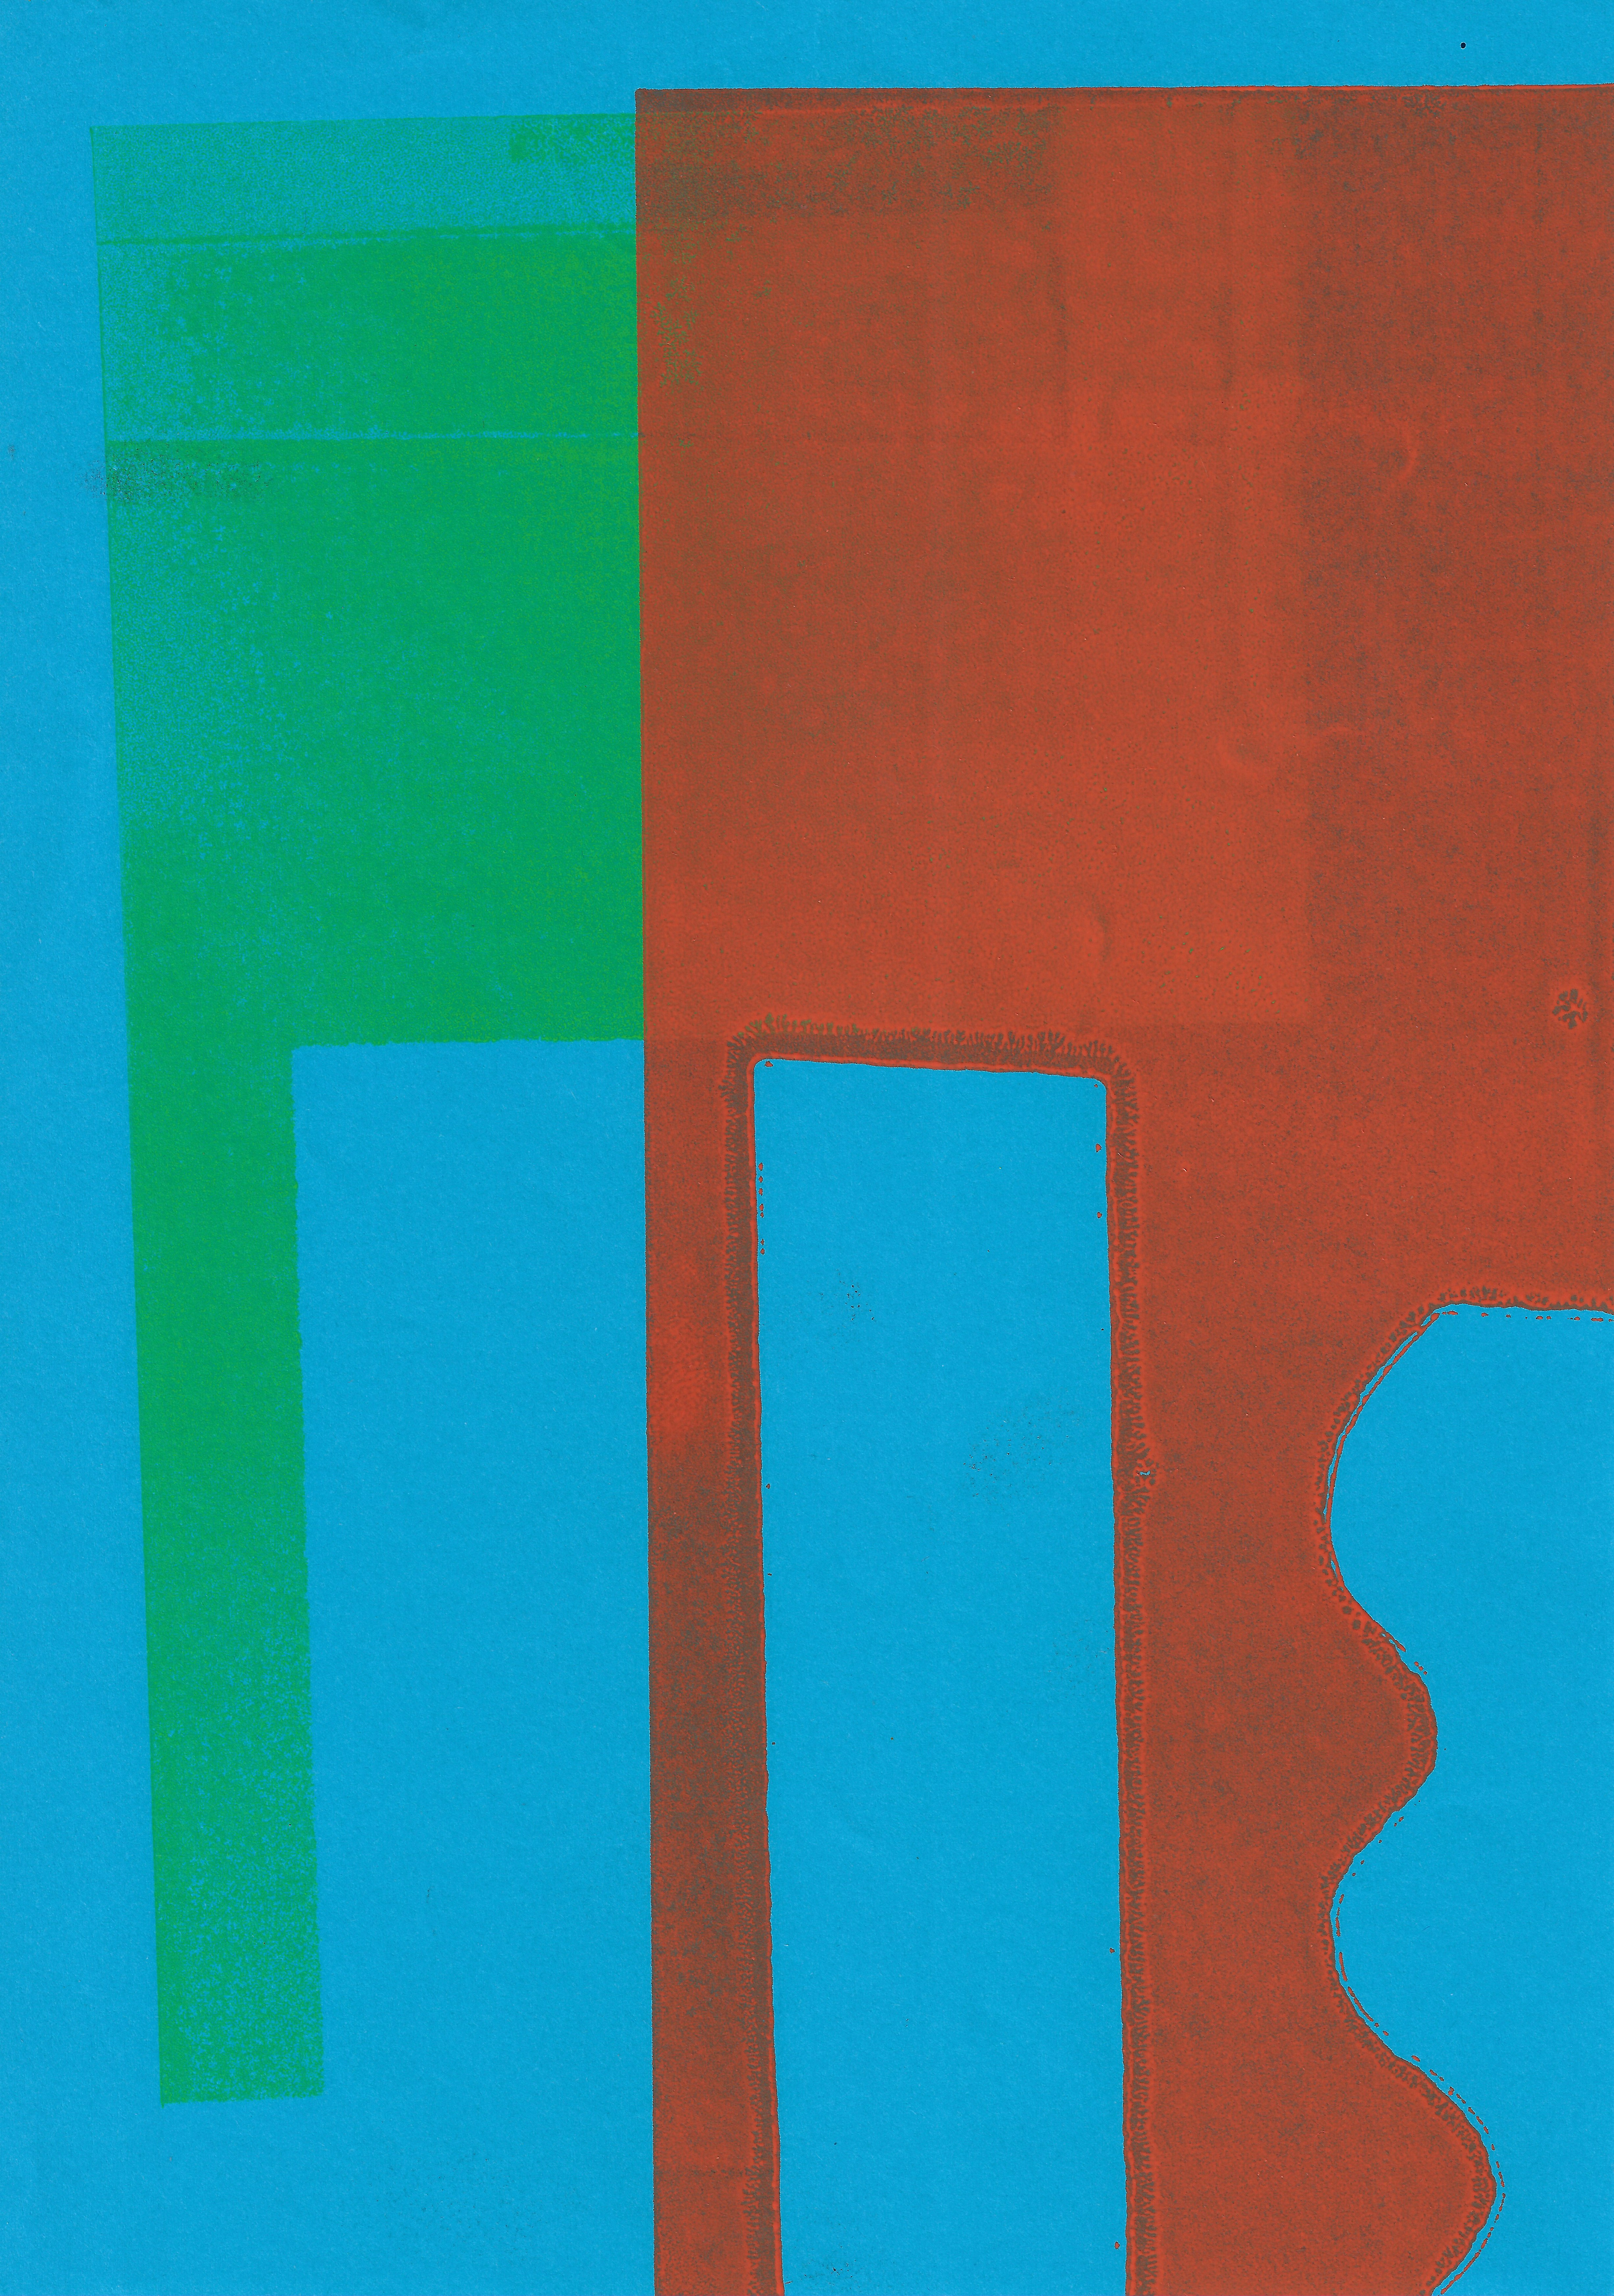
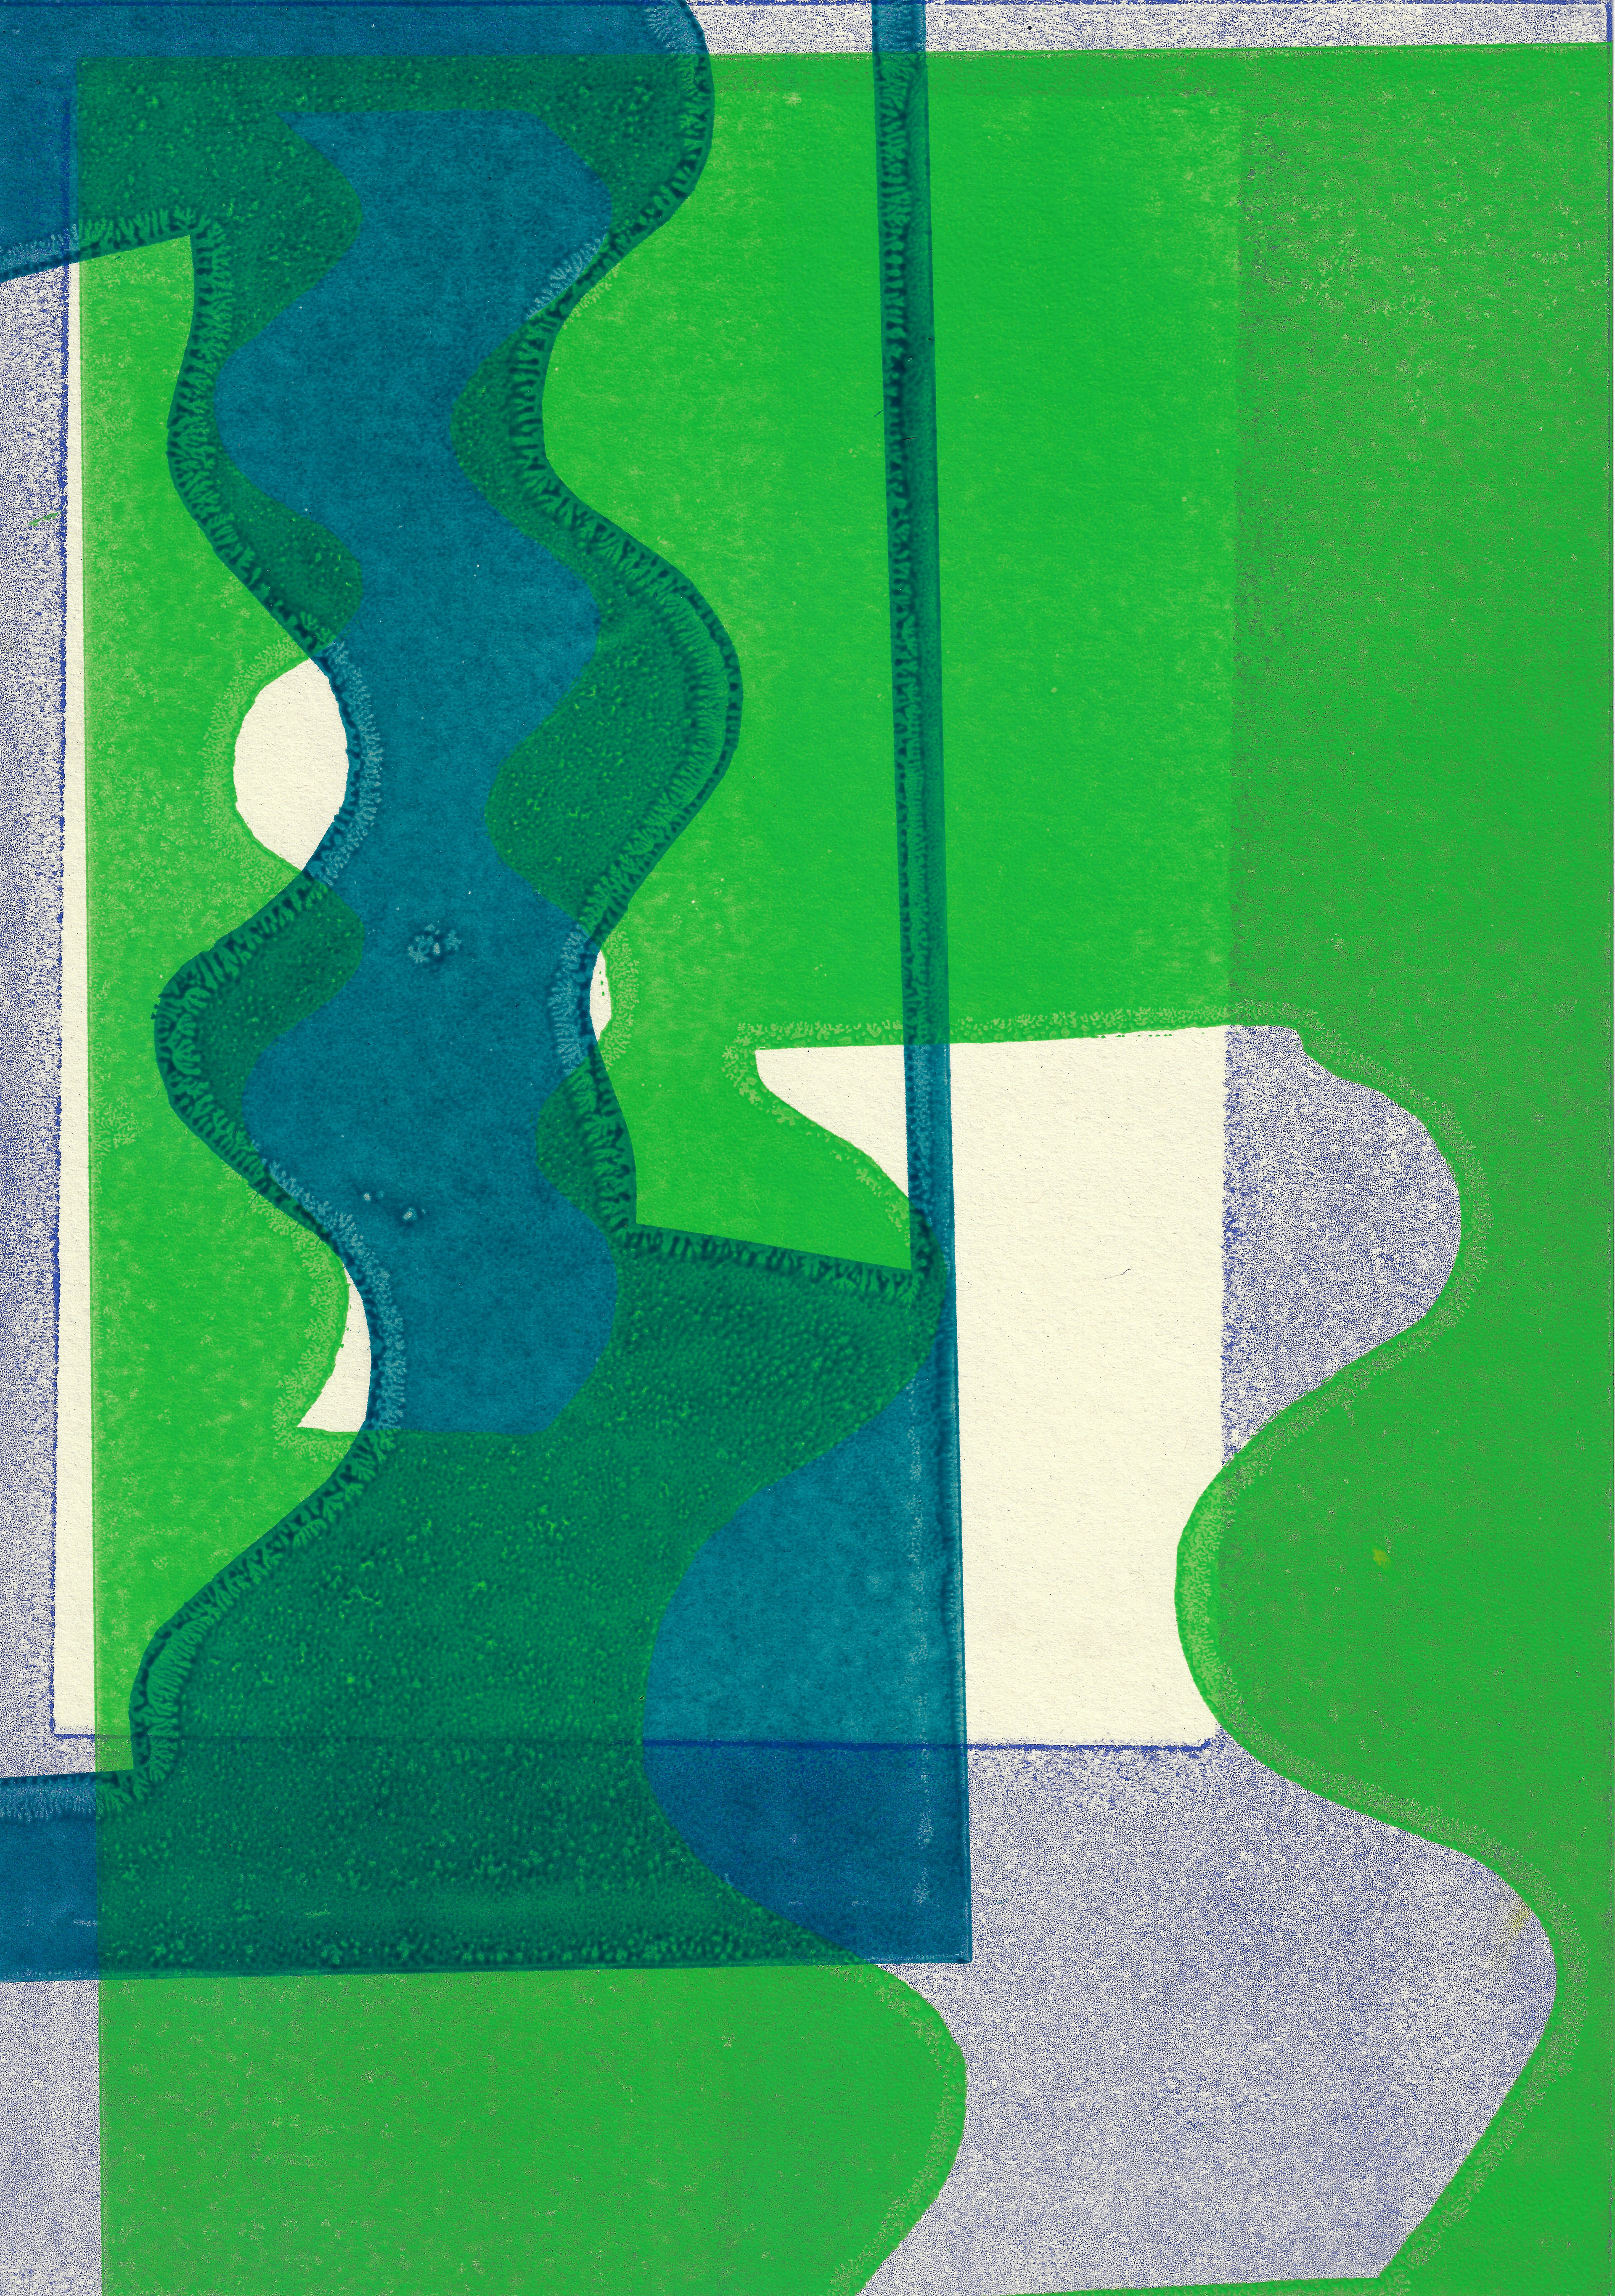
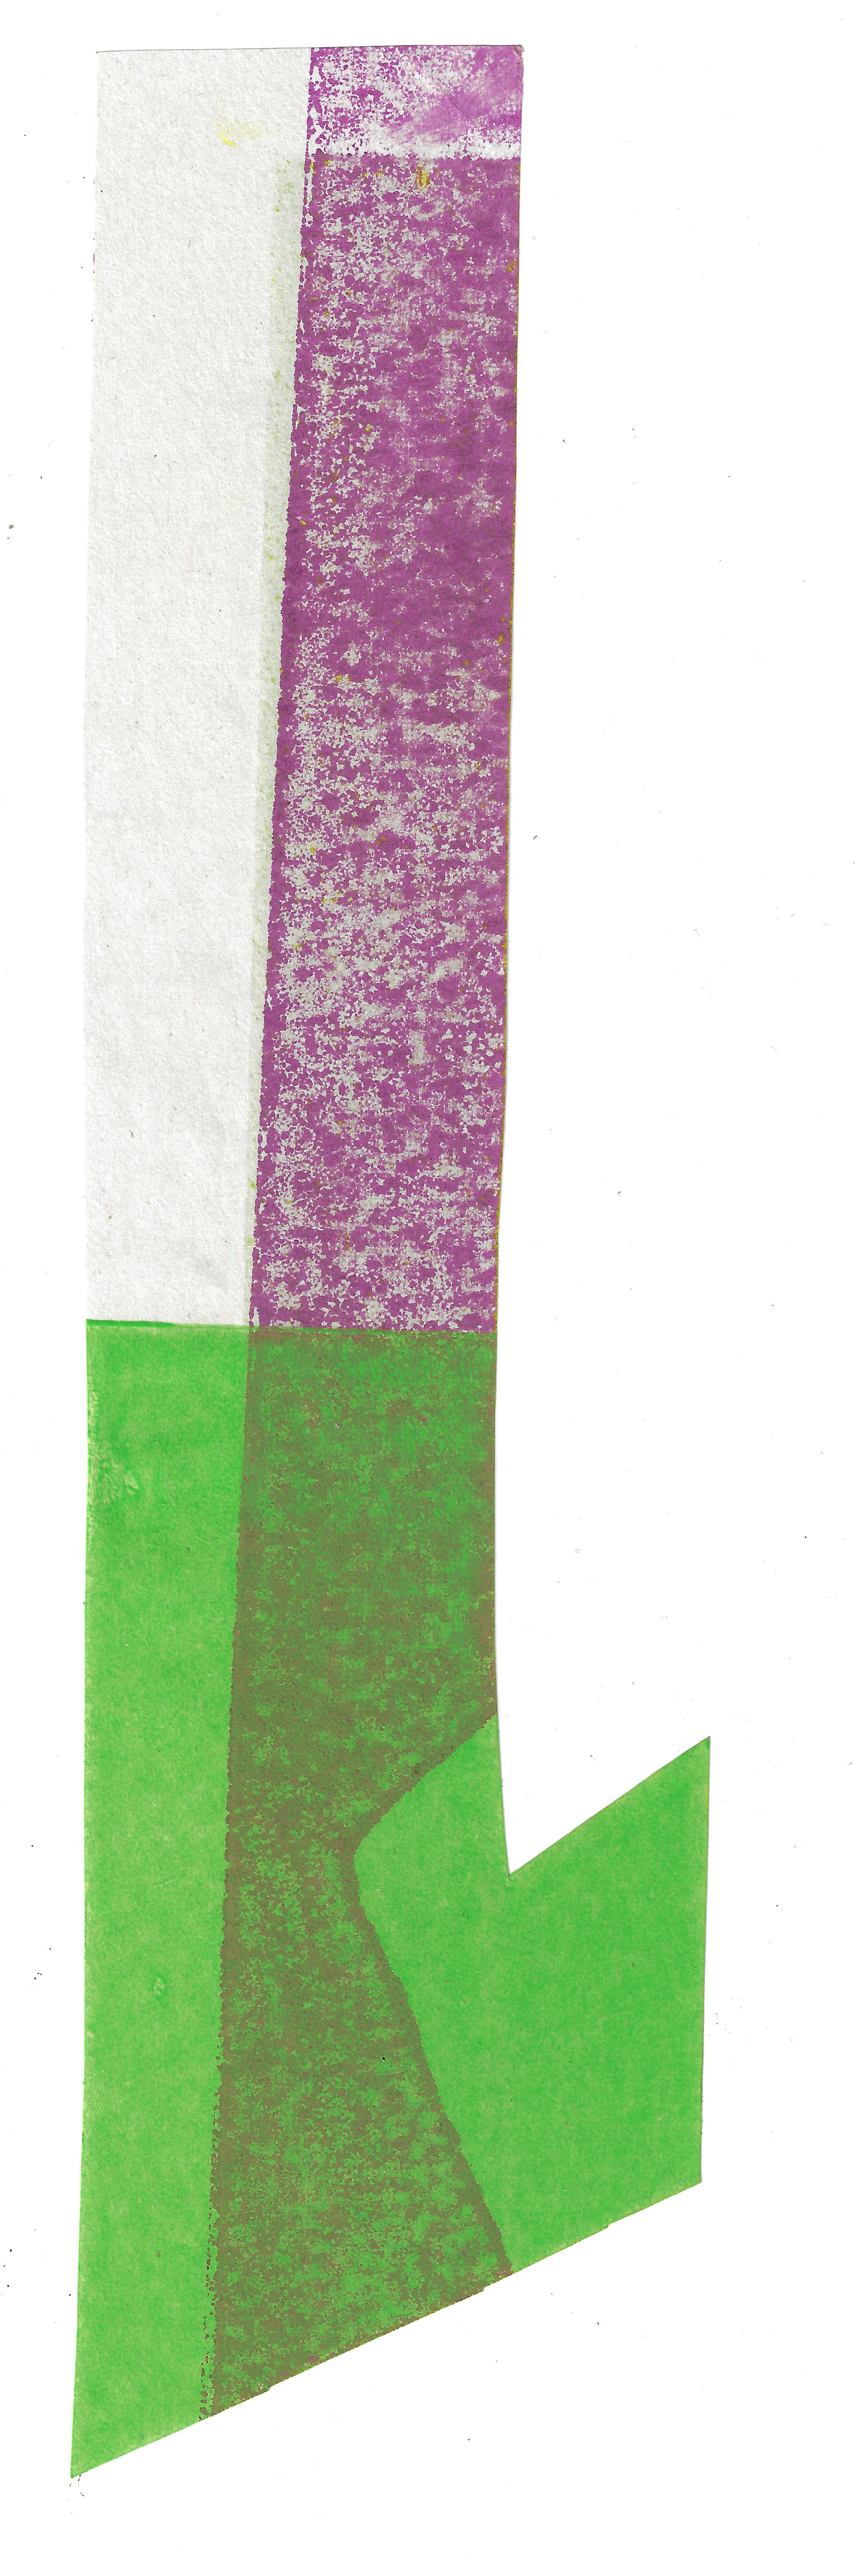
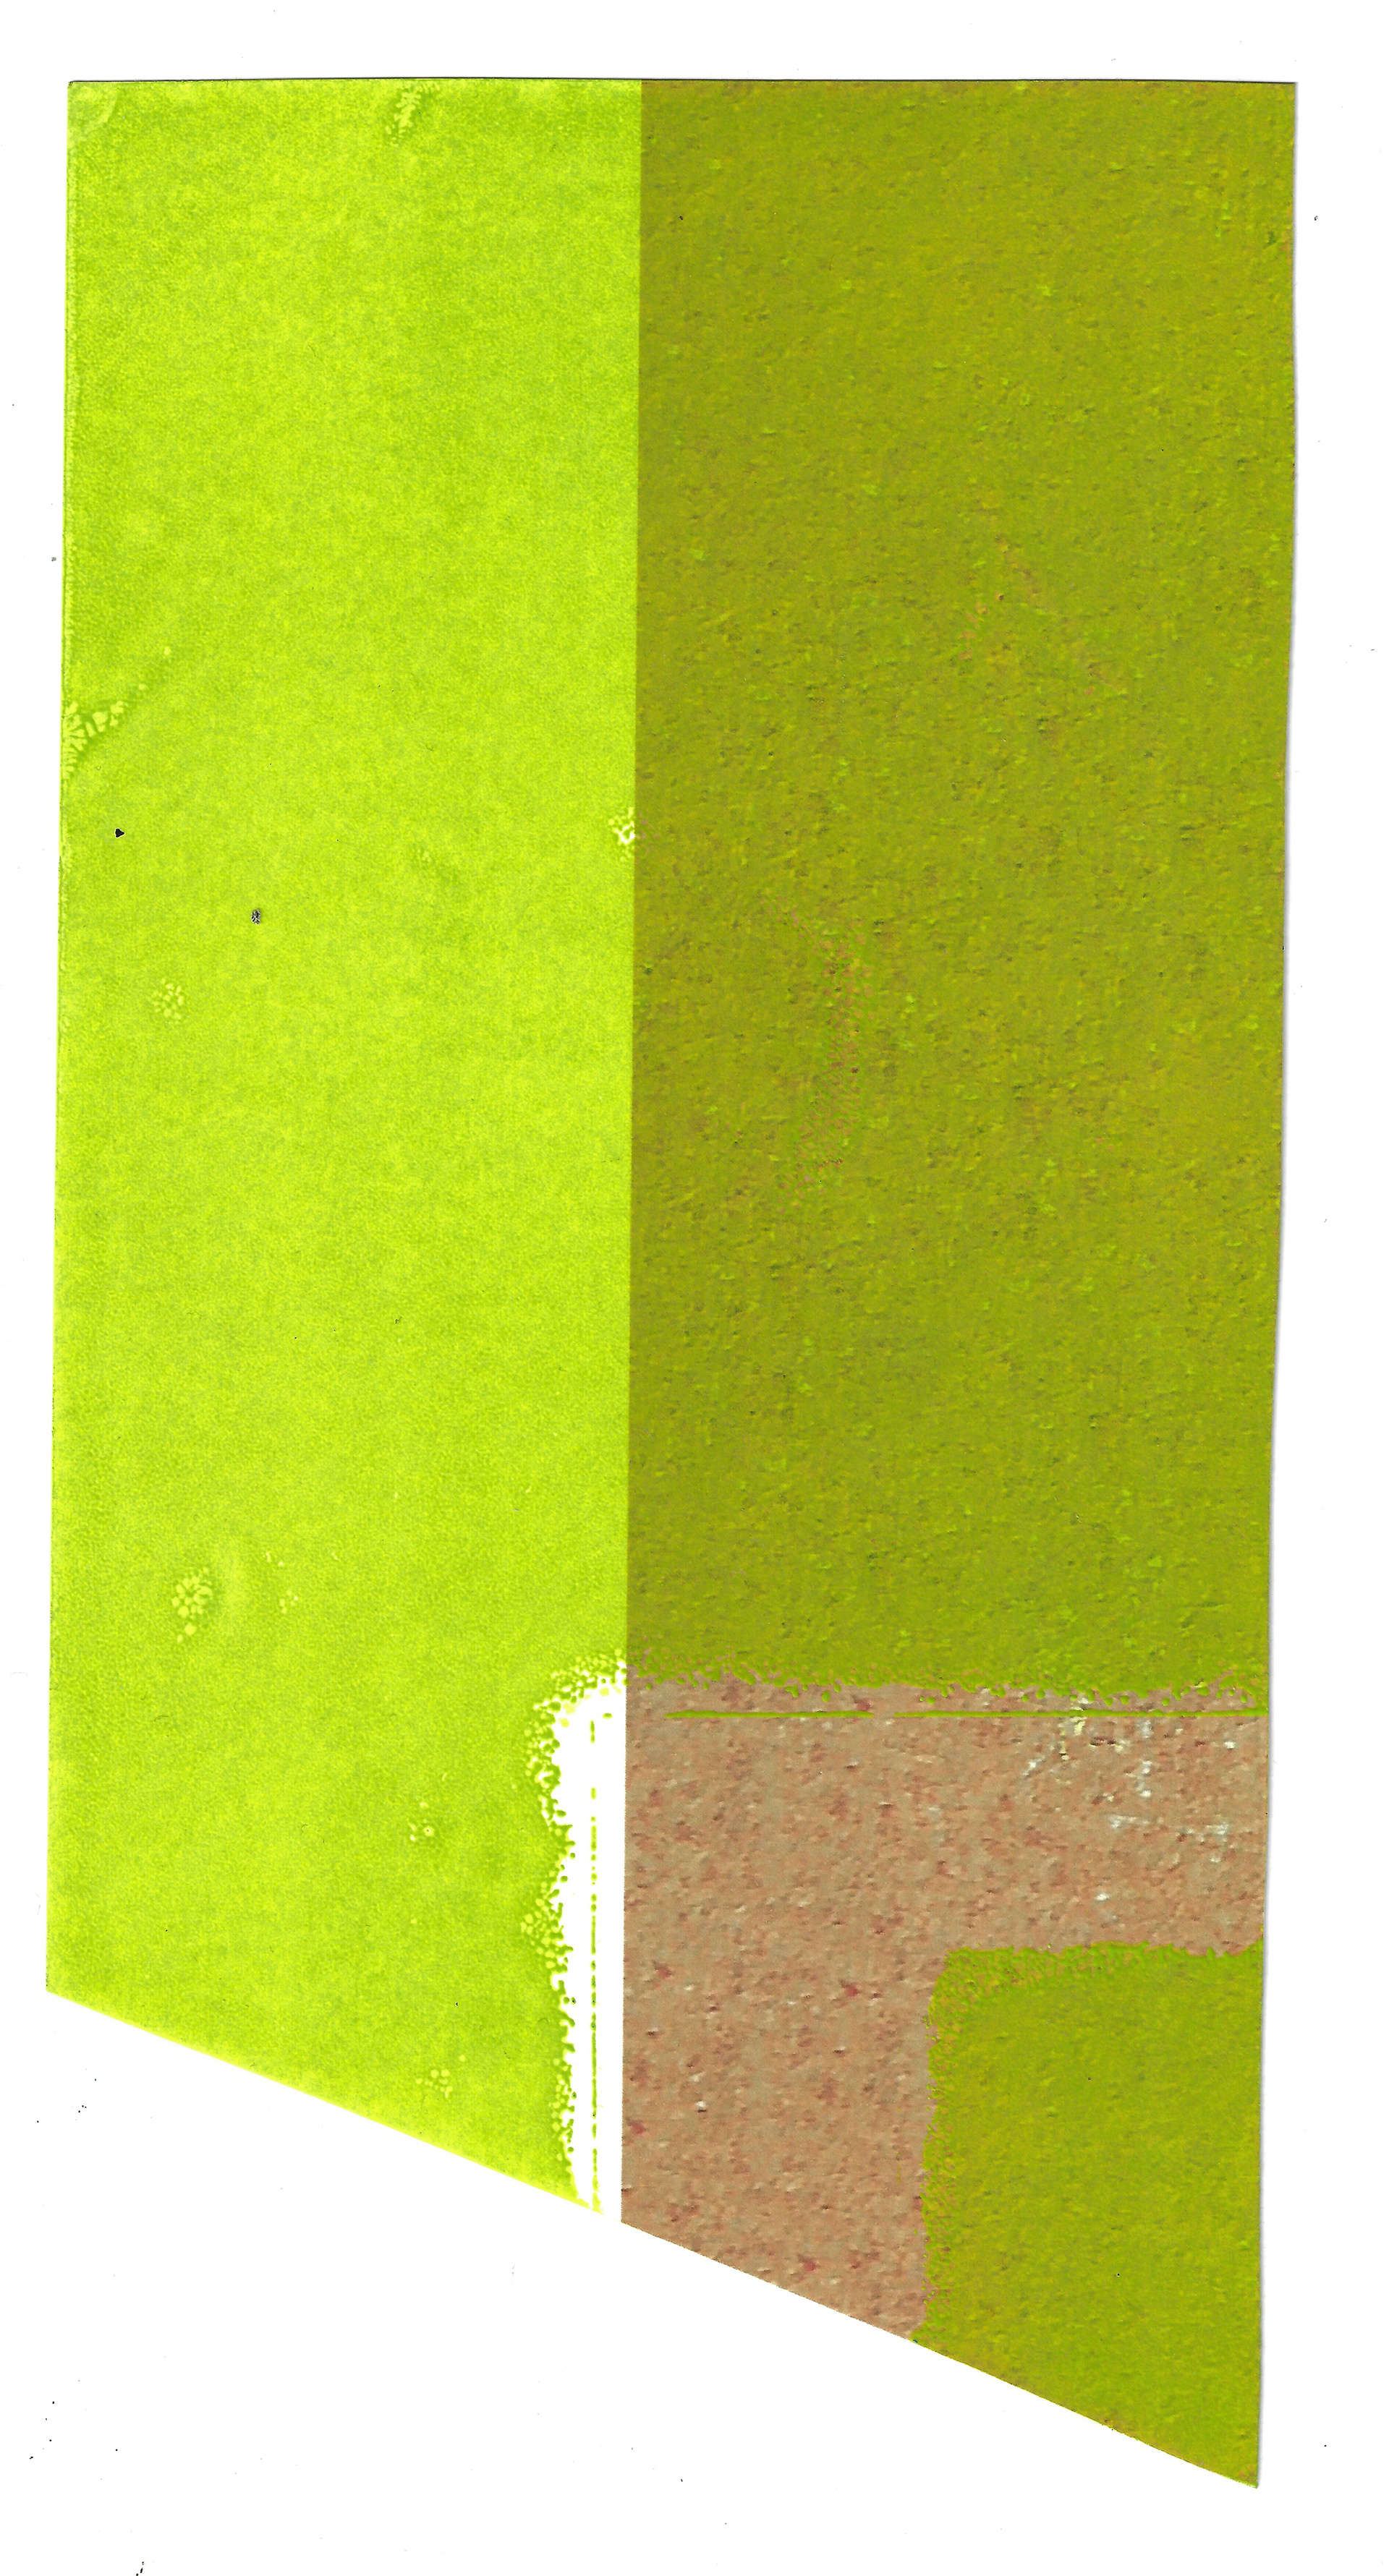
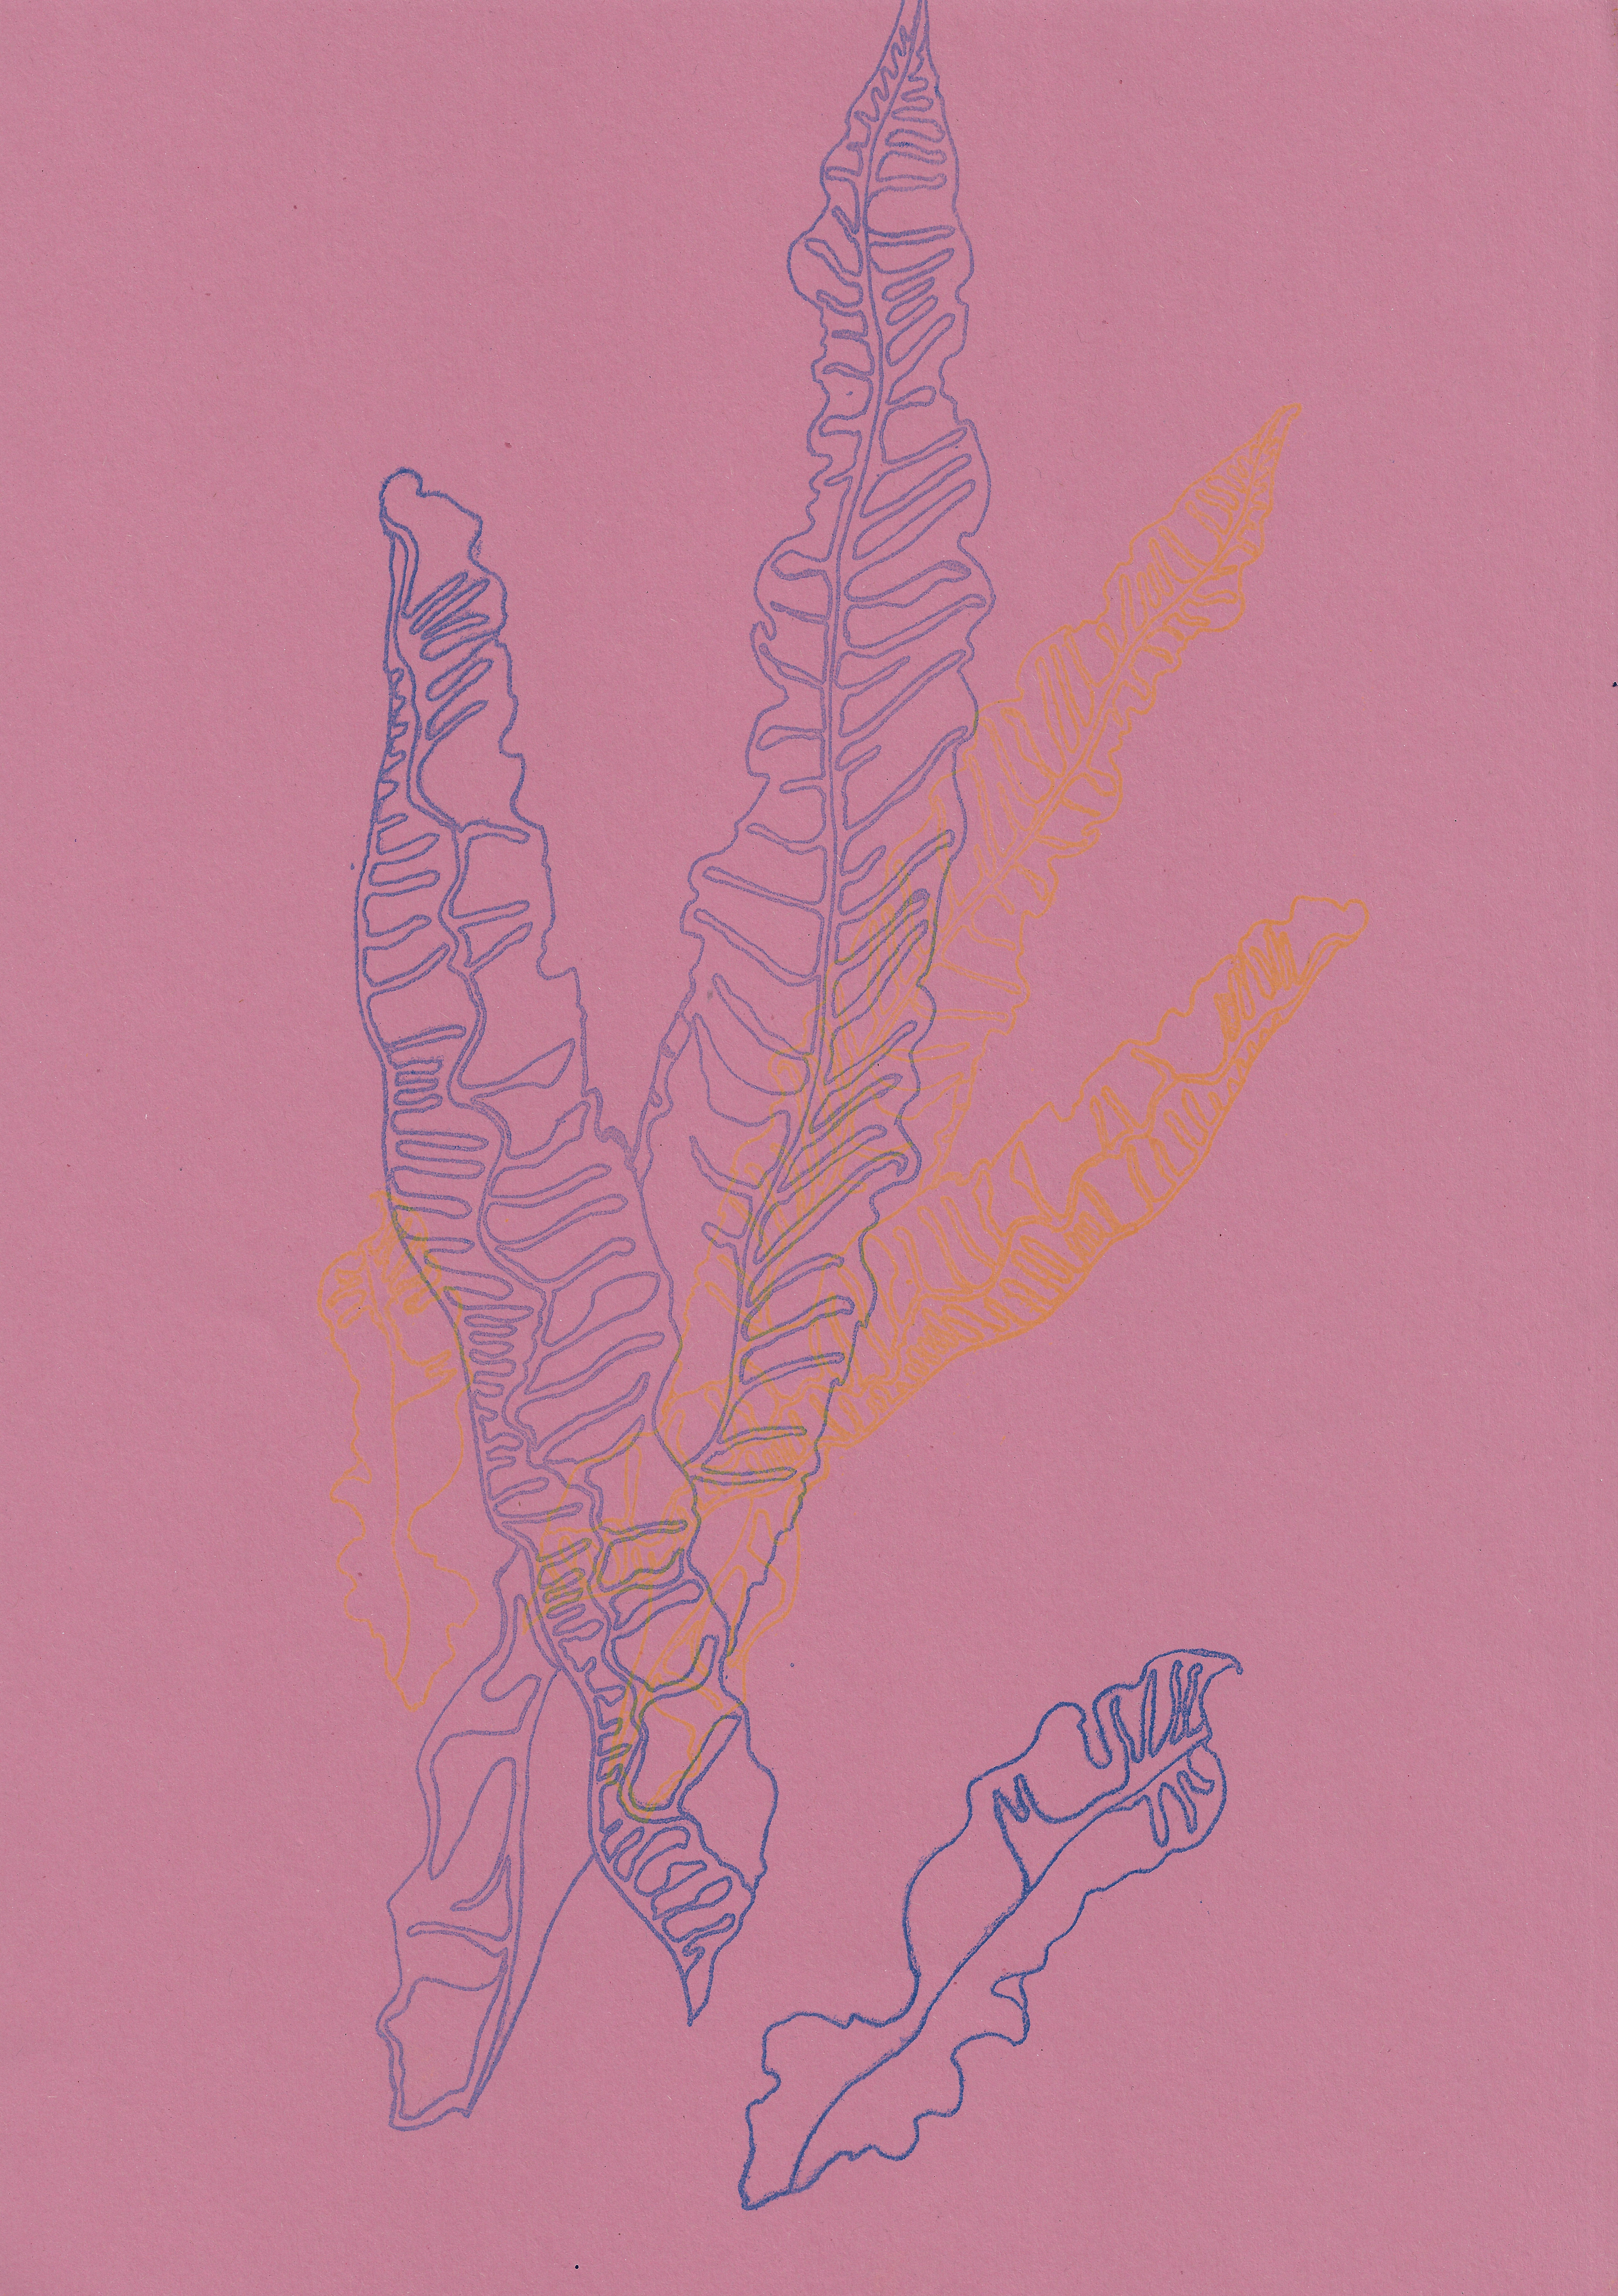
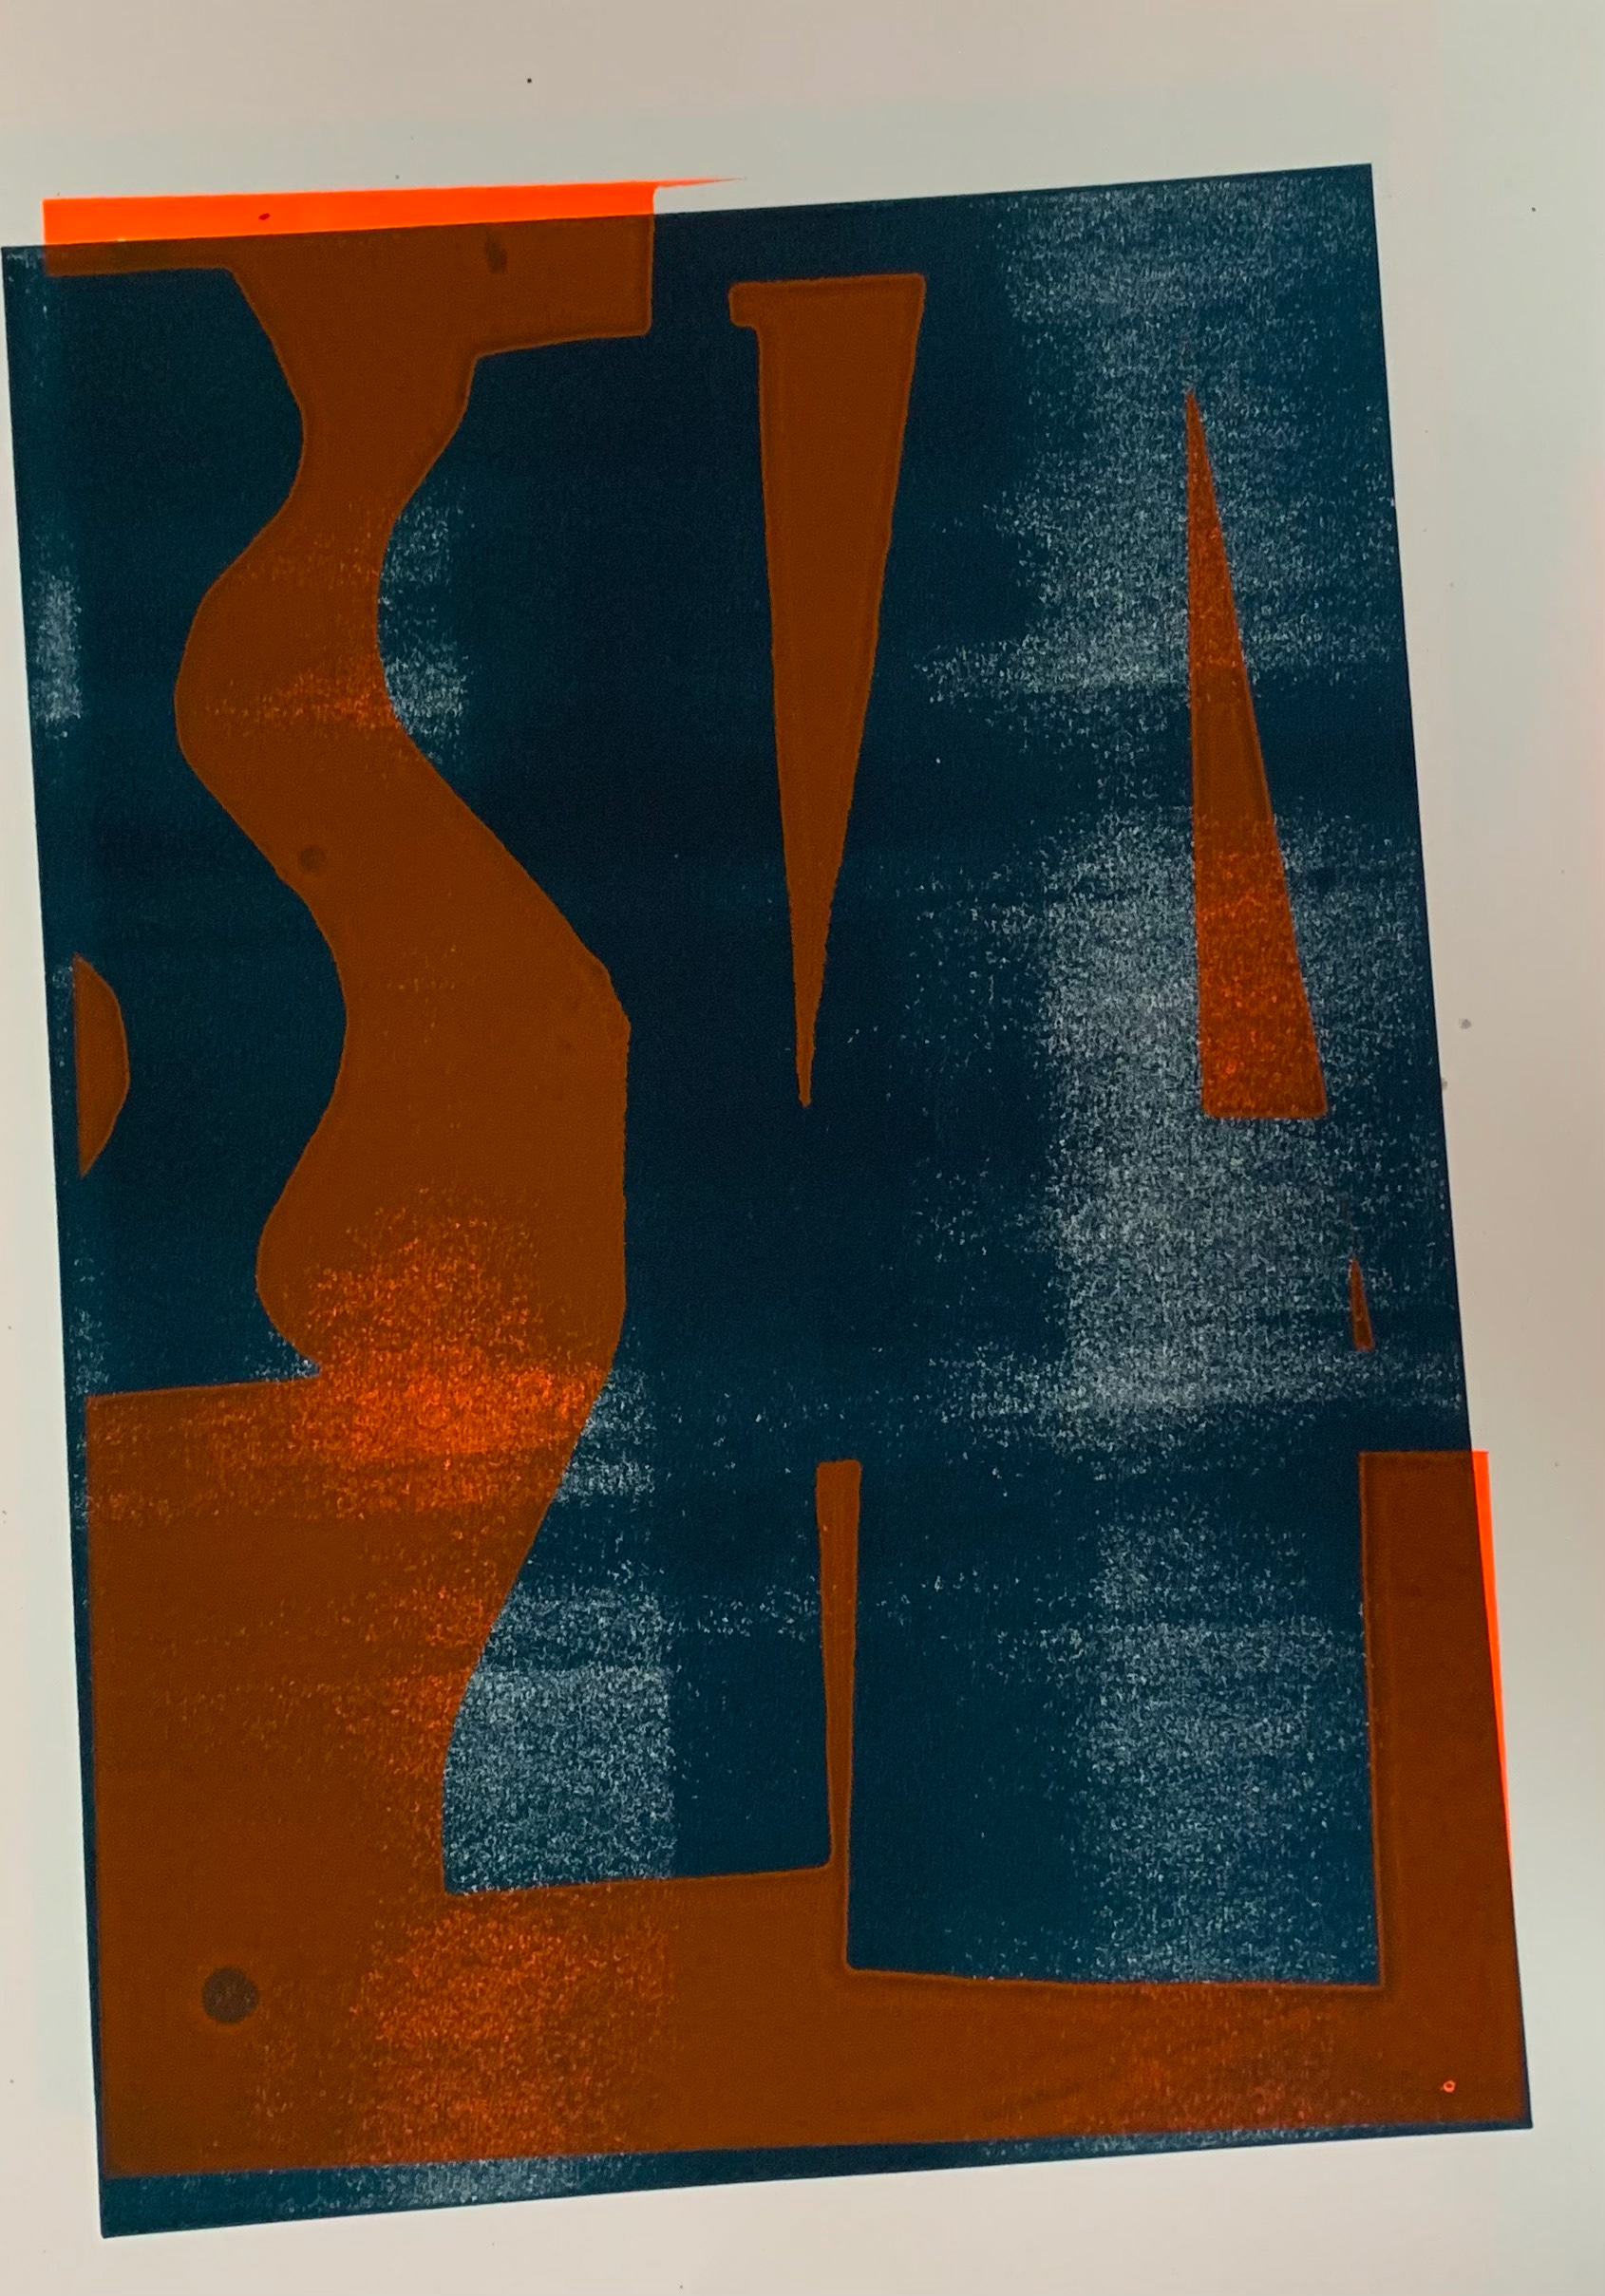
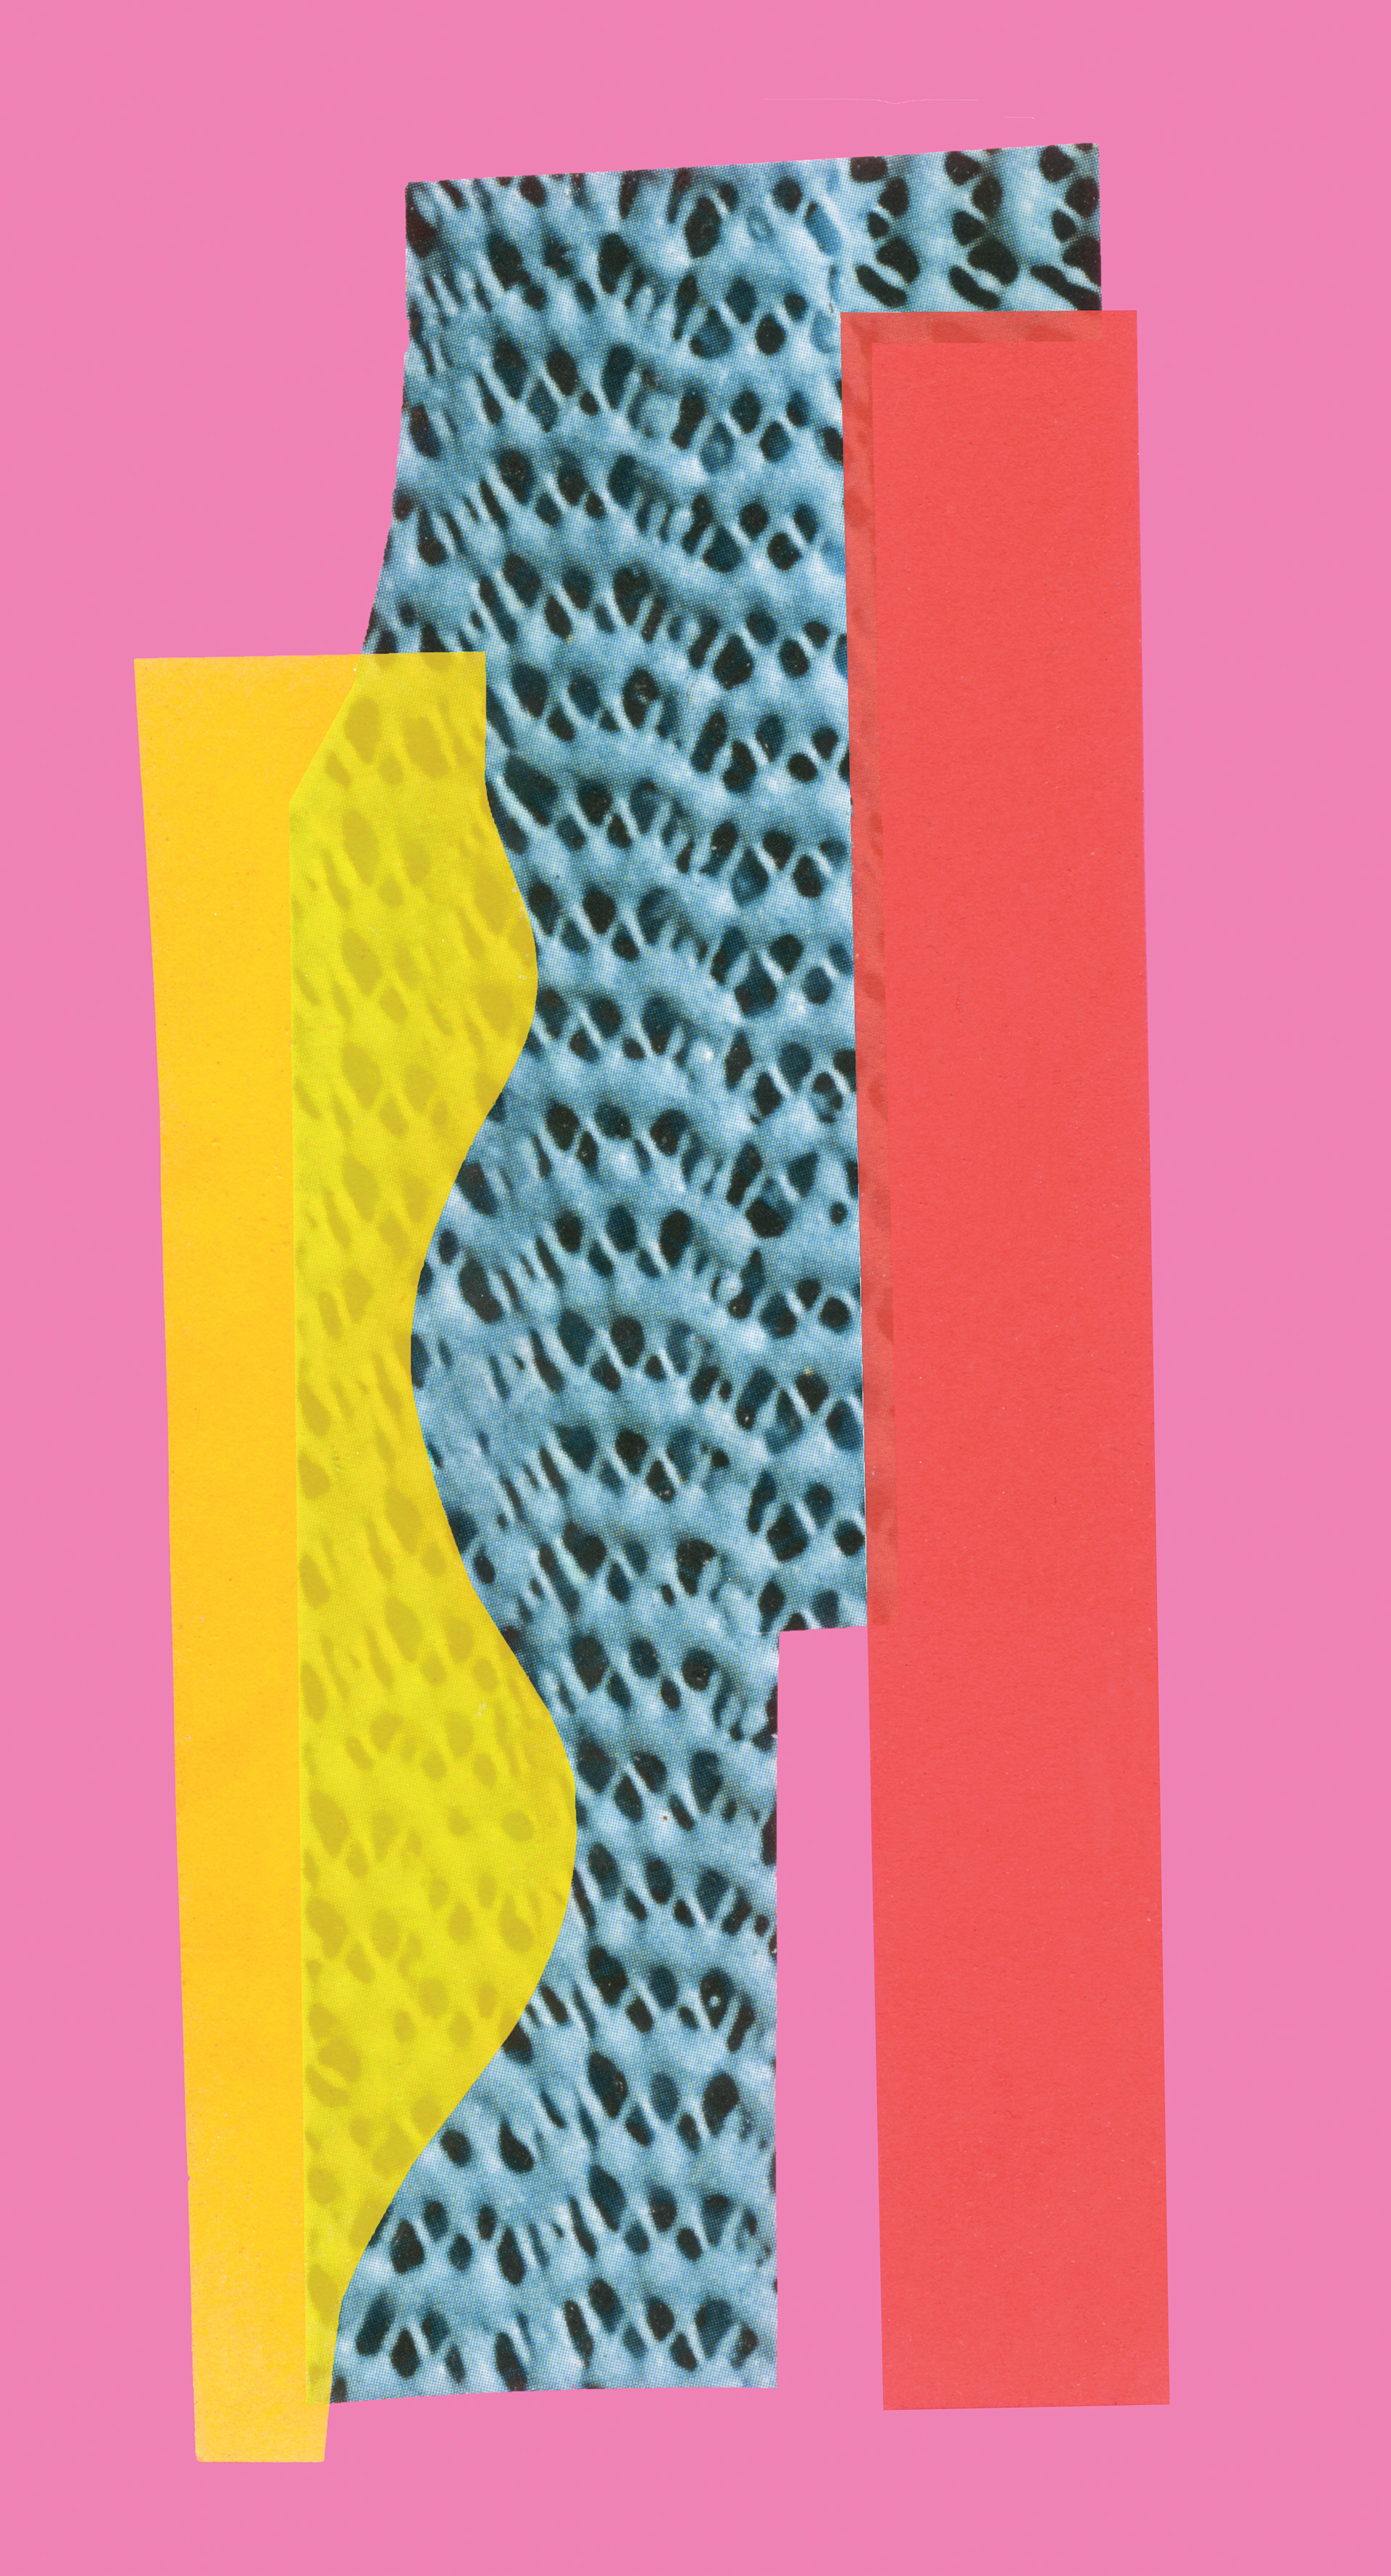
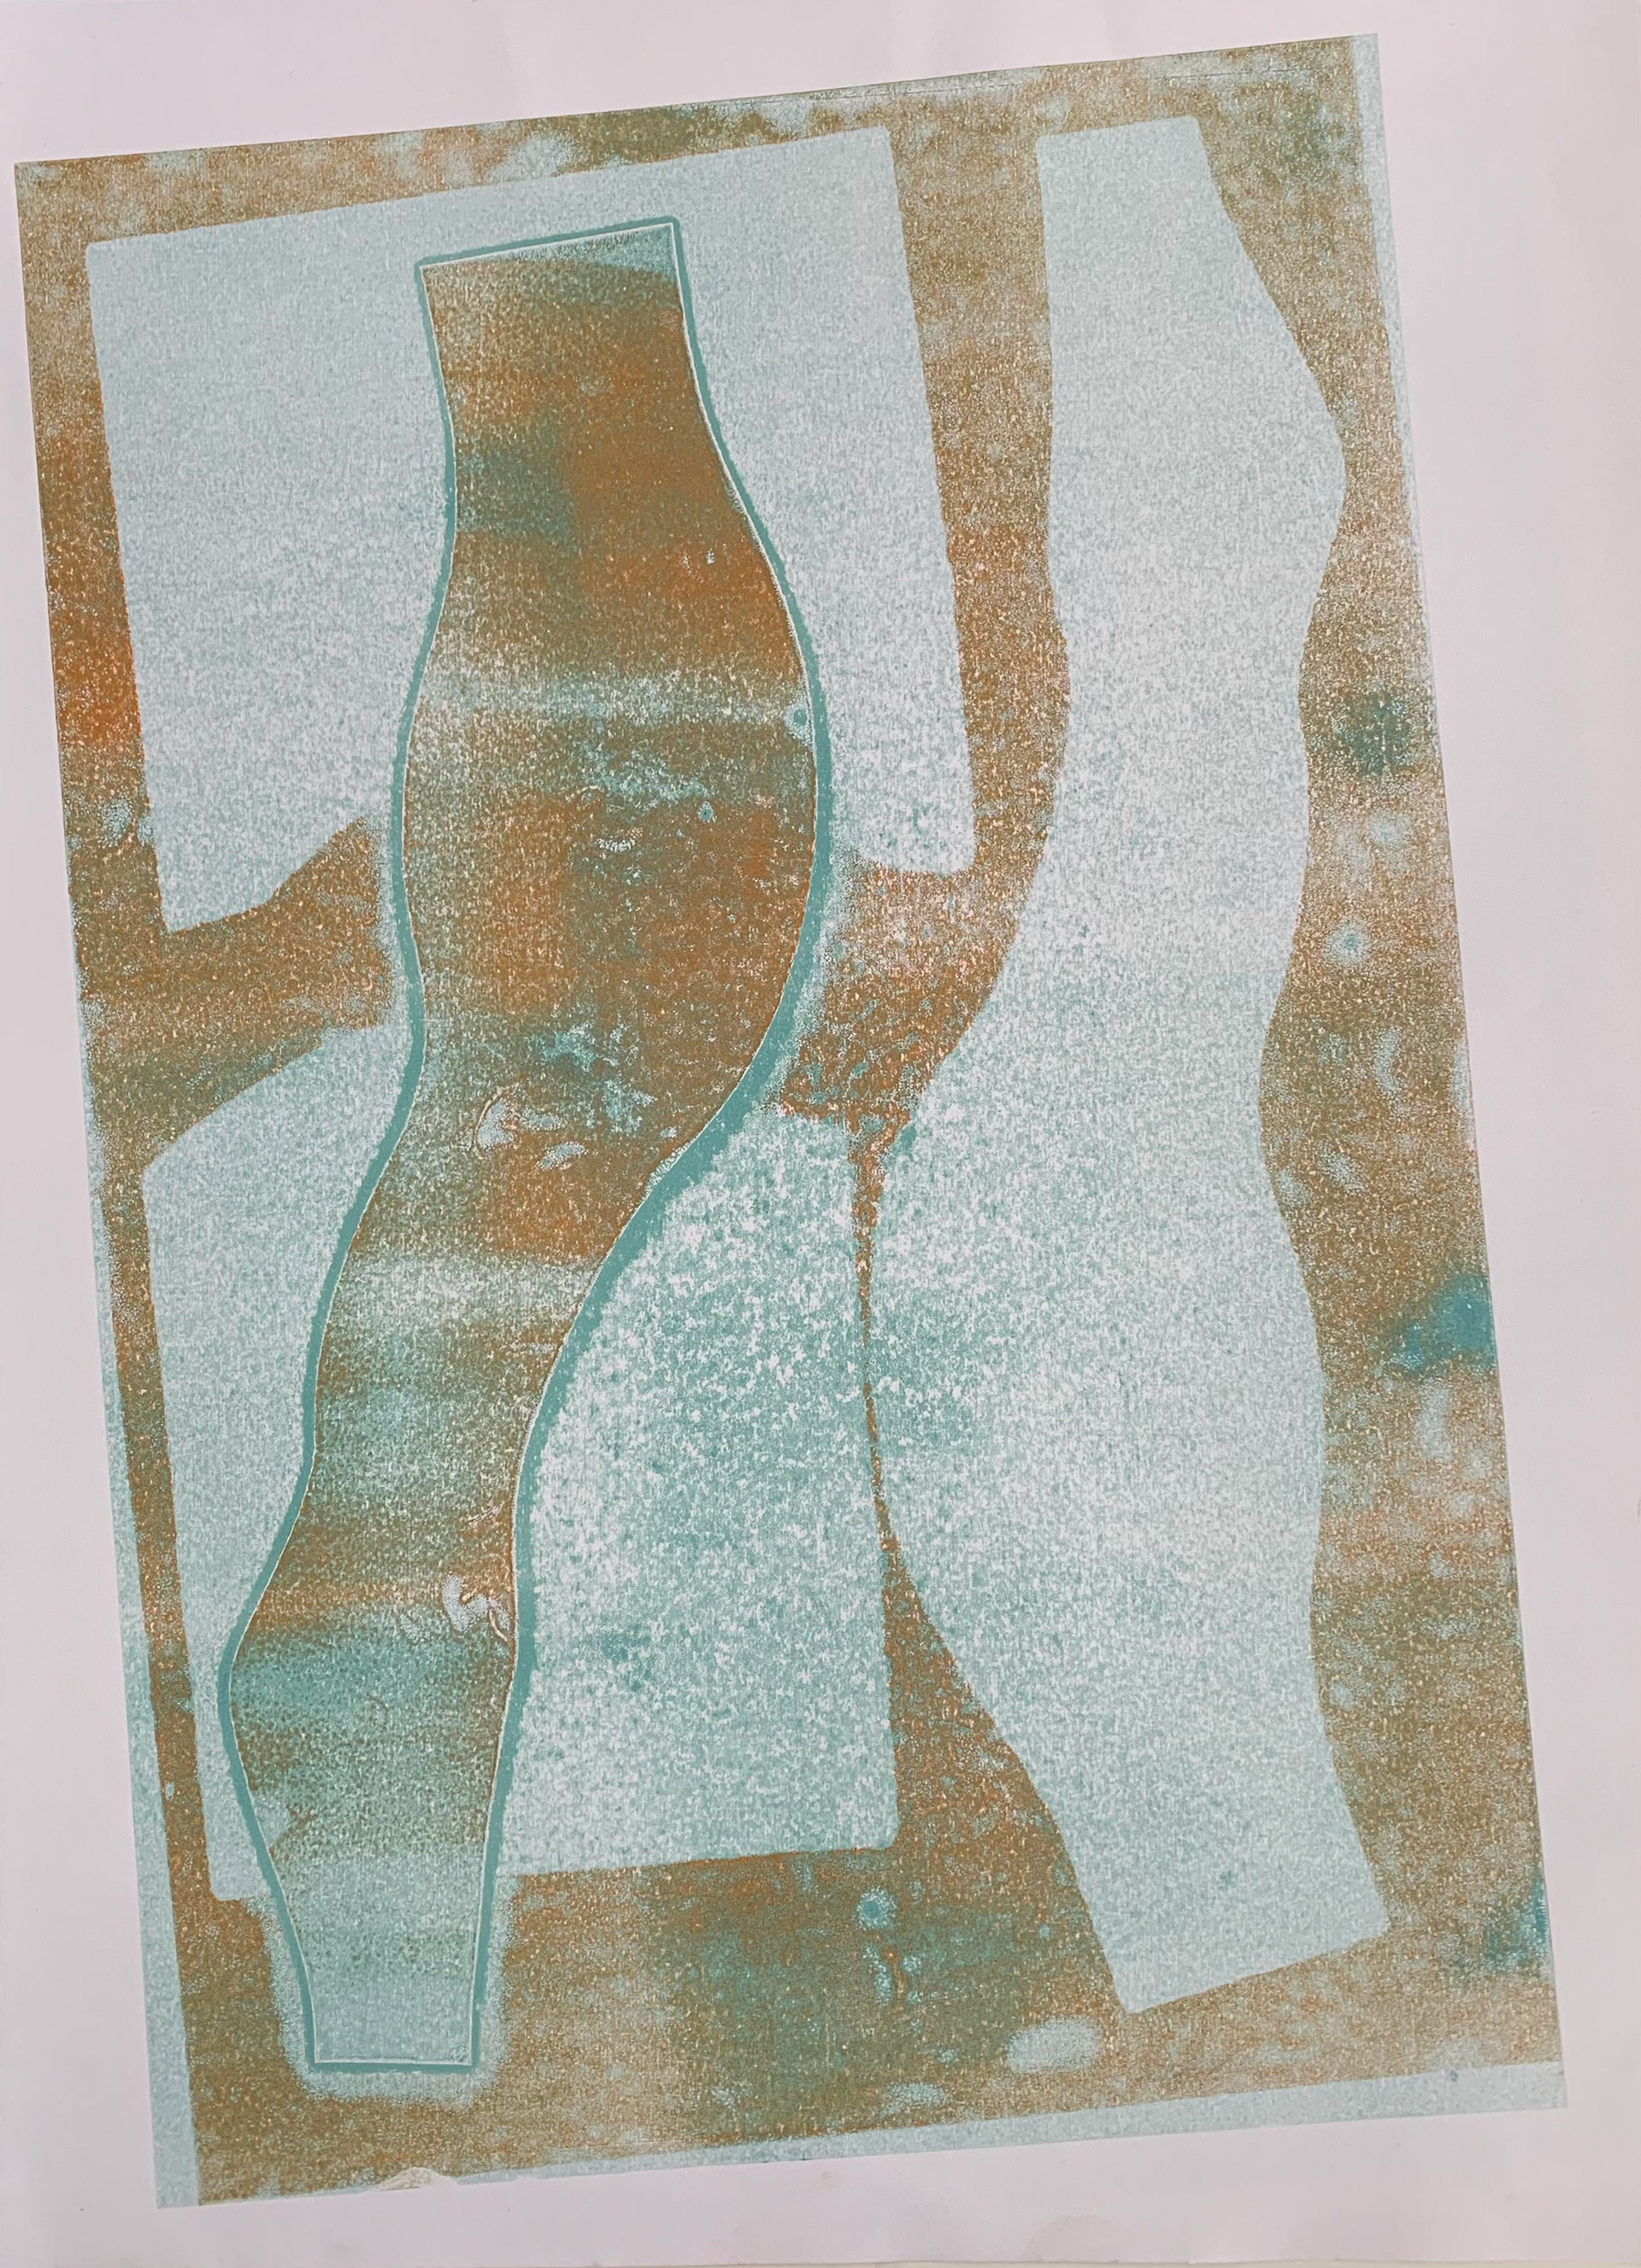
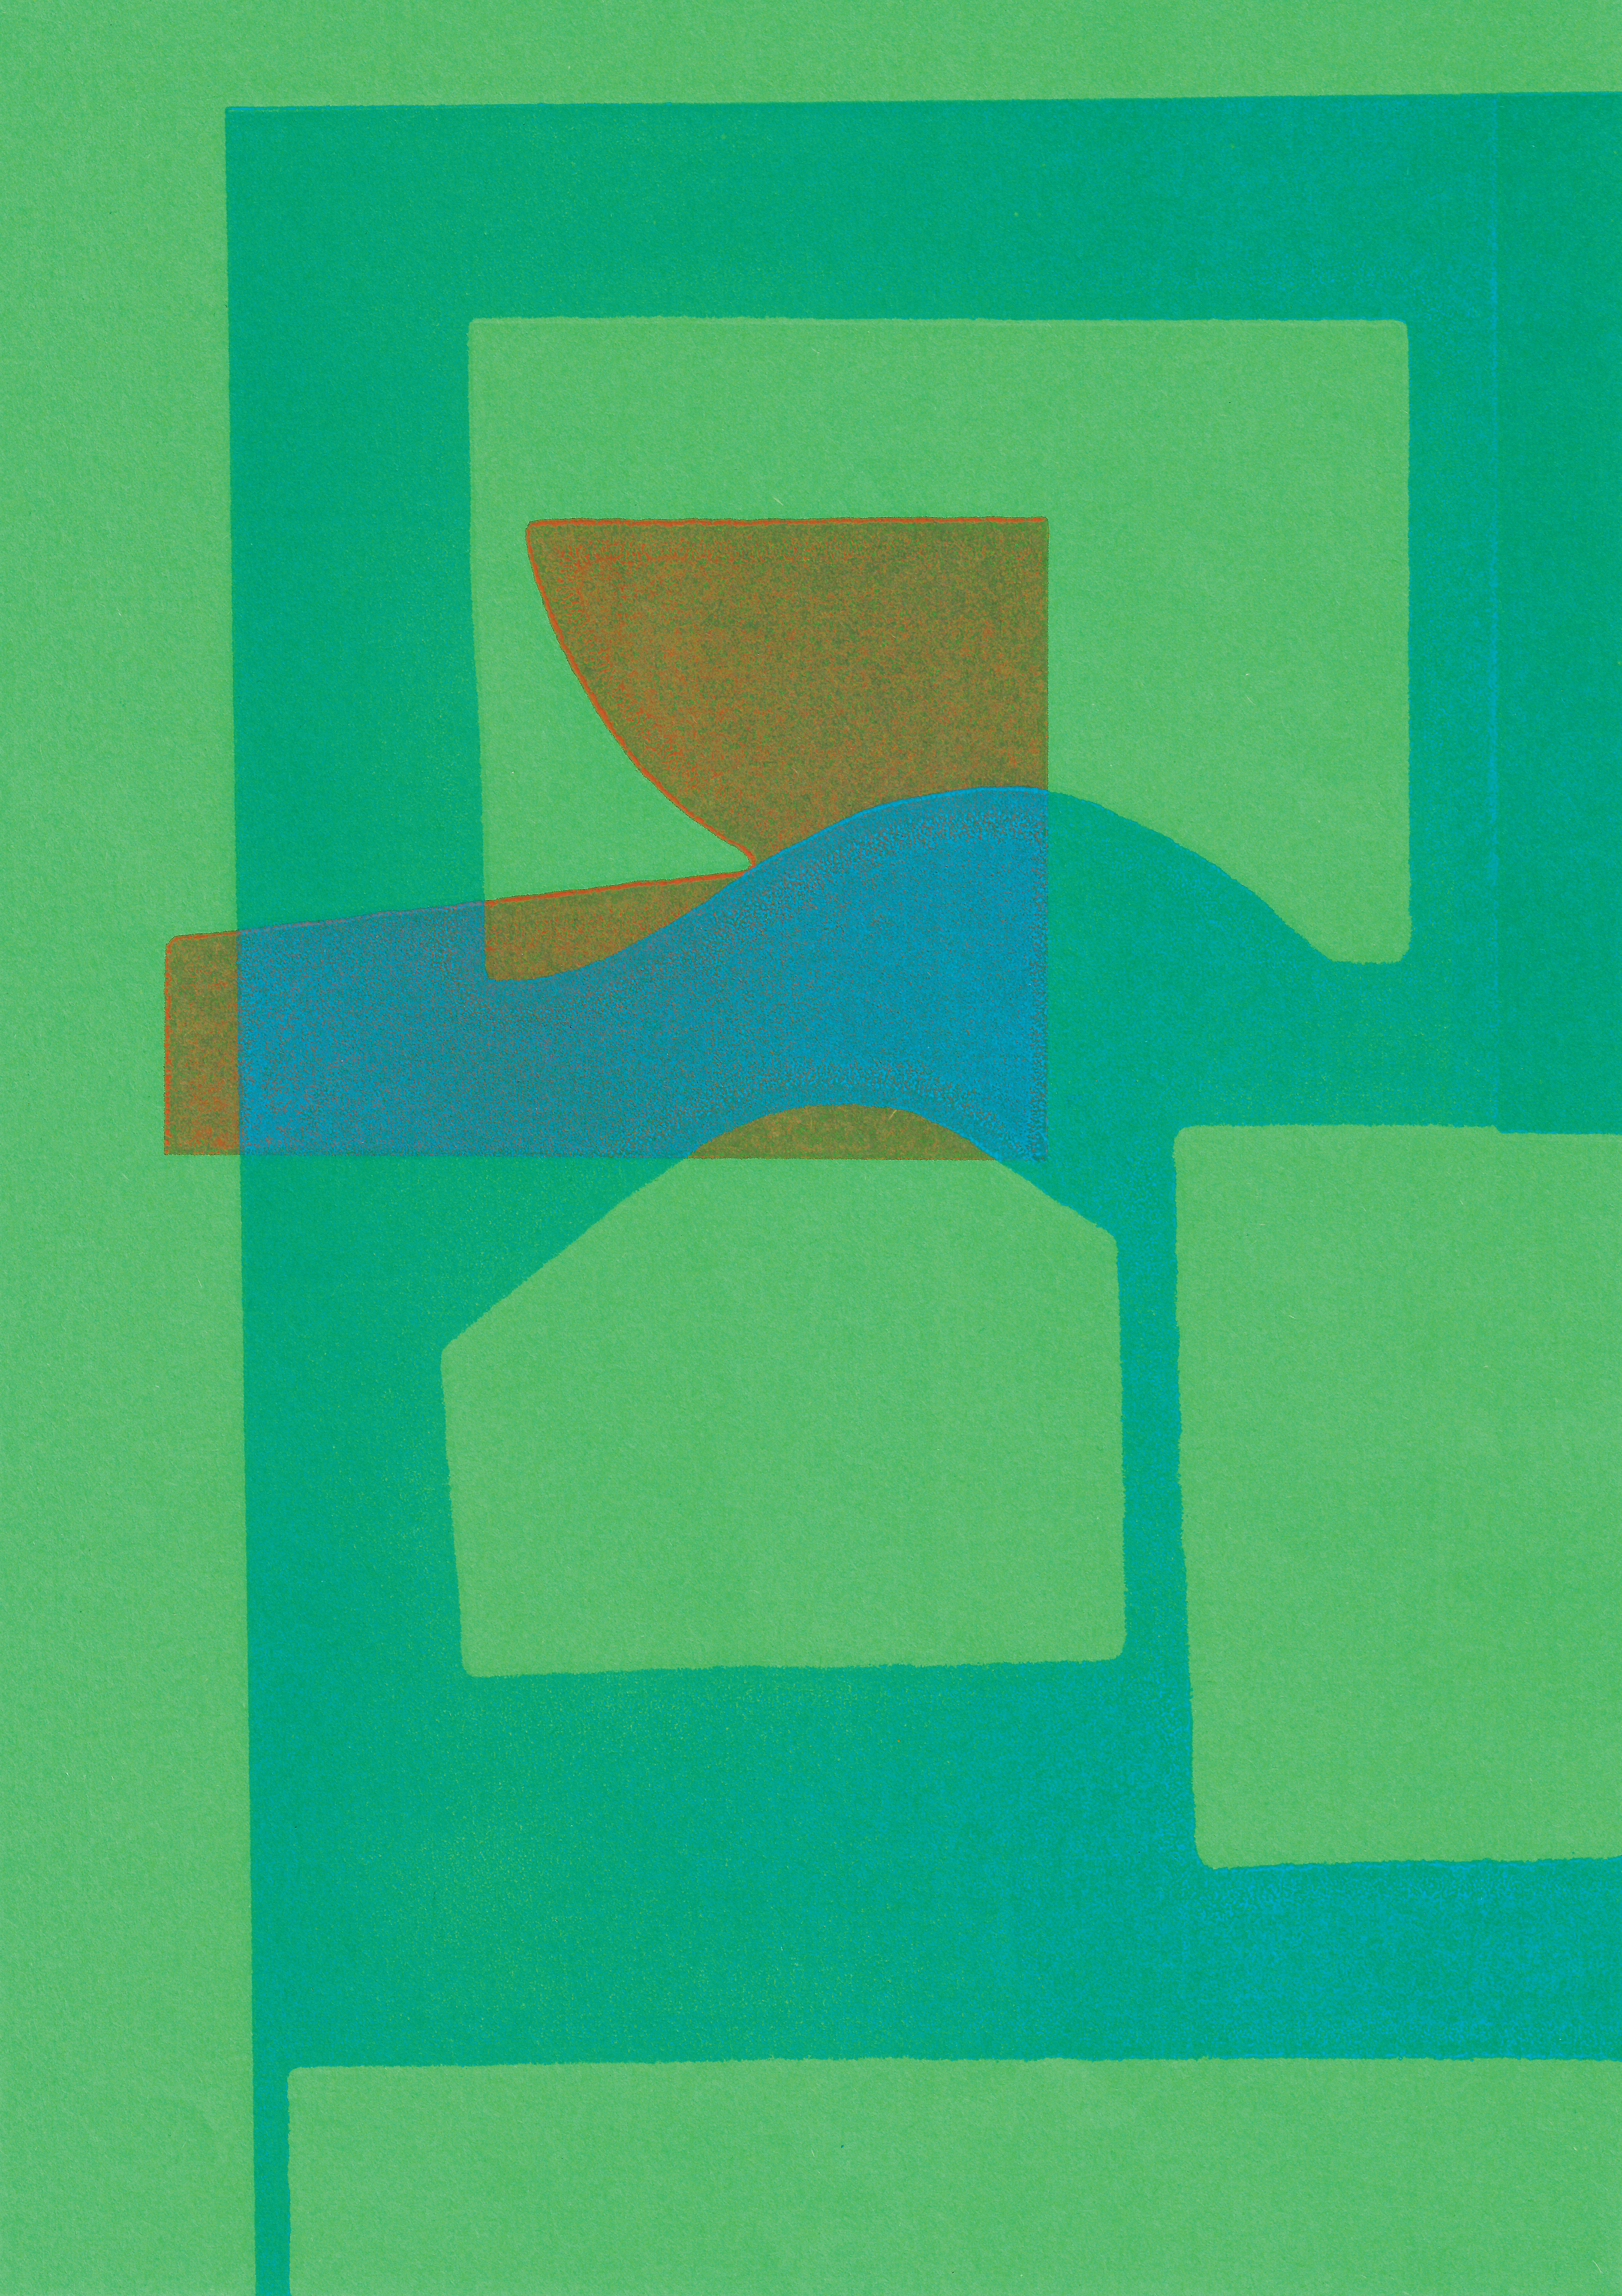
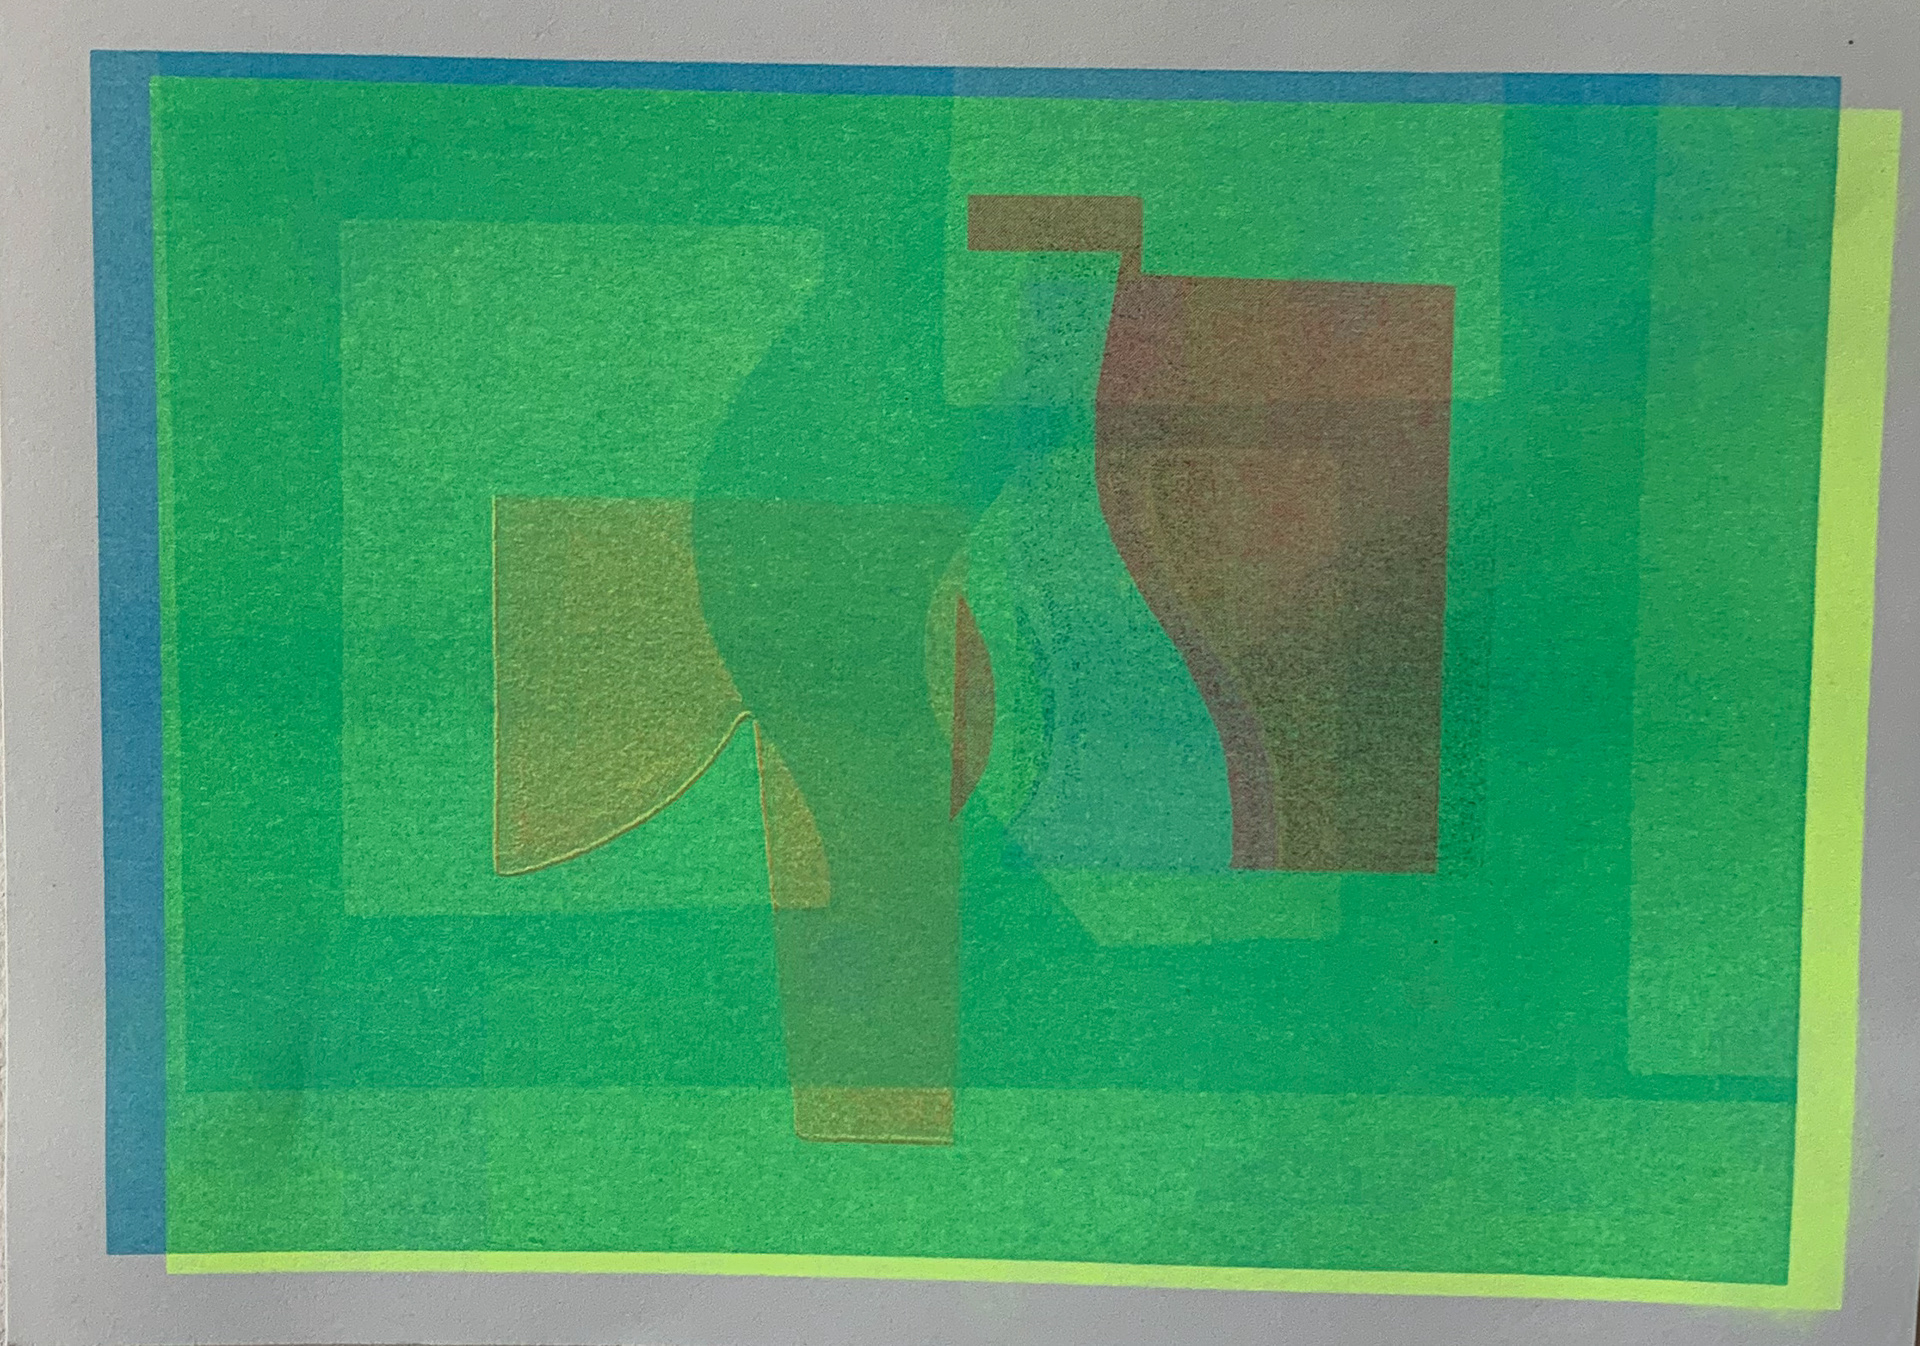
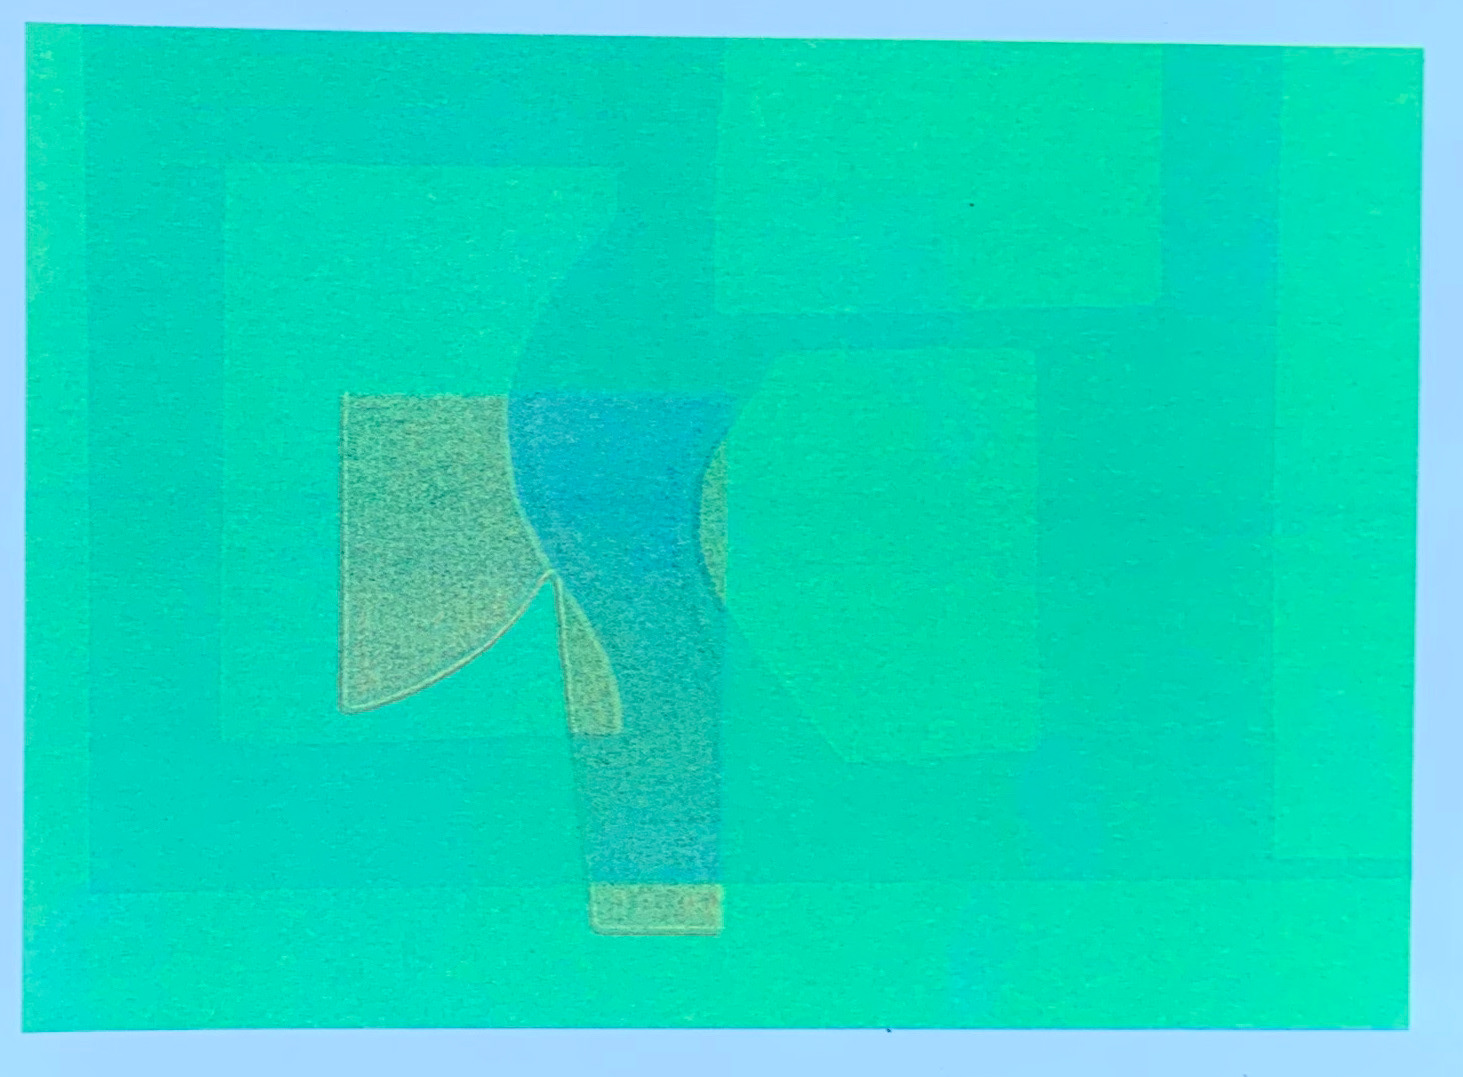
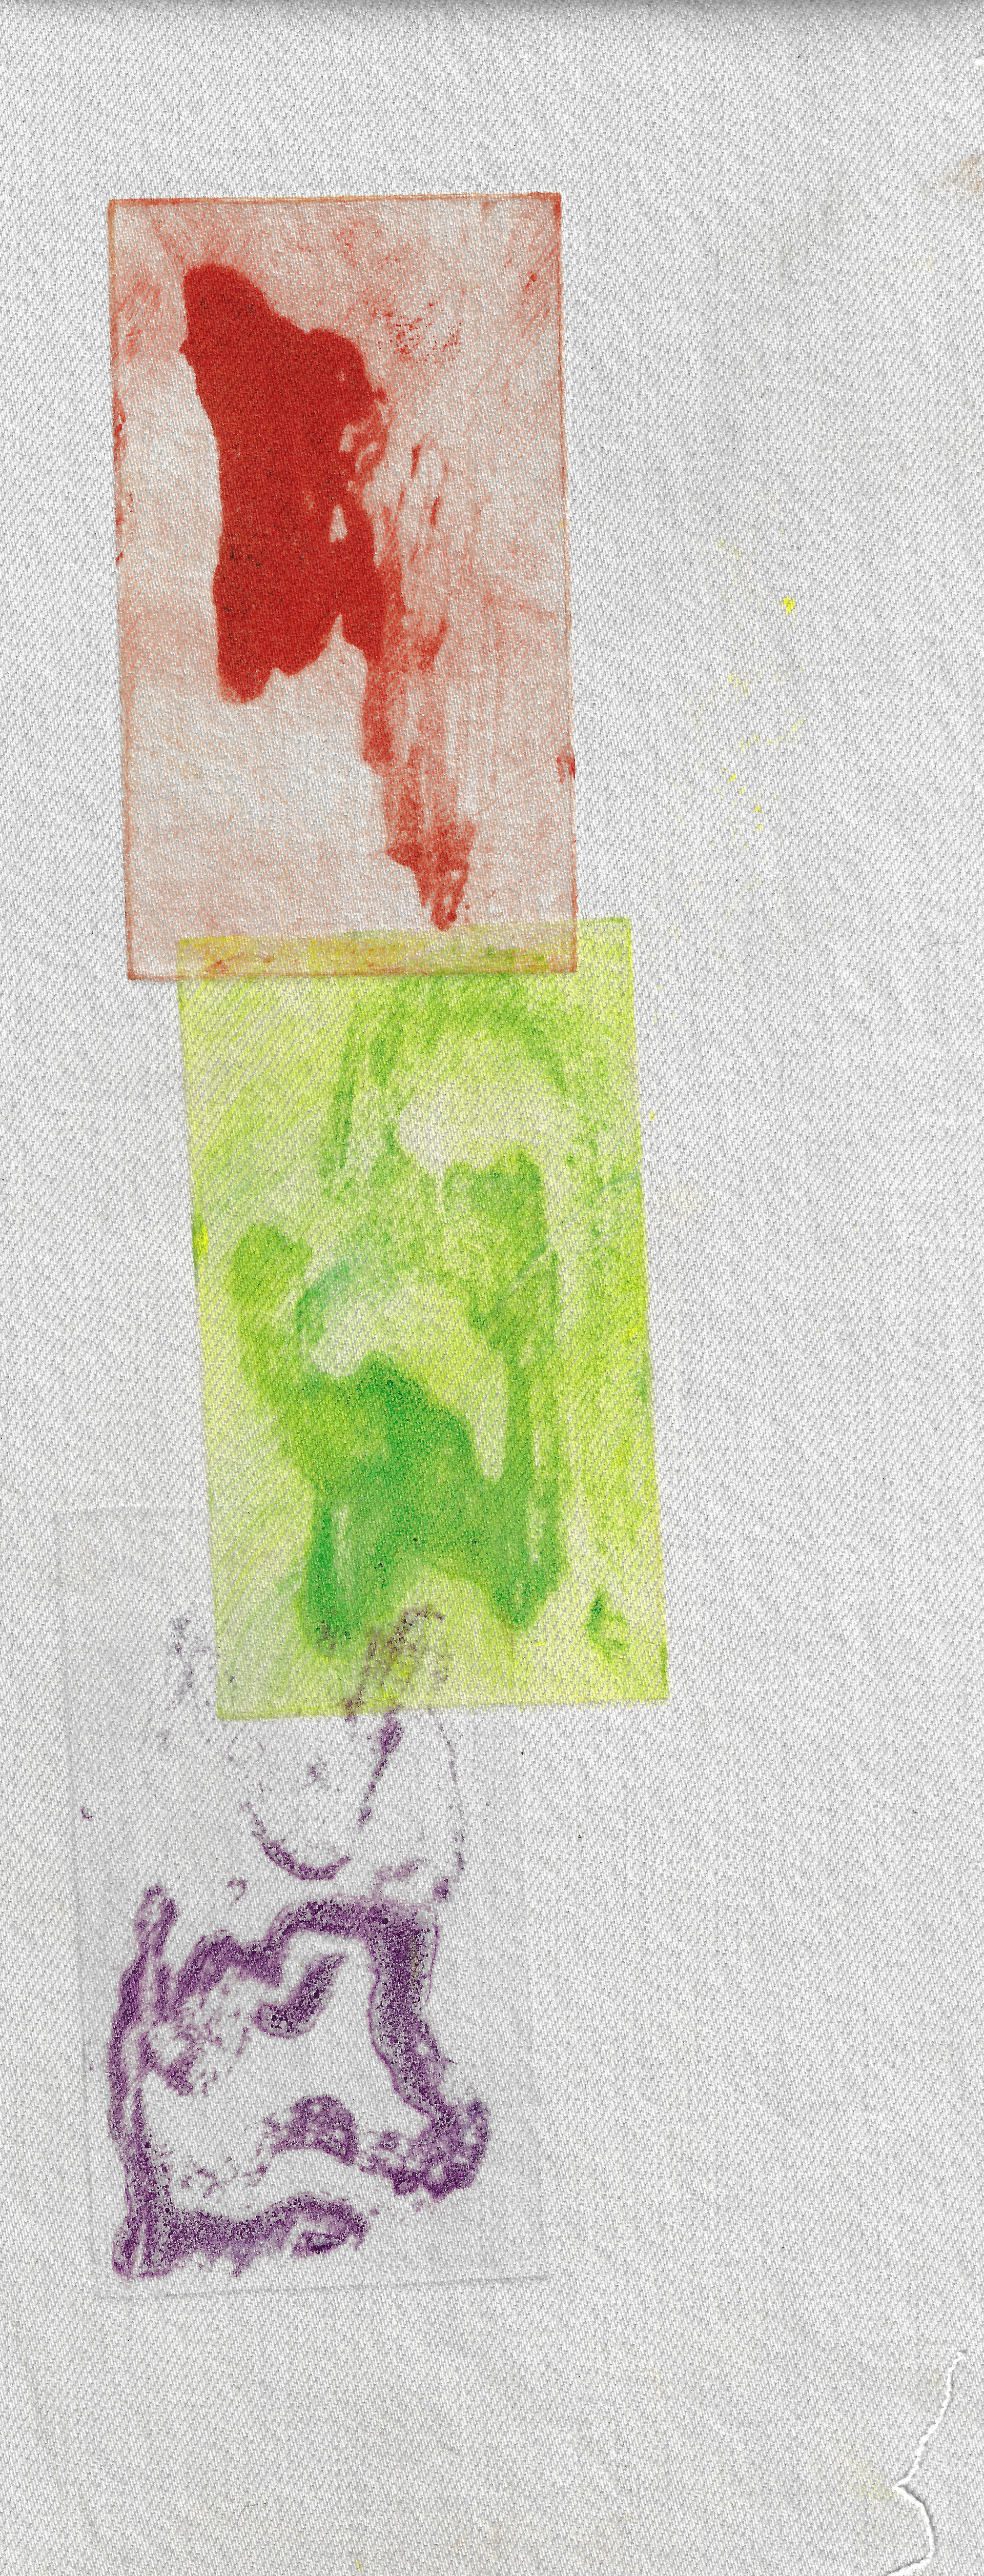
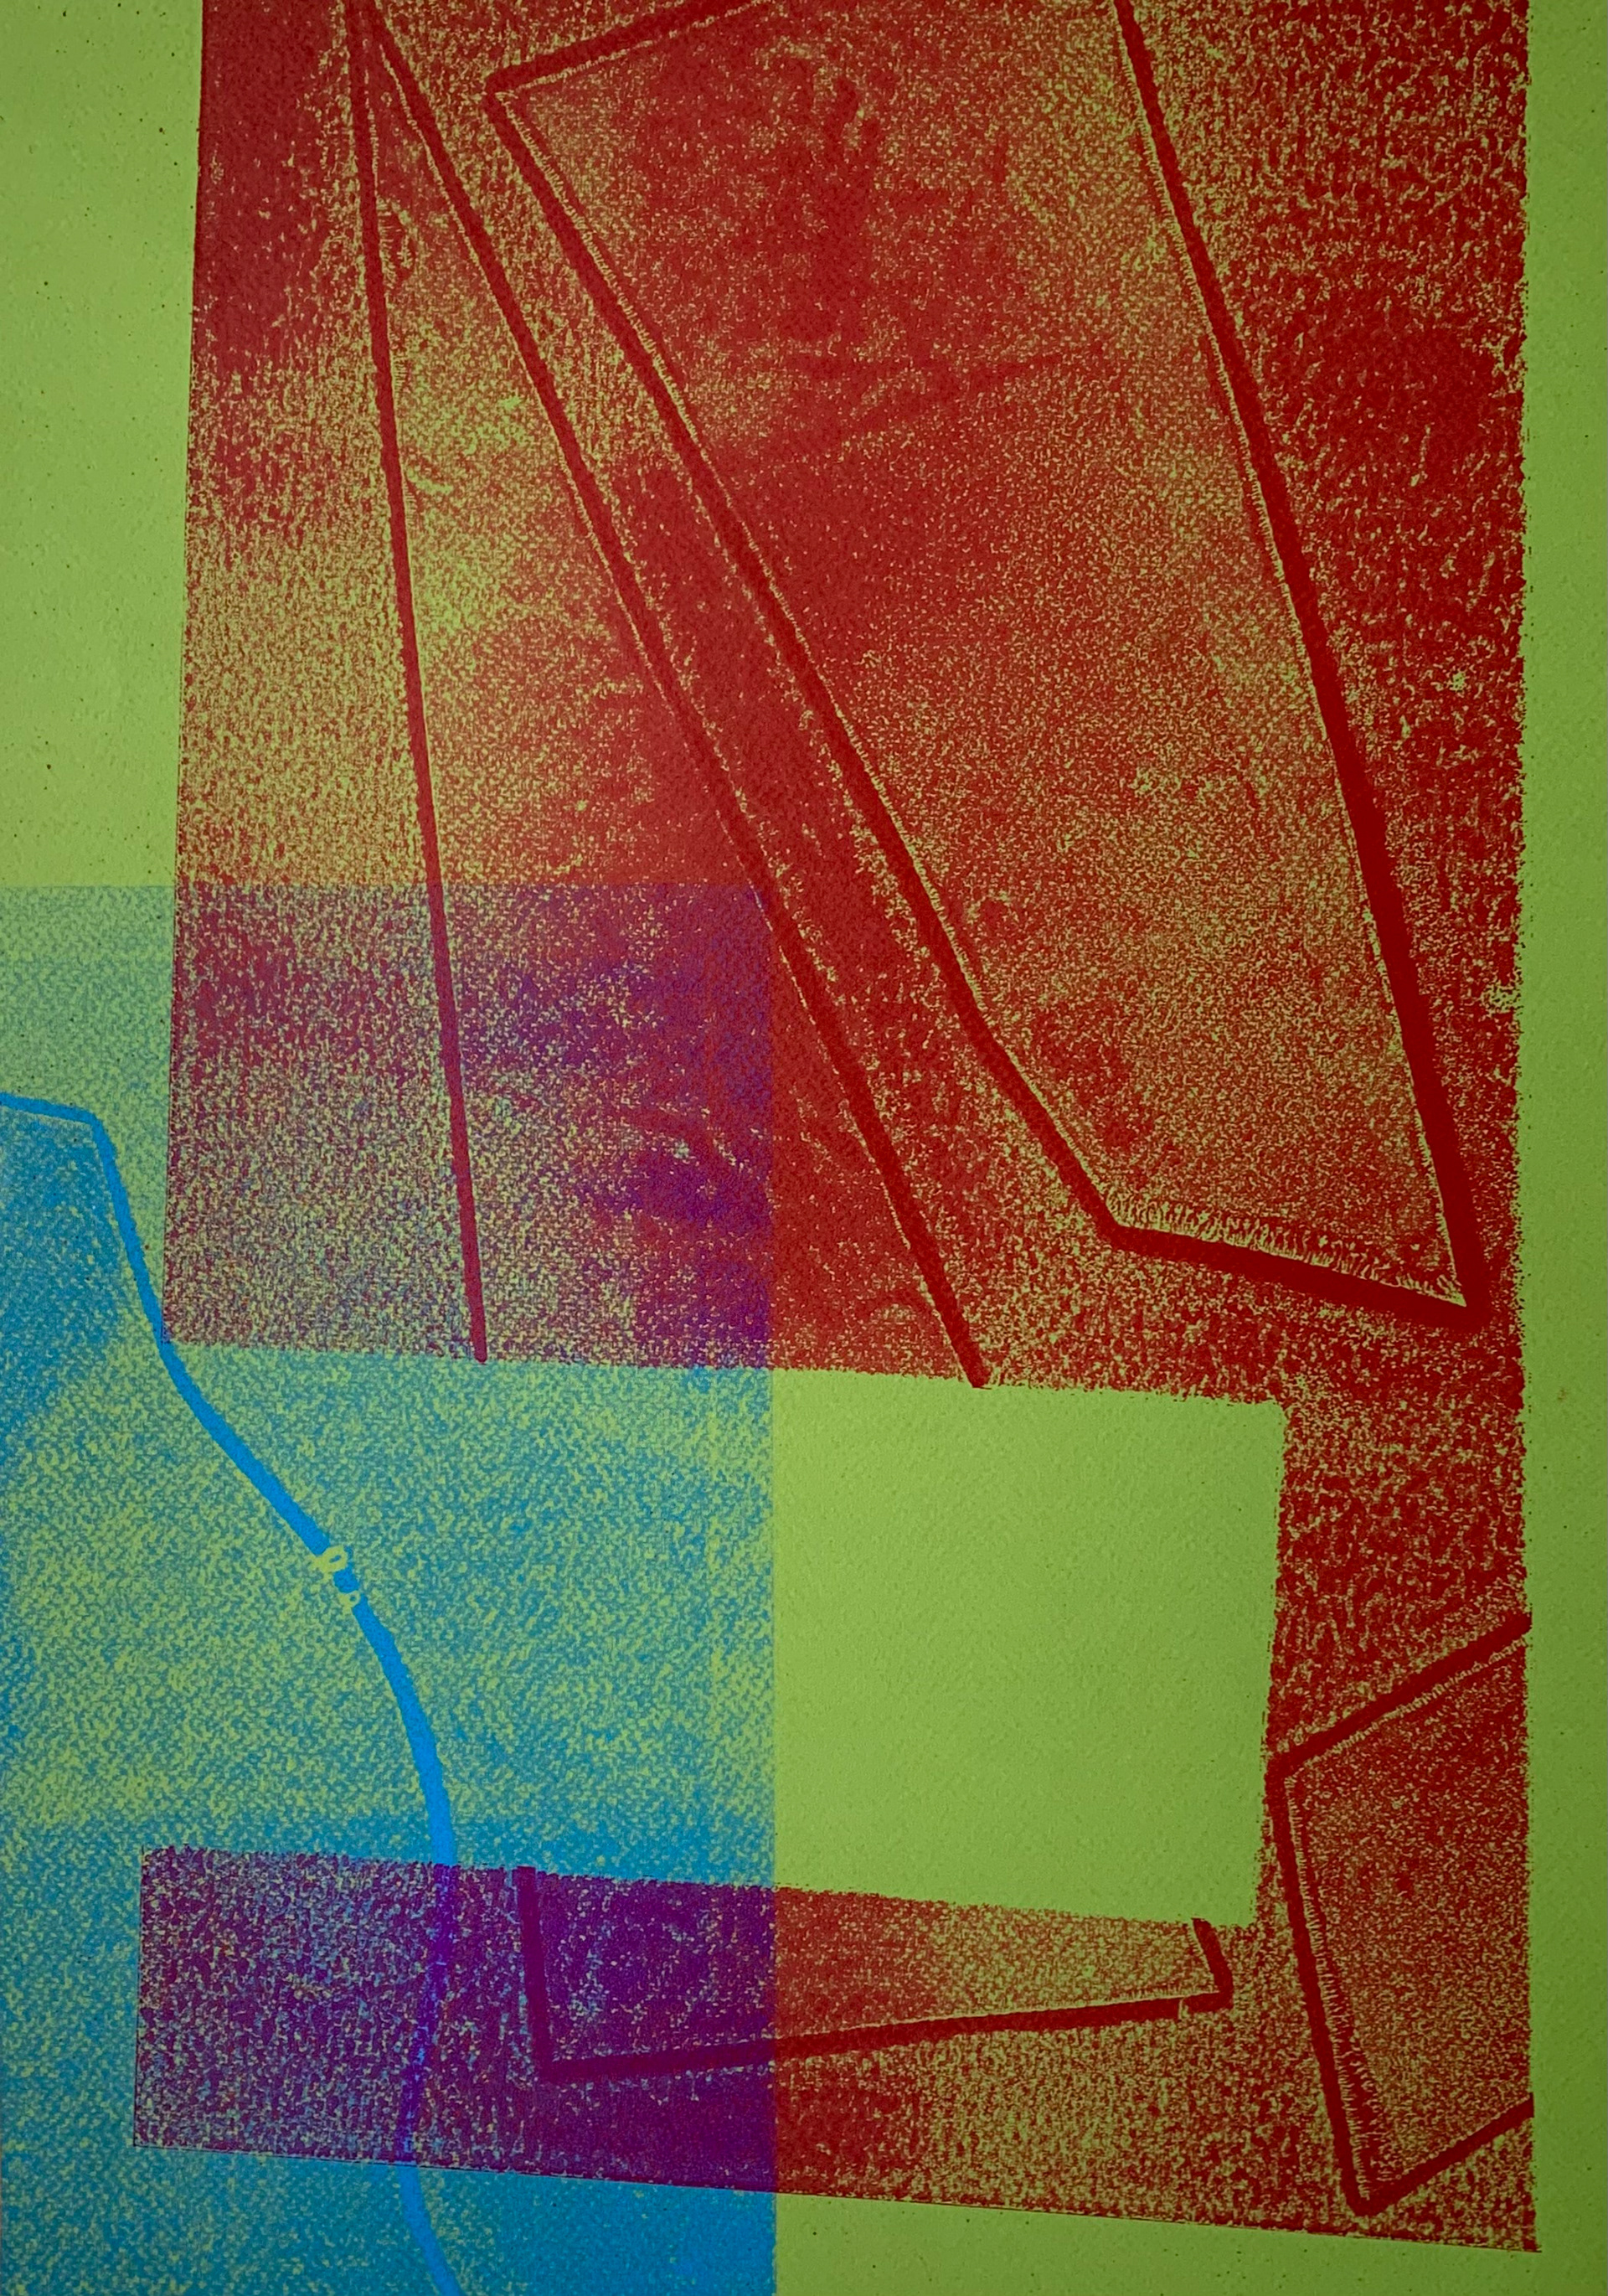
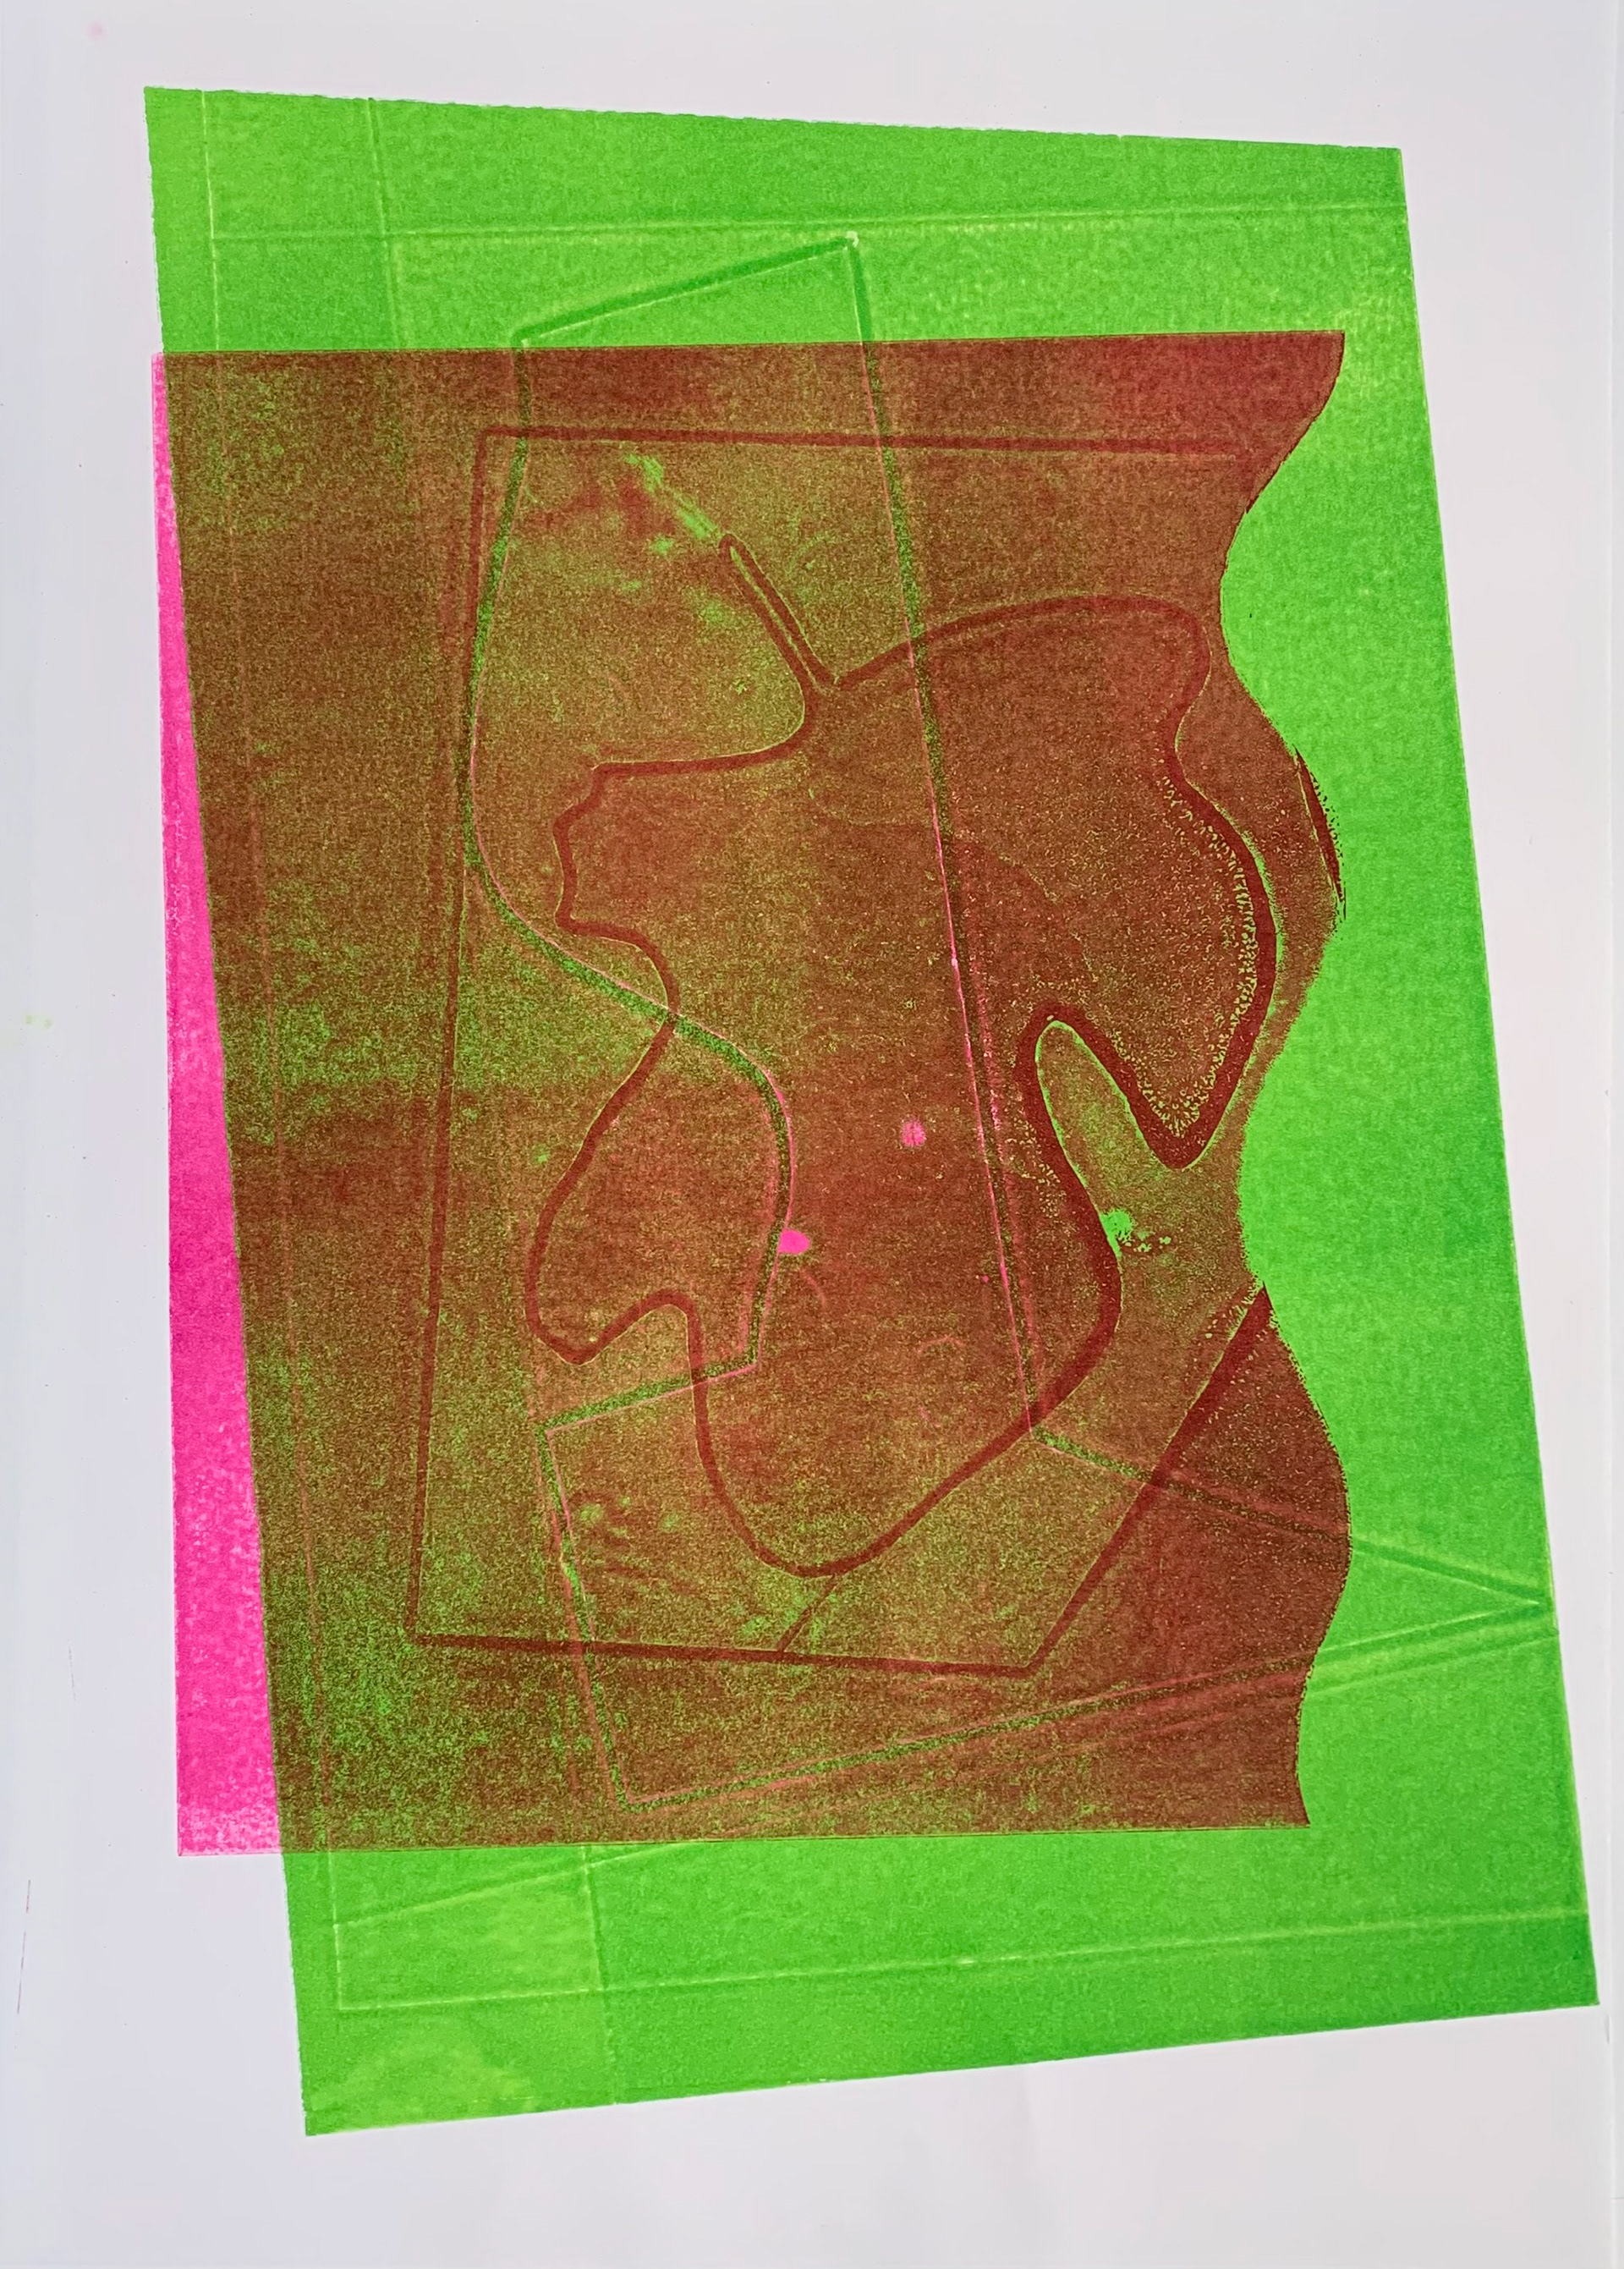
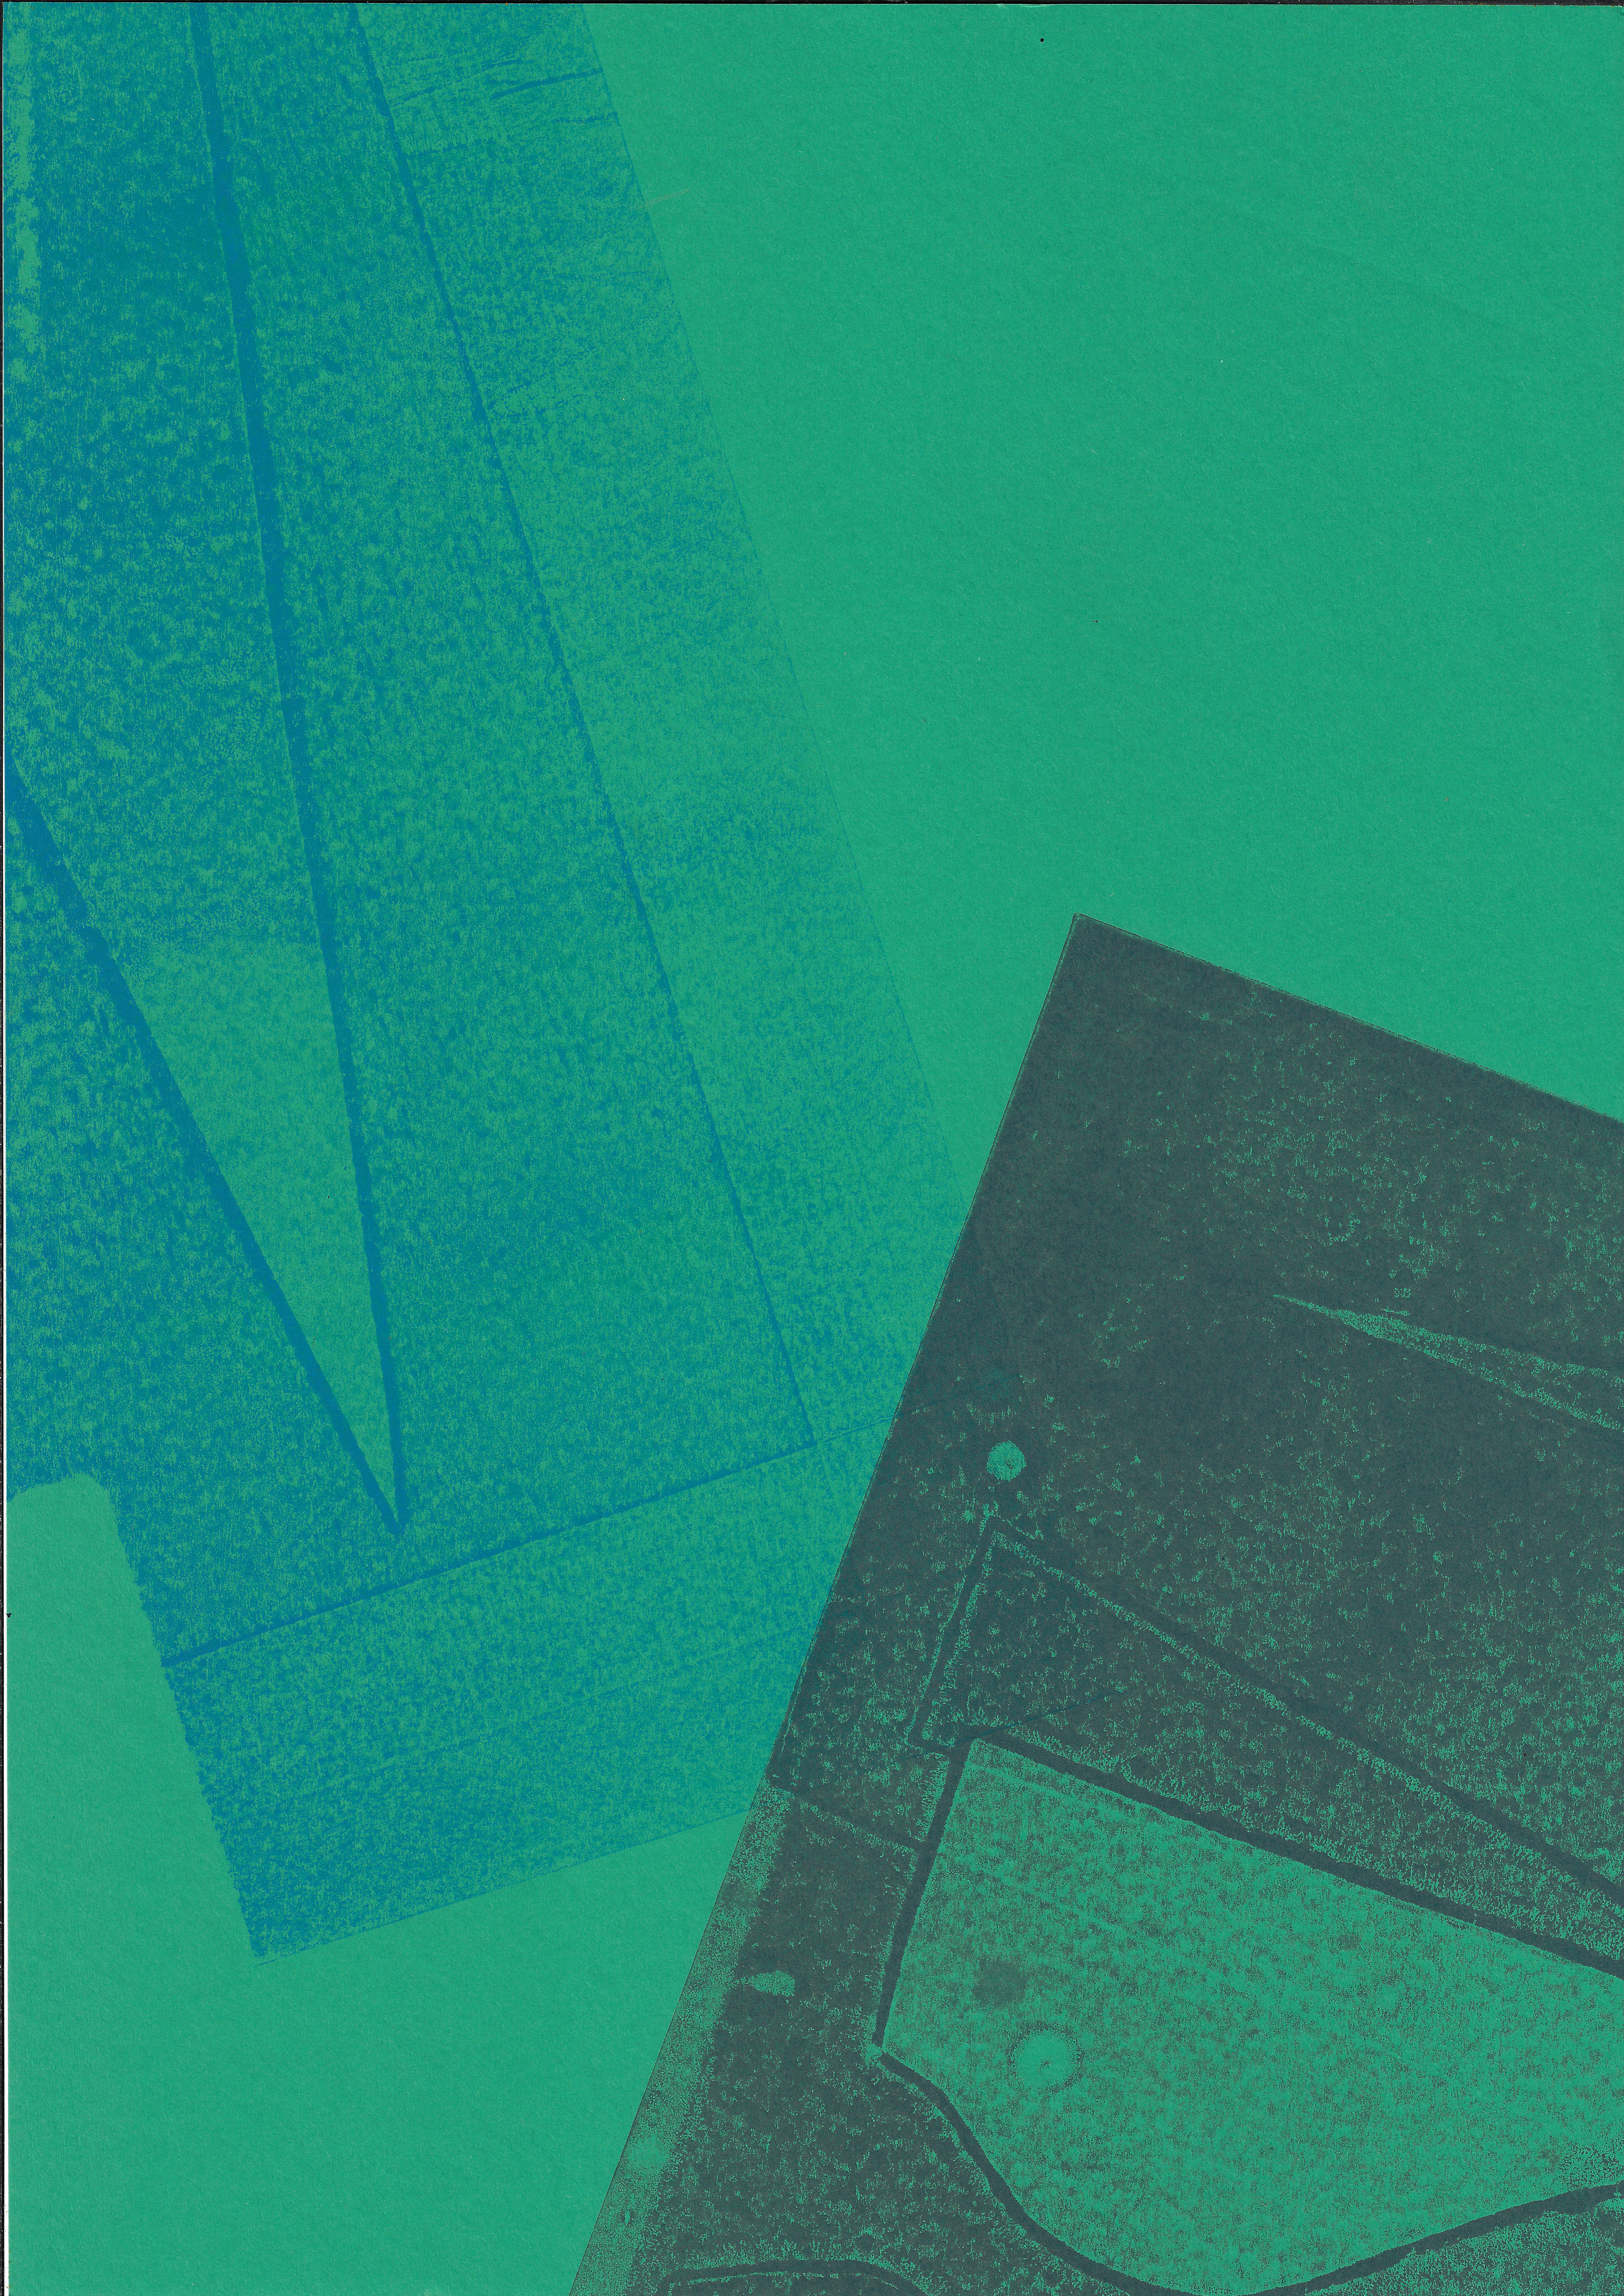
Screenprint on paper, 29.7 x 42 cm
Screenprint on paper 29.7 x 42 cm
Arrangement of paper on the screenprint bed
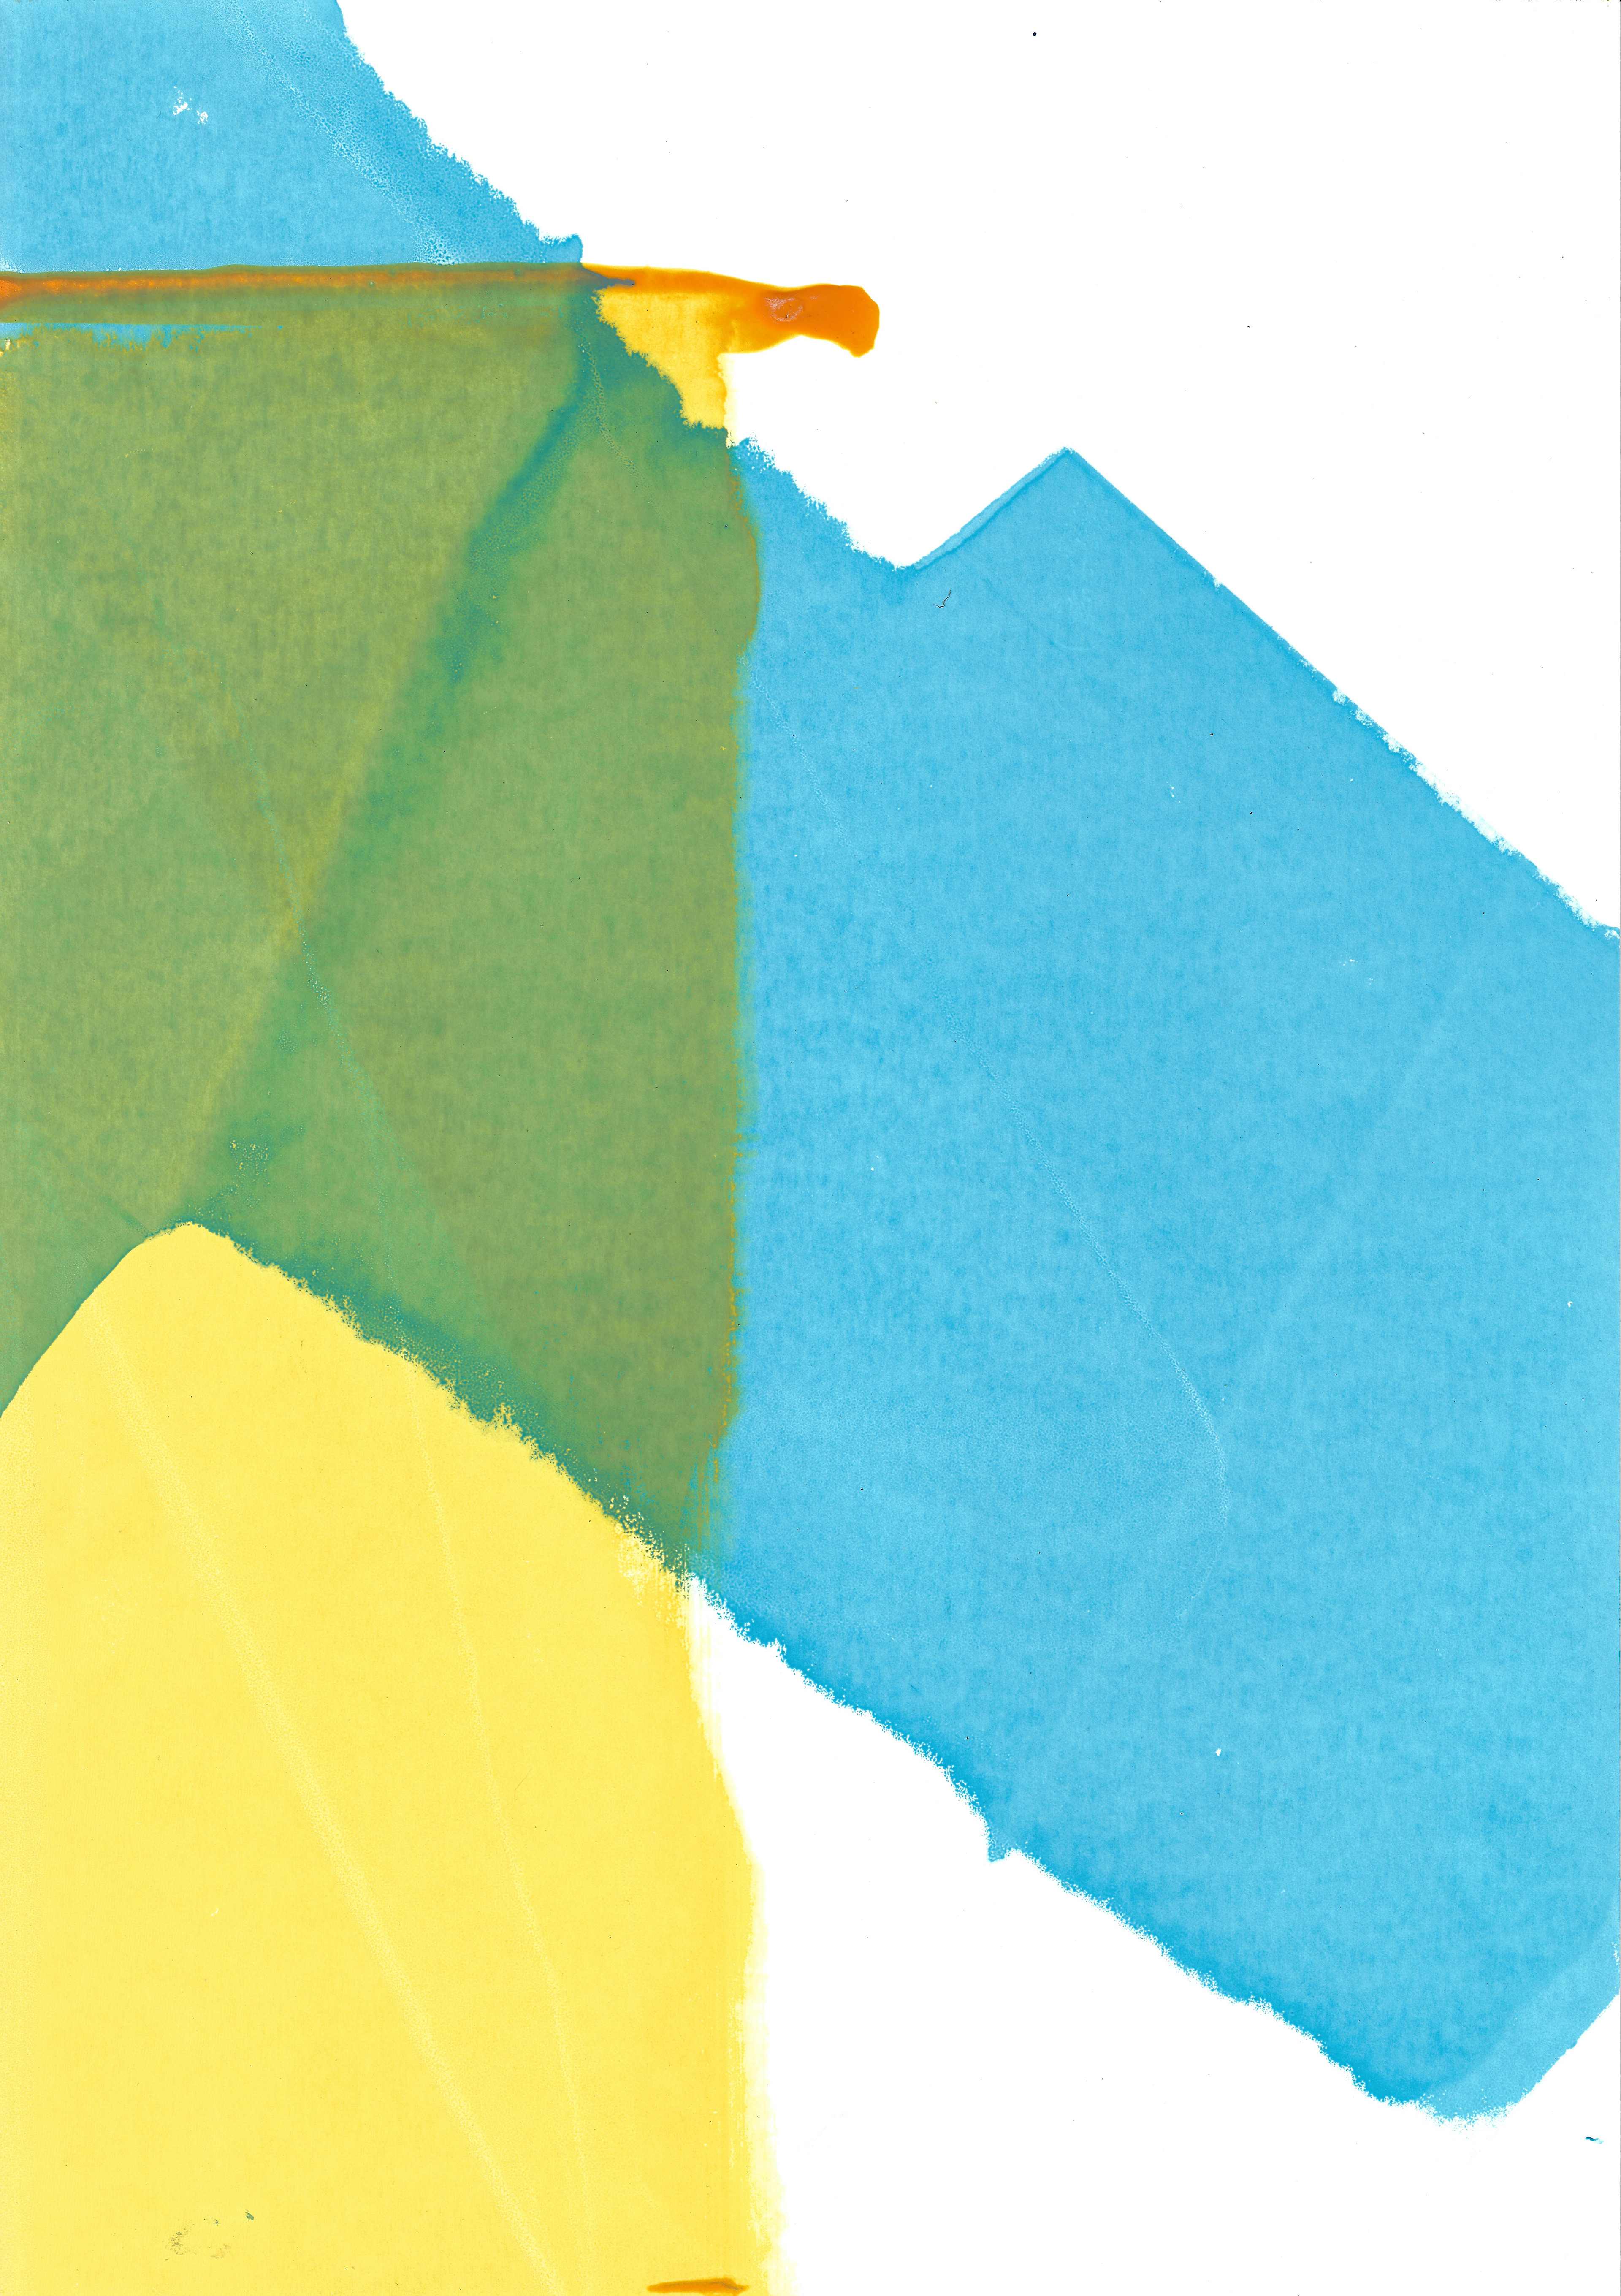
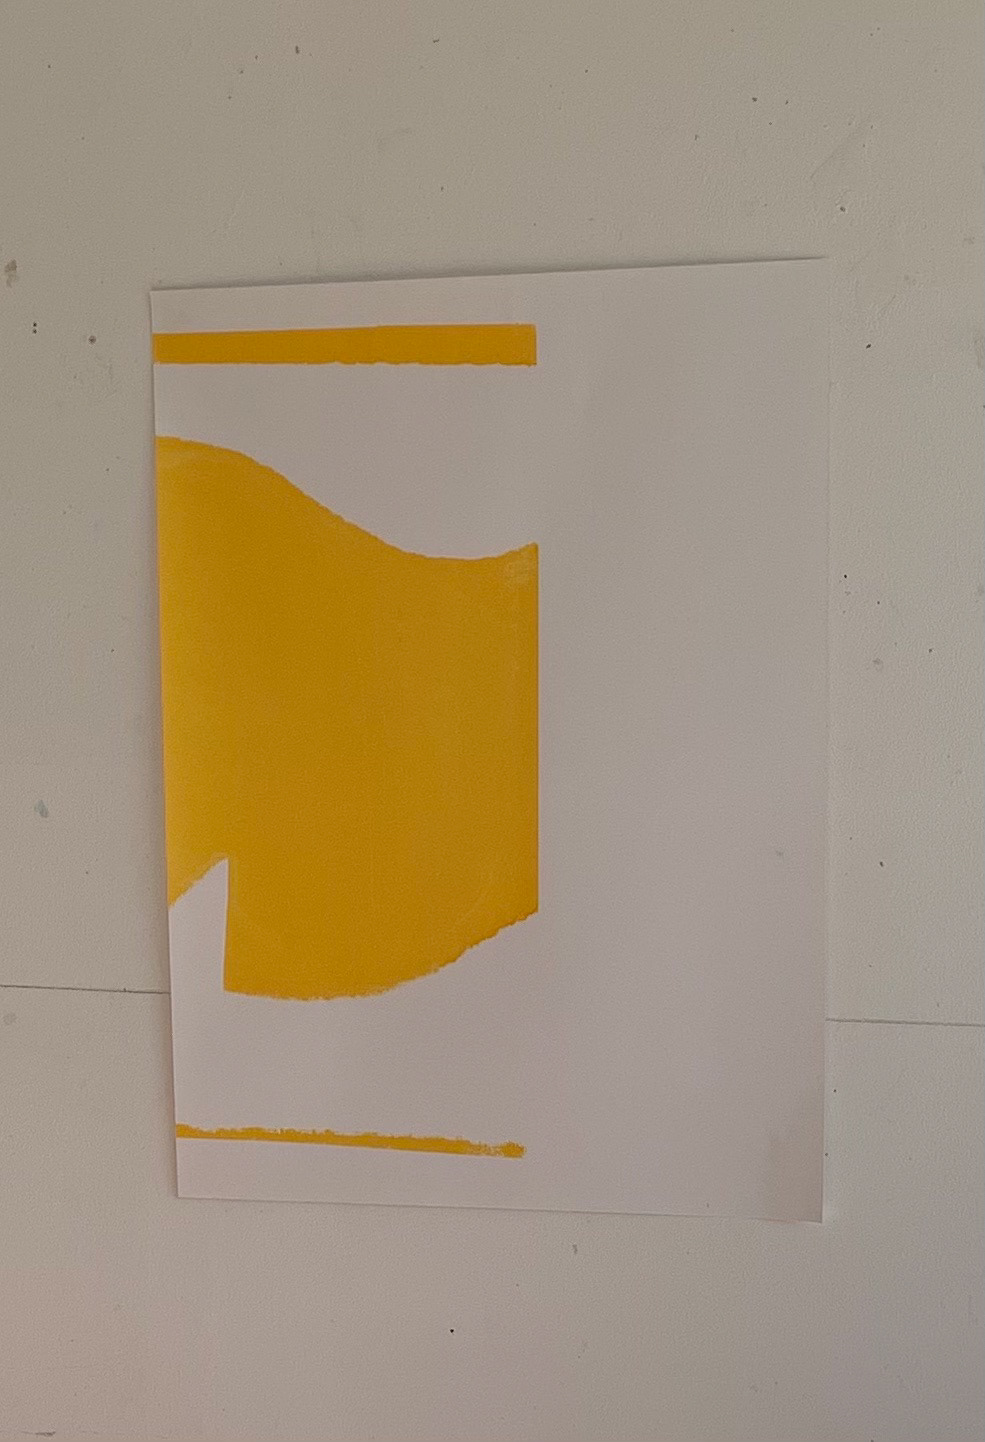
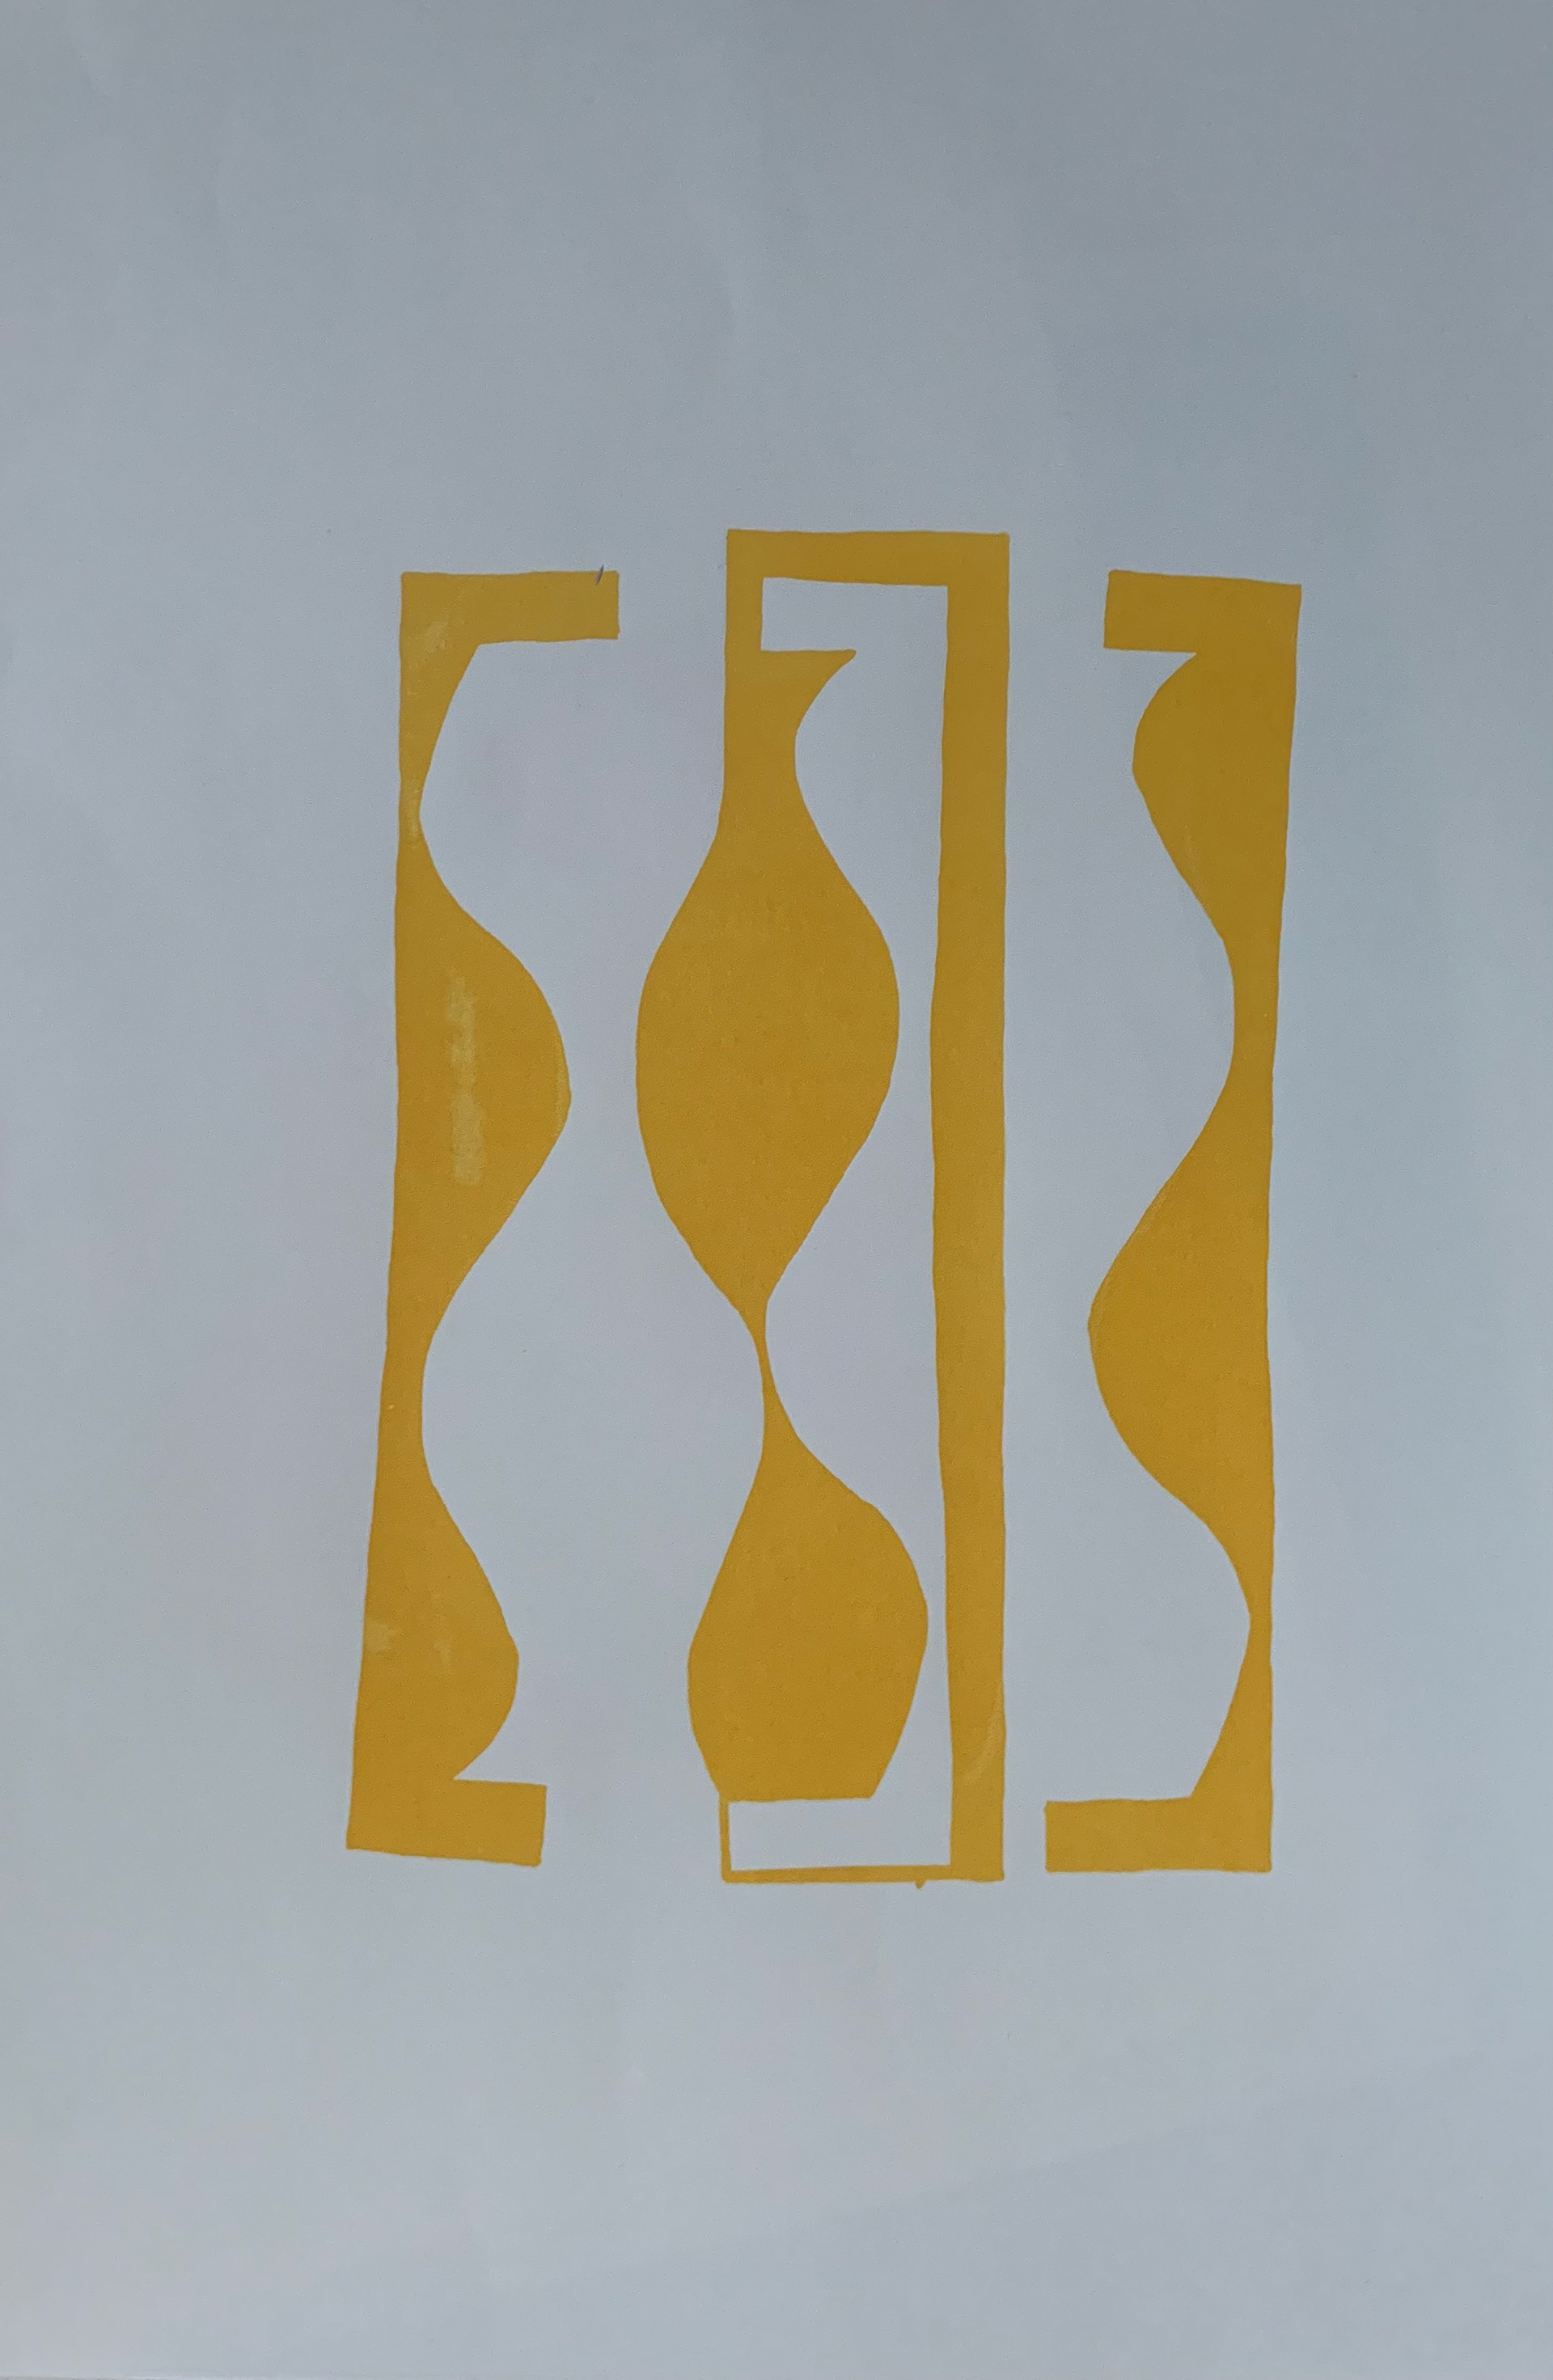
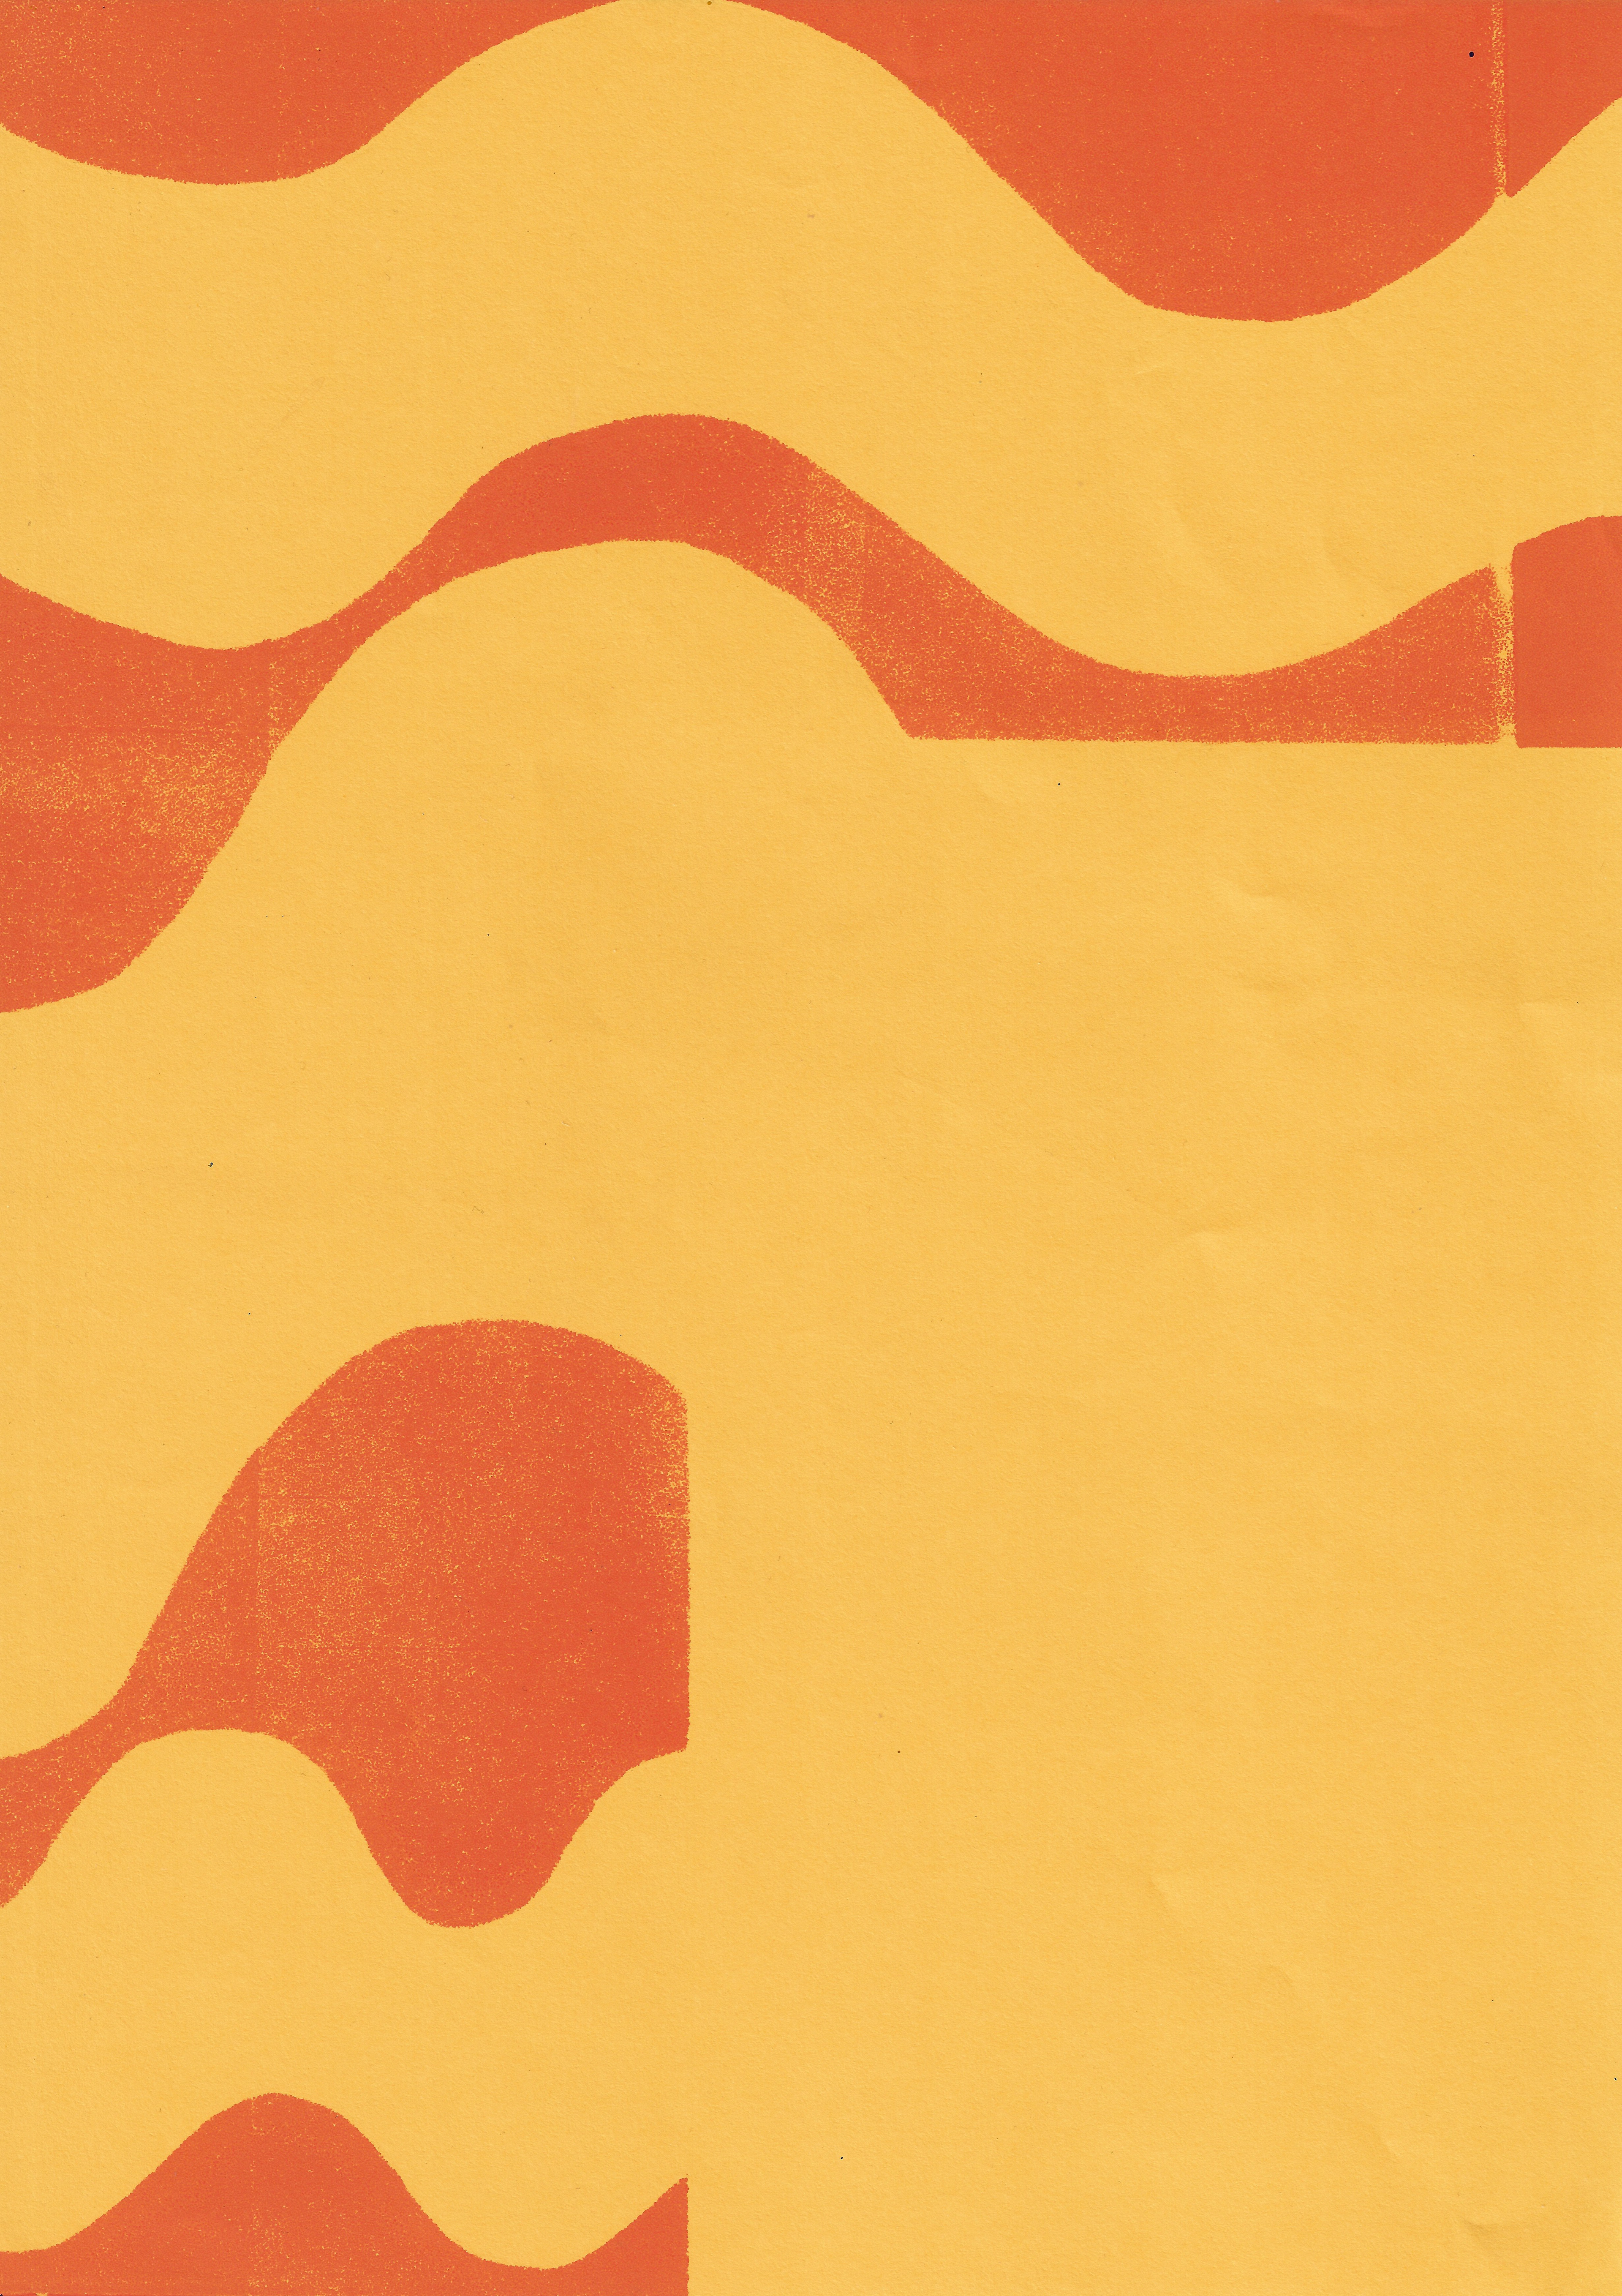
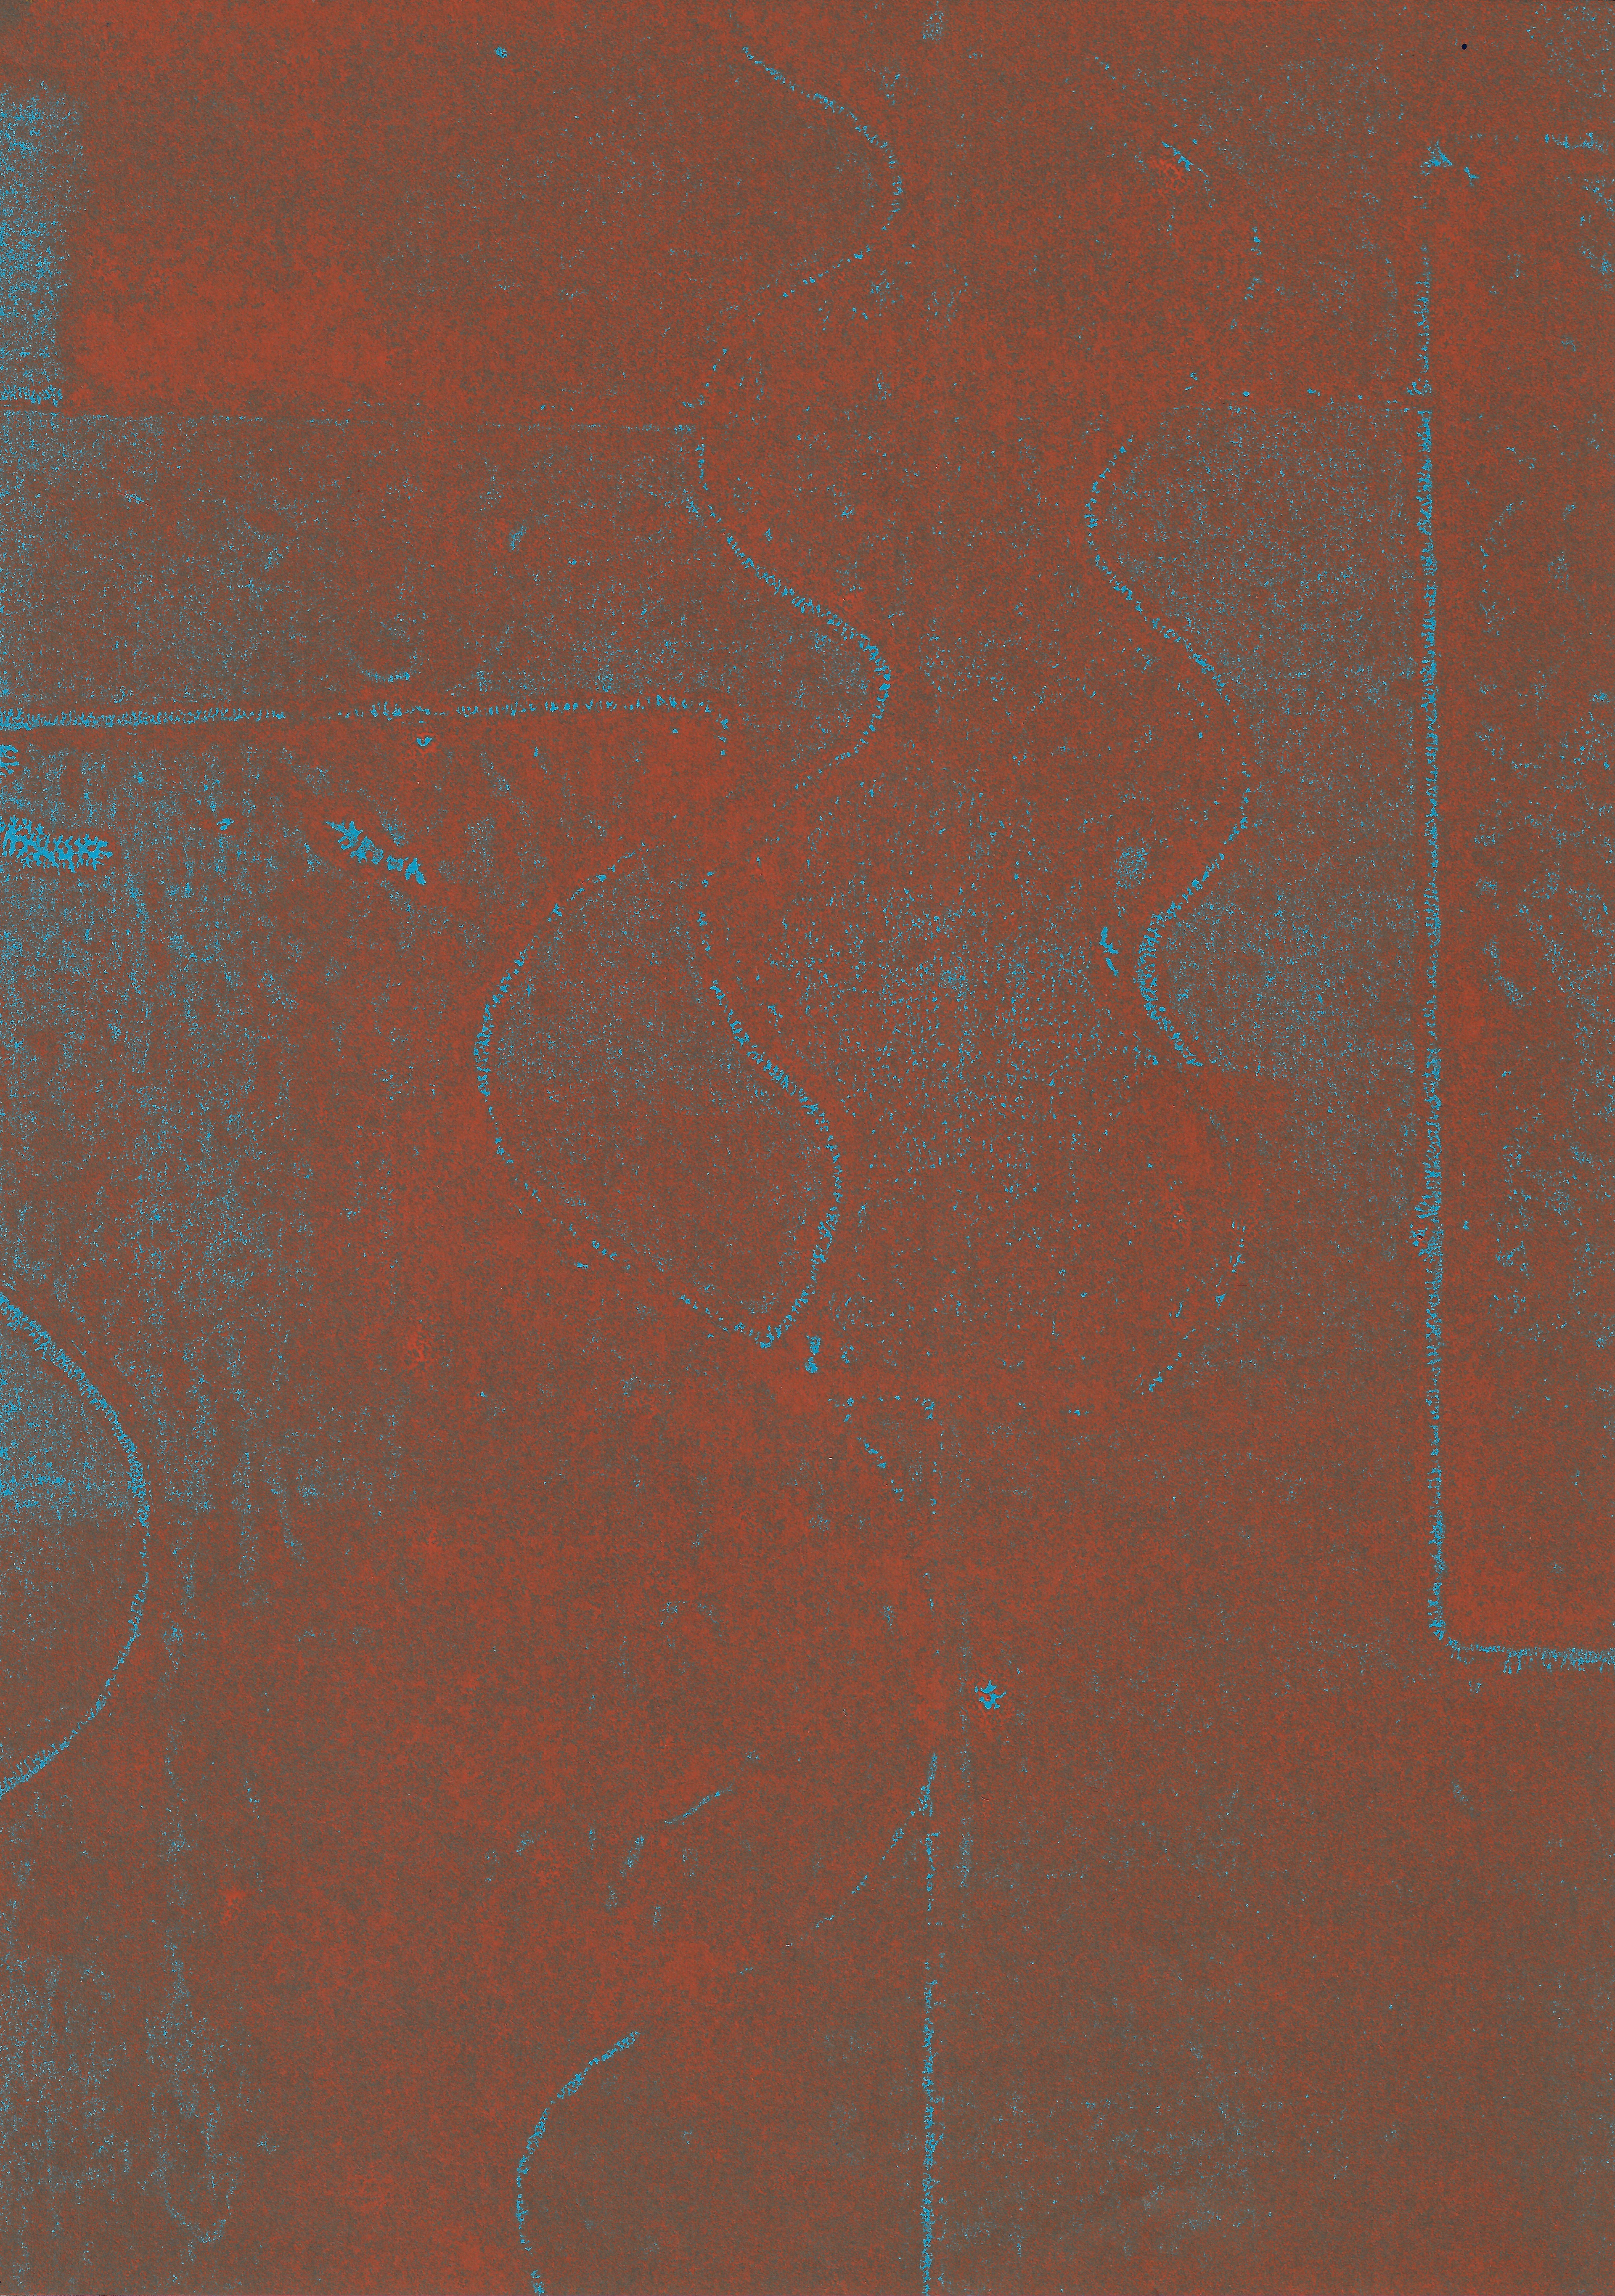
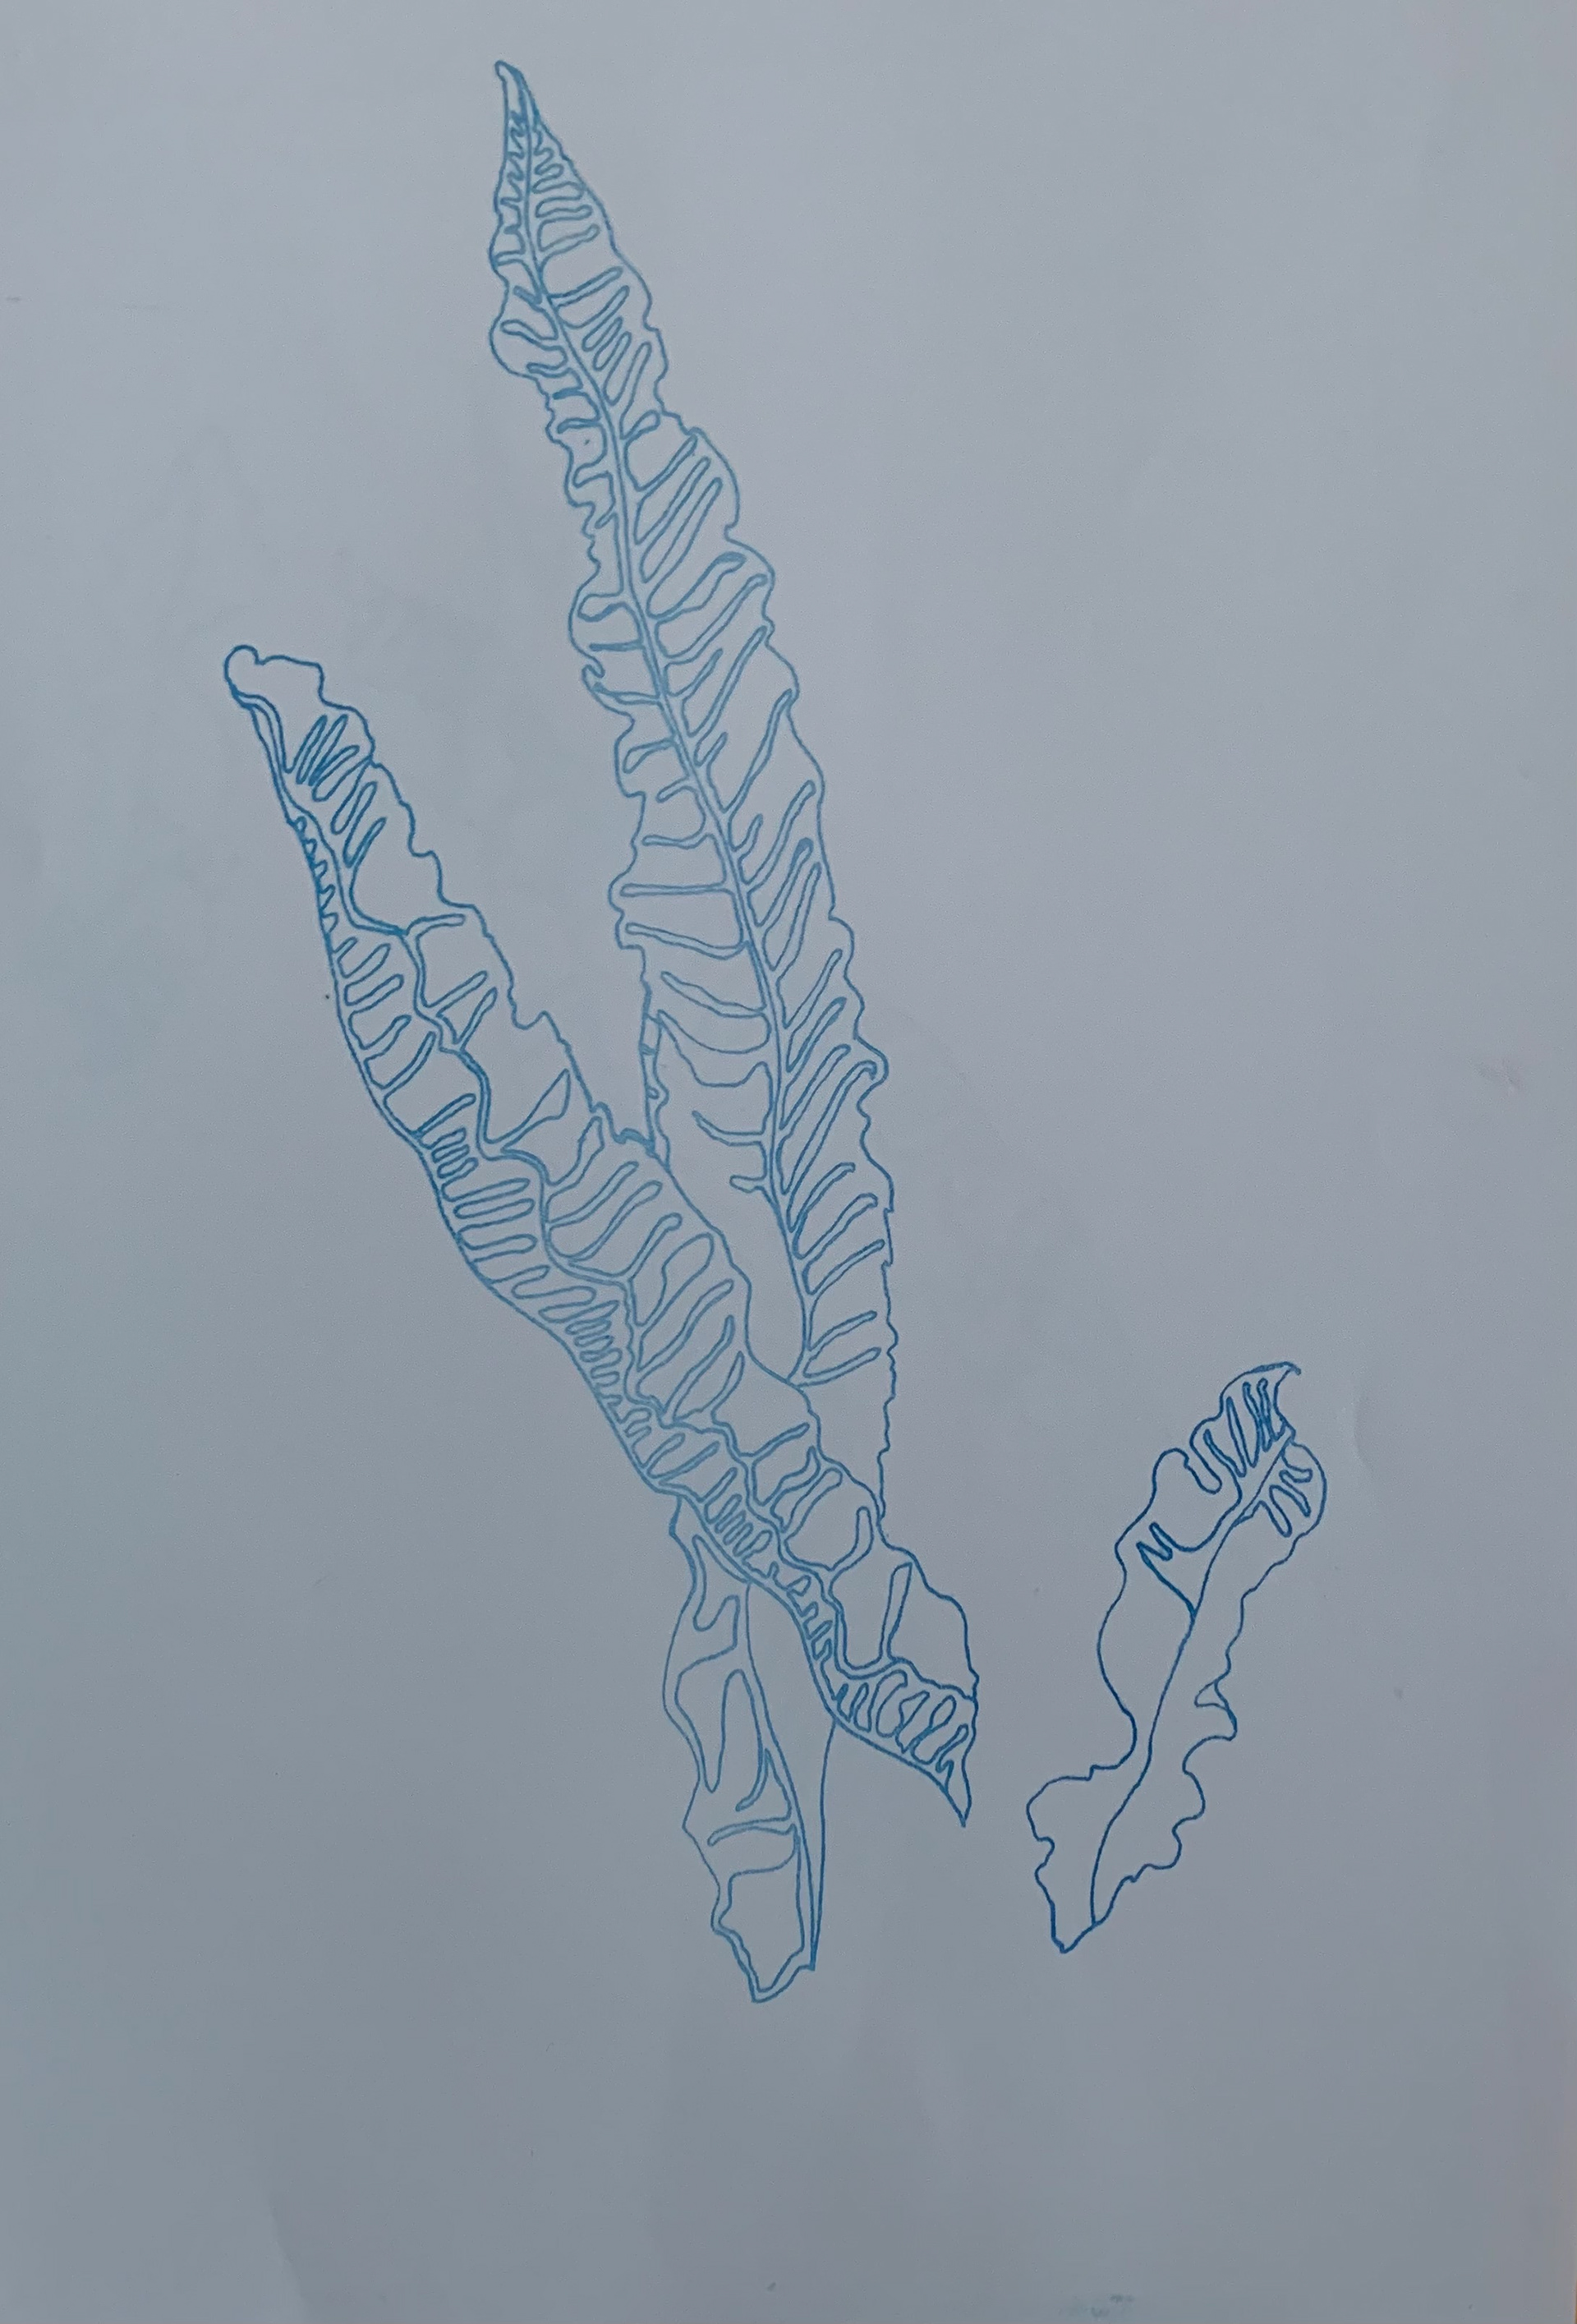
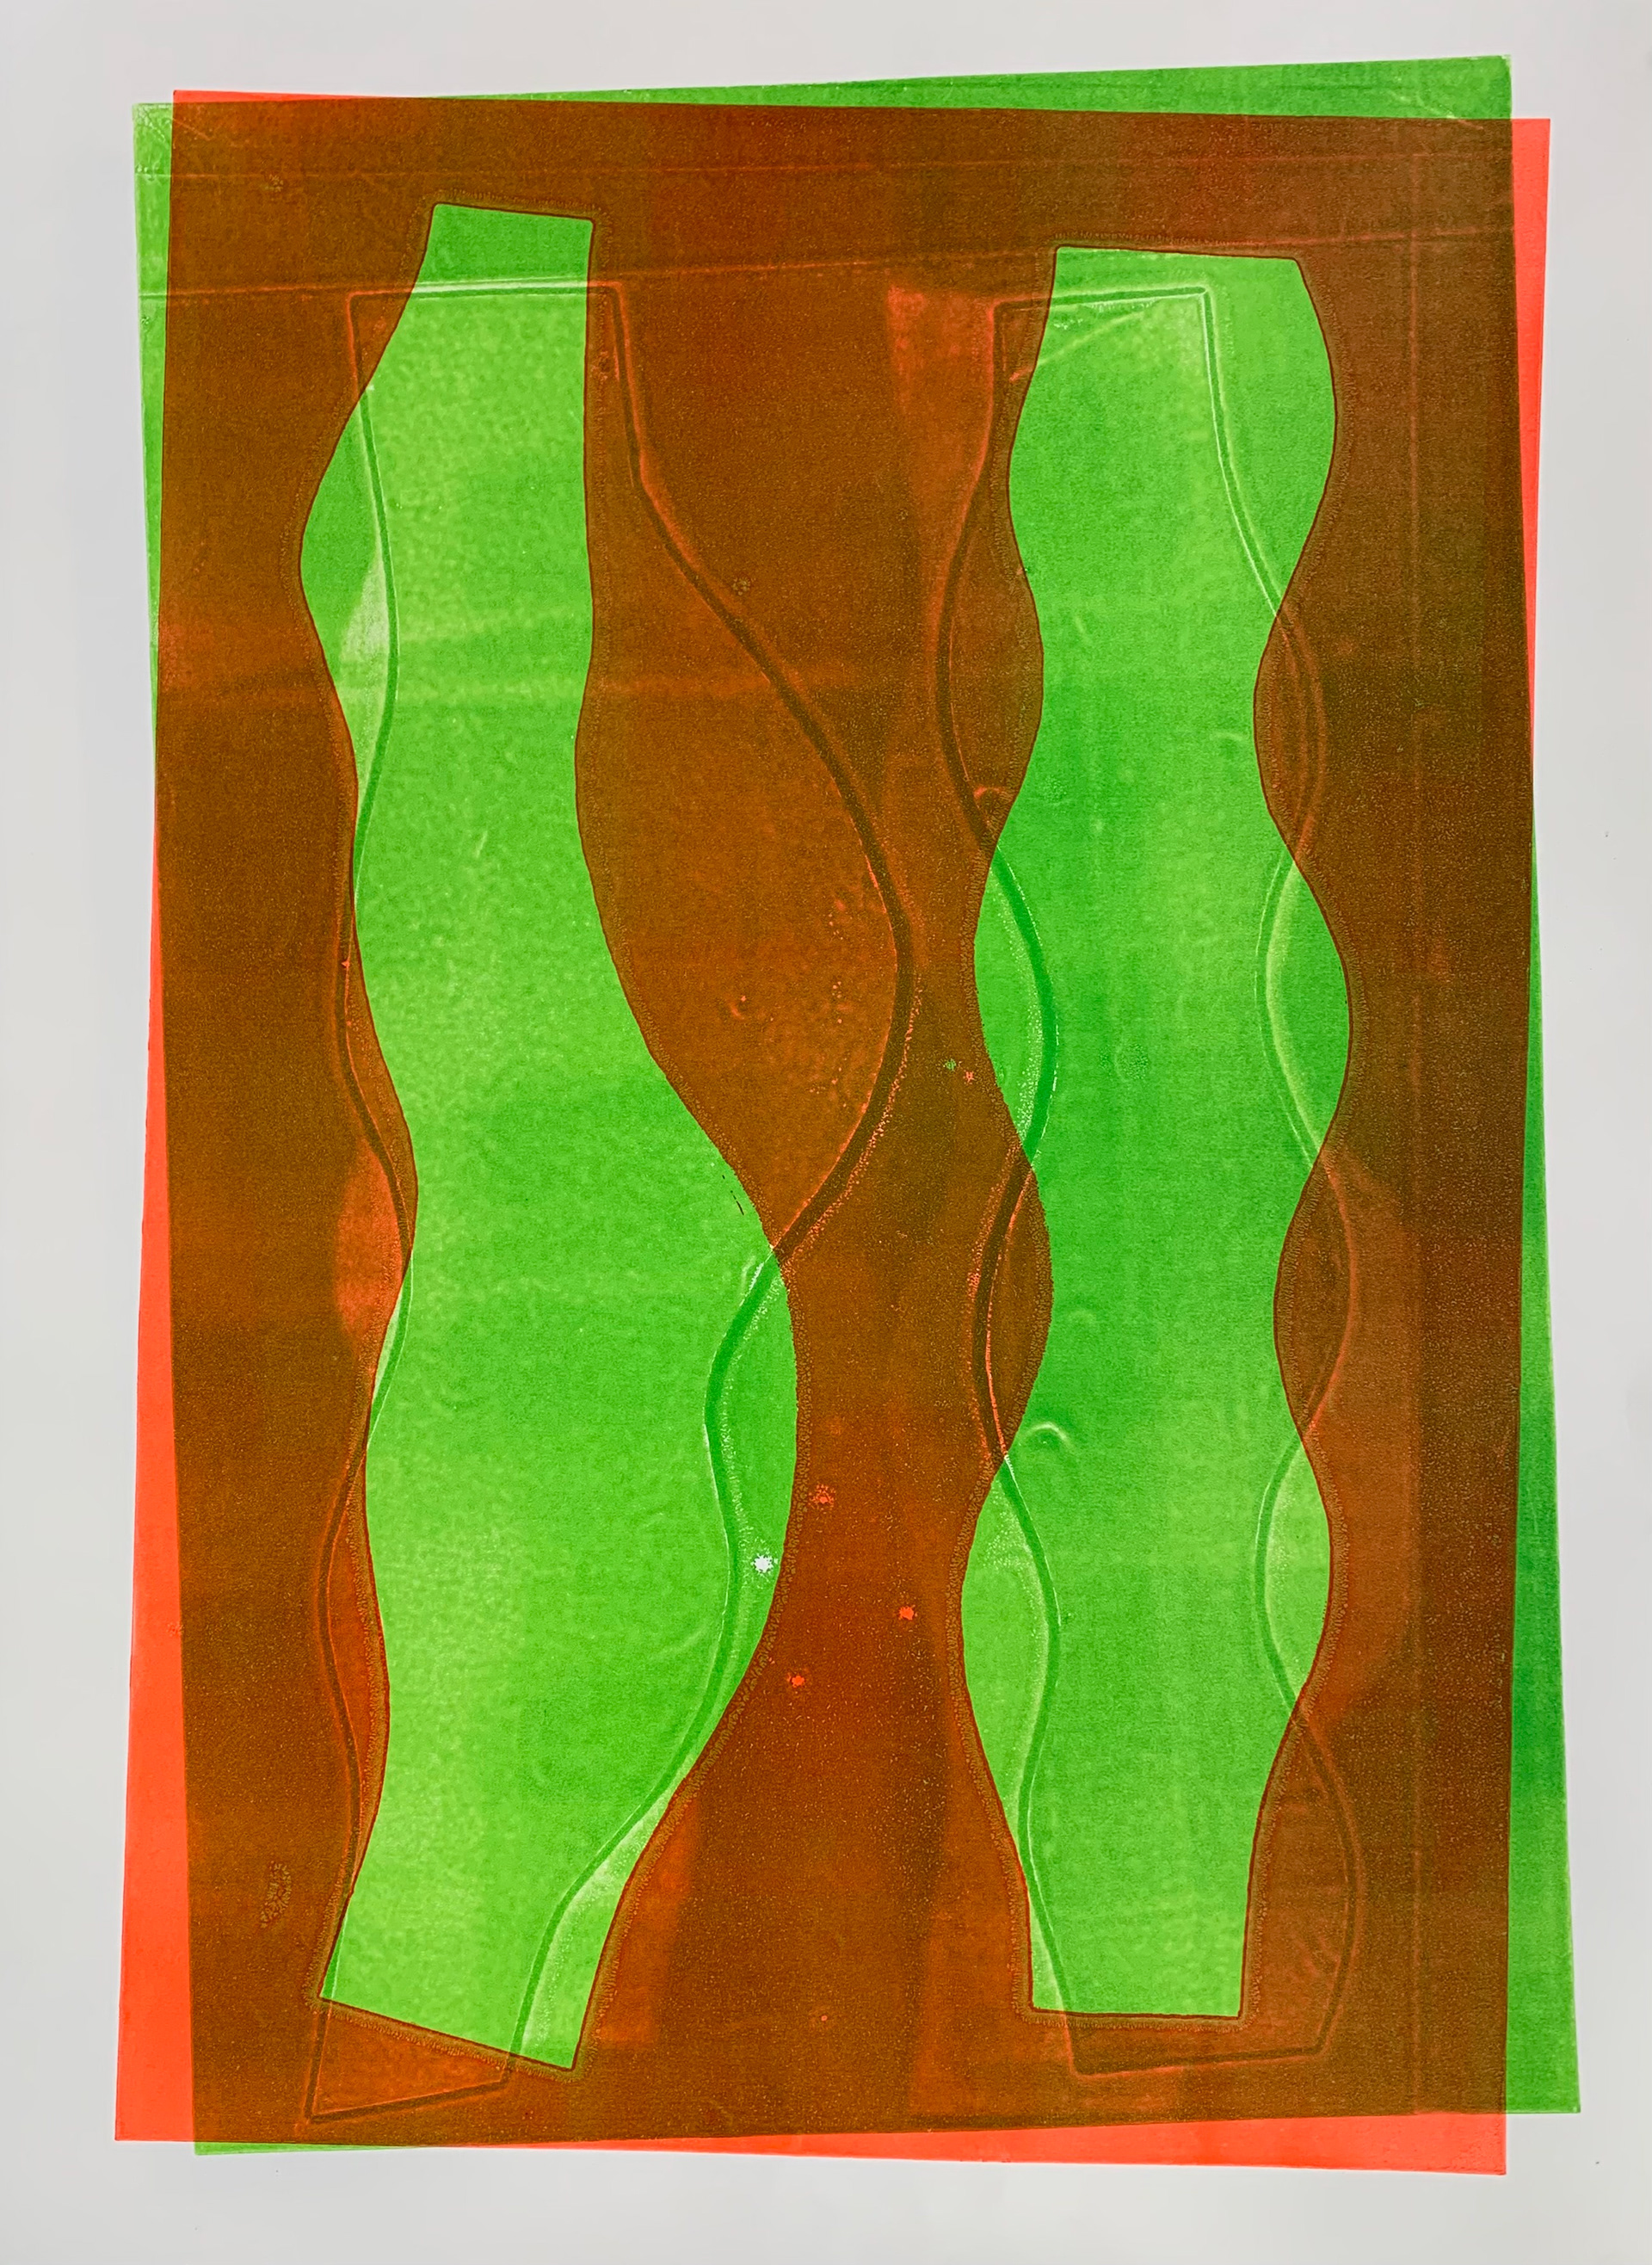
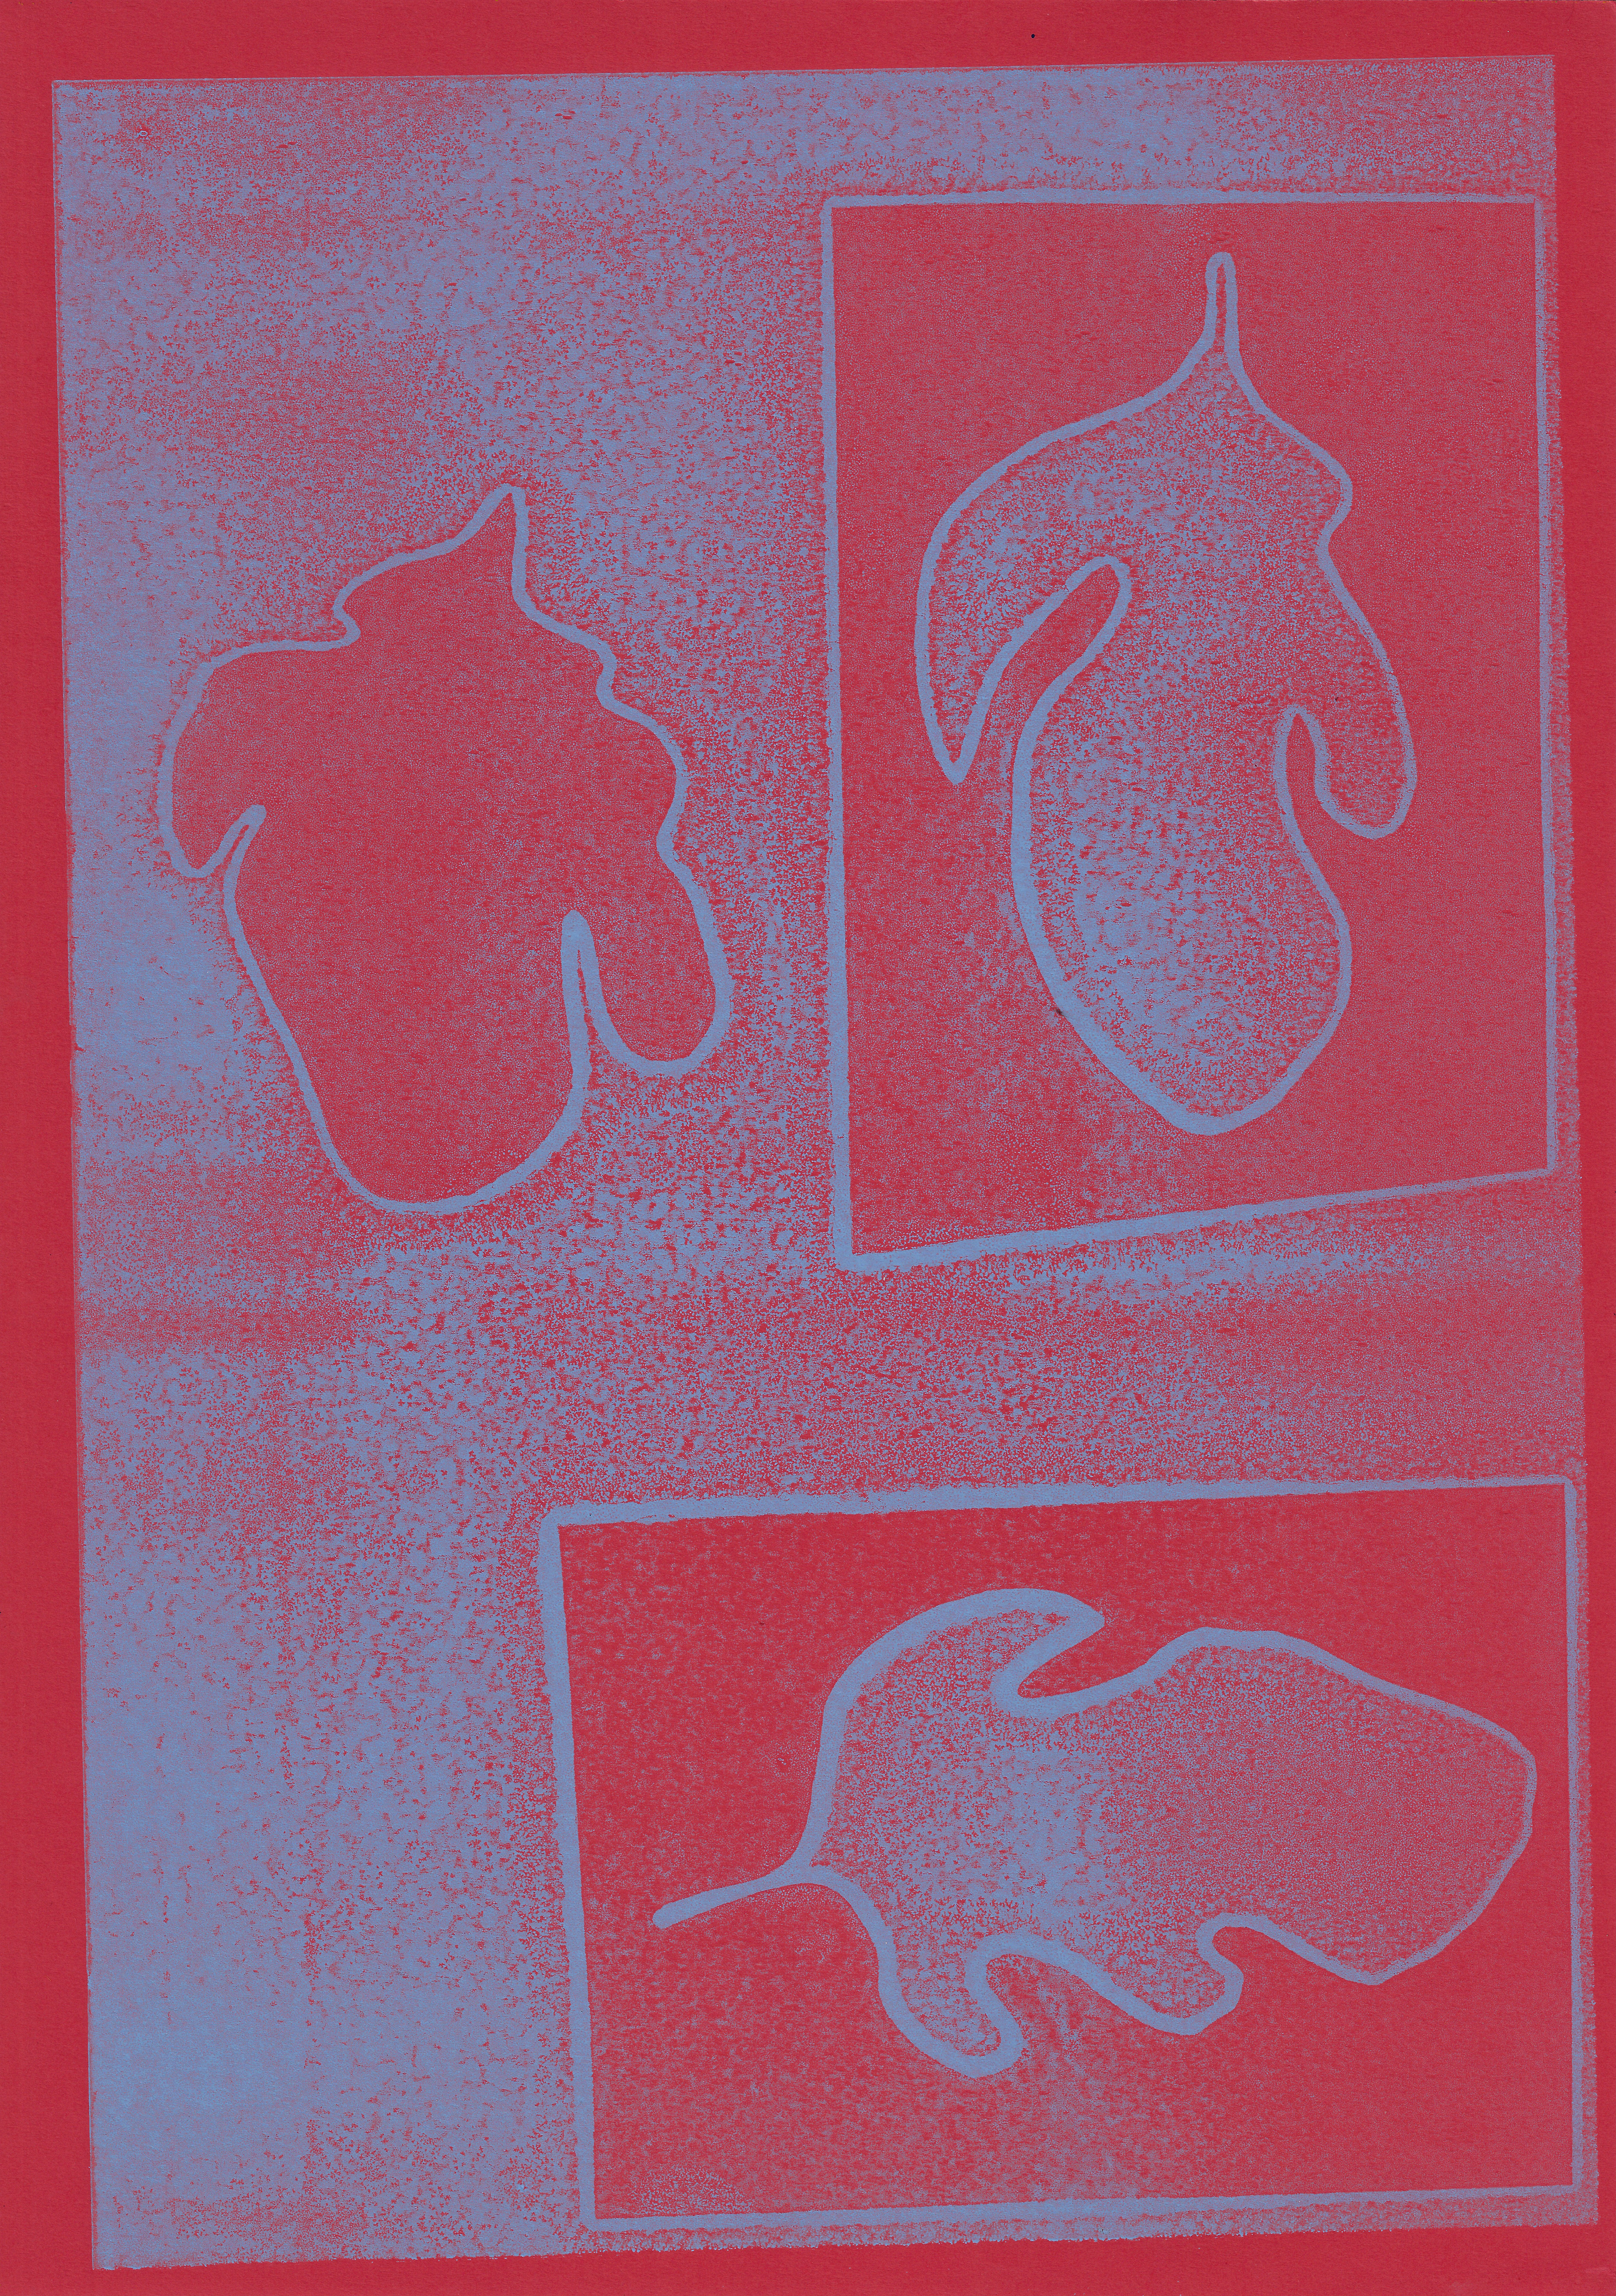
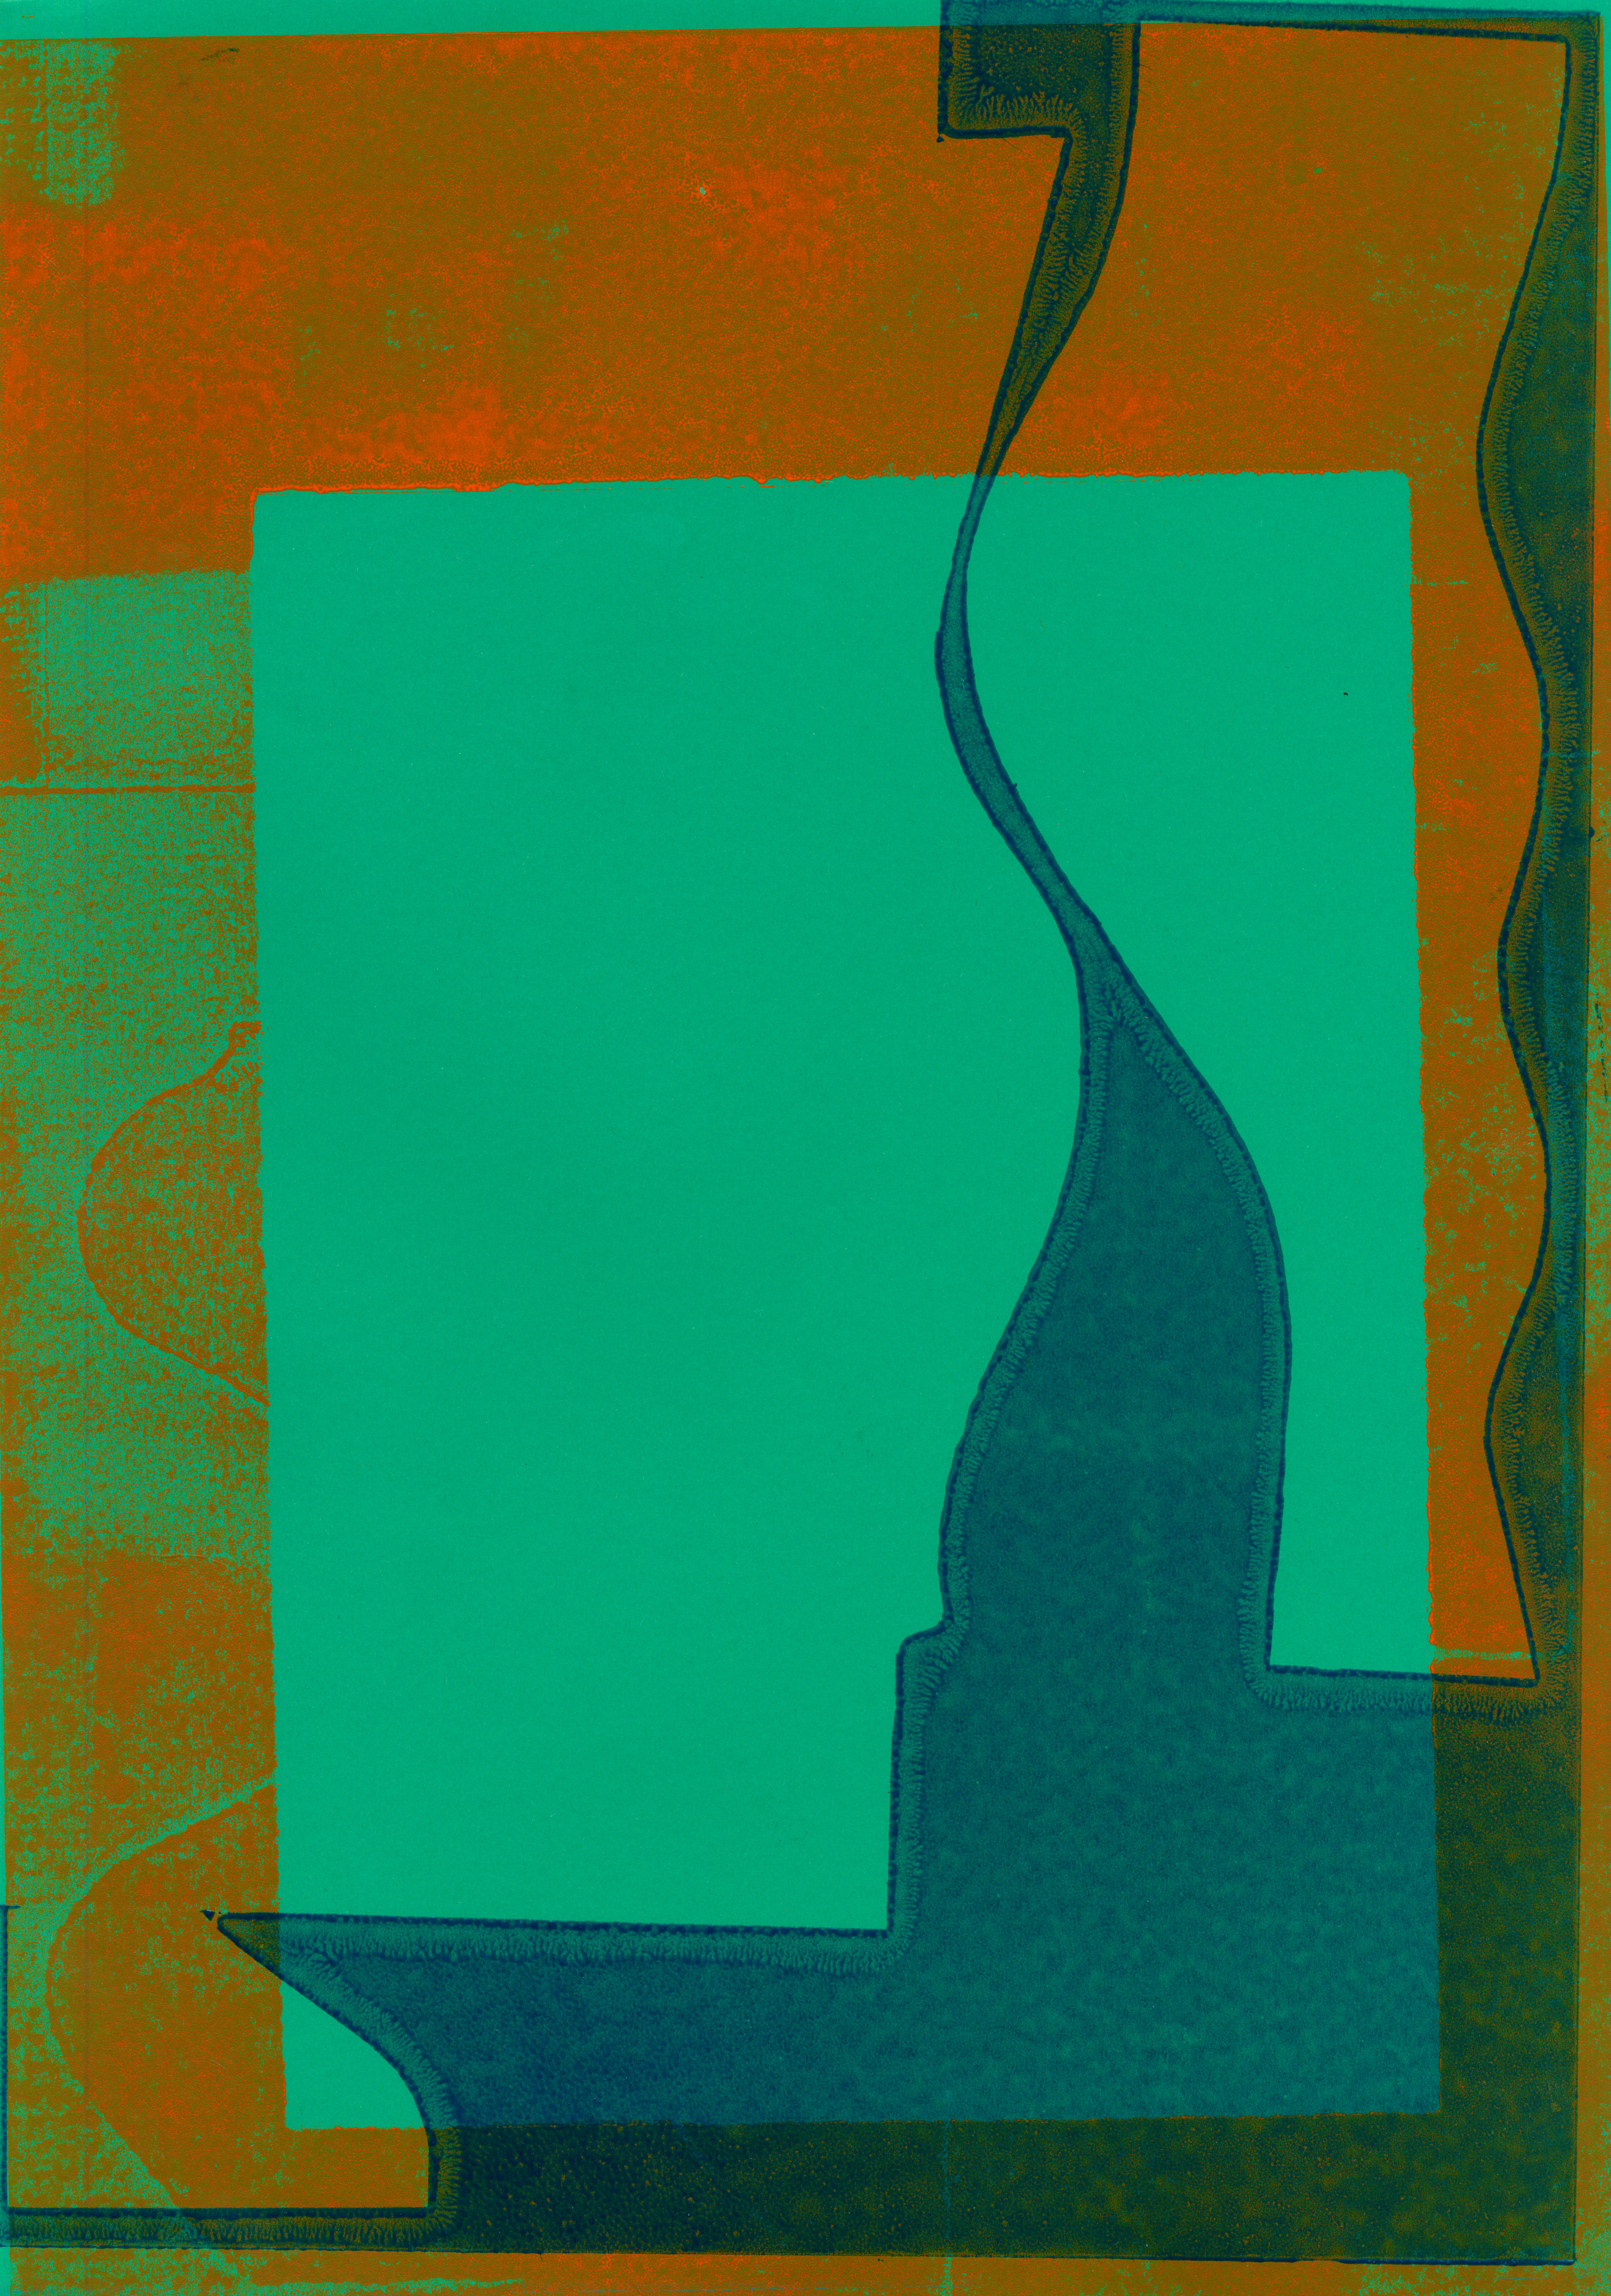
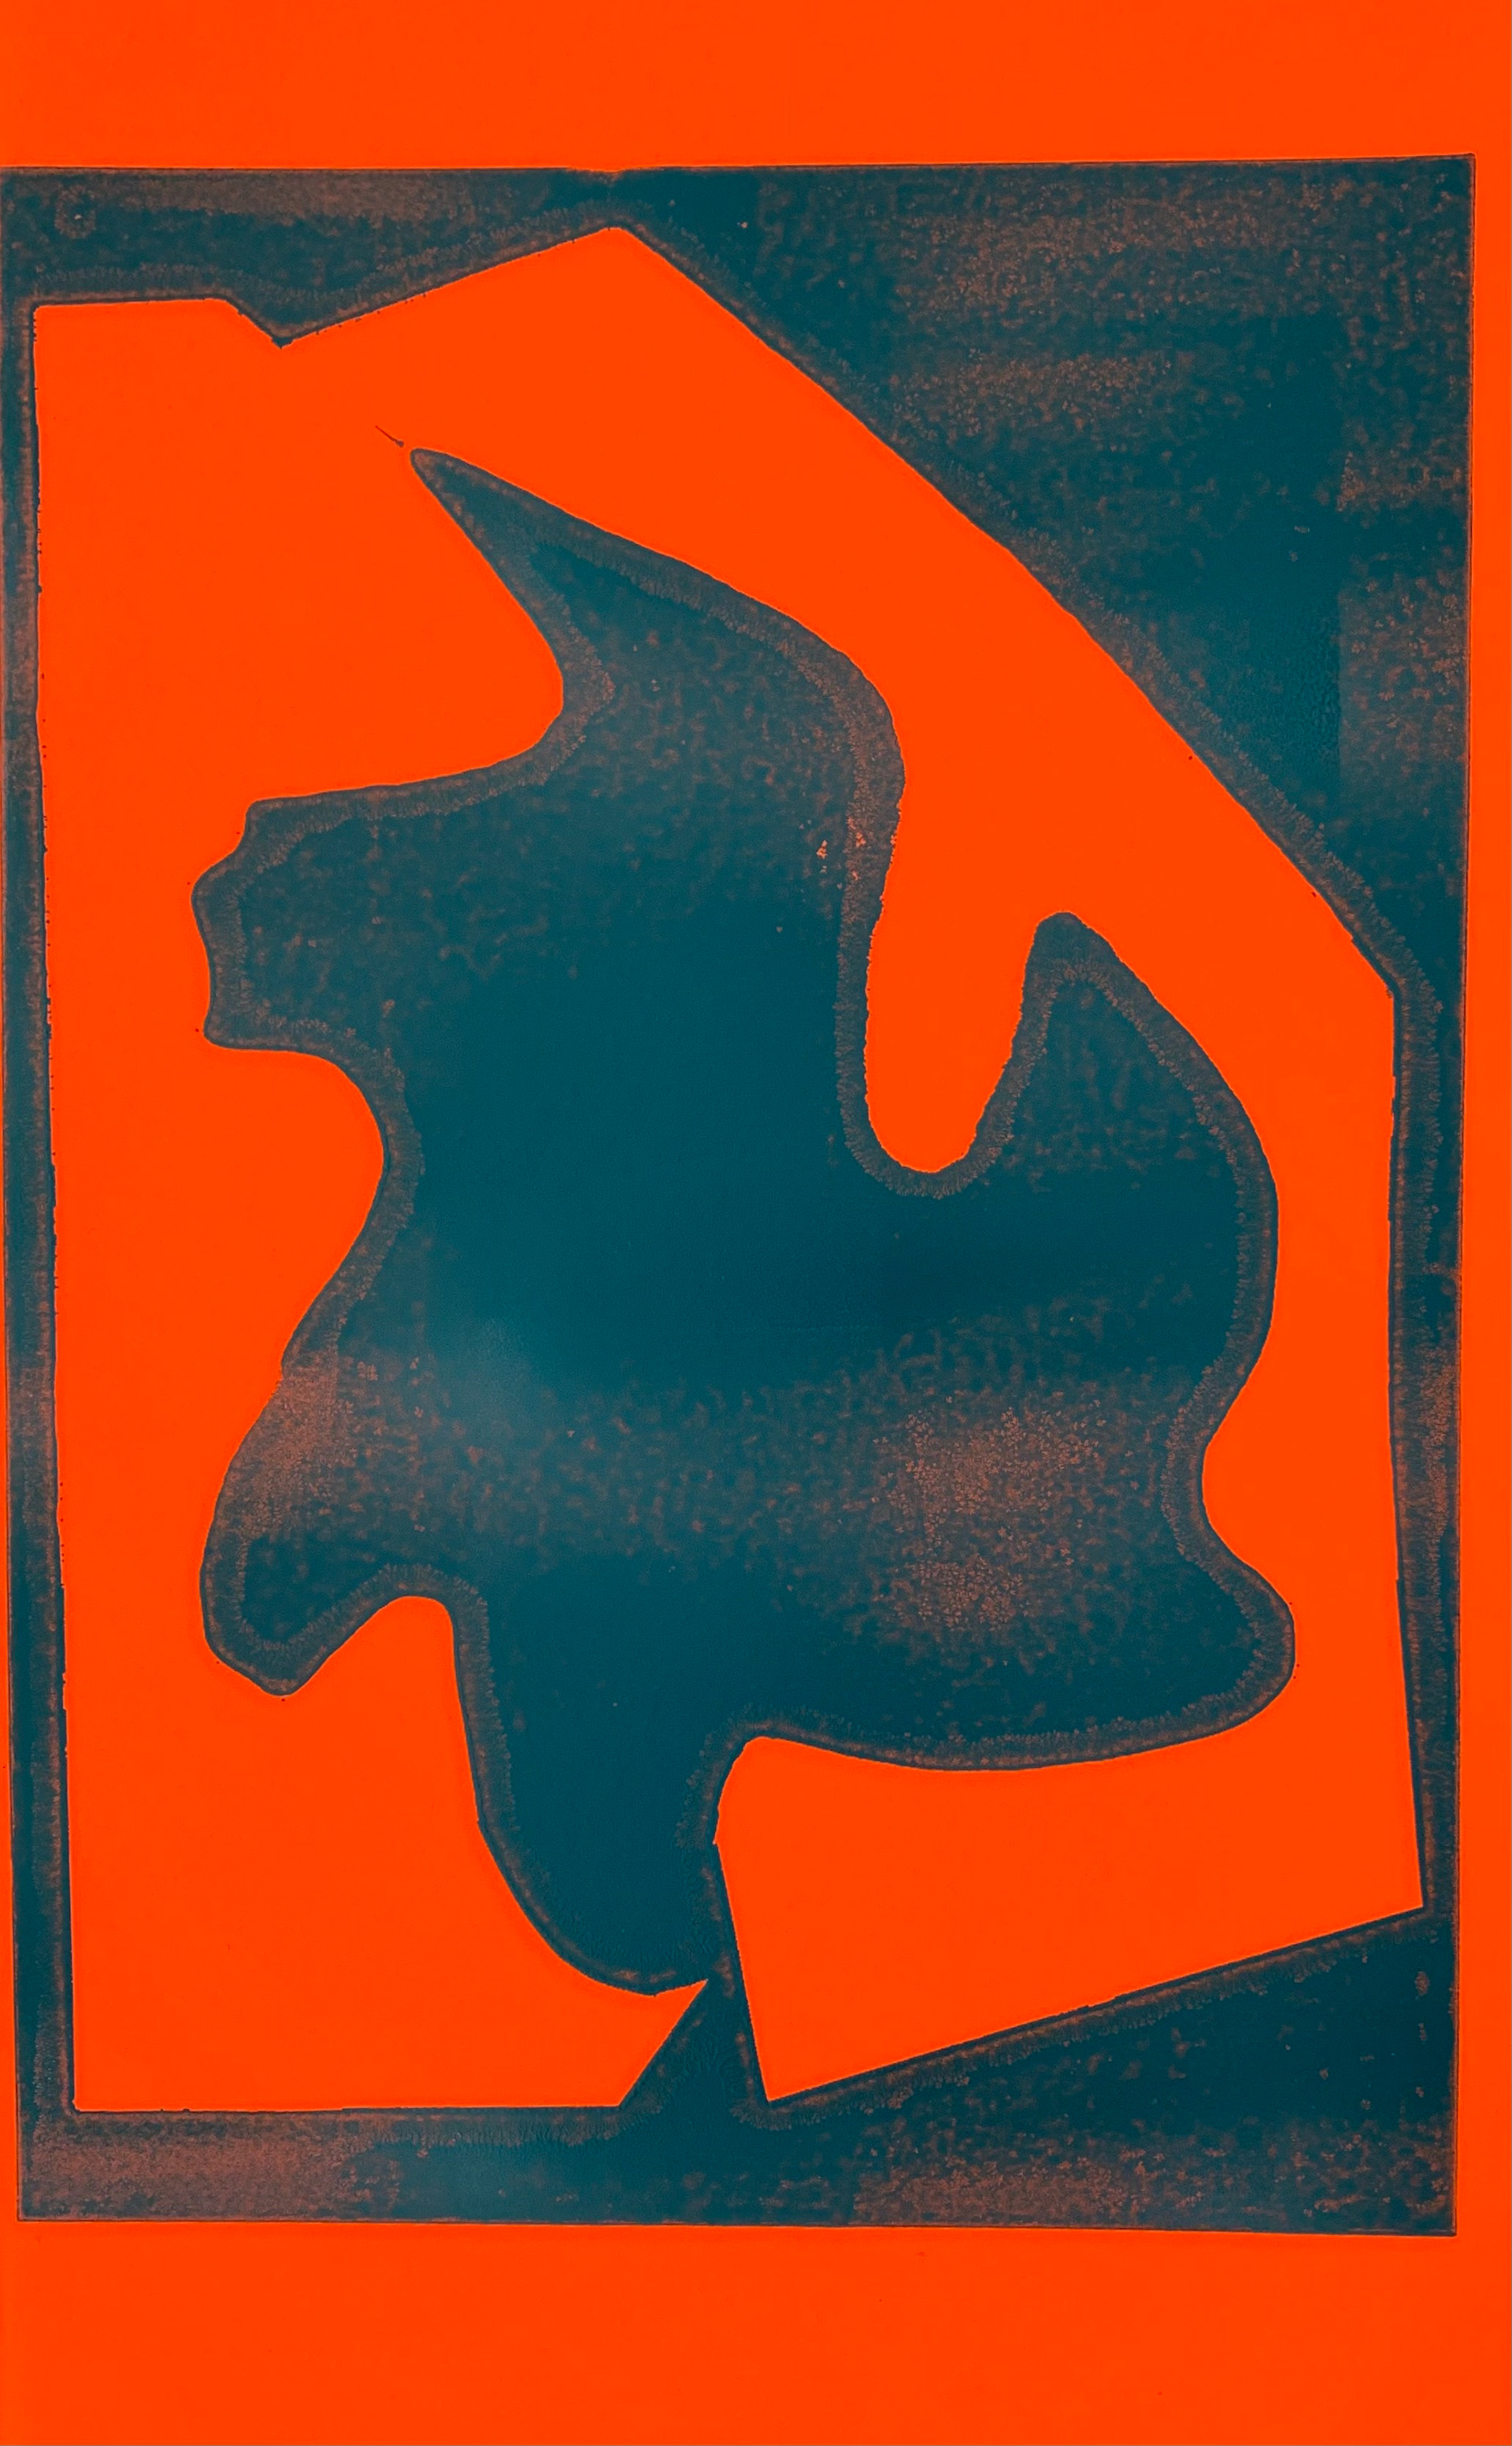
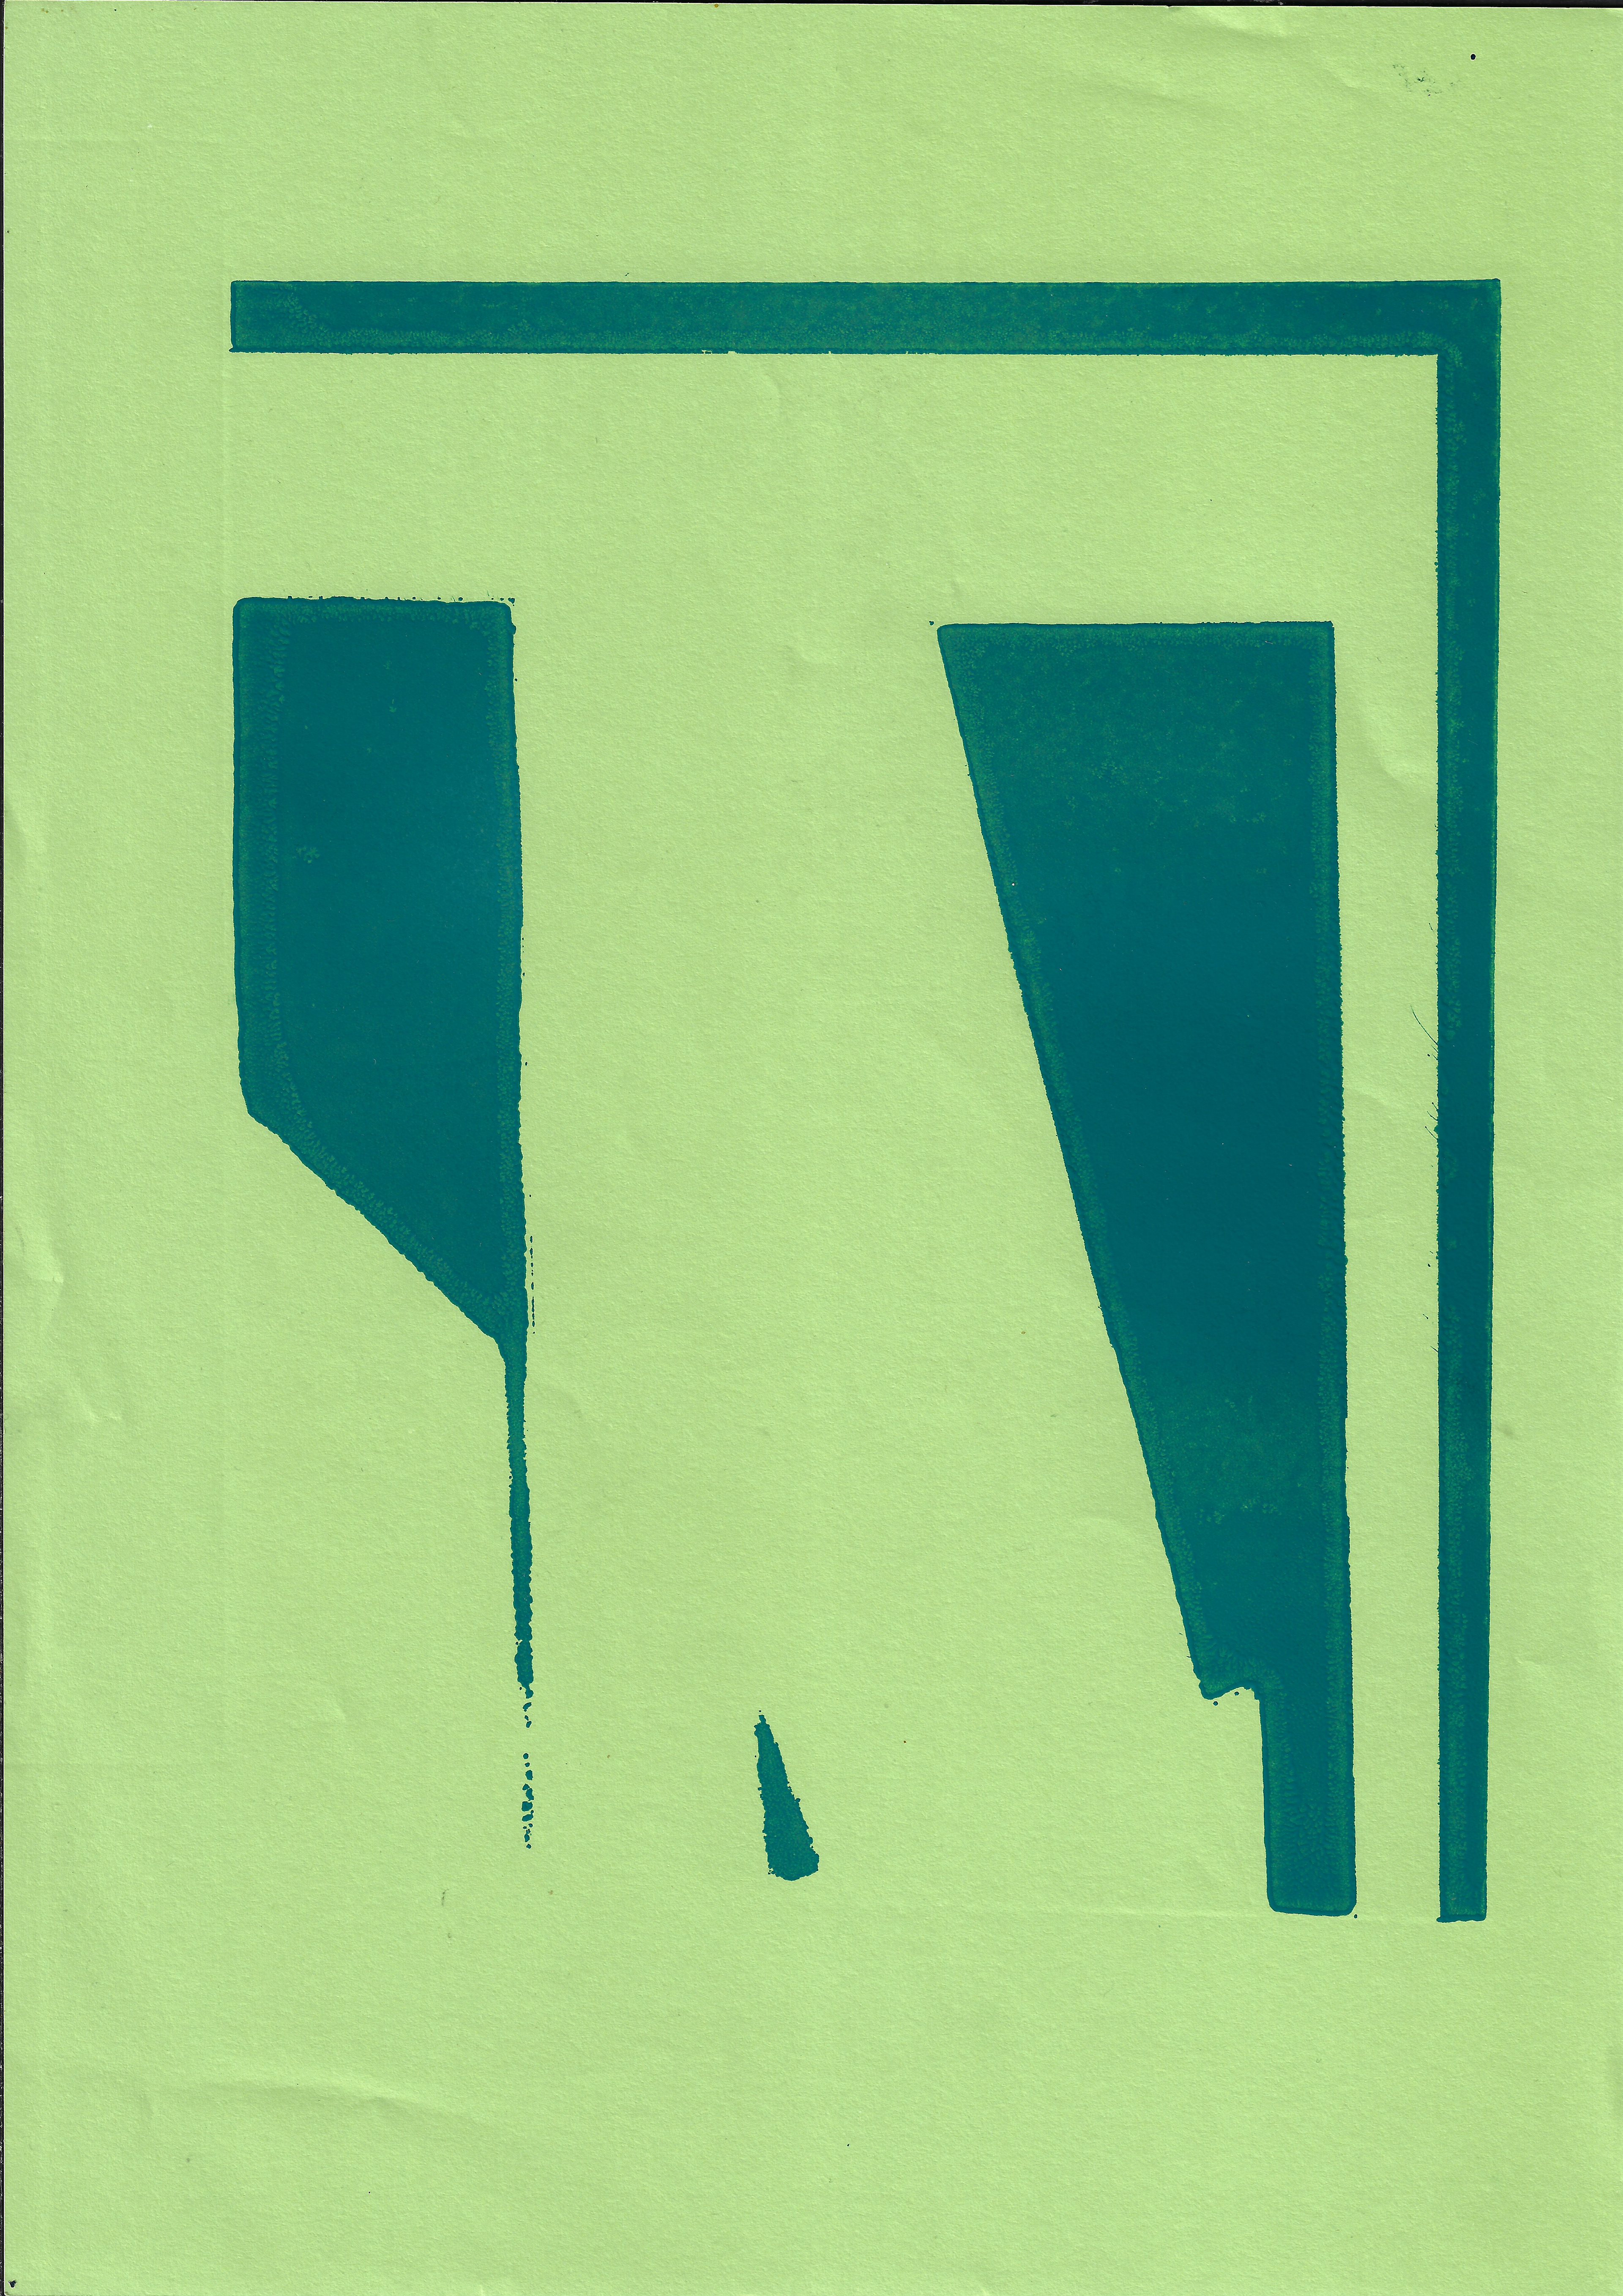
Screenprint on paper, 70 x 48 cm
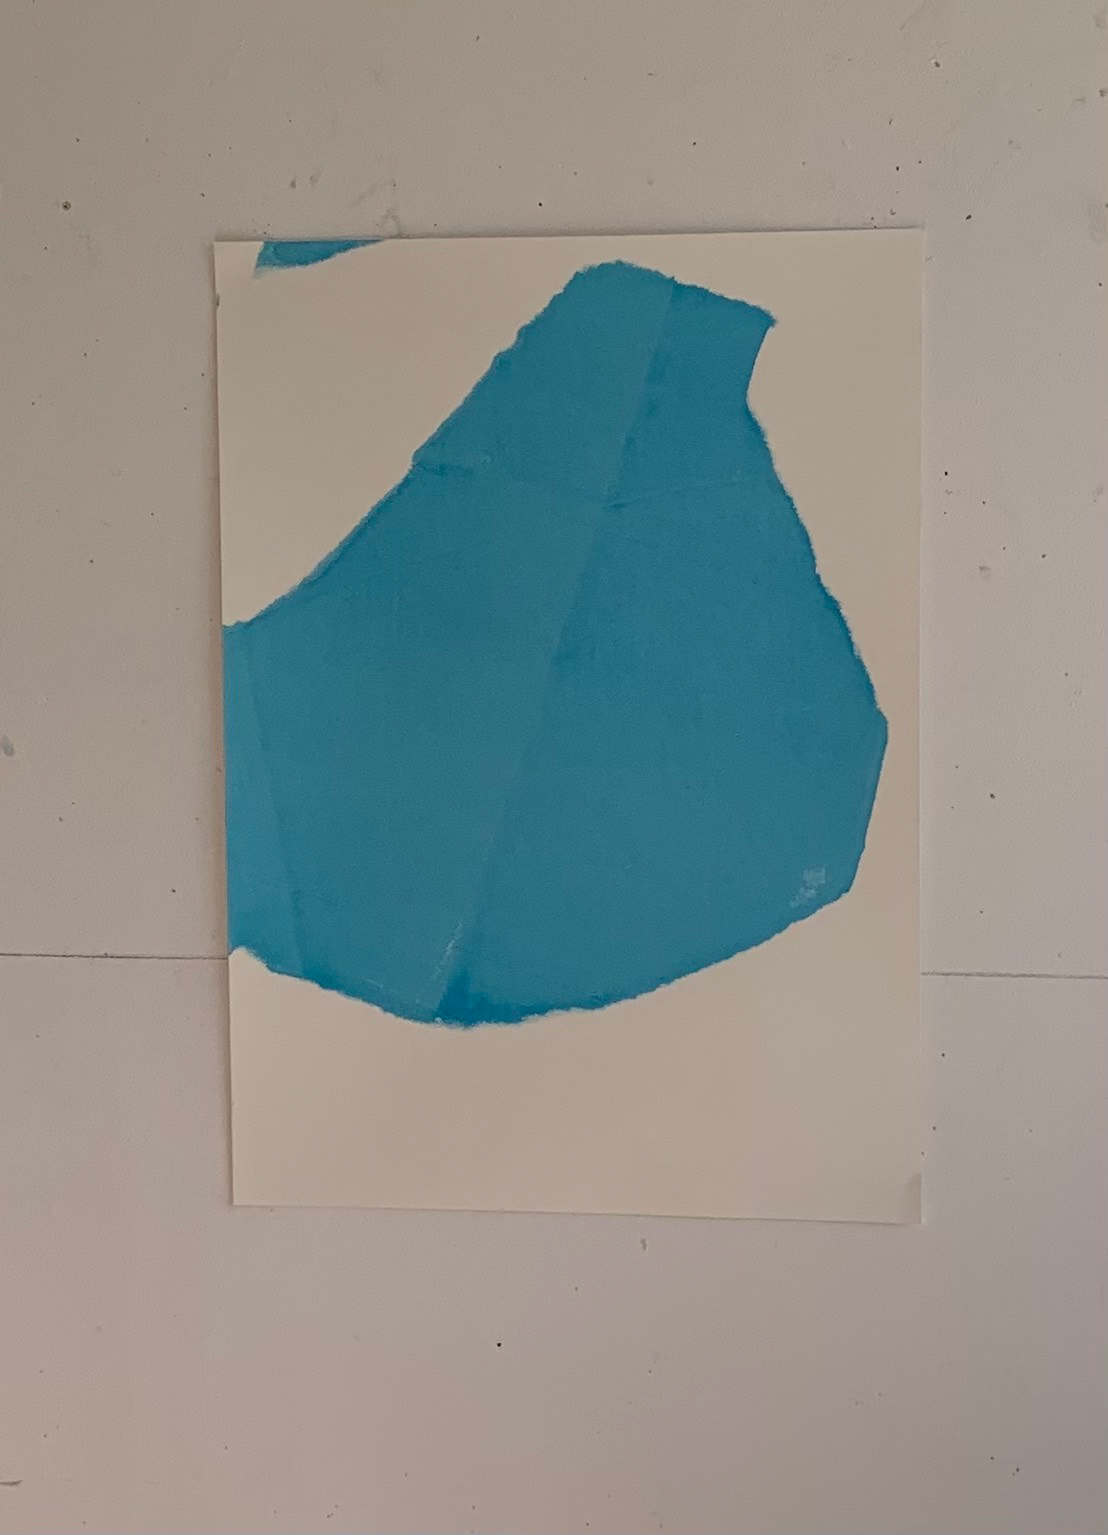
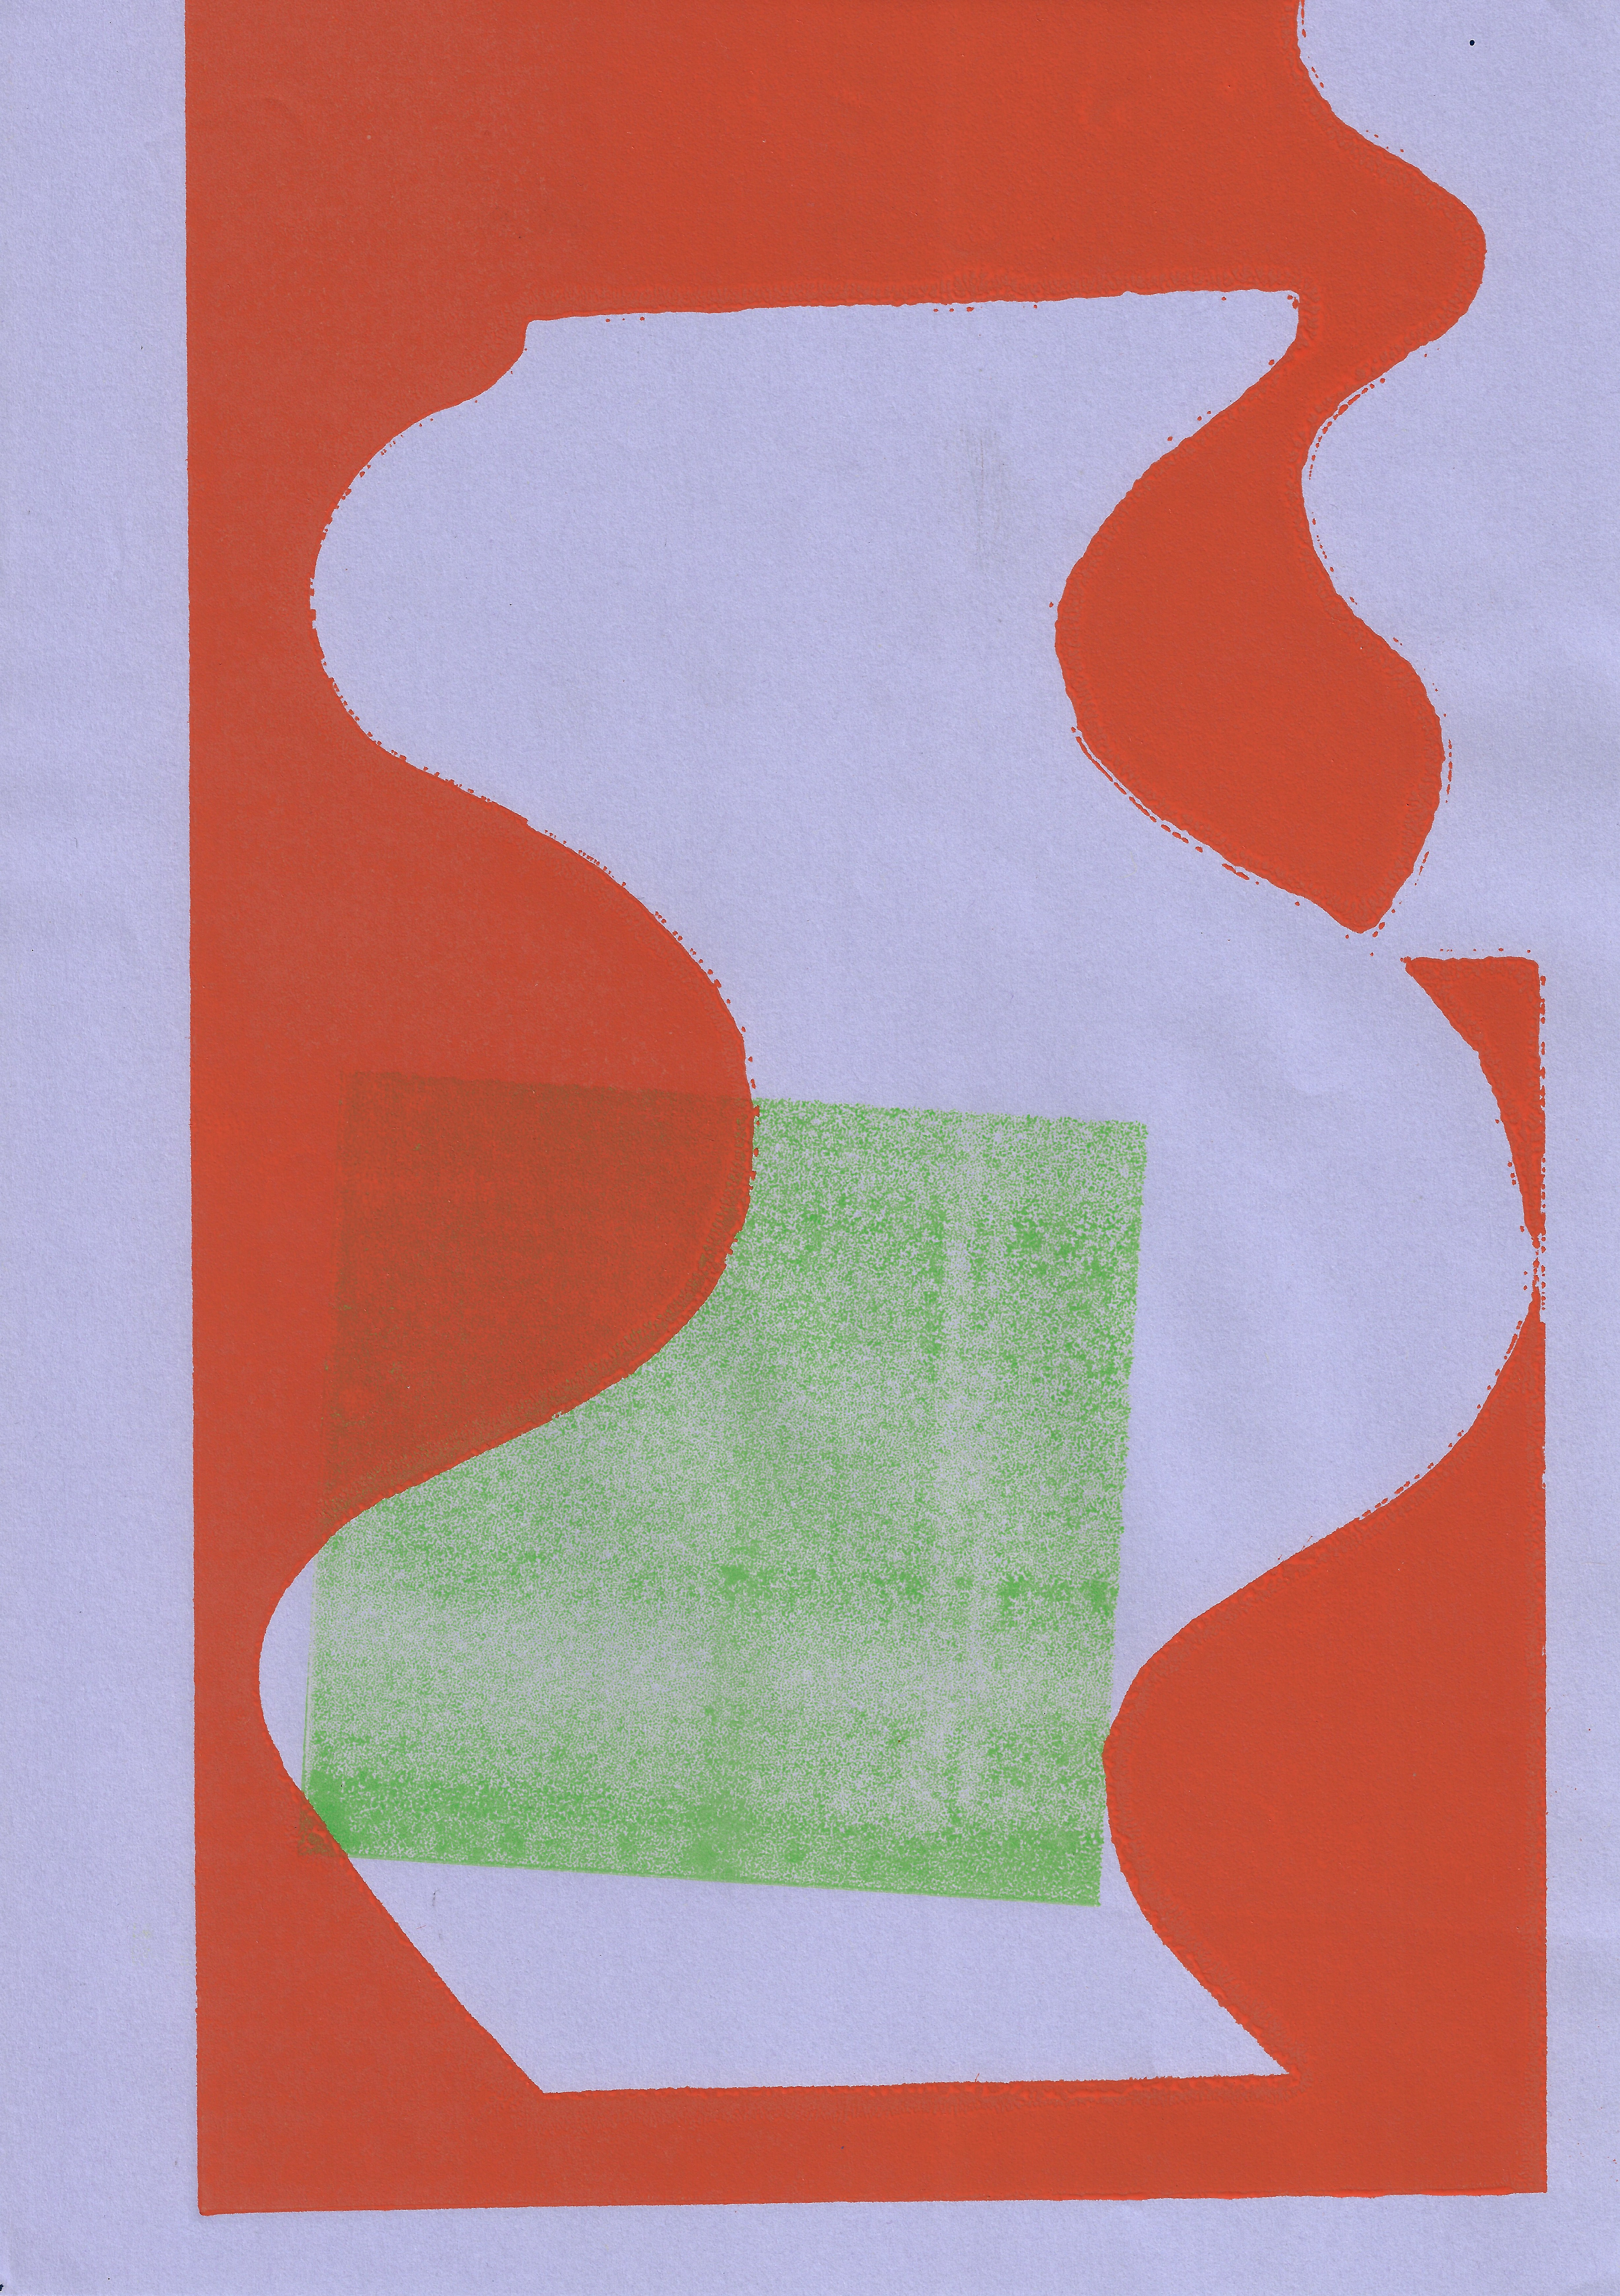
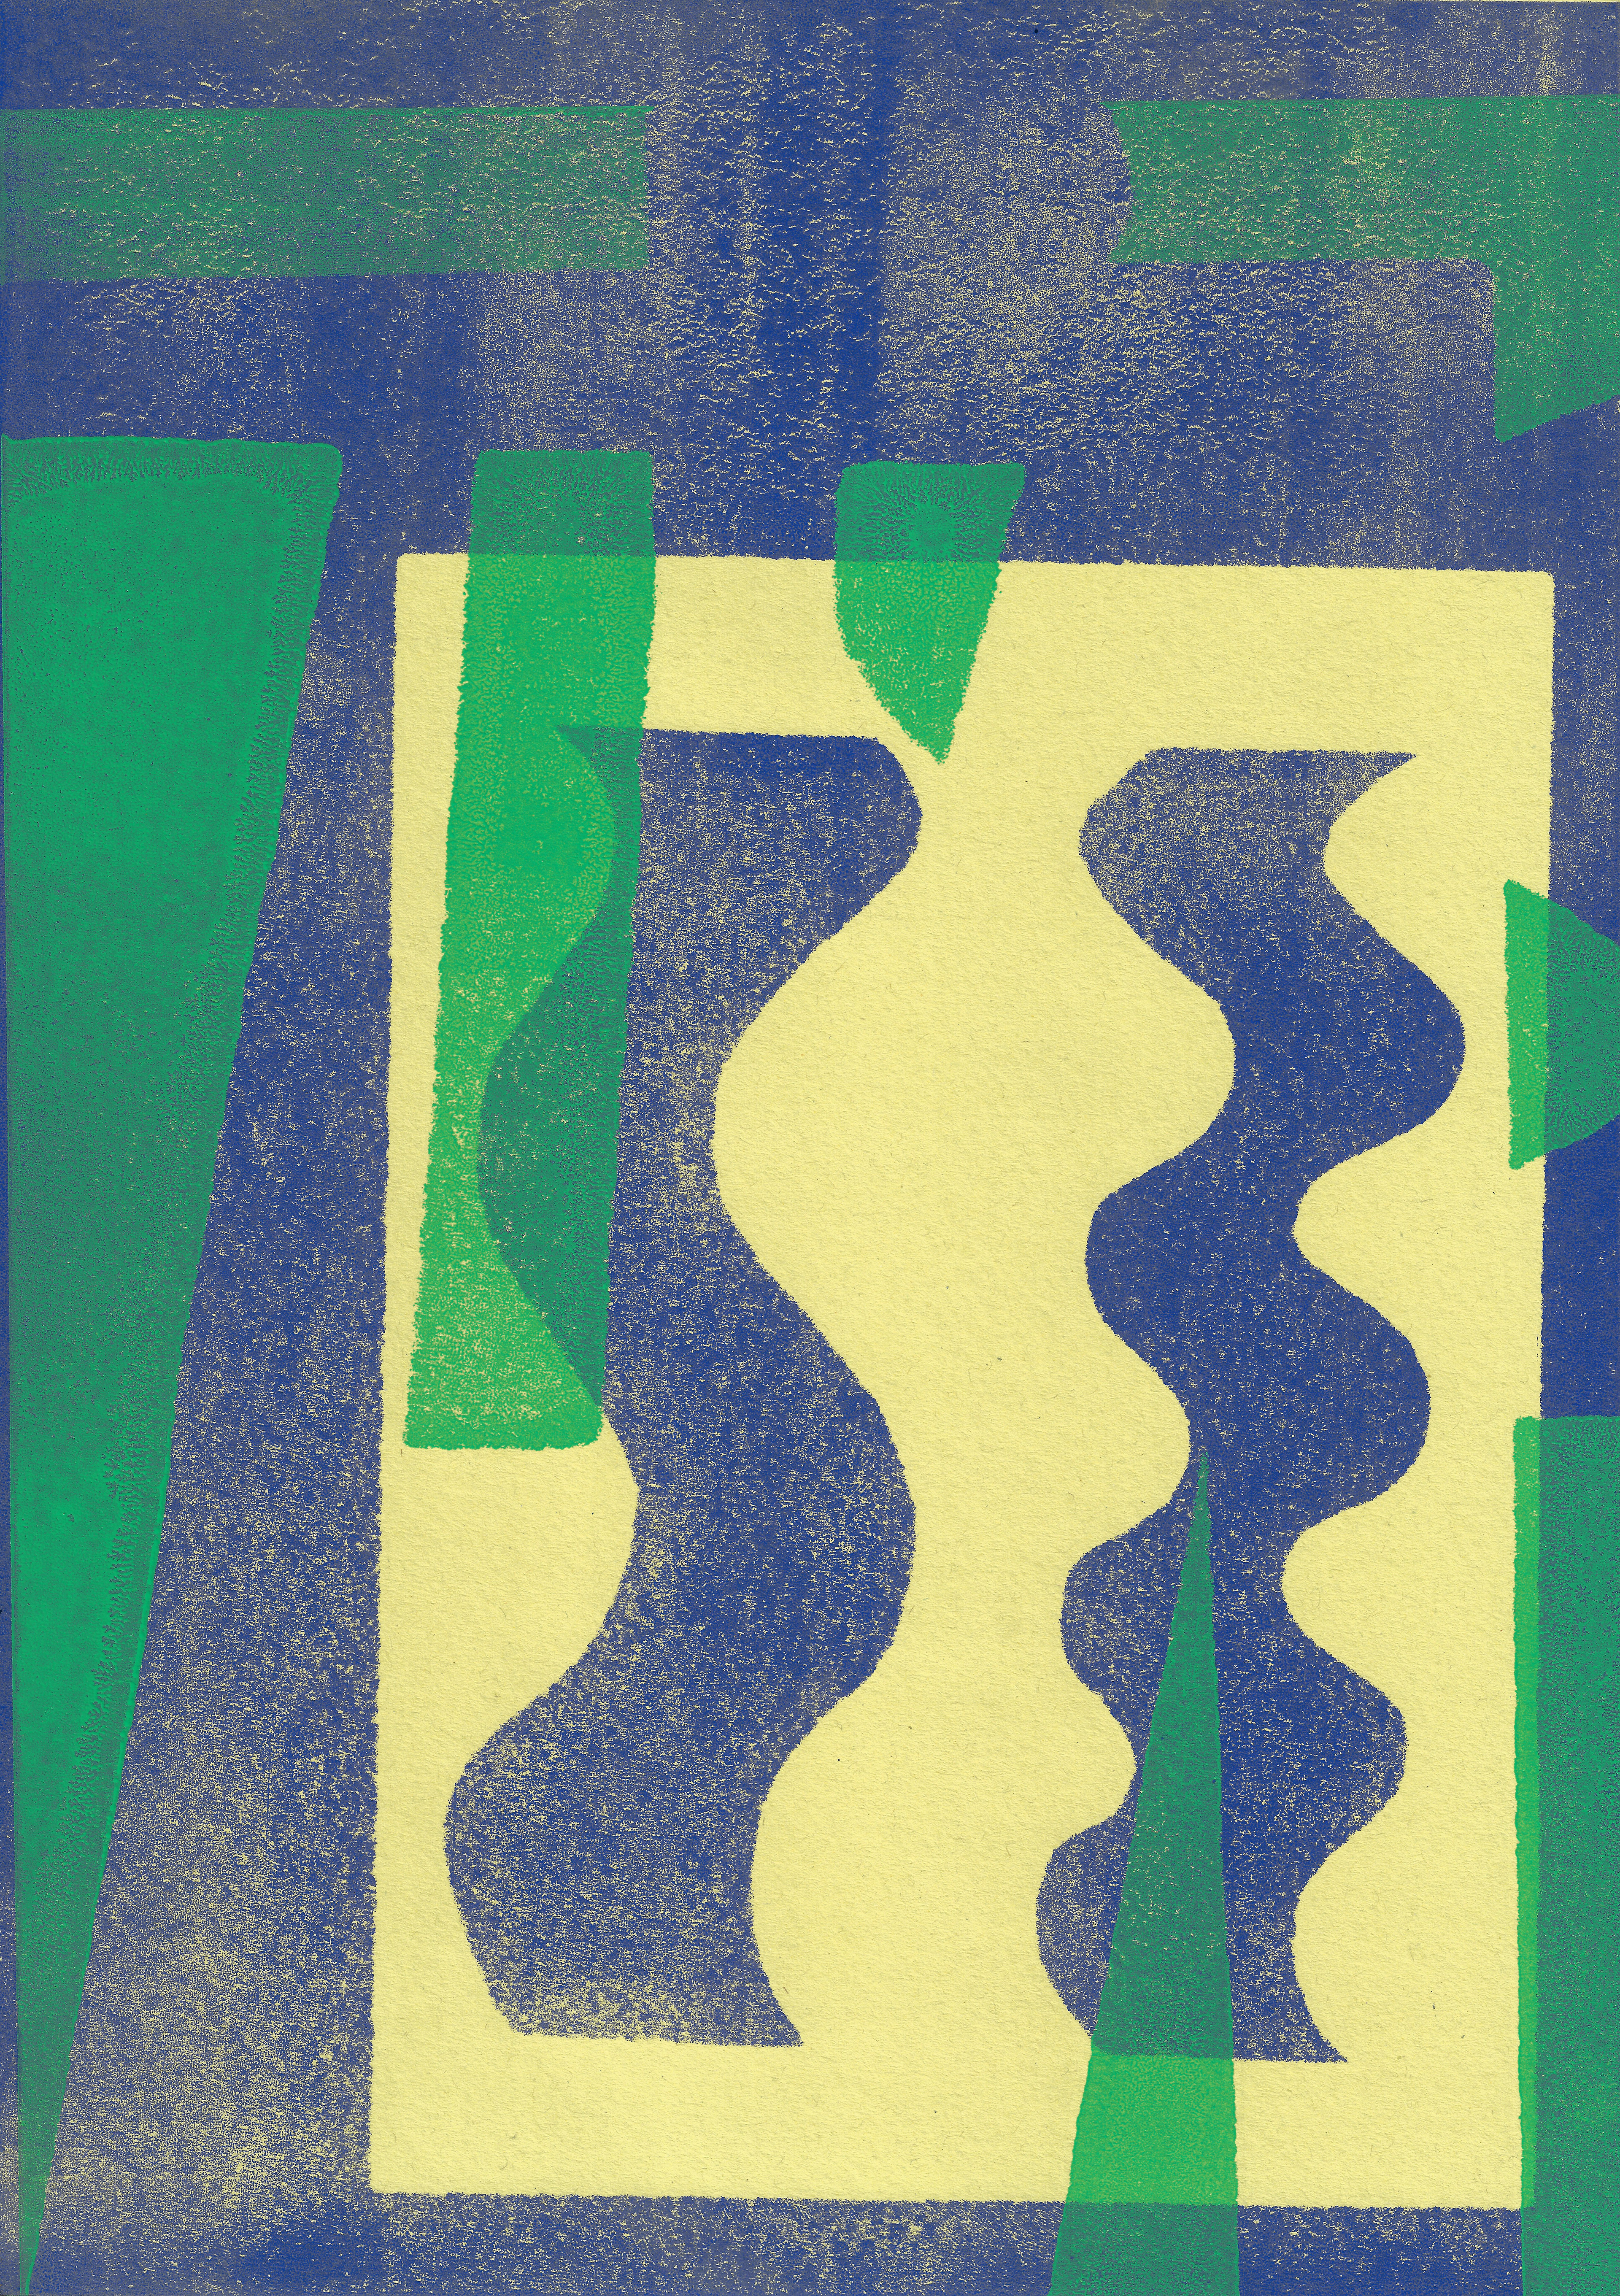
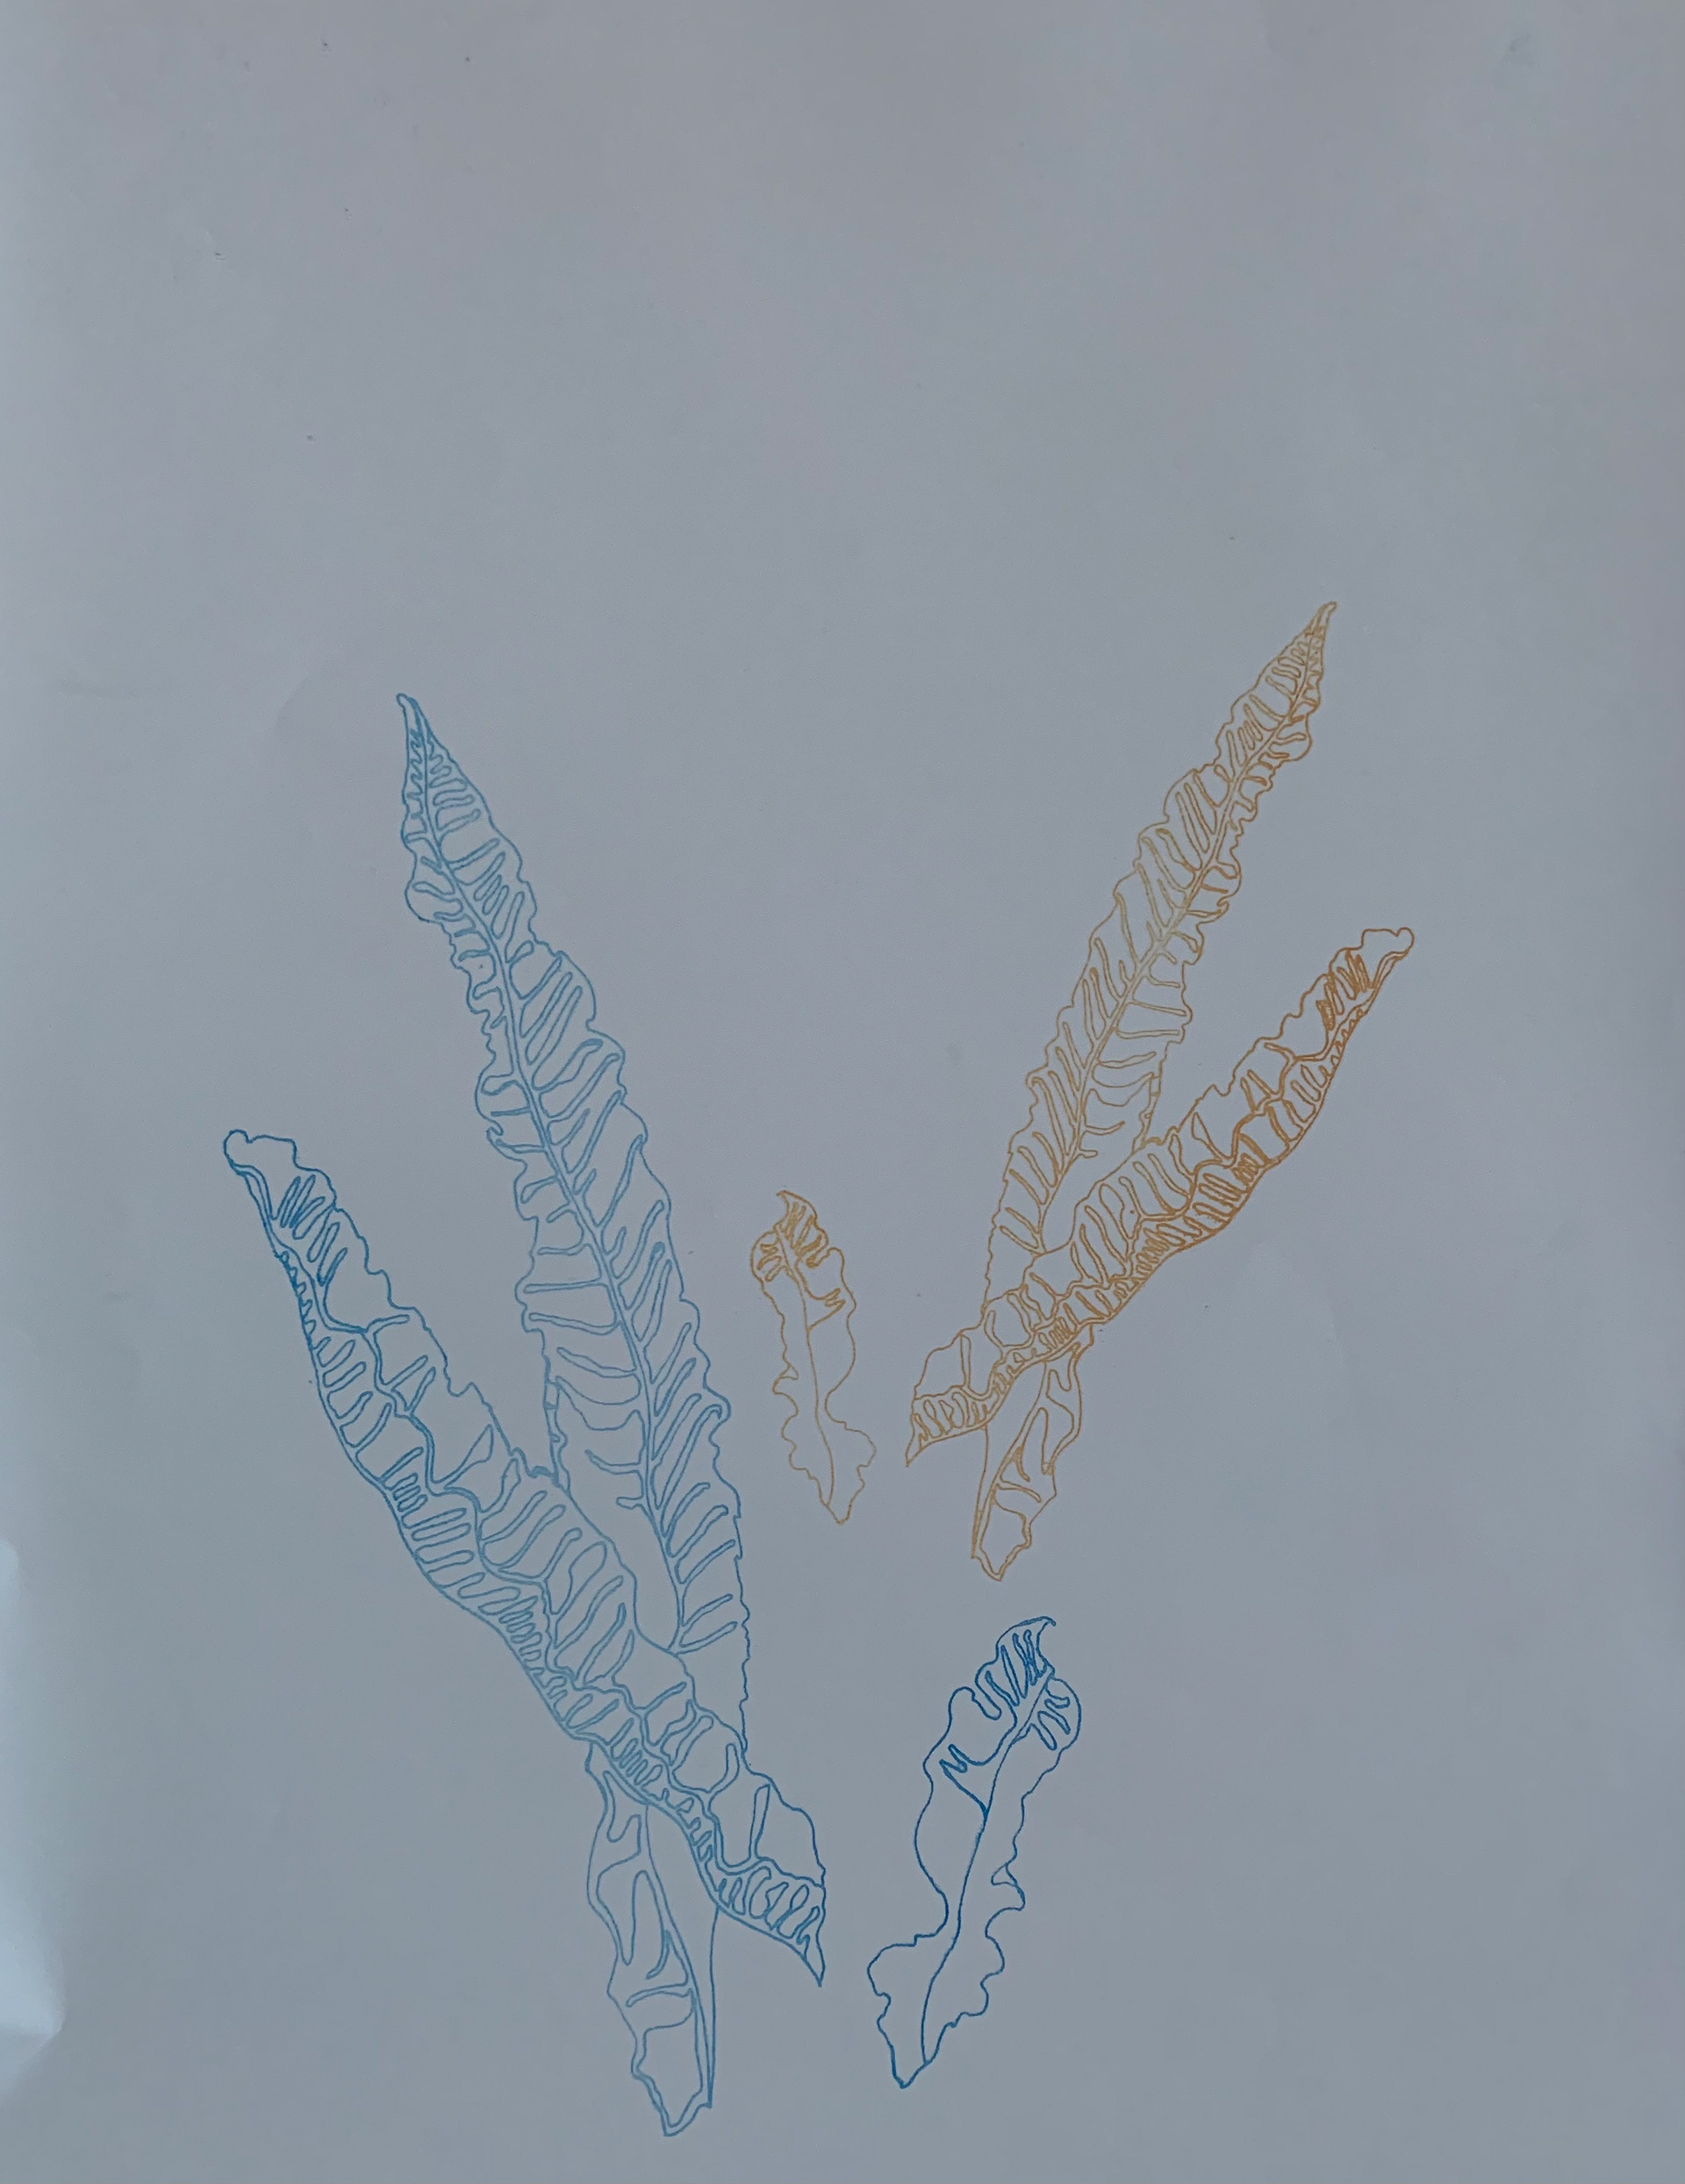
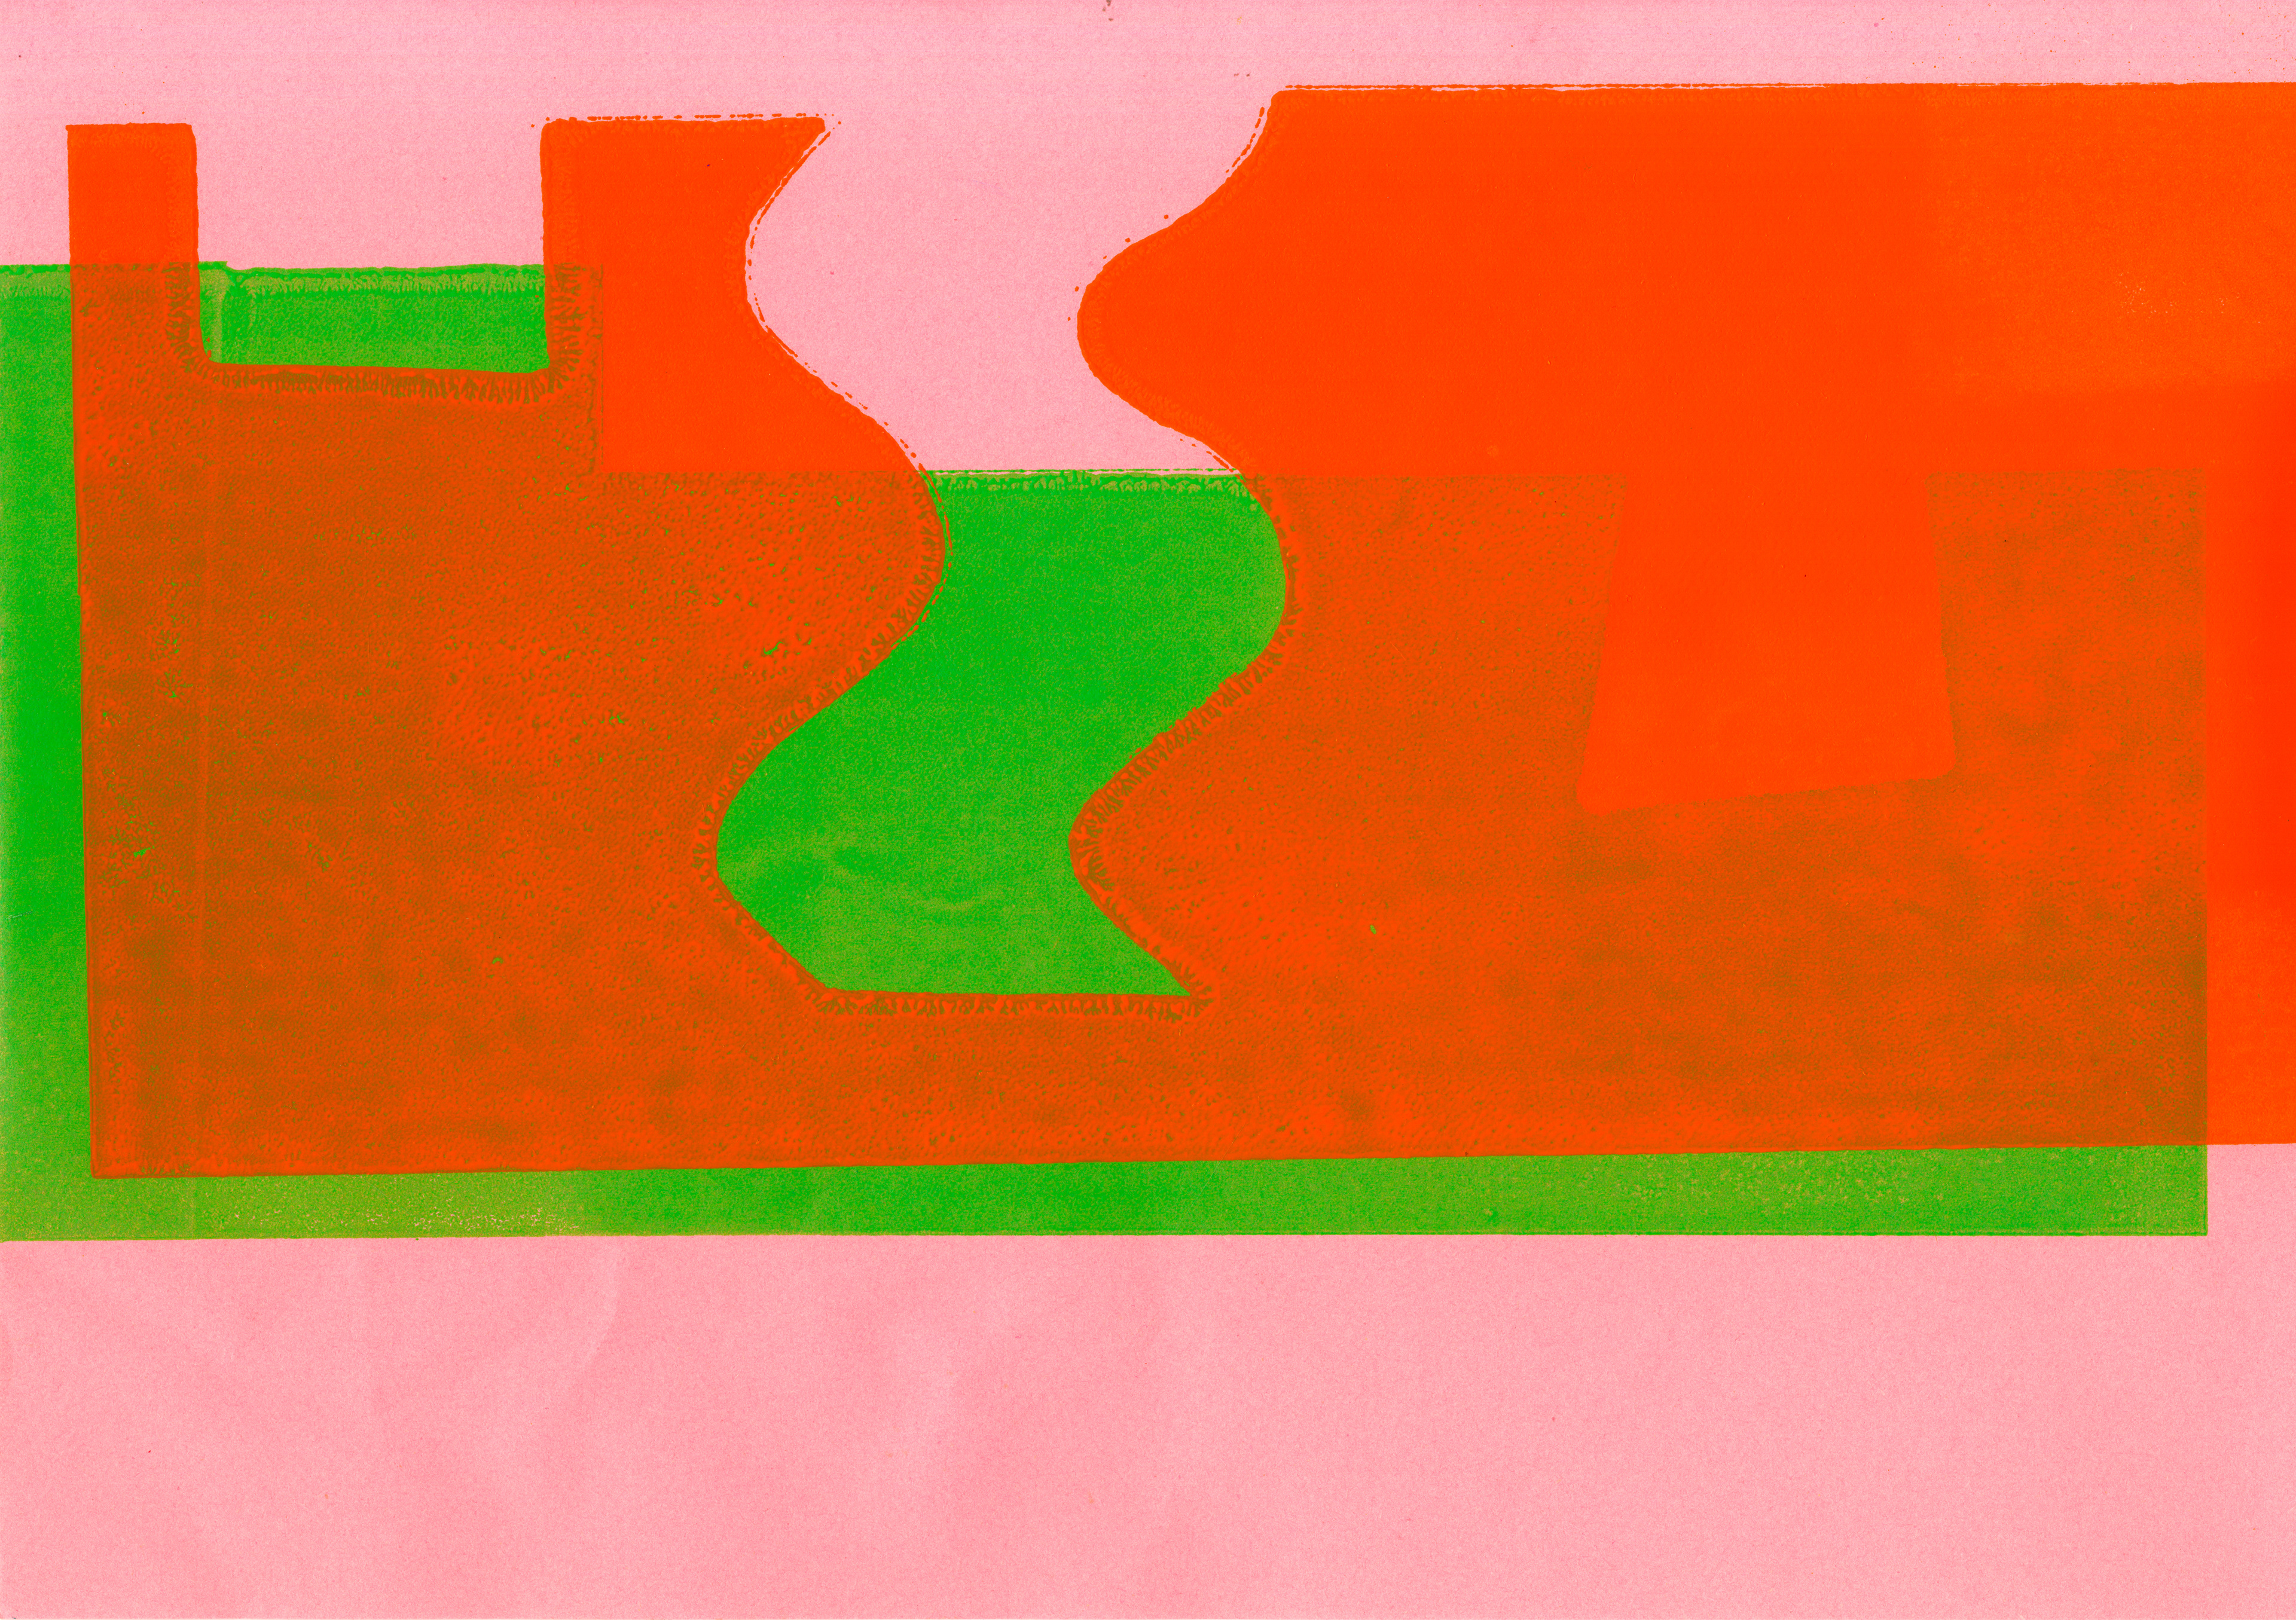
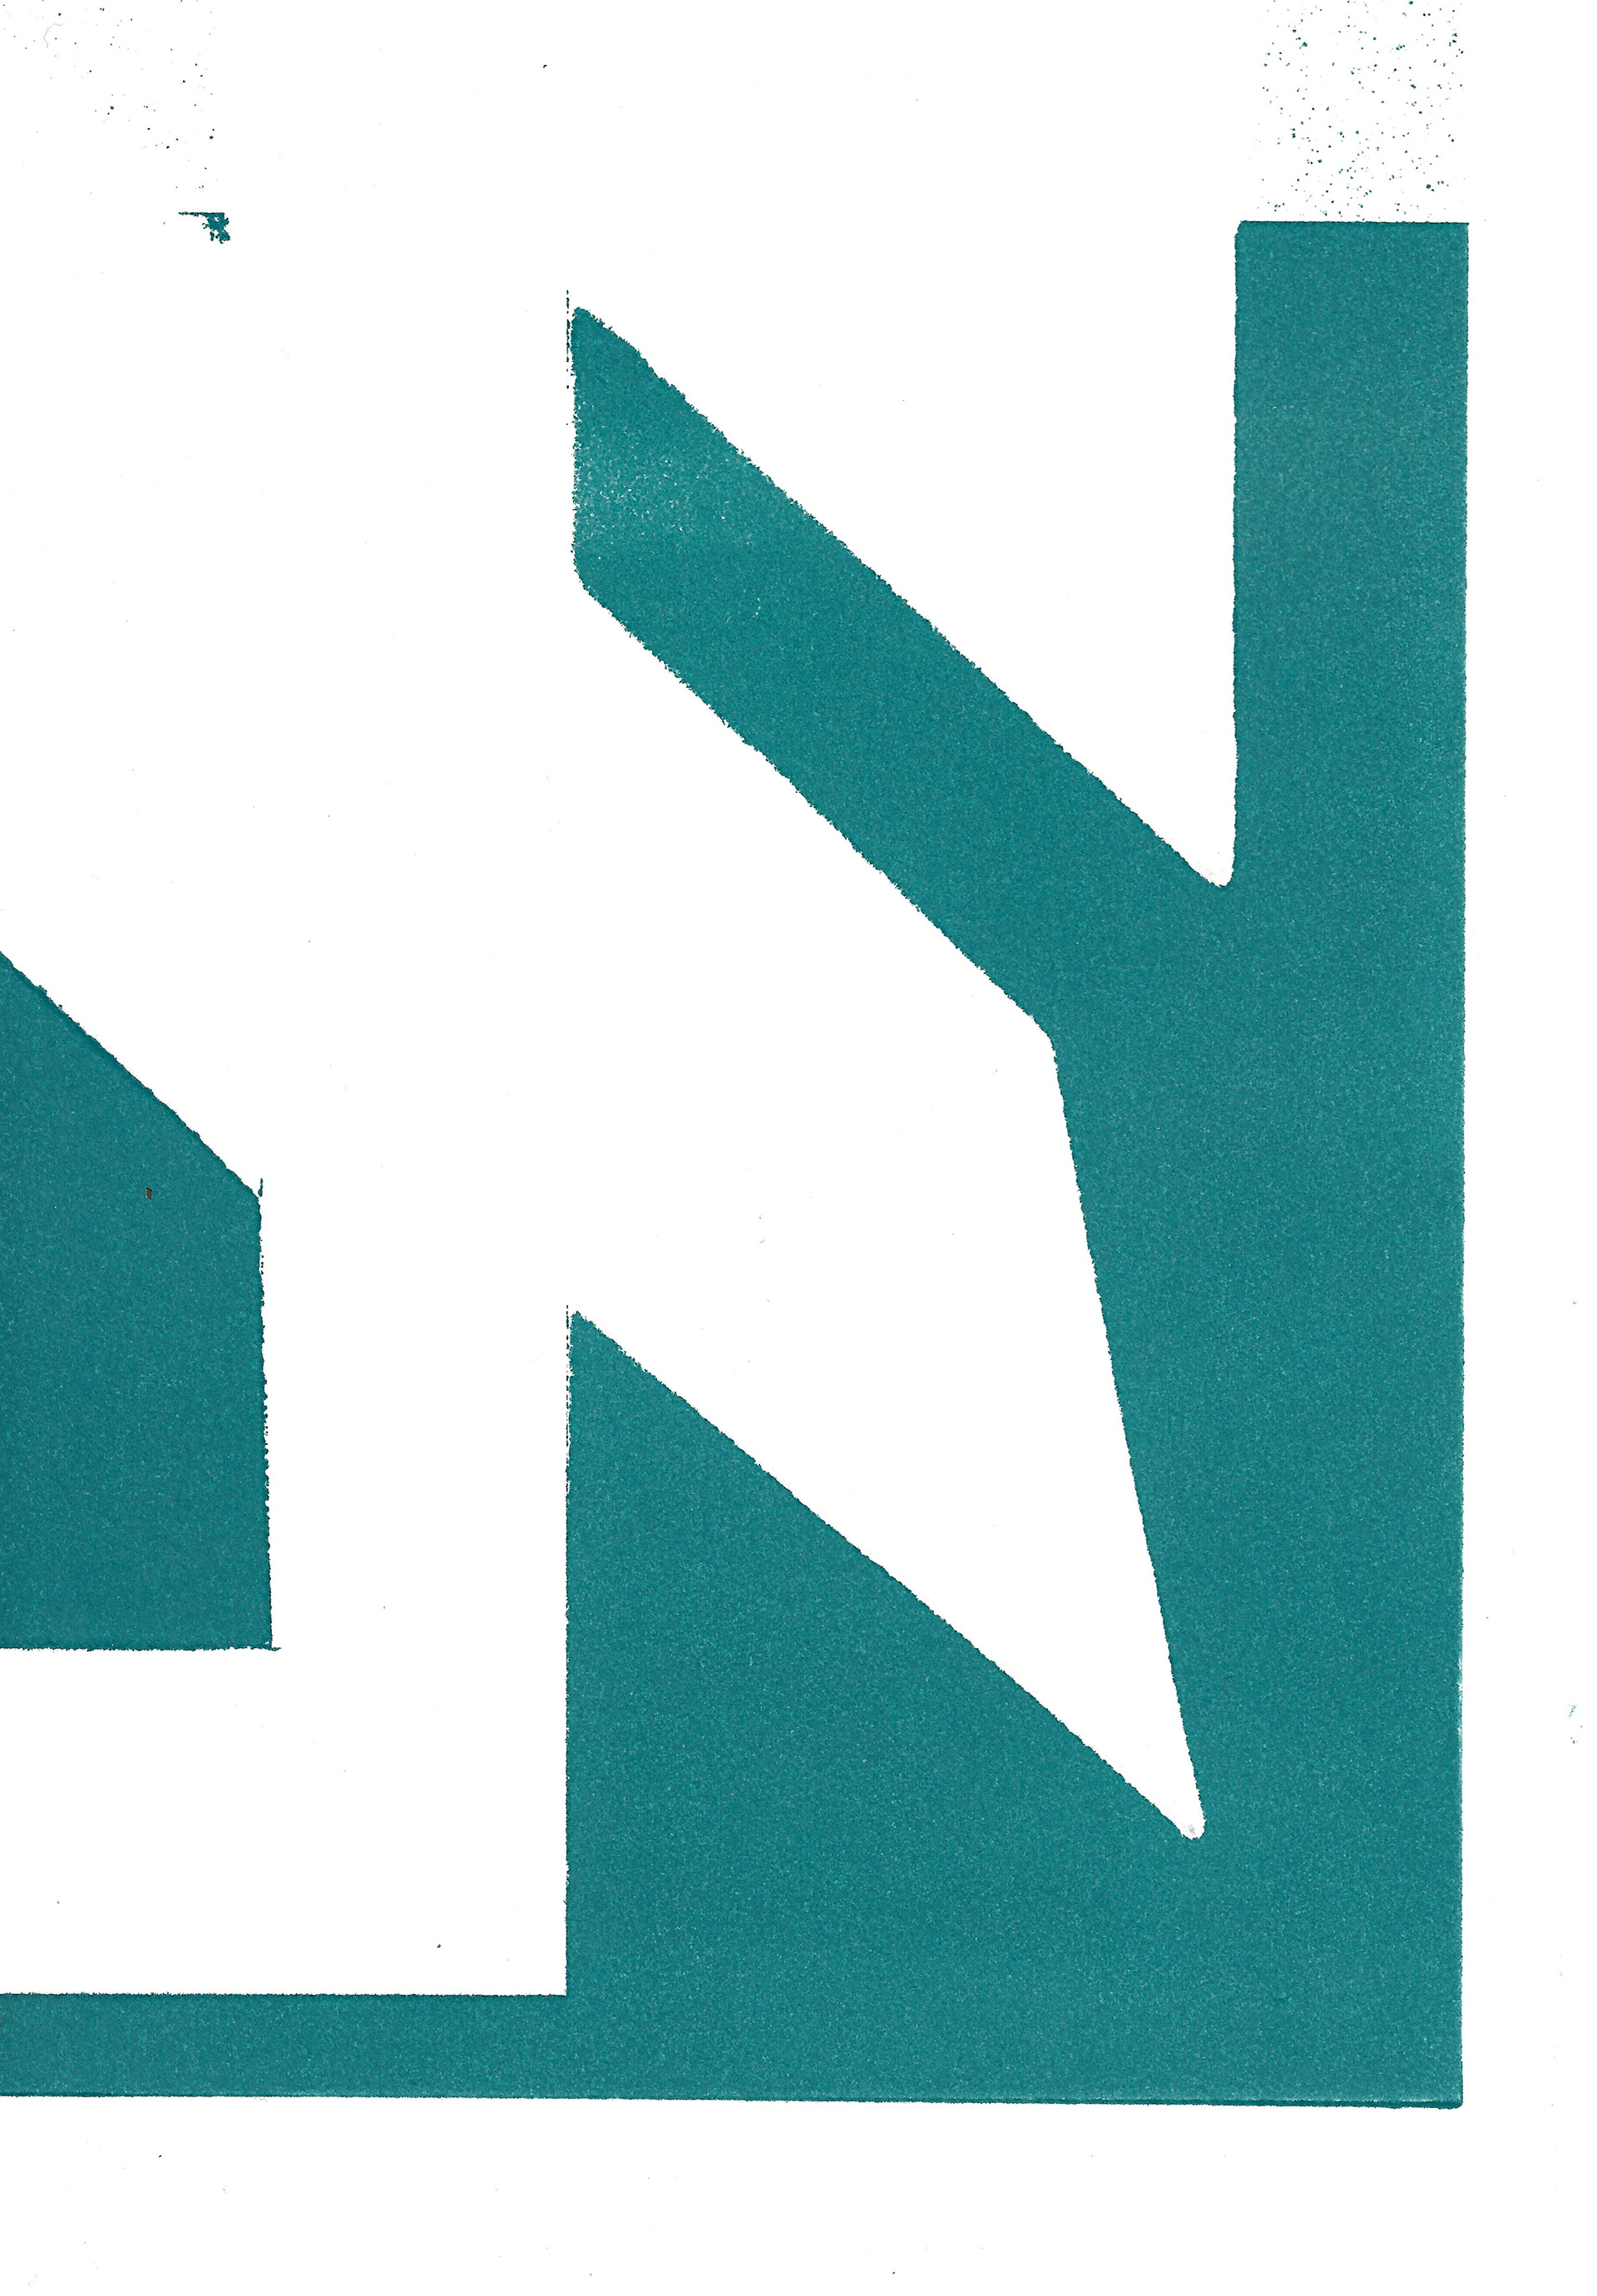
Screenprint on paper, 70 x 100 cm
Screenprint on paper, 70 x 100 cm
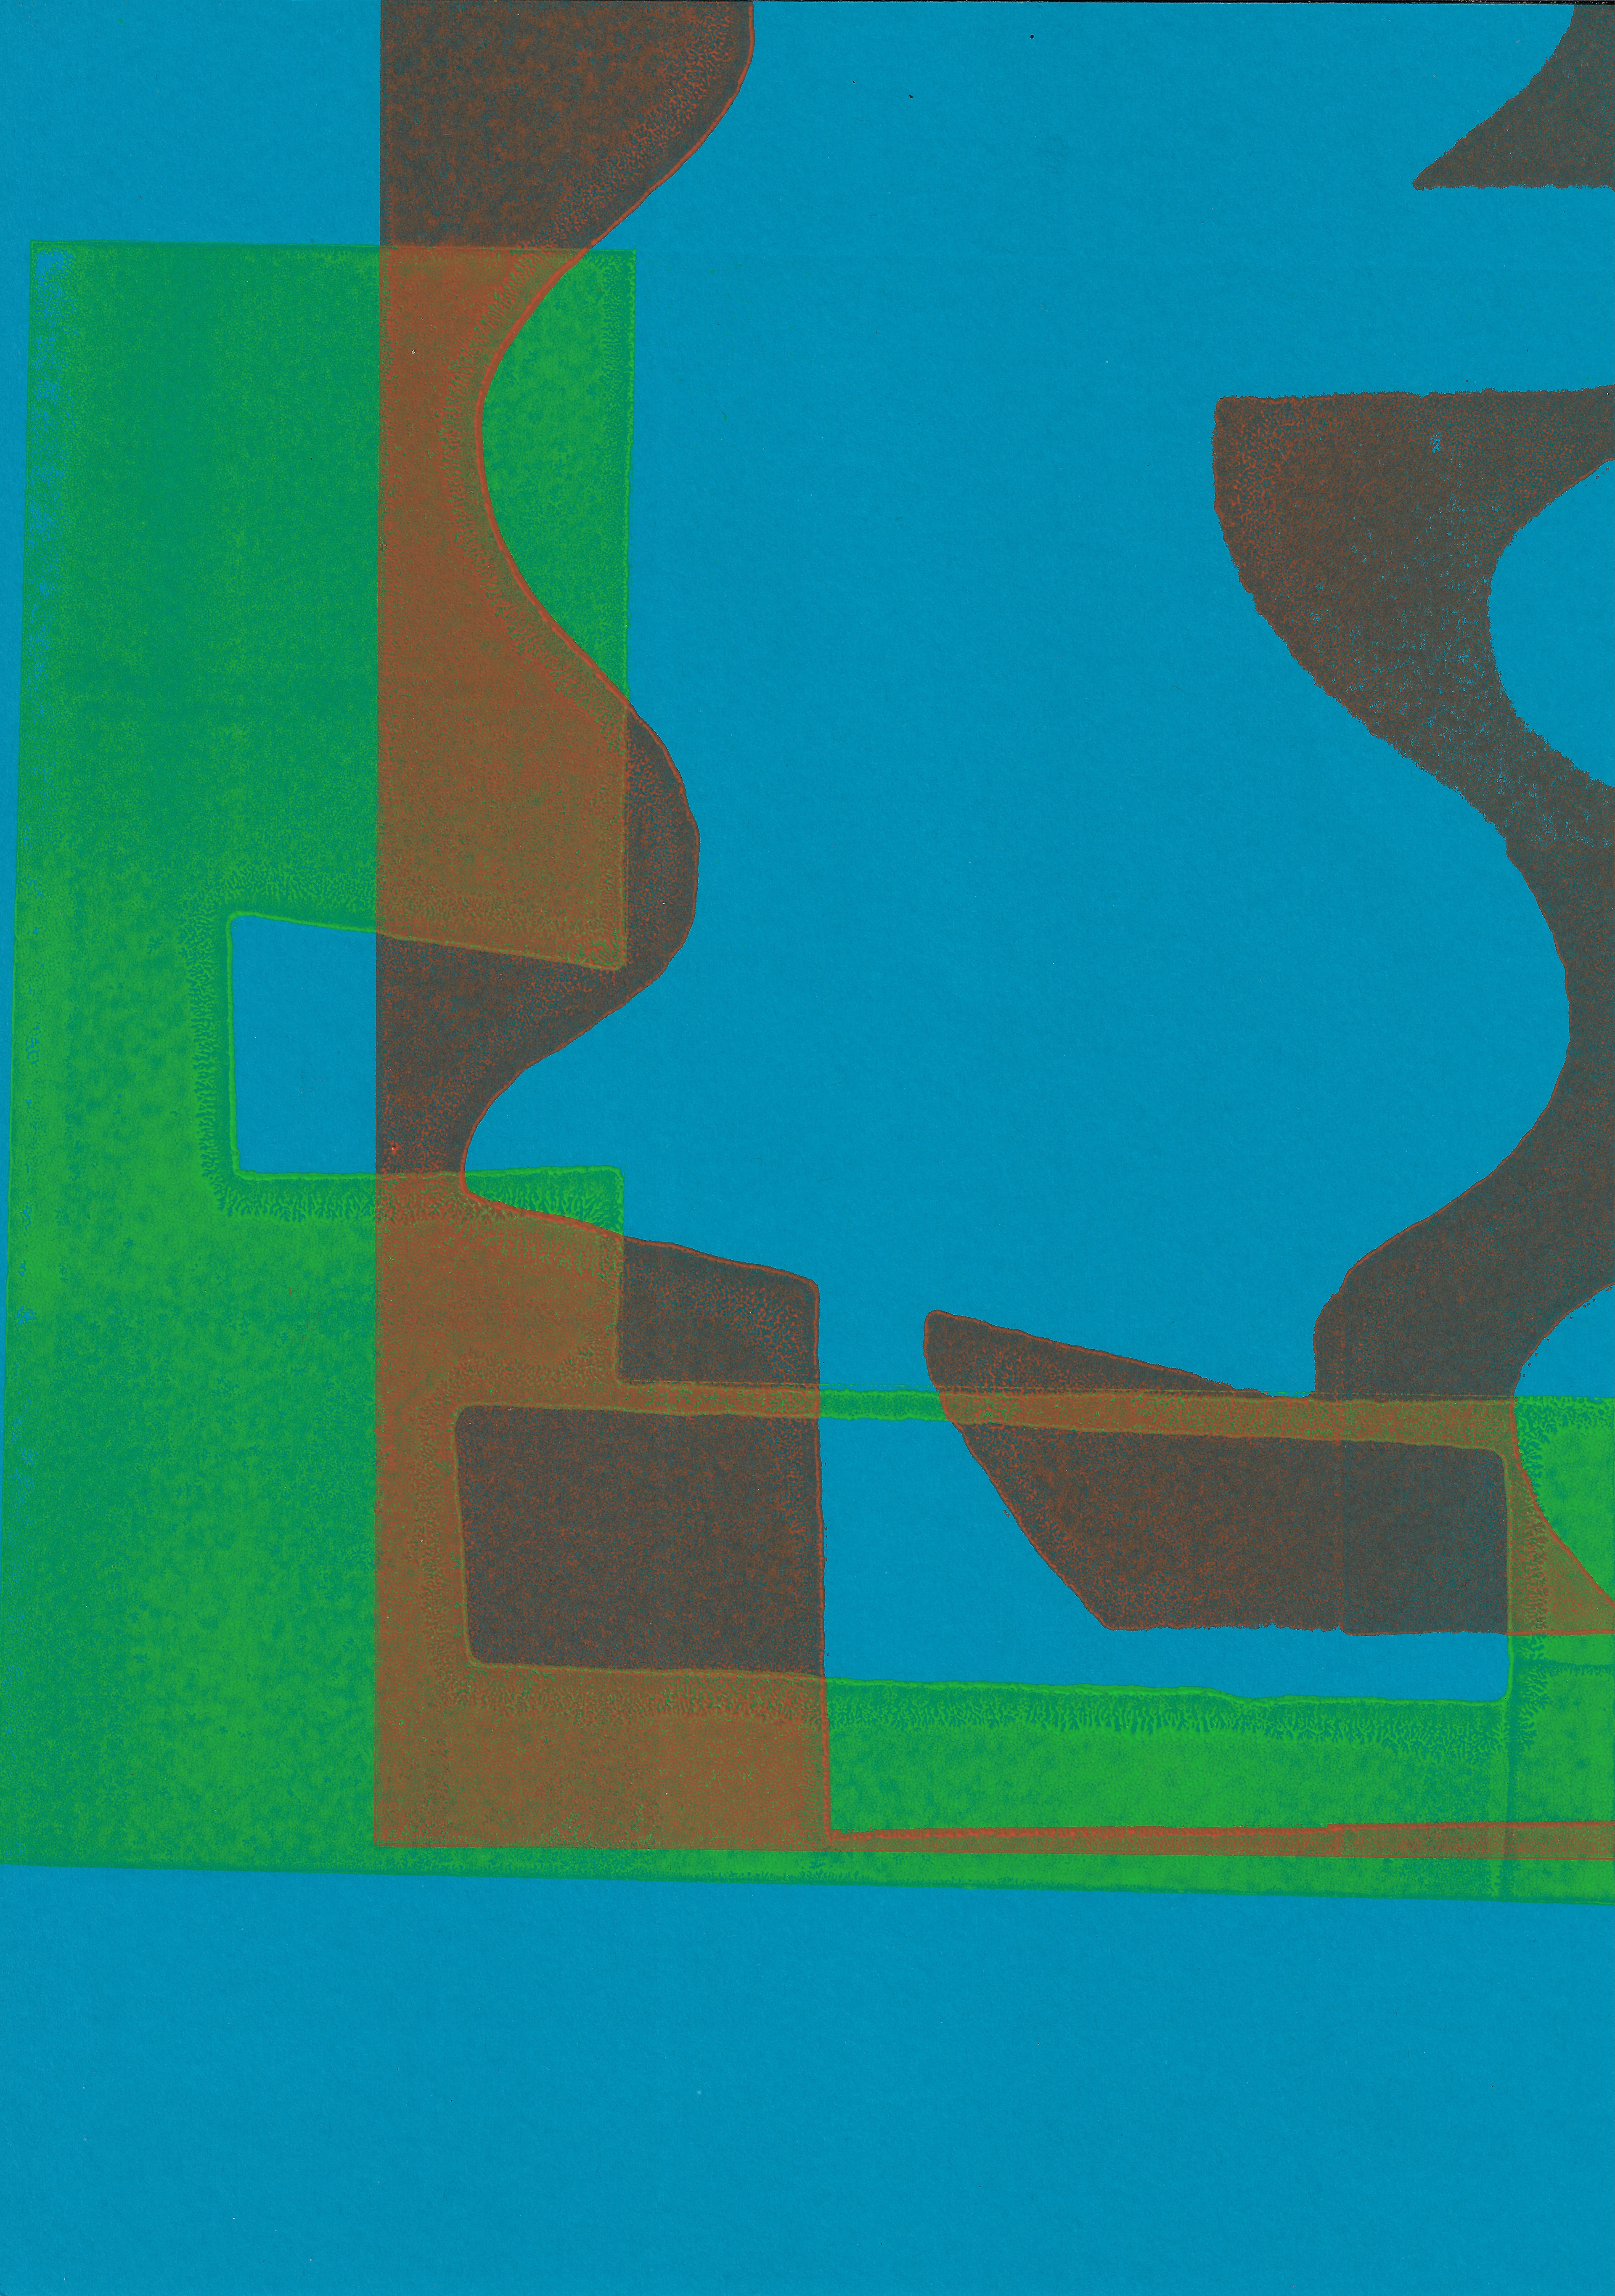
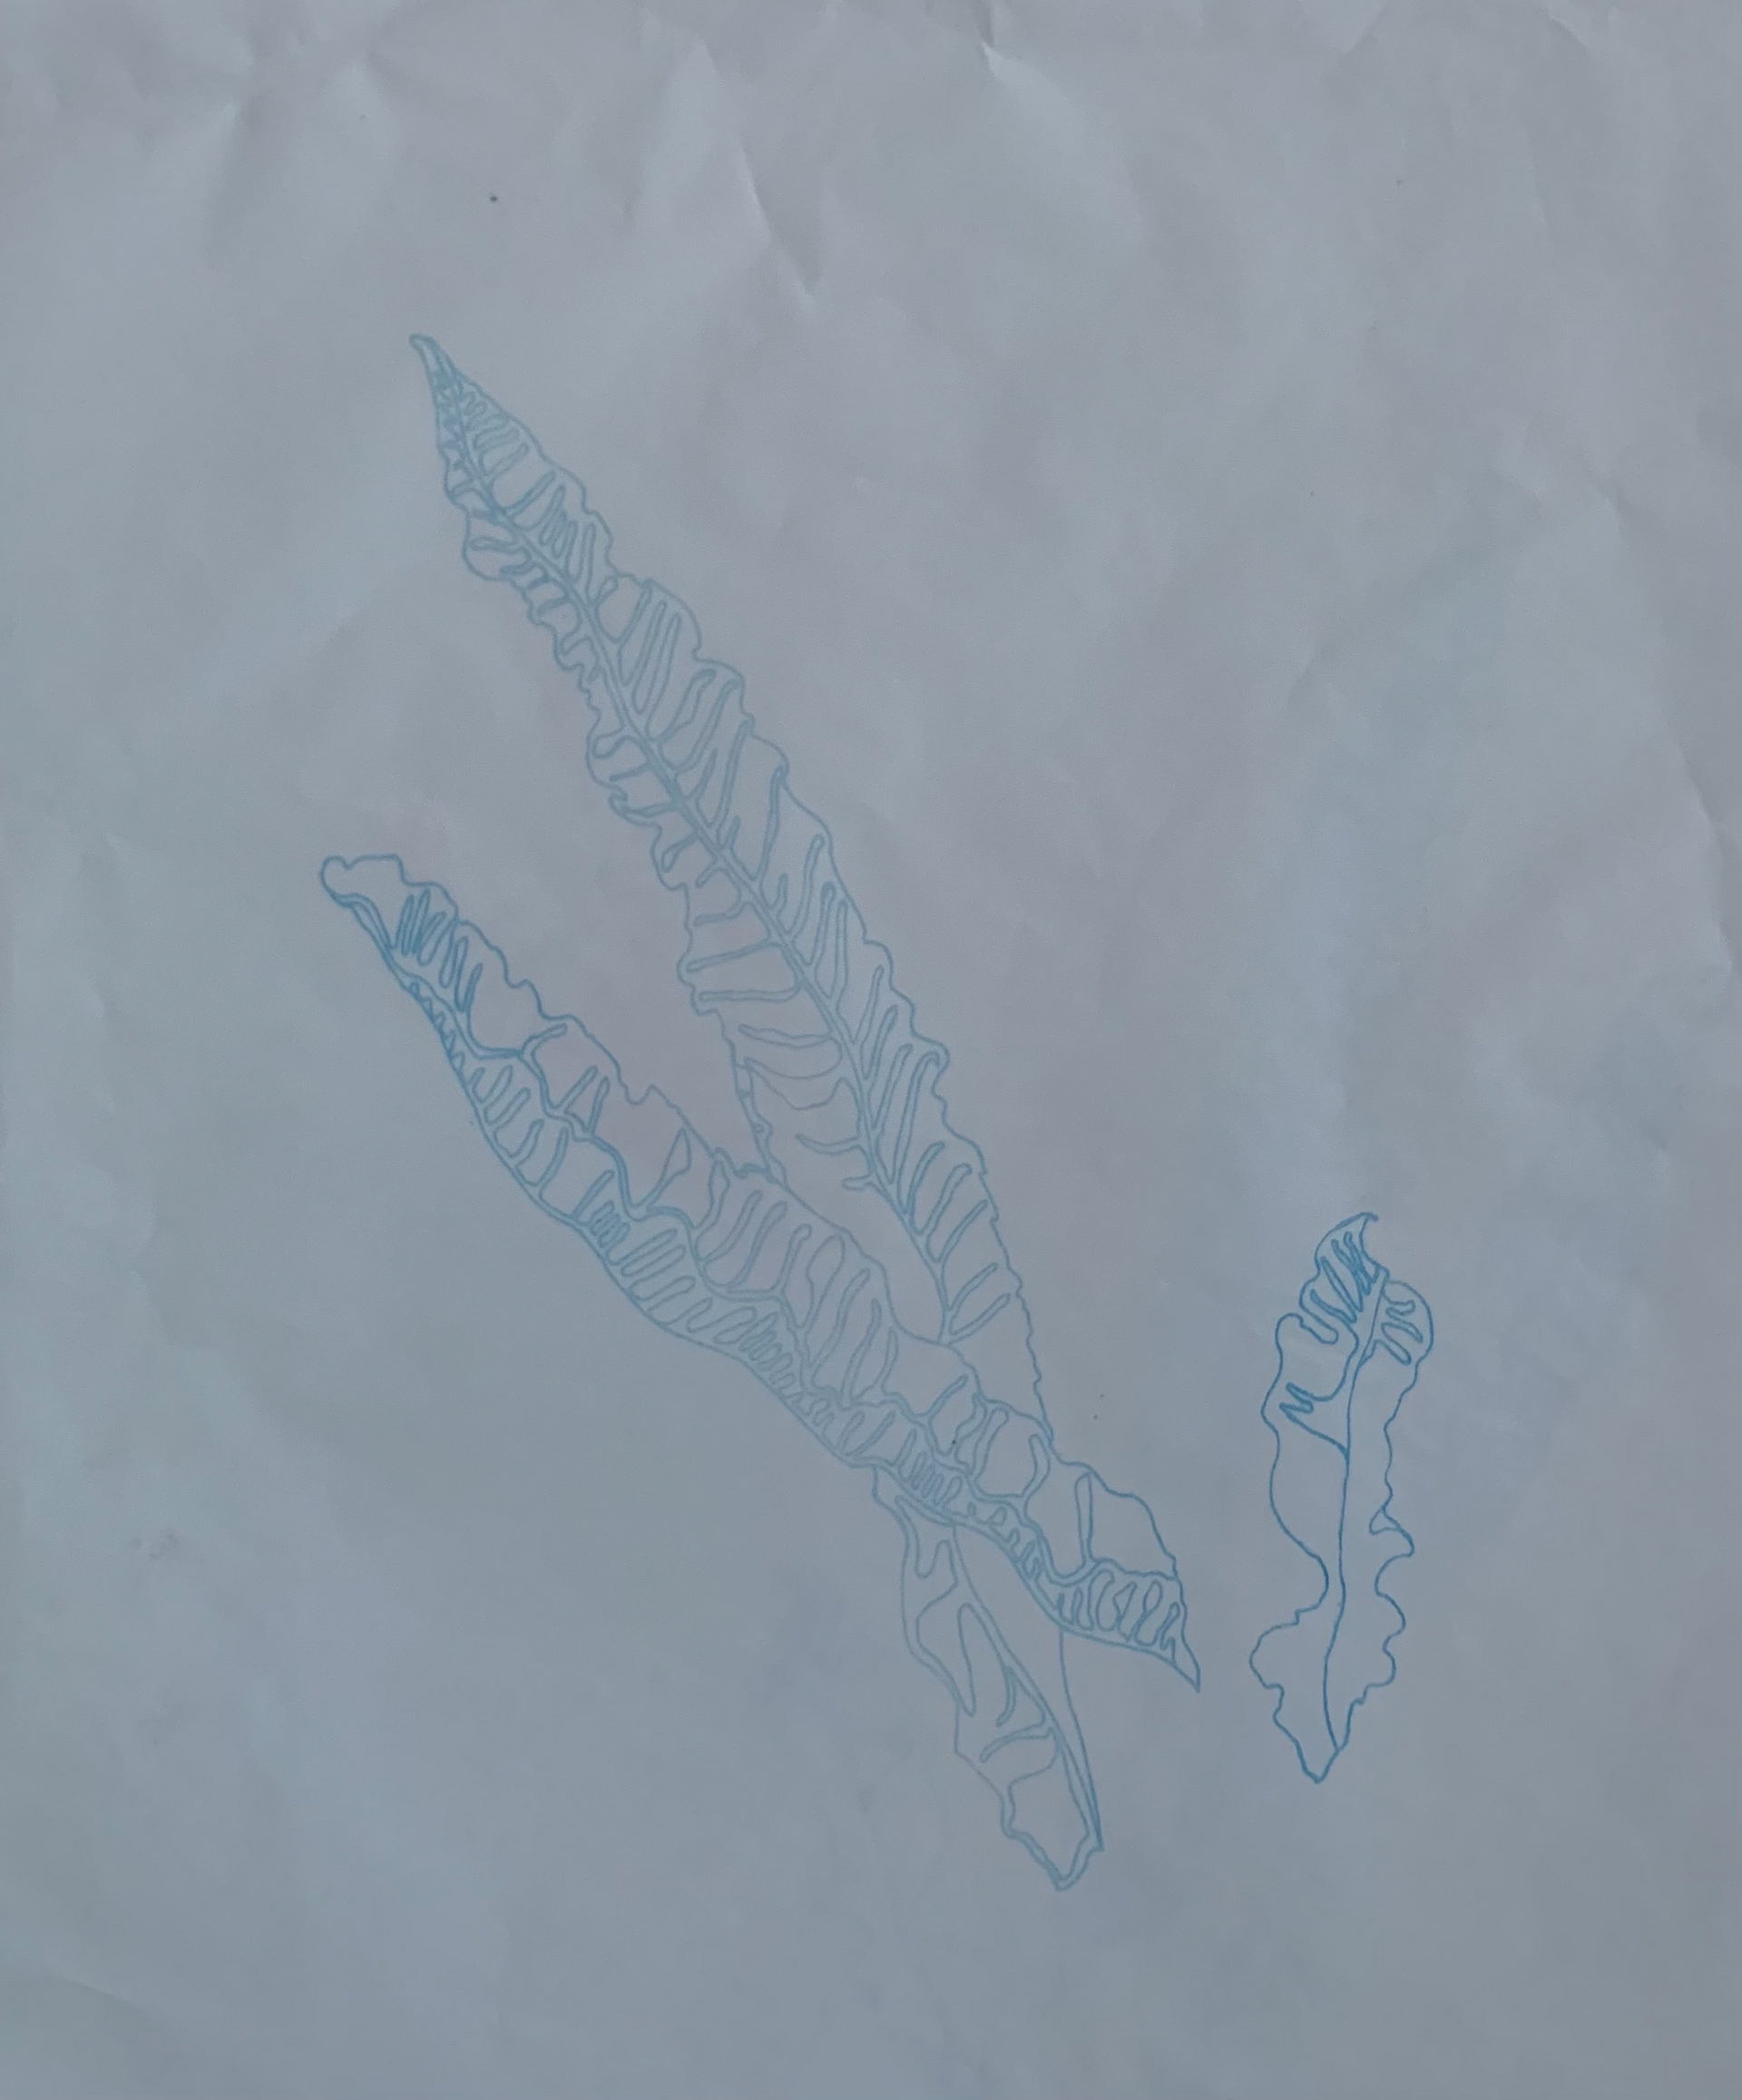
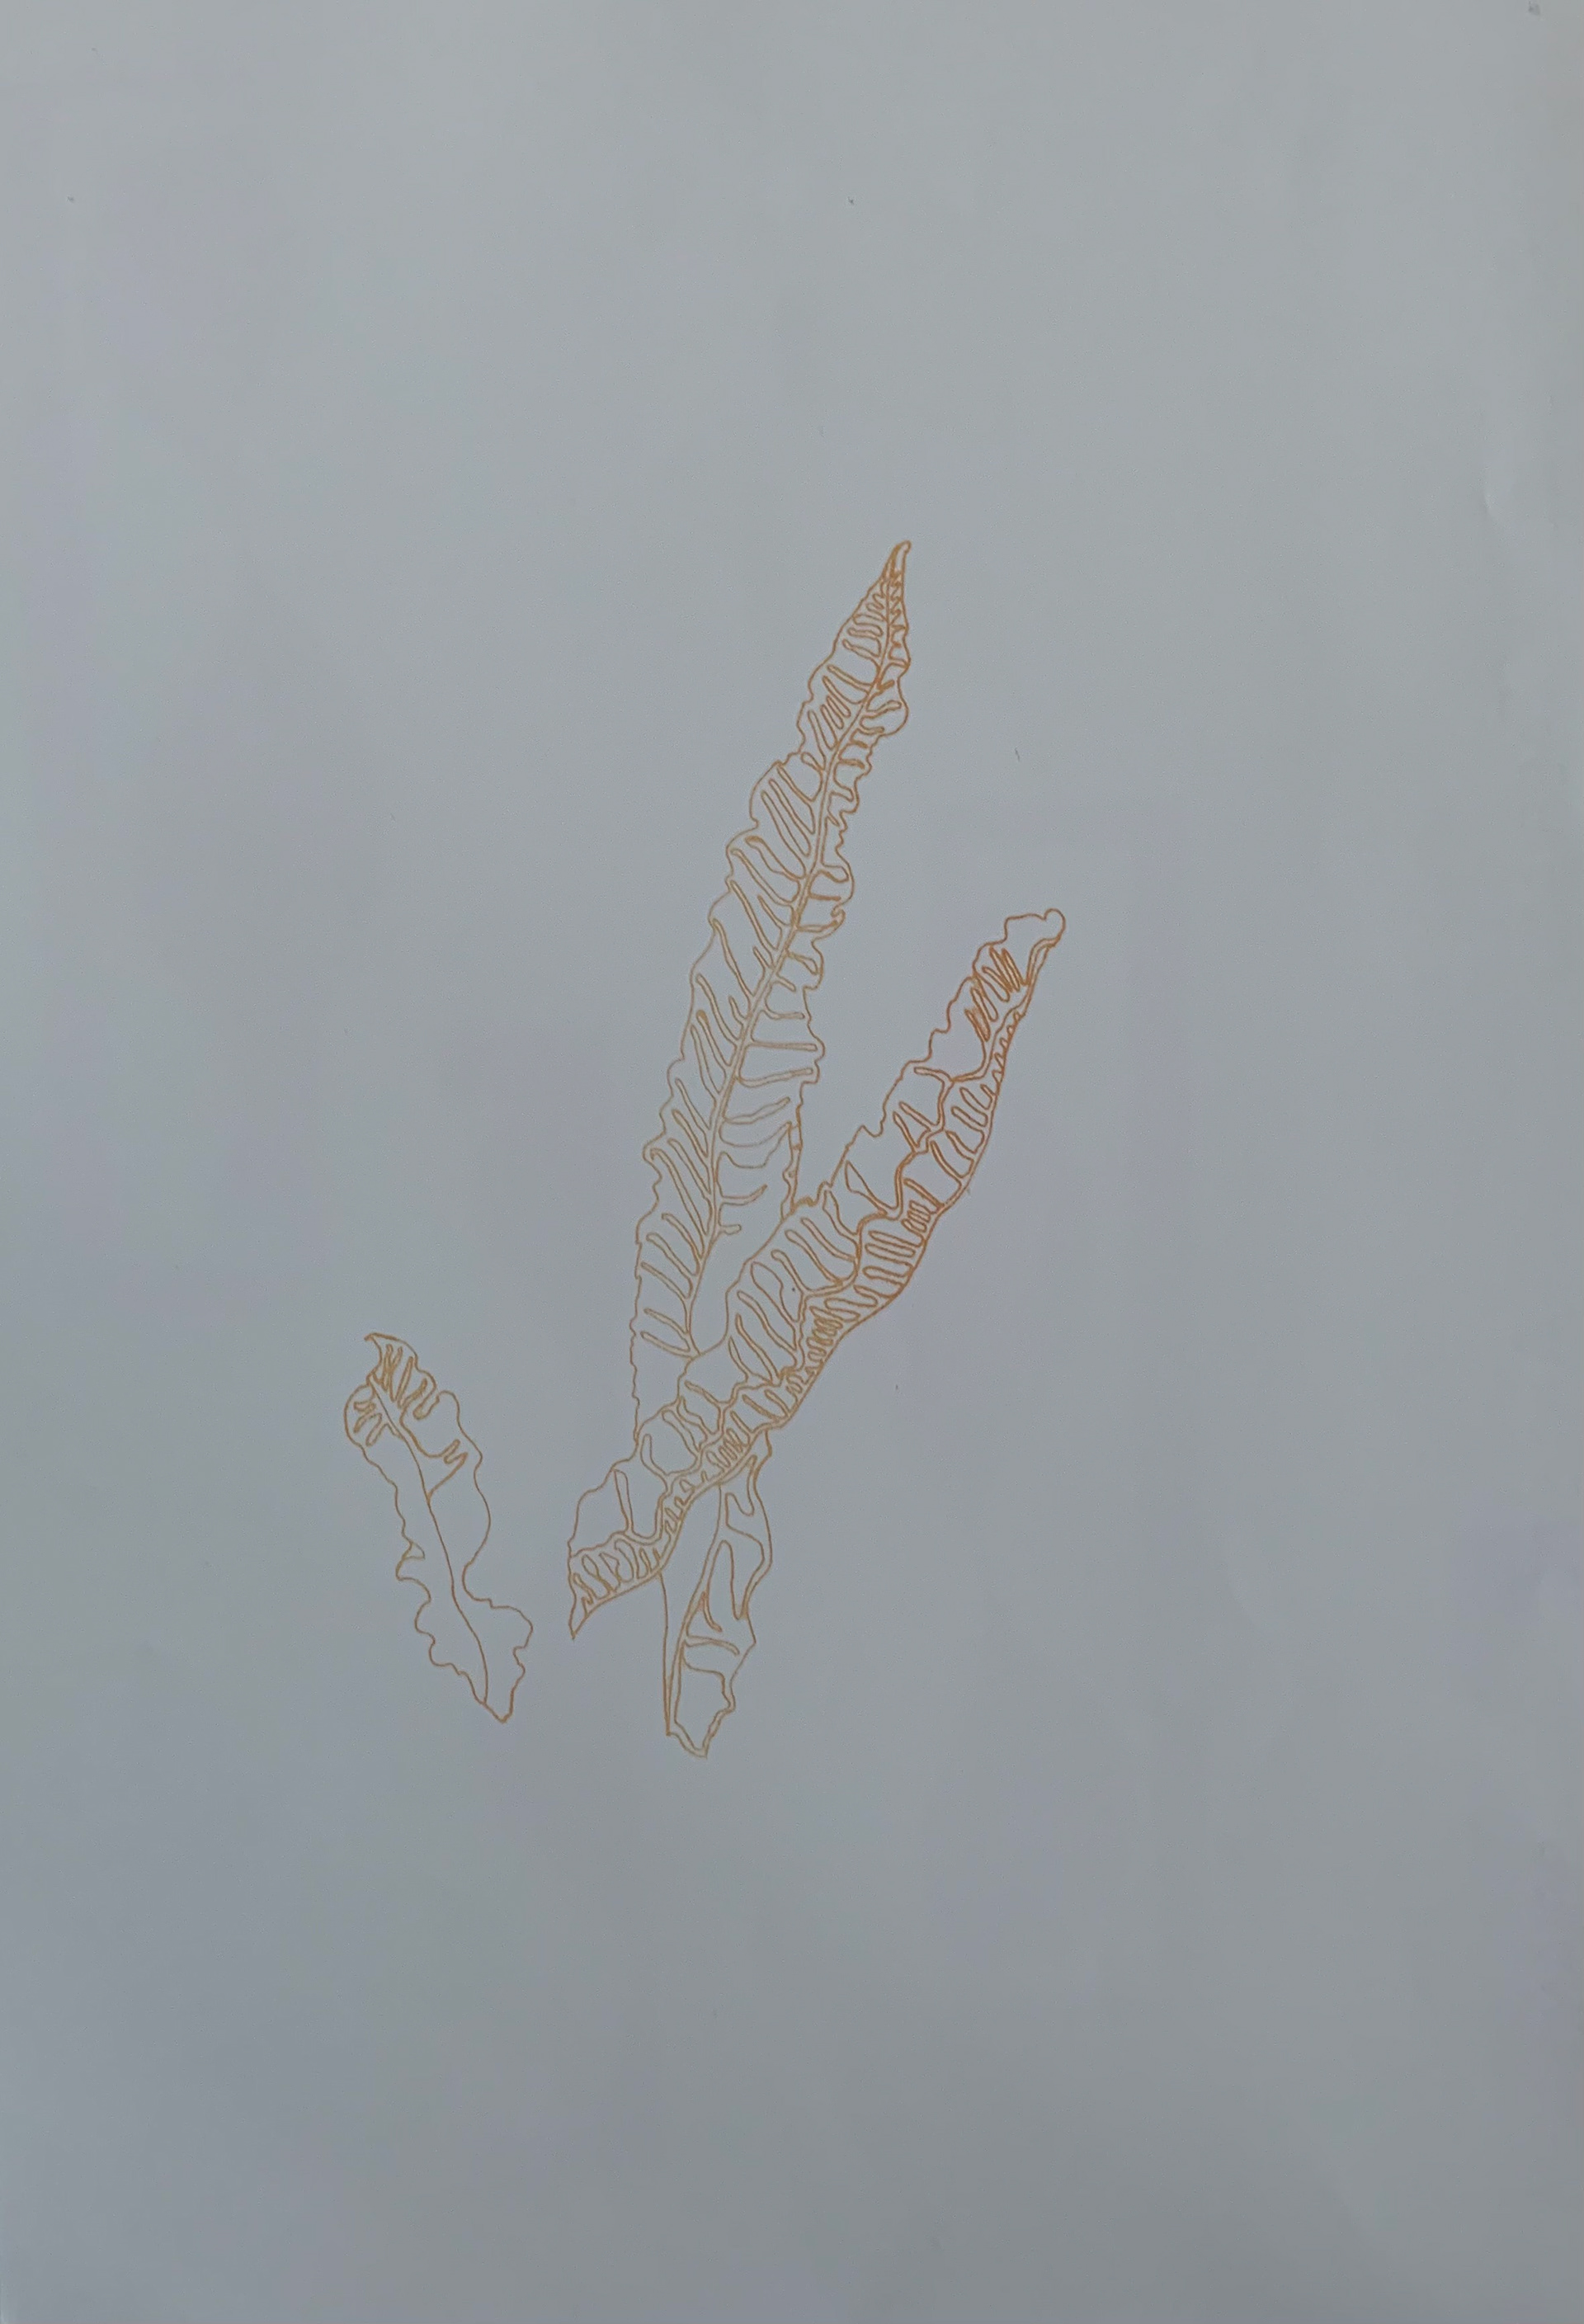
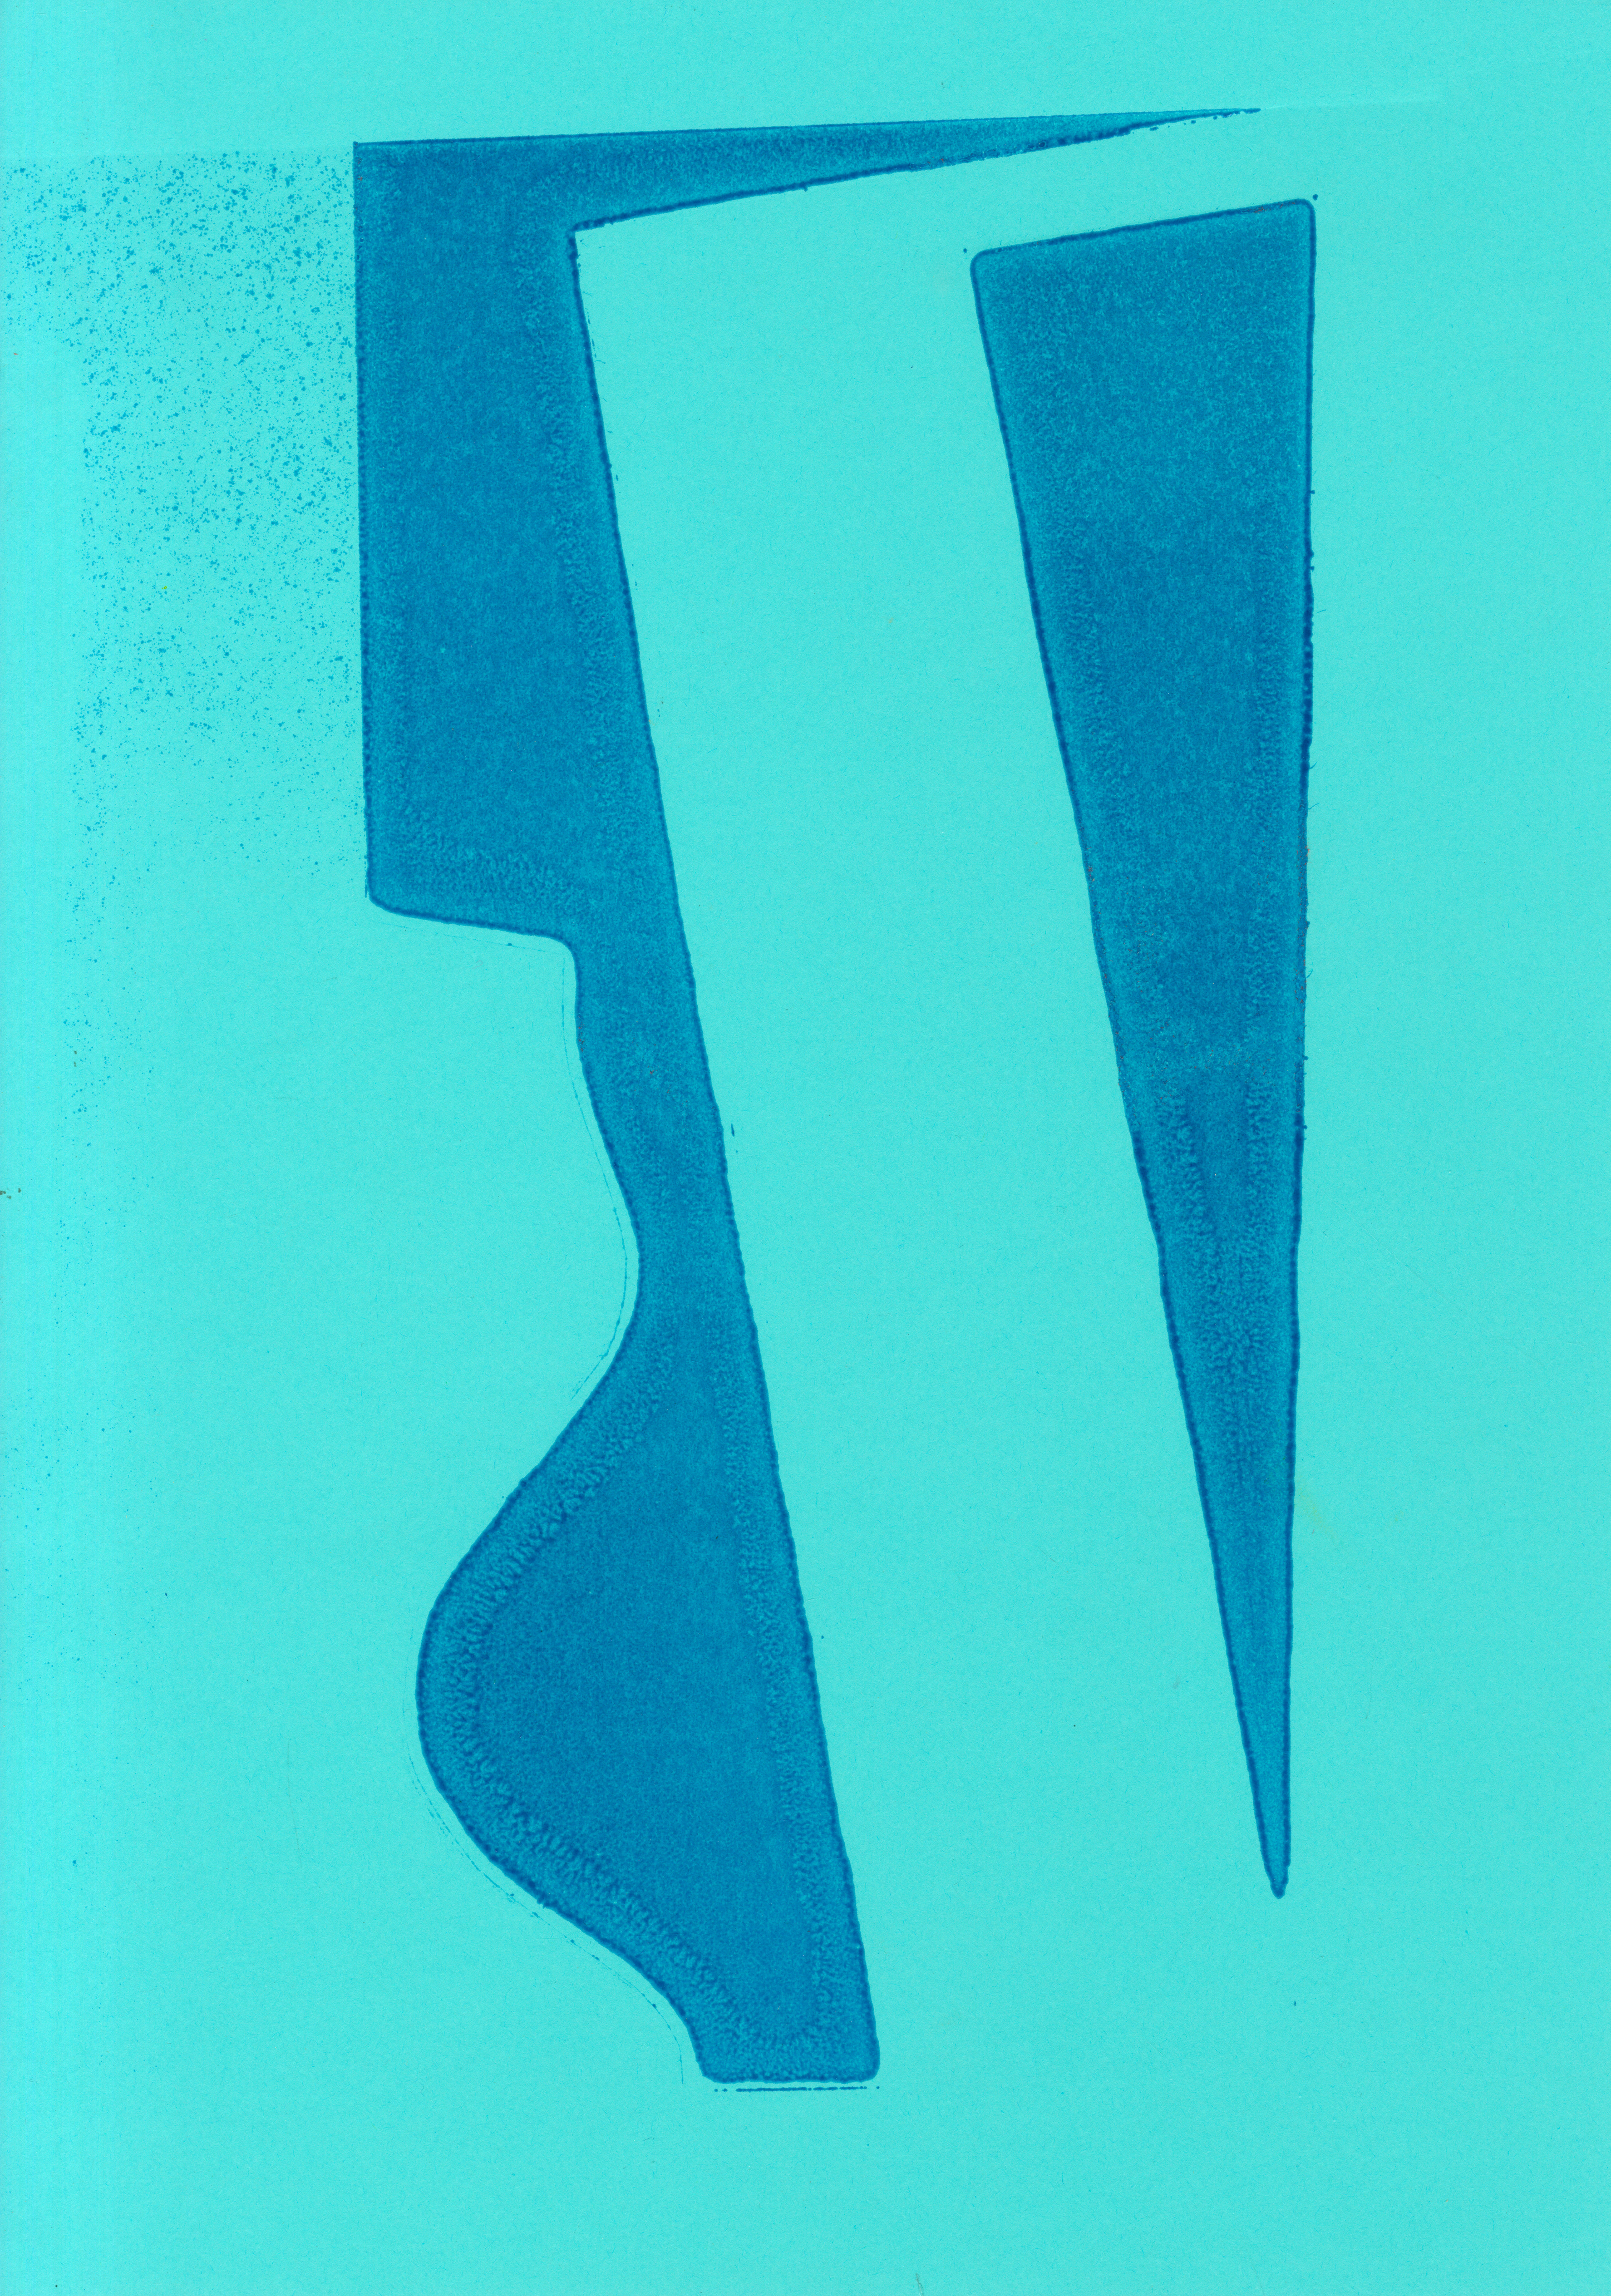
Screenprint on paper, 70 x 48 cm
Screenprint on paper, 70 x 48 cm

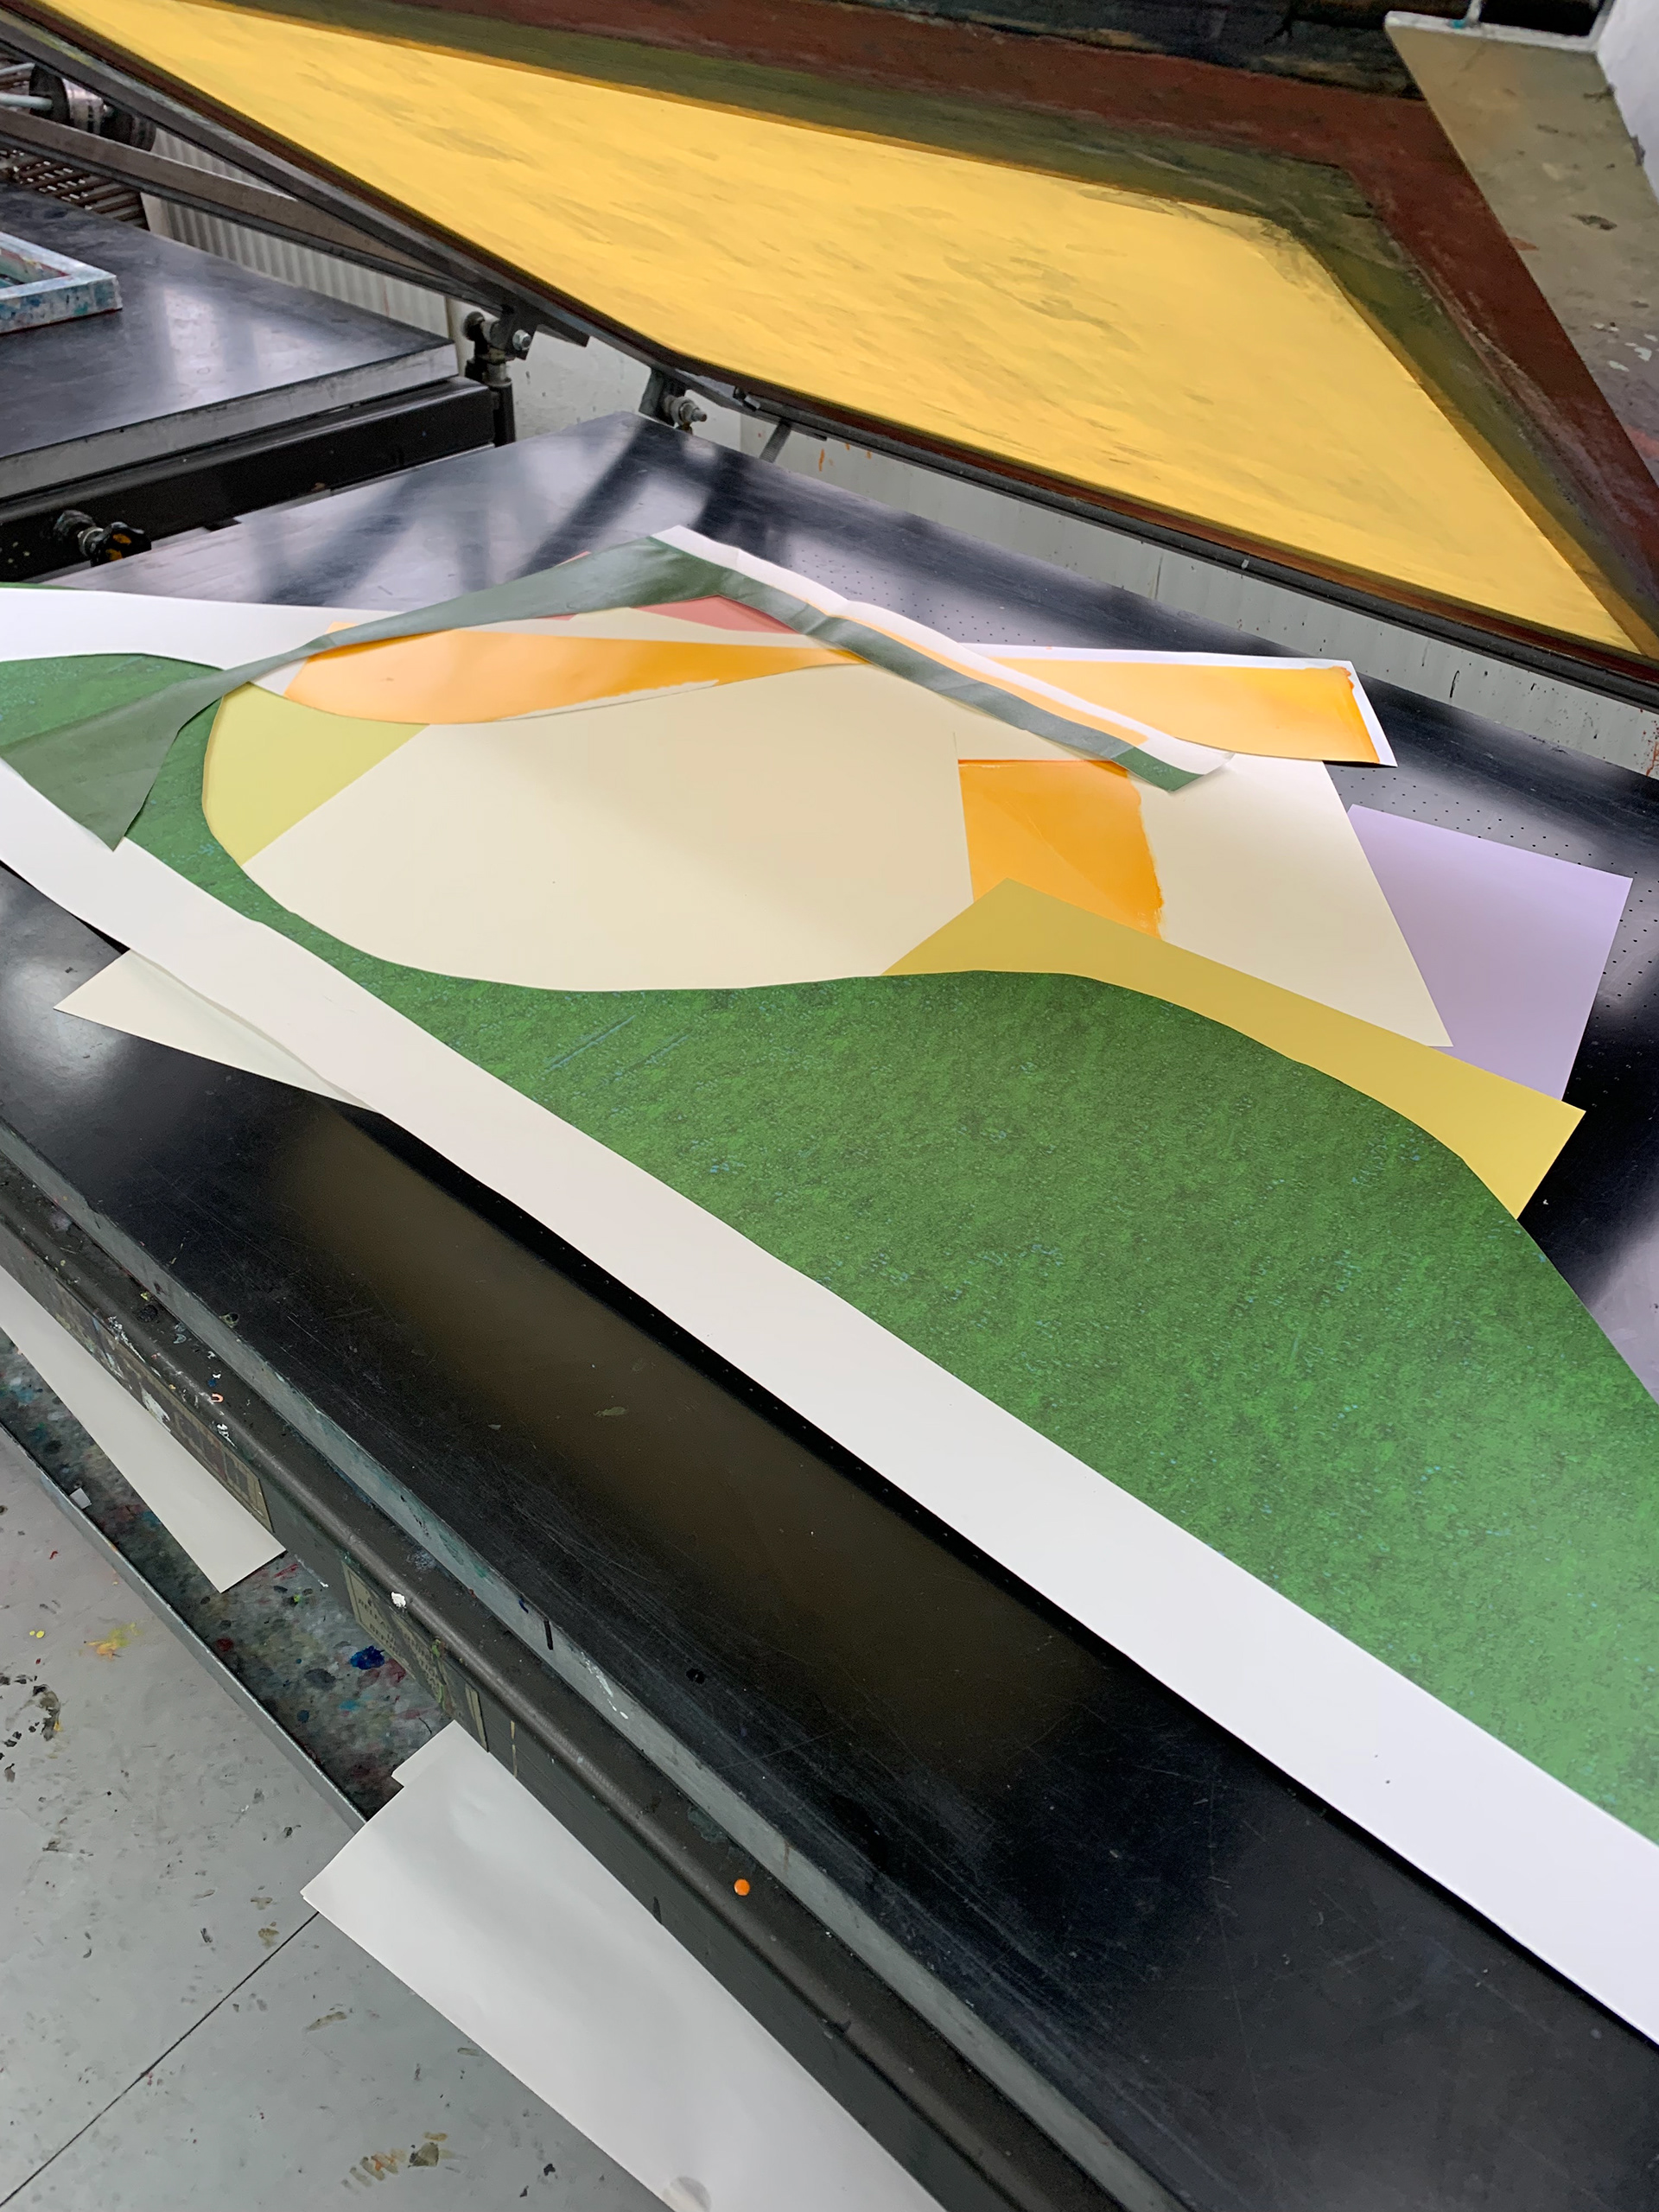
Arrangement of A1 newsprint screenprints
I screenprint on the large offcuts from the shapes I digitally printed for the Copeland Gallery exhibition. I arrange and layer these very large pieces on the table and use a blank screen on top. There is no screen or vacuum table big enough to fit an entire piece of paper on, so I have to print multiple times if I want the same colour, leaving subtle lines where the screen has been placed.
I do not mind these subtle lines, however as I am only using paper stencils the lines are not sharp and this is even more noticeable on a larger scale.

13.5 x 6 cm

15.5 x 4.7 cm

16 x 15 cm
16.5 x 7.5 cm

19 x 13 cm
24.5 x 12.2 cm
25.3 x 8.8 cm
26.5 x 8.5 cm
28 x 7.7 cm

28.7 x 7.8 cm
28.8 x 20 cm
23 x 6.9 cm

reverse of previous shape

24.2 x 19.7 cm

27 x 19.5 cm
reverse of previous shape
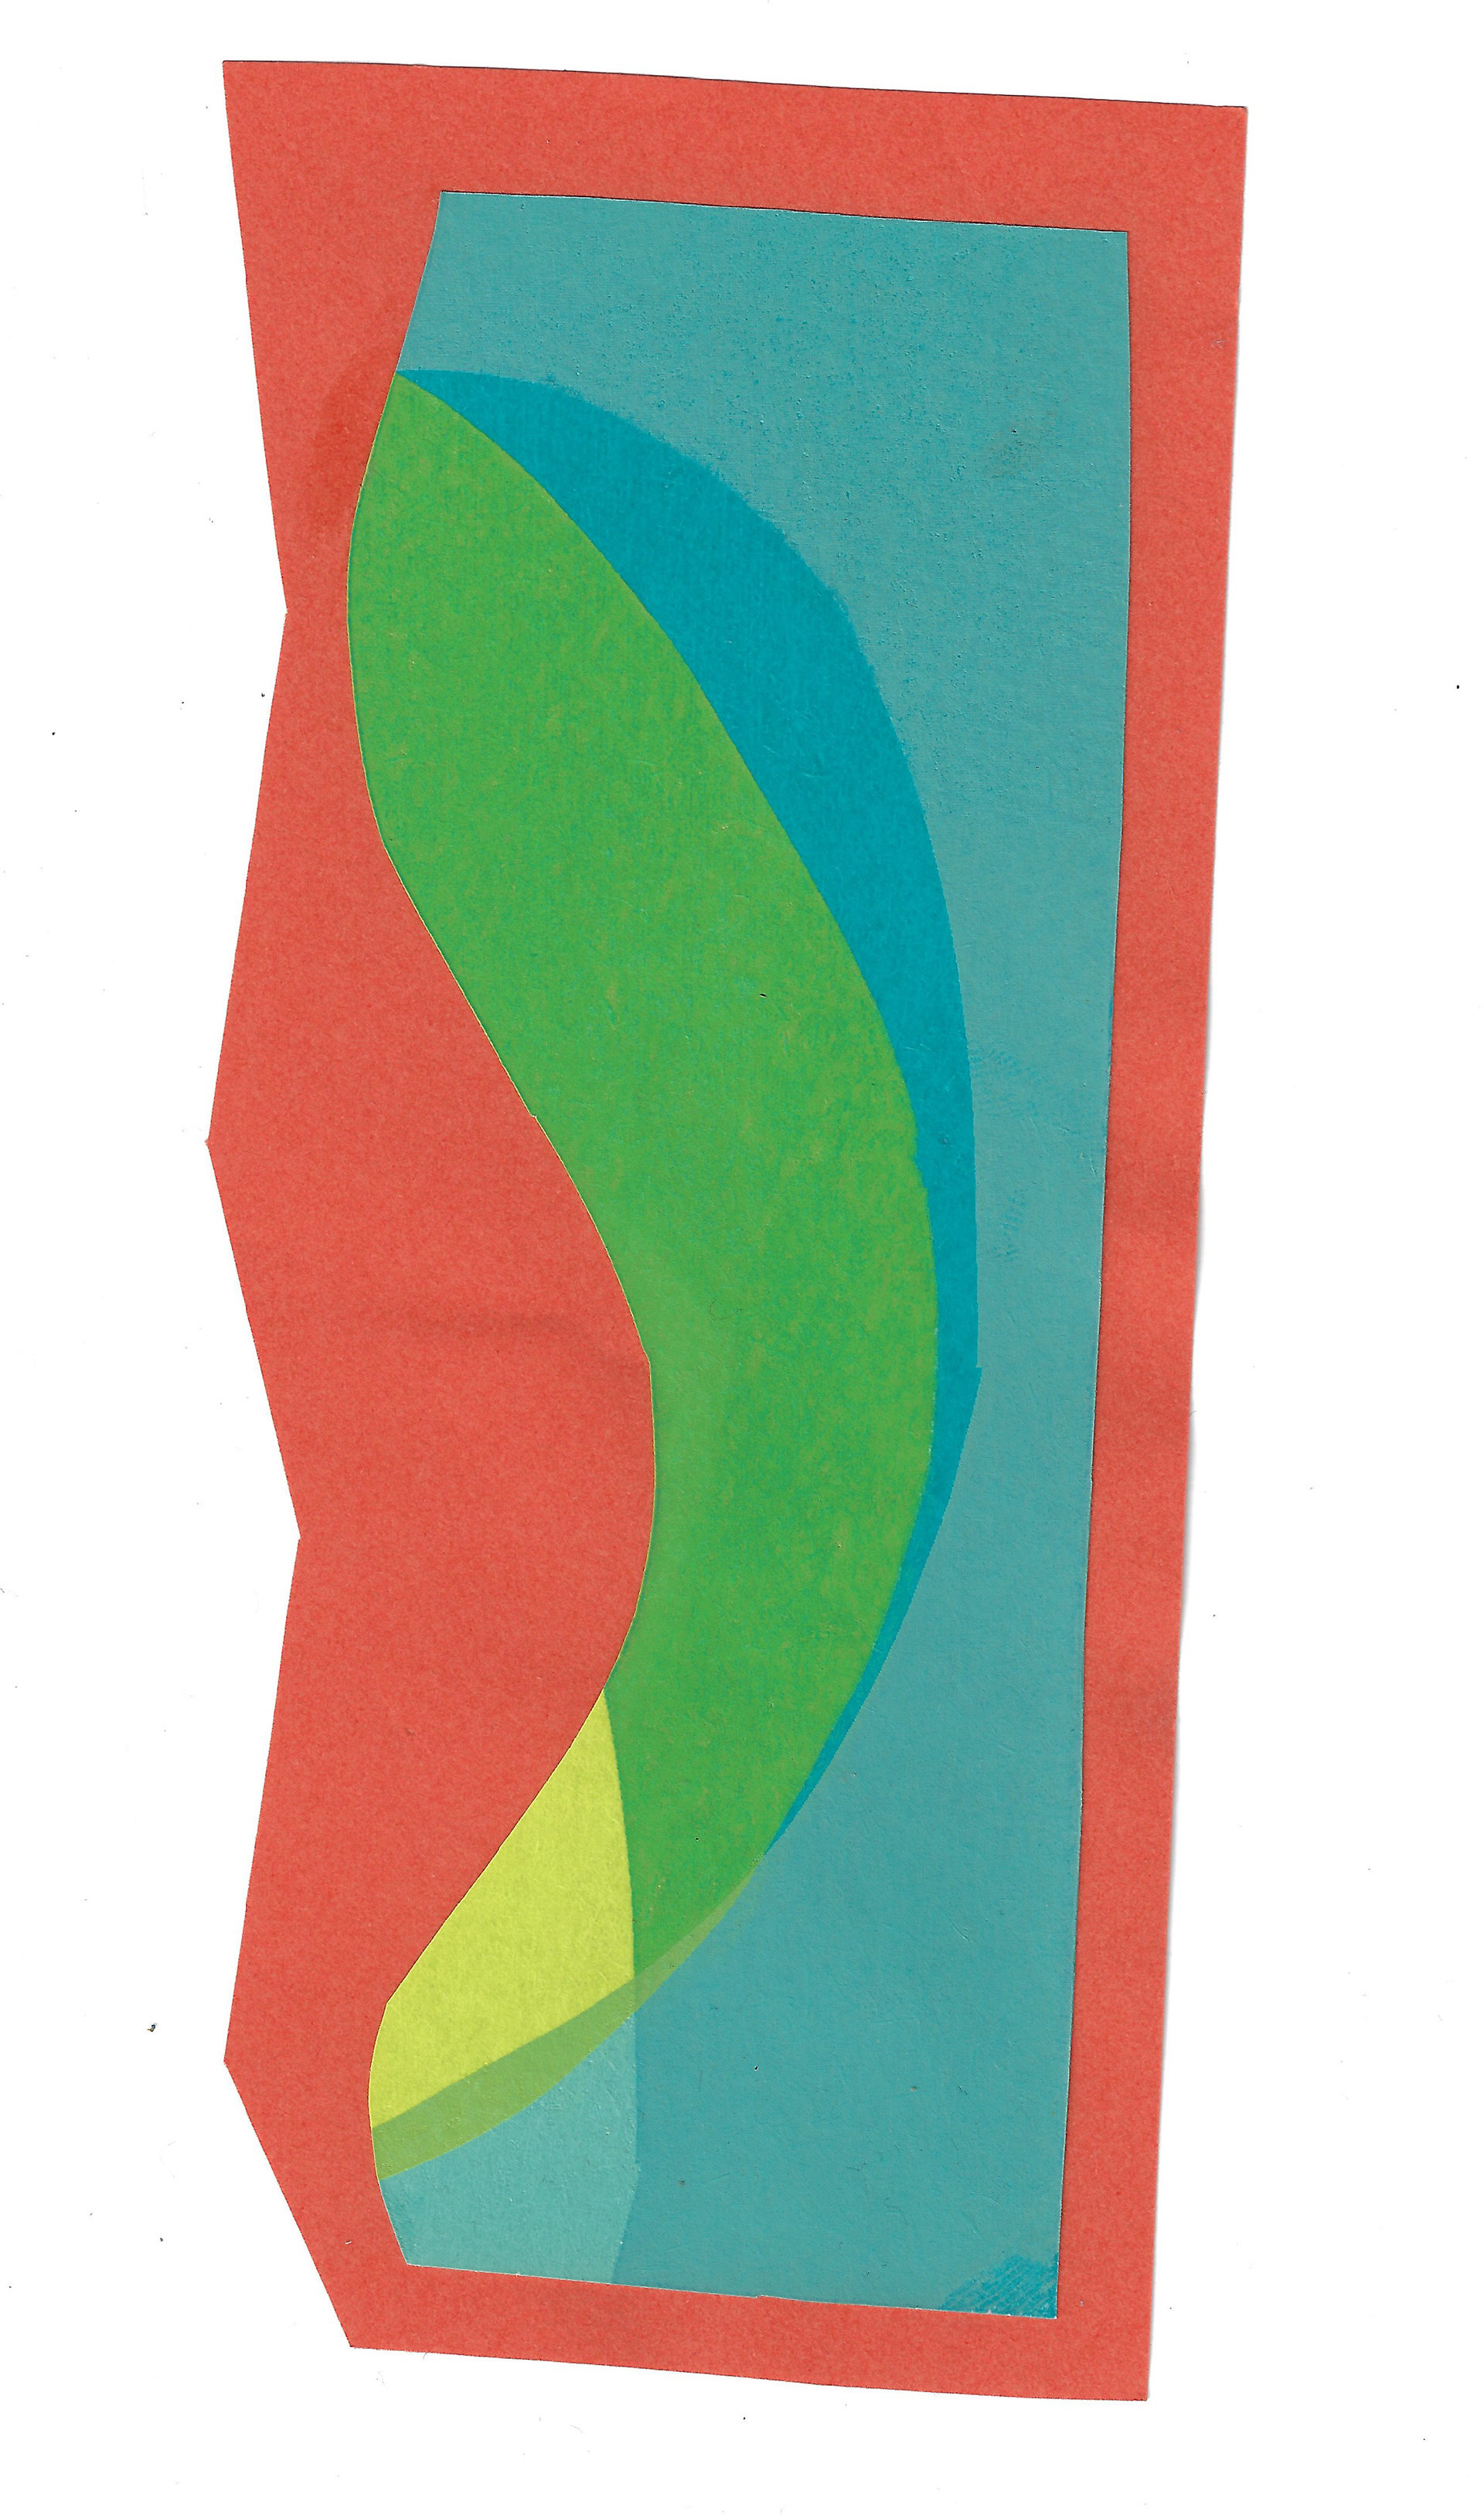
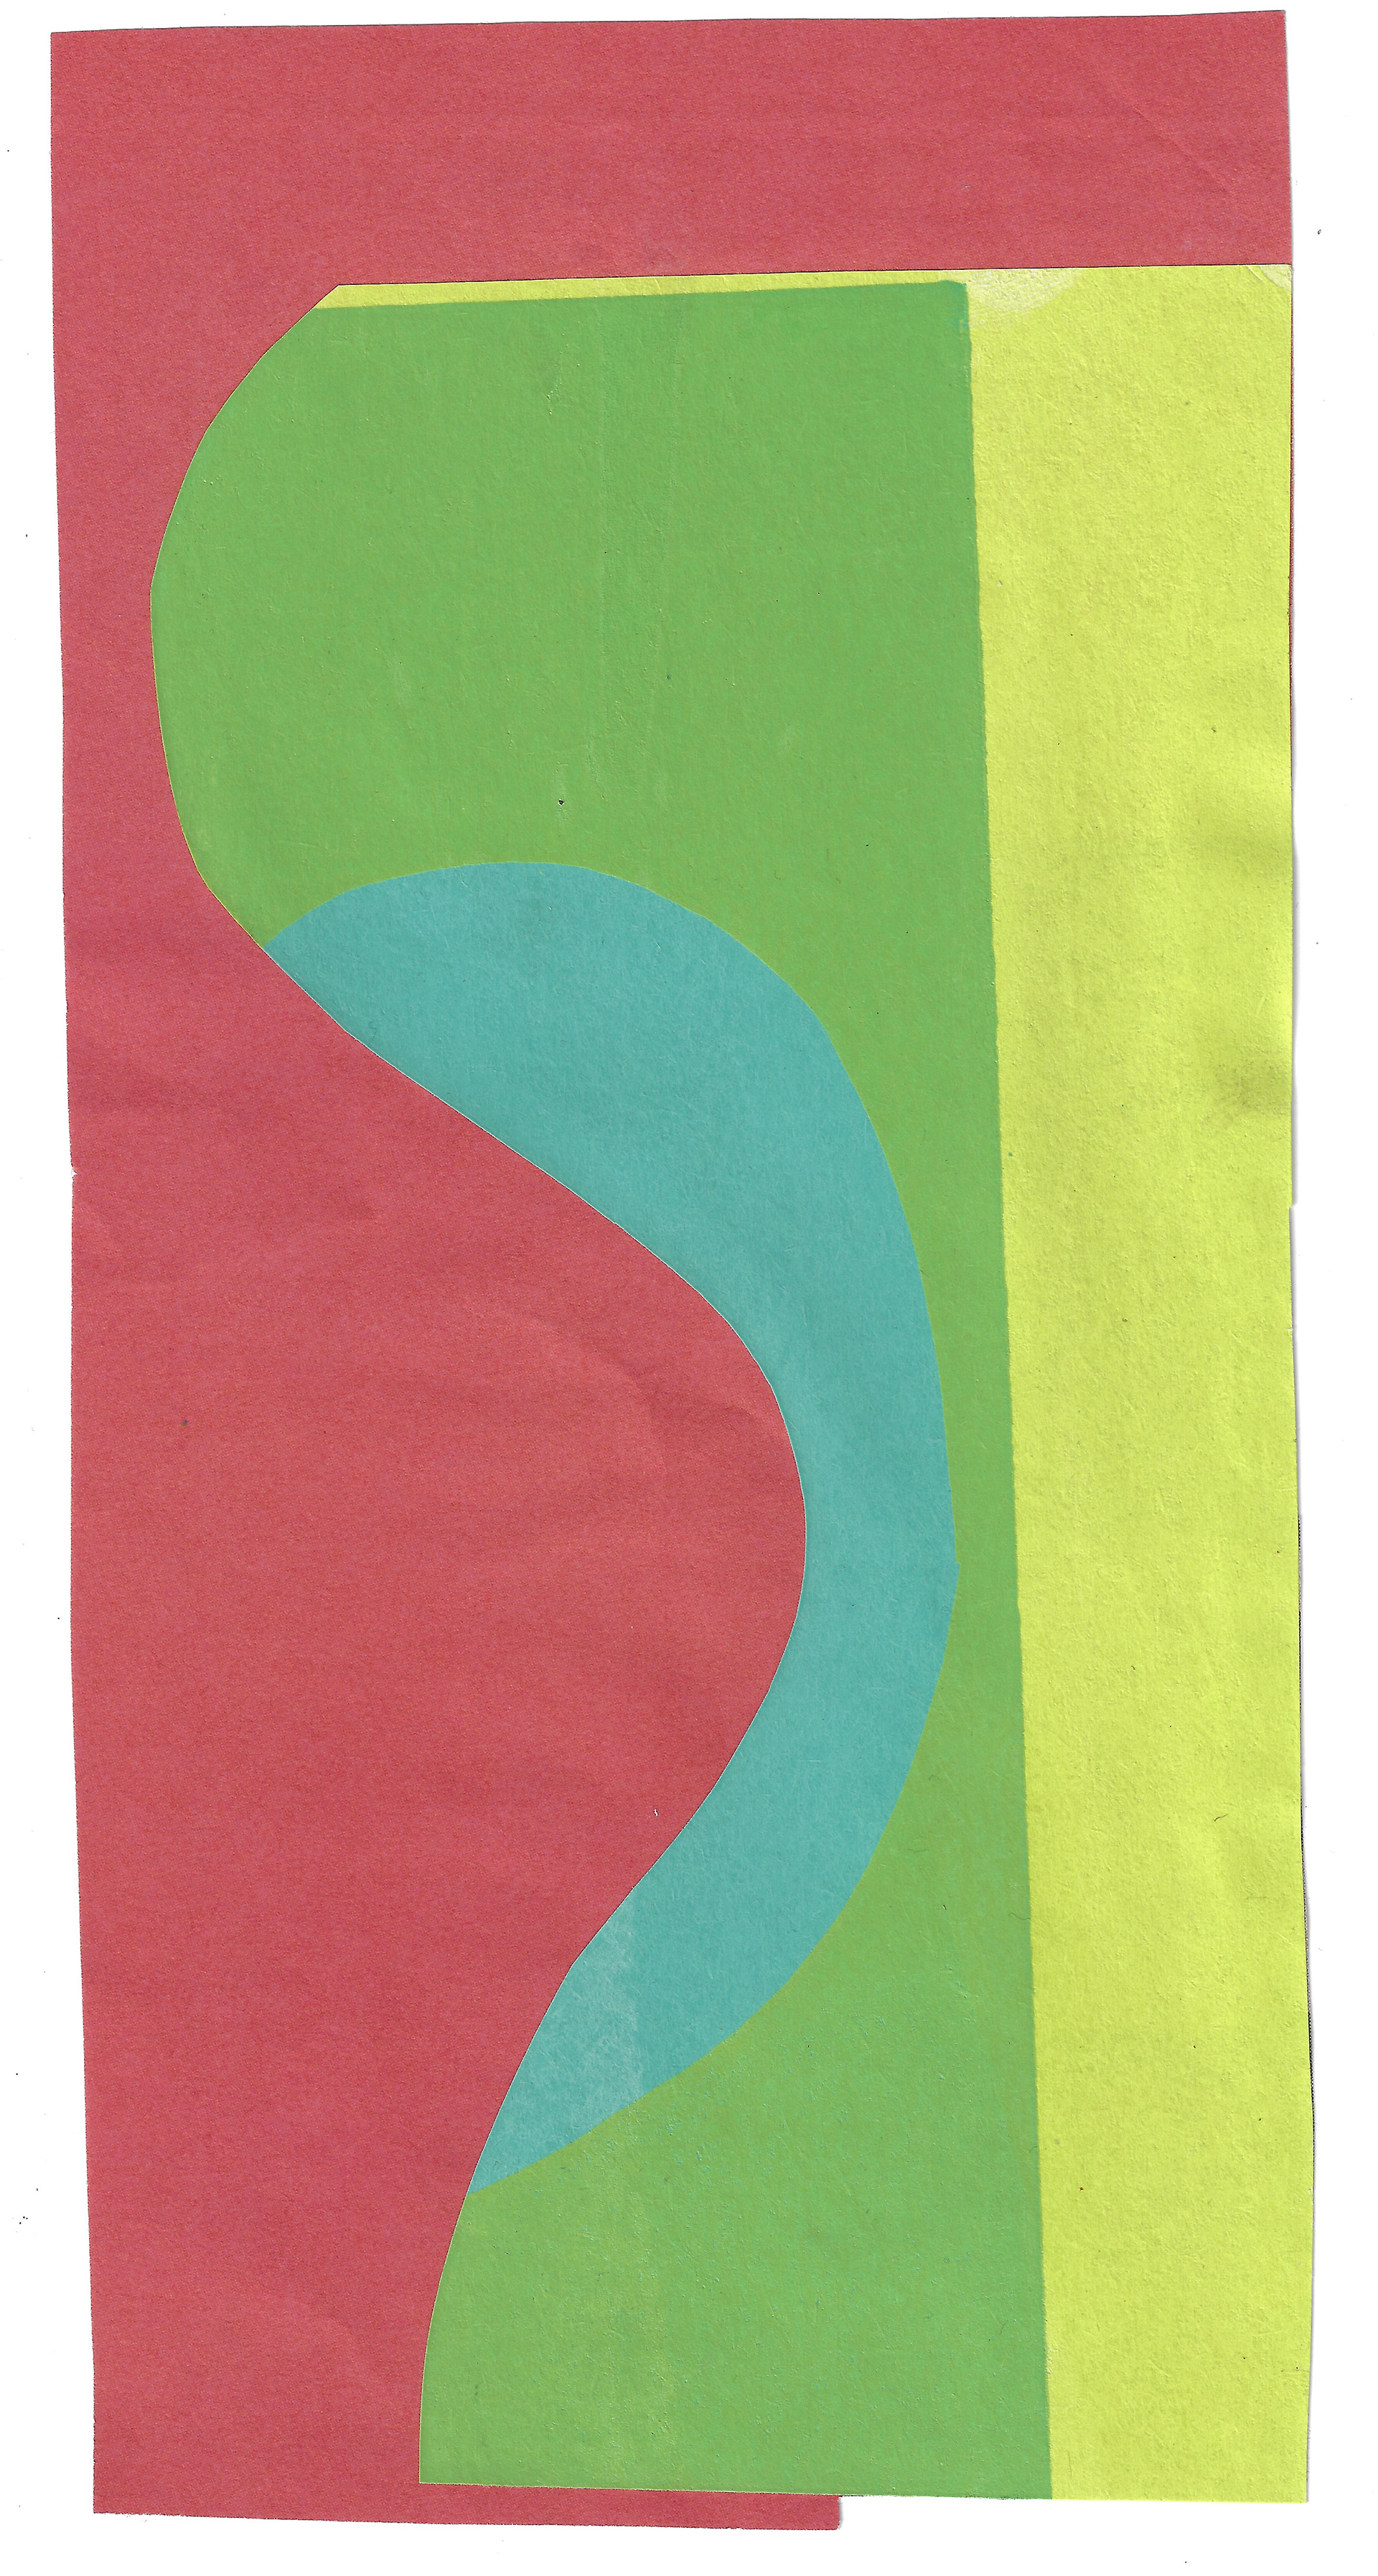
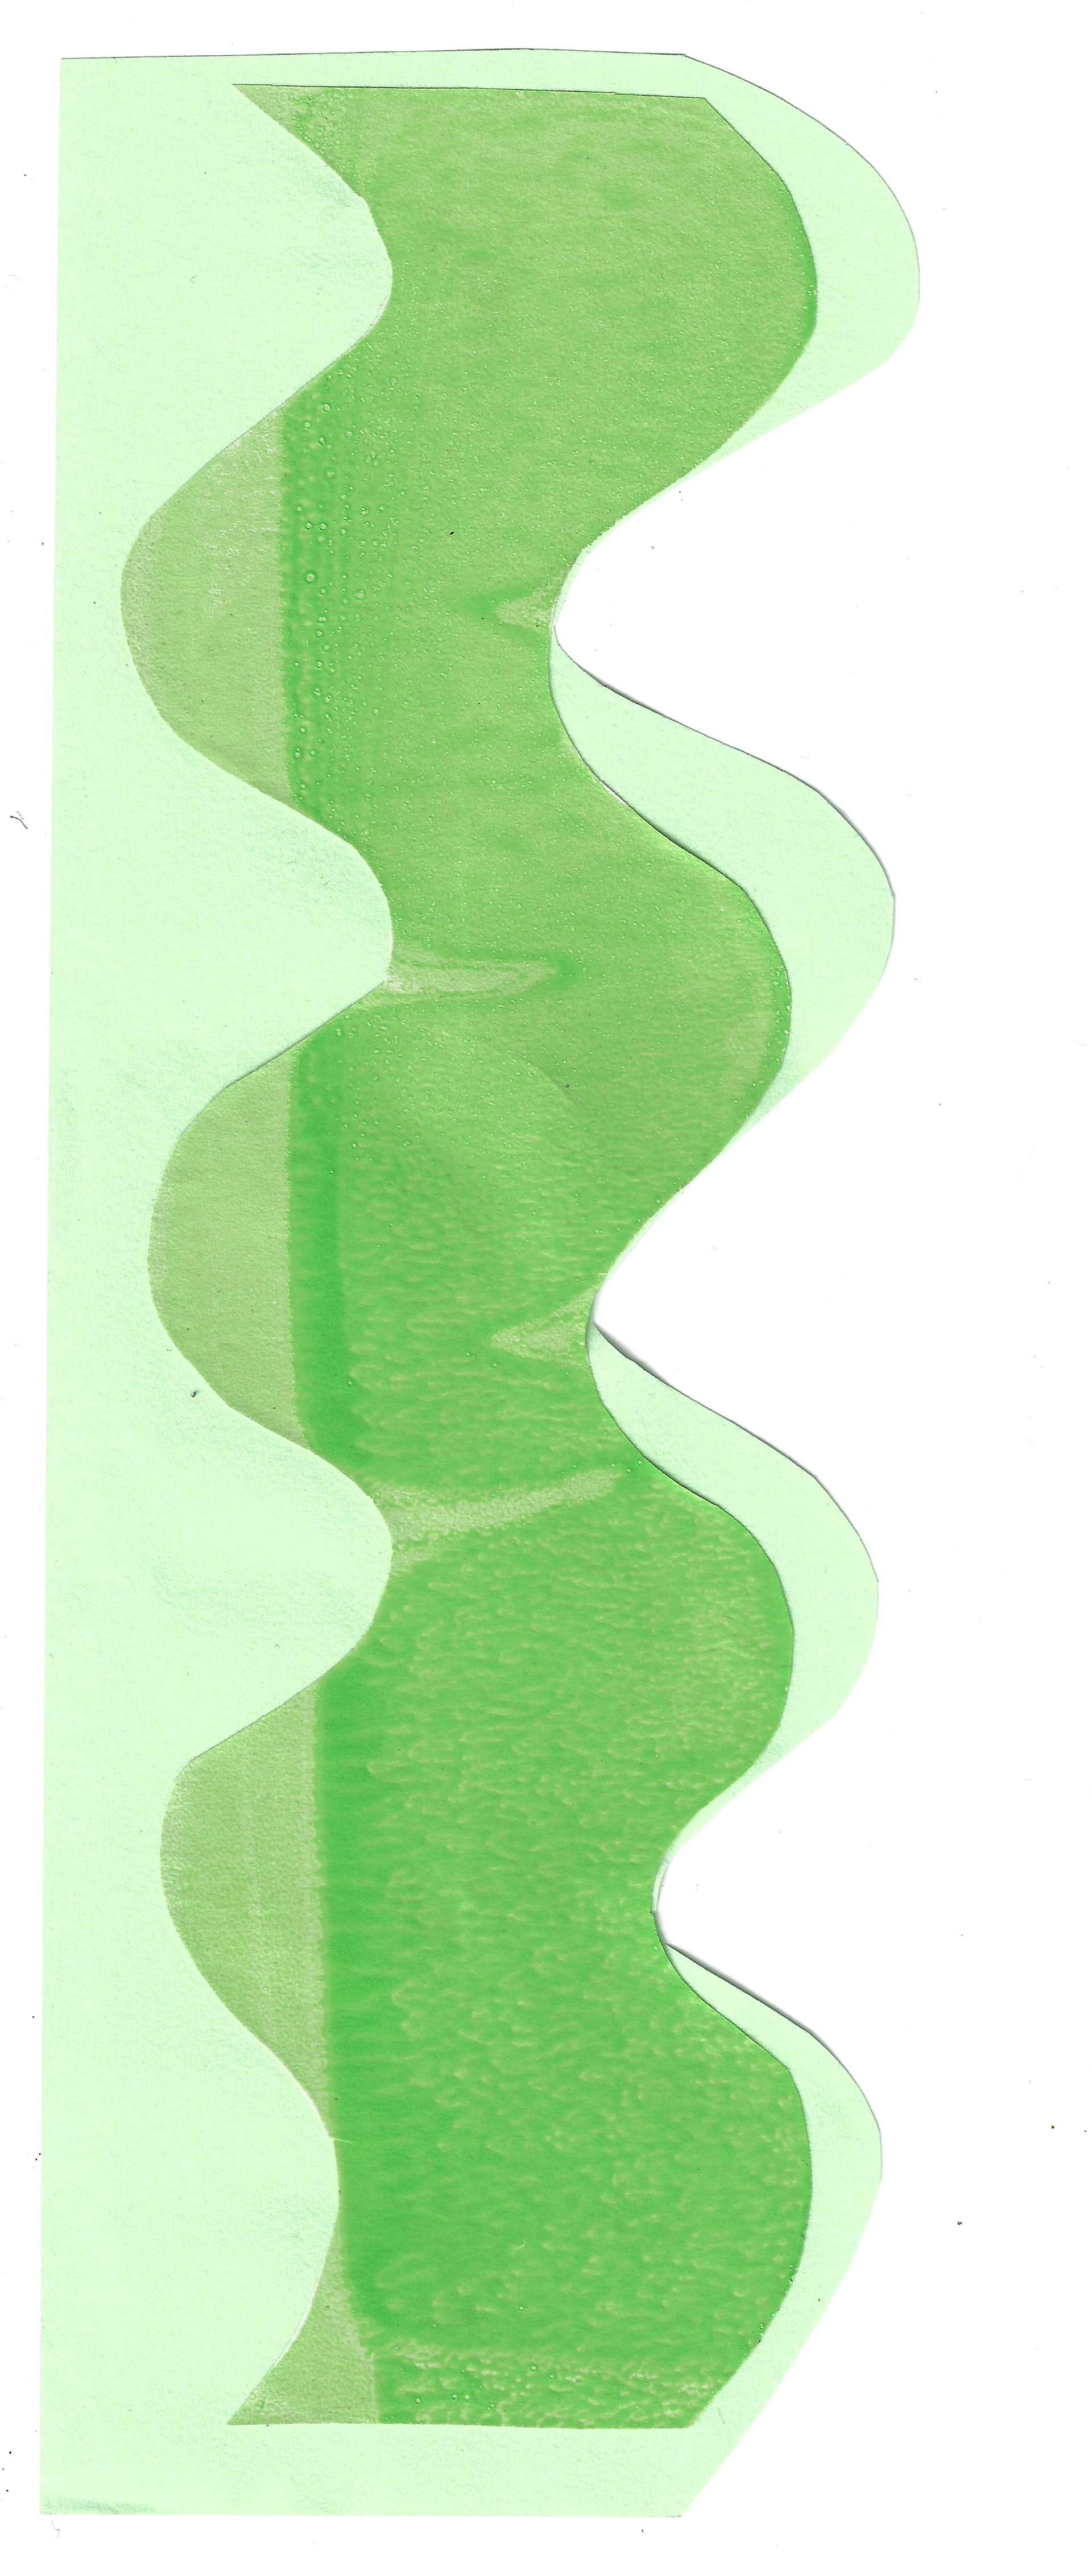
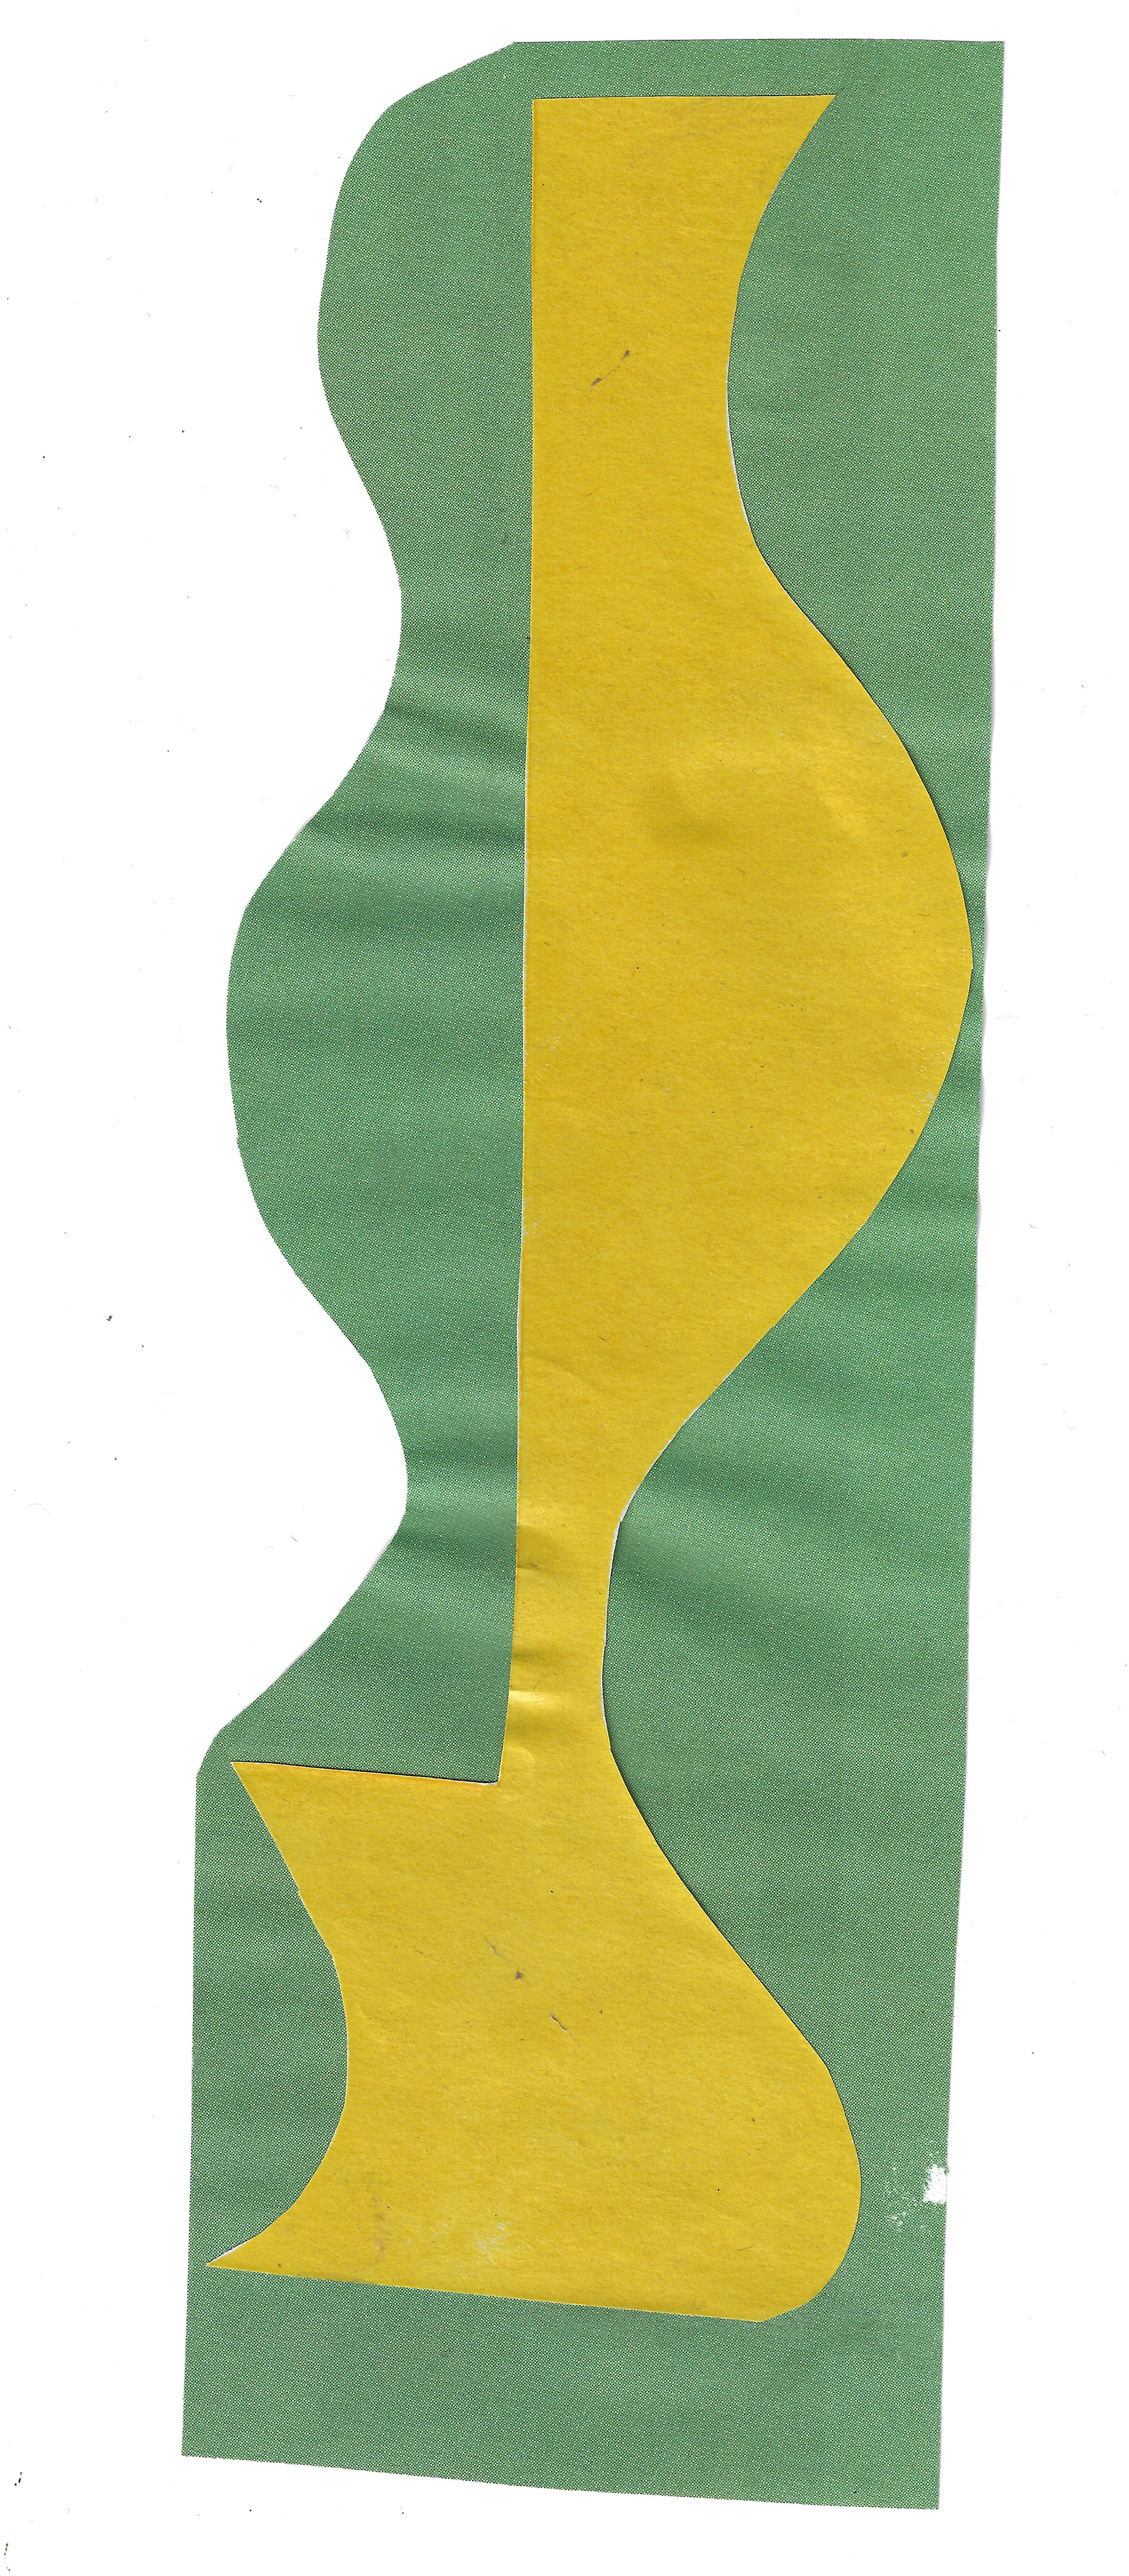
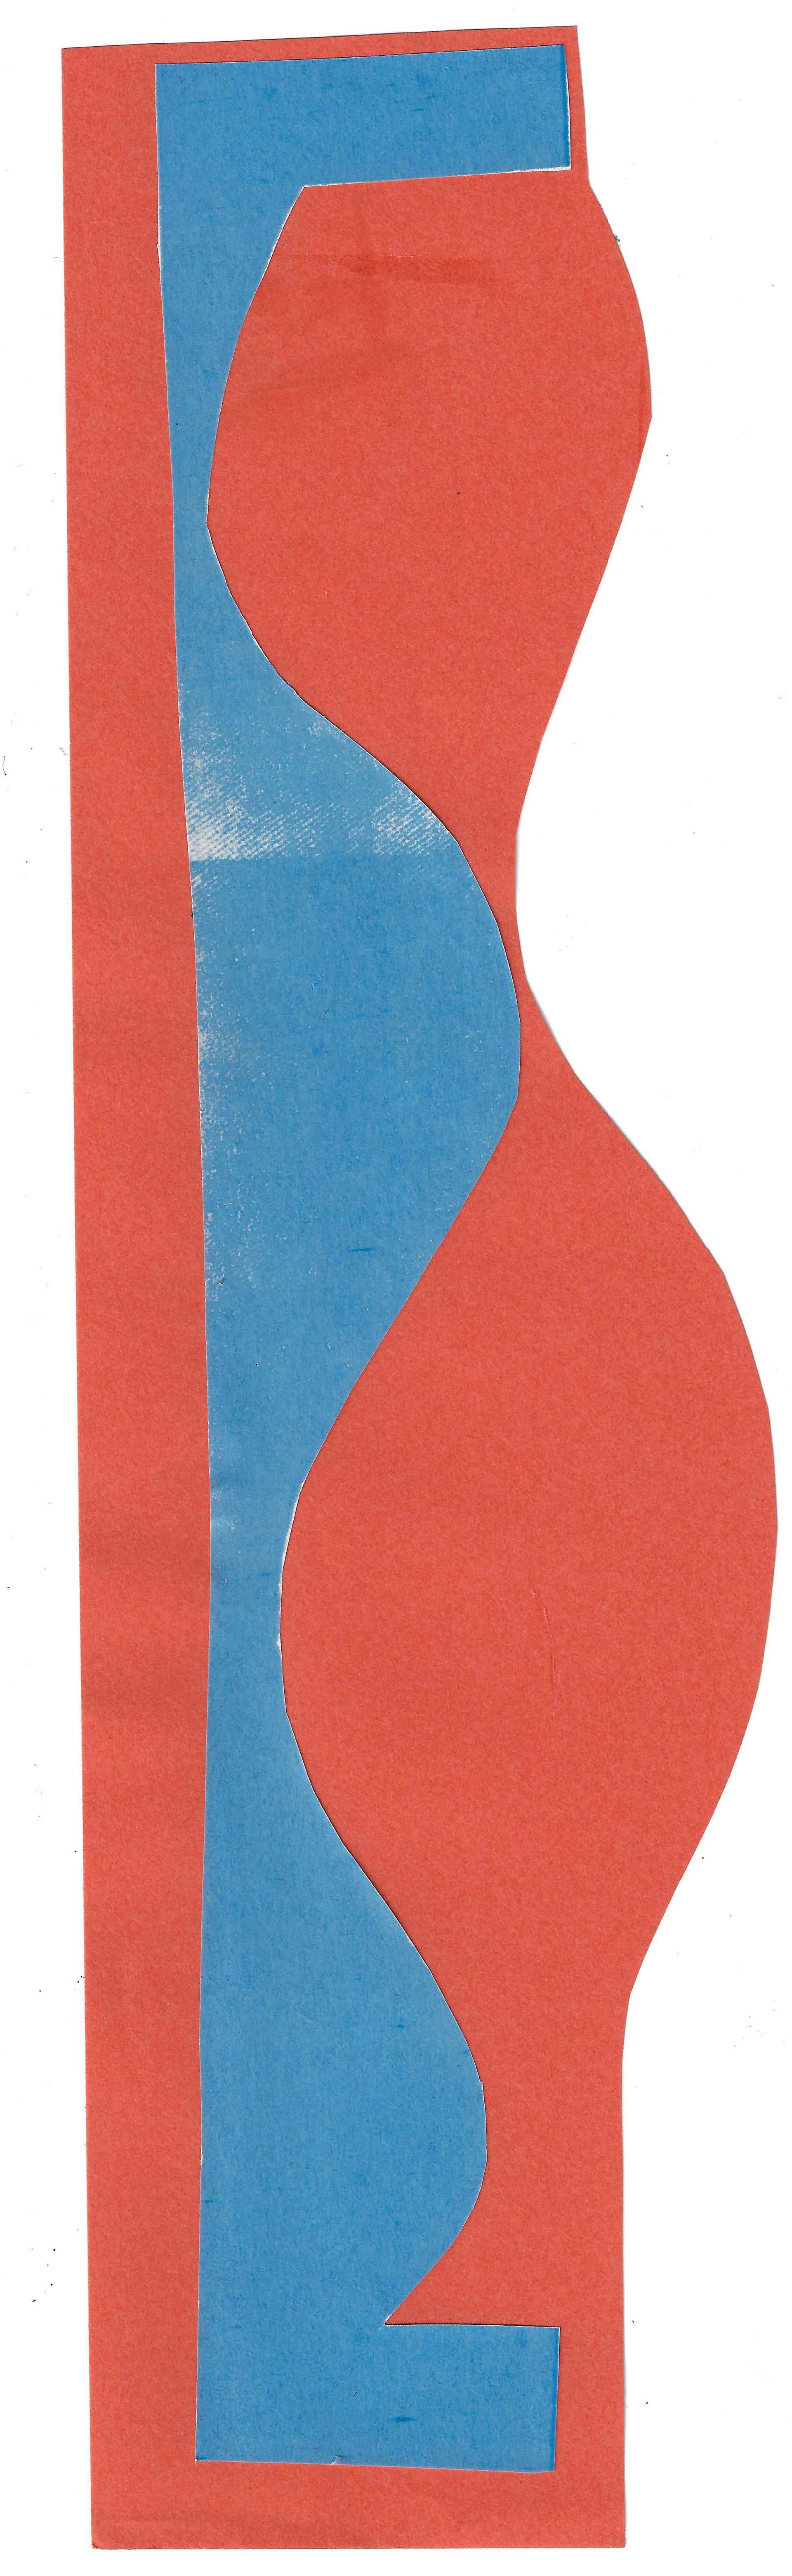
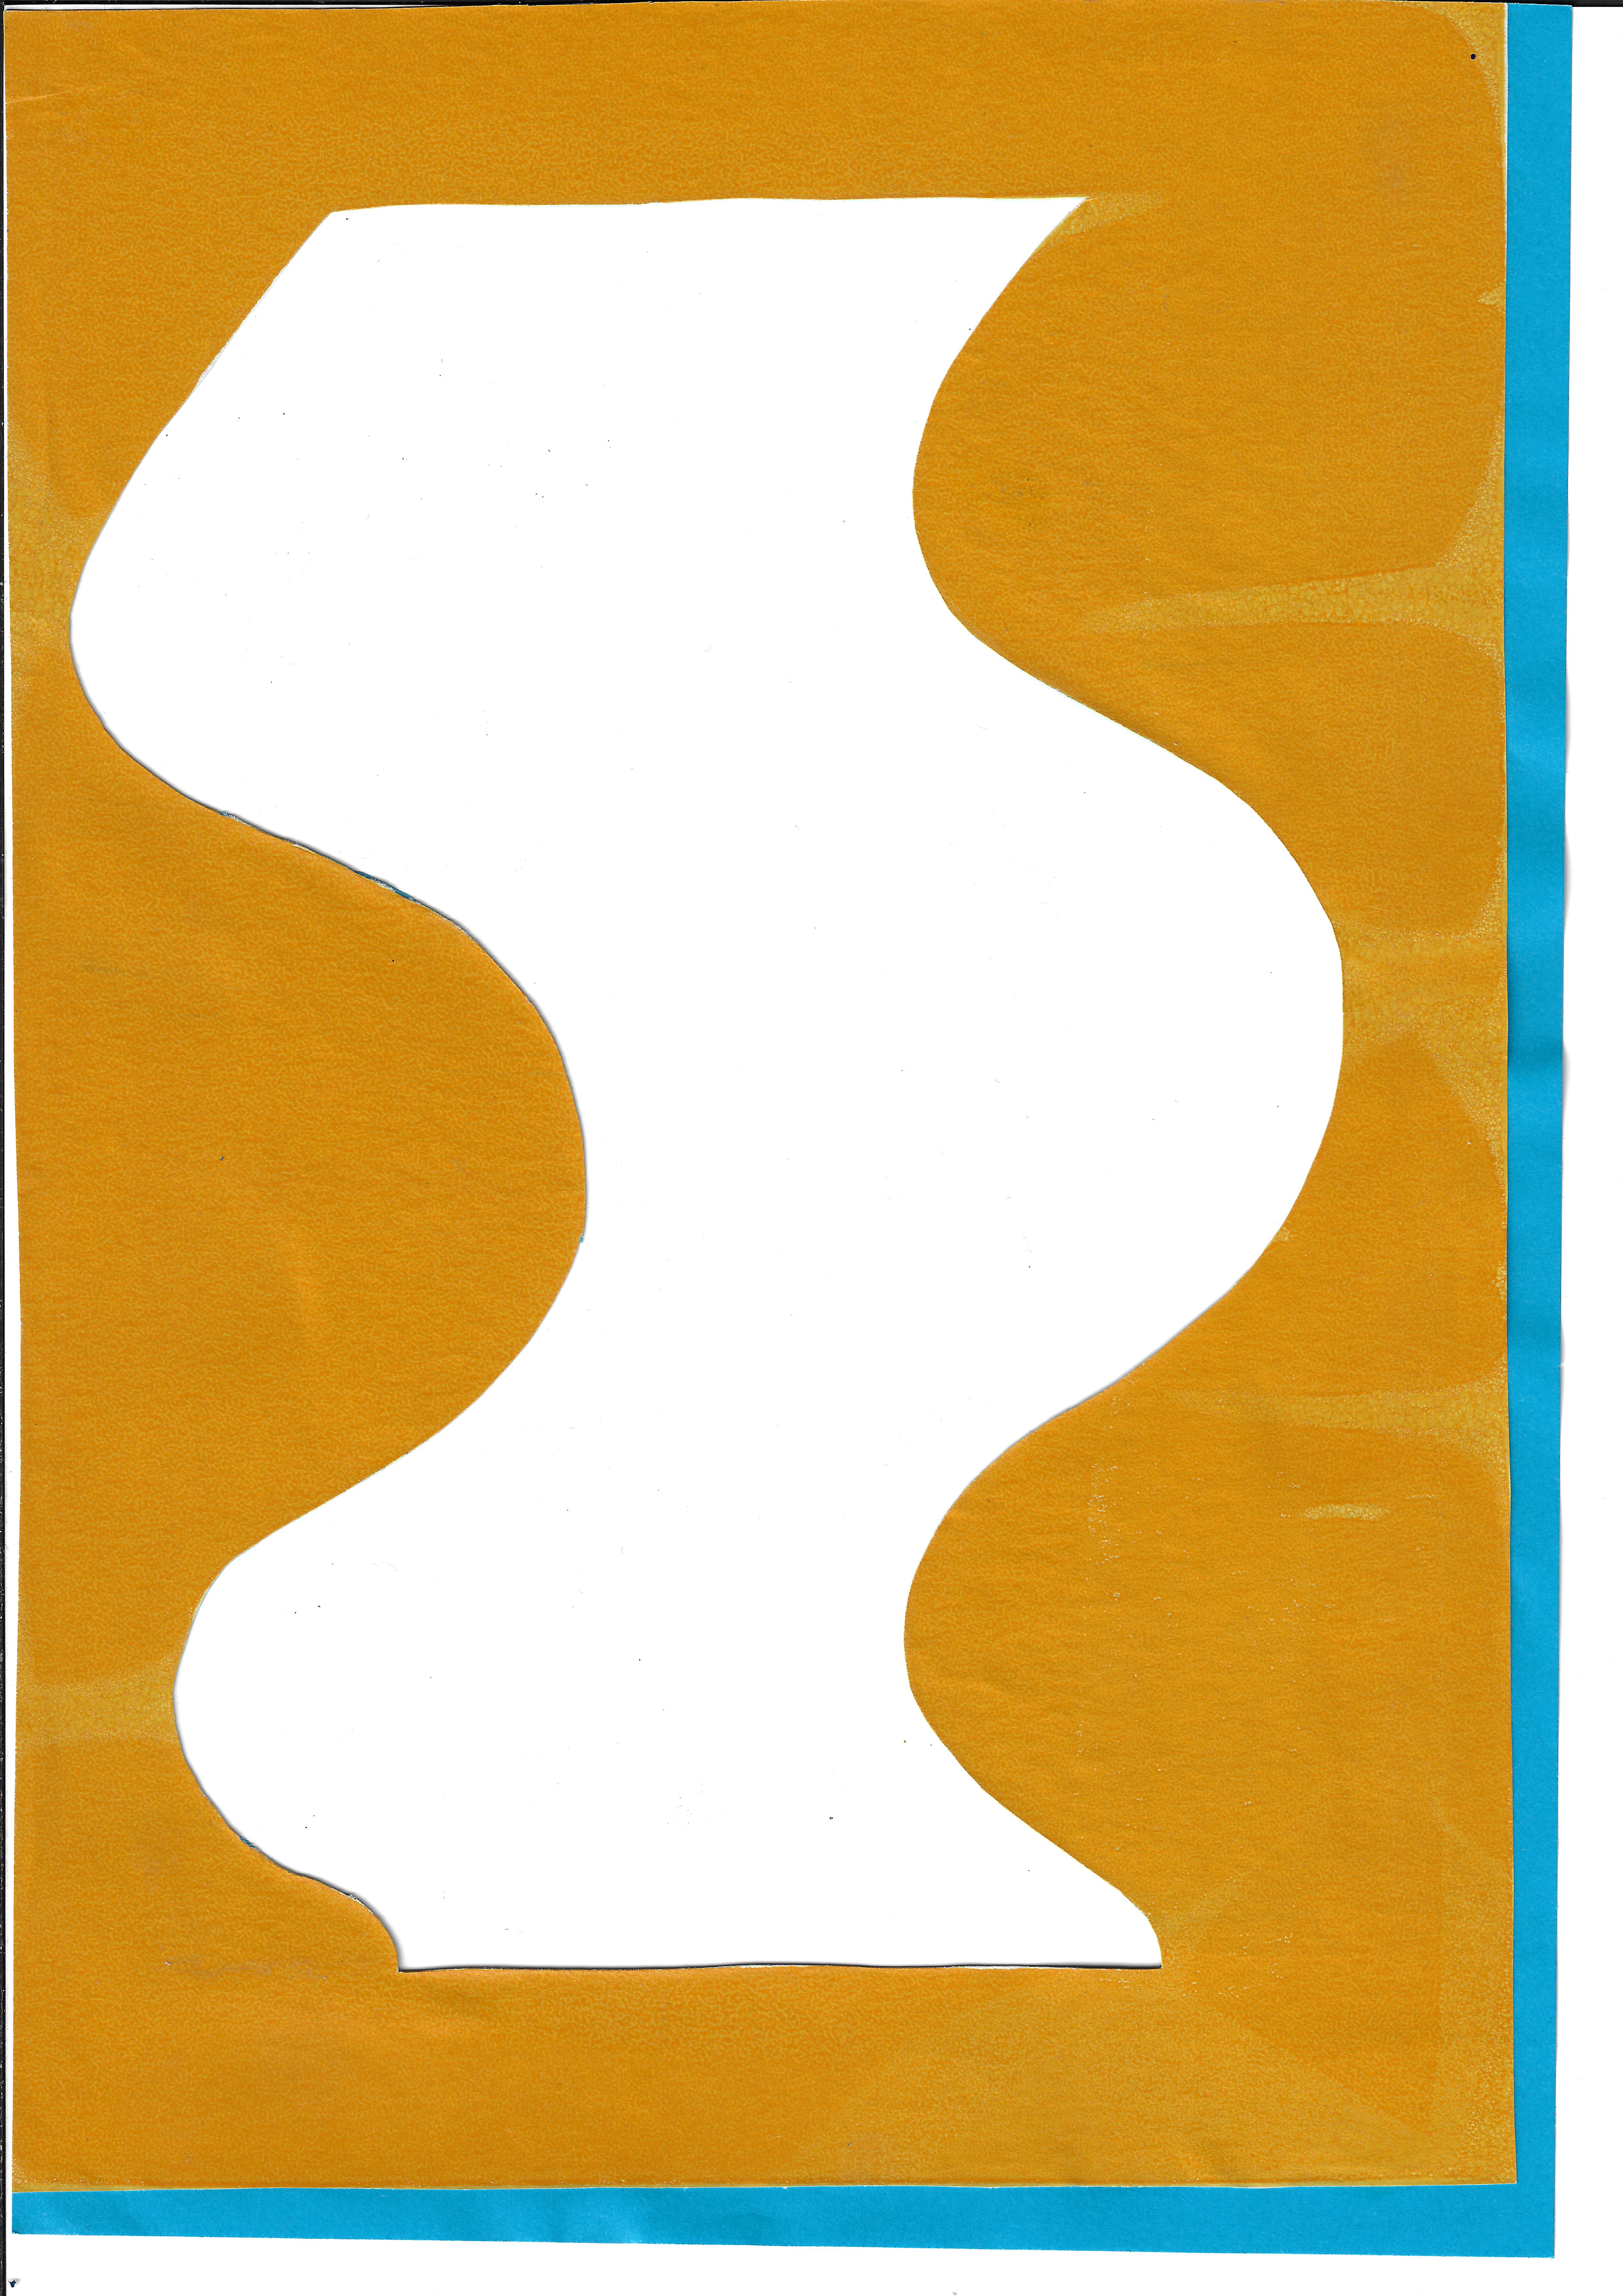
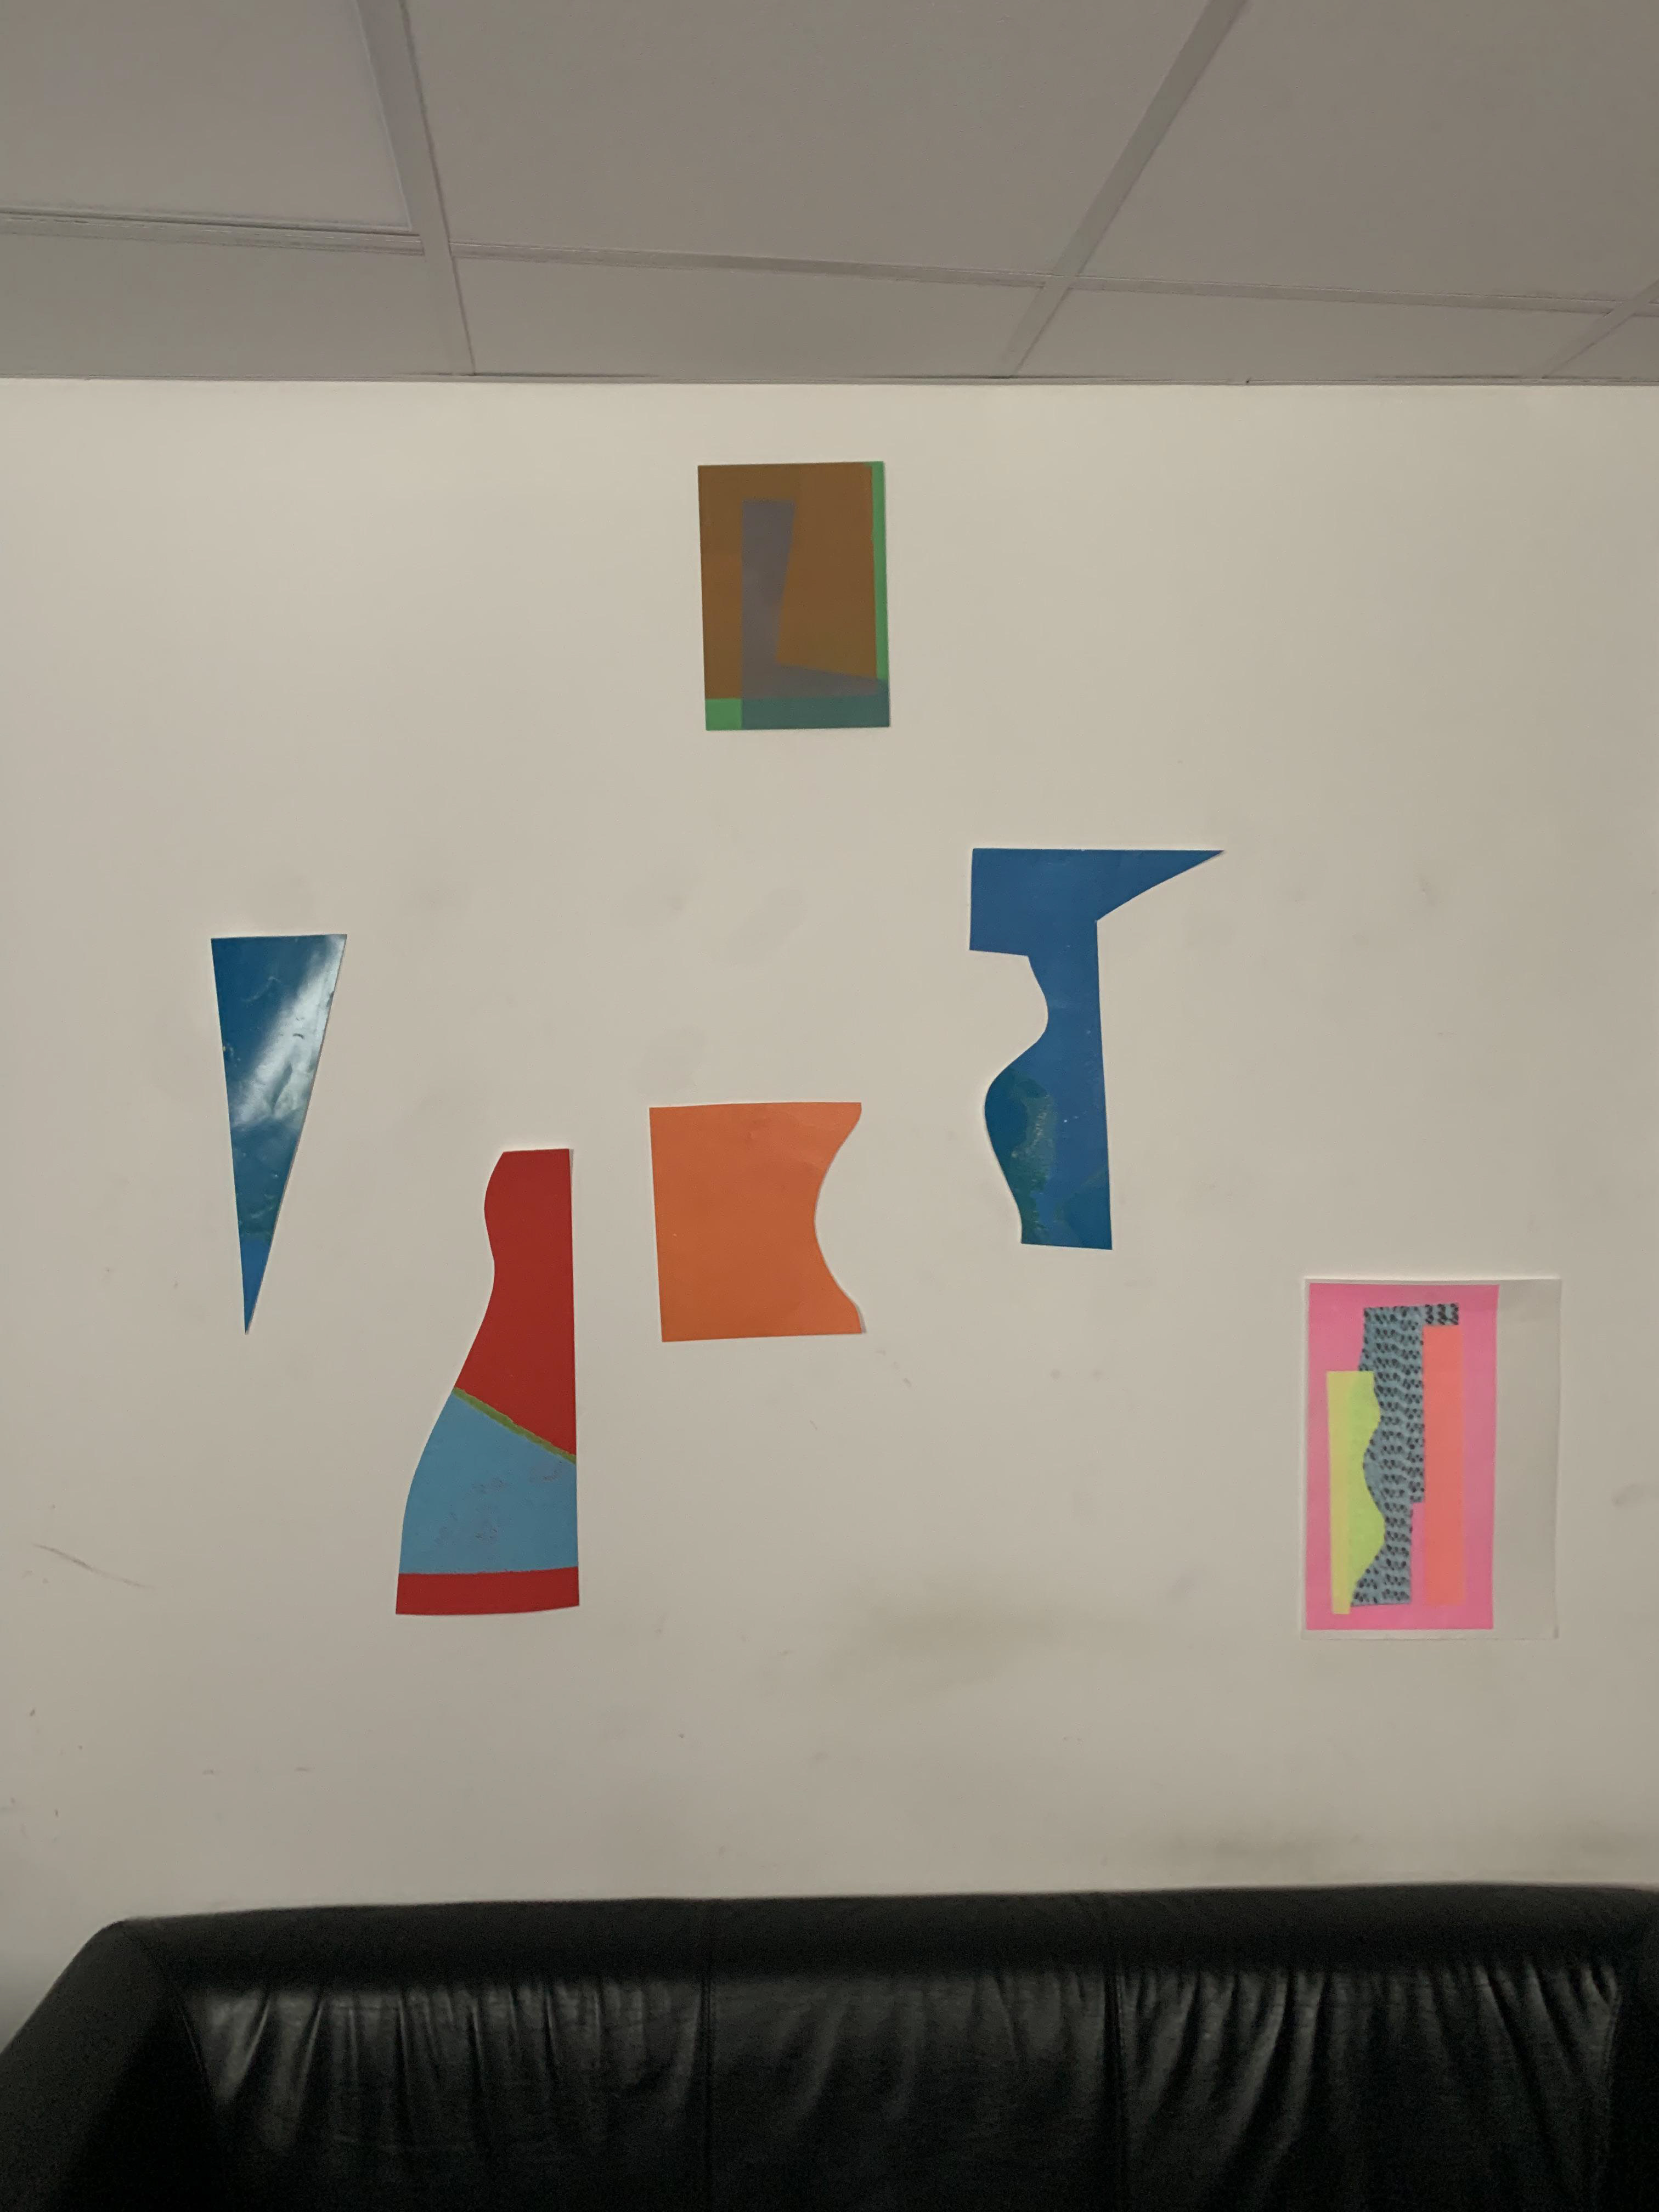
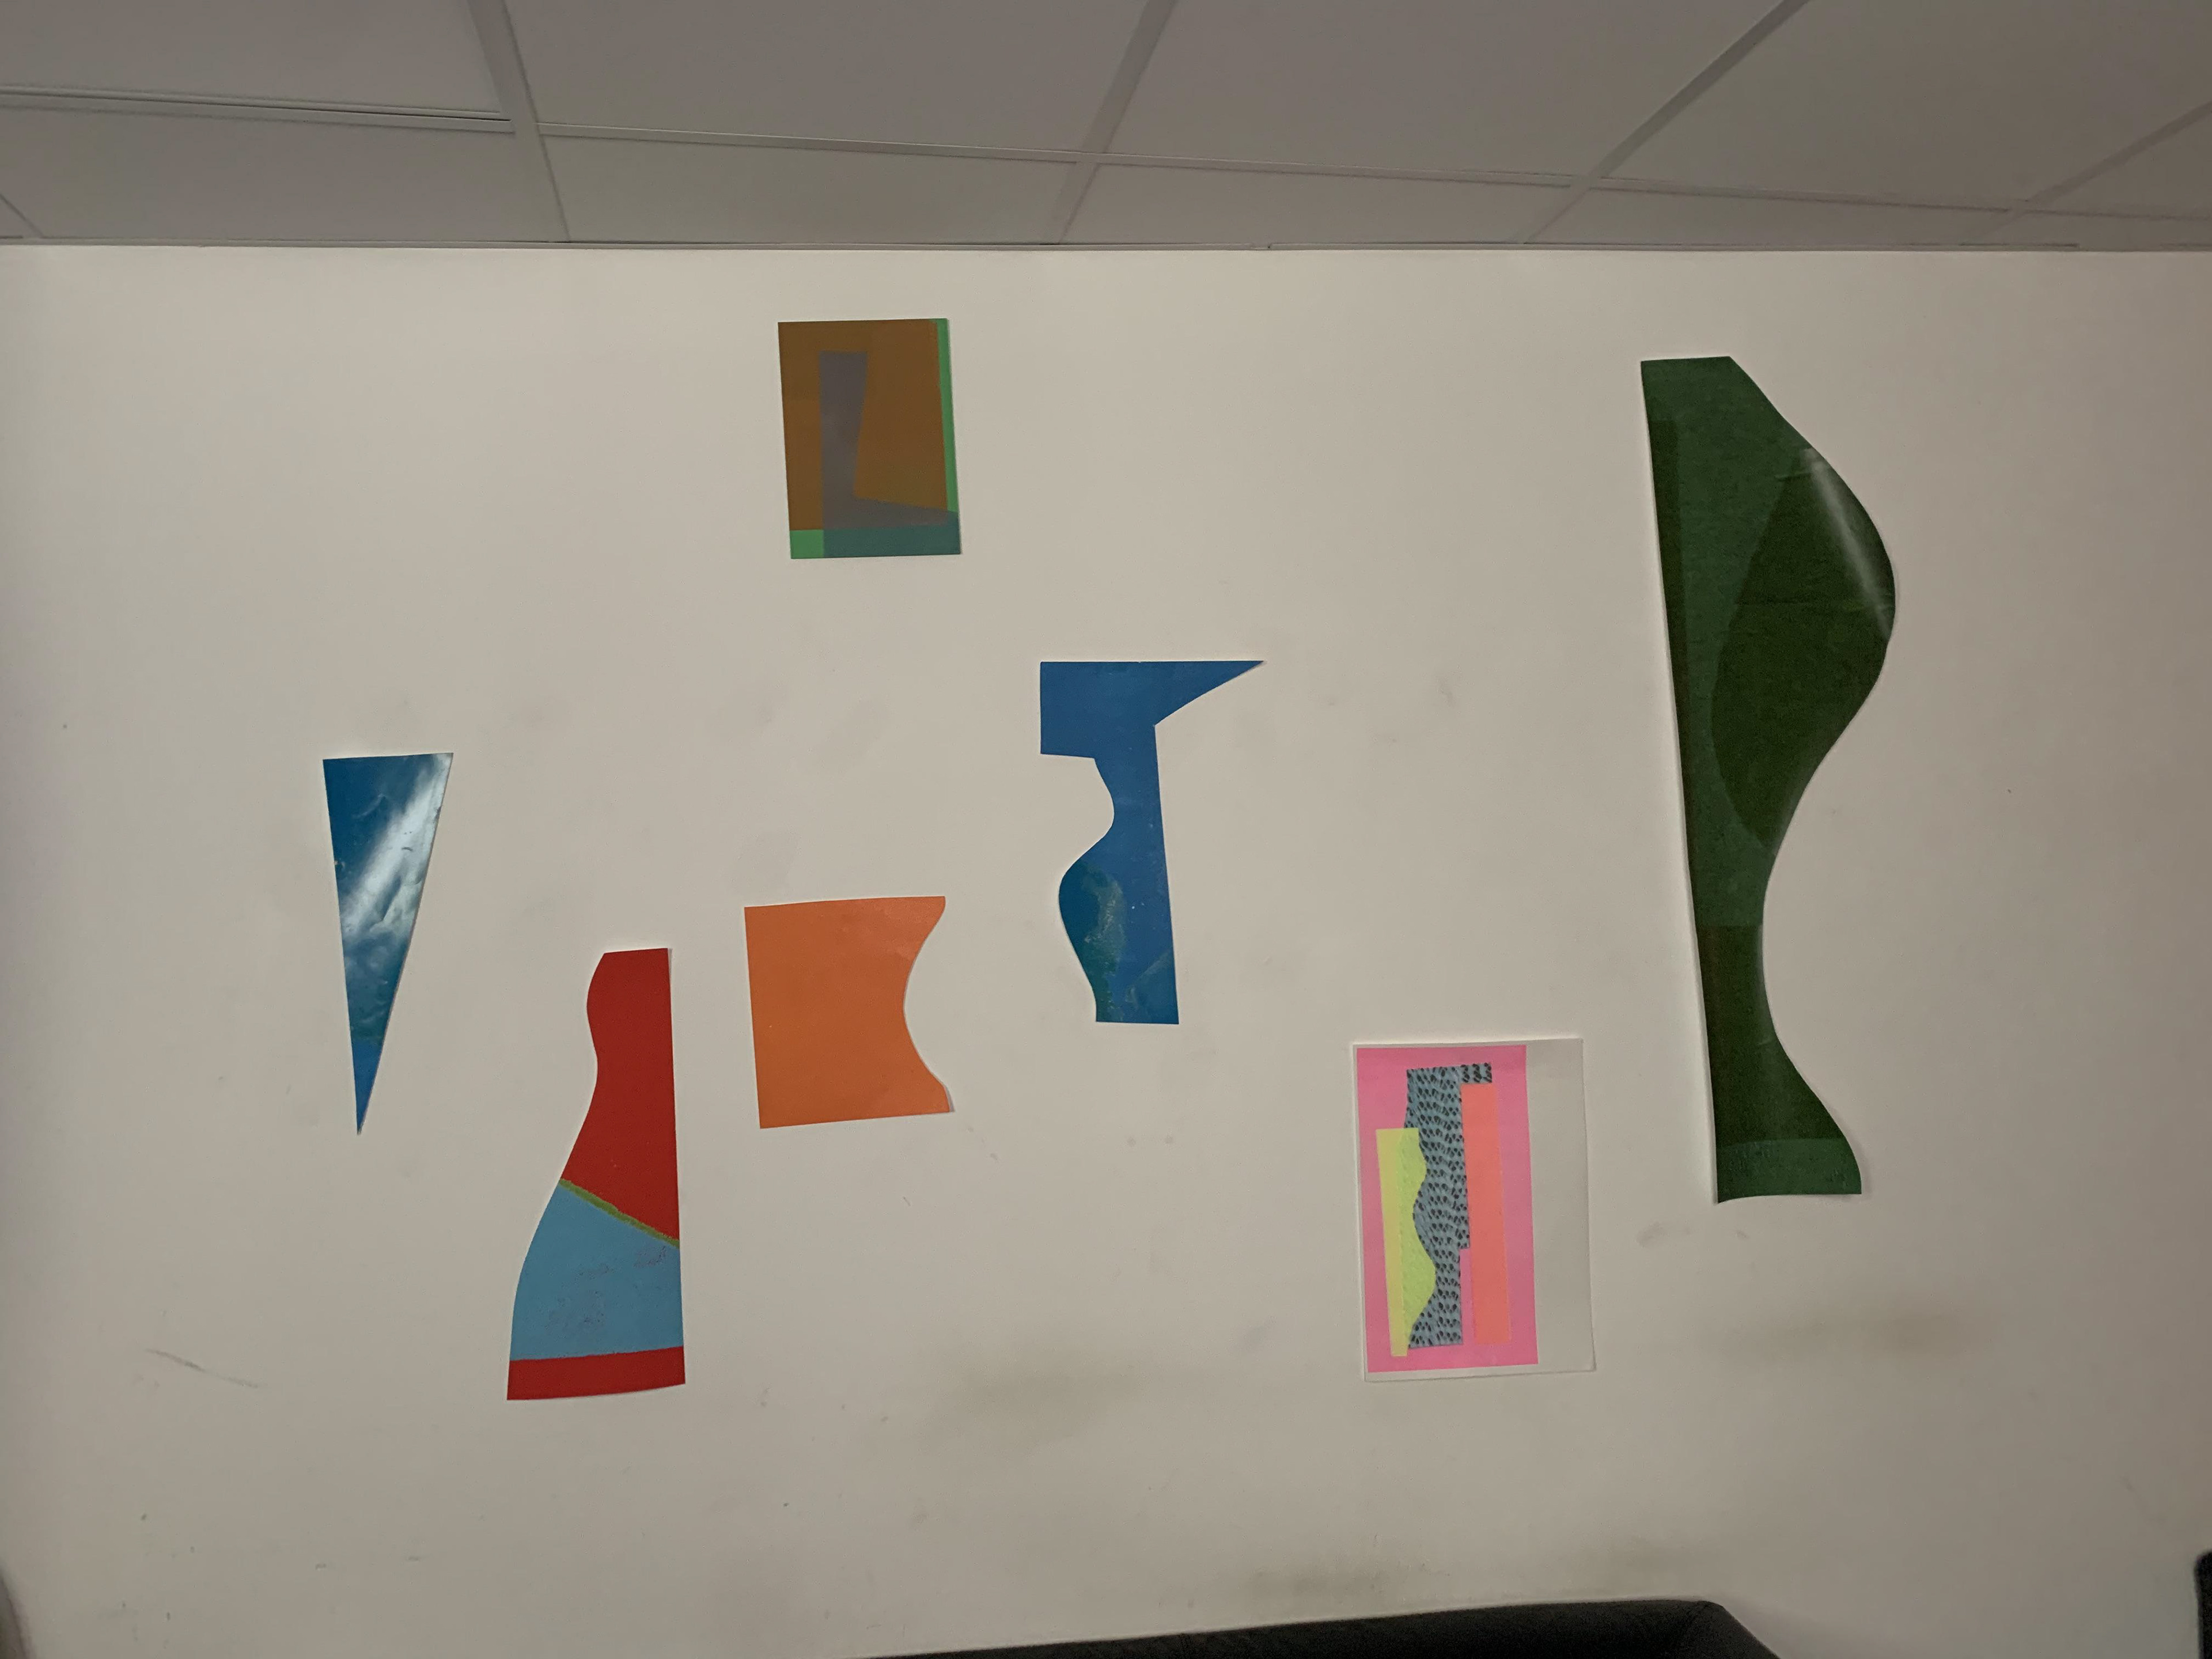
I create small collages using the shapes from screenprinting which were used as stencils and block colour paper. The shapes of each piece are different, and this is dependent on the screenprinted shape’s form.
I create a large variety, experimenting with gluing around the edge of the piece and not in the centre, so when I cut out further shapes using a scalpel the two pieces of paper are not attached. This allows the viewer to see both colours as the paper stands away from each other. There are subtle continuities in colour as some of the shapes are from the same screenprinting session.
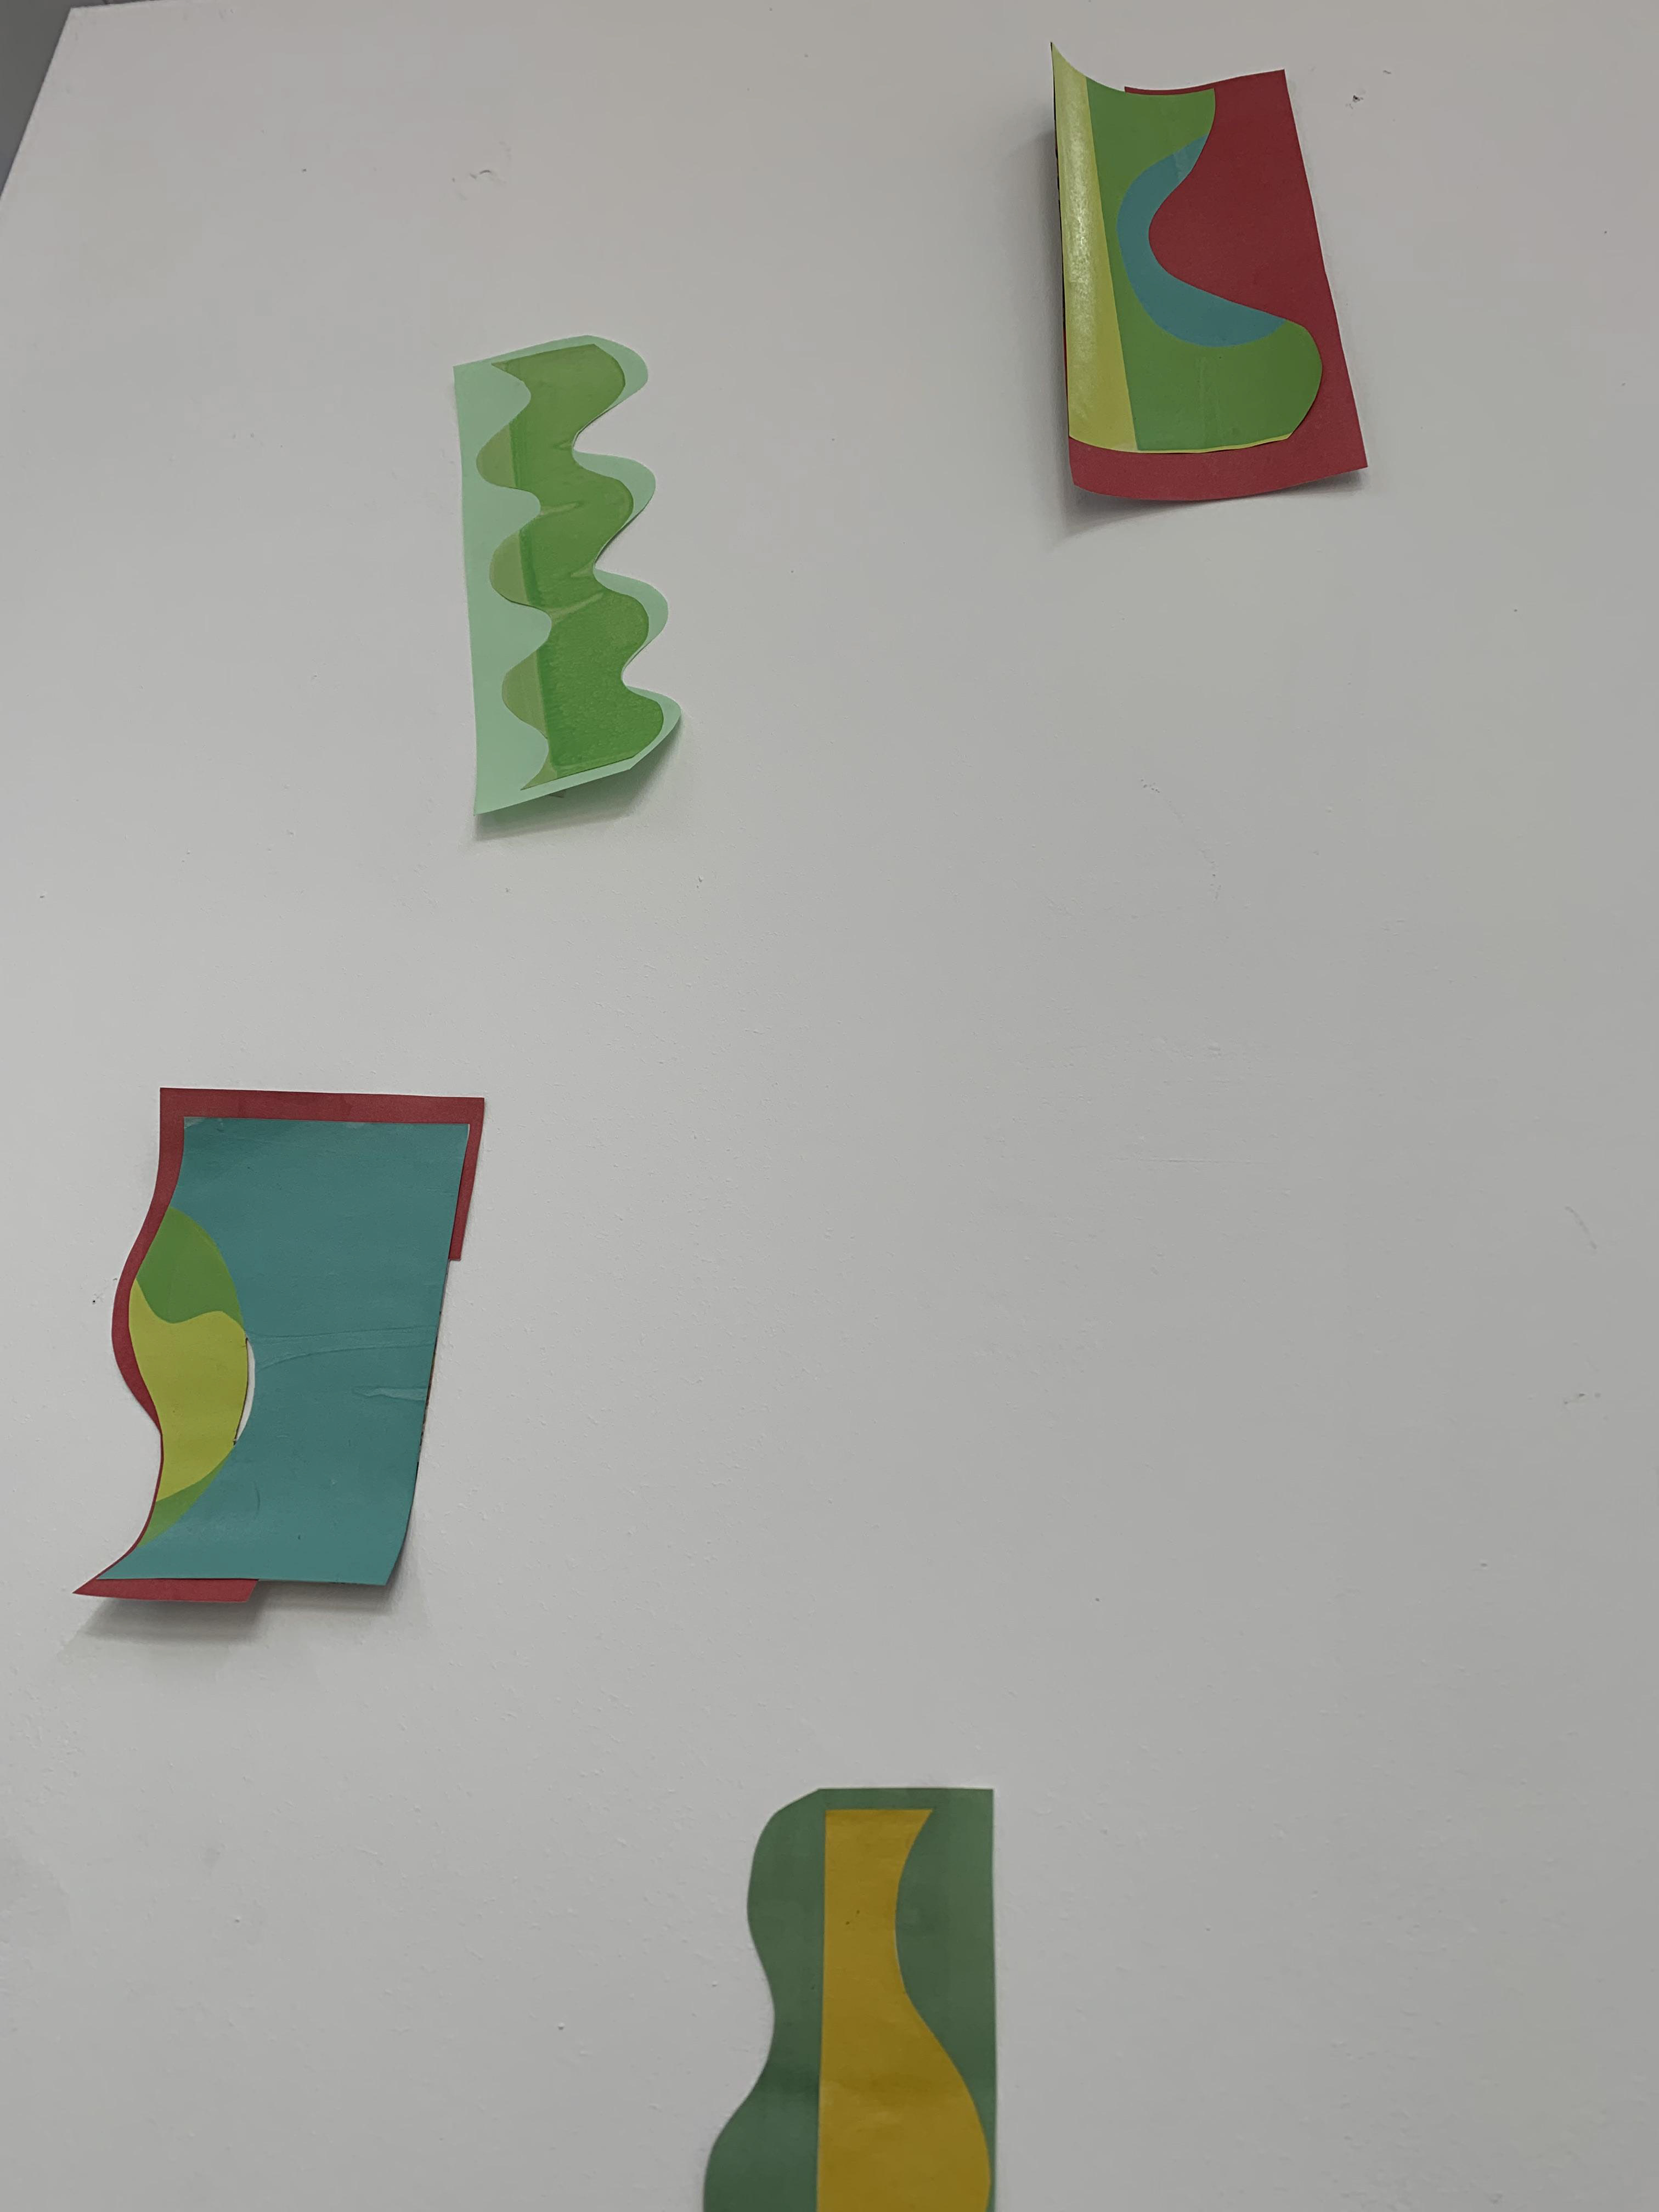
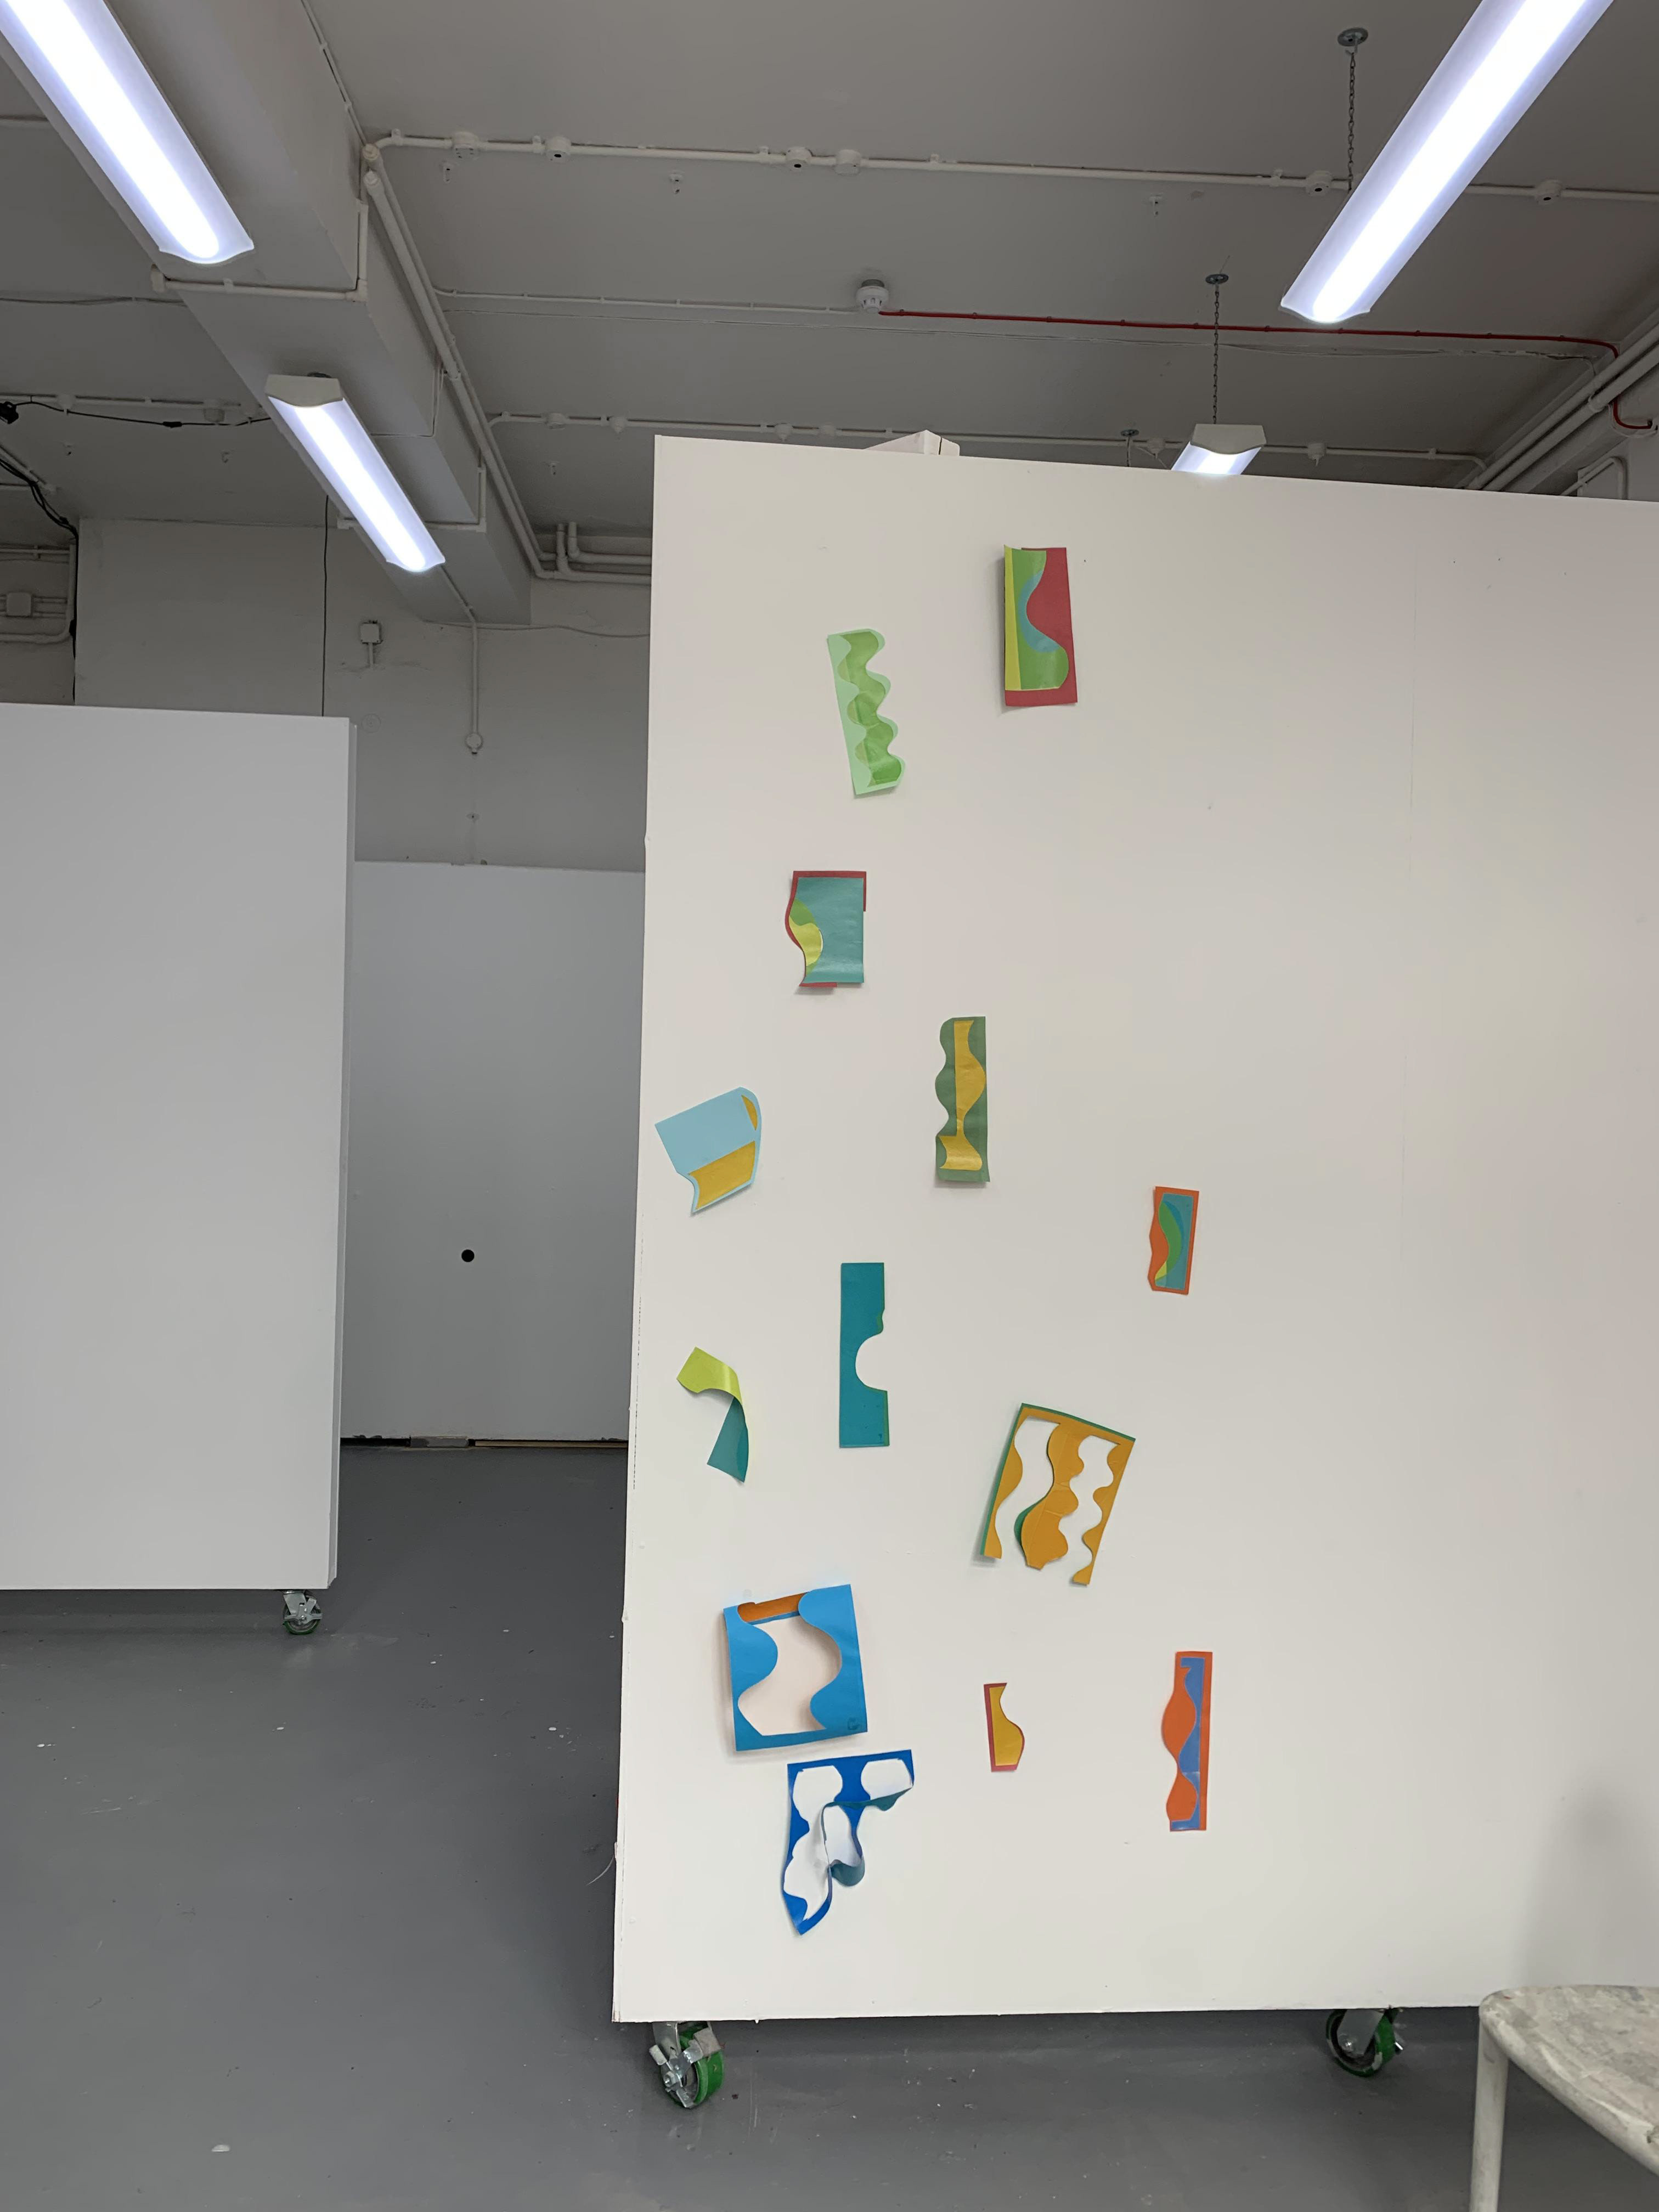
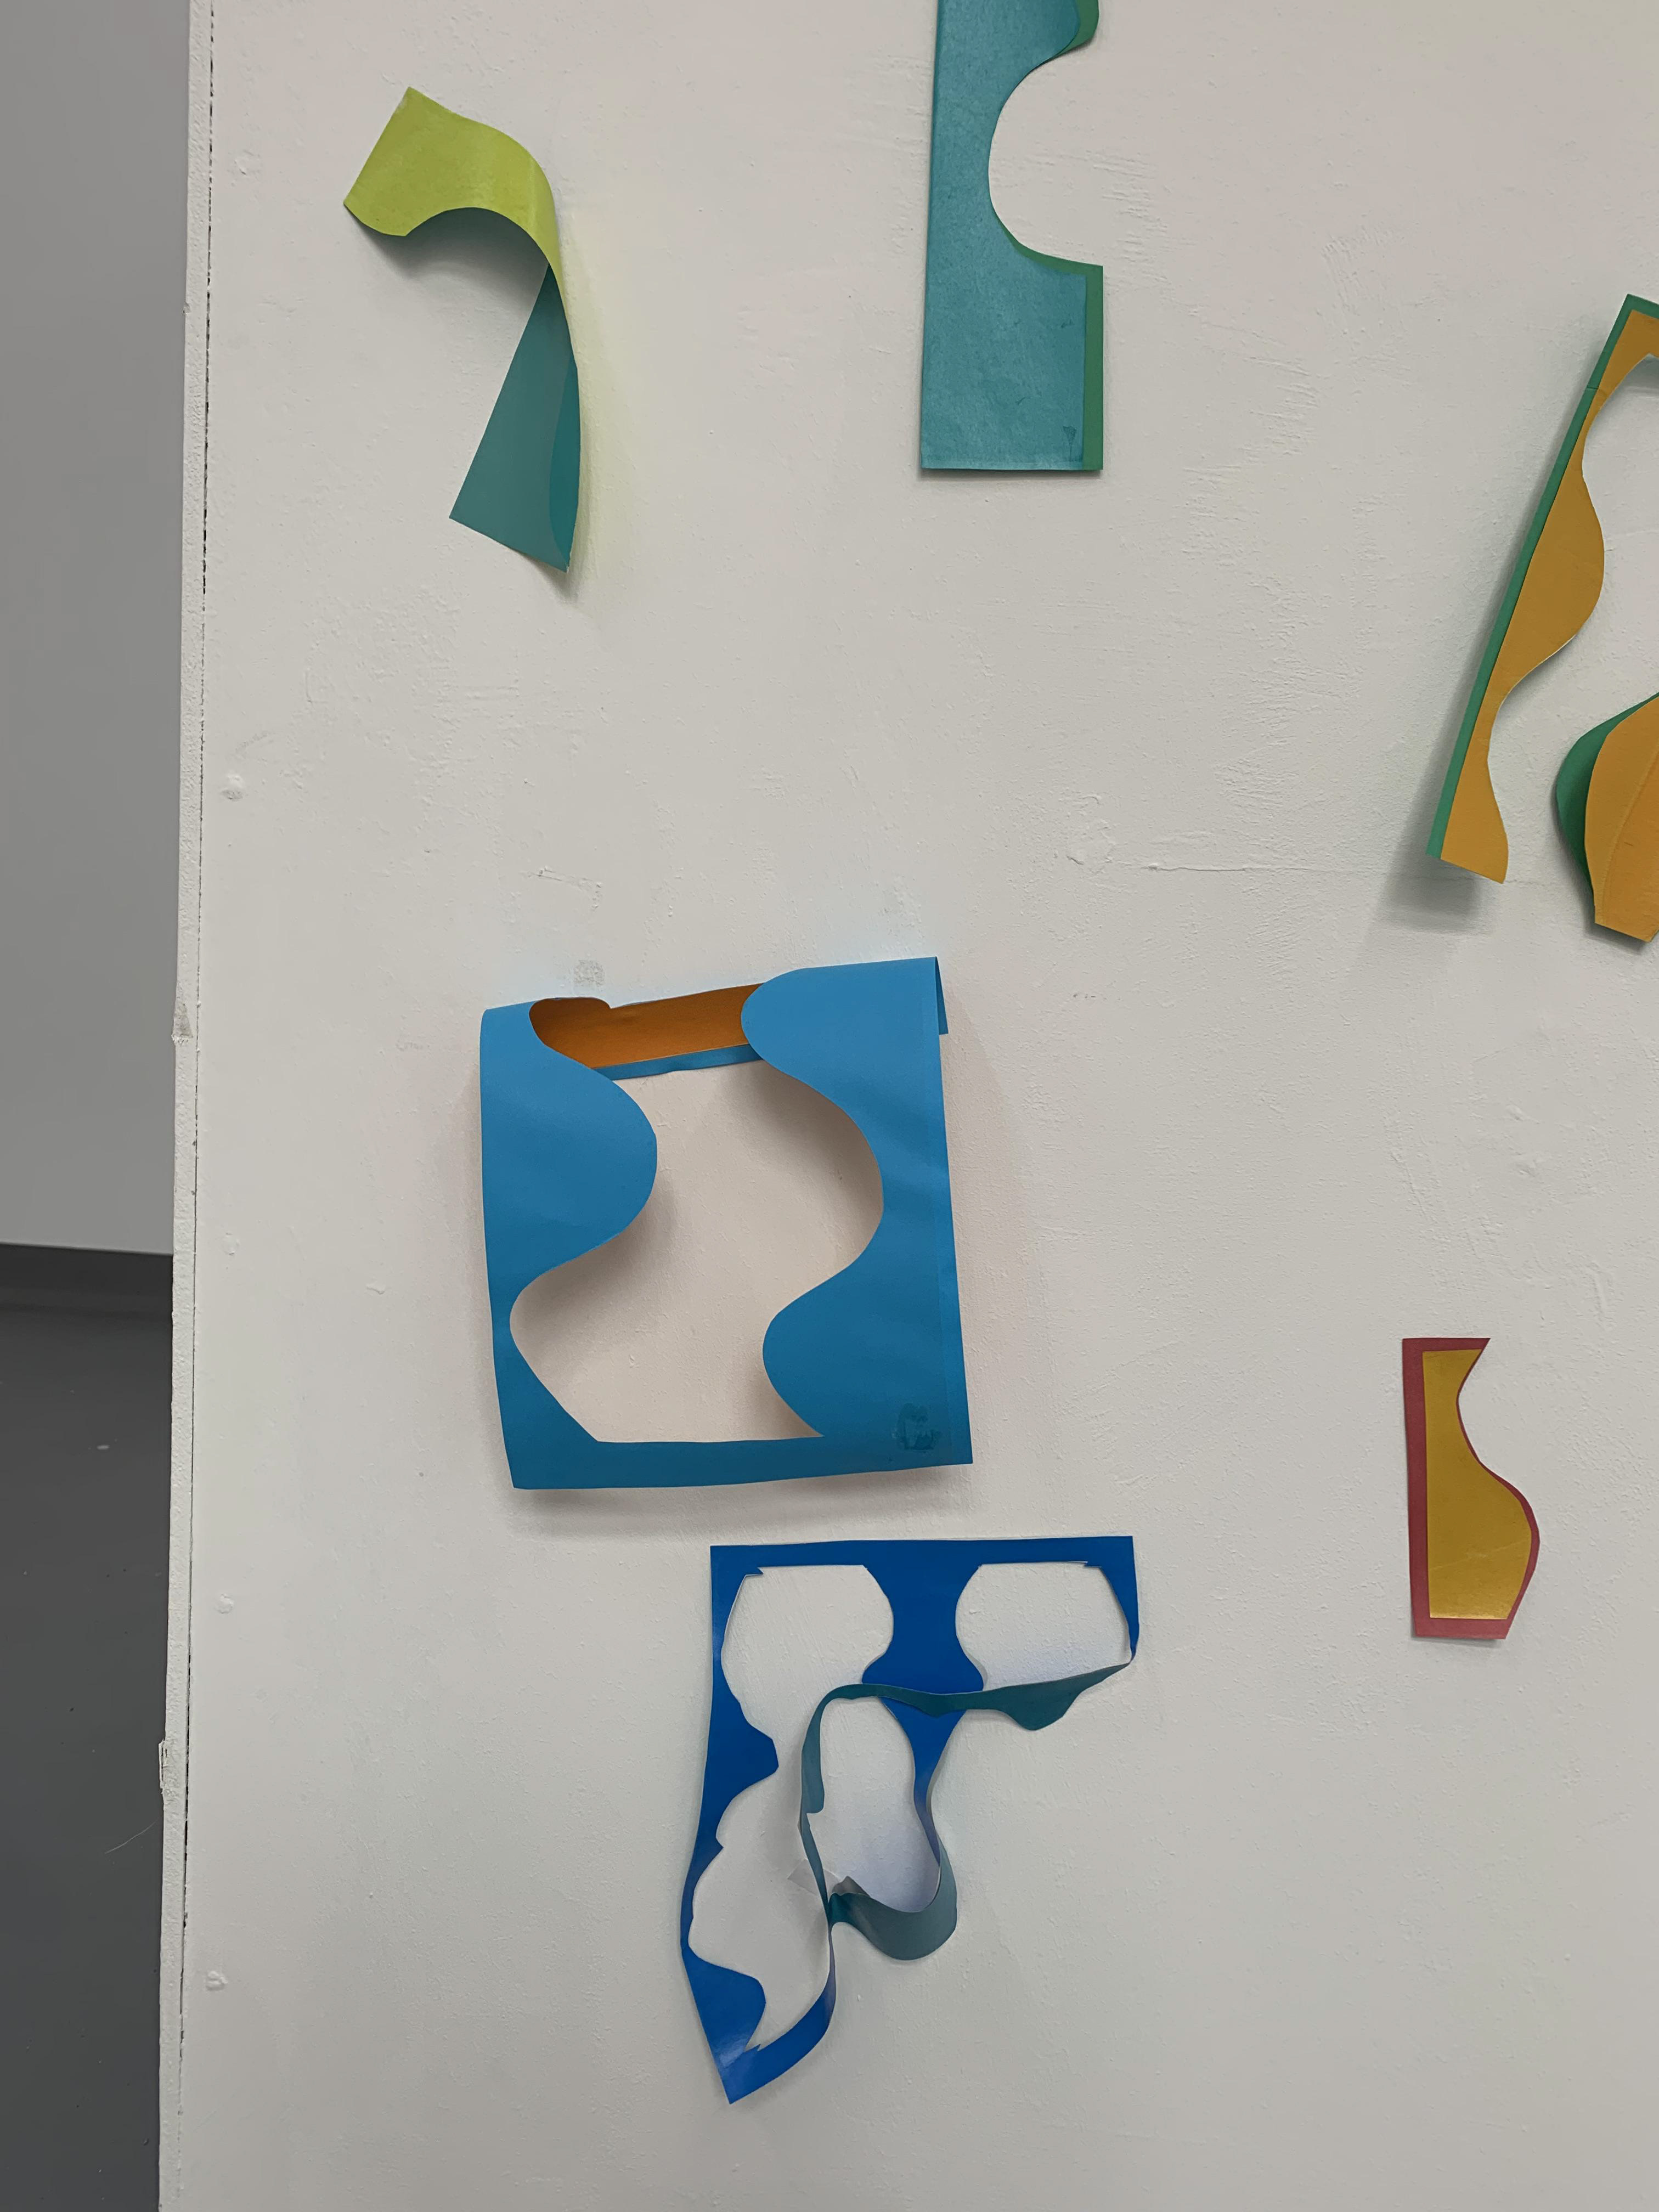
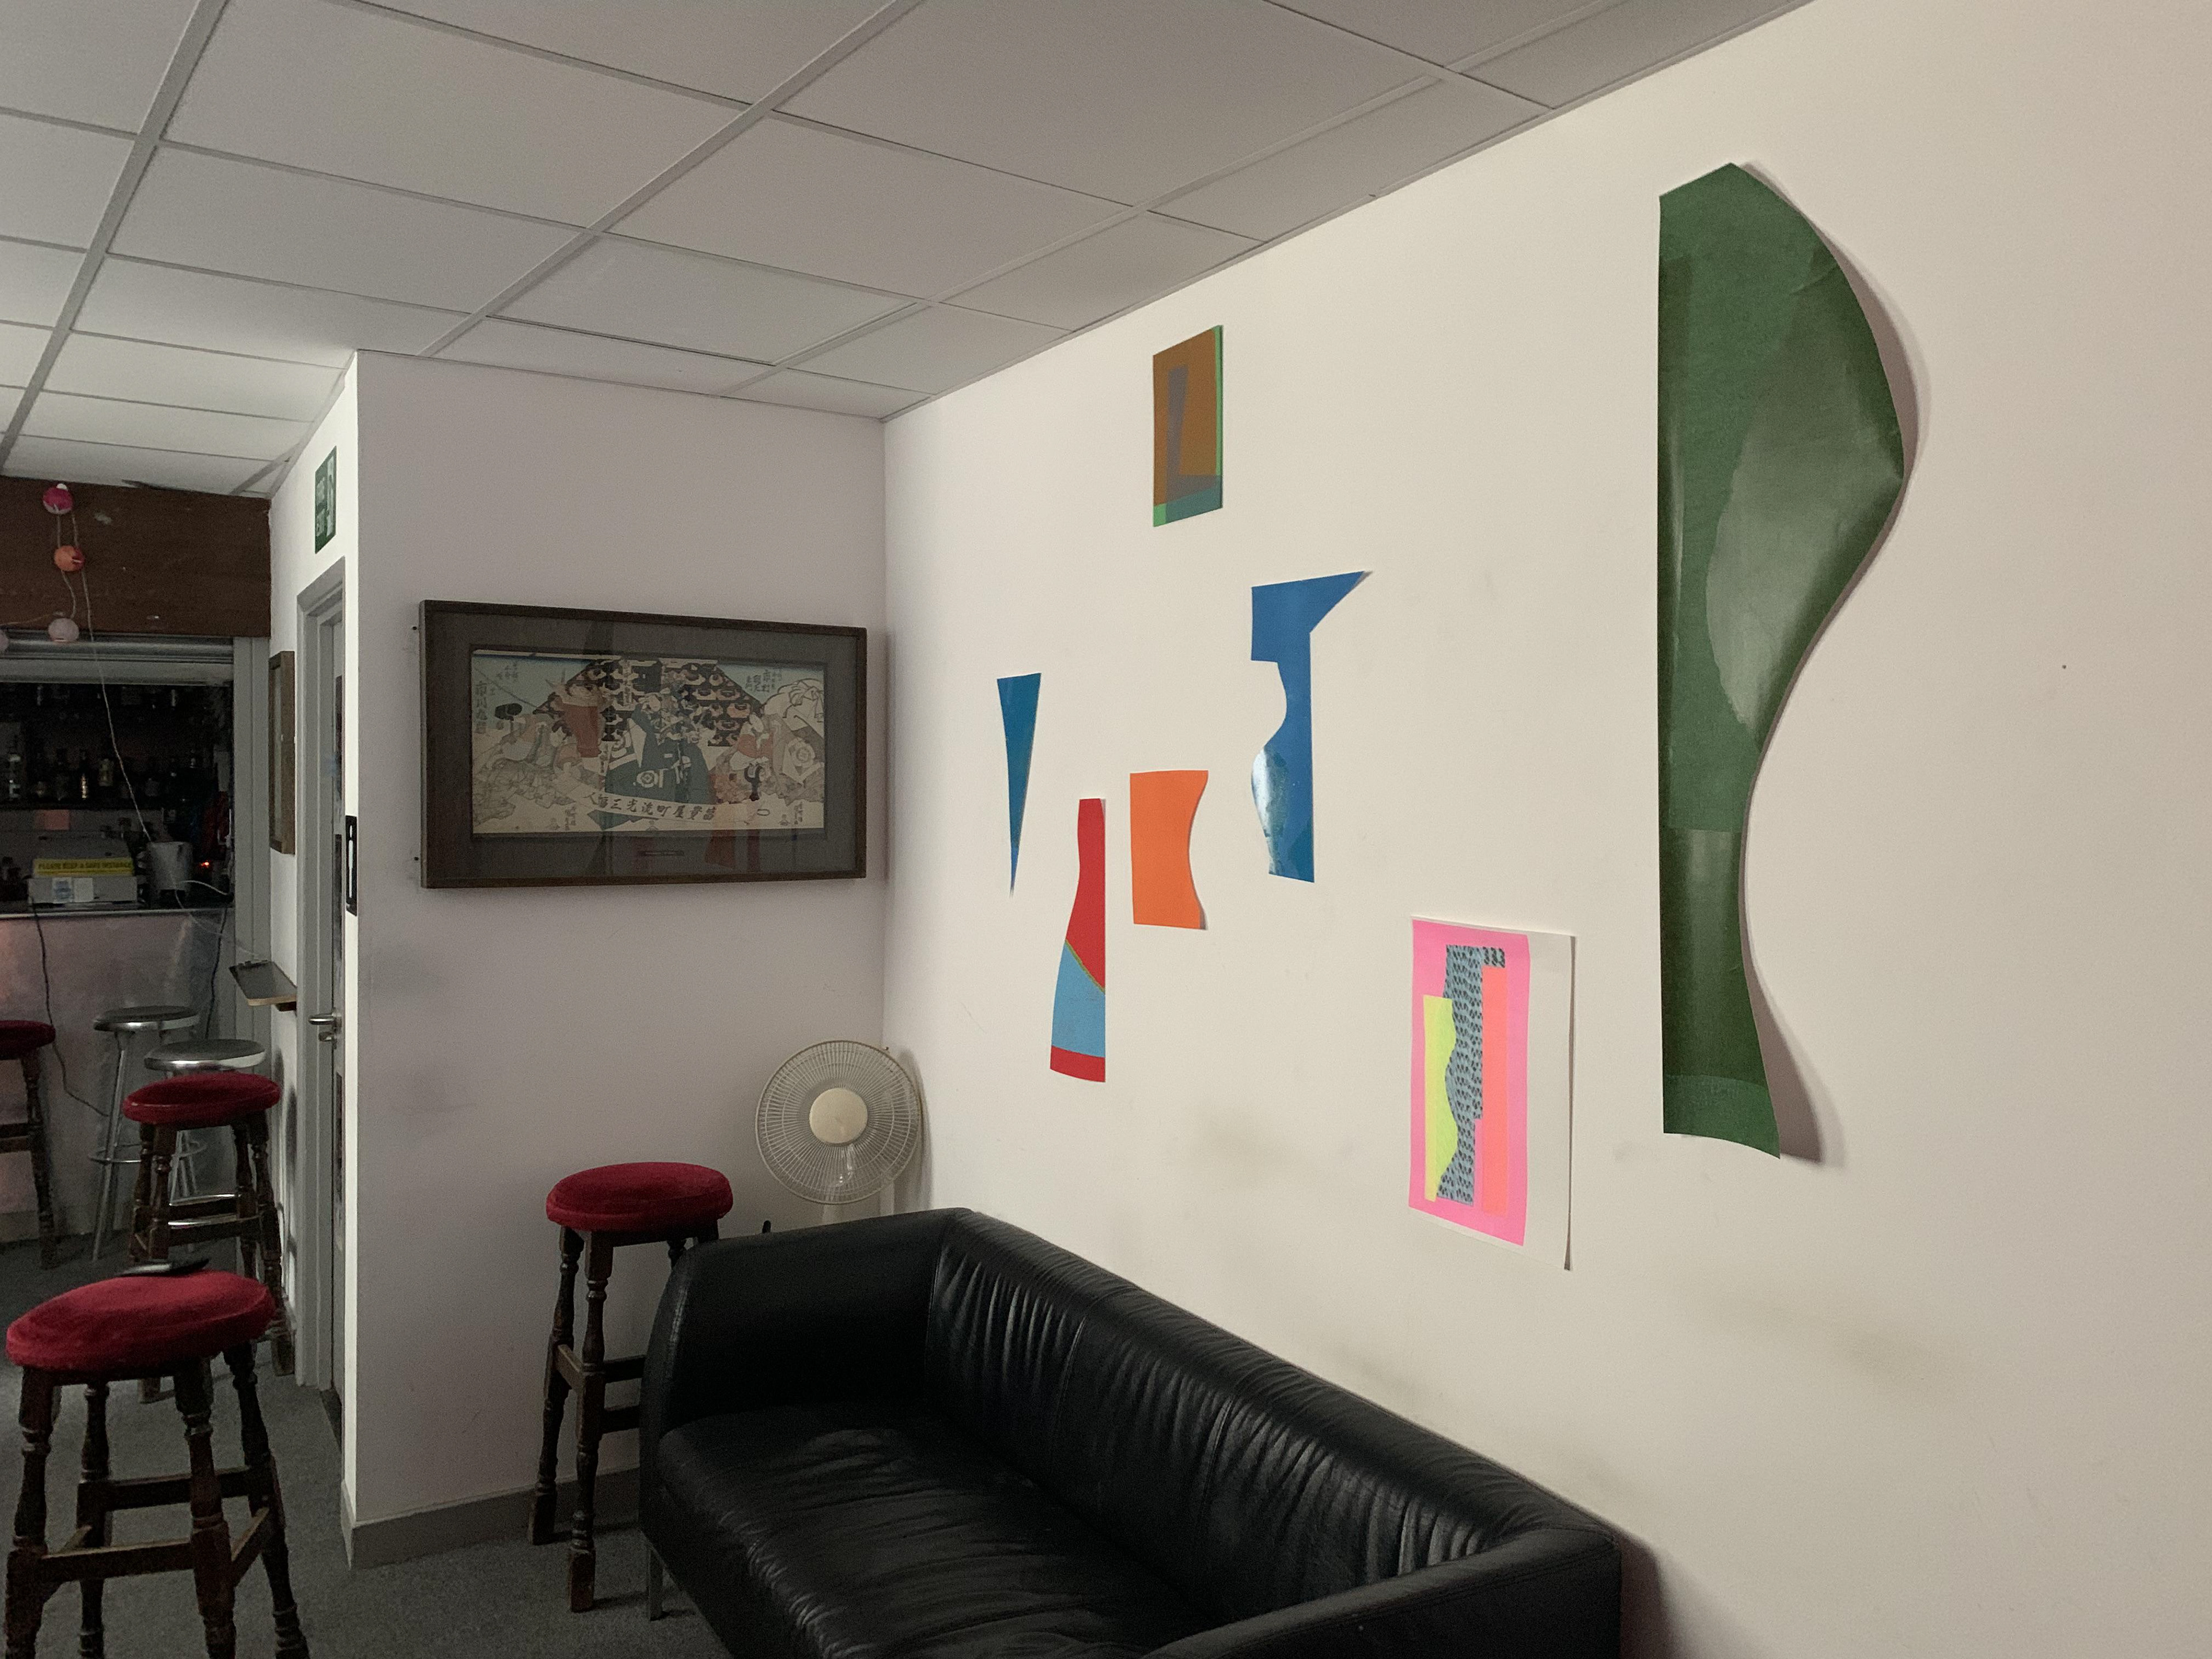
I display these shapes in a studio space for a crit. I utilise the corner of the wall to emphasise the playful element to the work. Some of the pieces are attached directly to the wall and others are twisted off it. There are no flat pieces. Even the pieces which are two-dimensional bounce off the wall and do not lie completely flat.


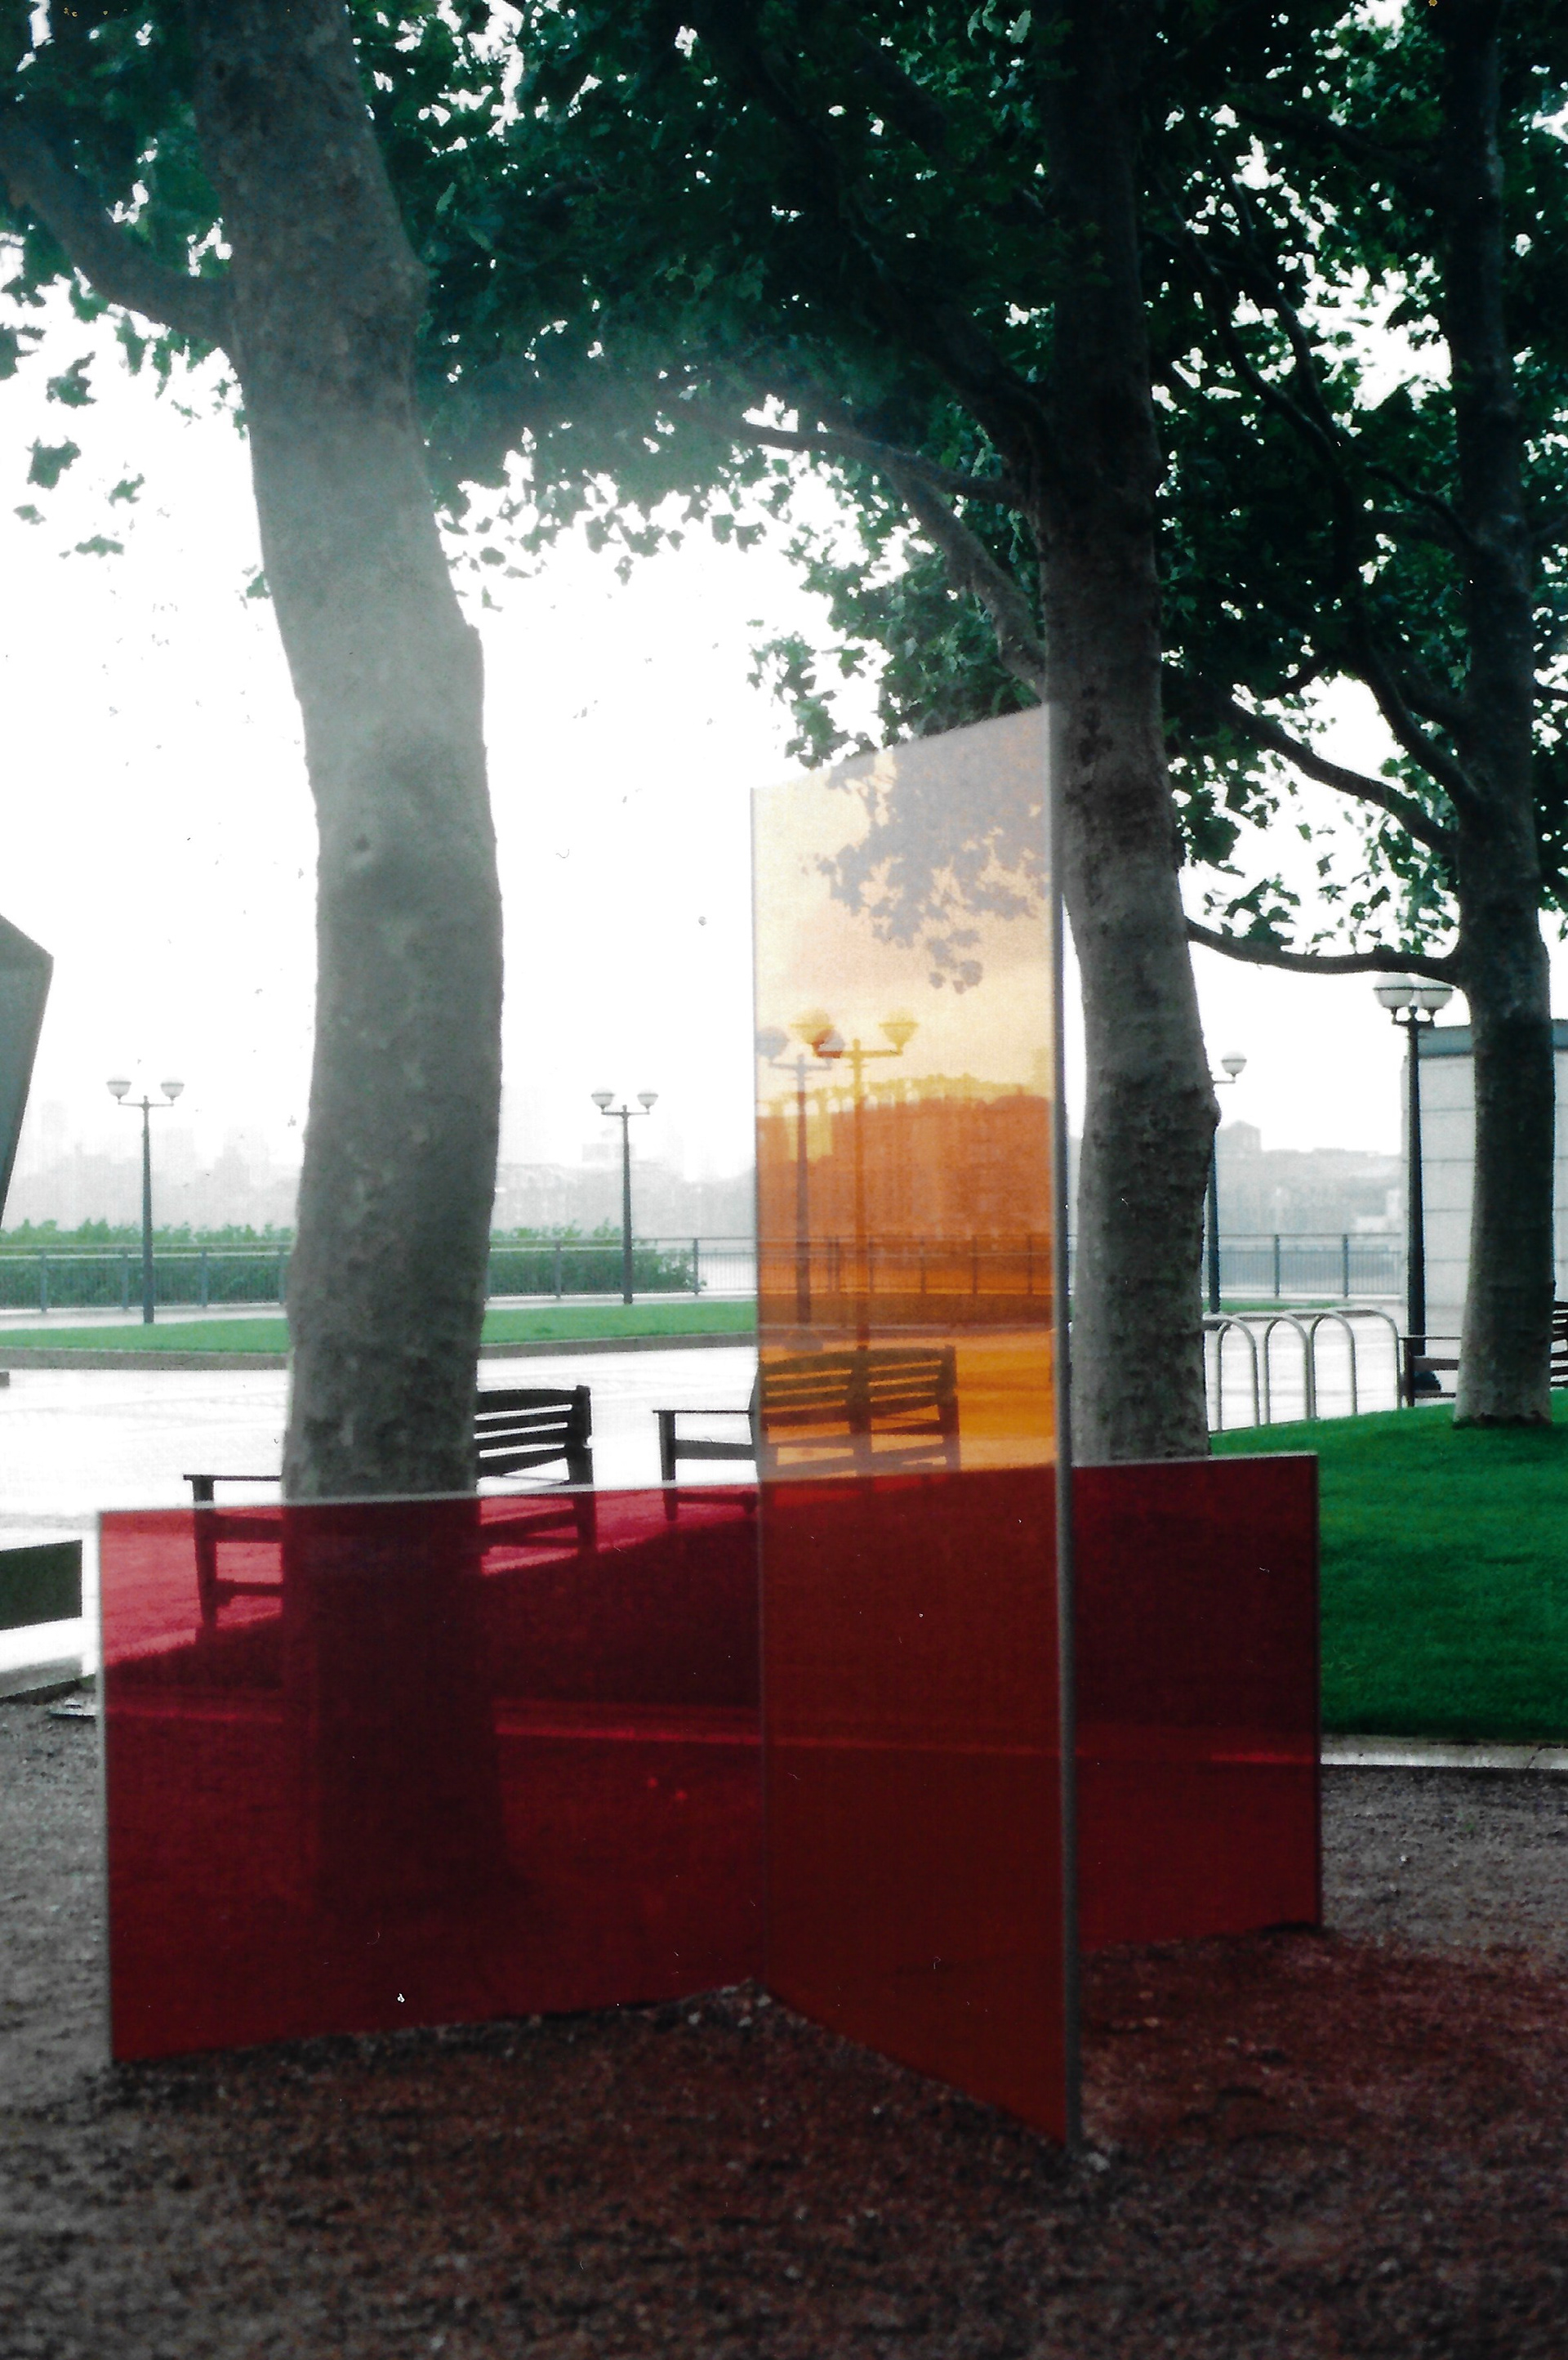
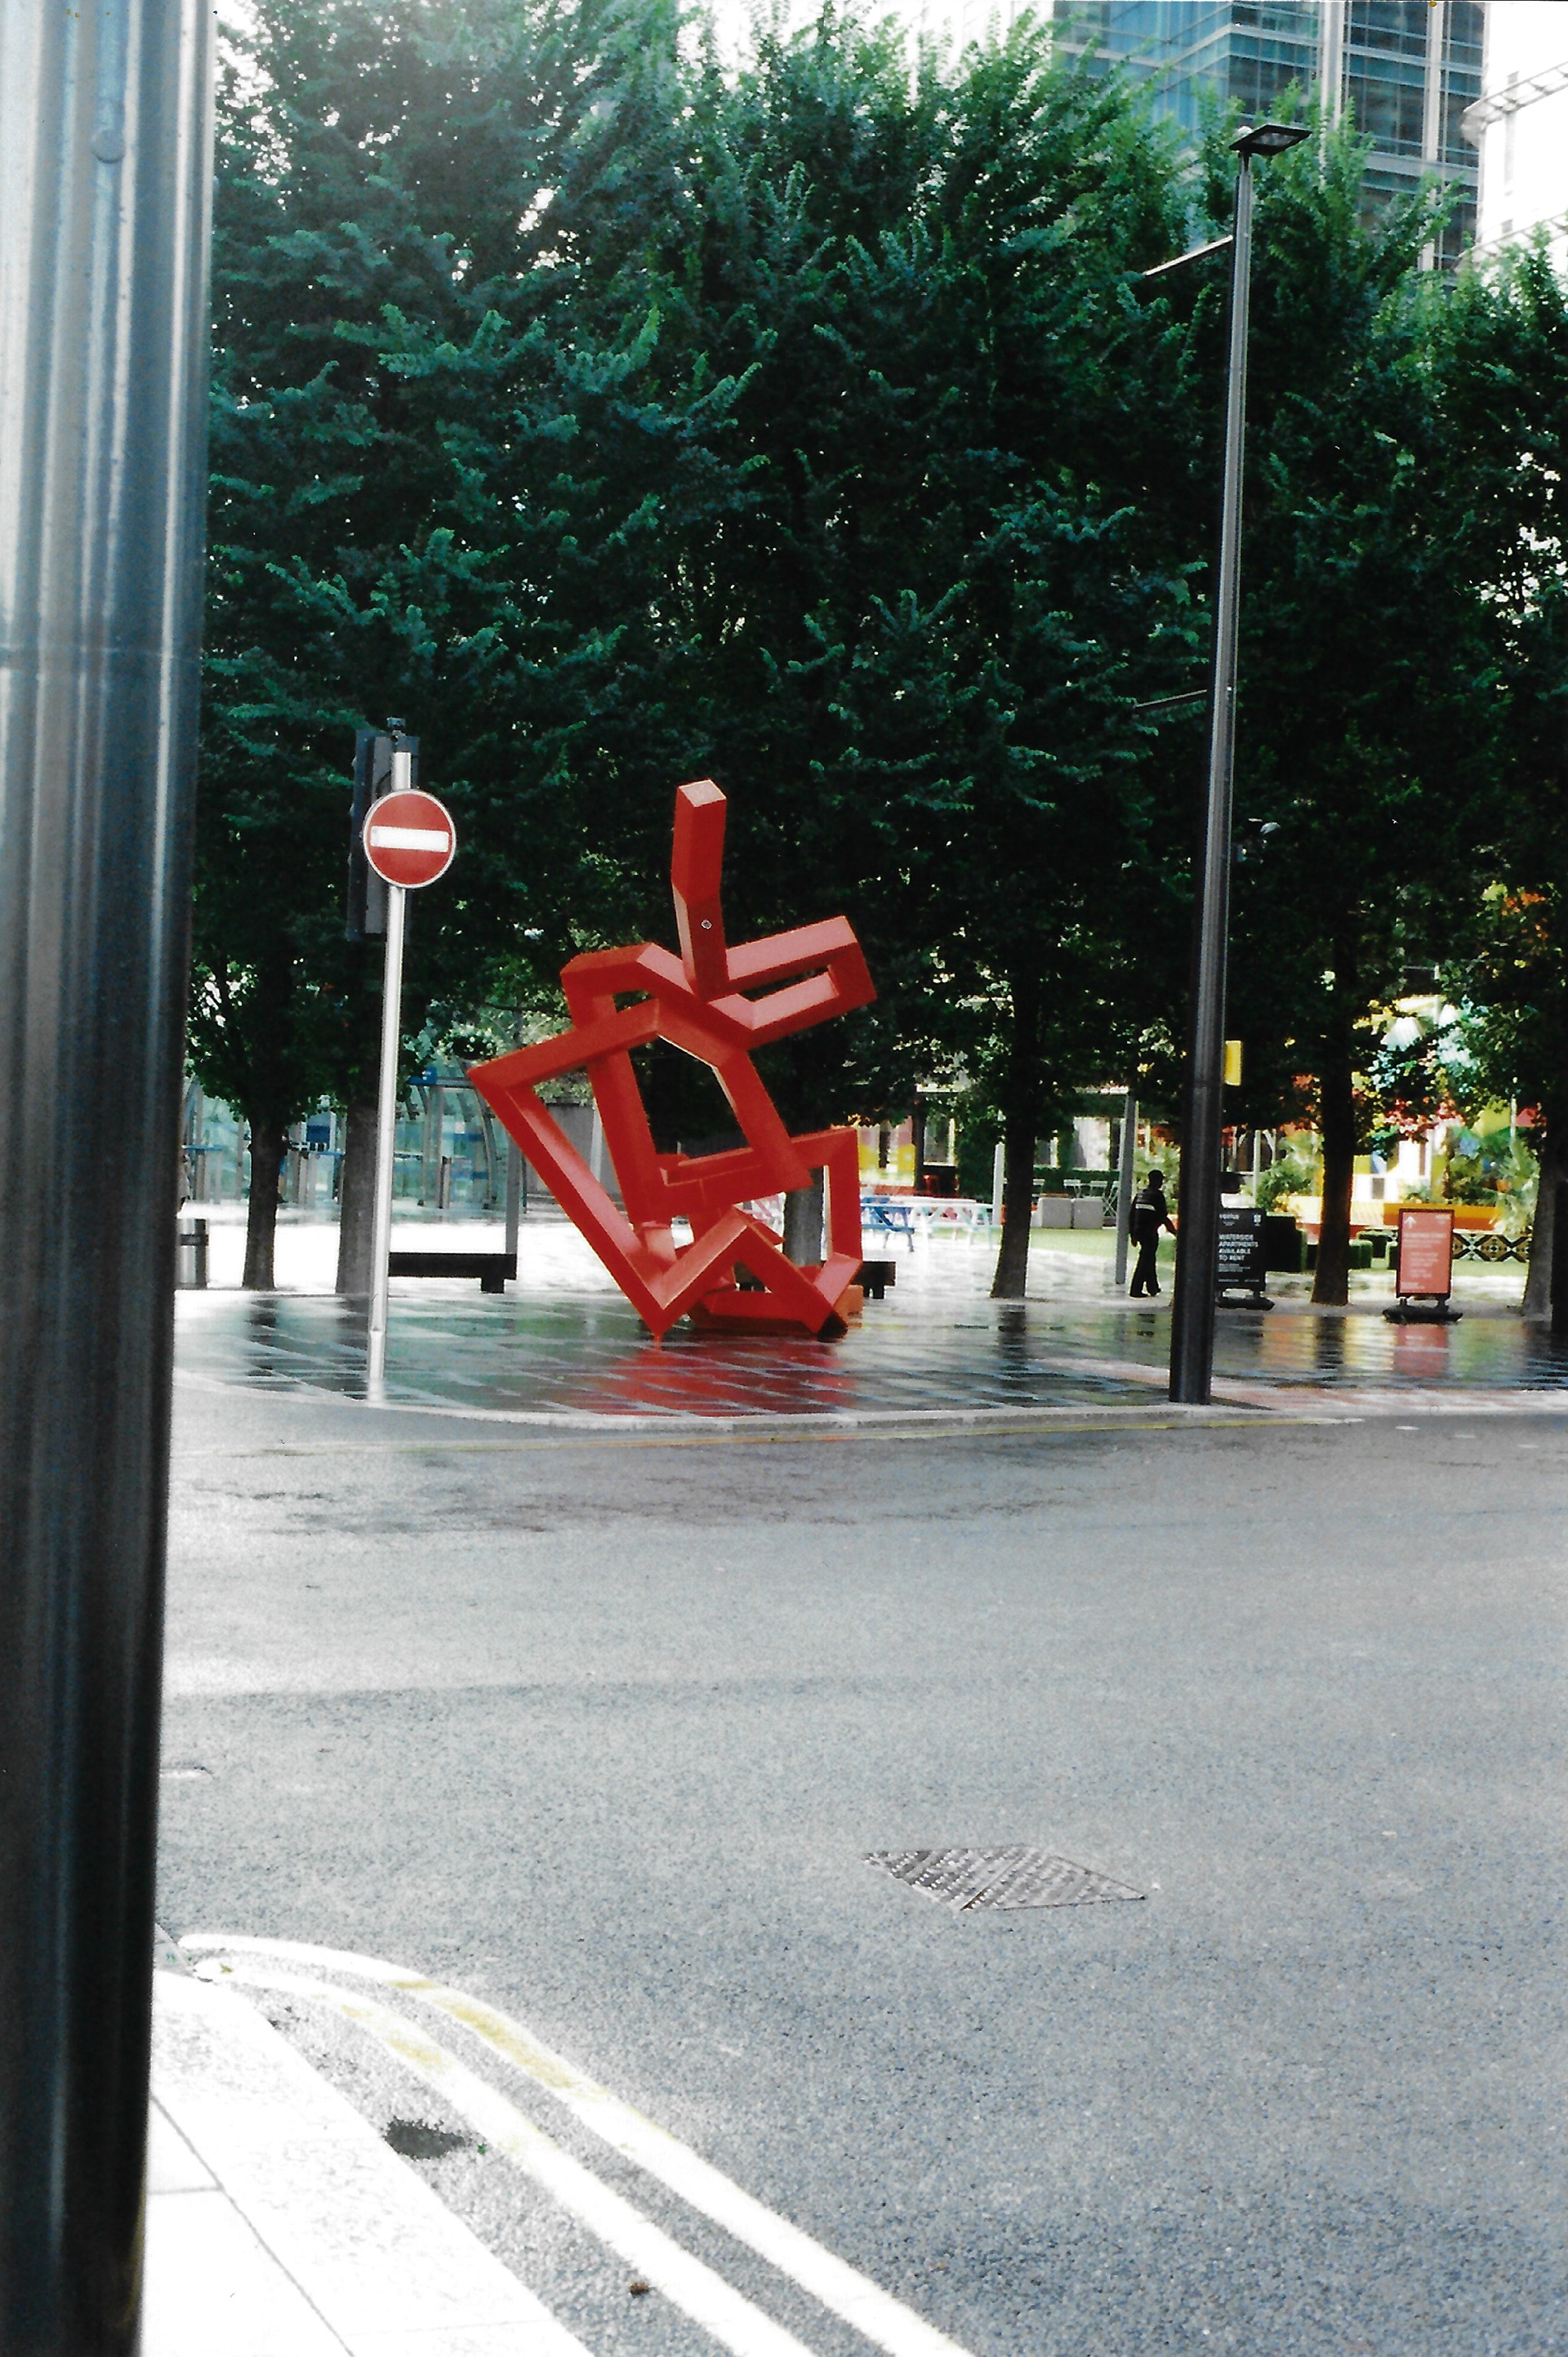
I visit Canary Wharf and go round the Summer Lights exhibition, looking equally at the play between light and colour.


I create collages on photoshop using digitised screenprints. Alternating between the different hues, as there is no right or wrong answer as the hues seem to appeal to some more than others. It is dependent and relative to the individual on which combination is preferred.

Screenprint on paper, 21 x 29.7 cm
Screenprint on paper, 21 x 29.7 cm
Screenprint on paper, 21 x 29.7 cm
Screenprint on paper, 21 x 29.7 cm

Screenprint on paper, 21 x 29.7 cm
Screenprint on paper, 21 x 29.7 cm

Screenprint on paper, 21 x 29.7 cm

Screenprint on paper, 21 x 29.7 cm

Screenprint on newsprint
Screenprint on paper, 21 x 29.7 cm
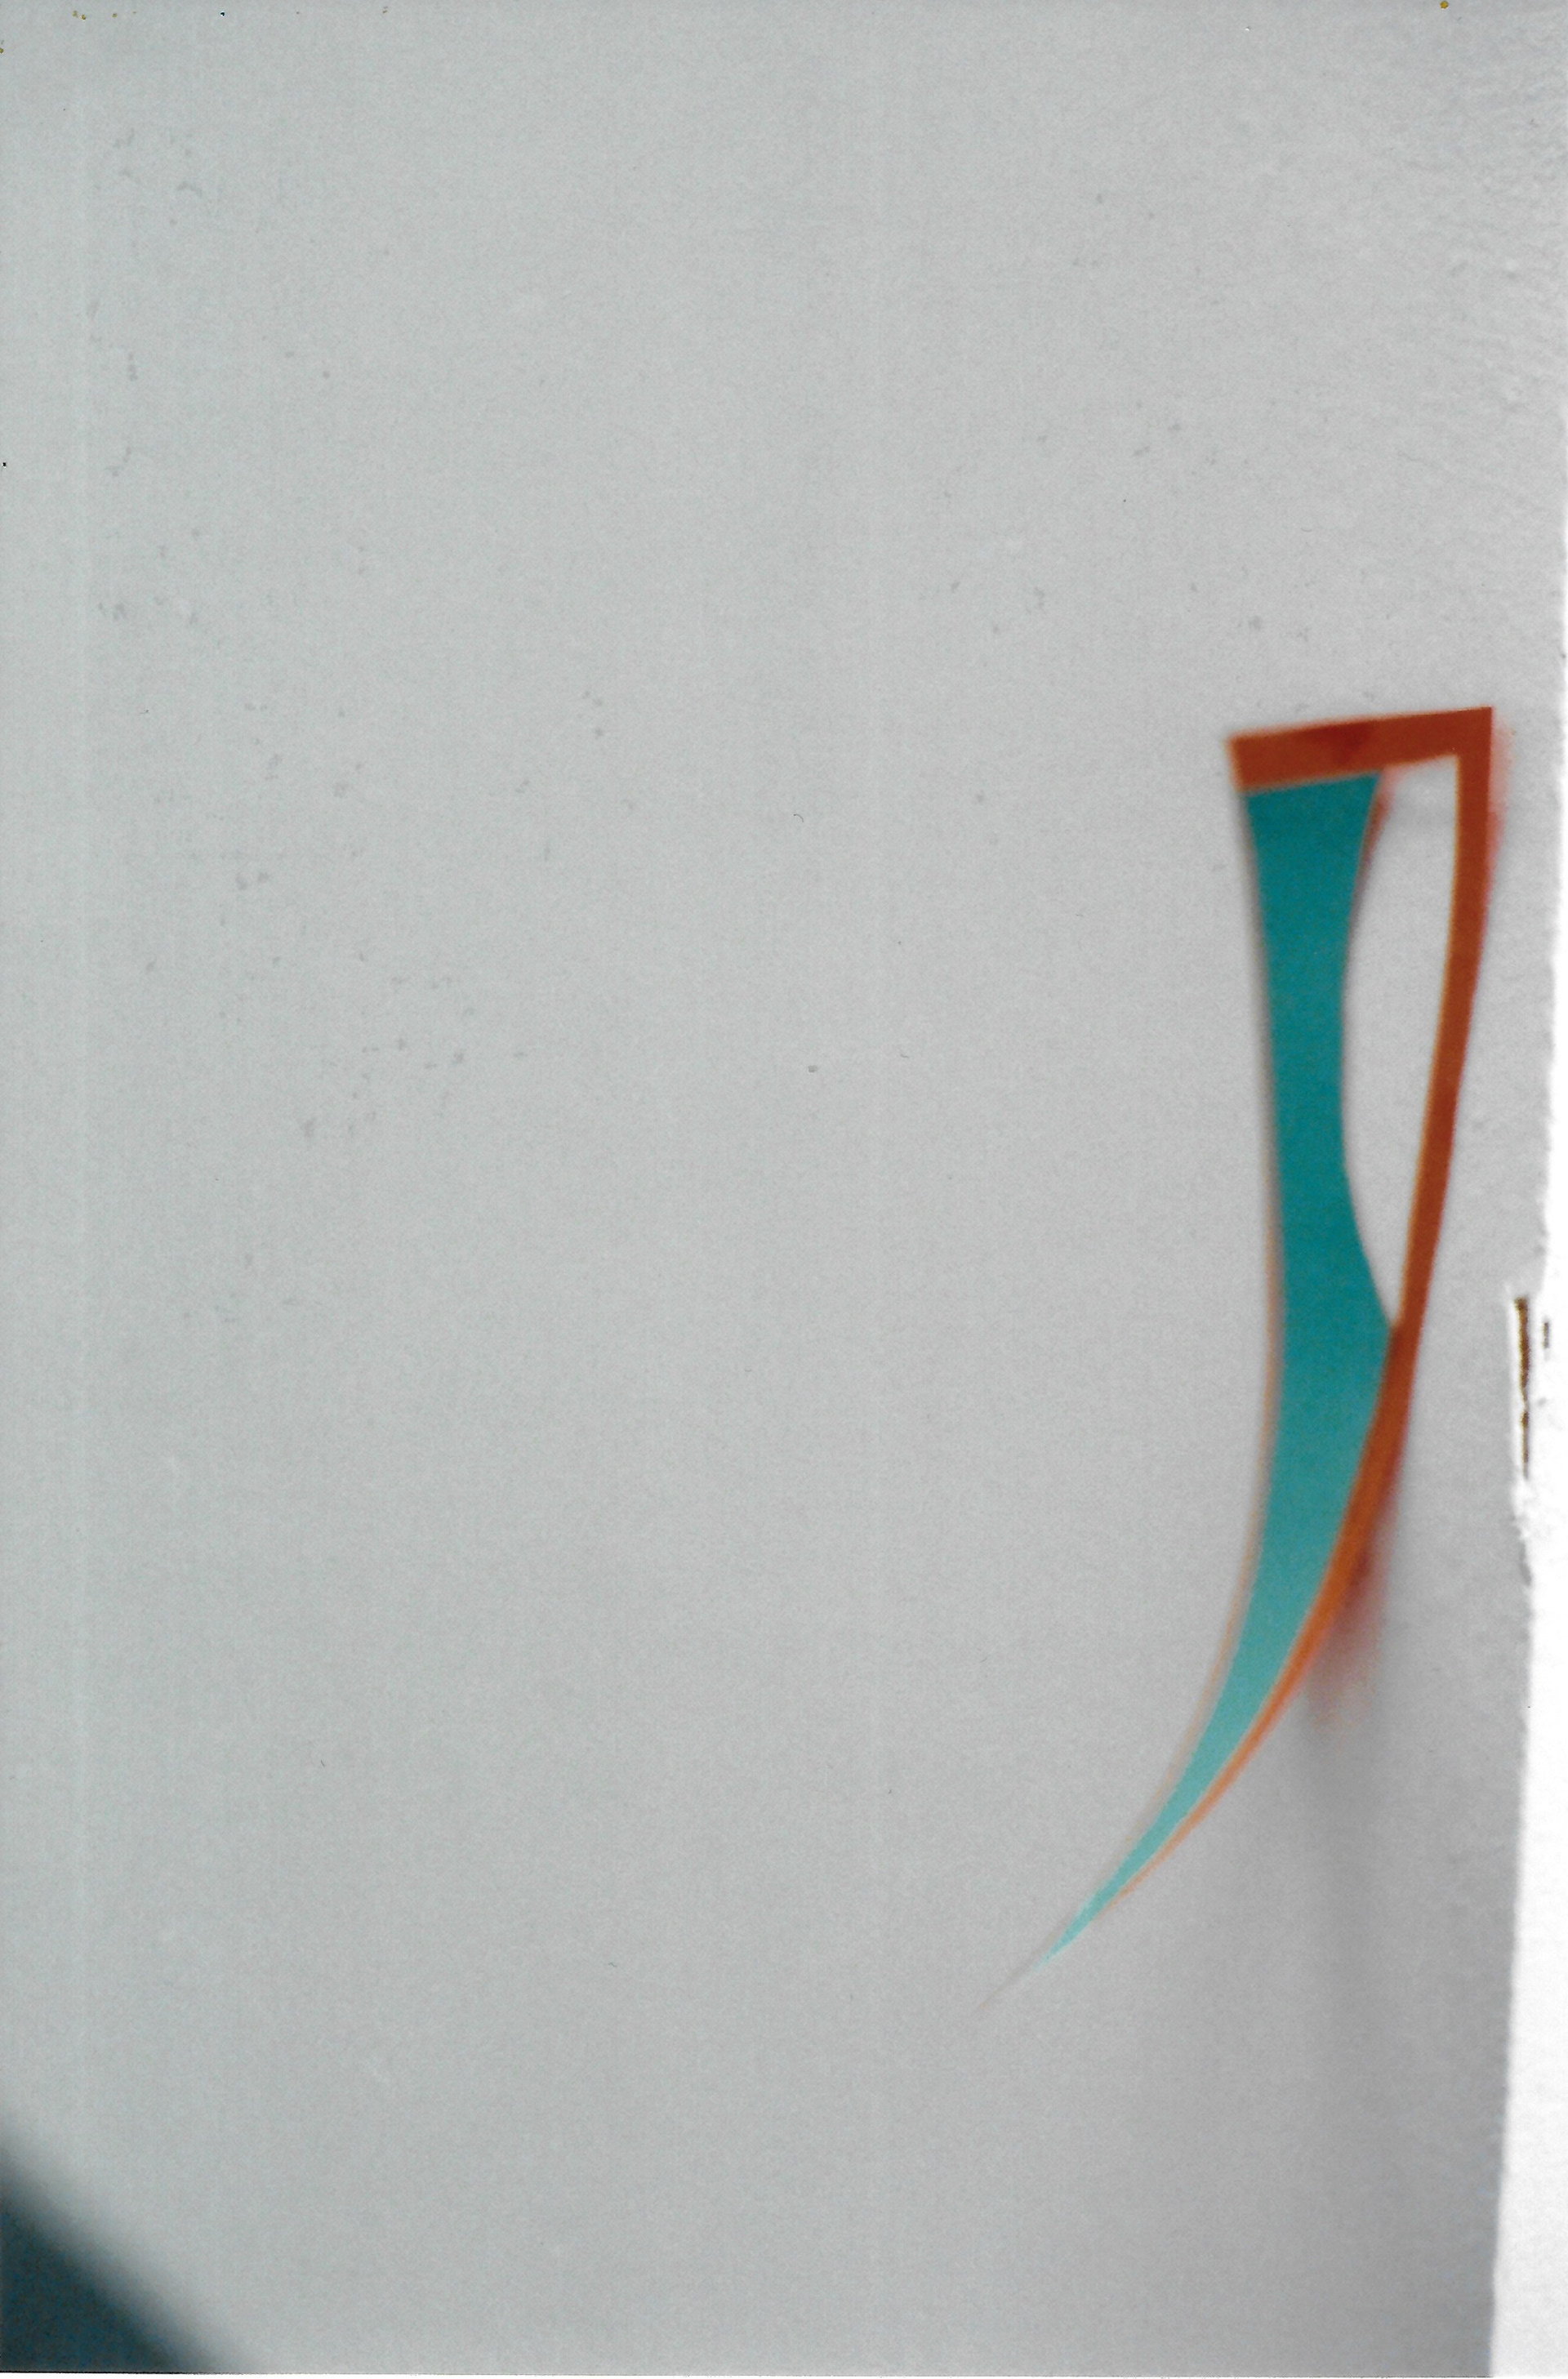
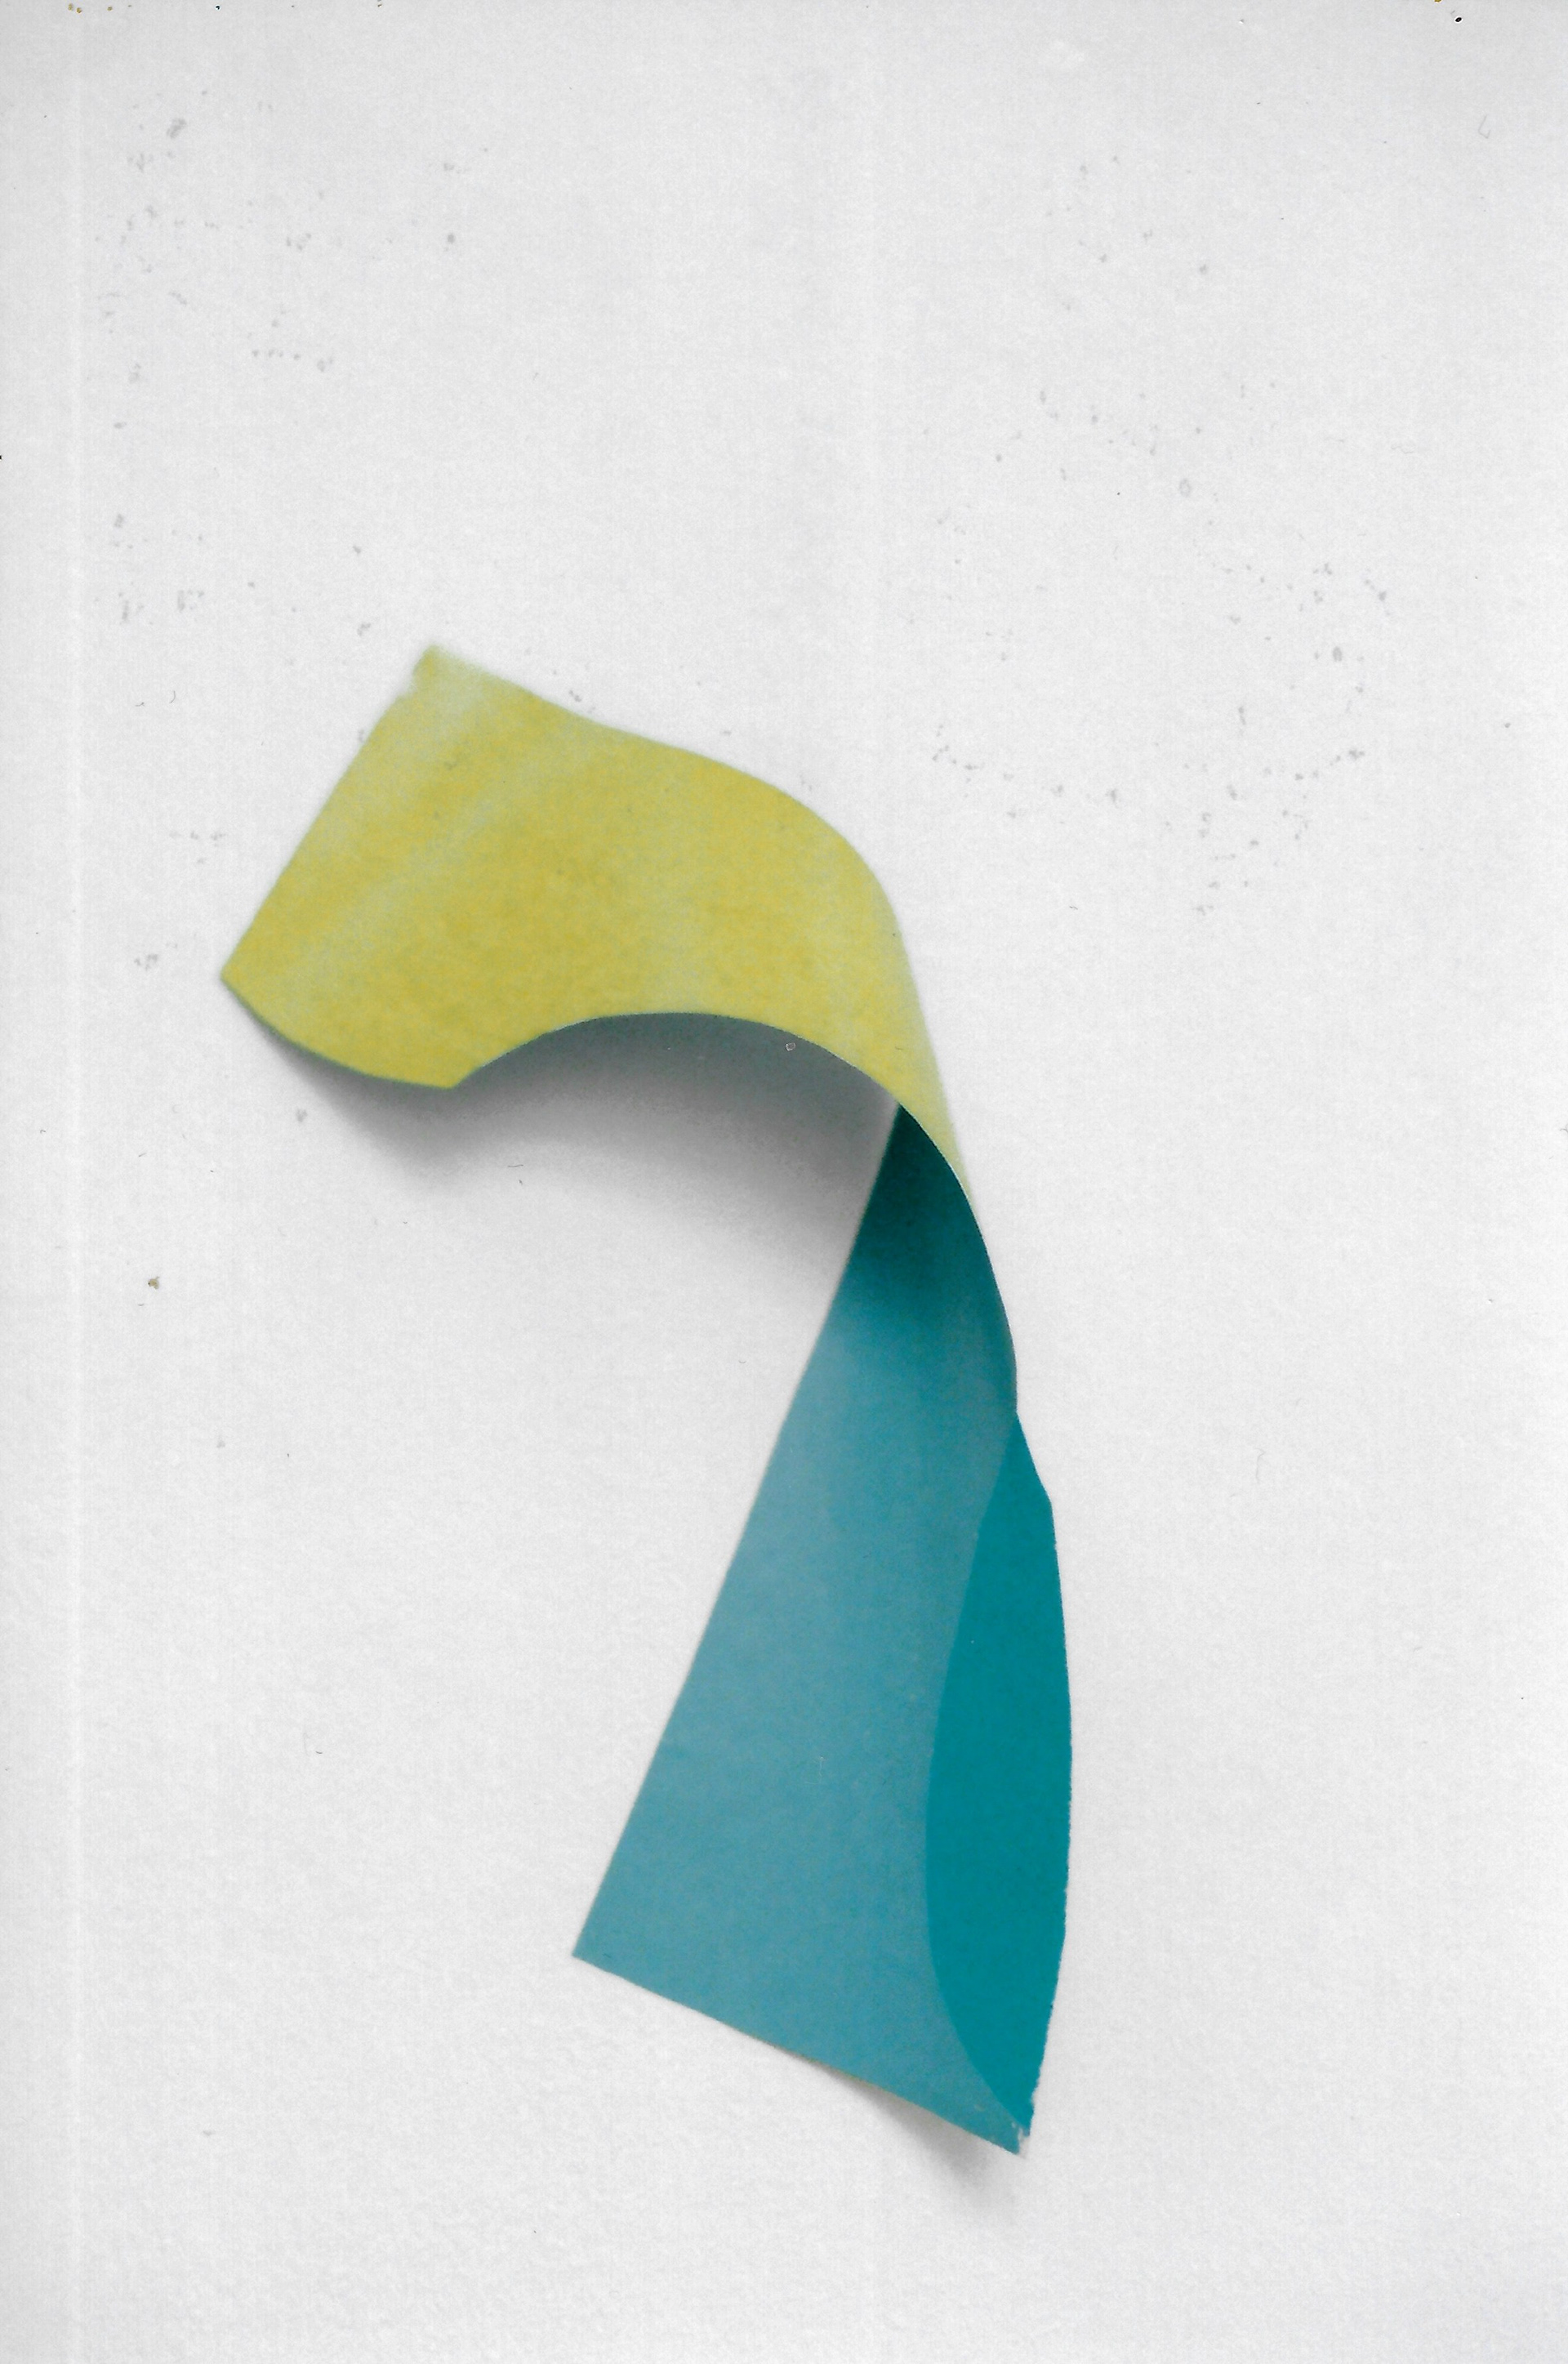
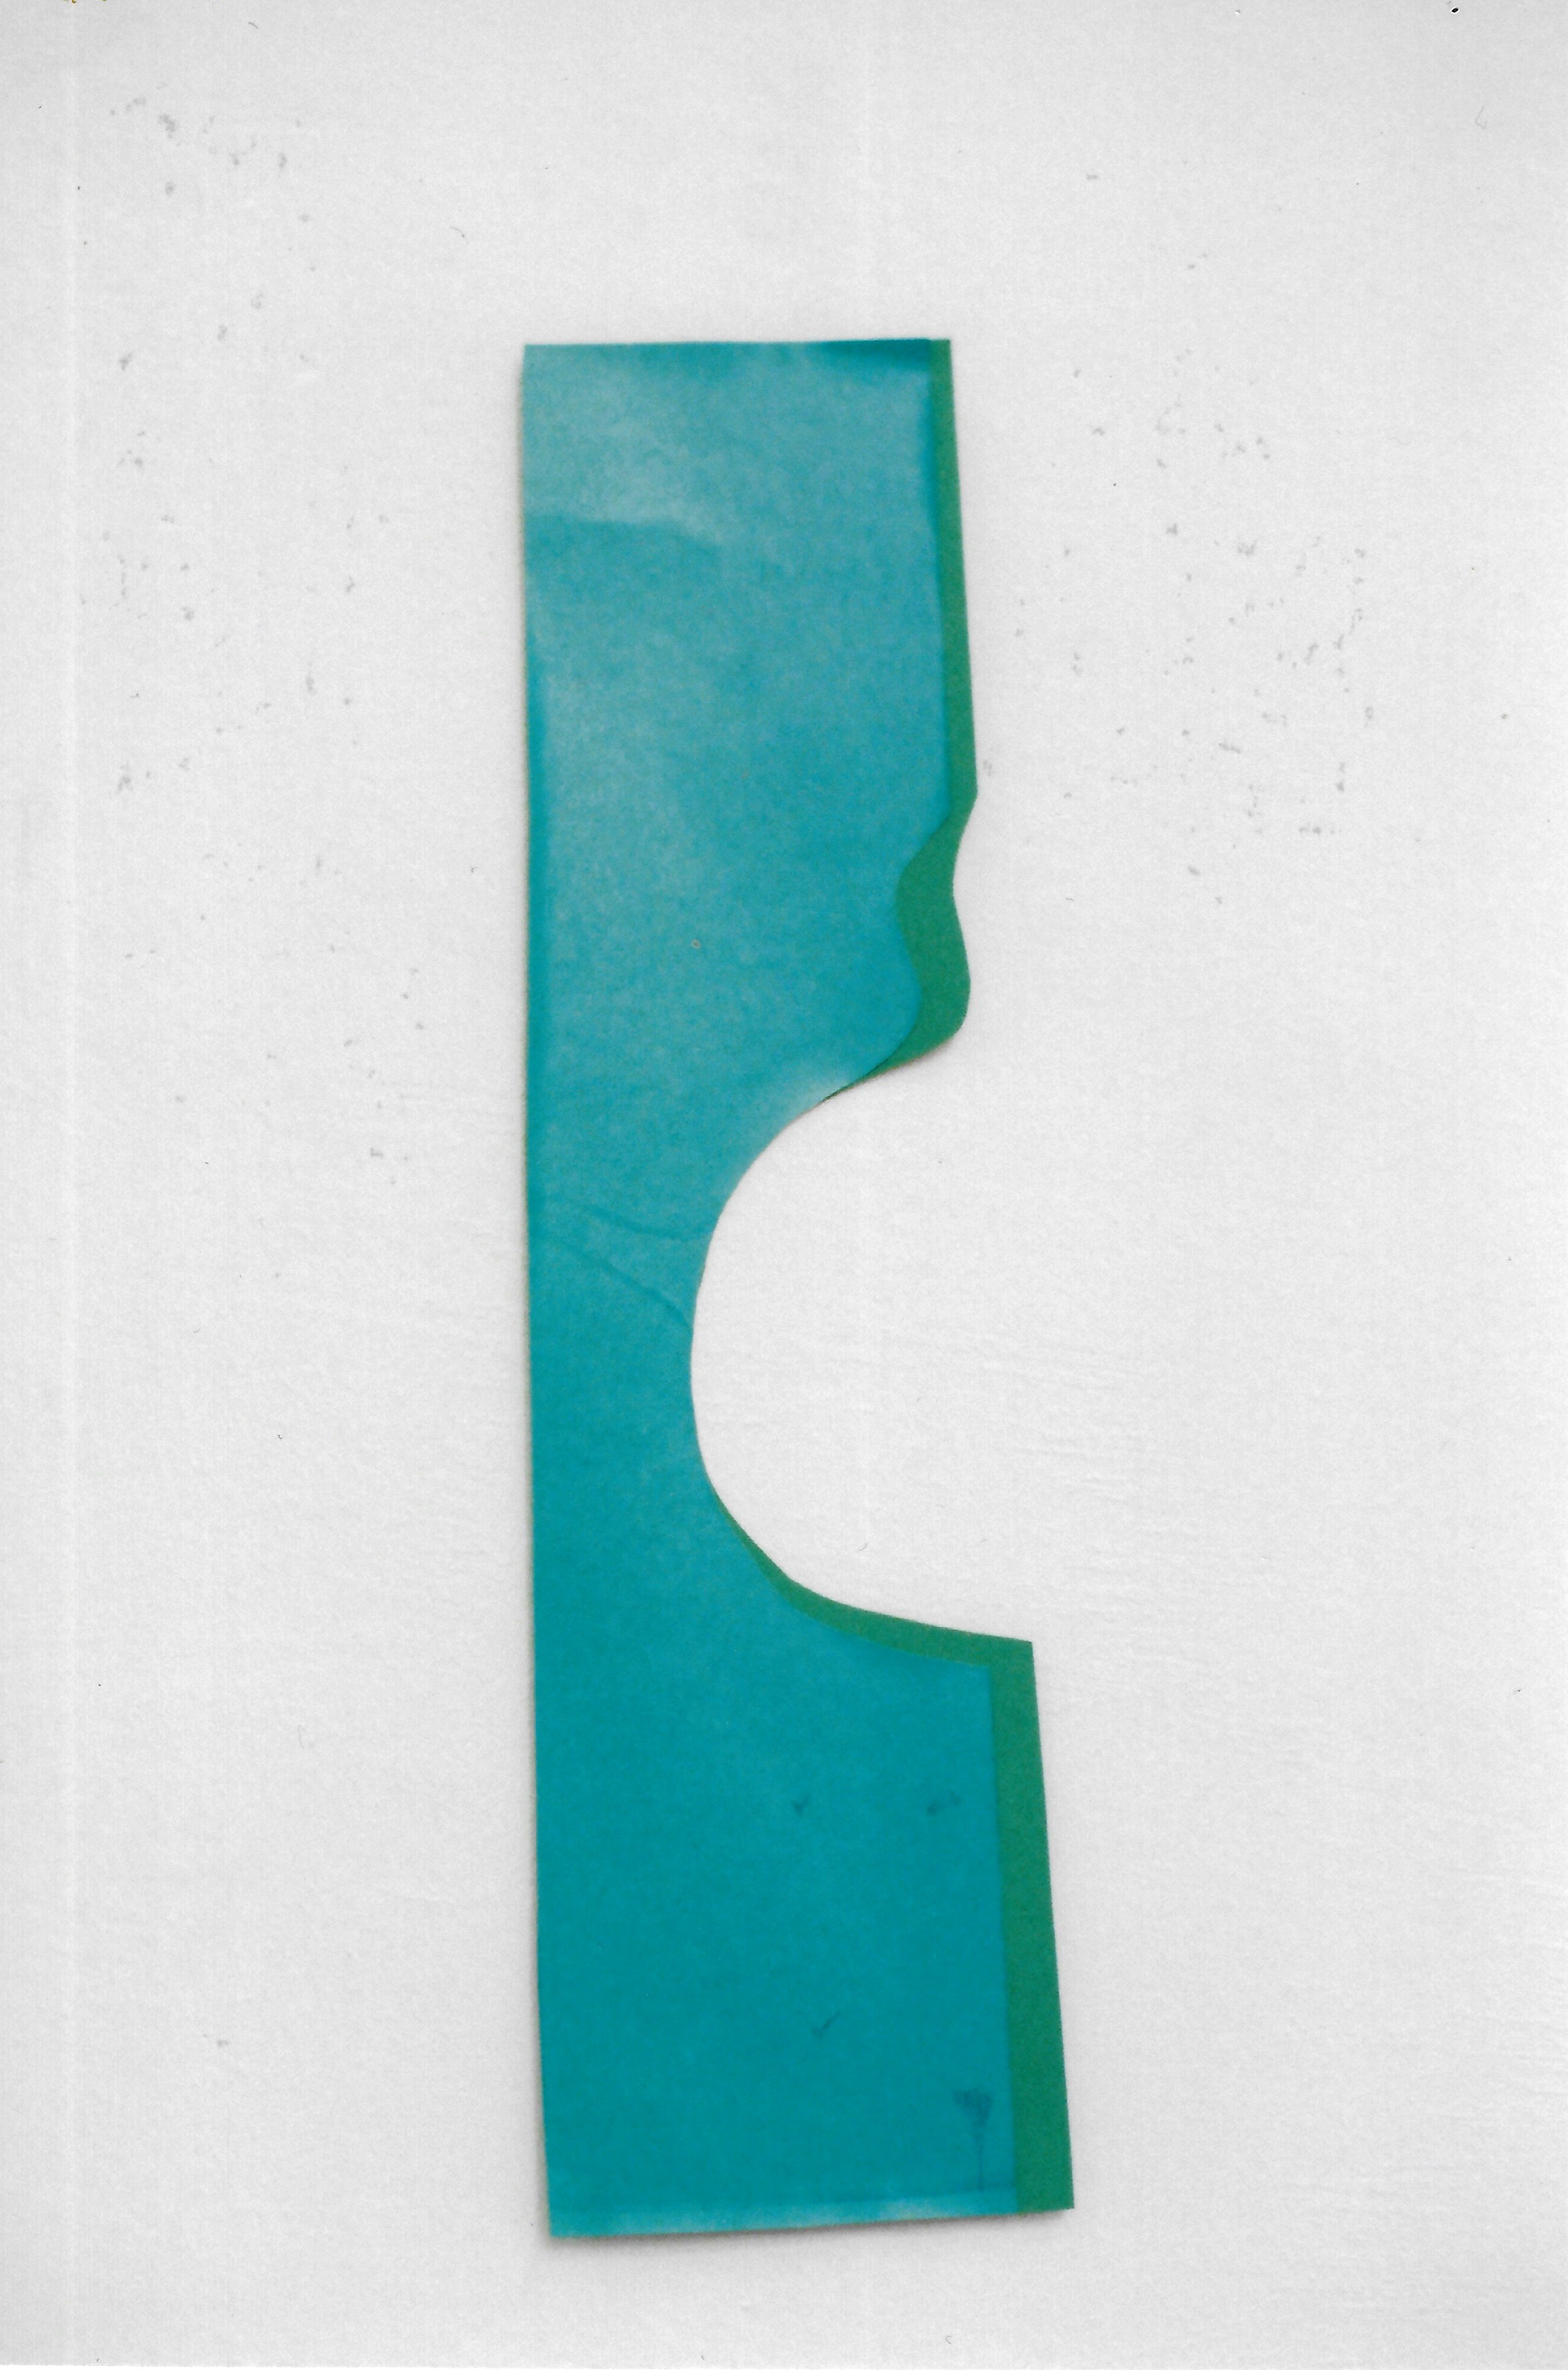
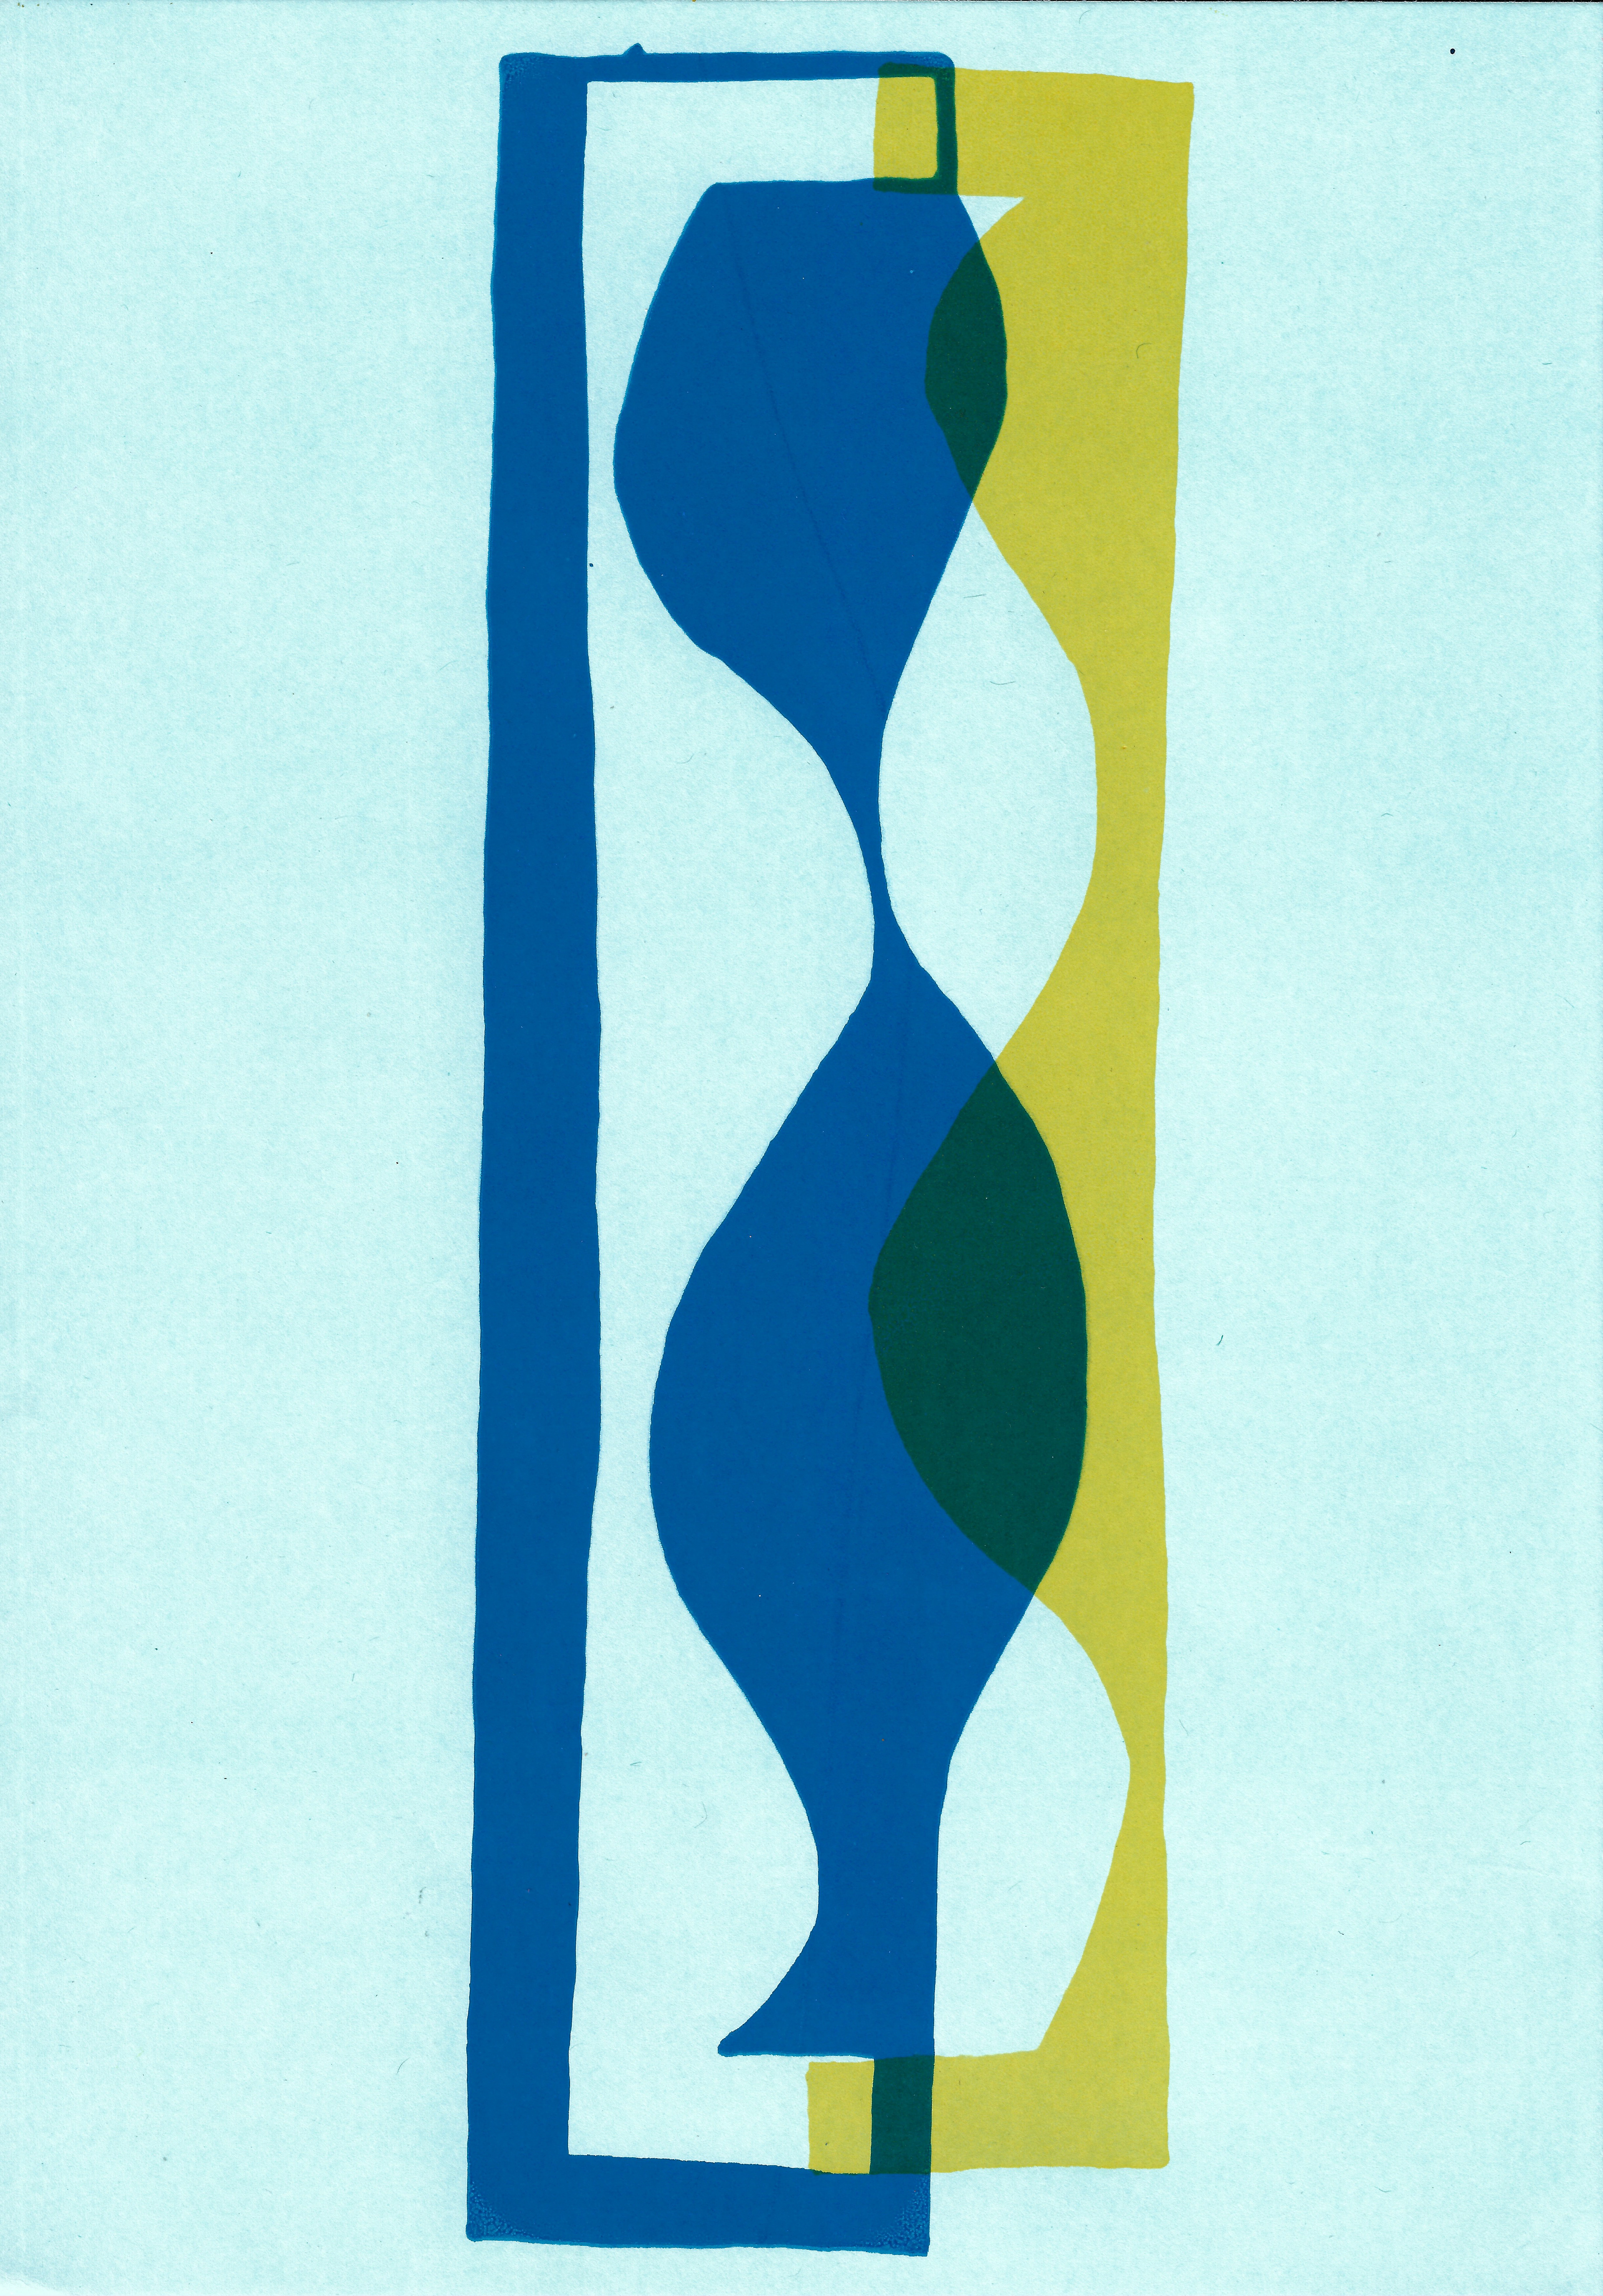
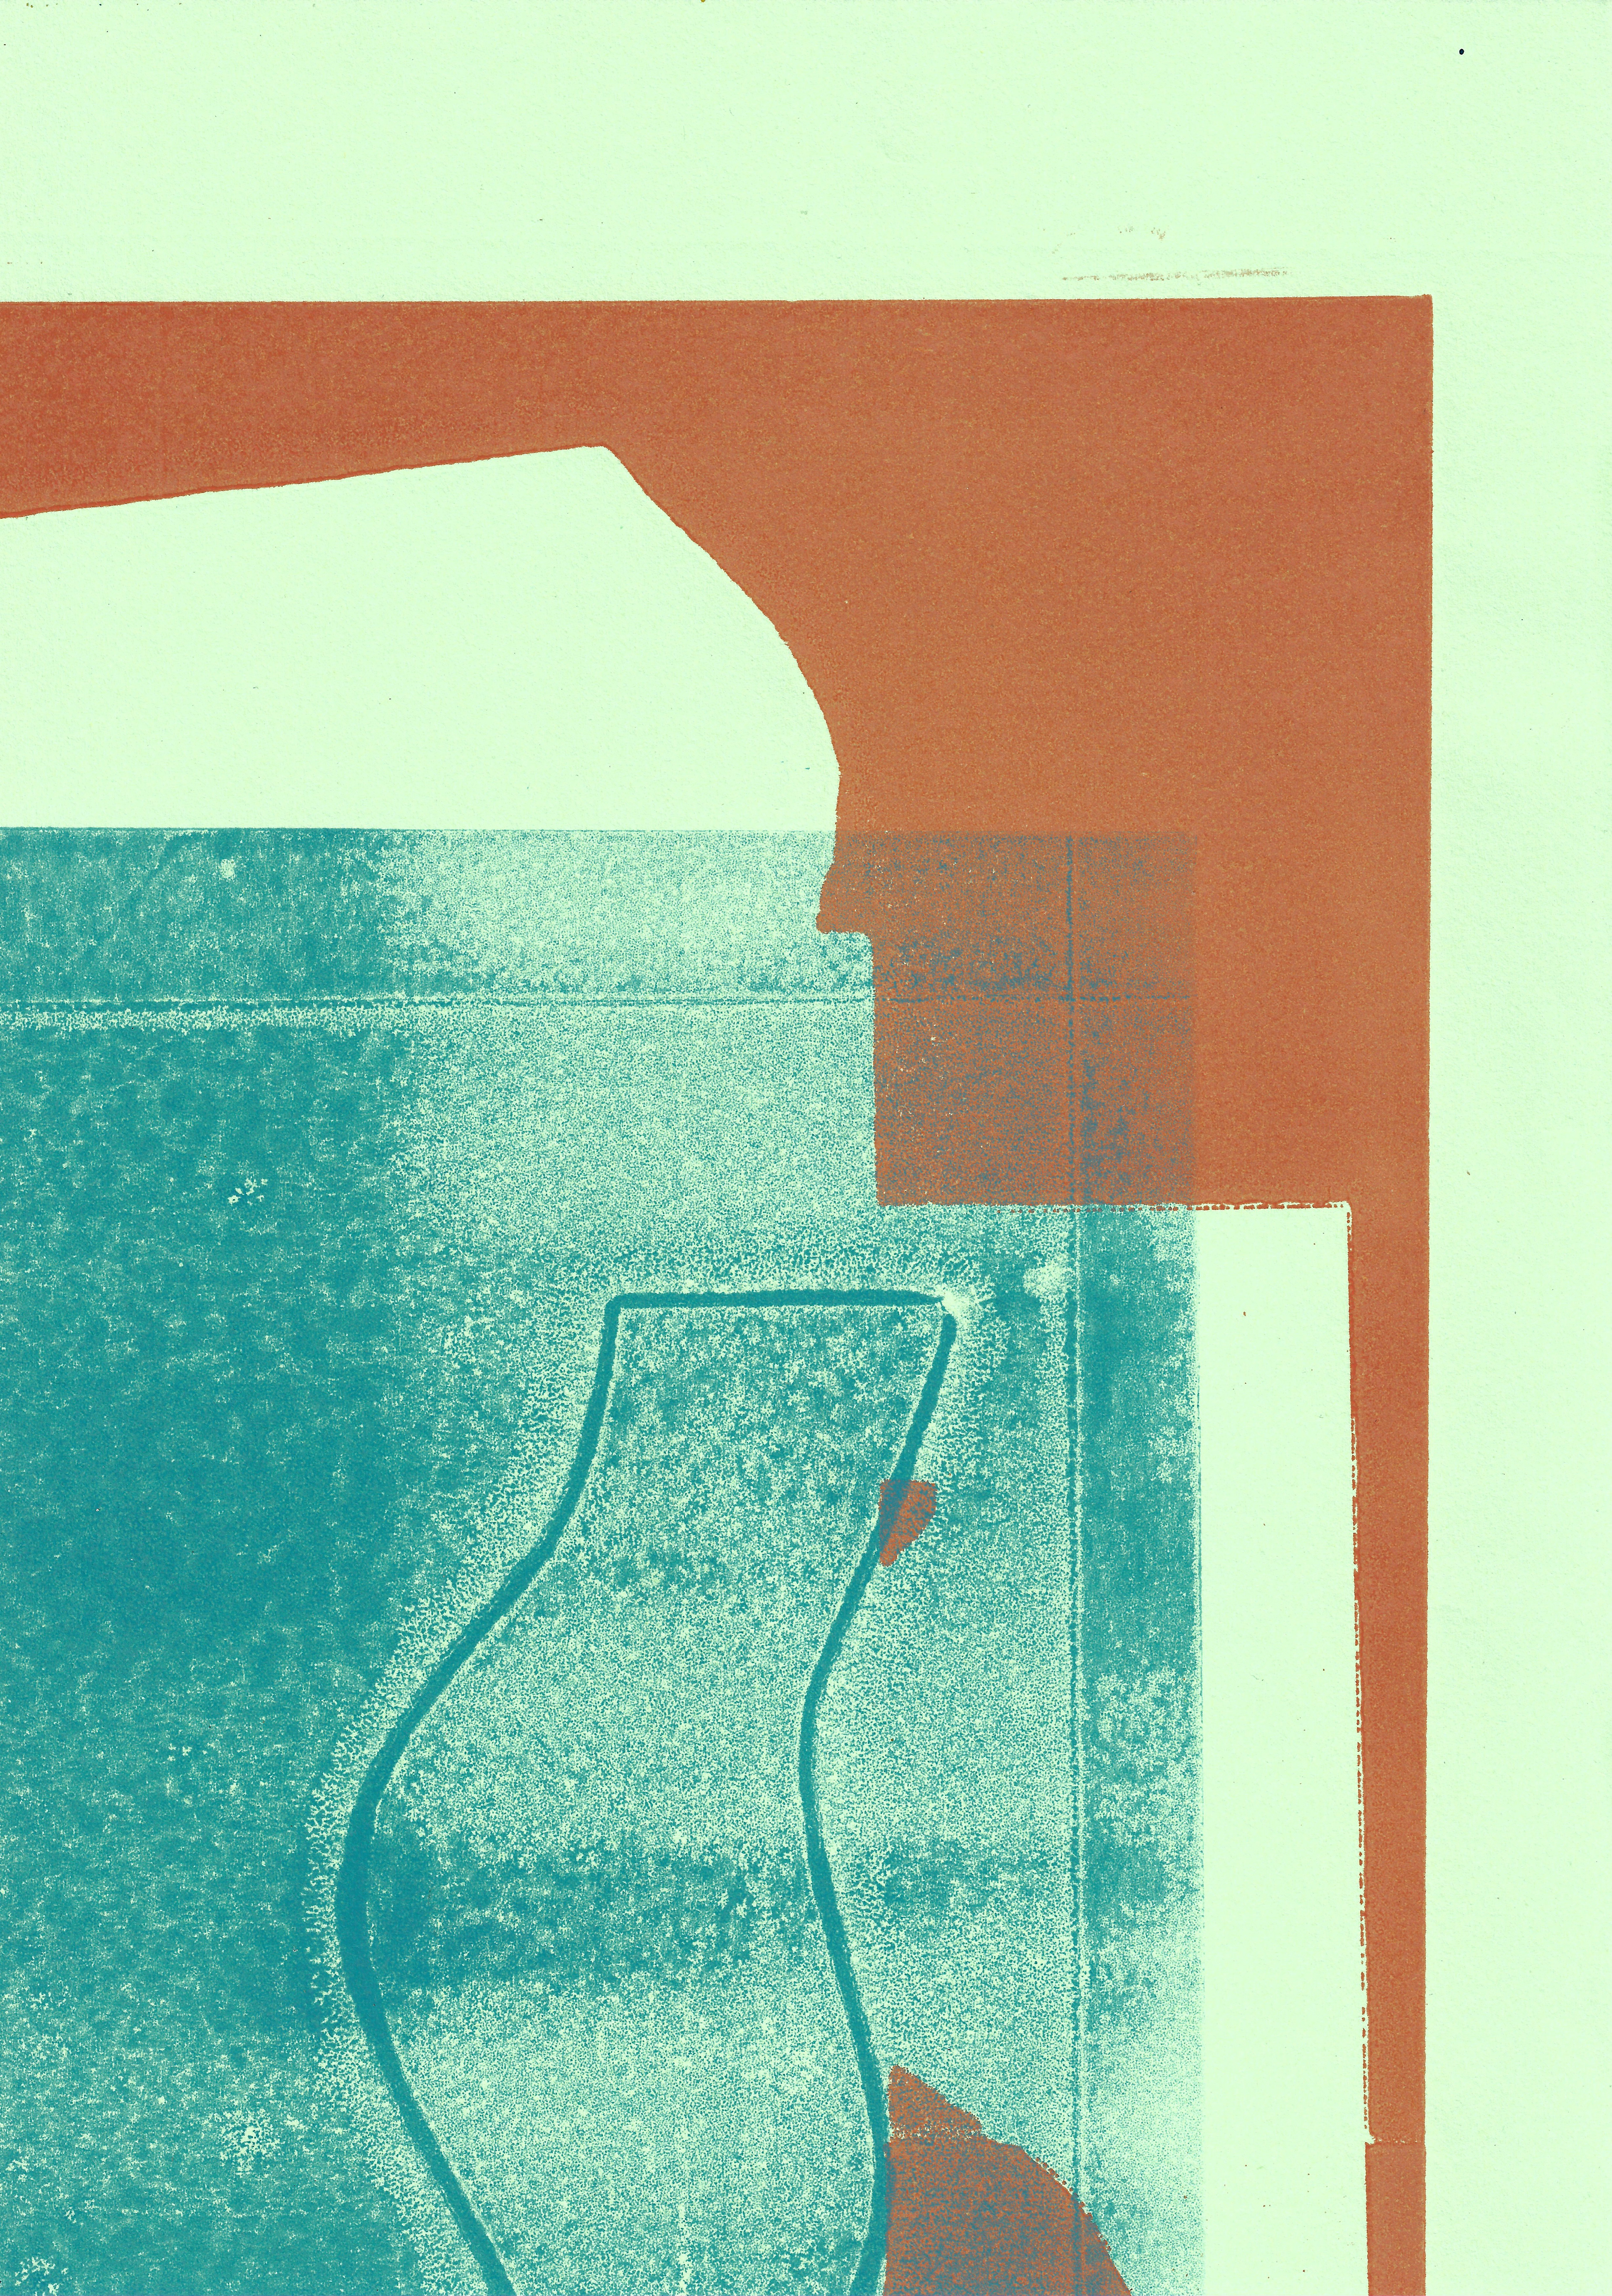
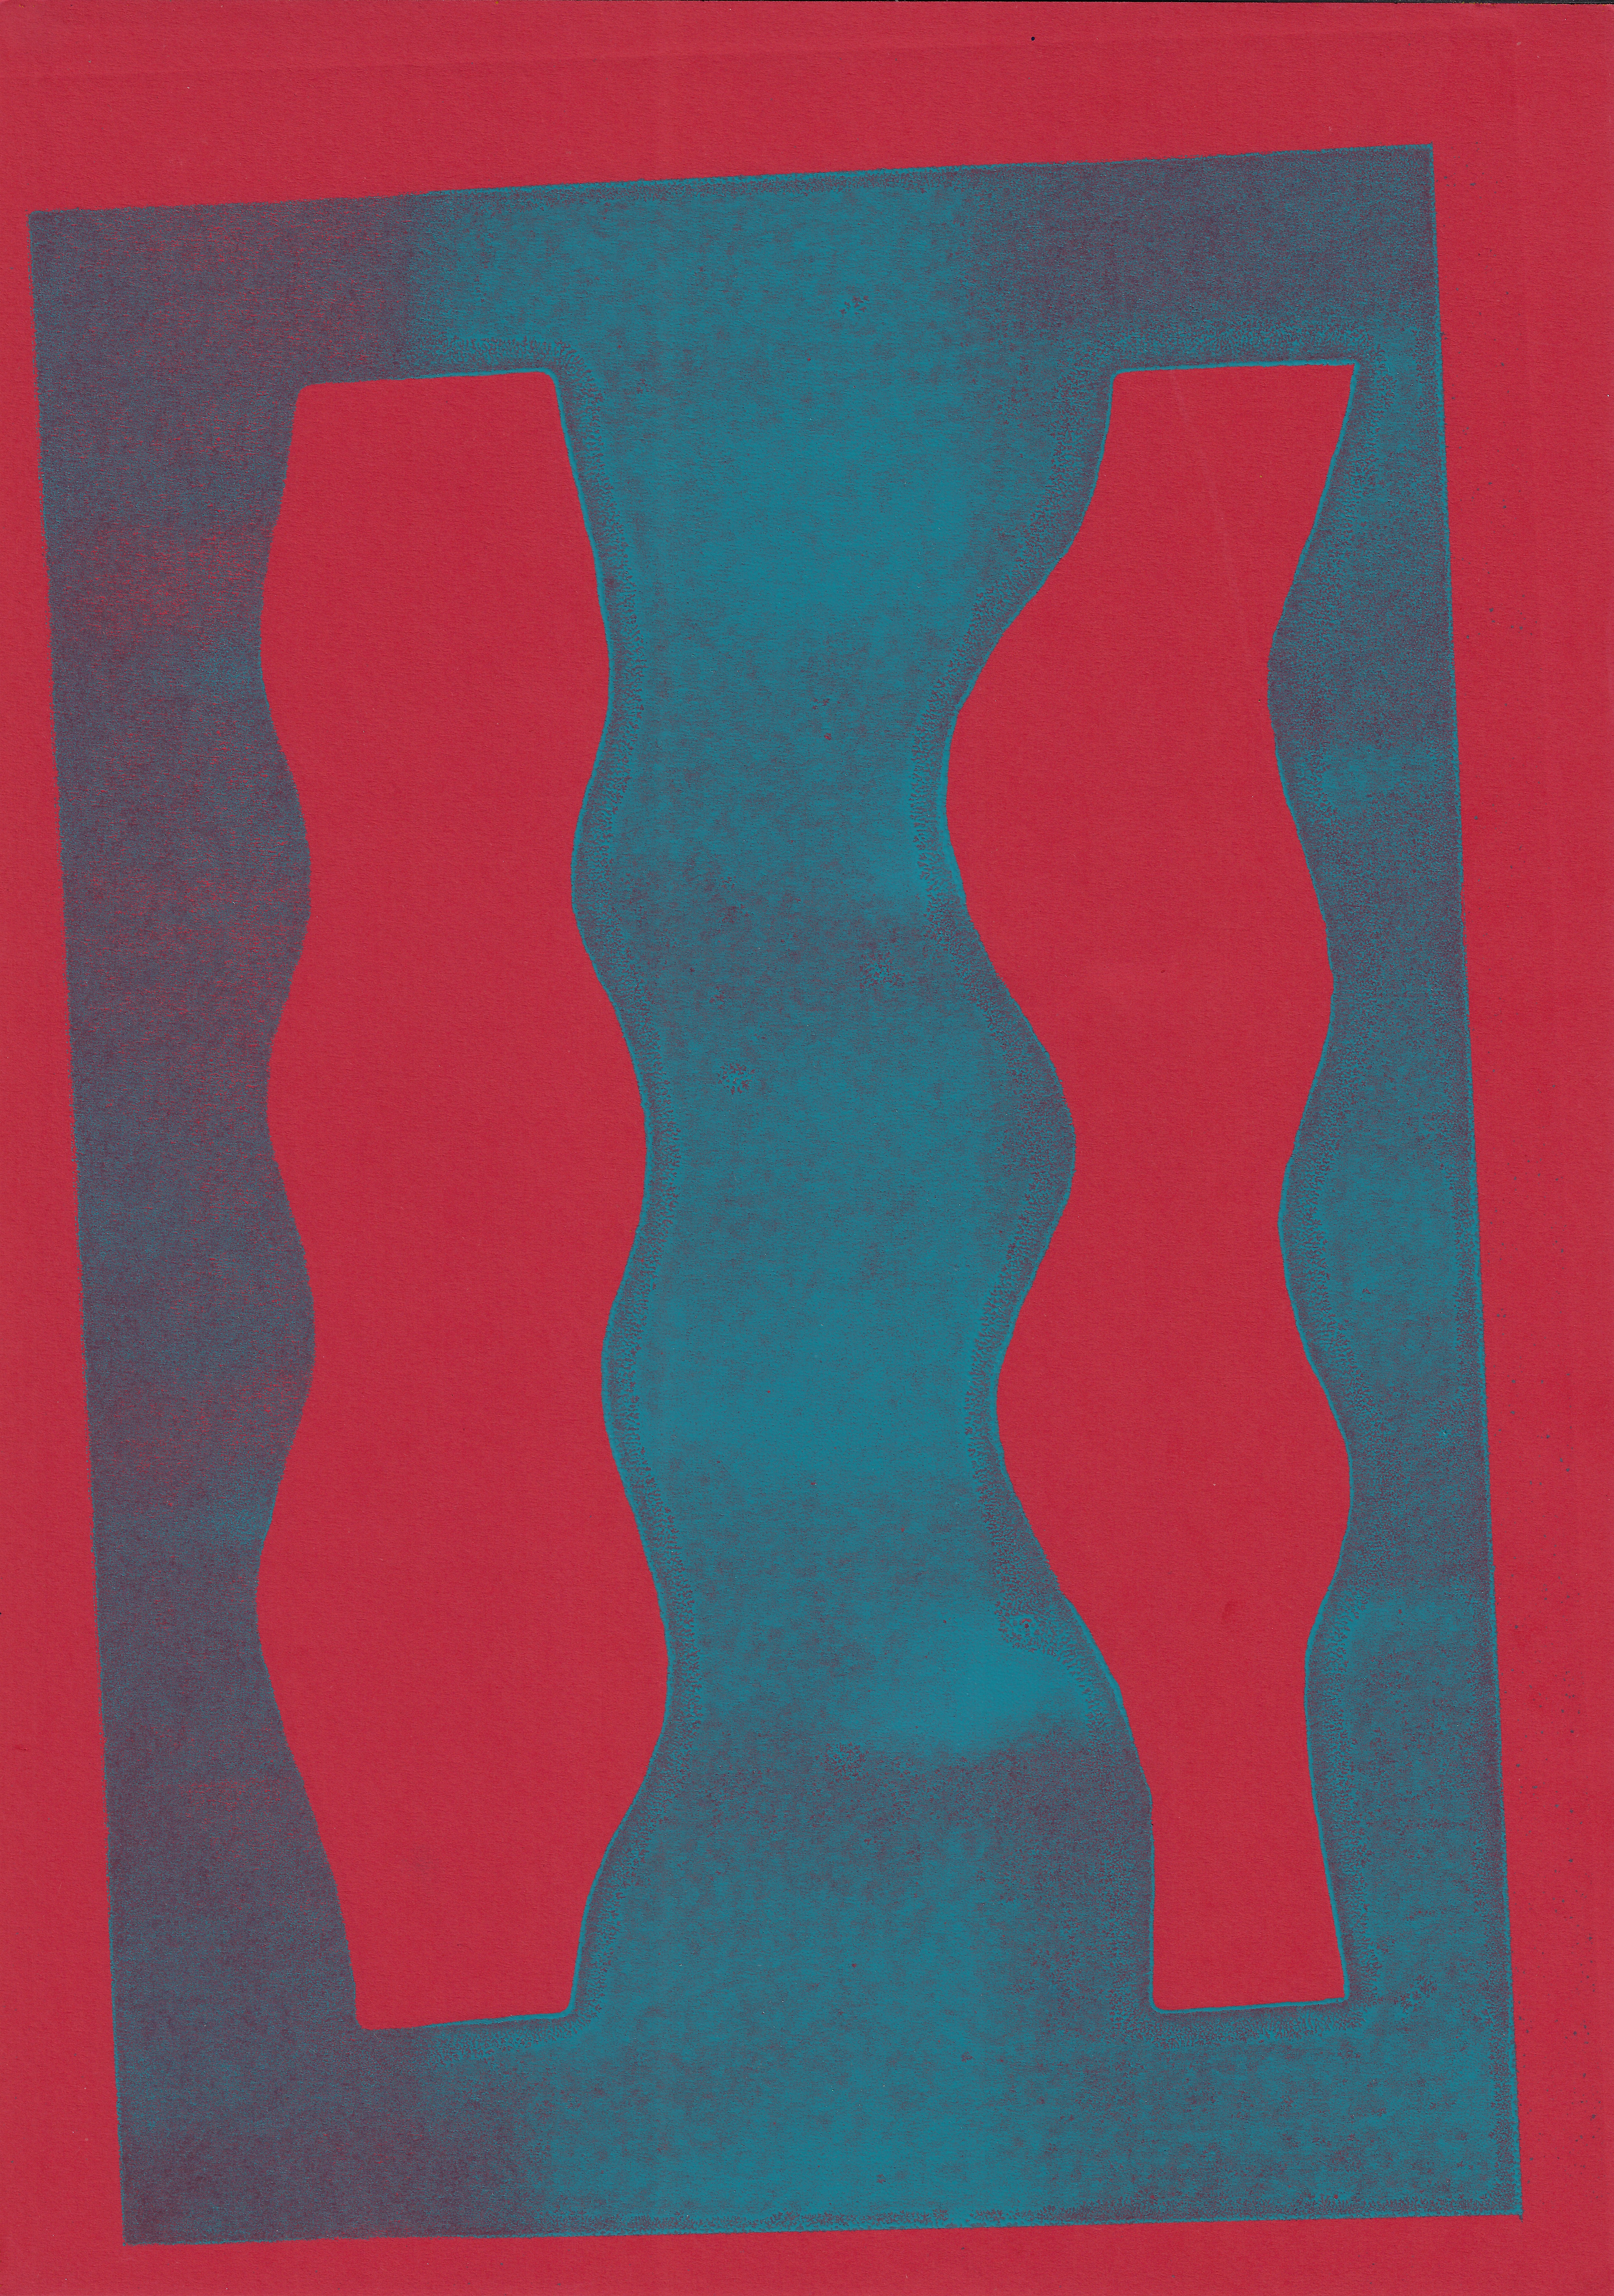
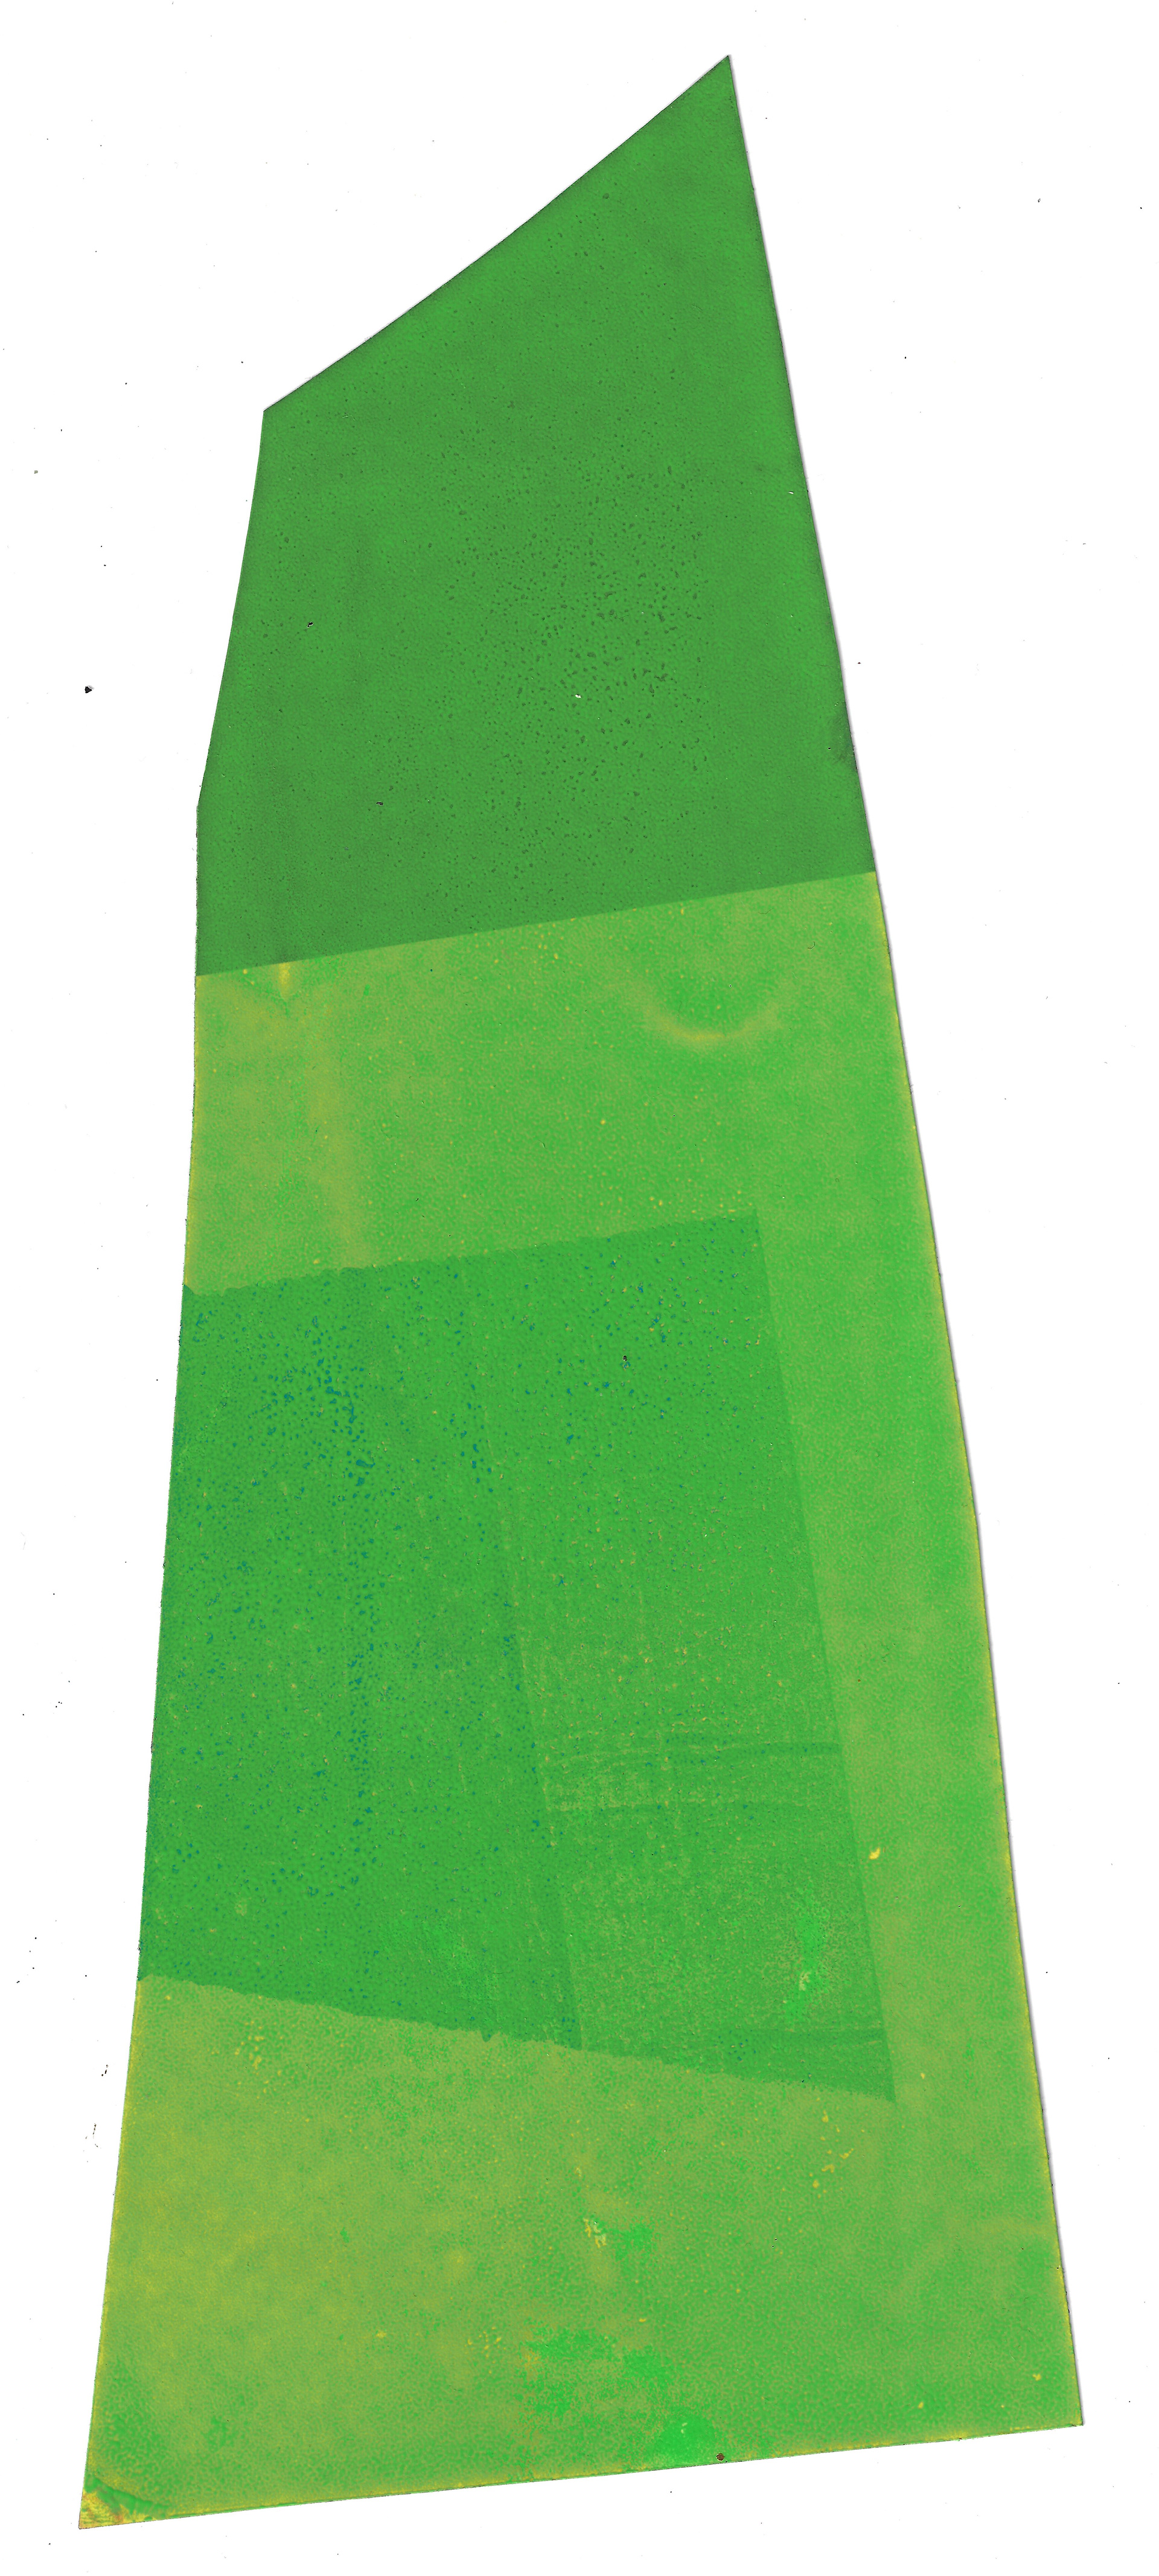
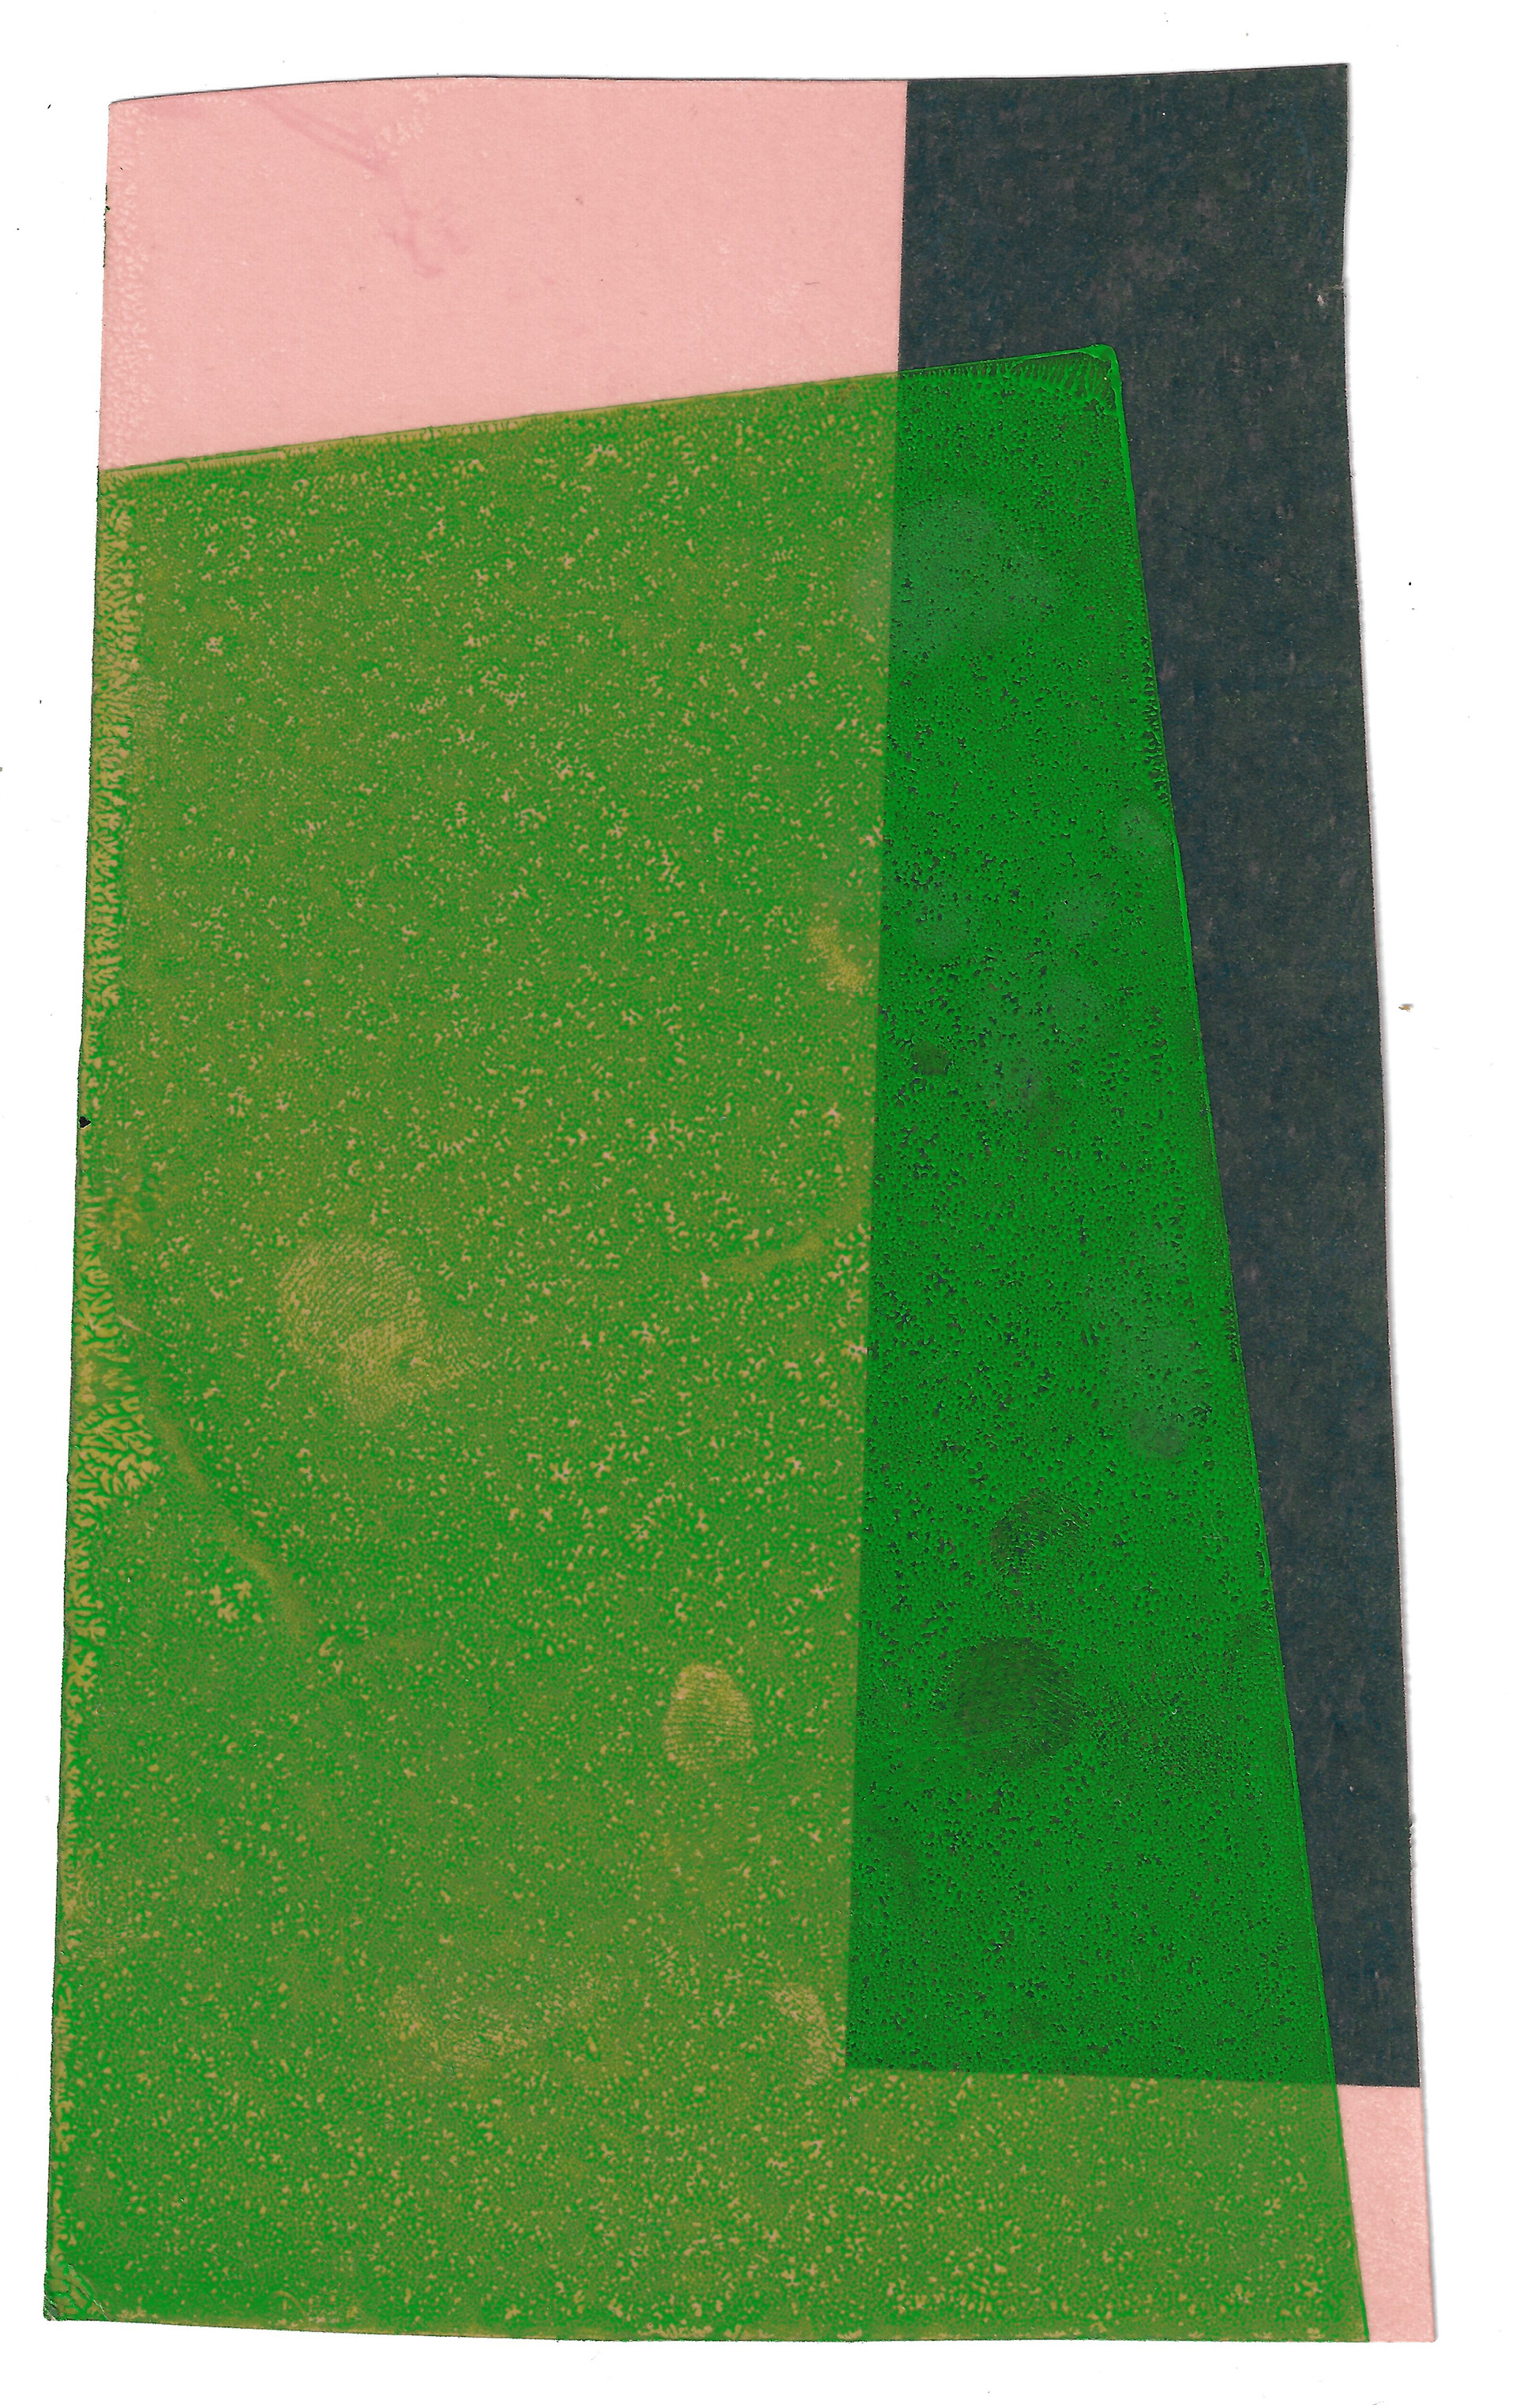
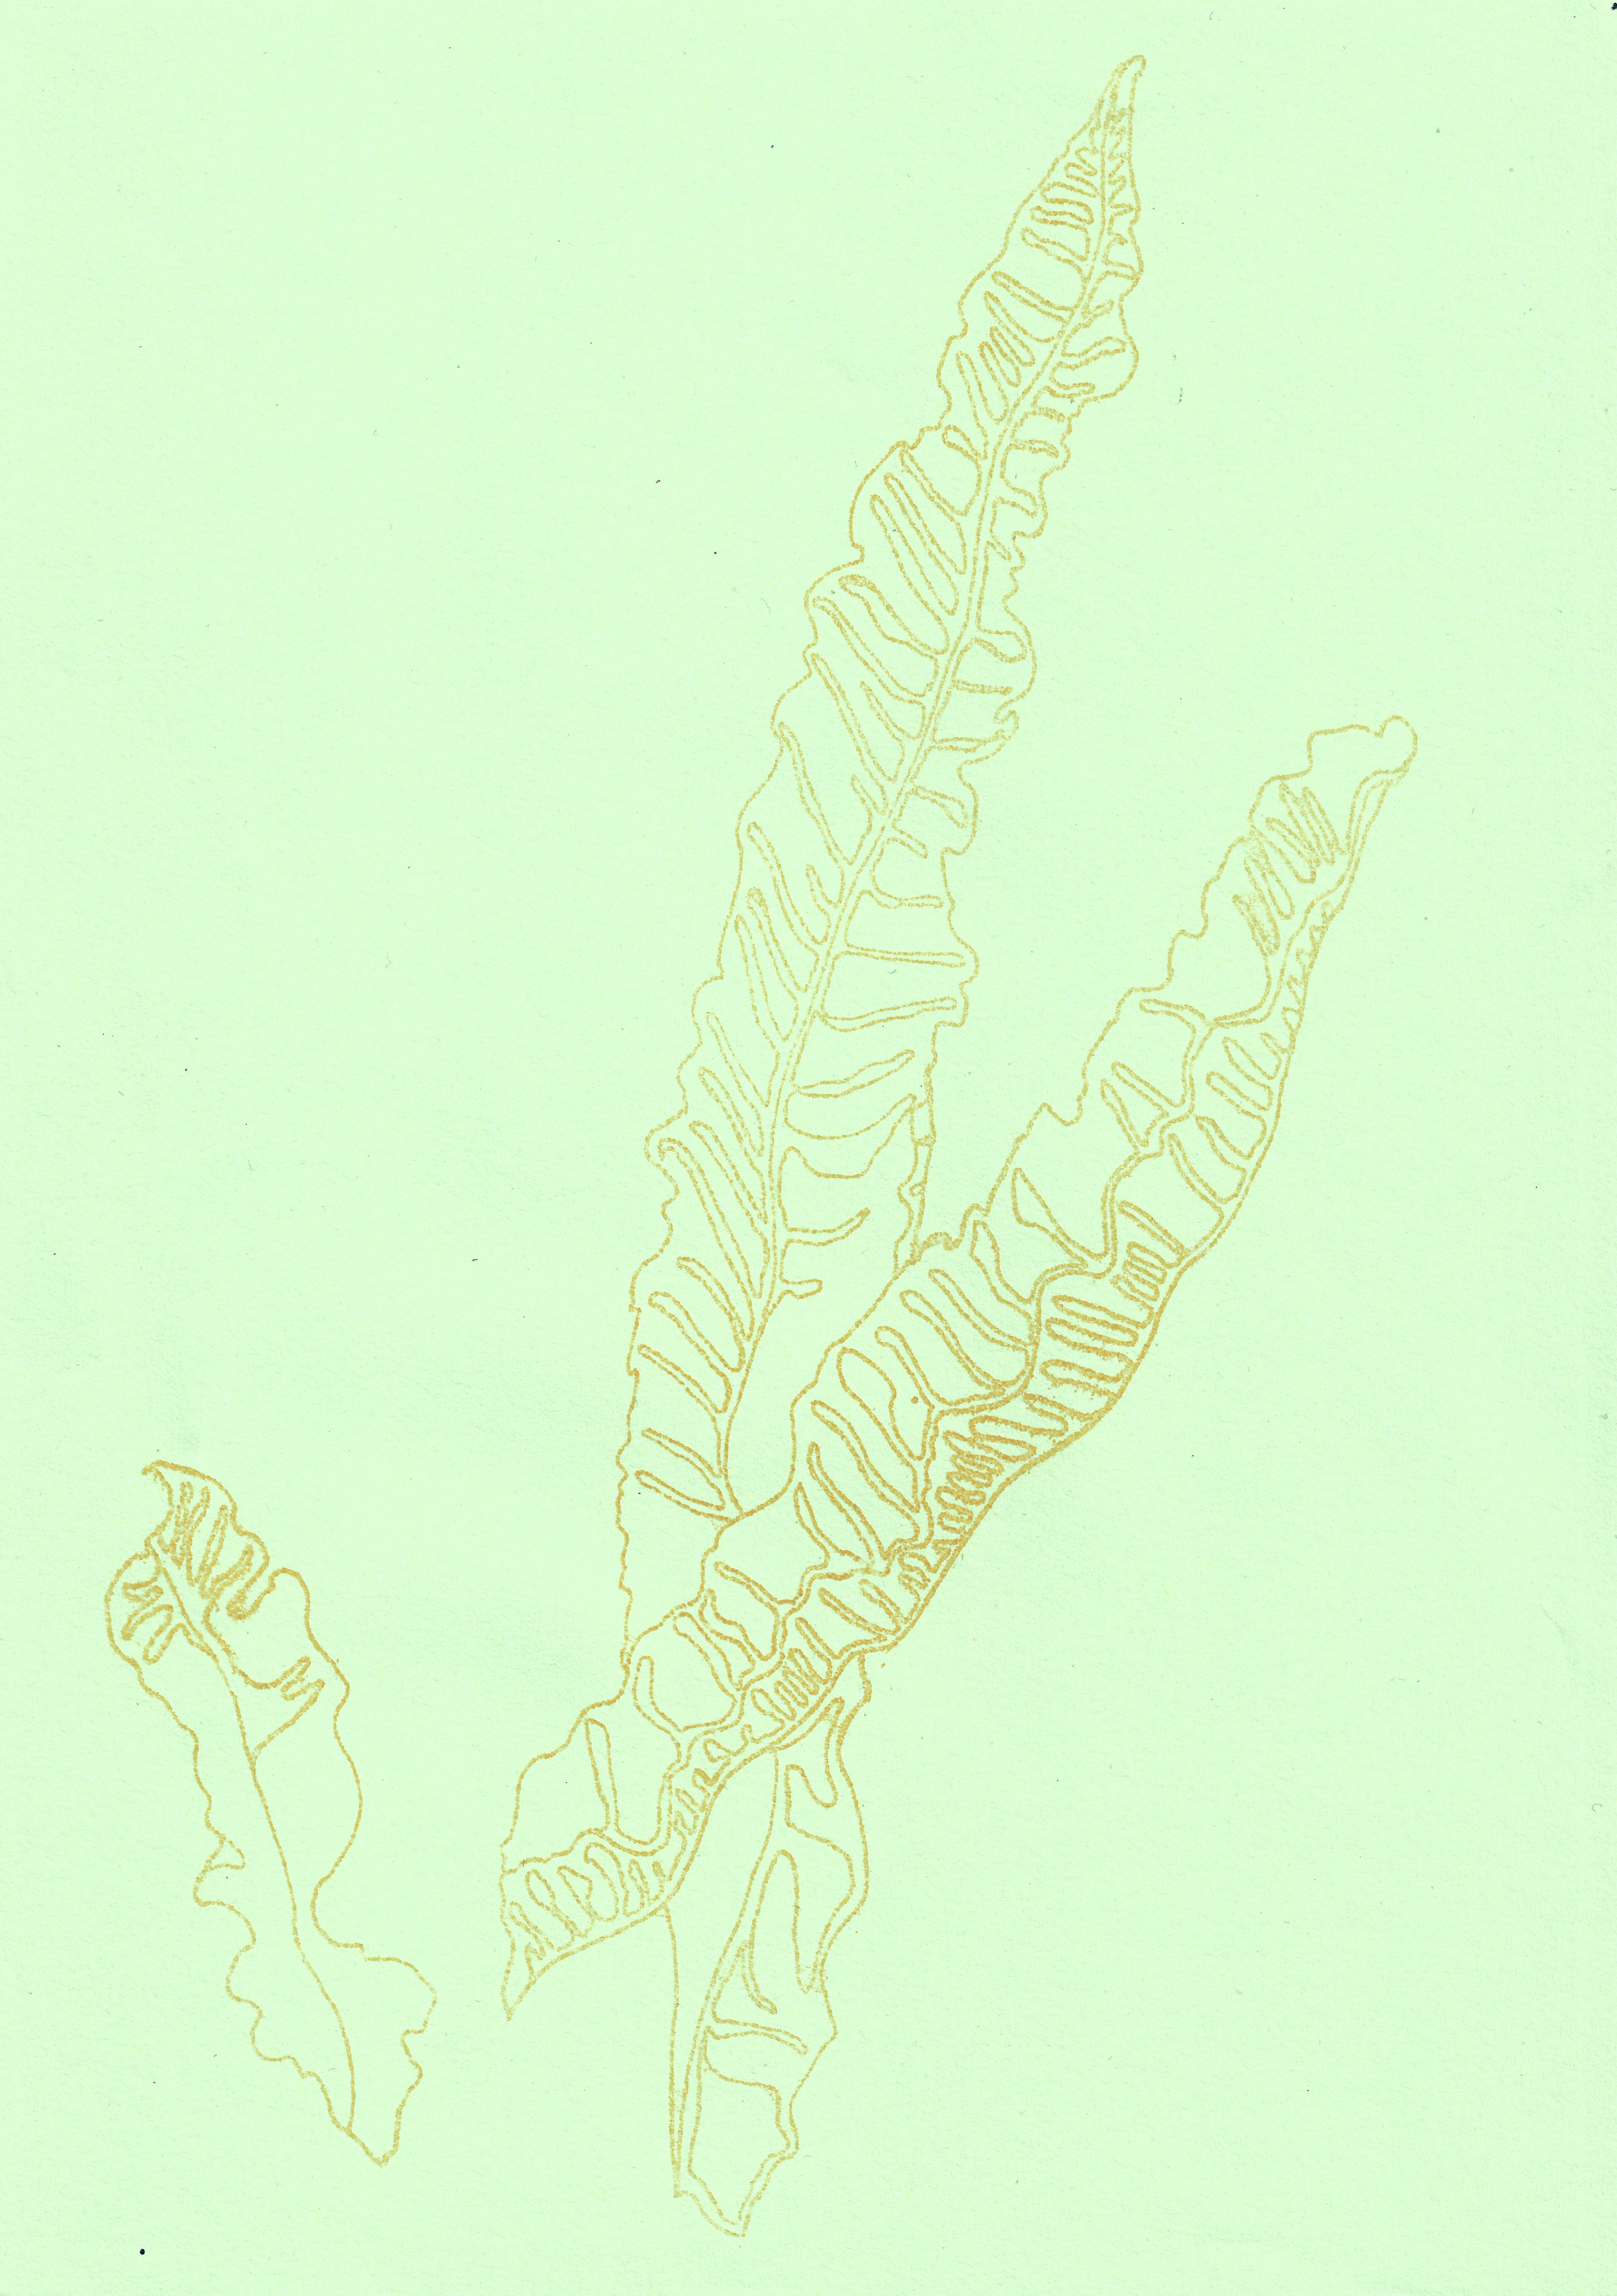
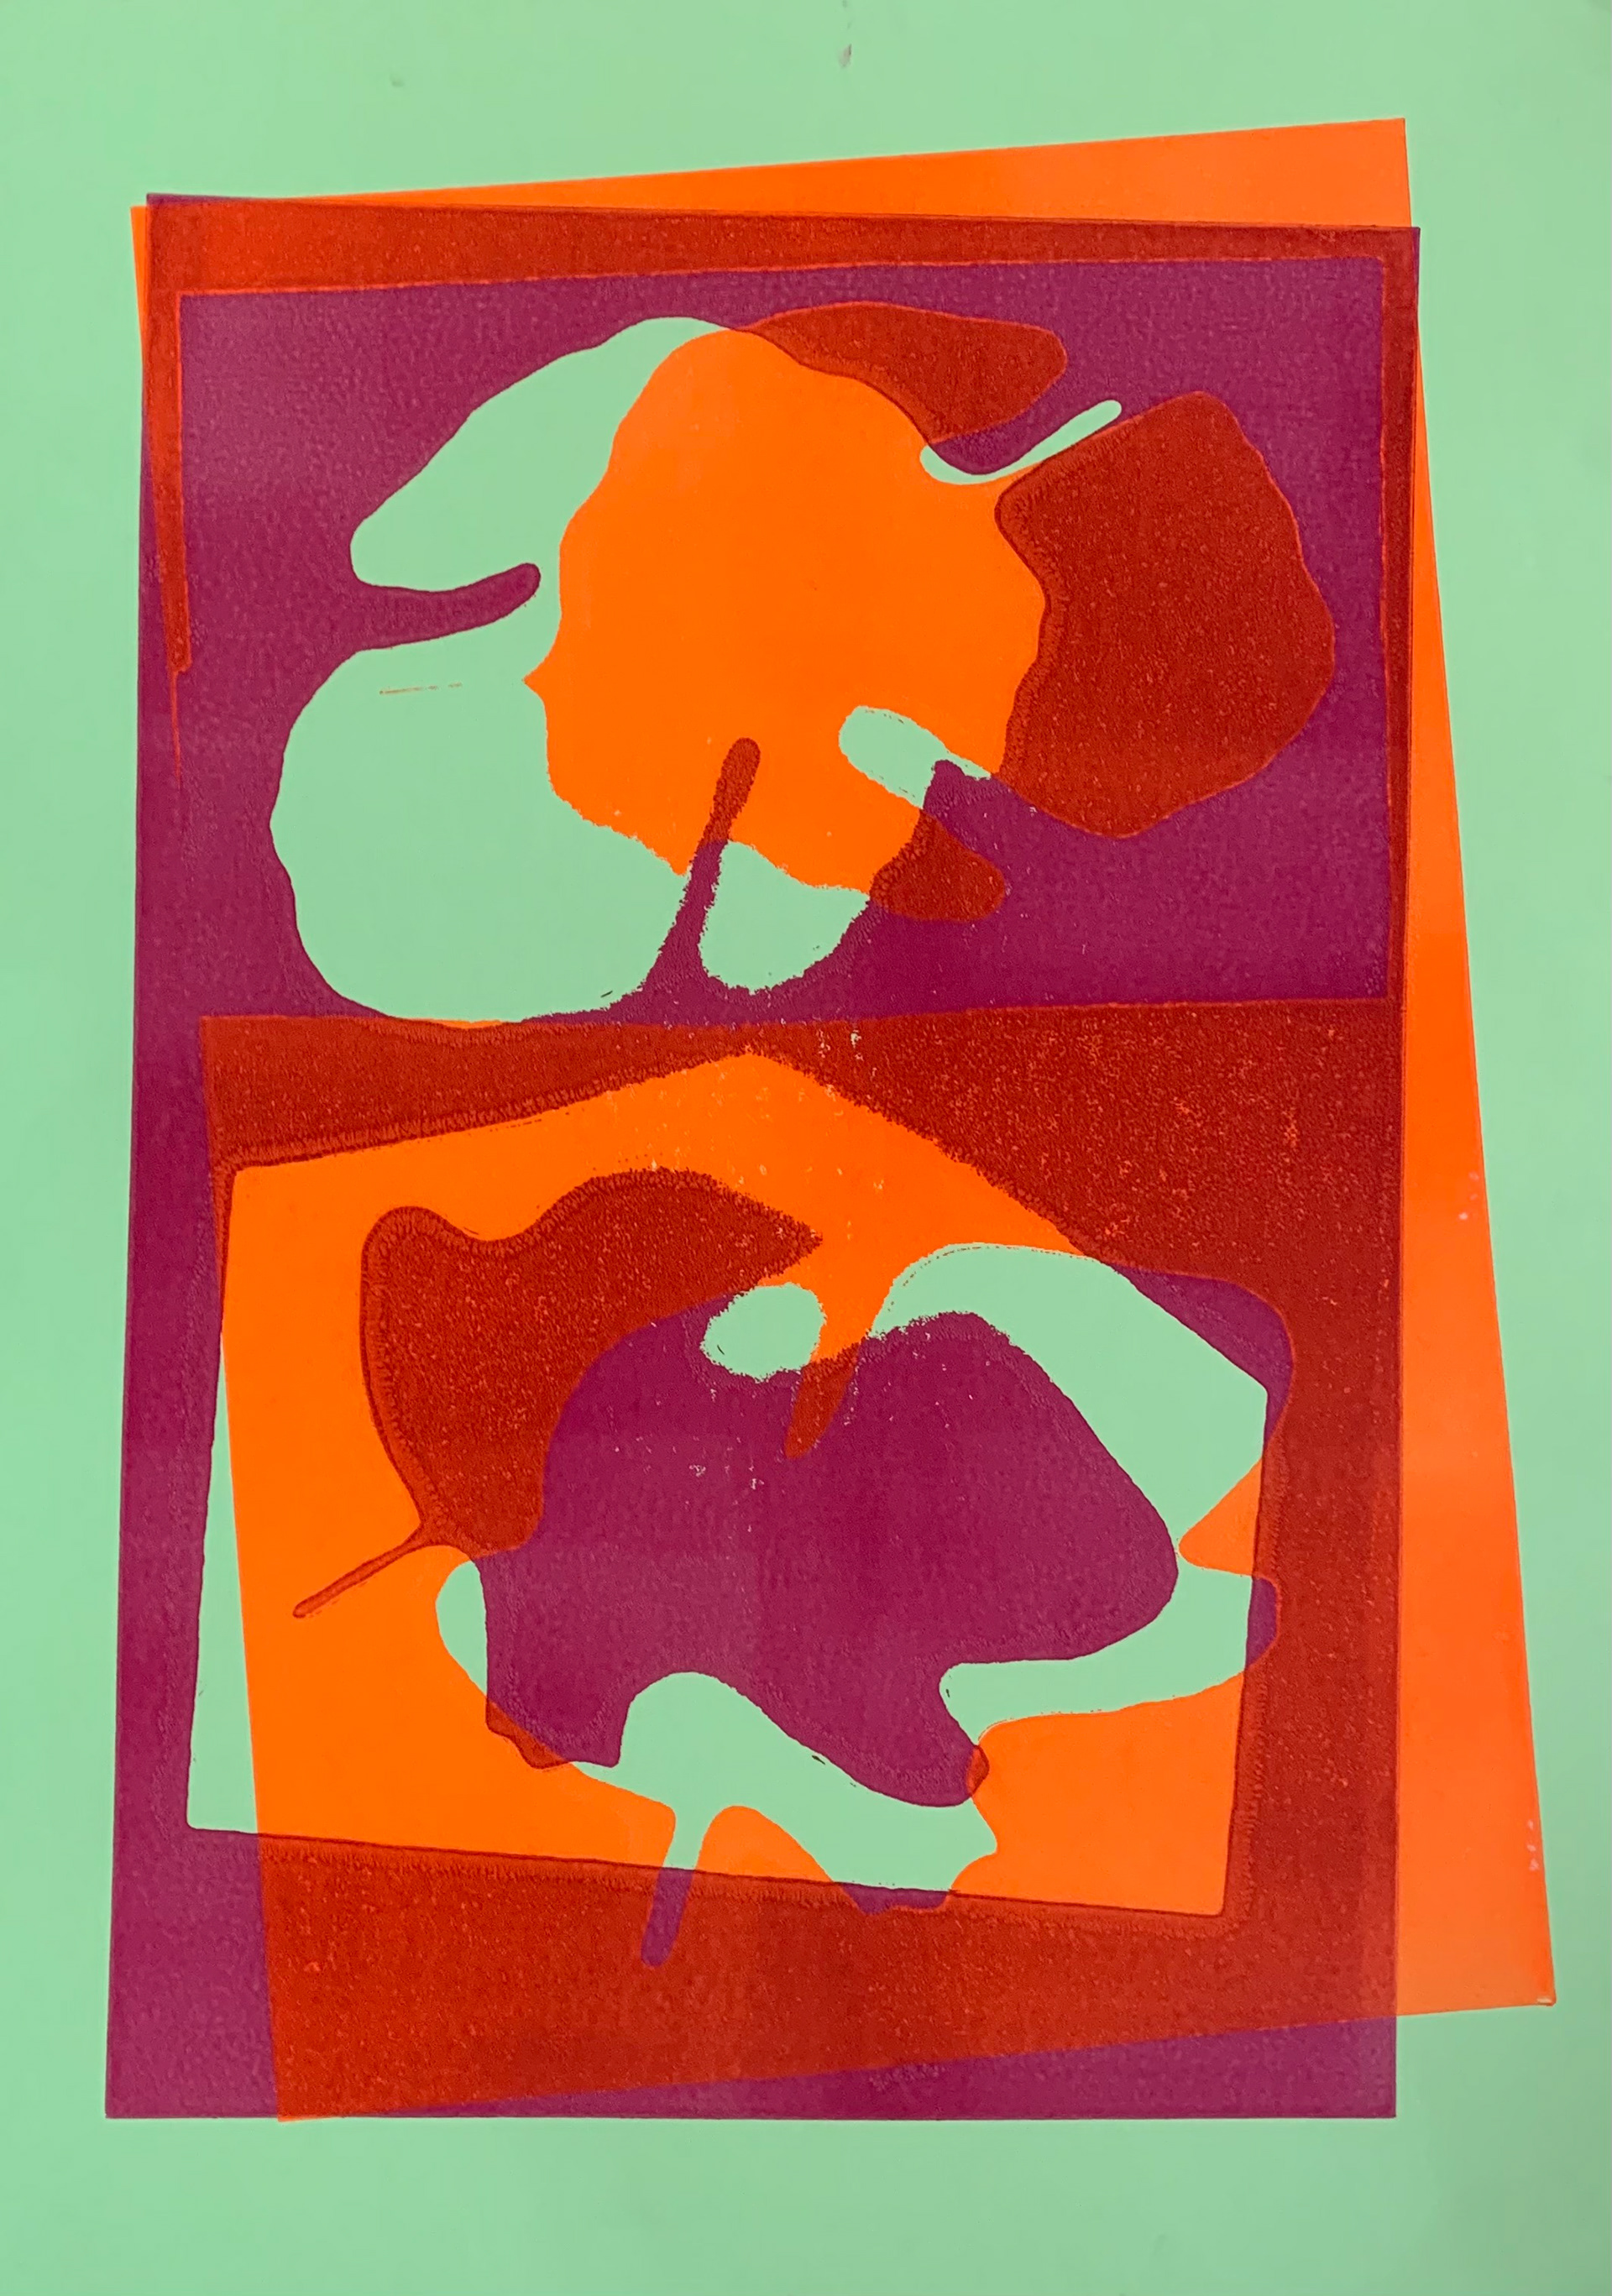
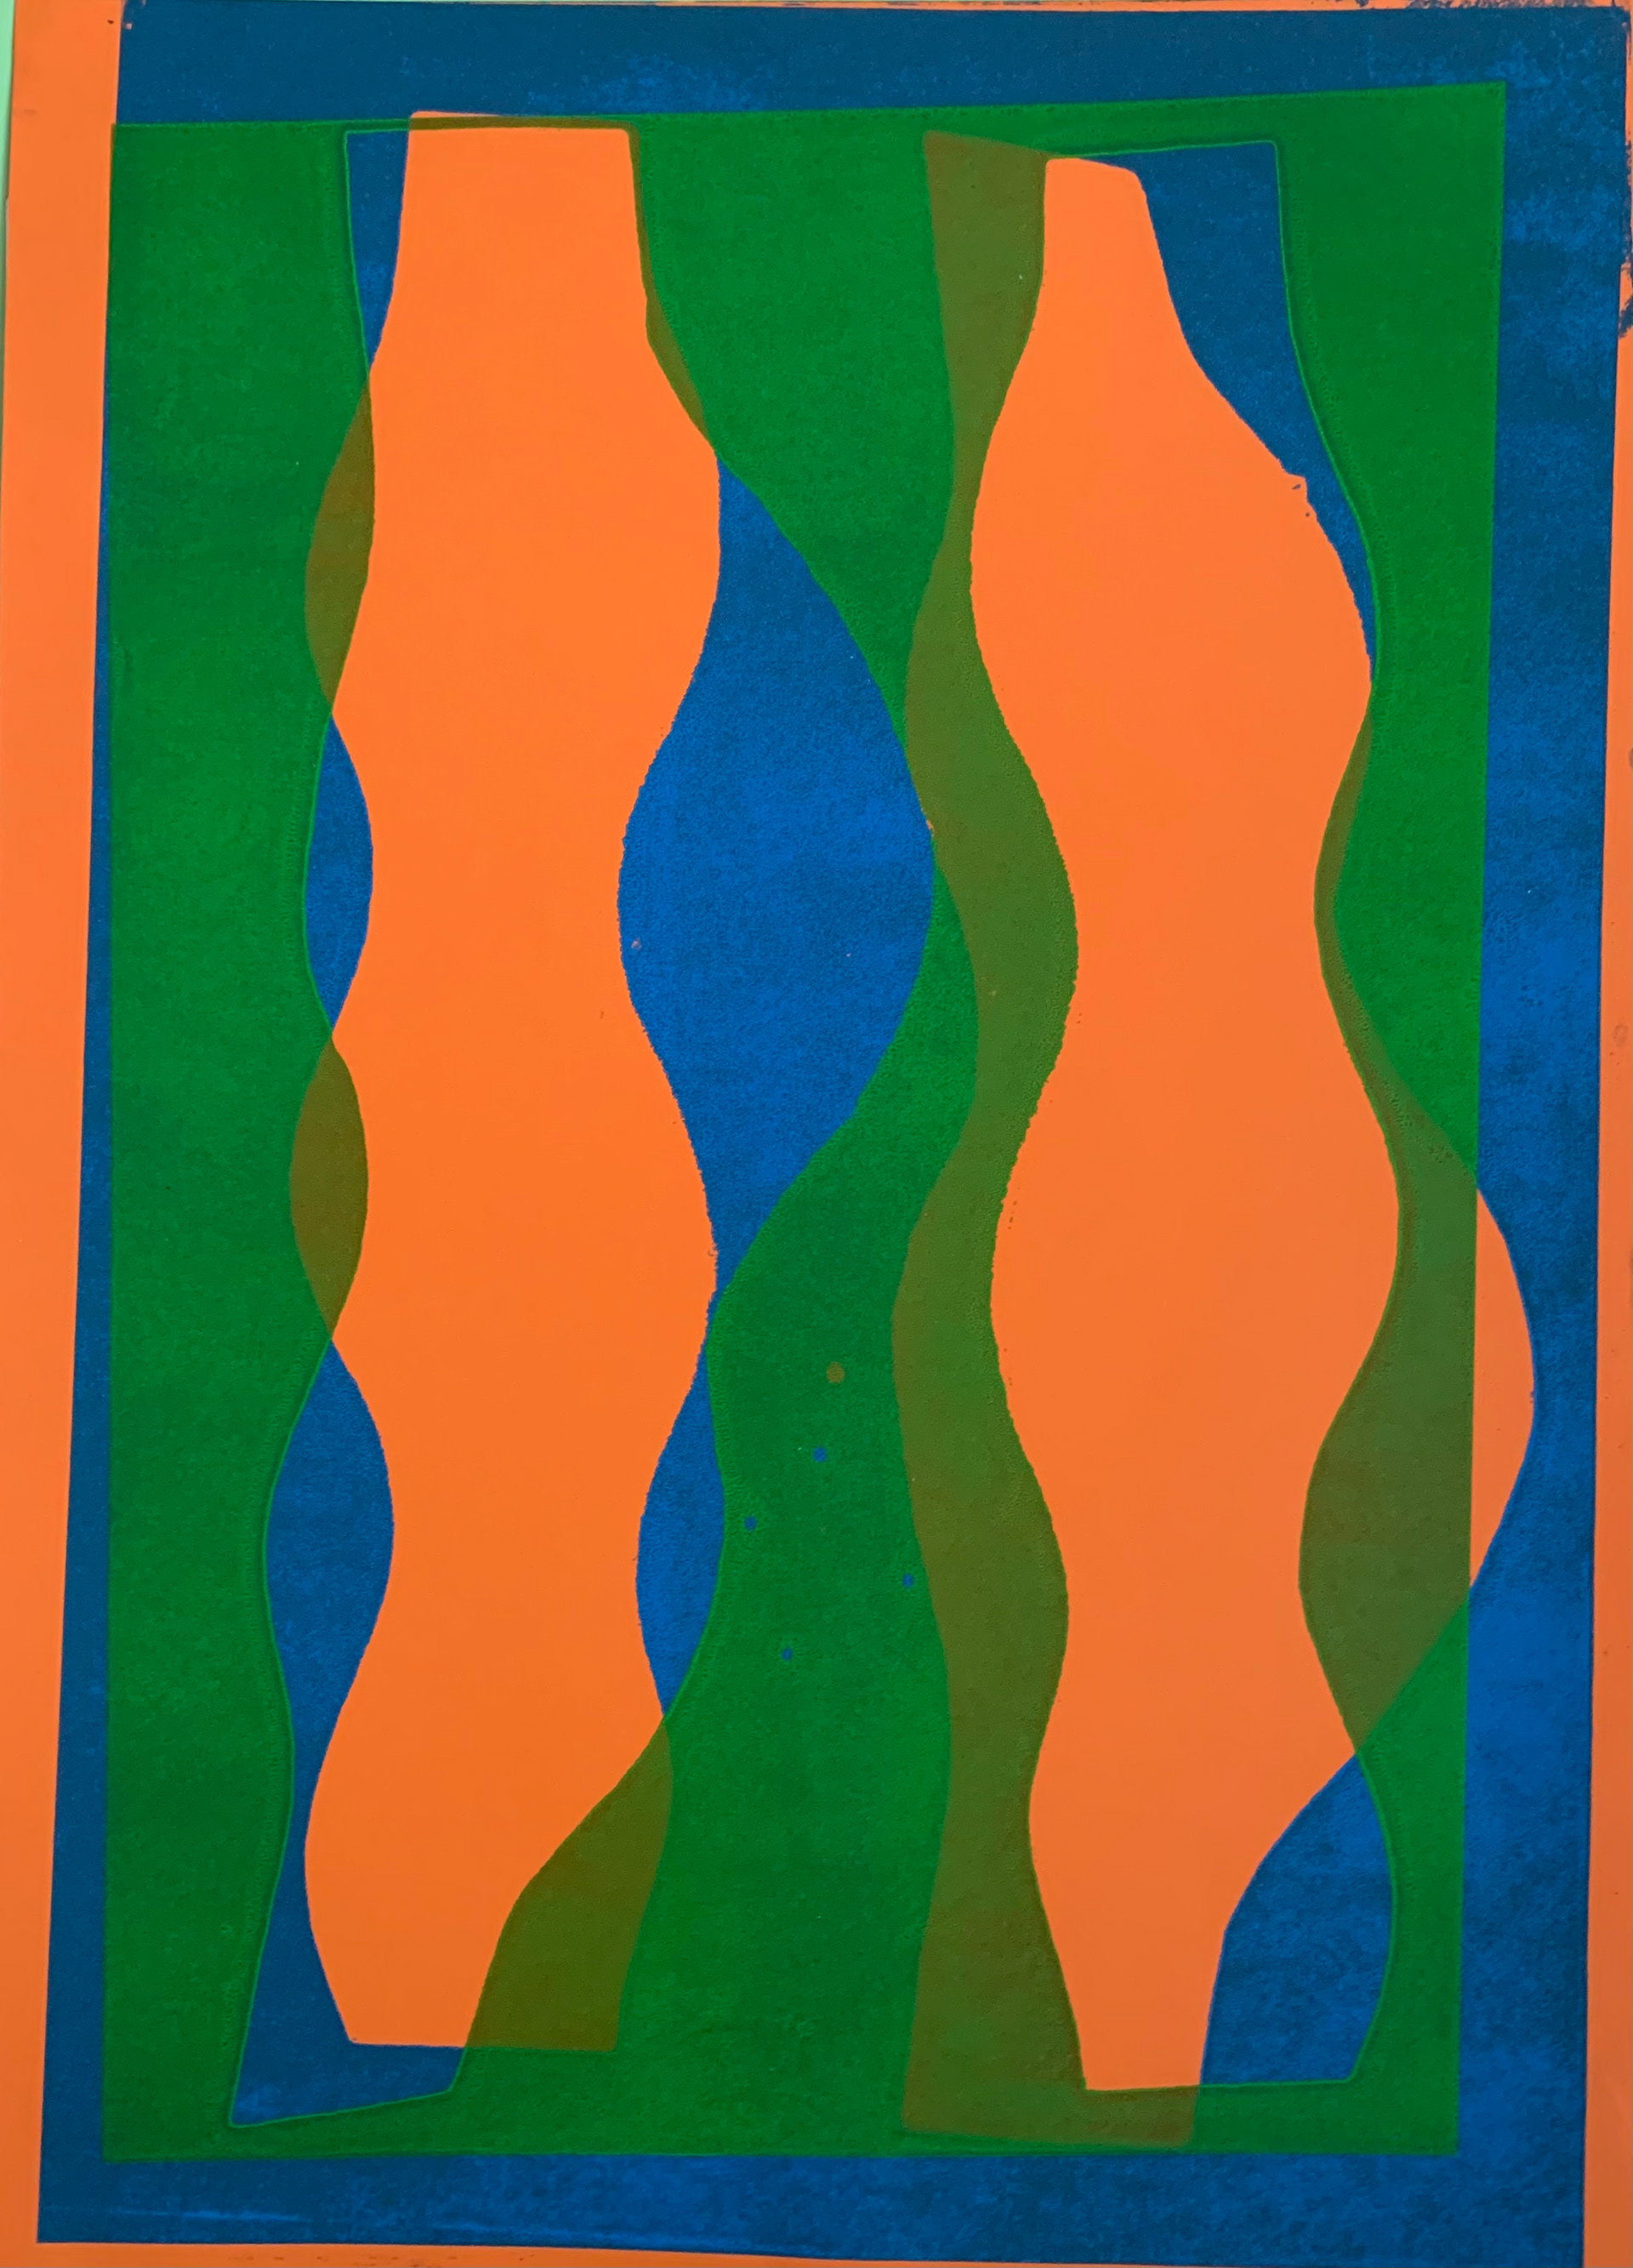
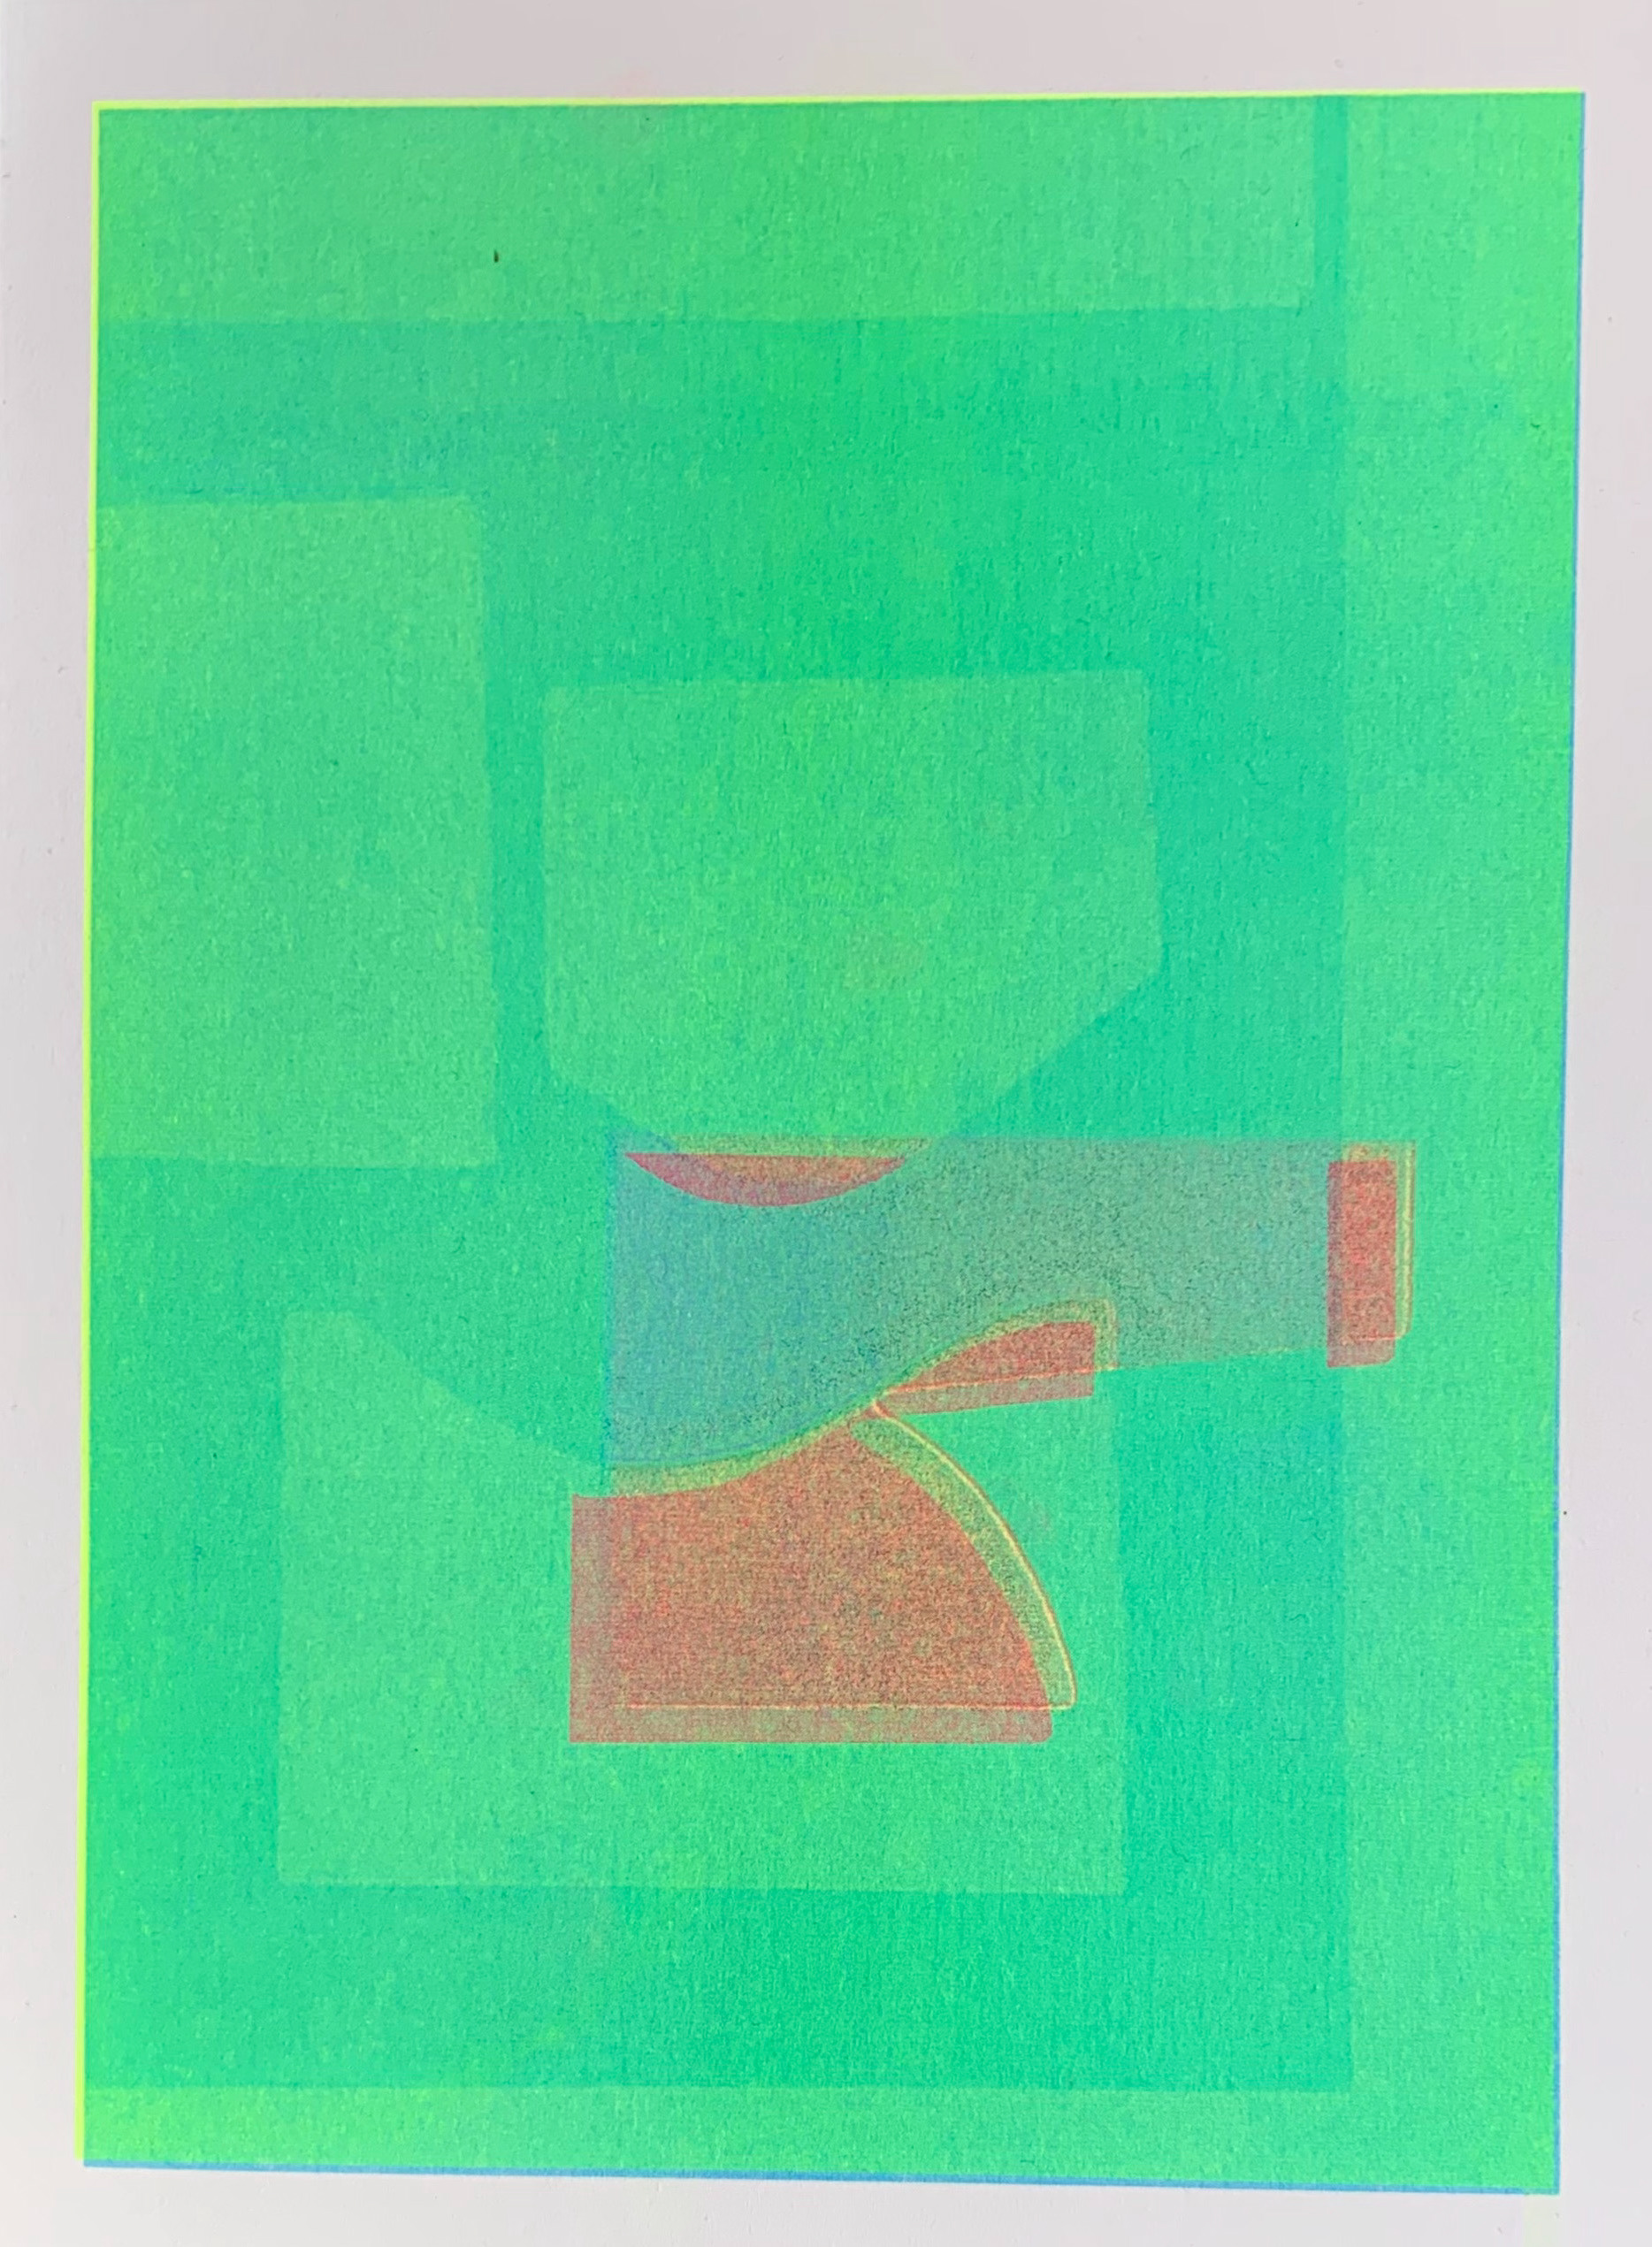
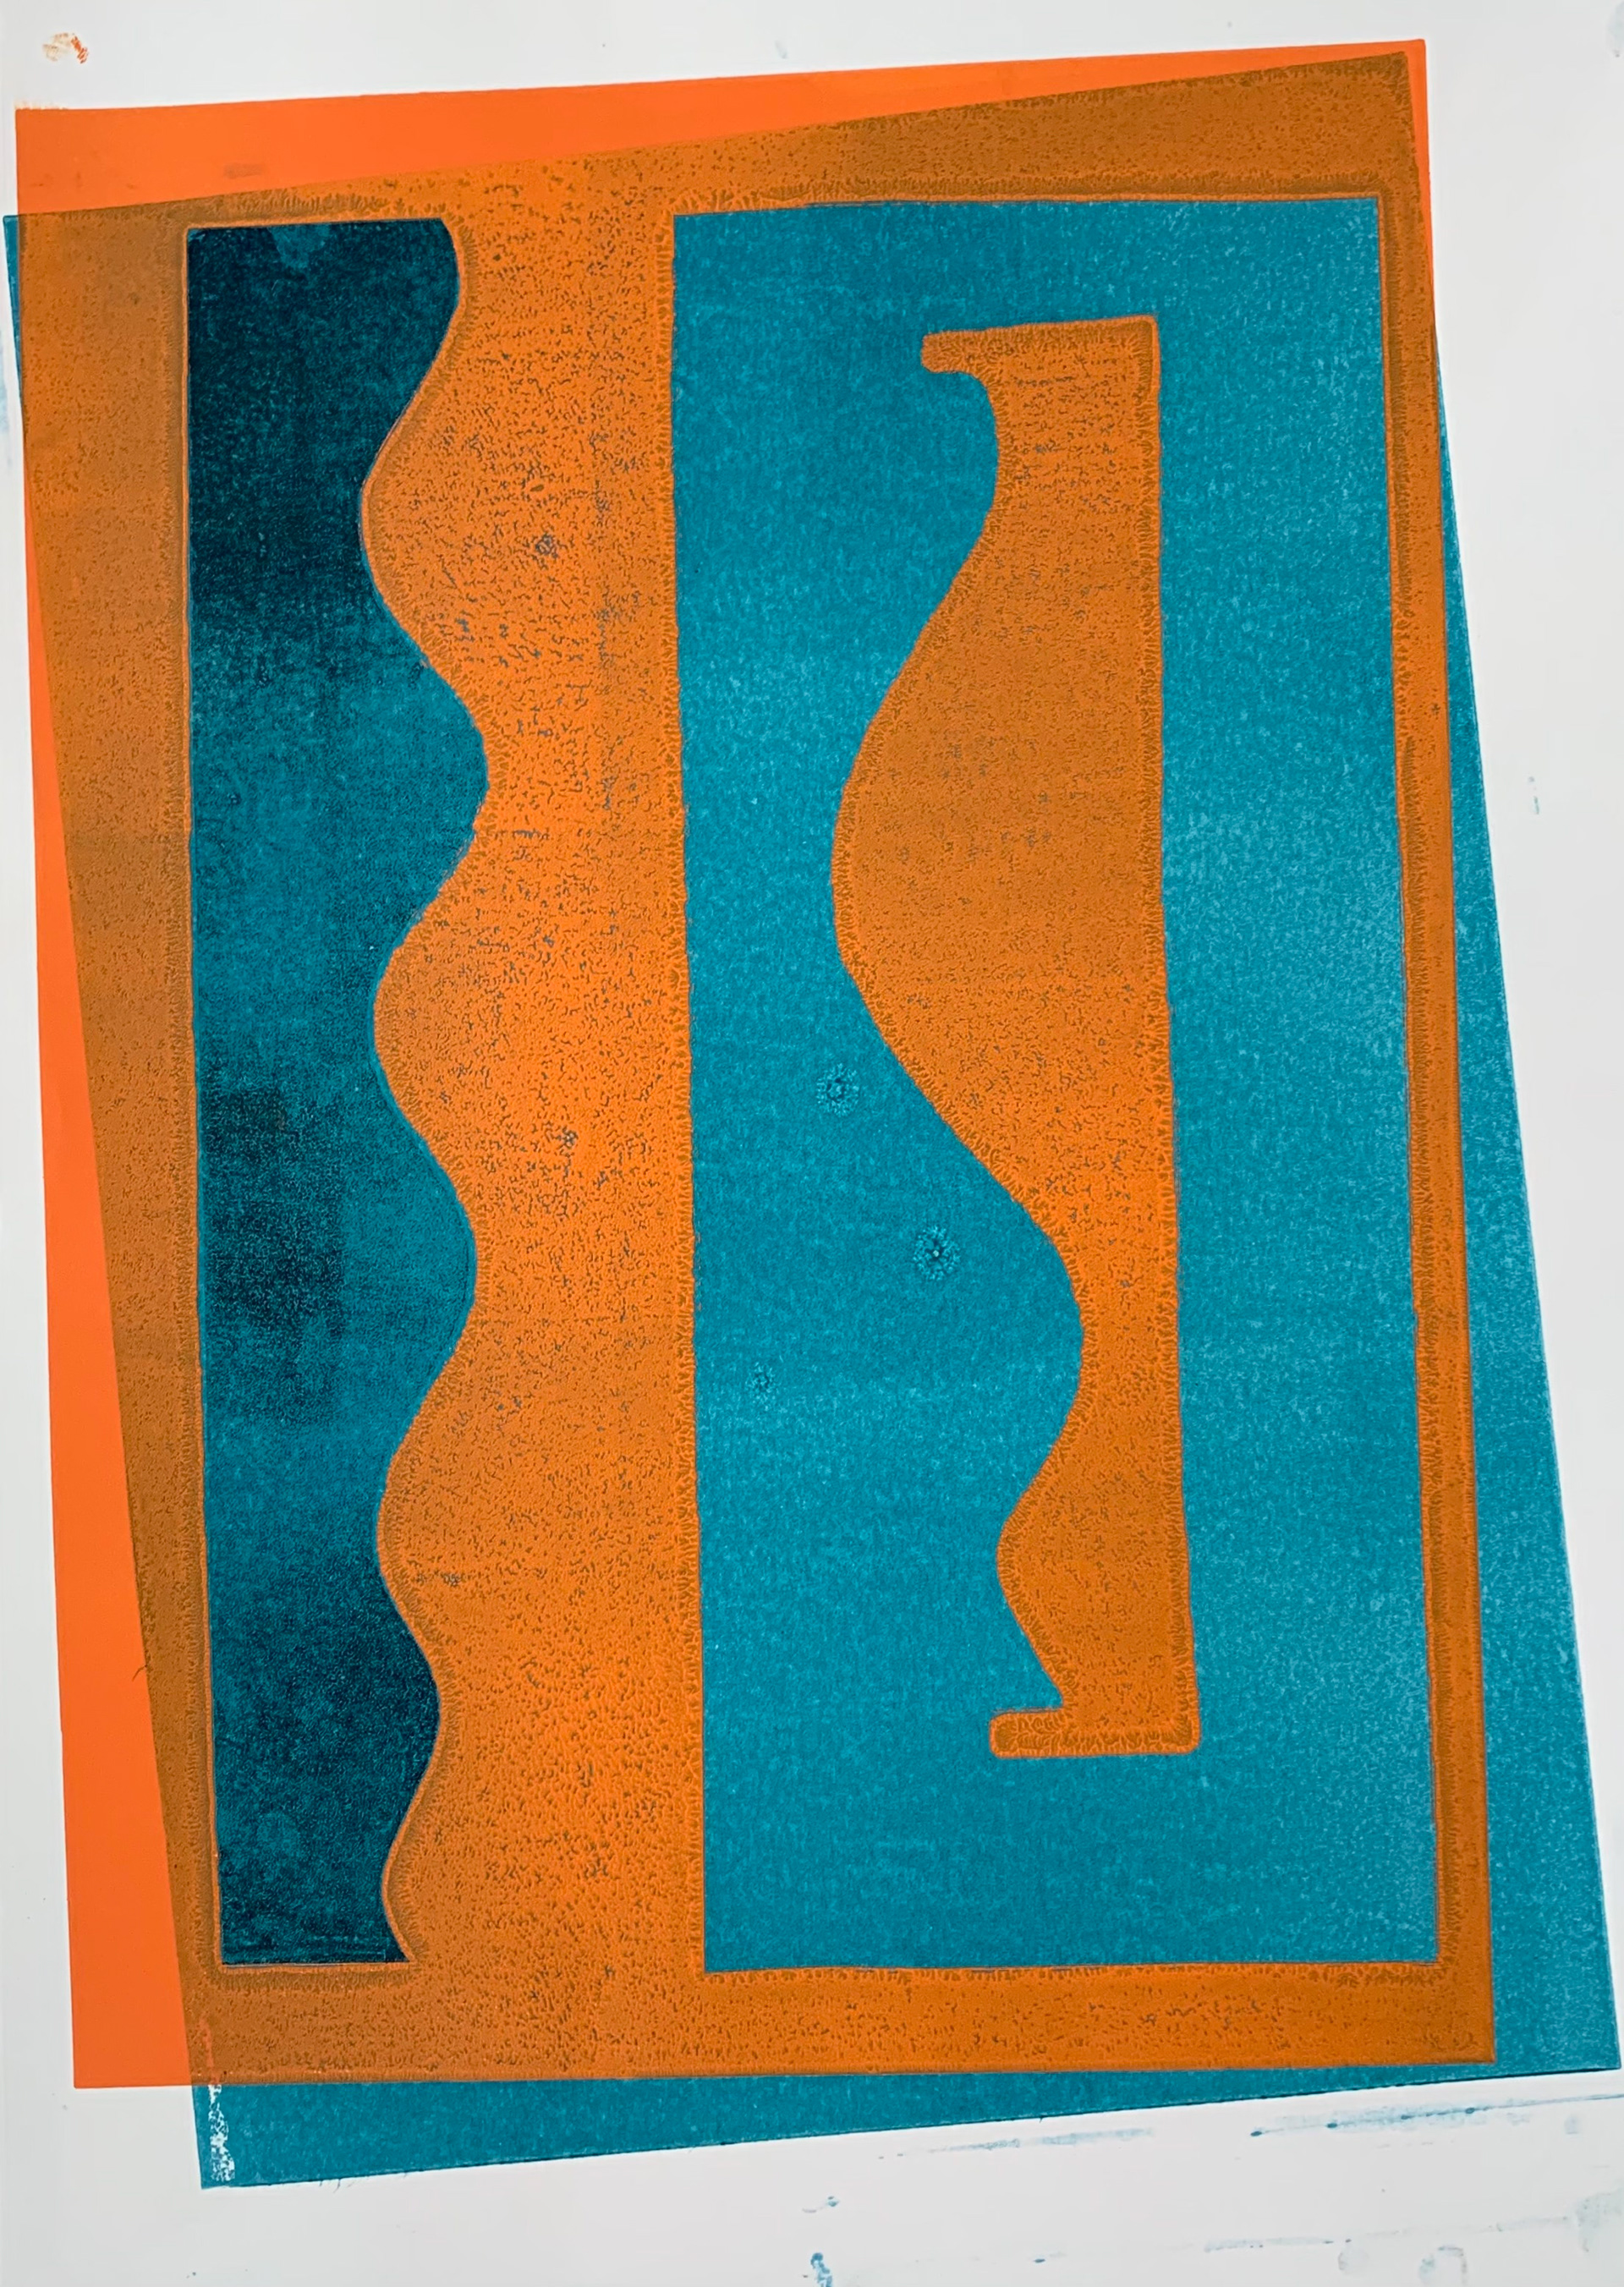
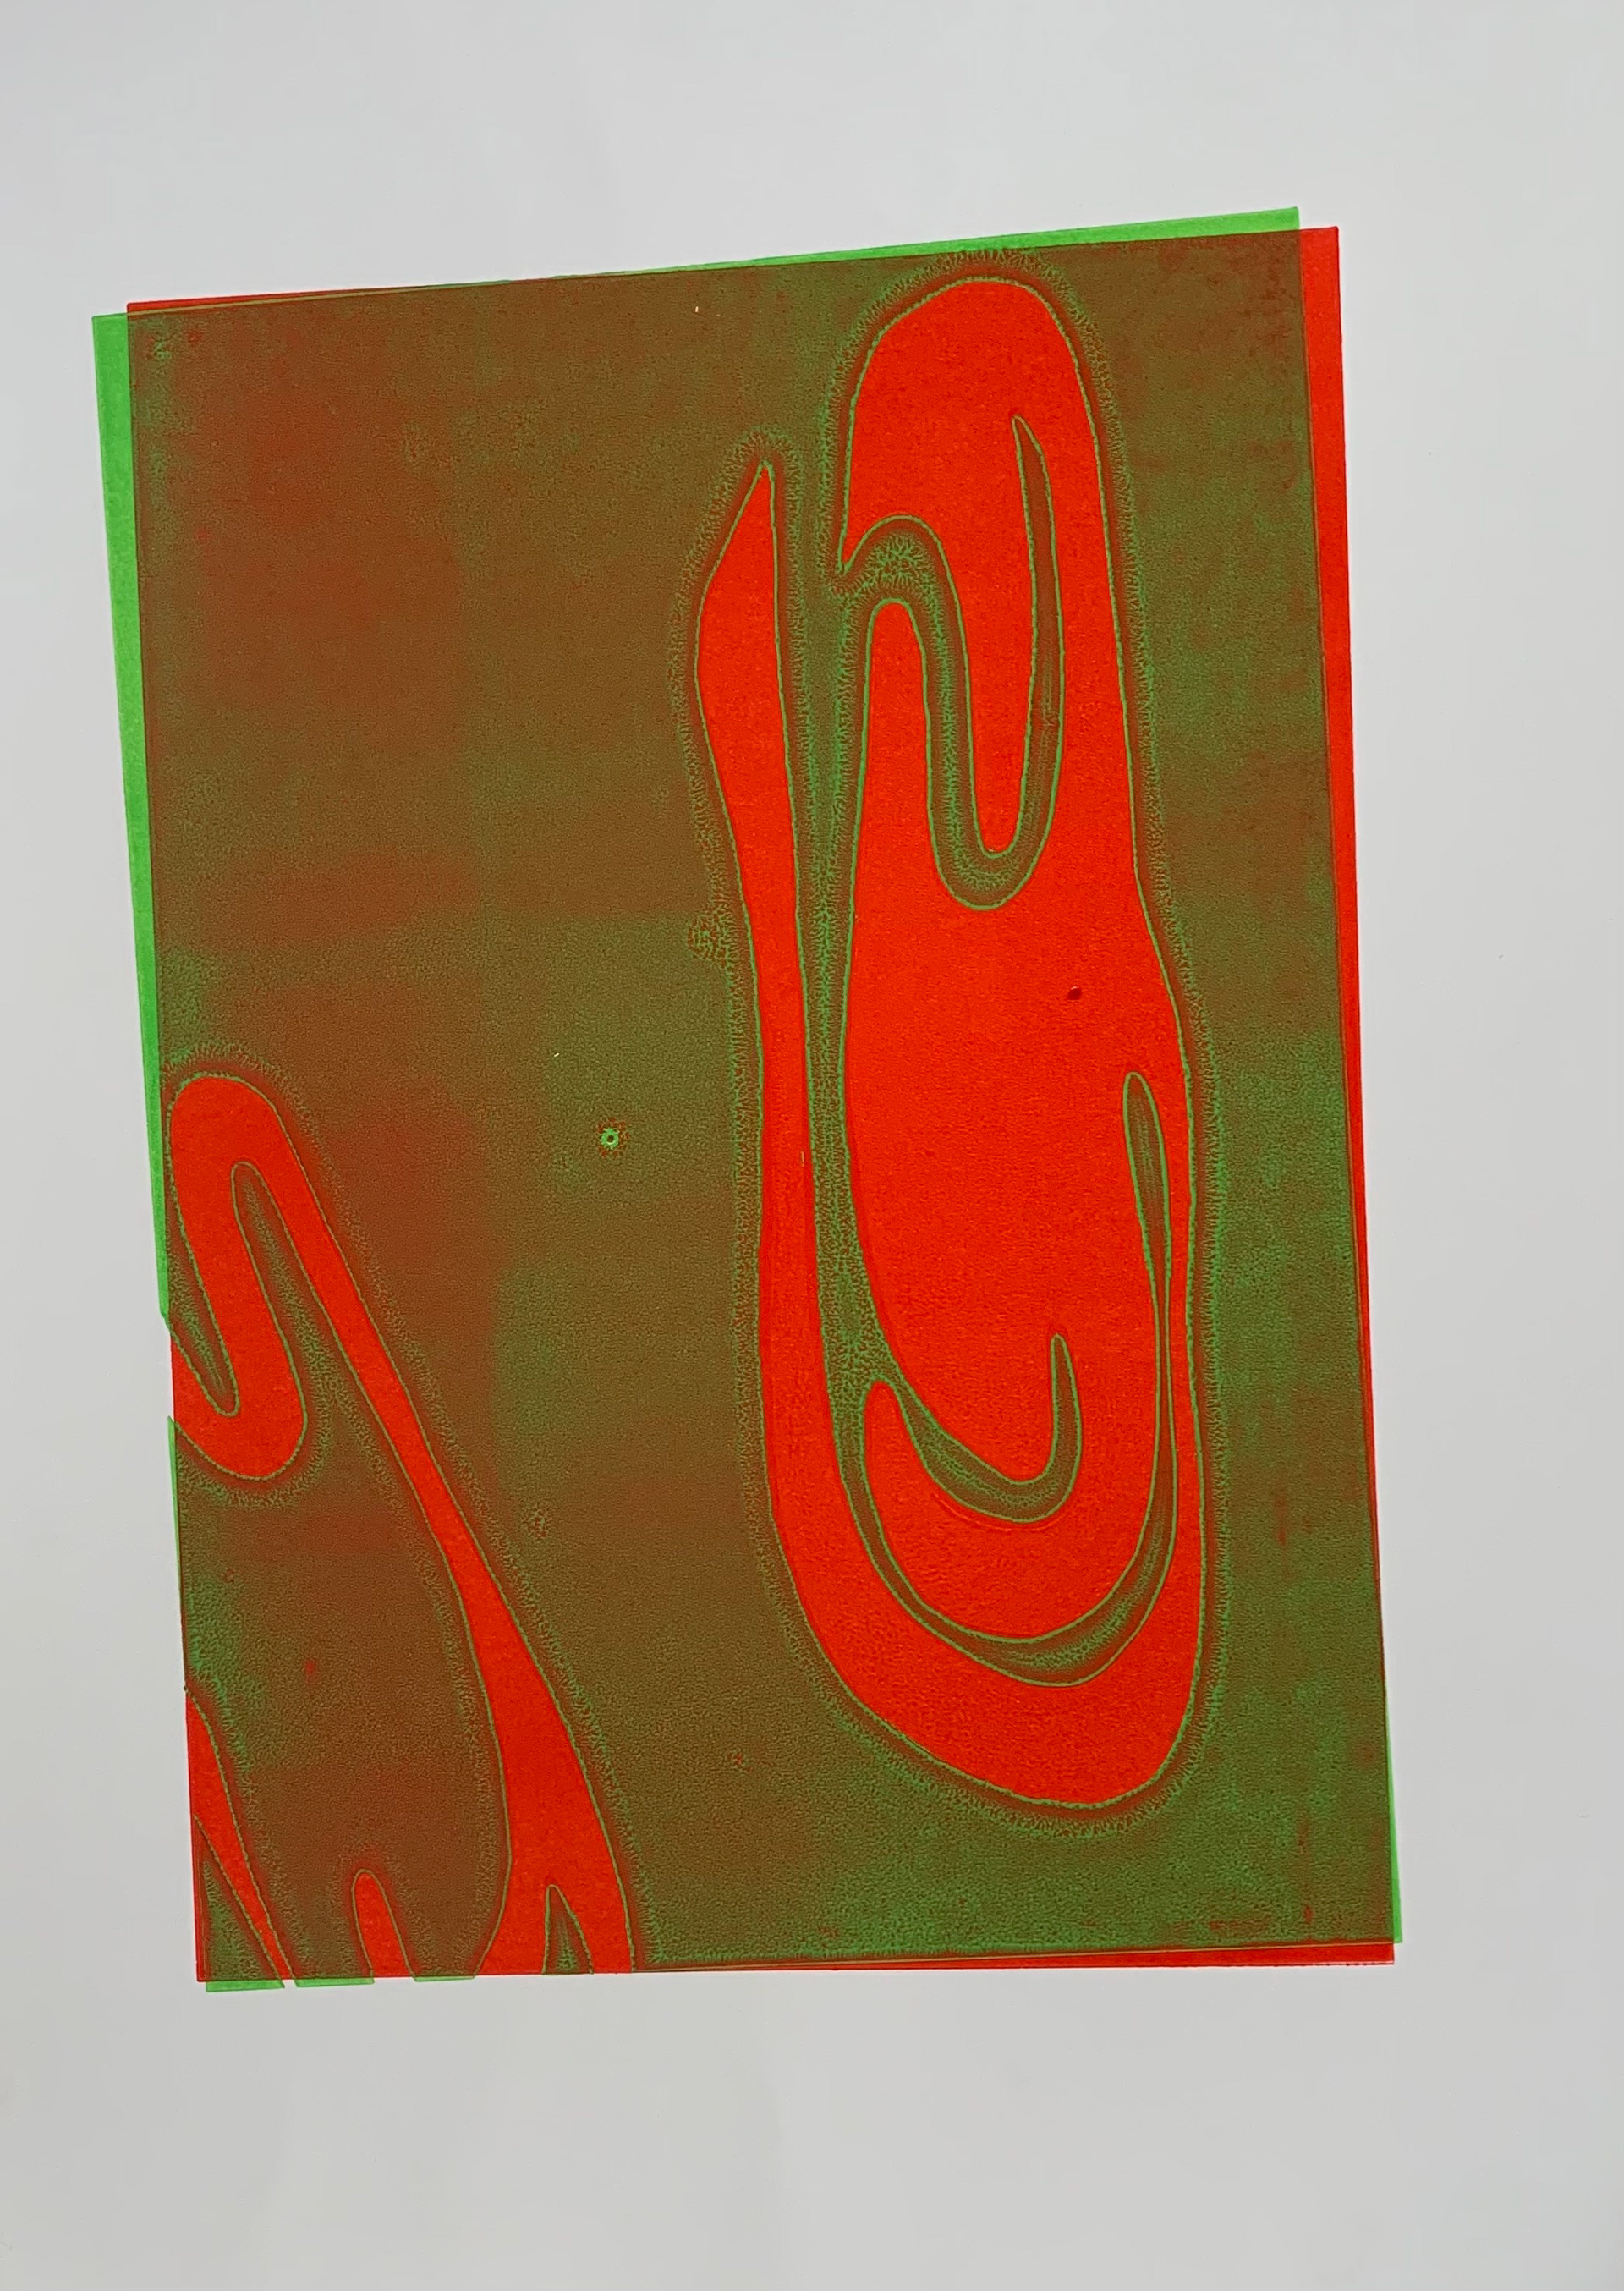
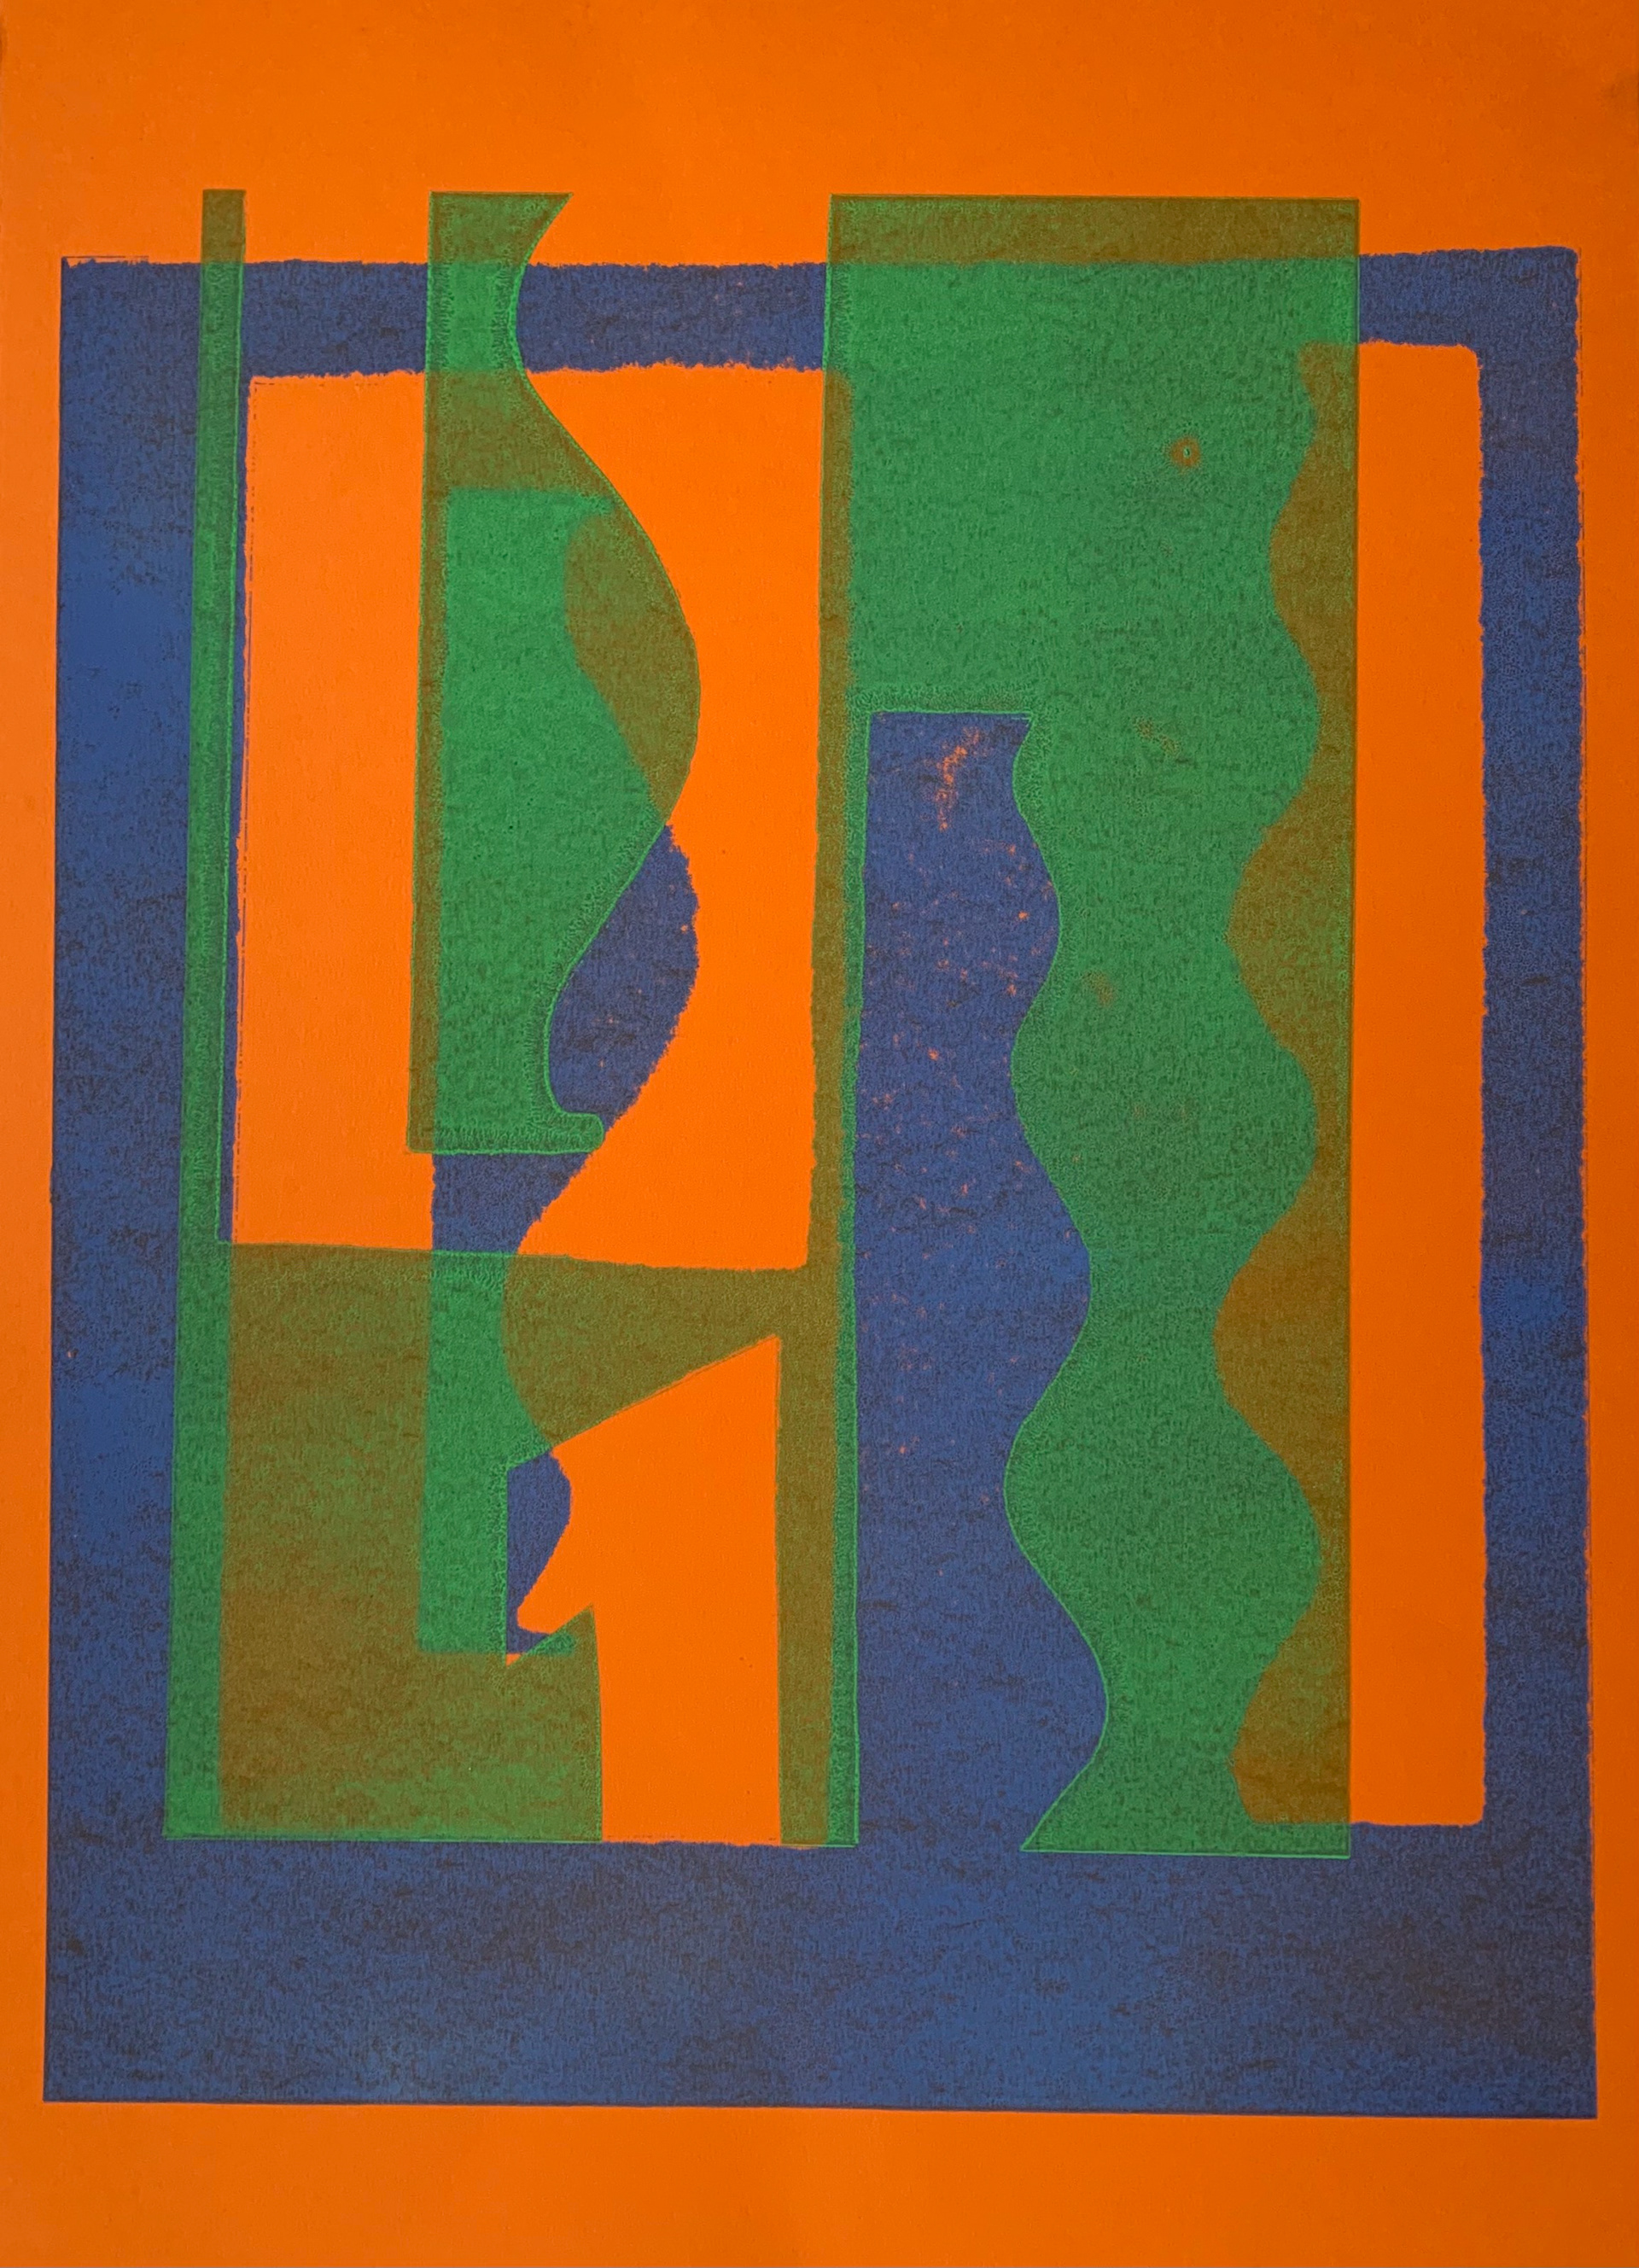
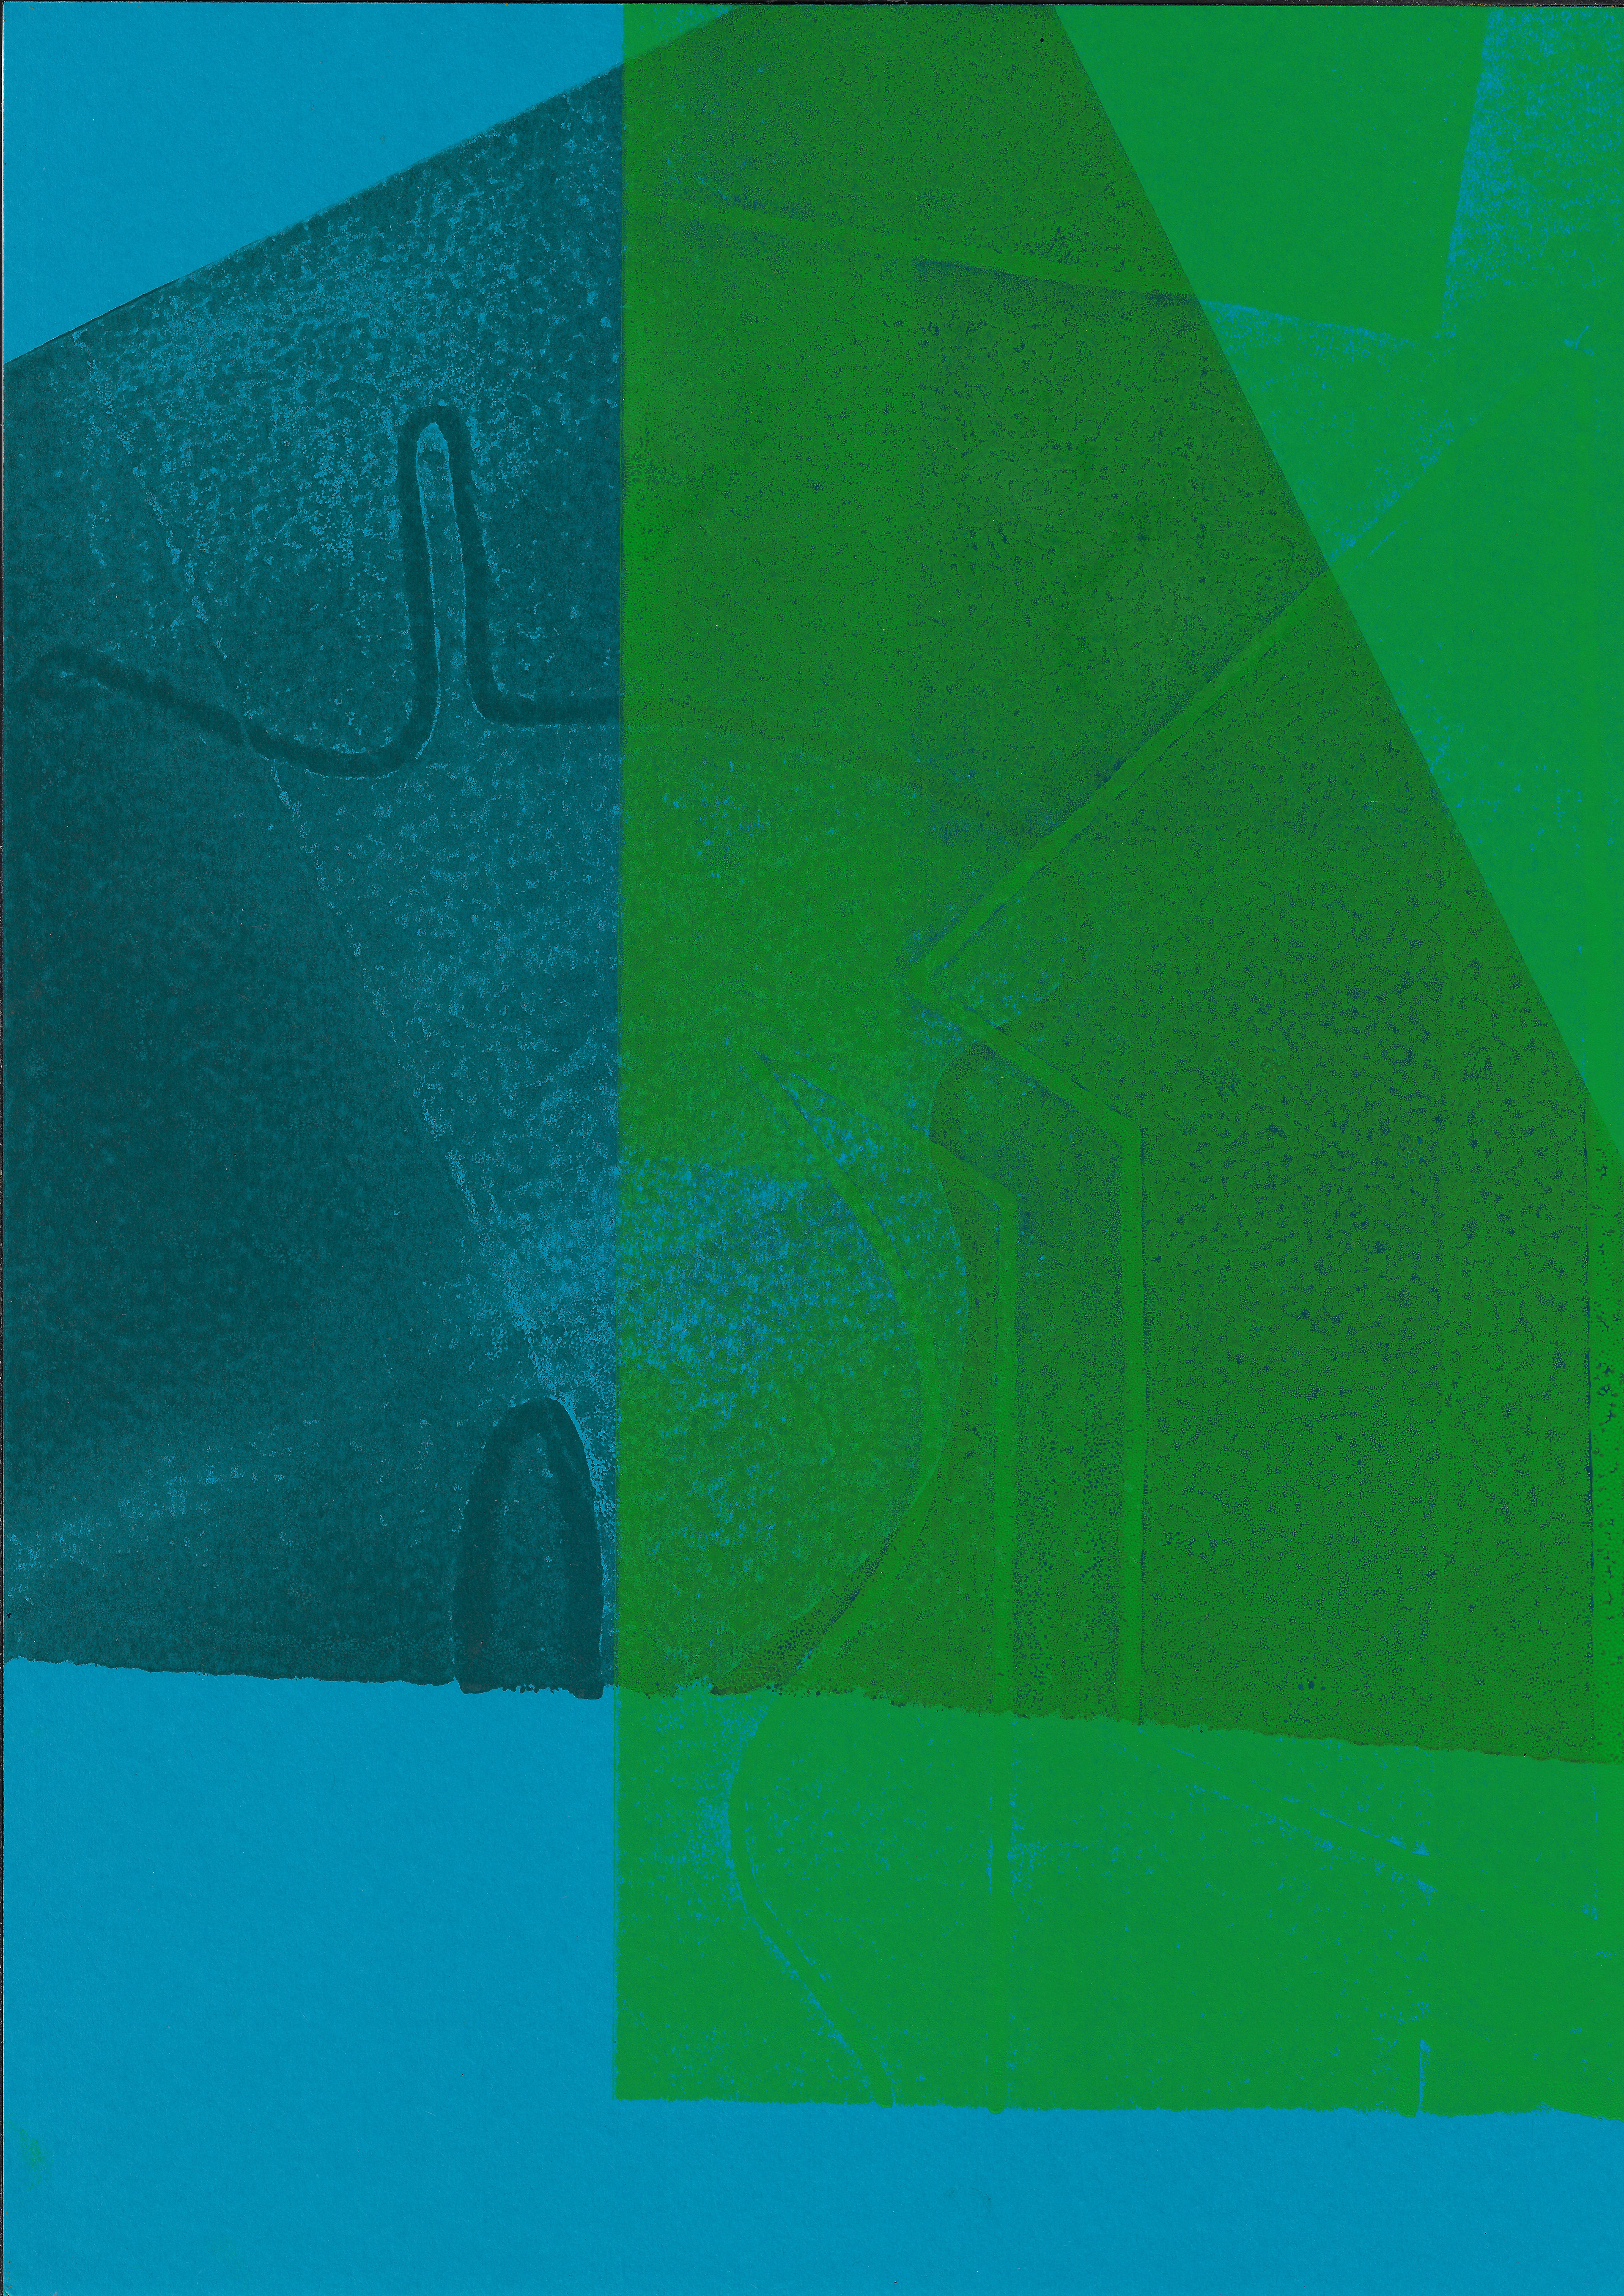
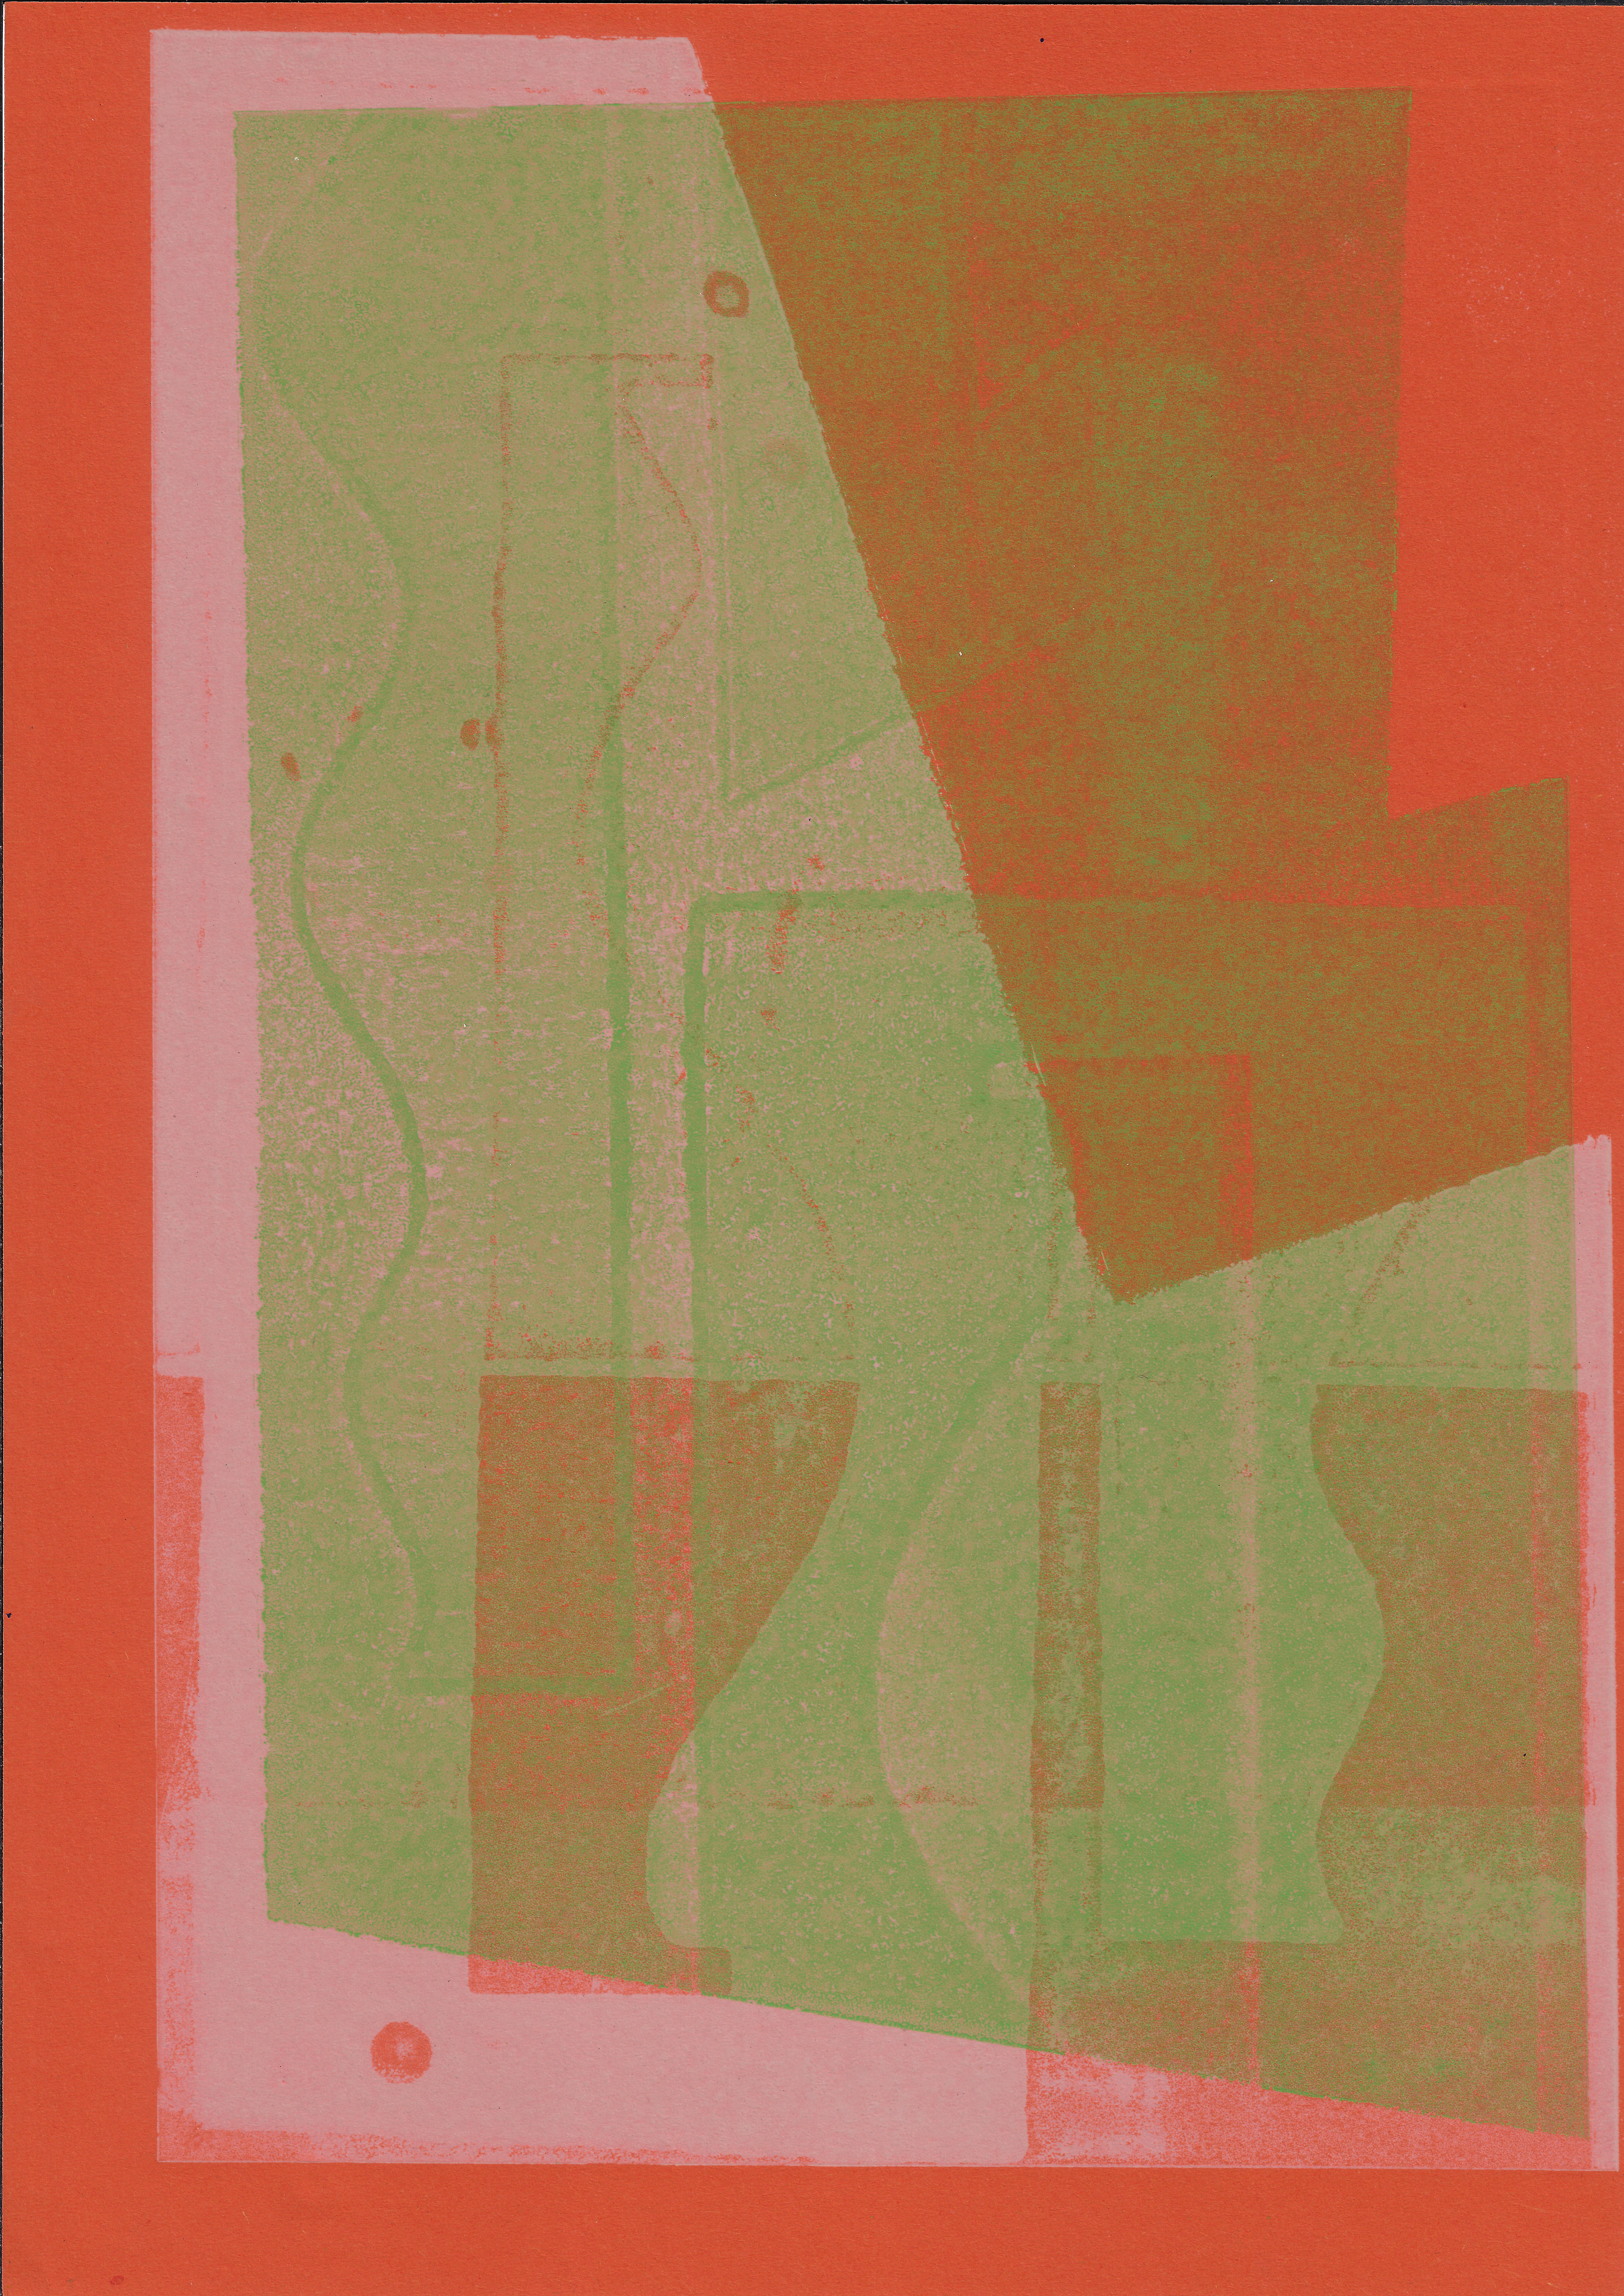
Screenprint on paper, 29.7 x 42 cm
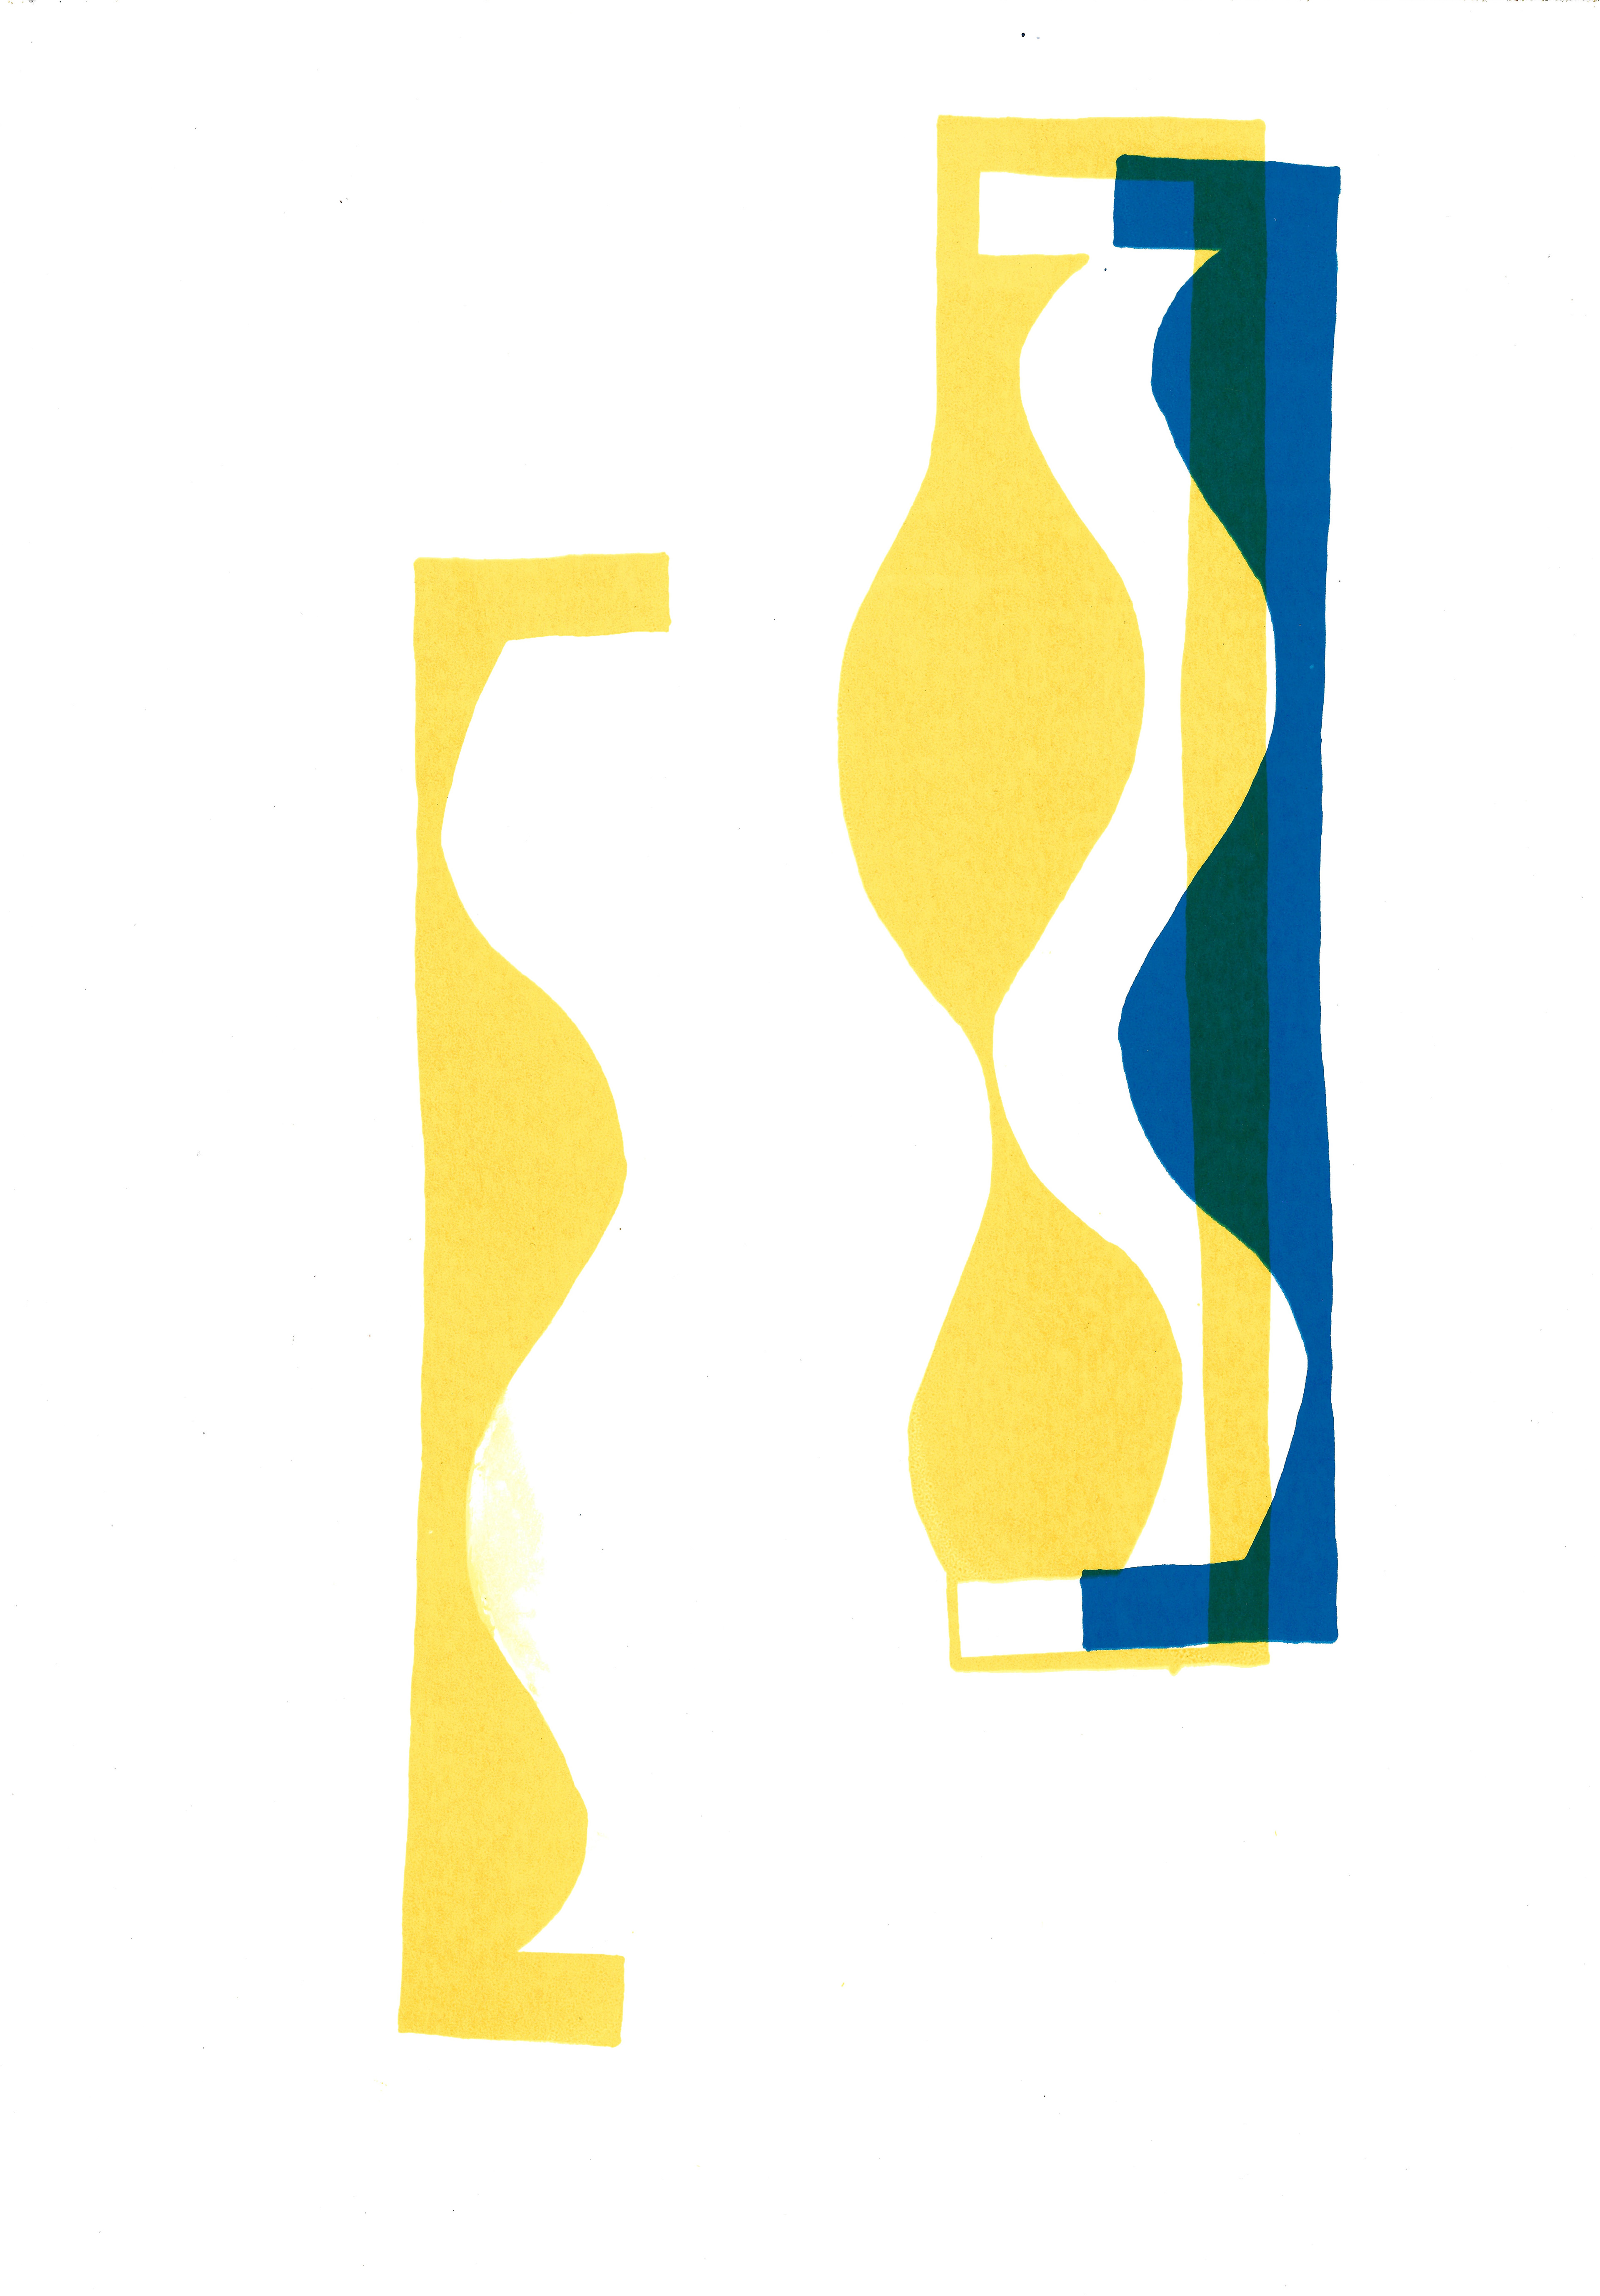
Screenprint on paper, 29.7 x 42 cm

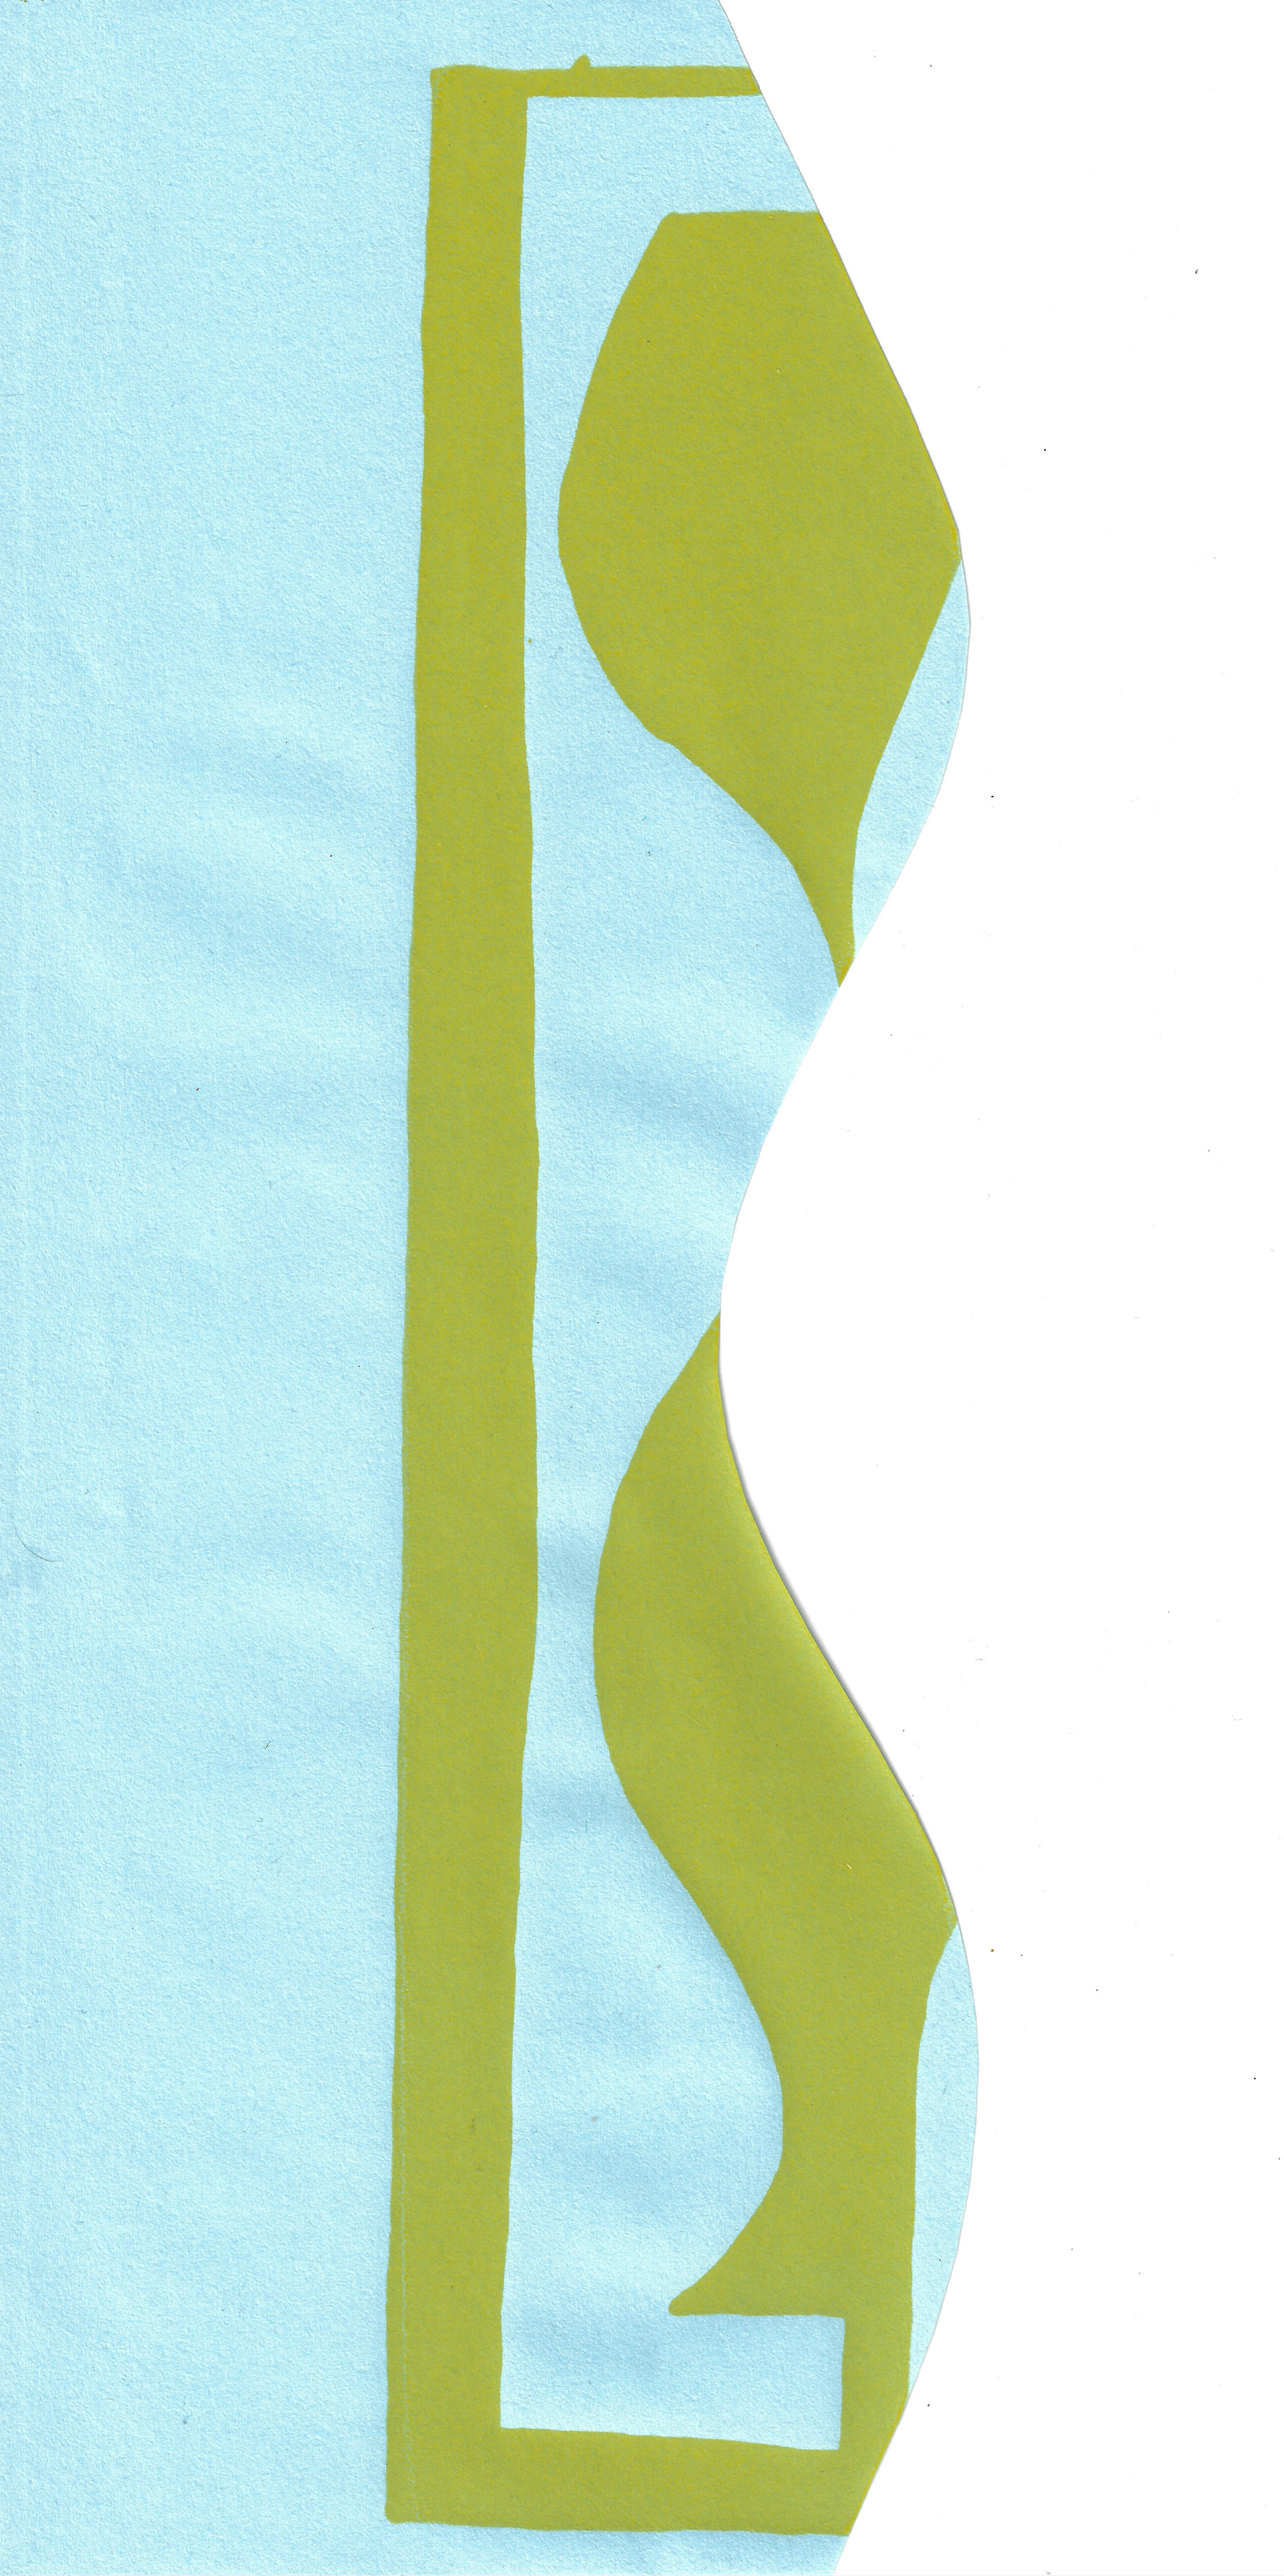
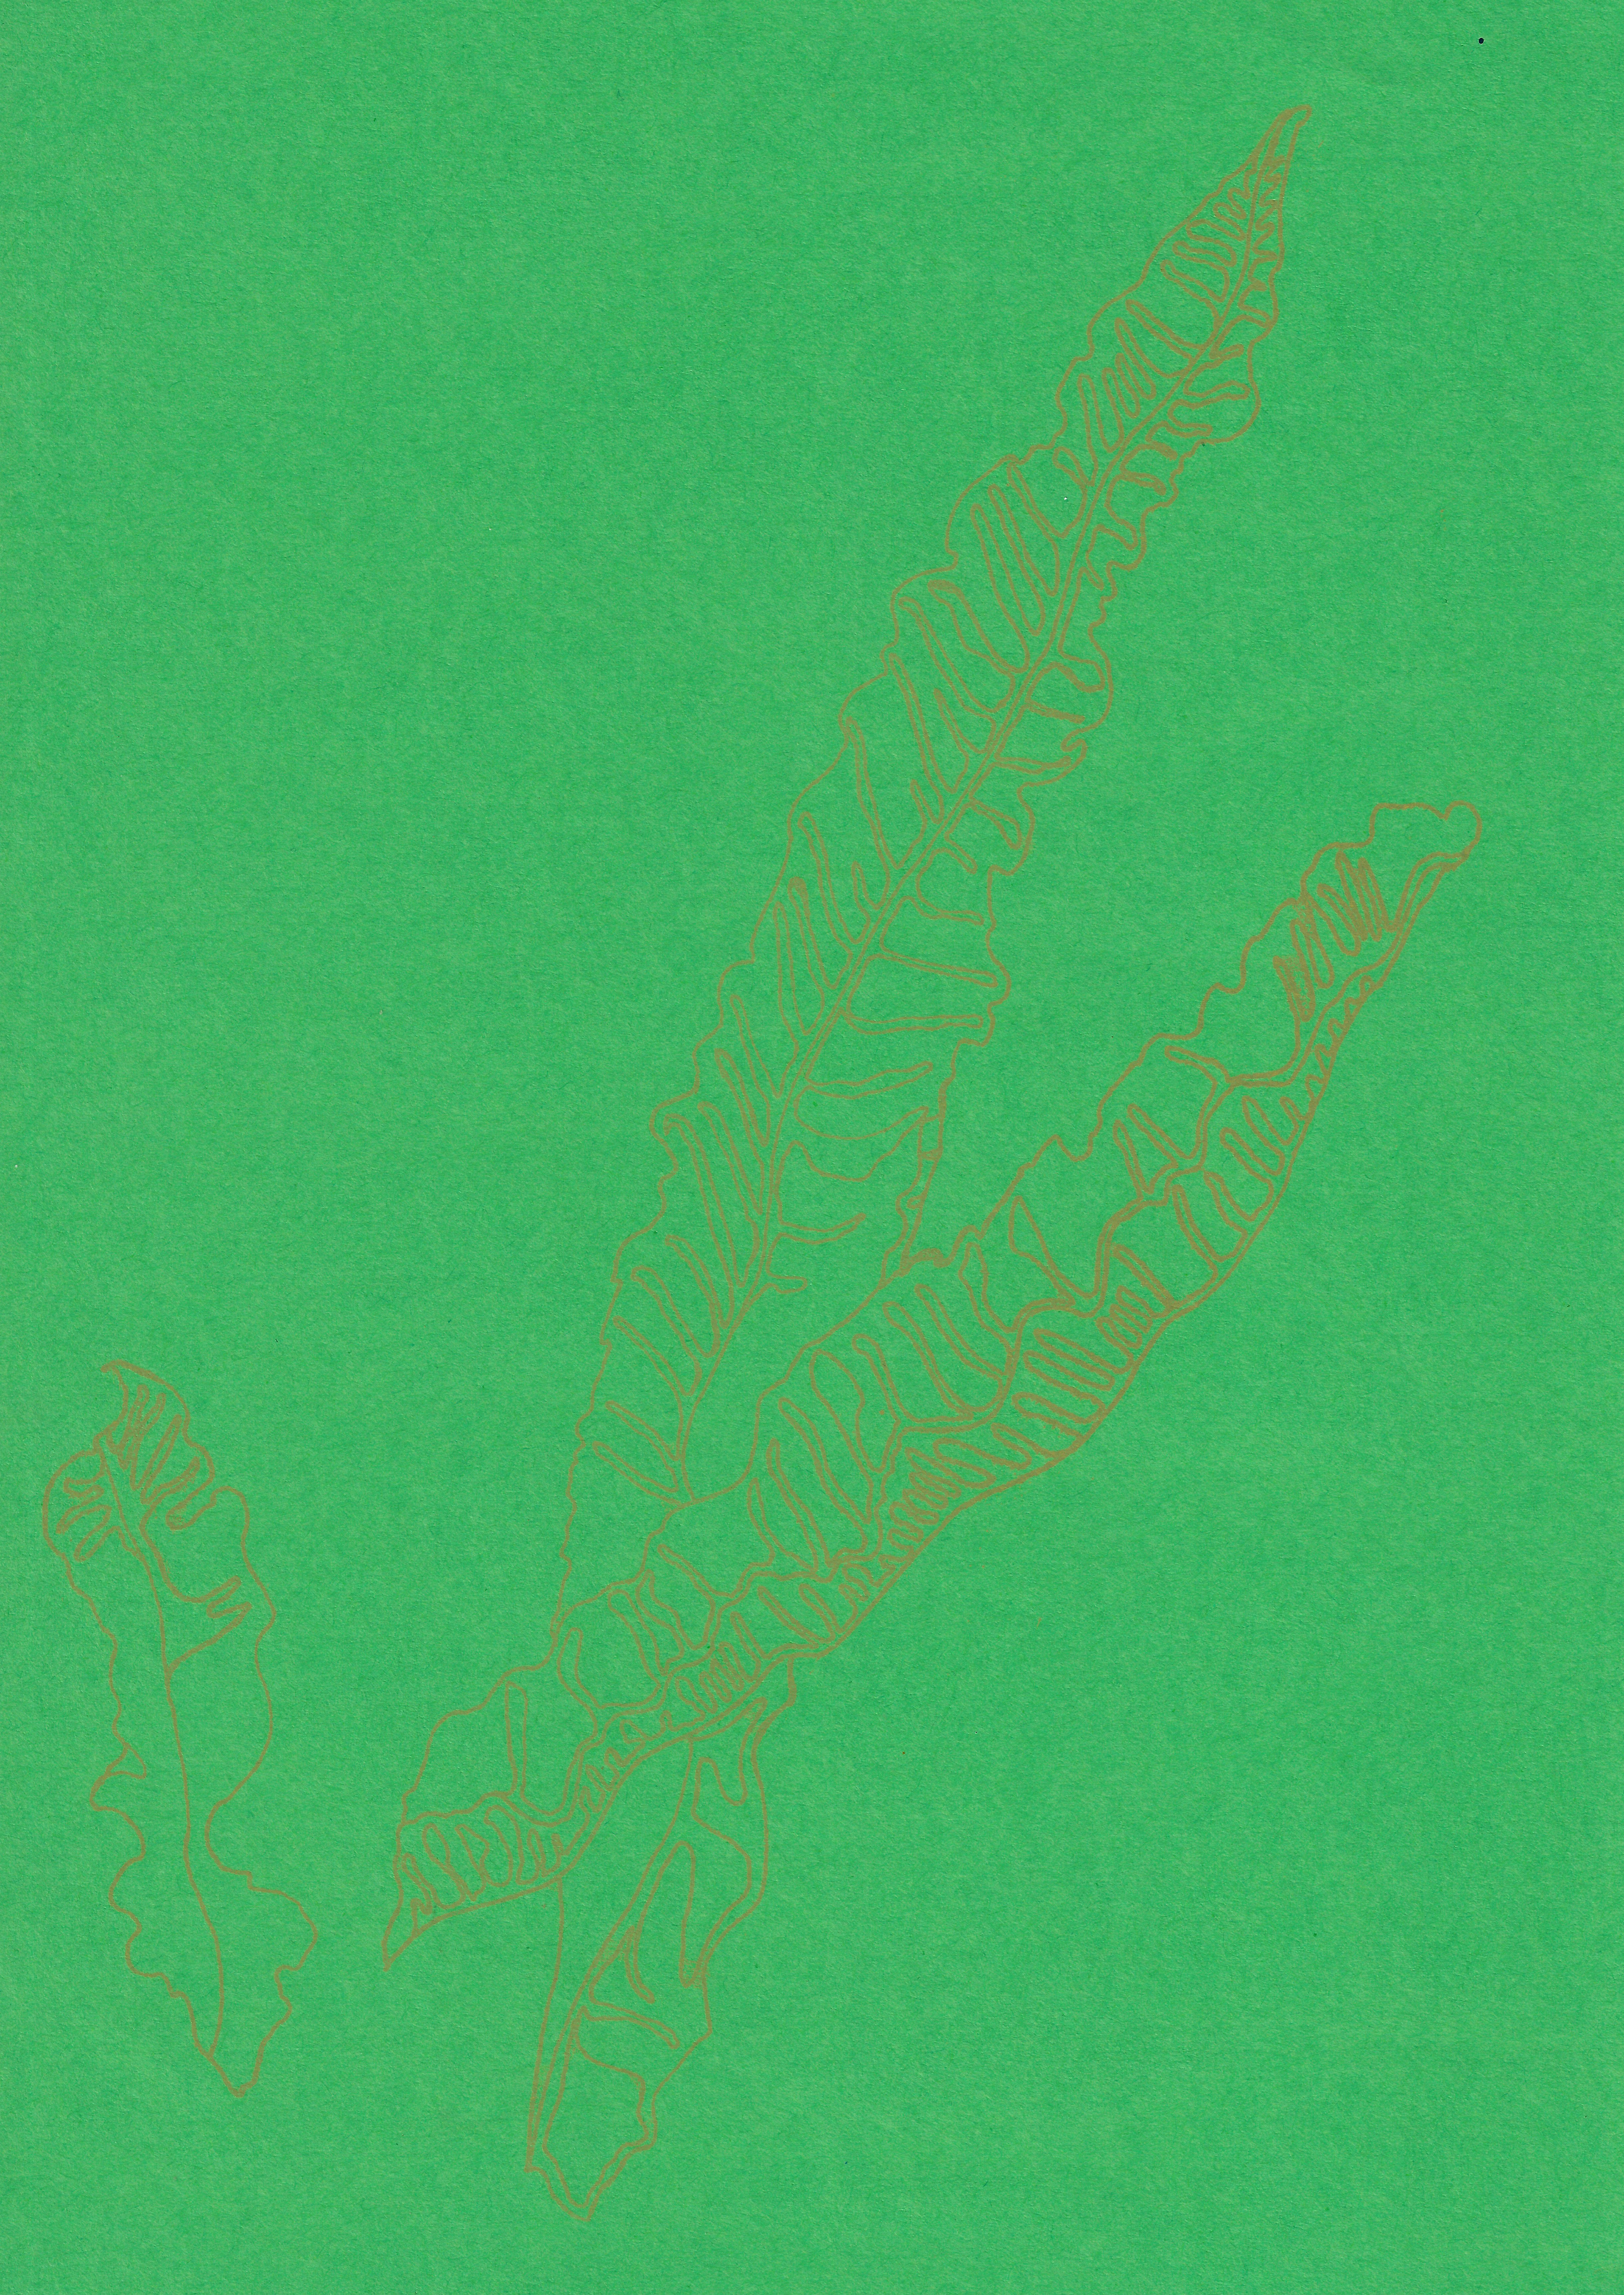
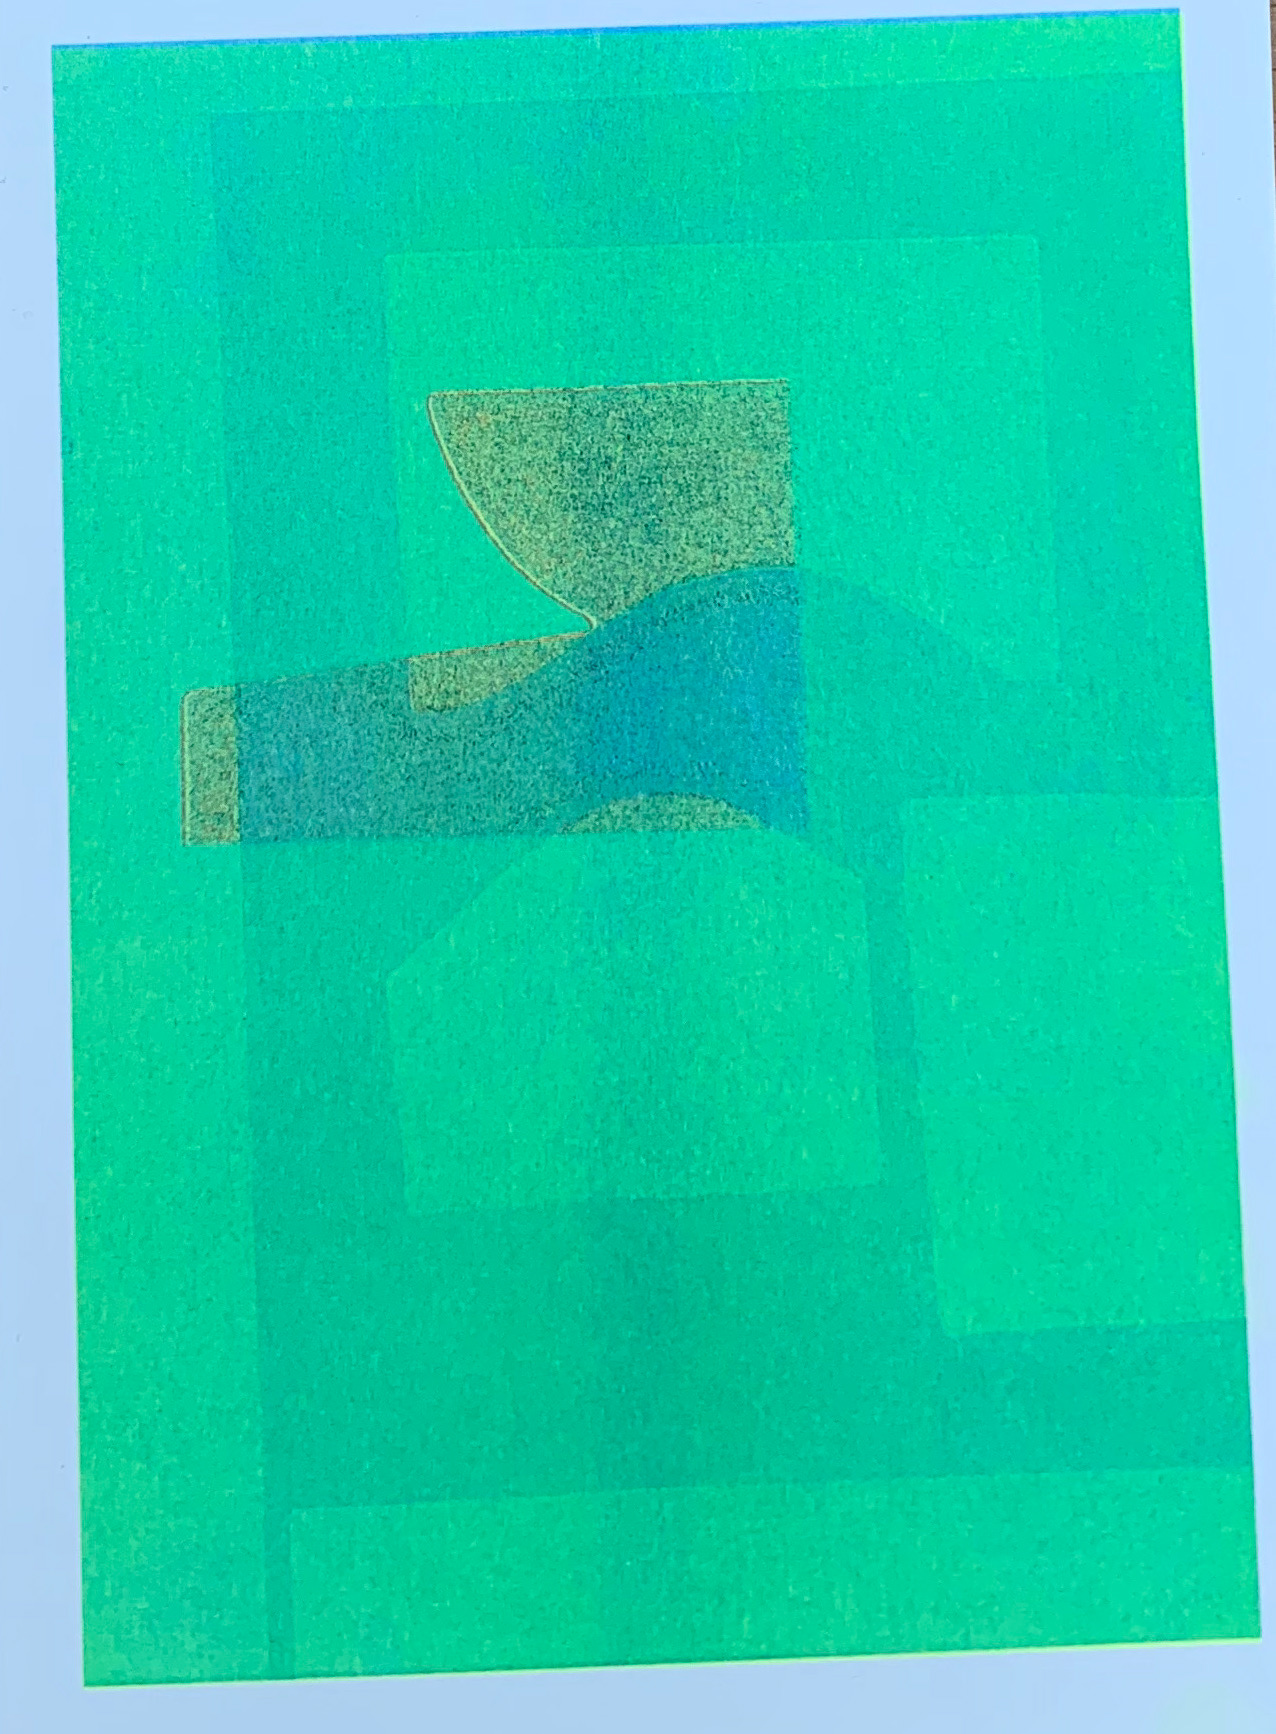
Screenprint on paper, 29.7 x 42 cm
Screenprint on paper, 29.7 x 42 cm

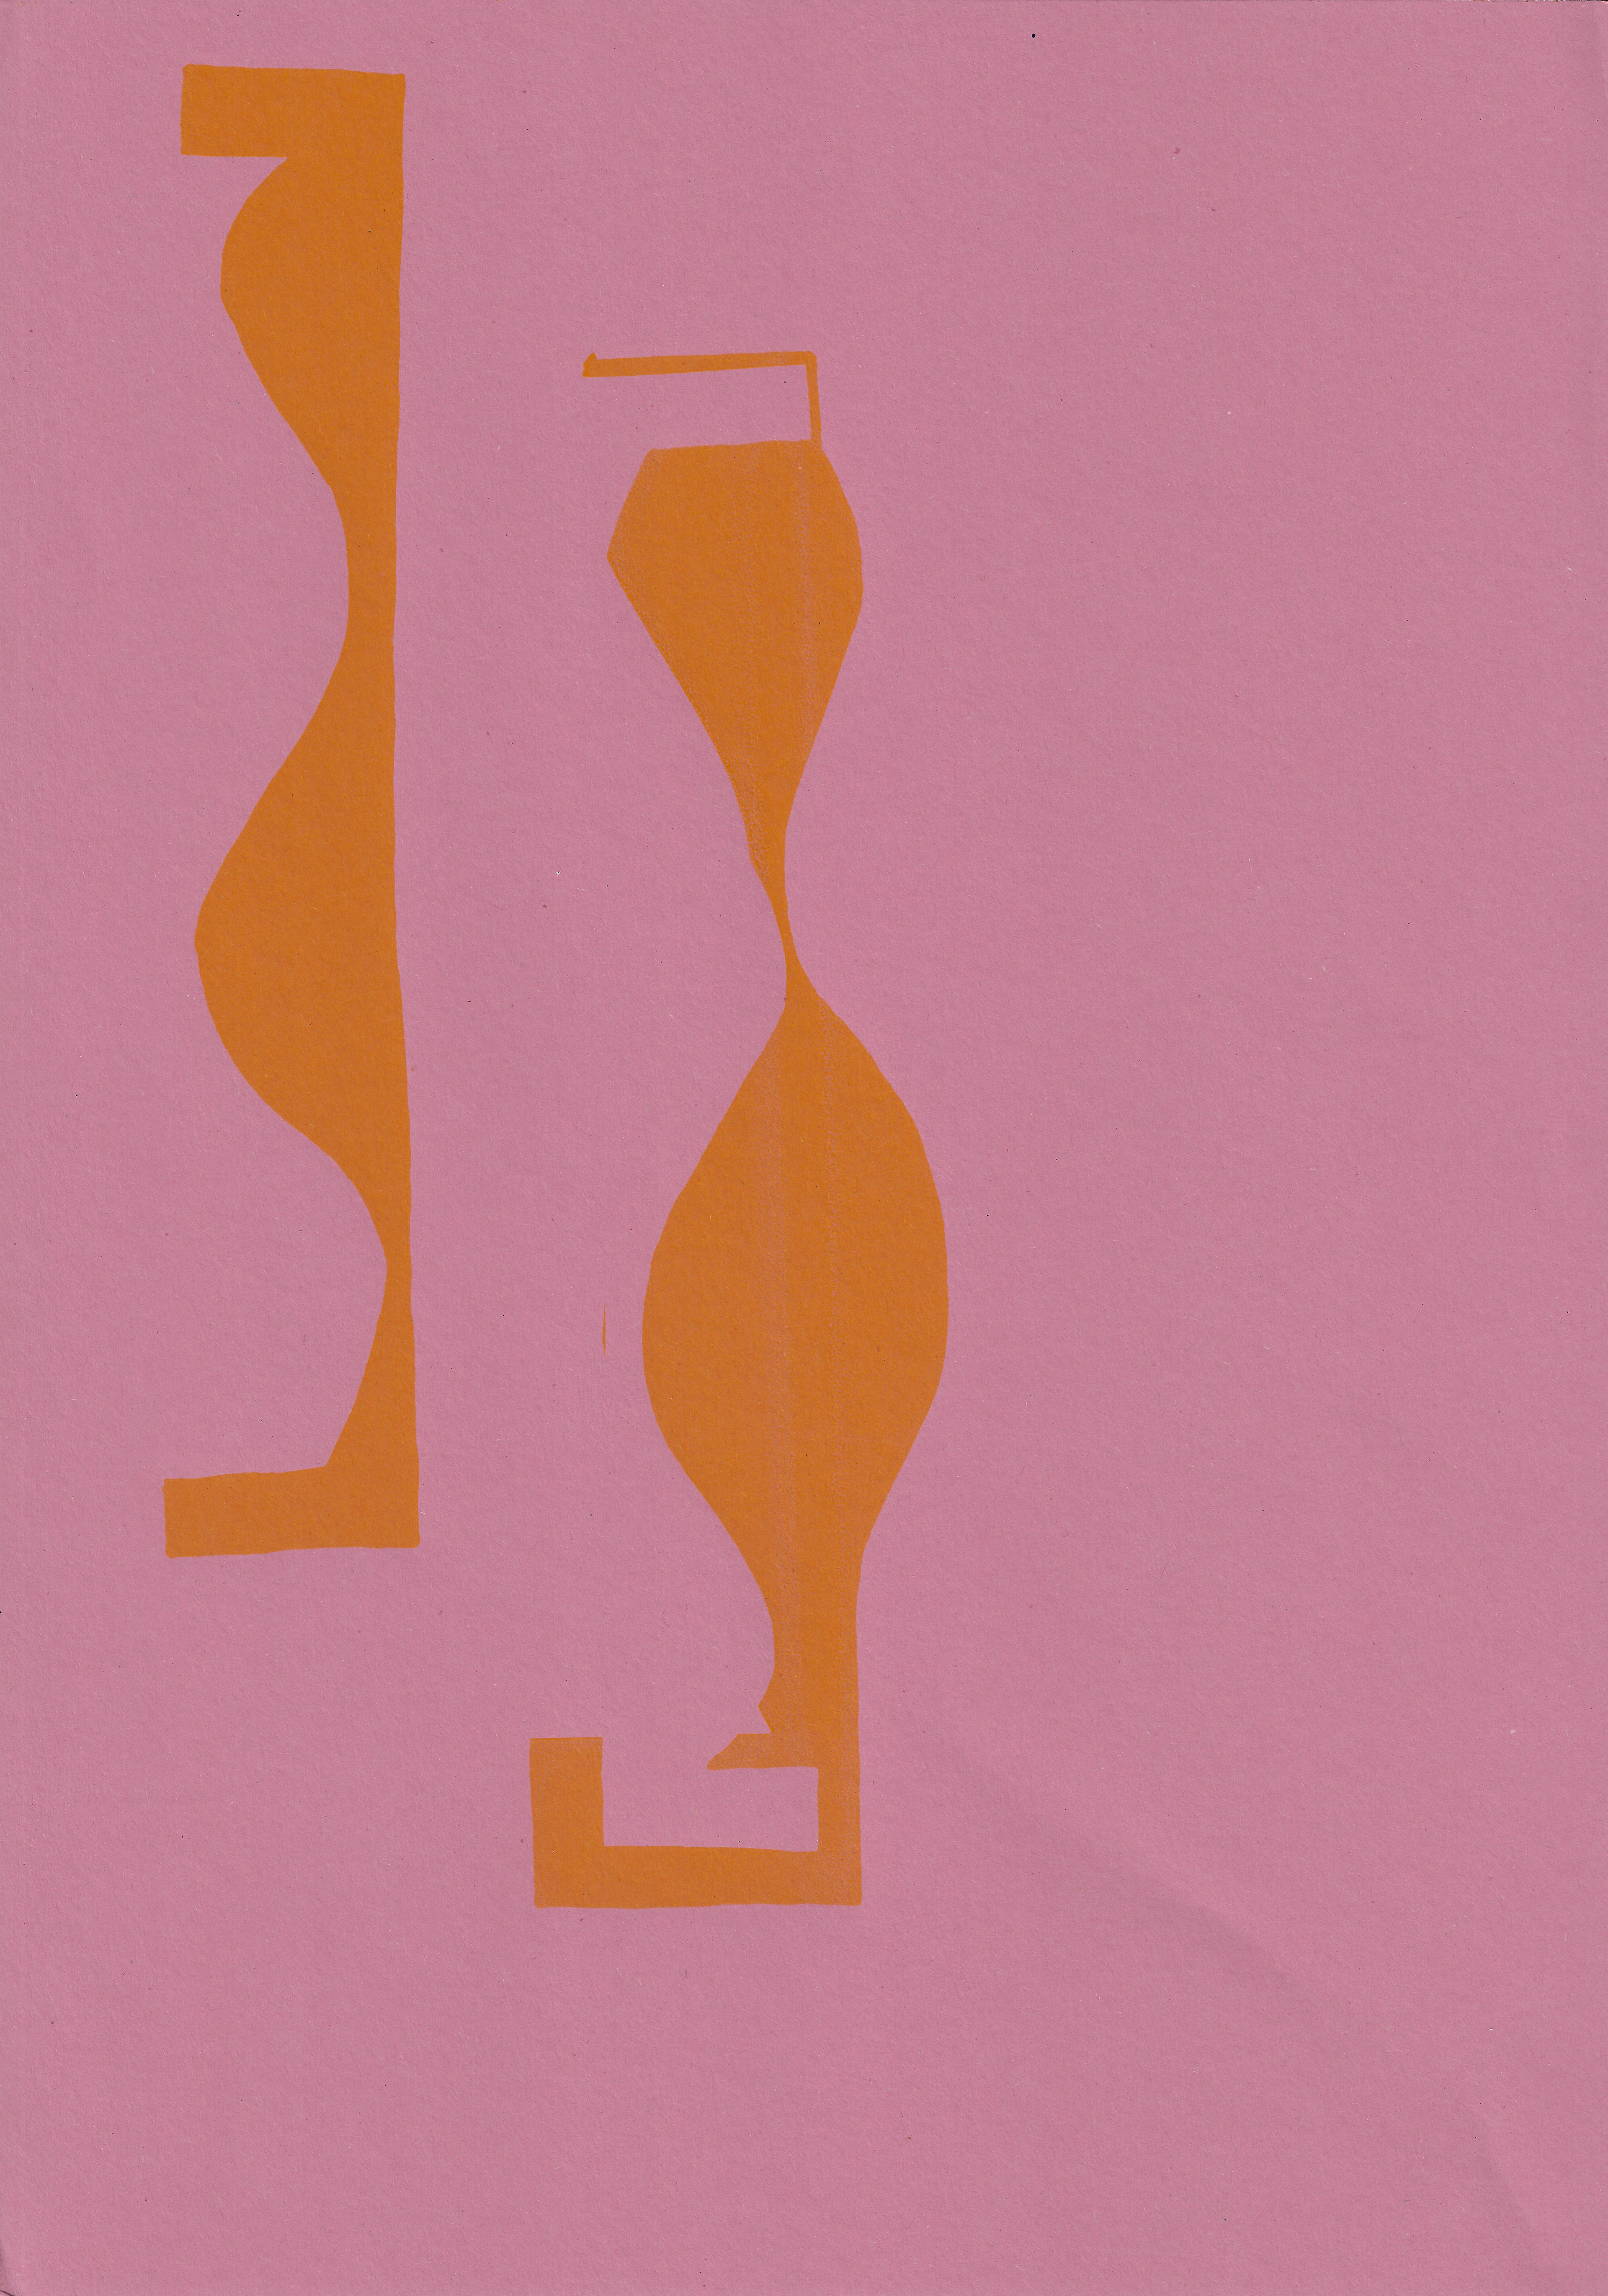
Screenprint on paper, 33 x 47.5 cm
Screenprint on paper, 35 x 50 cm
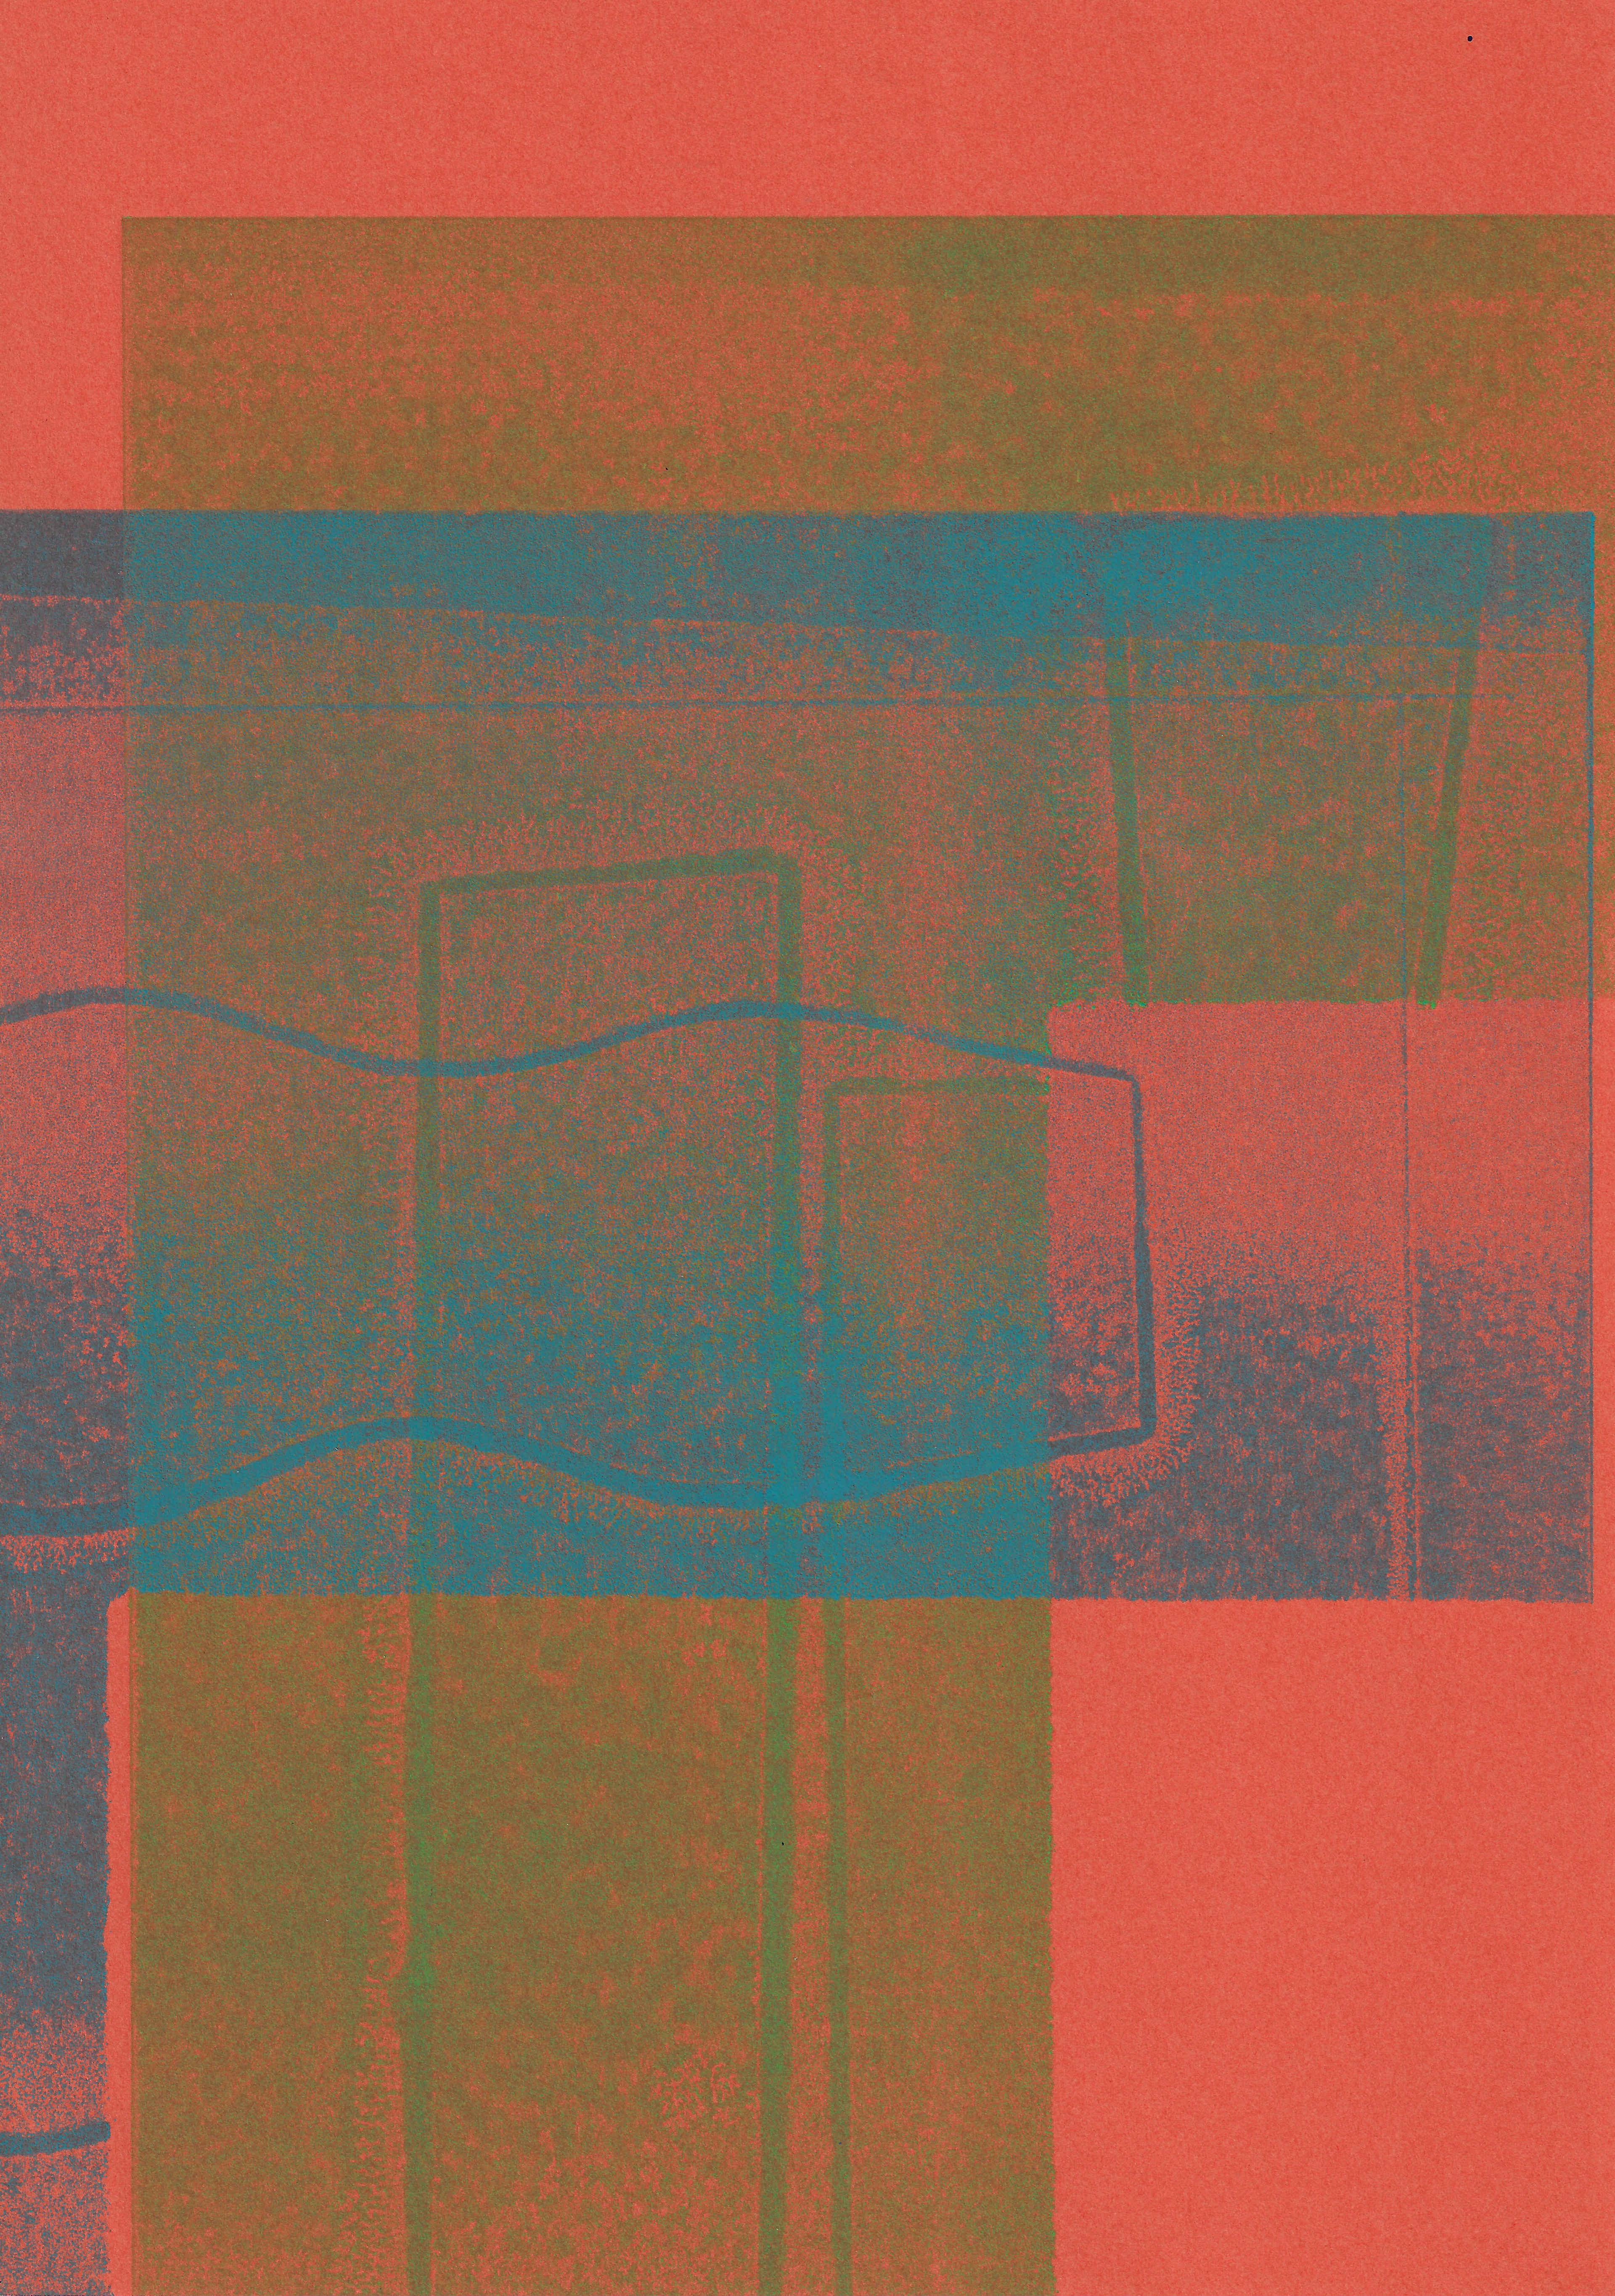
I screenprint an image created from one of the earlier screen-printed shapes, which had then been collaged for the crit. This adds another layer, only unseen to the viewer.
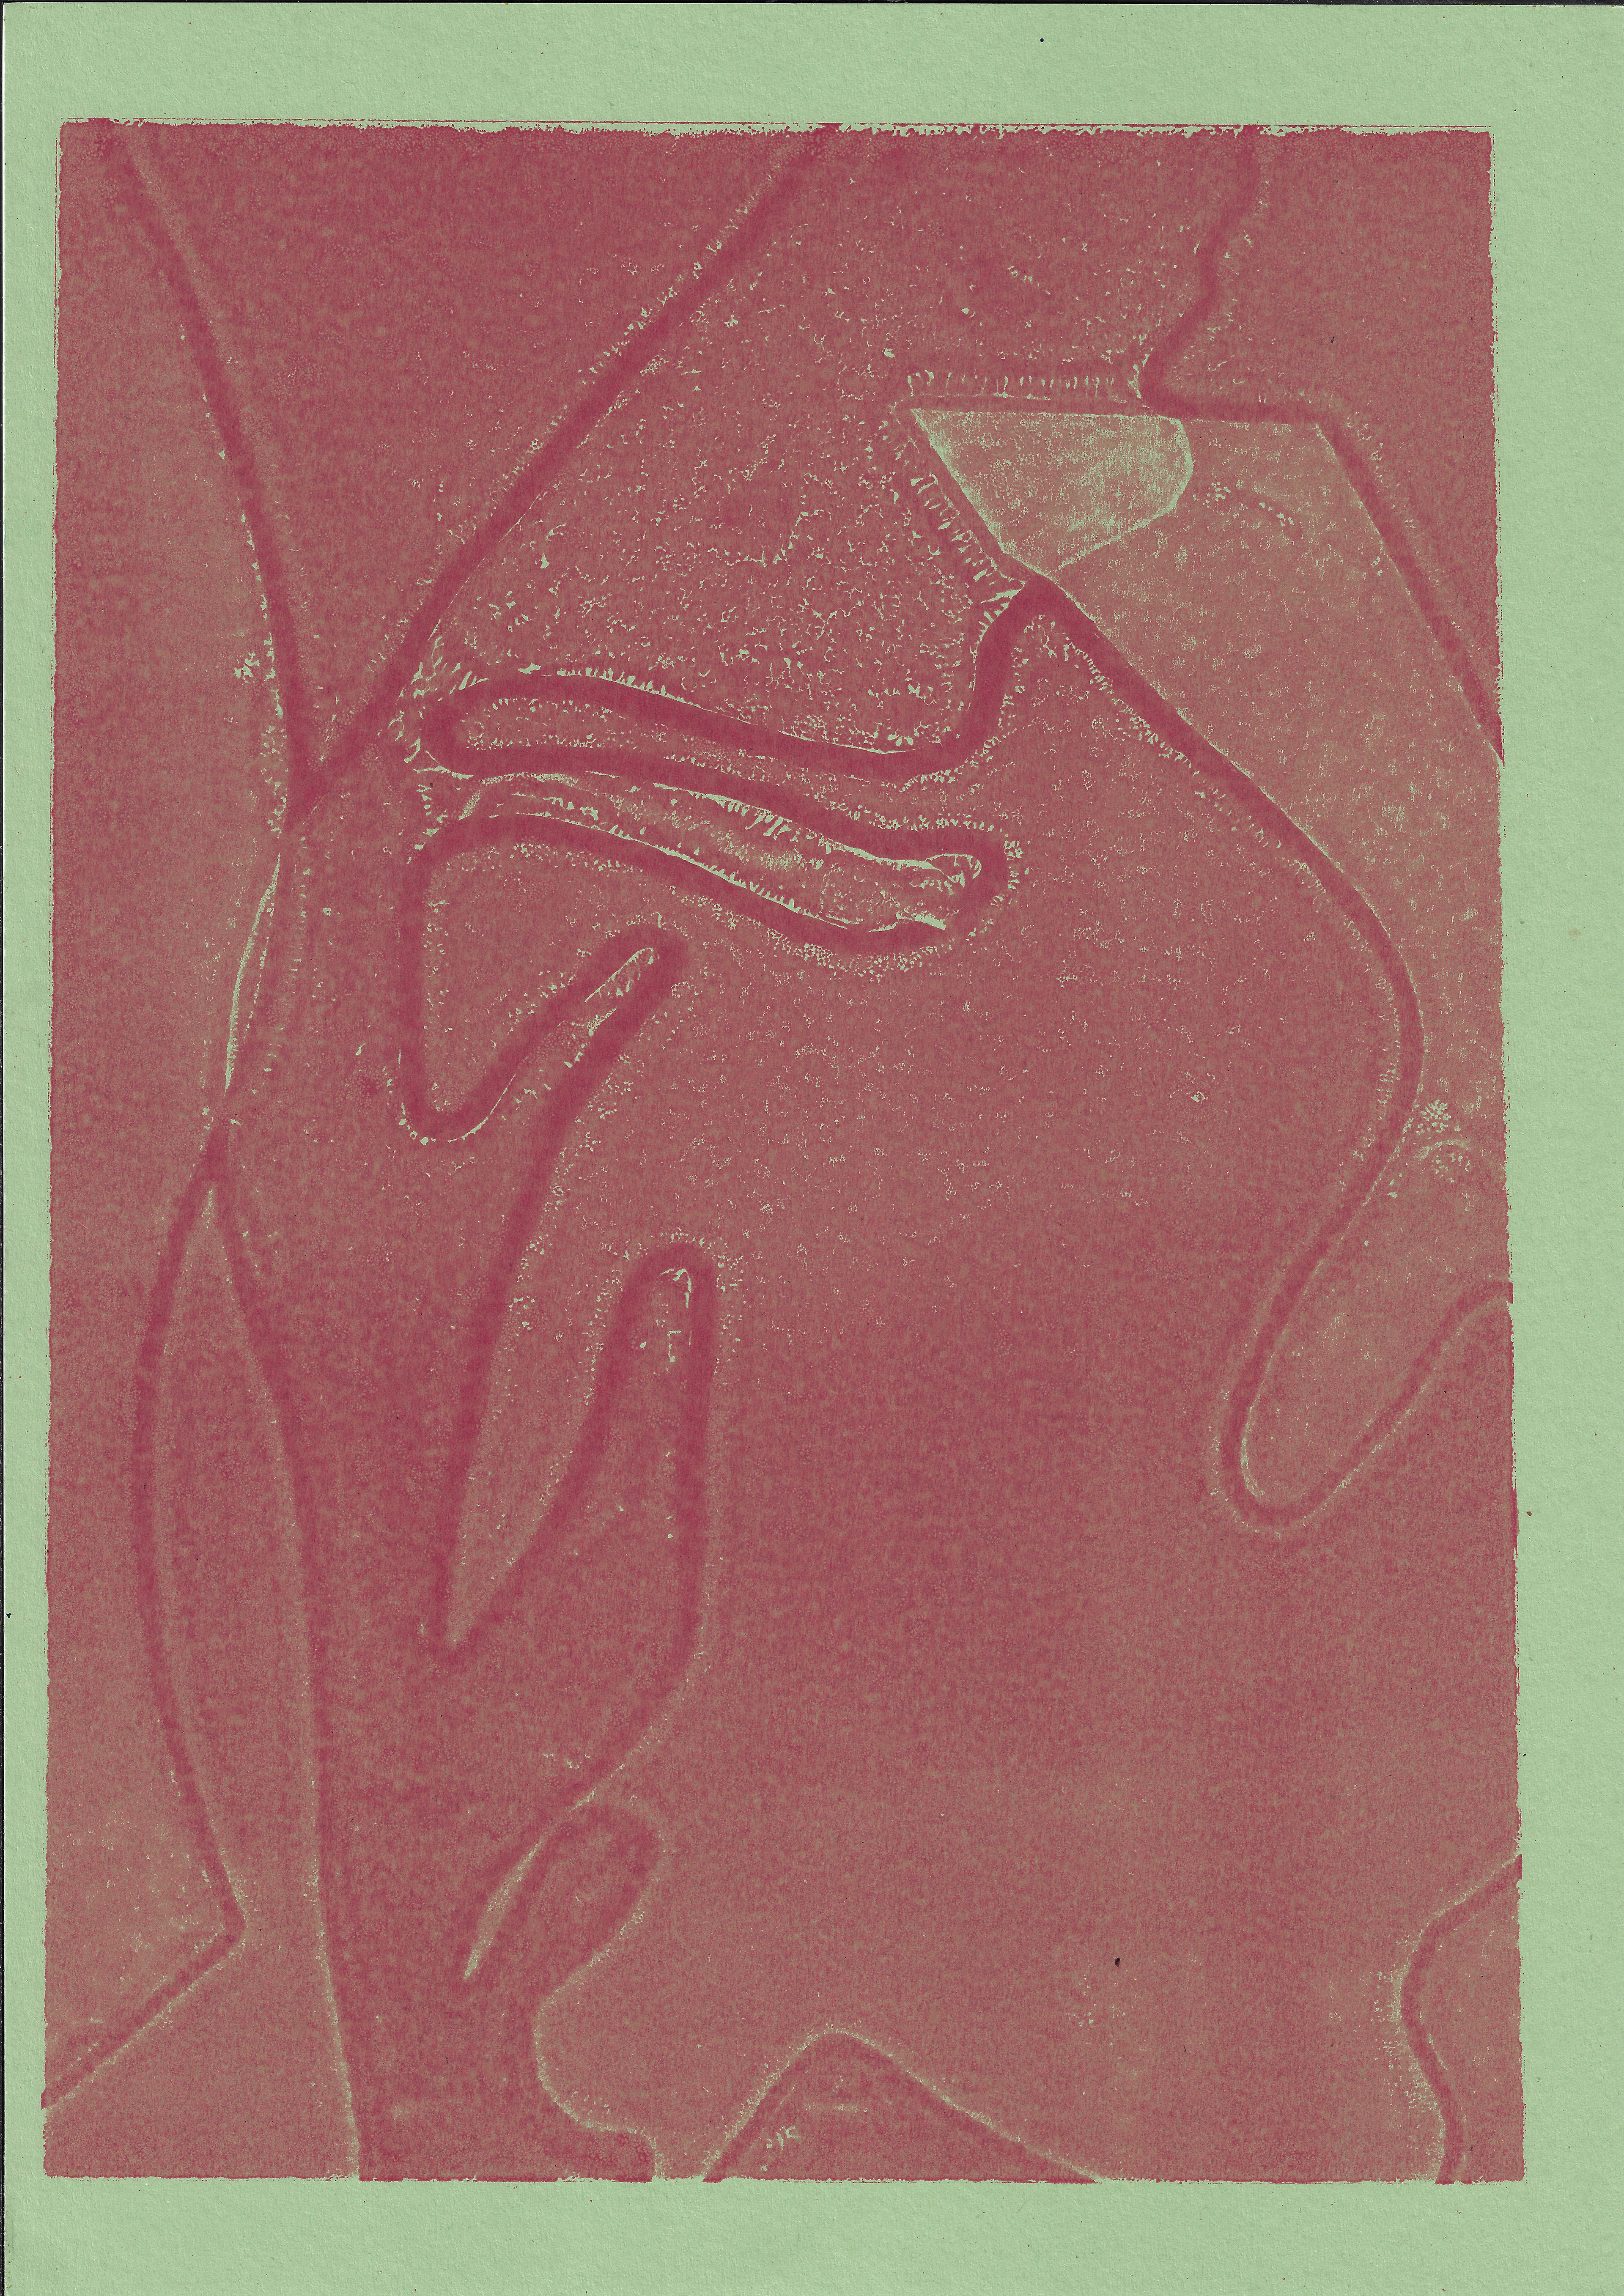
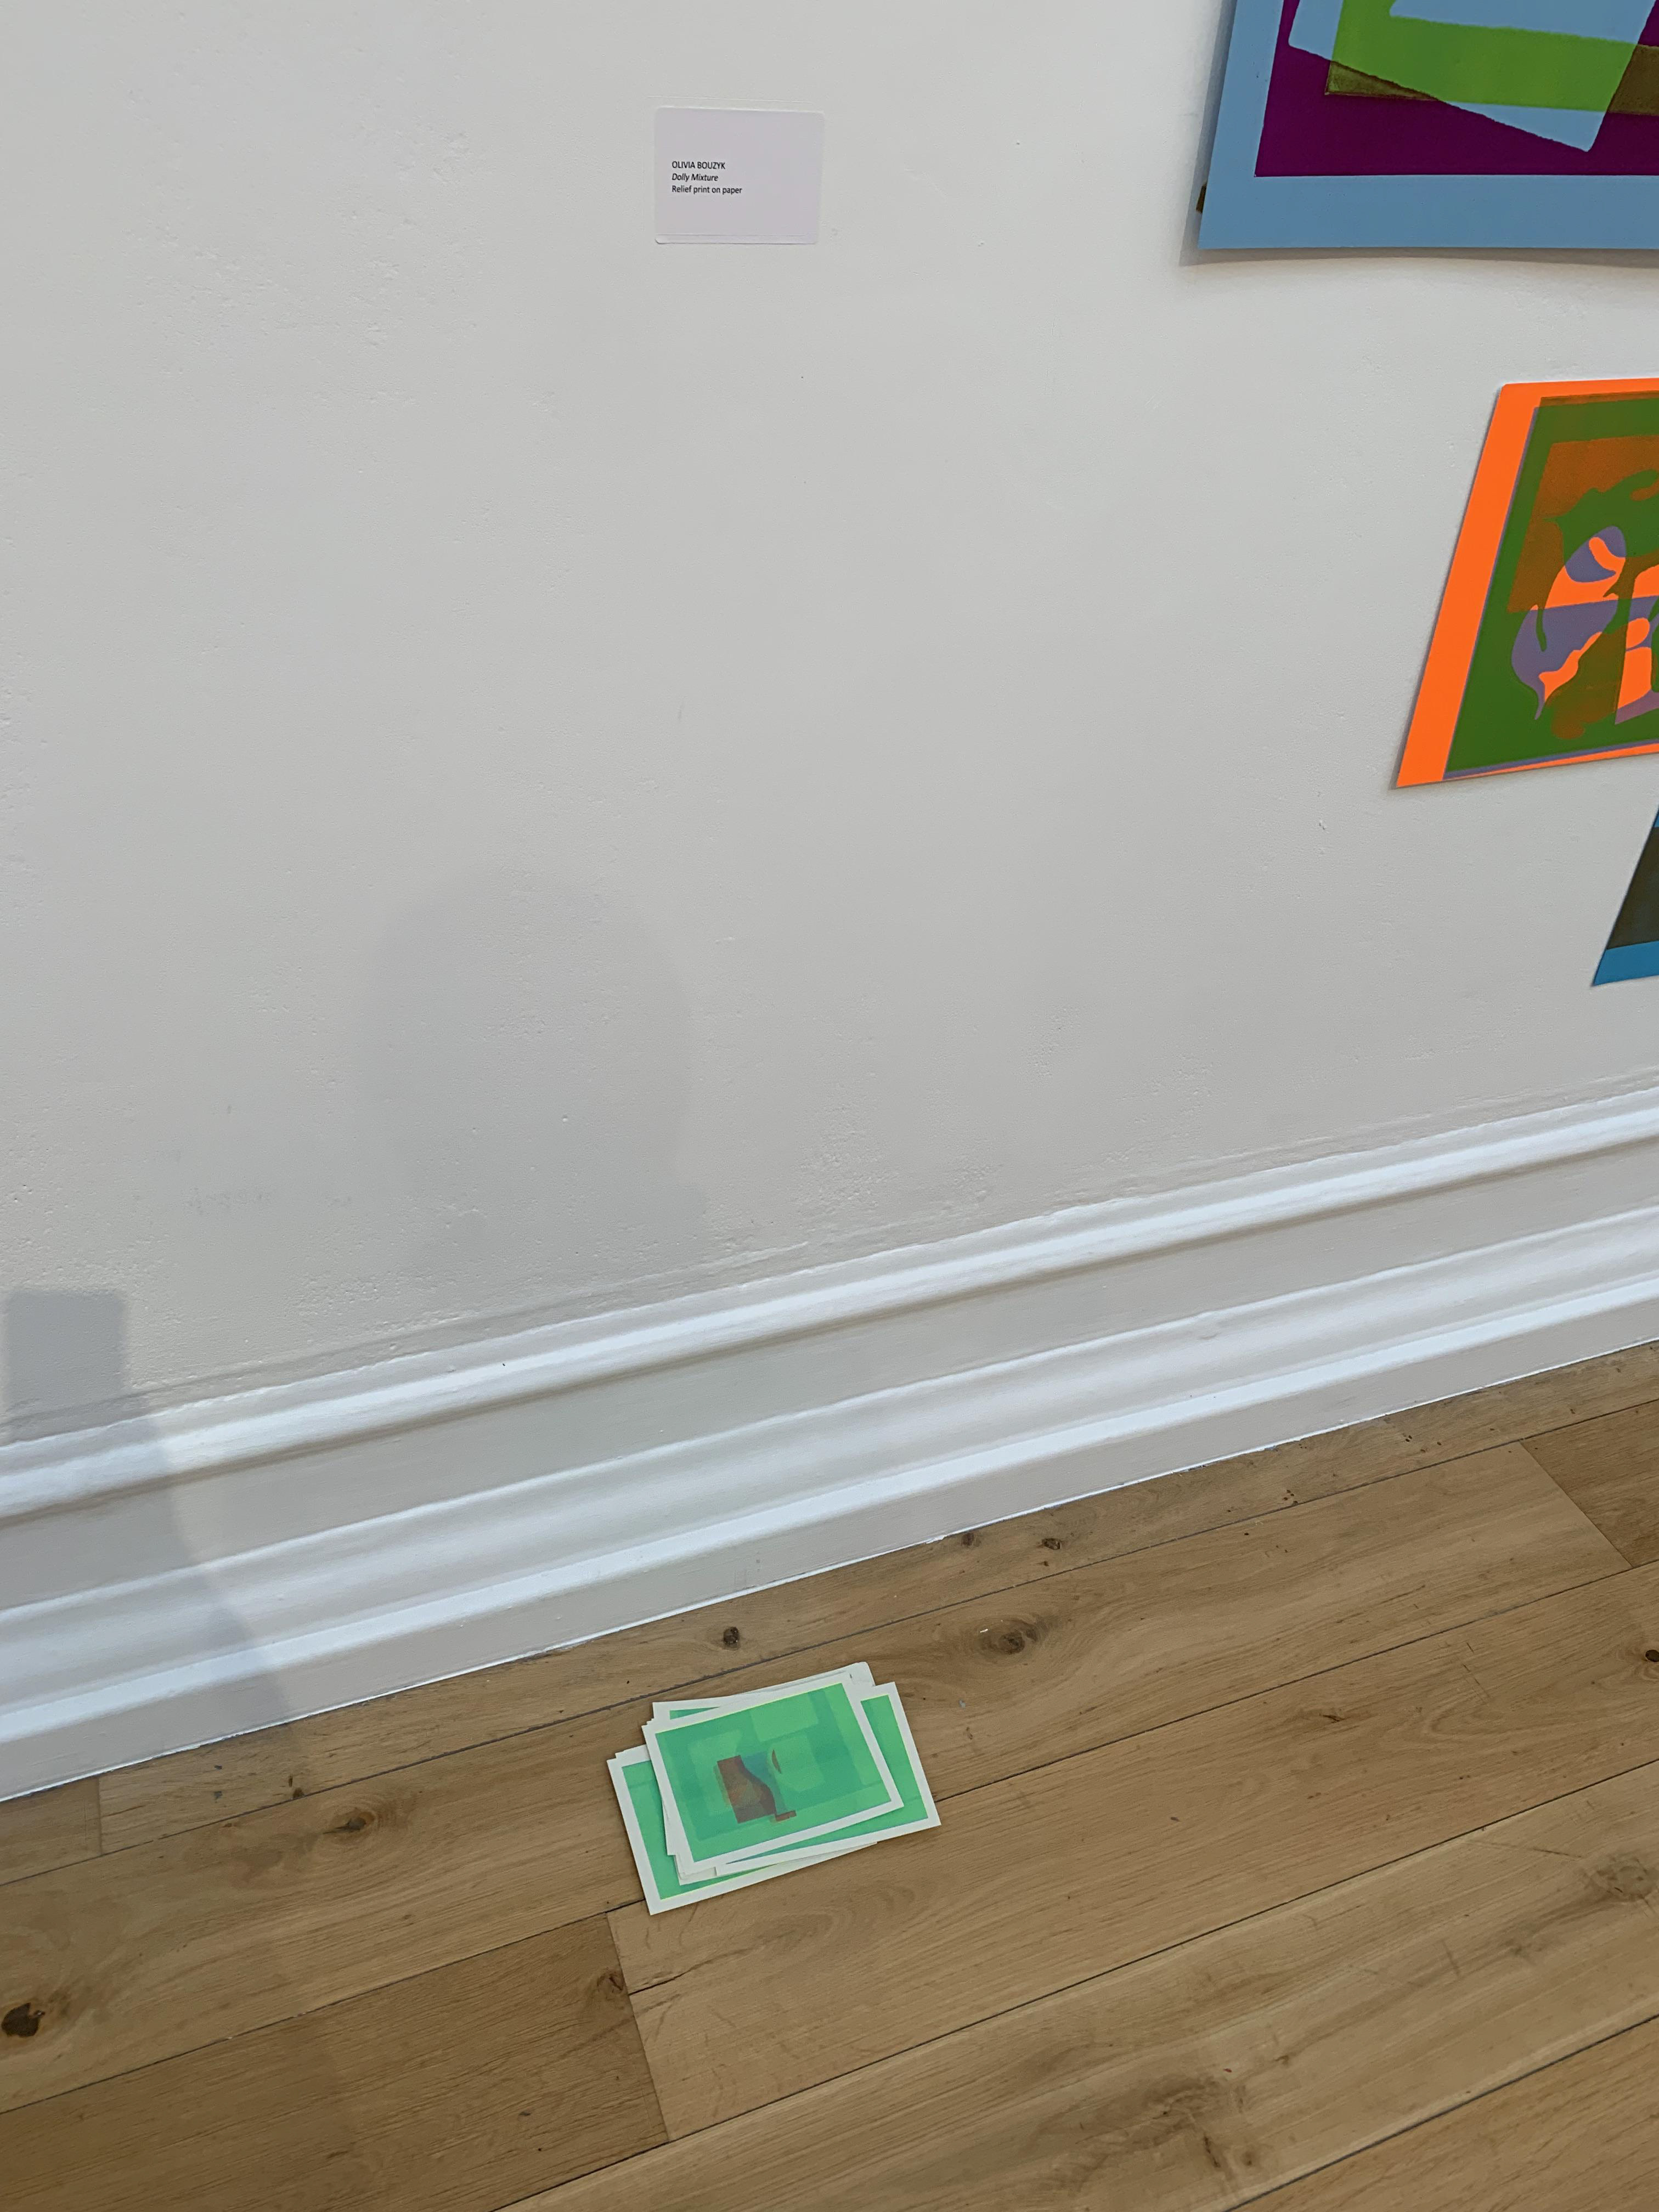
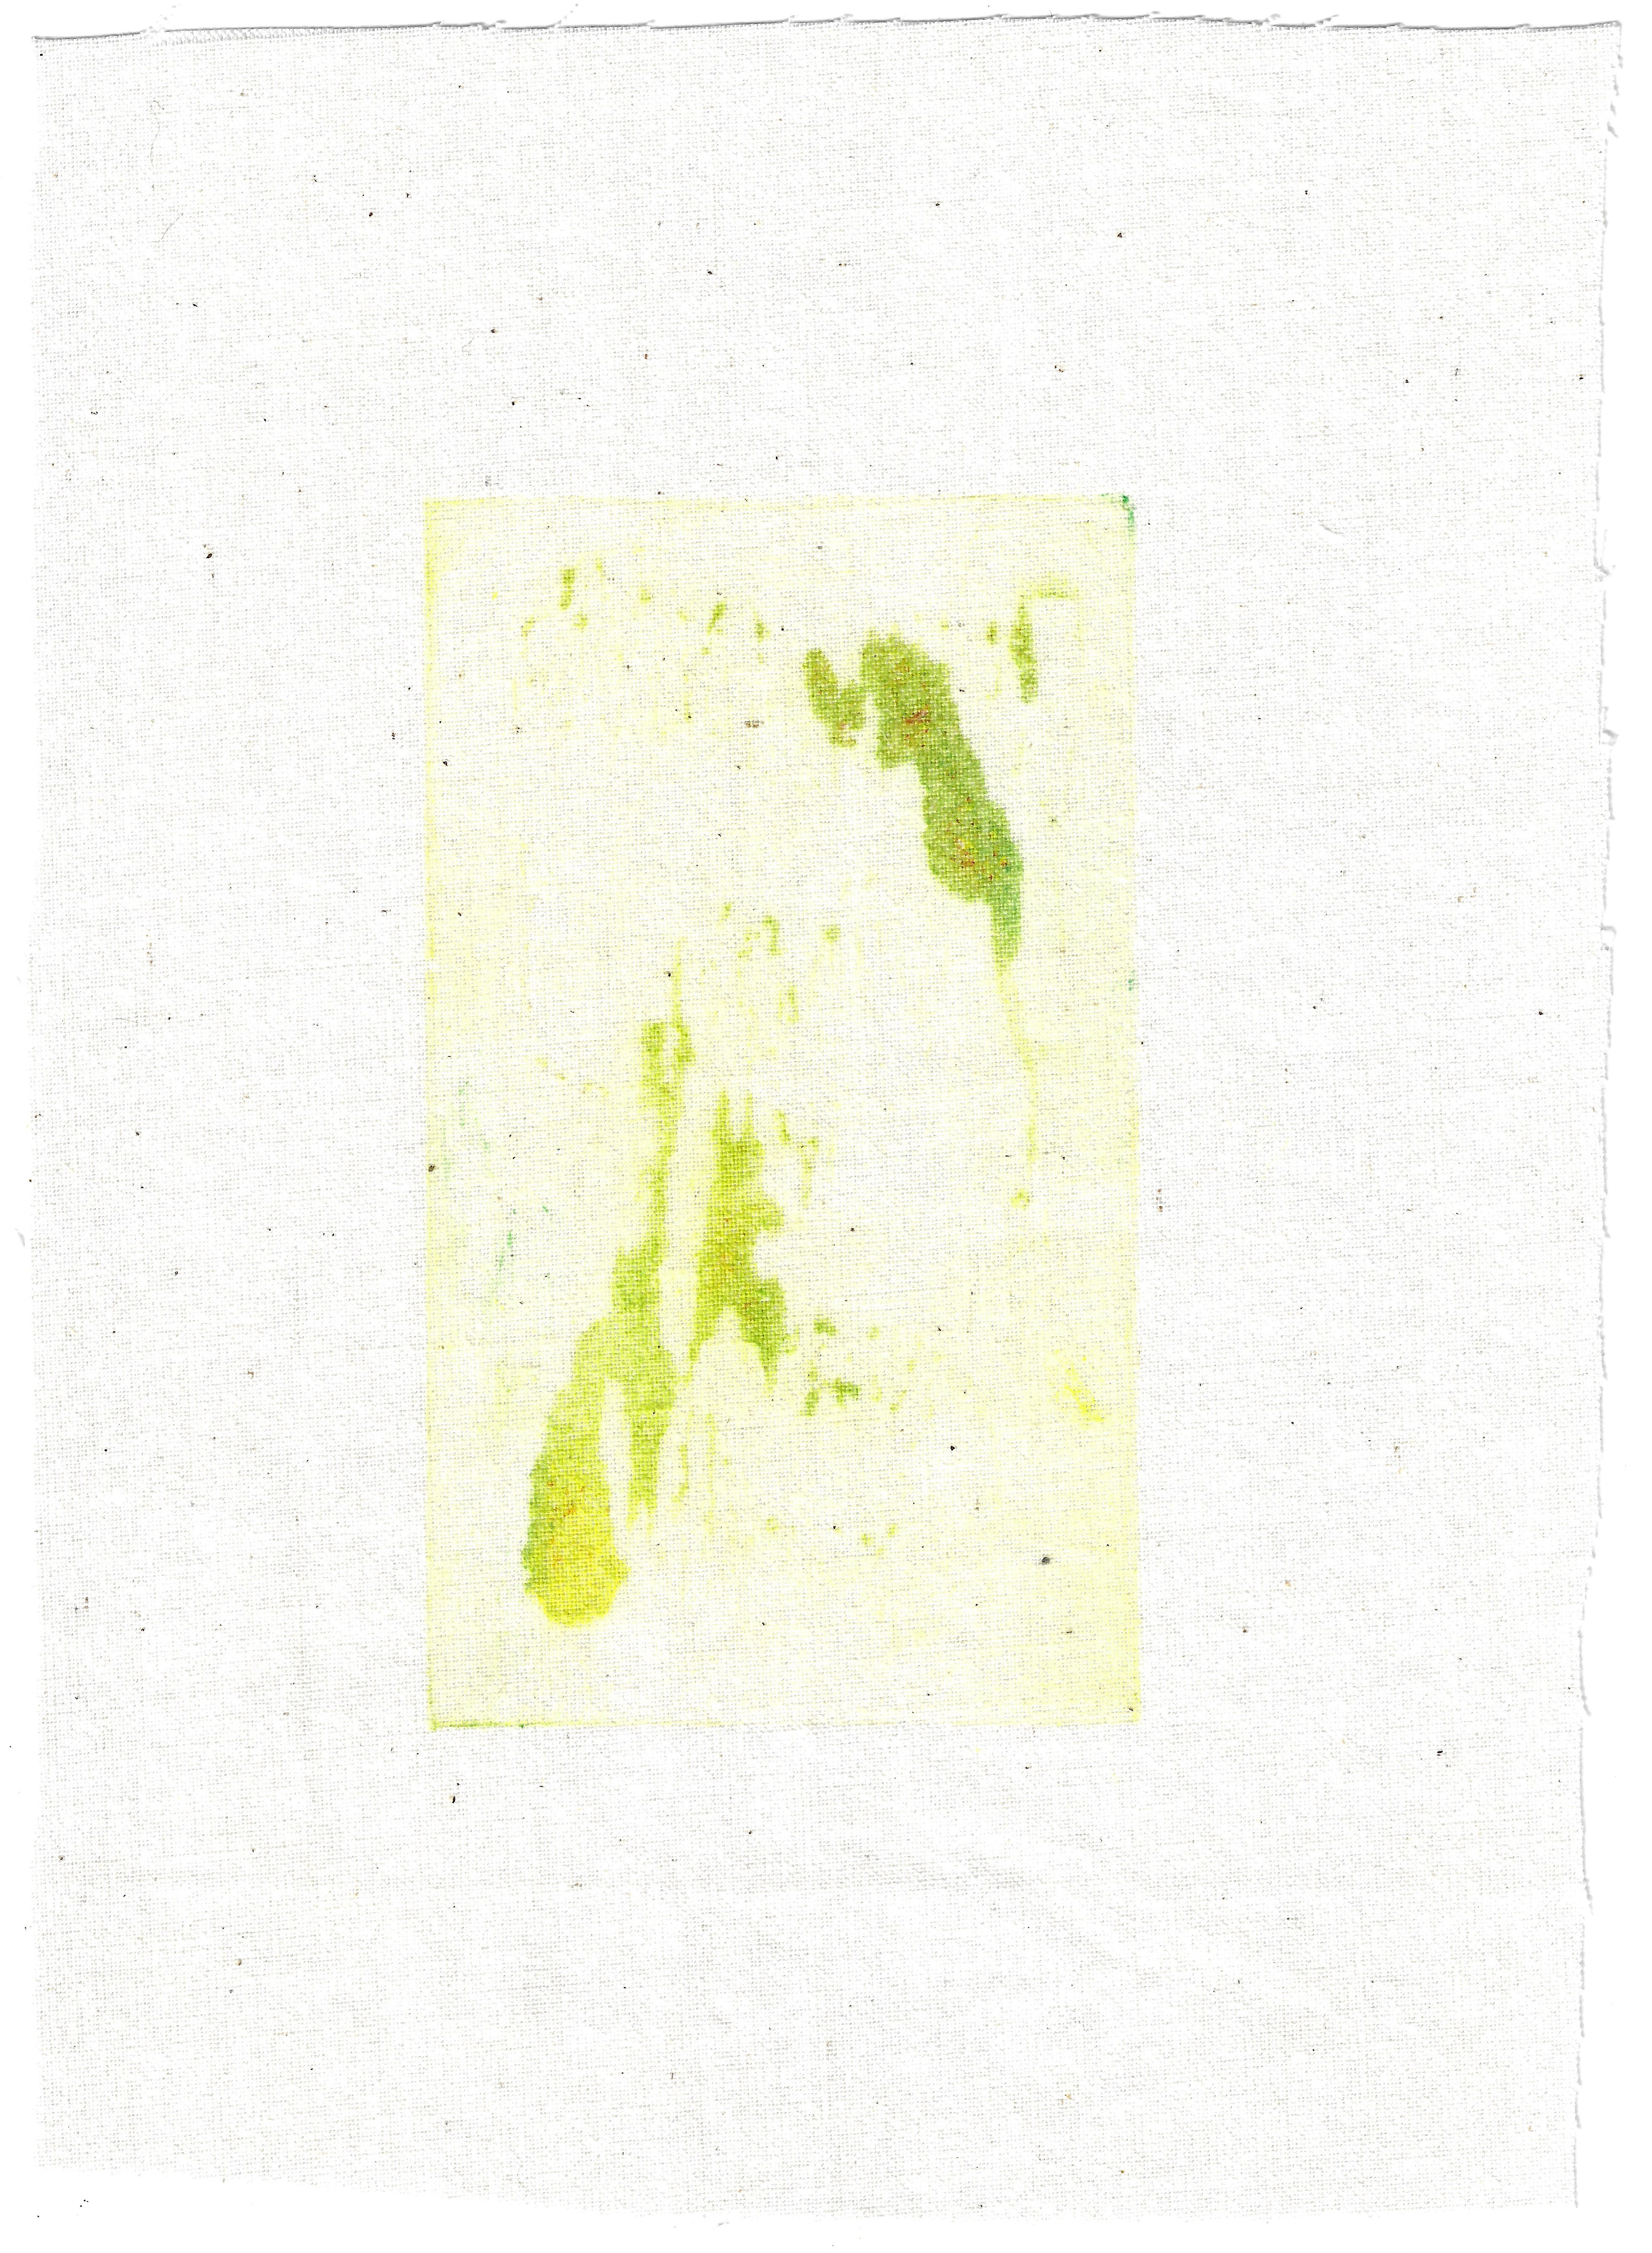
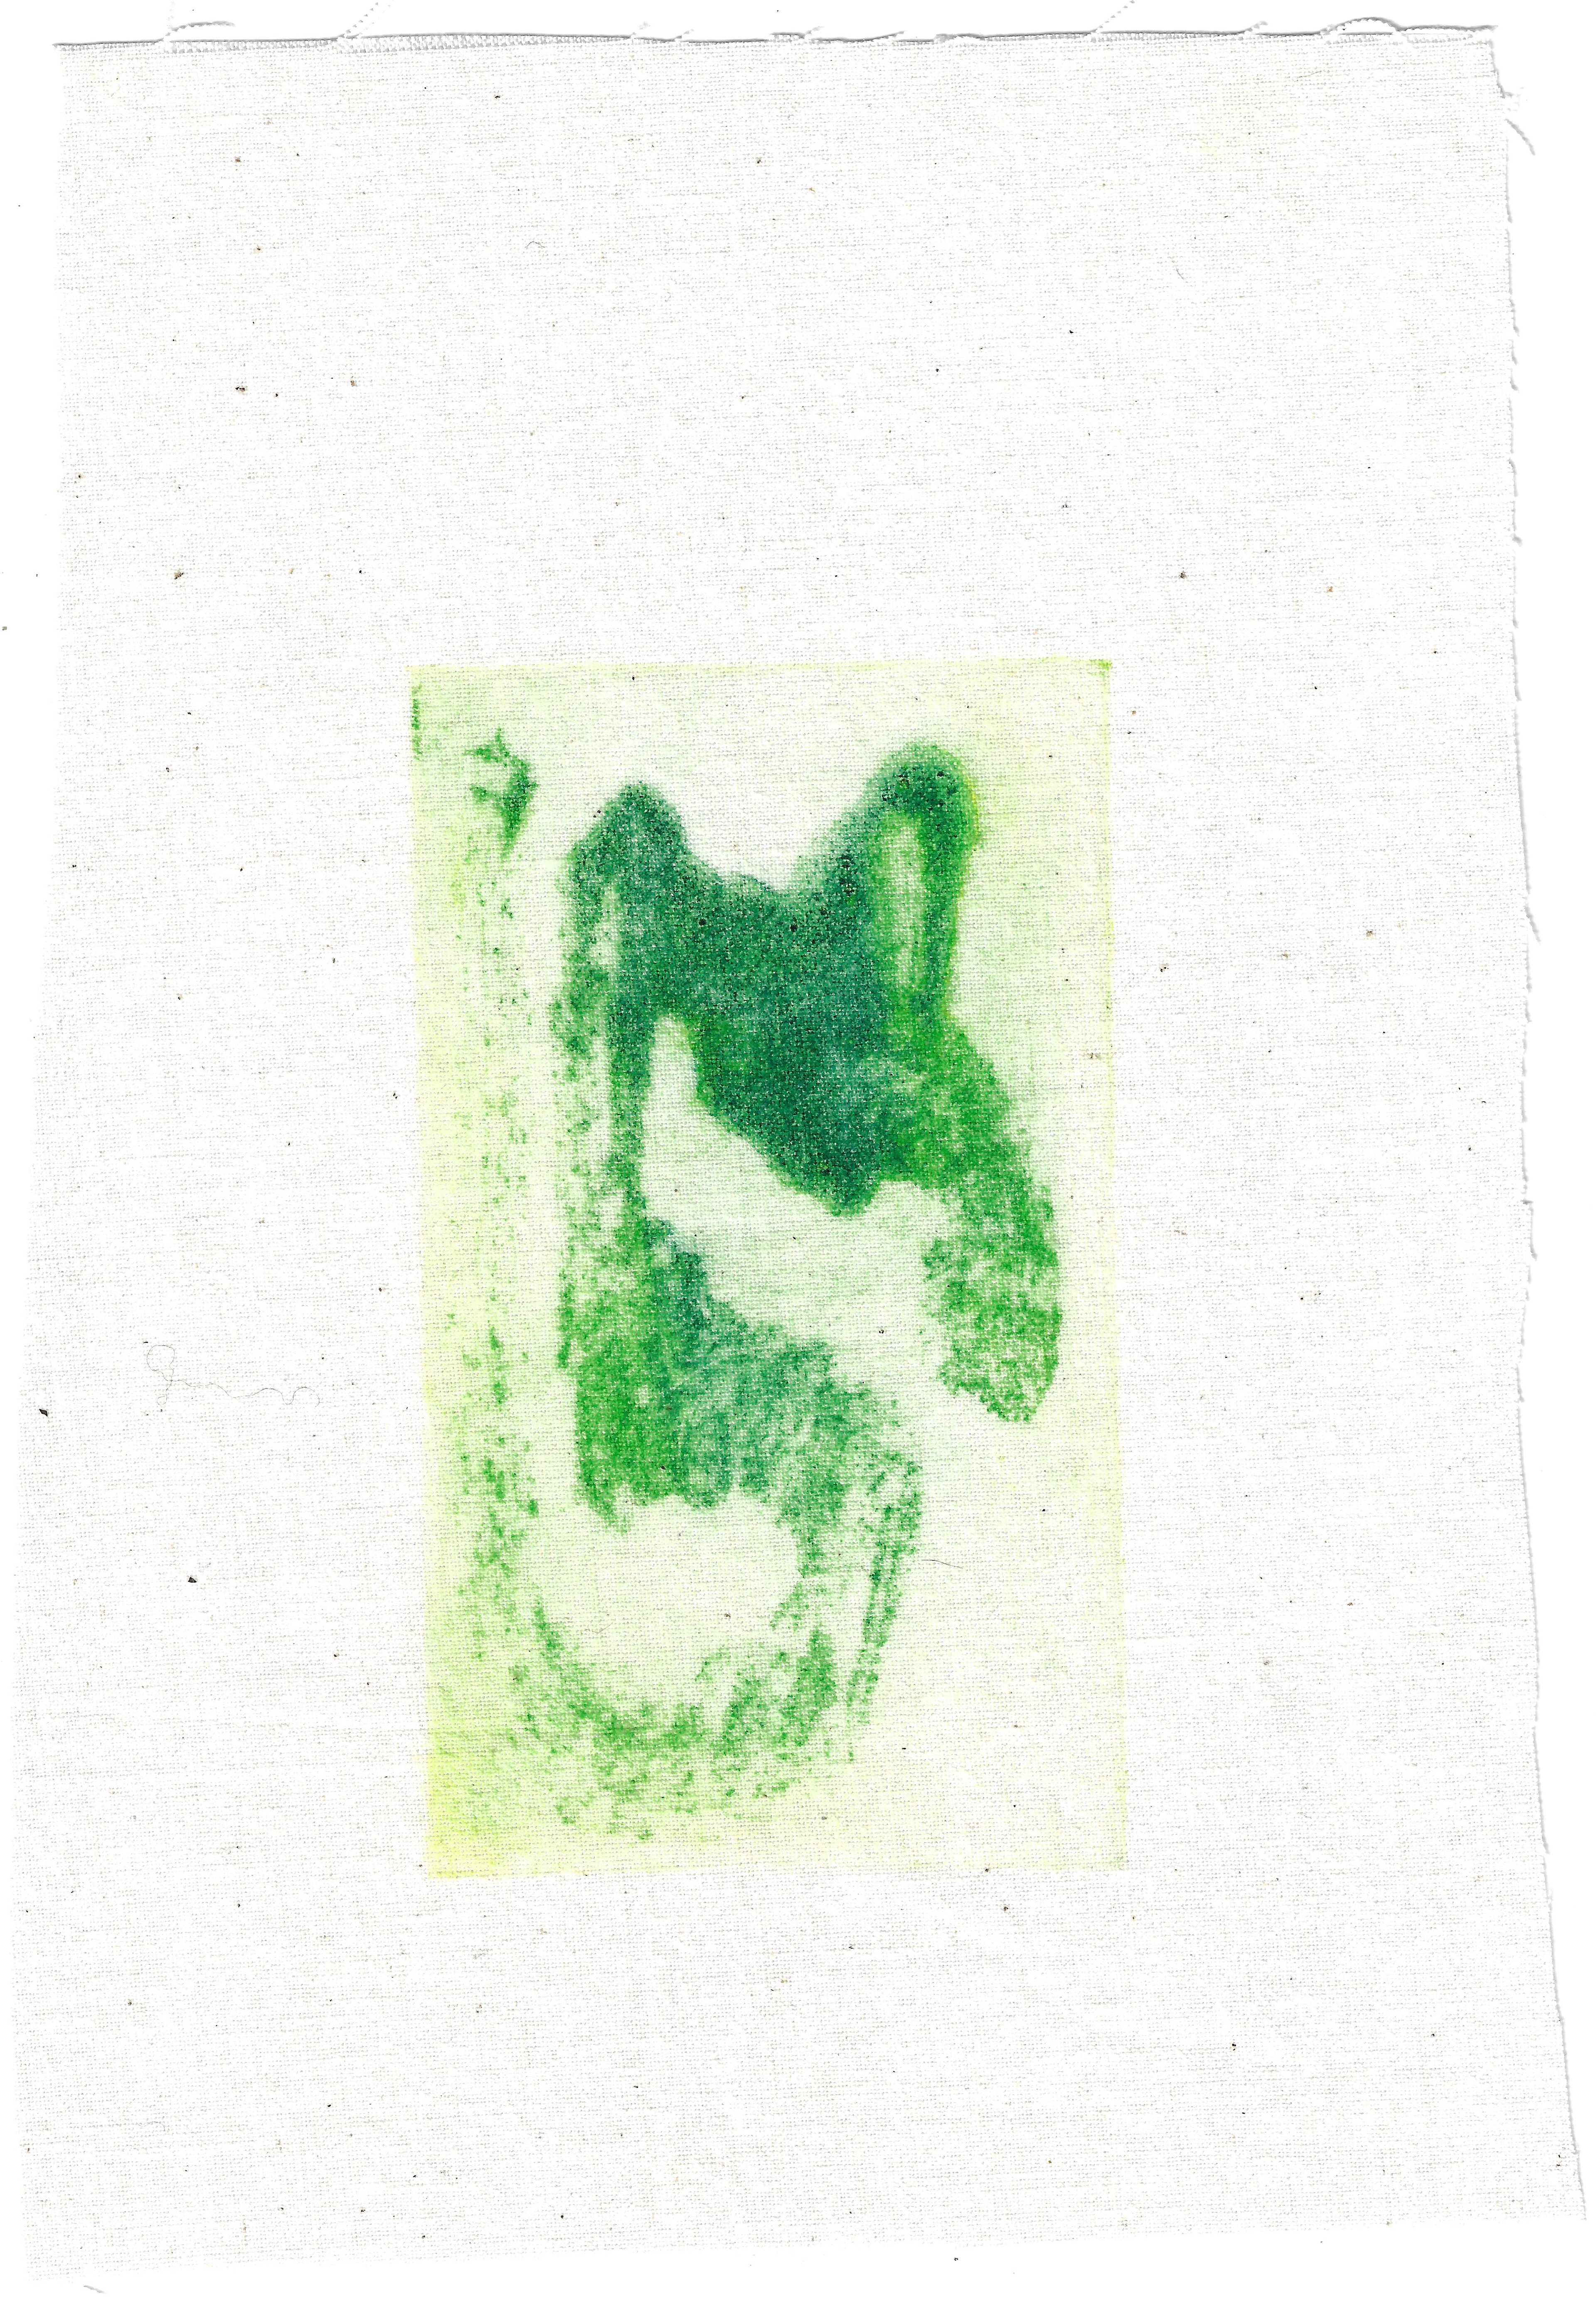
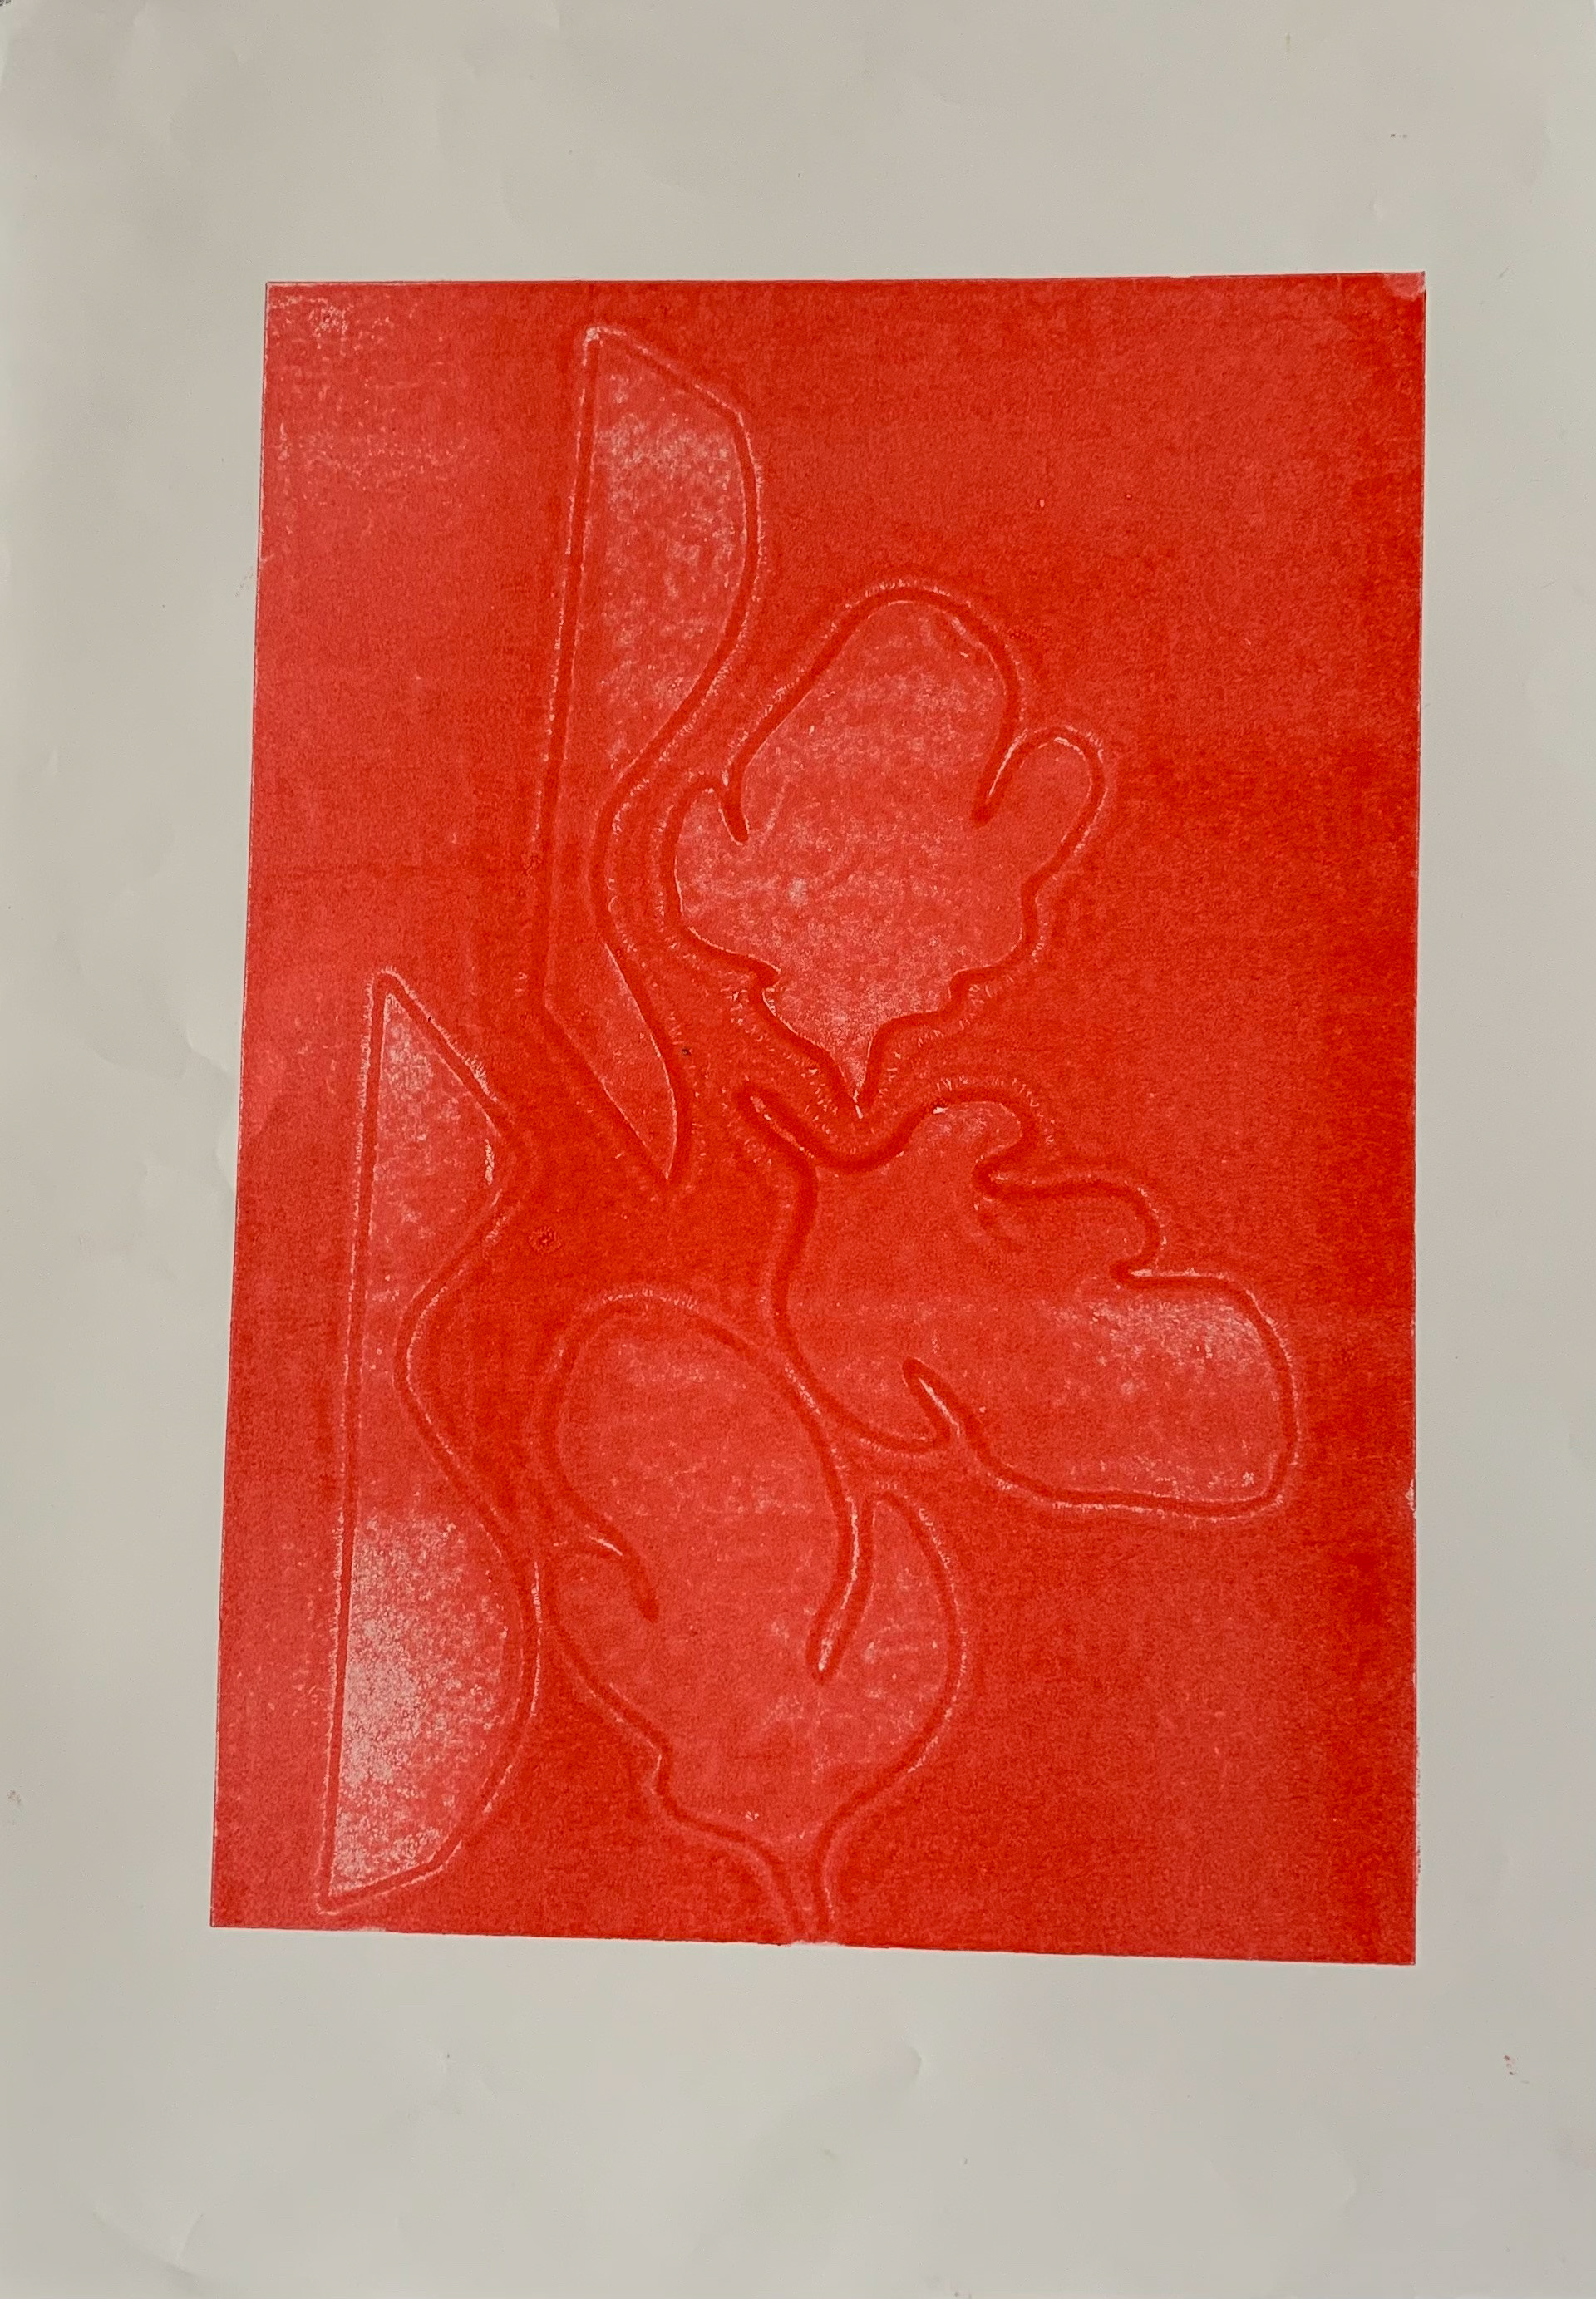
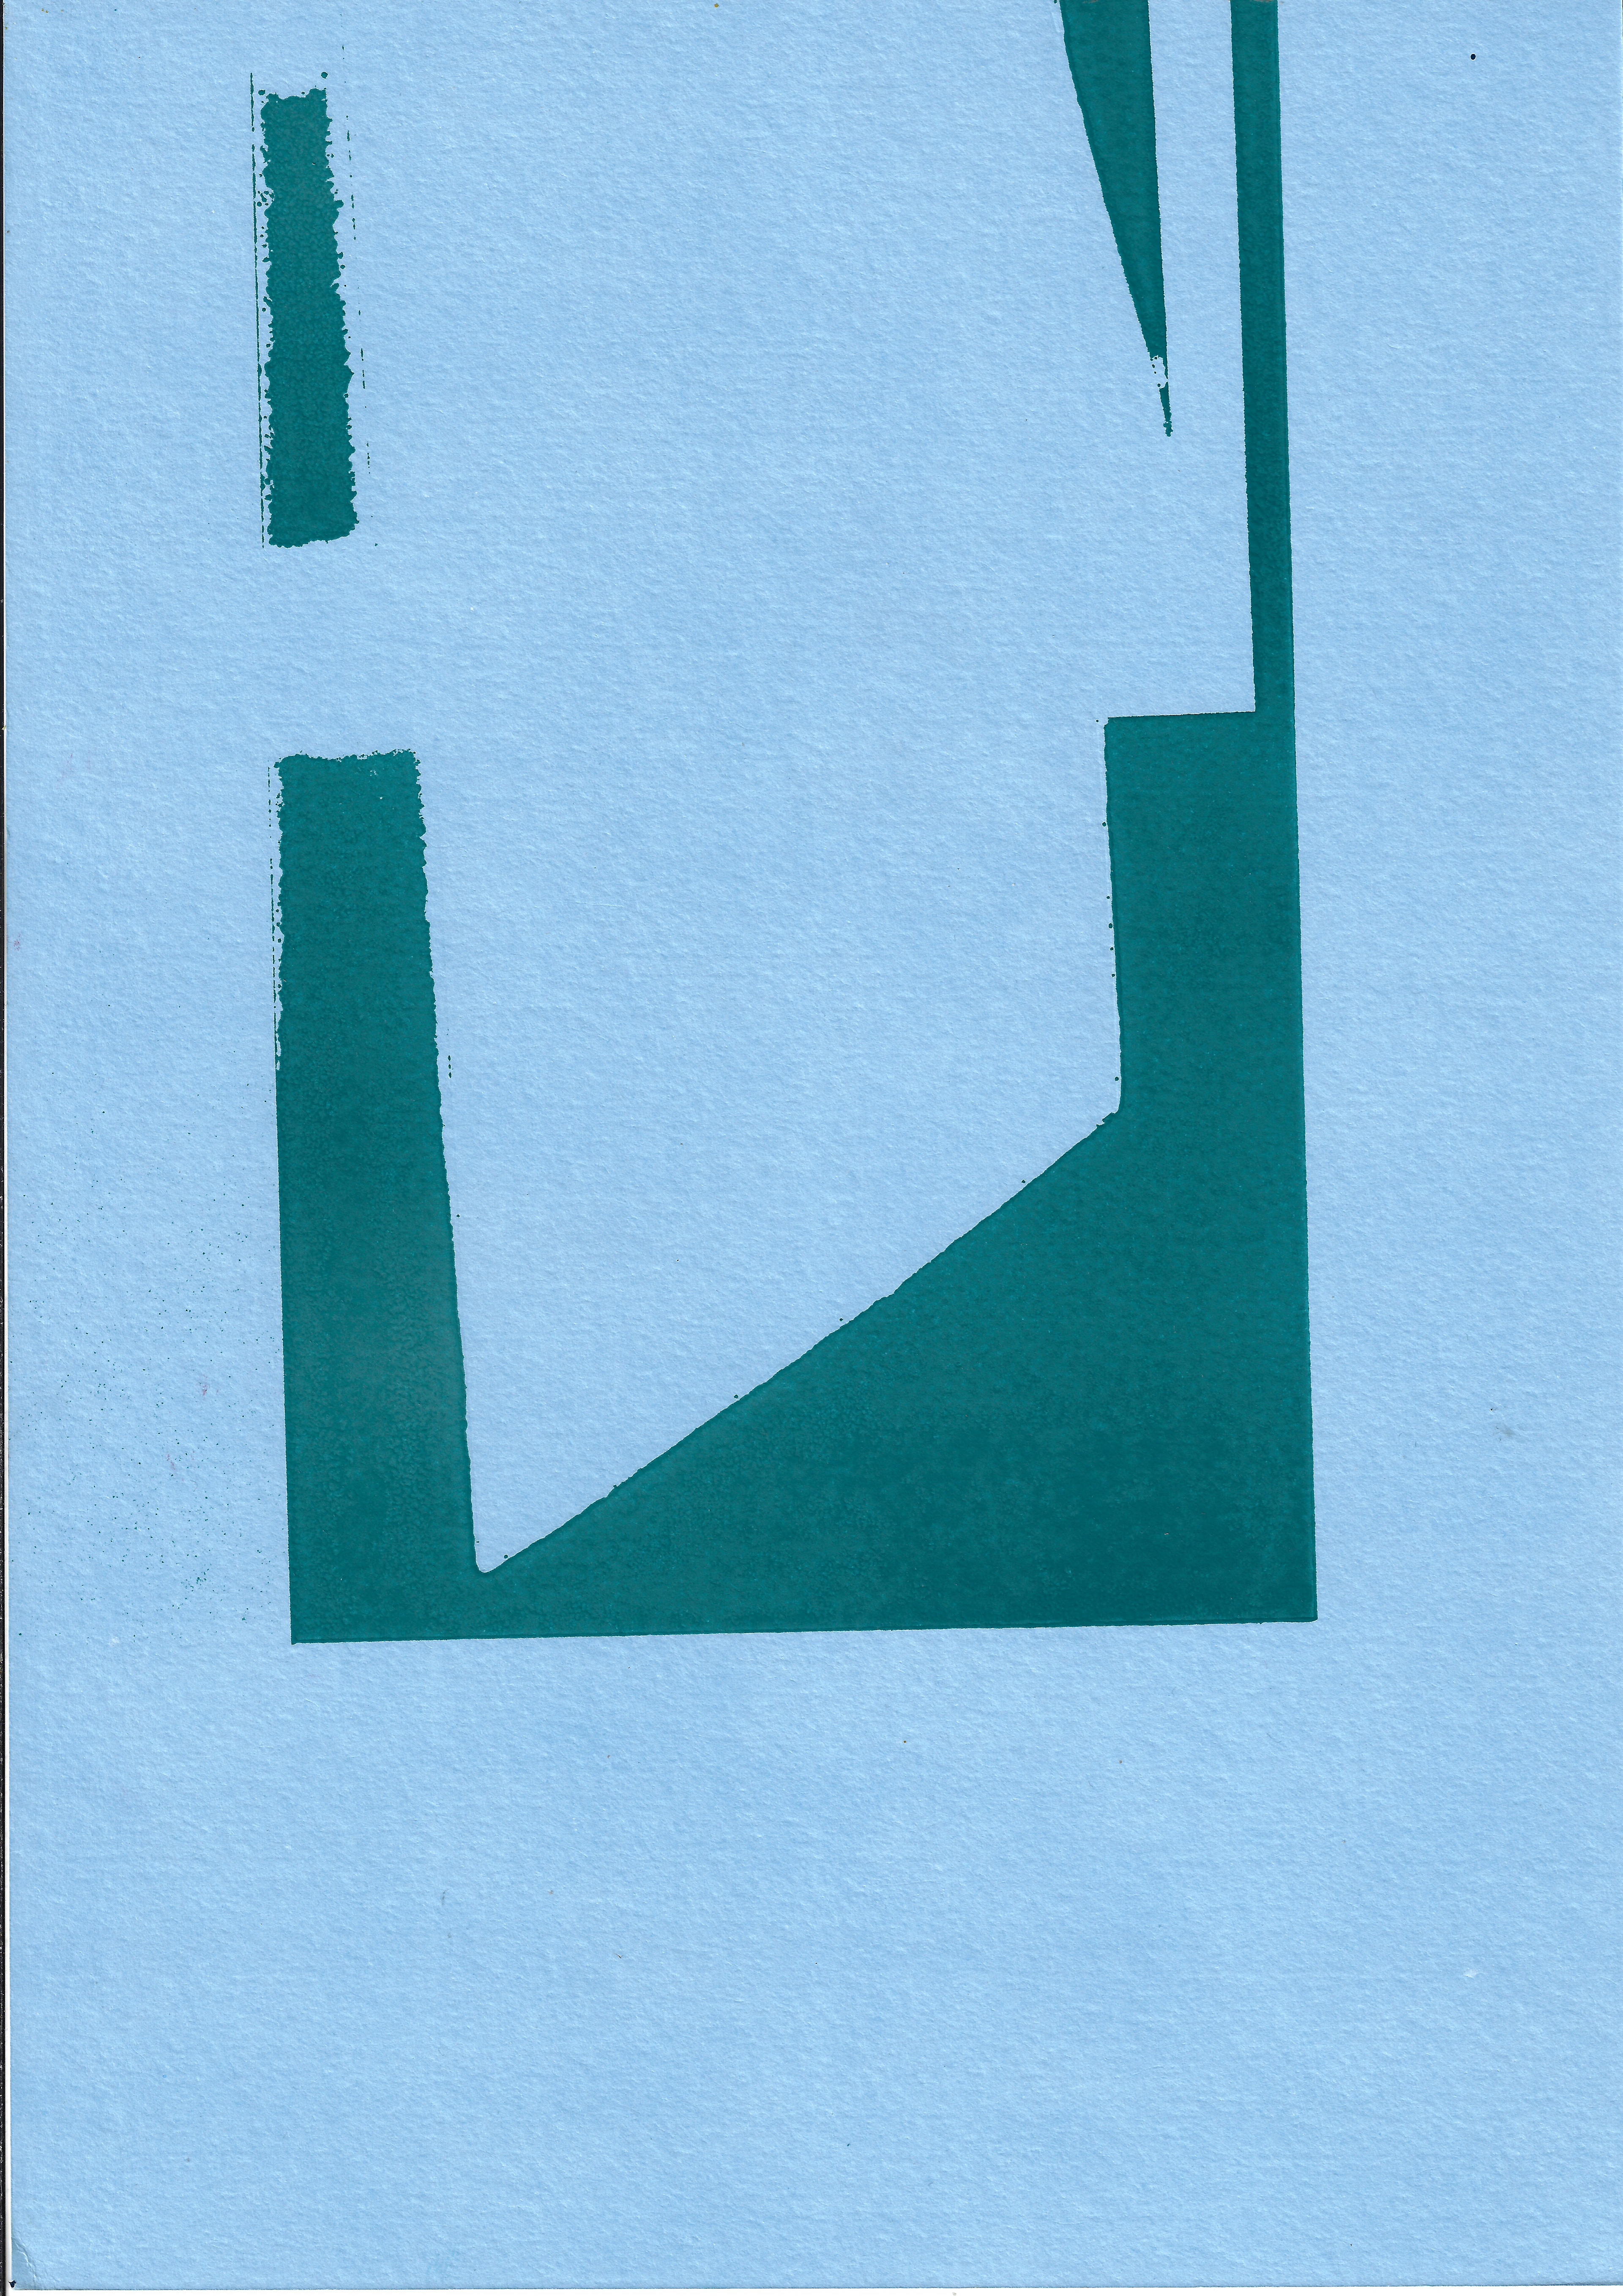
Relief print on paper, 21 x 29.7 cm
Relief print on paper, 21 x 29.7 cm
Relief print on paper, 21 x 29.7 cm
Relief print on paper, 21 x 29.7 cm

Relief print on paper, 21 x 29.7 cm
Relief print on paper, 21 x 29.7 cm
Relief print on paper, 21 x 29.7 cm
Relief print on paper, 21 x 29.7 cm
Relief print on paper, 21 x 29.7 cm

Relief print on paper, 21 x 29.7 cm

Relief print on paper, 21 x 29.7 cm

Relief print on paper, 21 x 29.7 cm

Relief print on paper, 21 x 29.7 cm

Relief print on paper, 21 x 29.7 cm
Relief print on paper, 21 x 29.7 cm
Relief print on paper, 21 x 29.7 cm

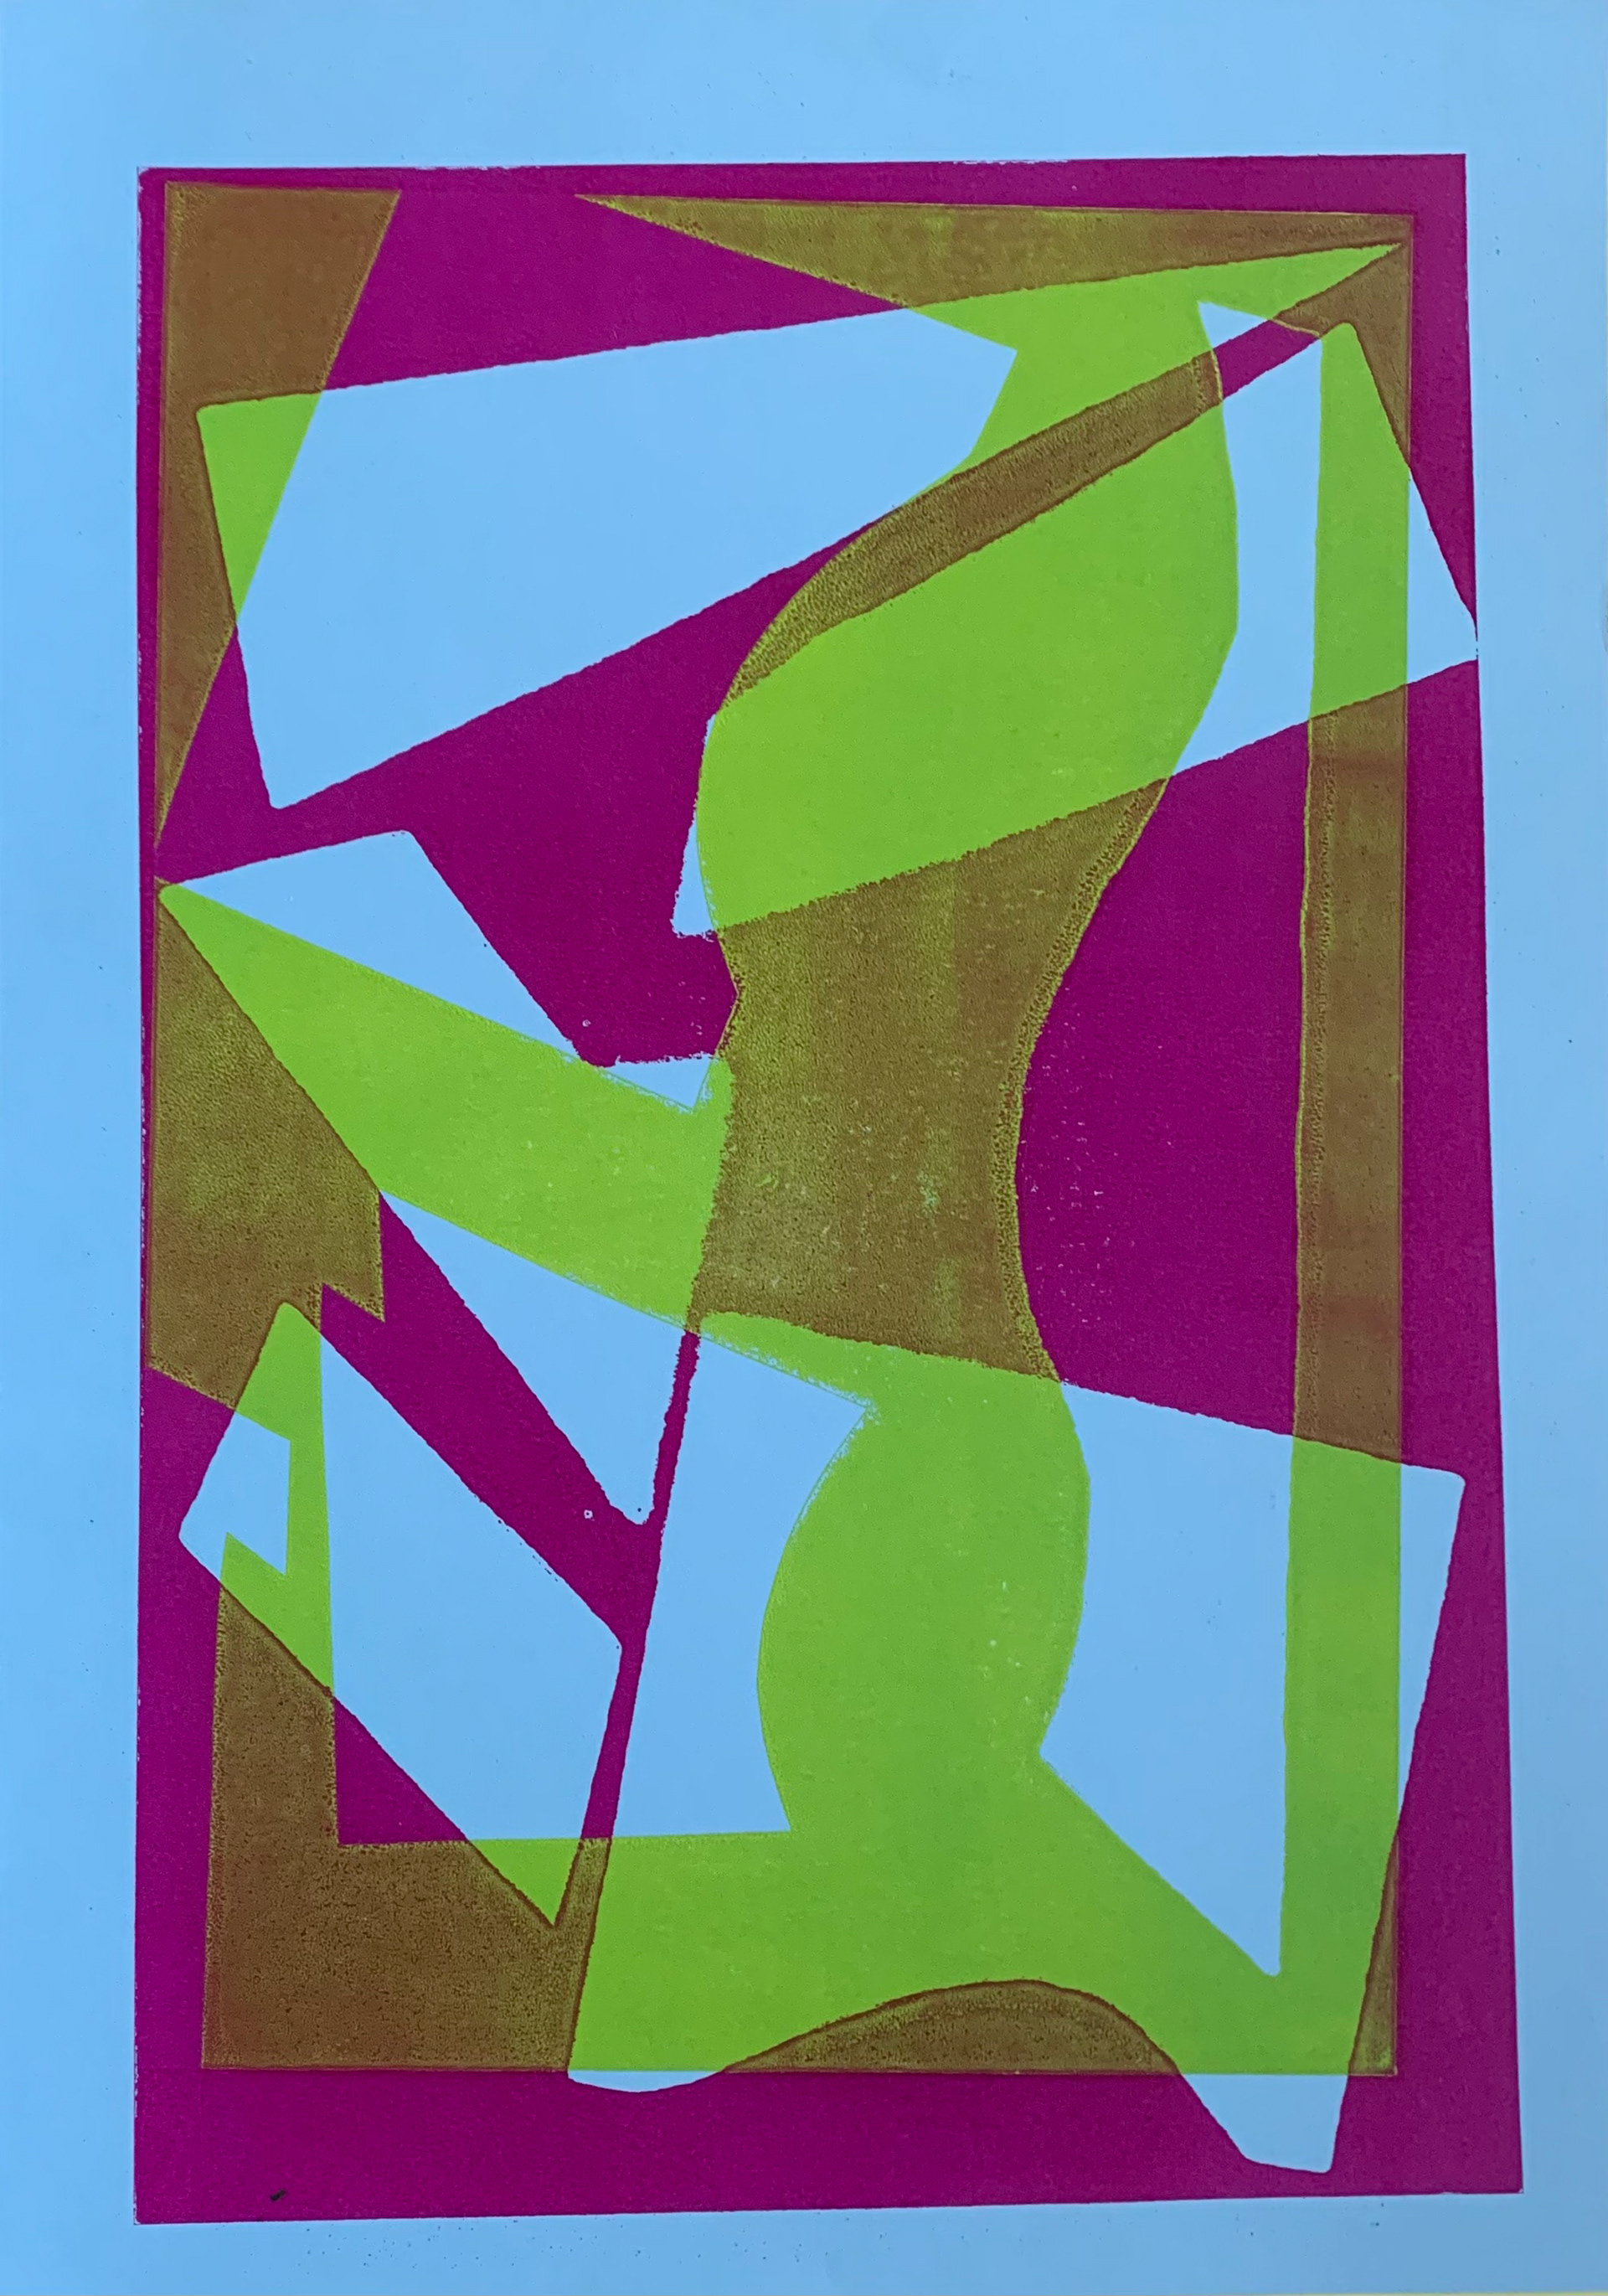
Relief print on paper, 29.7 x 42 cm
Relief print on paper, 29.7 x 42 cm

Relief print on paper, 29.7 x 42 cm
Relief print on paper, 29.7 x 42 cm
Relief print on paper, 29.7 x 42 cm

Relief print on paper, 29.7 x 42 cm
Relief print on paper, 29.7 x 42 cm
Relief print on paper, 14.8 x 21 cm

Relief print on paper, 14.8 x 21 cm

Relief print on paper, 14.8 x 21 cm

Relief print on paper, 14.8 x 21 cm
Monoprinting using the relief press, with paper stencils and this works better than screenprinting with paper stencils. The shapes are much more clearly defined. There are subtle patterns made from the ink and its interaction with the paper, it is never flat. These patterns made on the paper are a result of the amount and way I have inked up the plate, but also the grain and texture of the paper used. There is an uncontrollable element to the work, although it is controlled through my indirect actions.

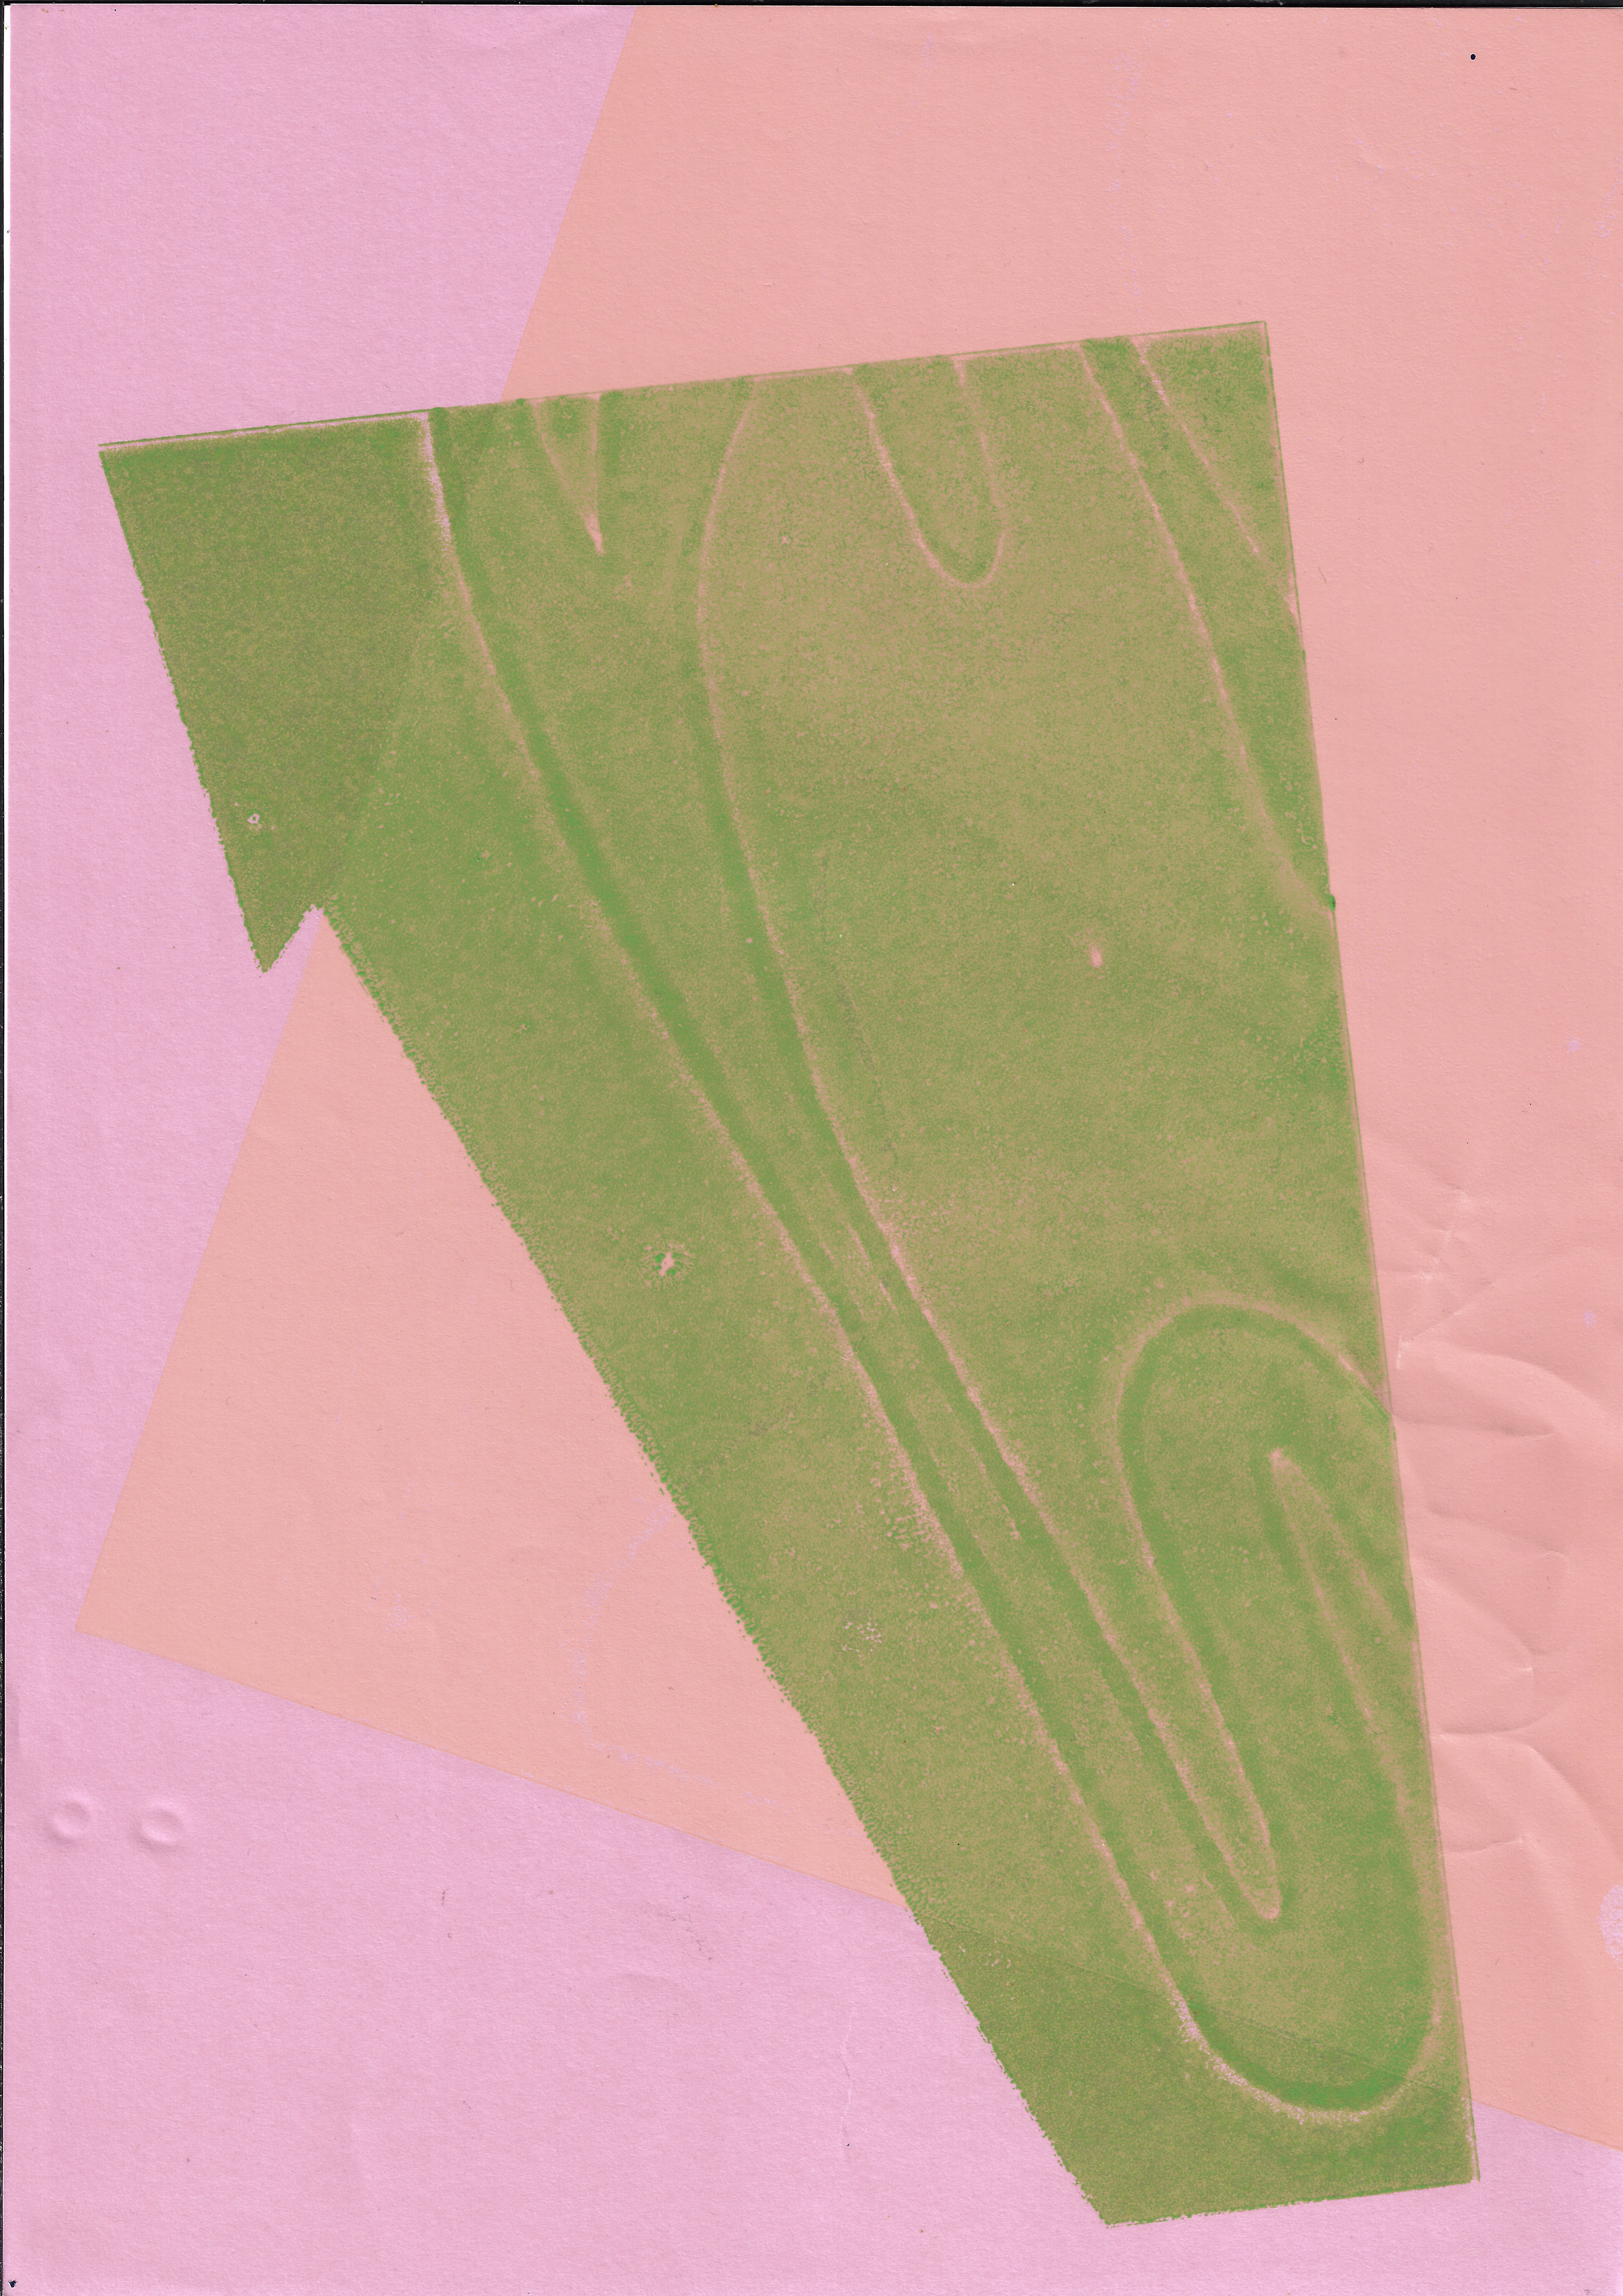
Preparing and editing an image of a digitised screenprint to be printed on a large scale. I scan the image in, in a high resolution to retain some of the material qualities of the screenprint as I do not want a completely flat image. I plan to not cut the shape out, but rather create a coloured background to add a further dialogue between the shape and the negative space. Additionally, I invert and mirror the image, adding a symmetrical dimension to the dialogue.
I cut in half a digital print I had made for the previous unit of work. When I put this up in a studio space, I do not align the two pieces, to create a disjuncture and further the tension.


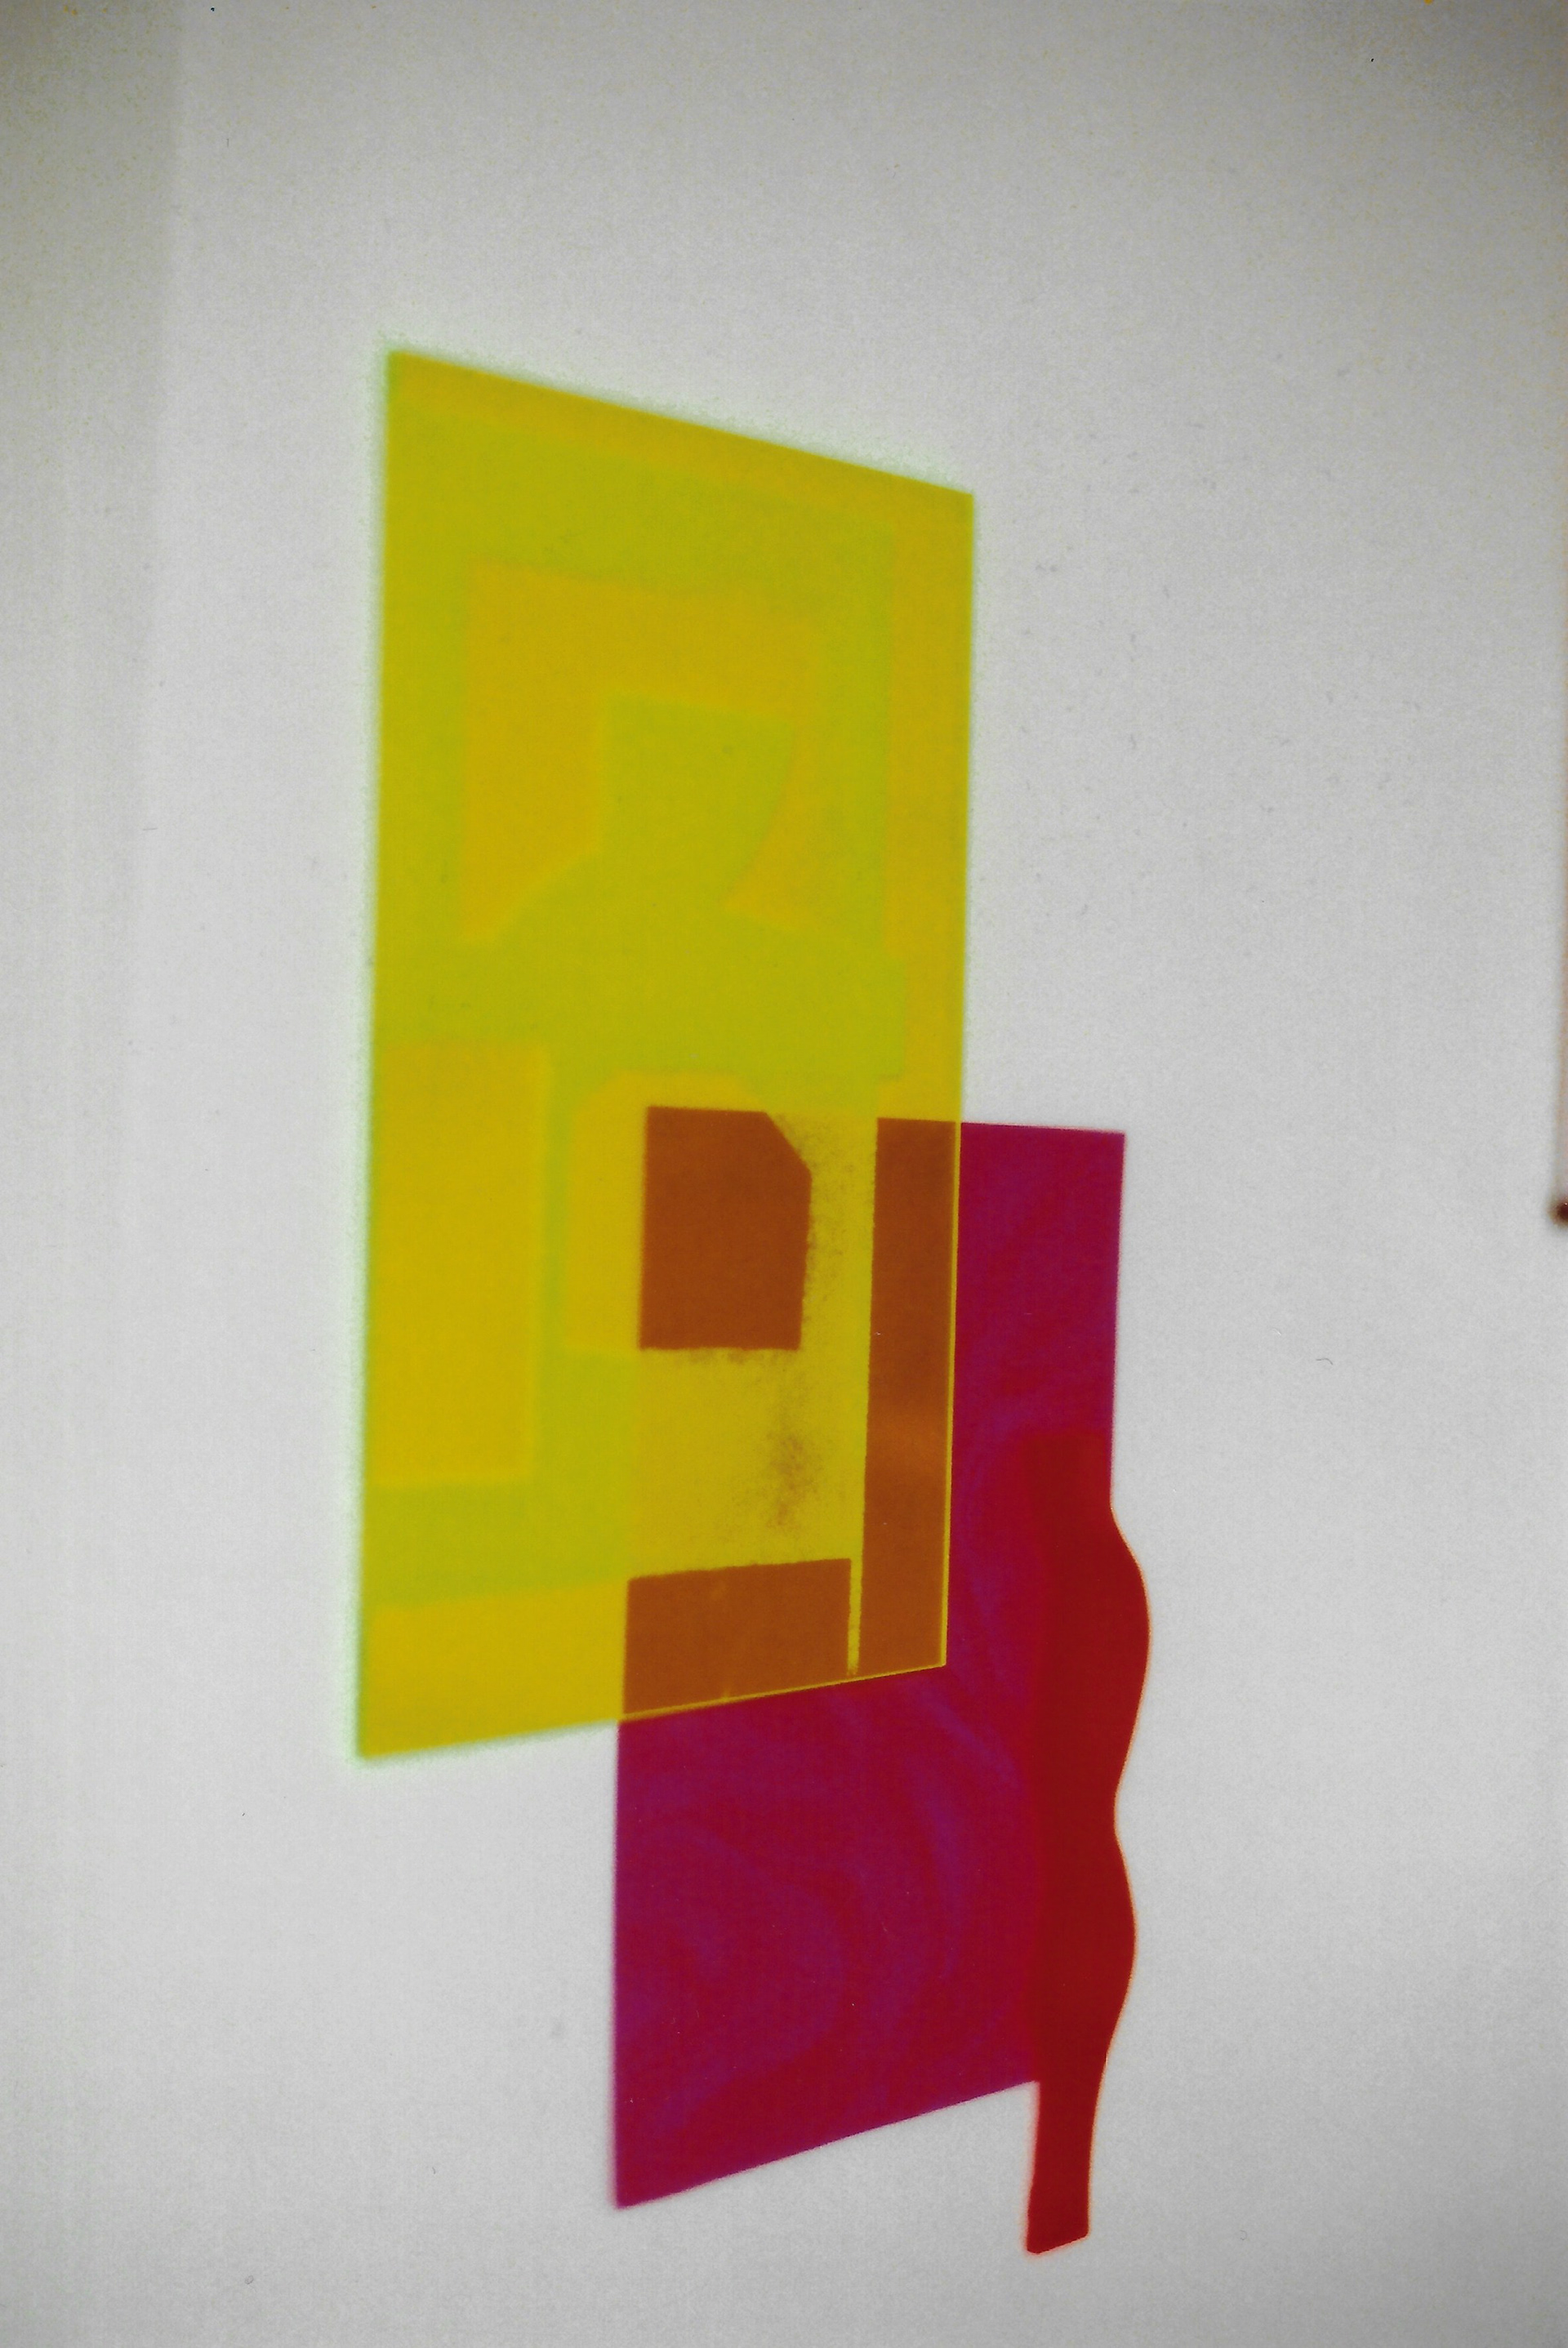
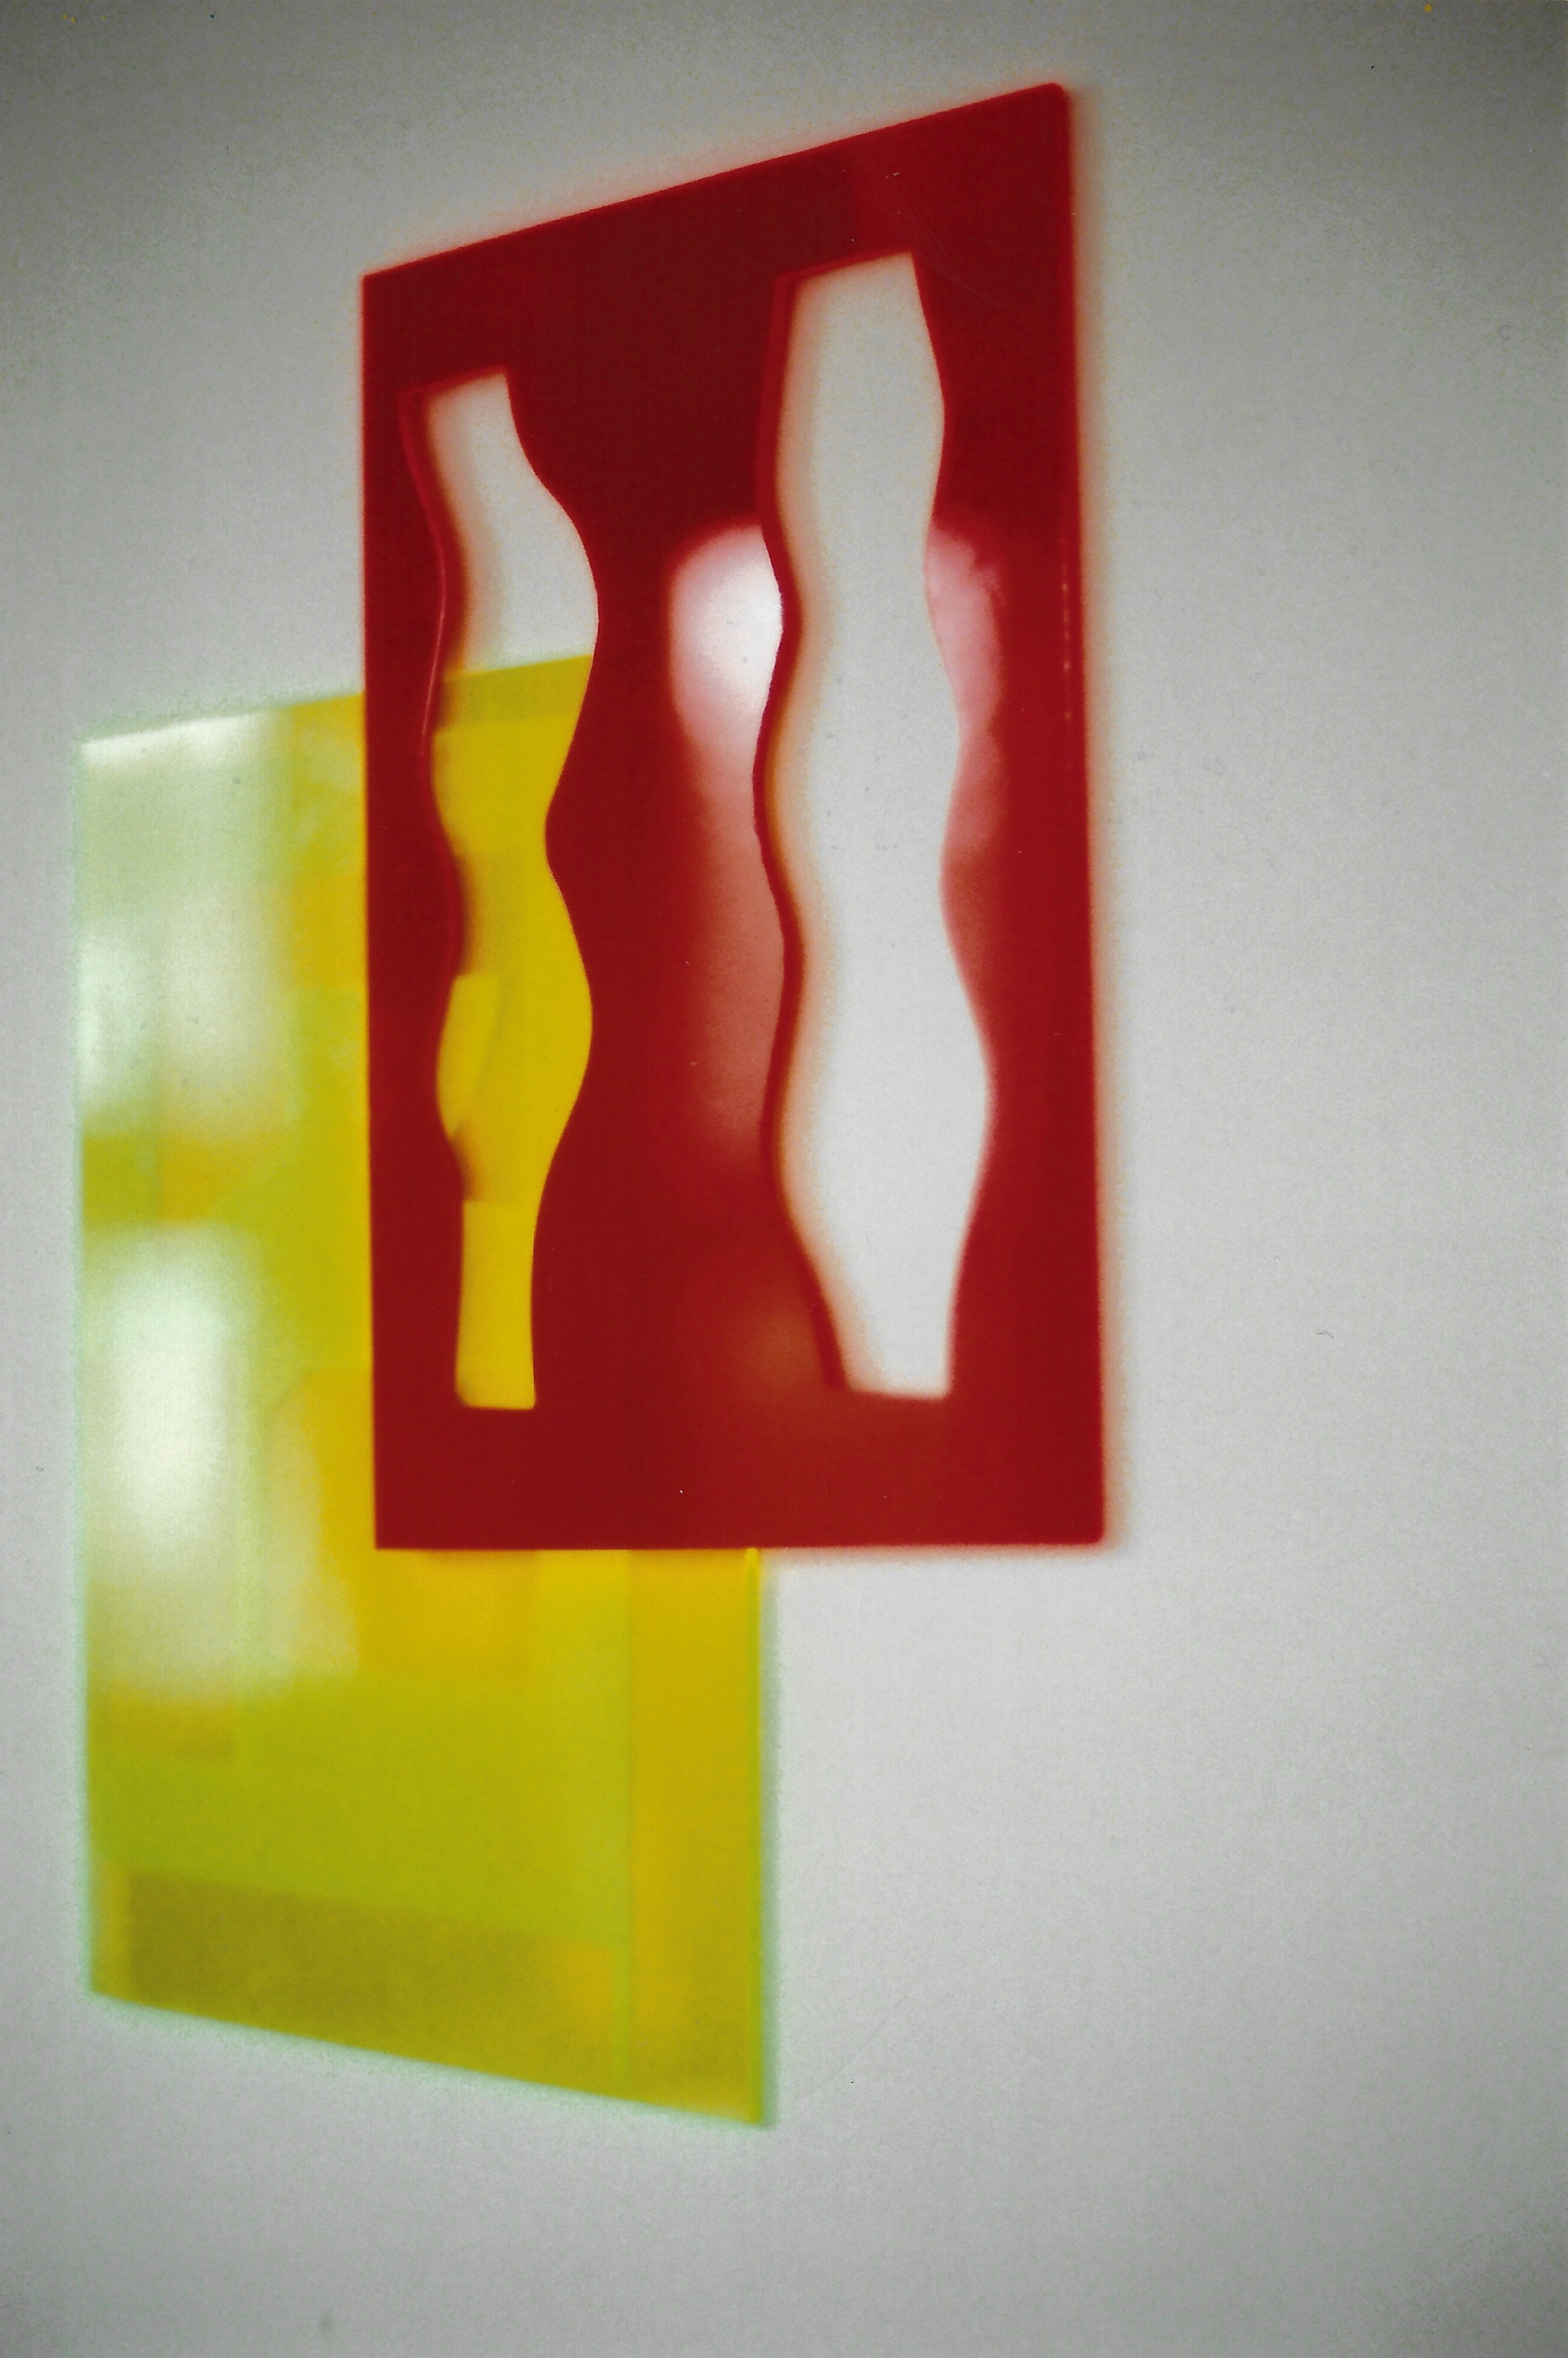
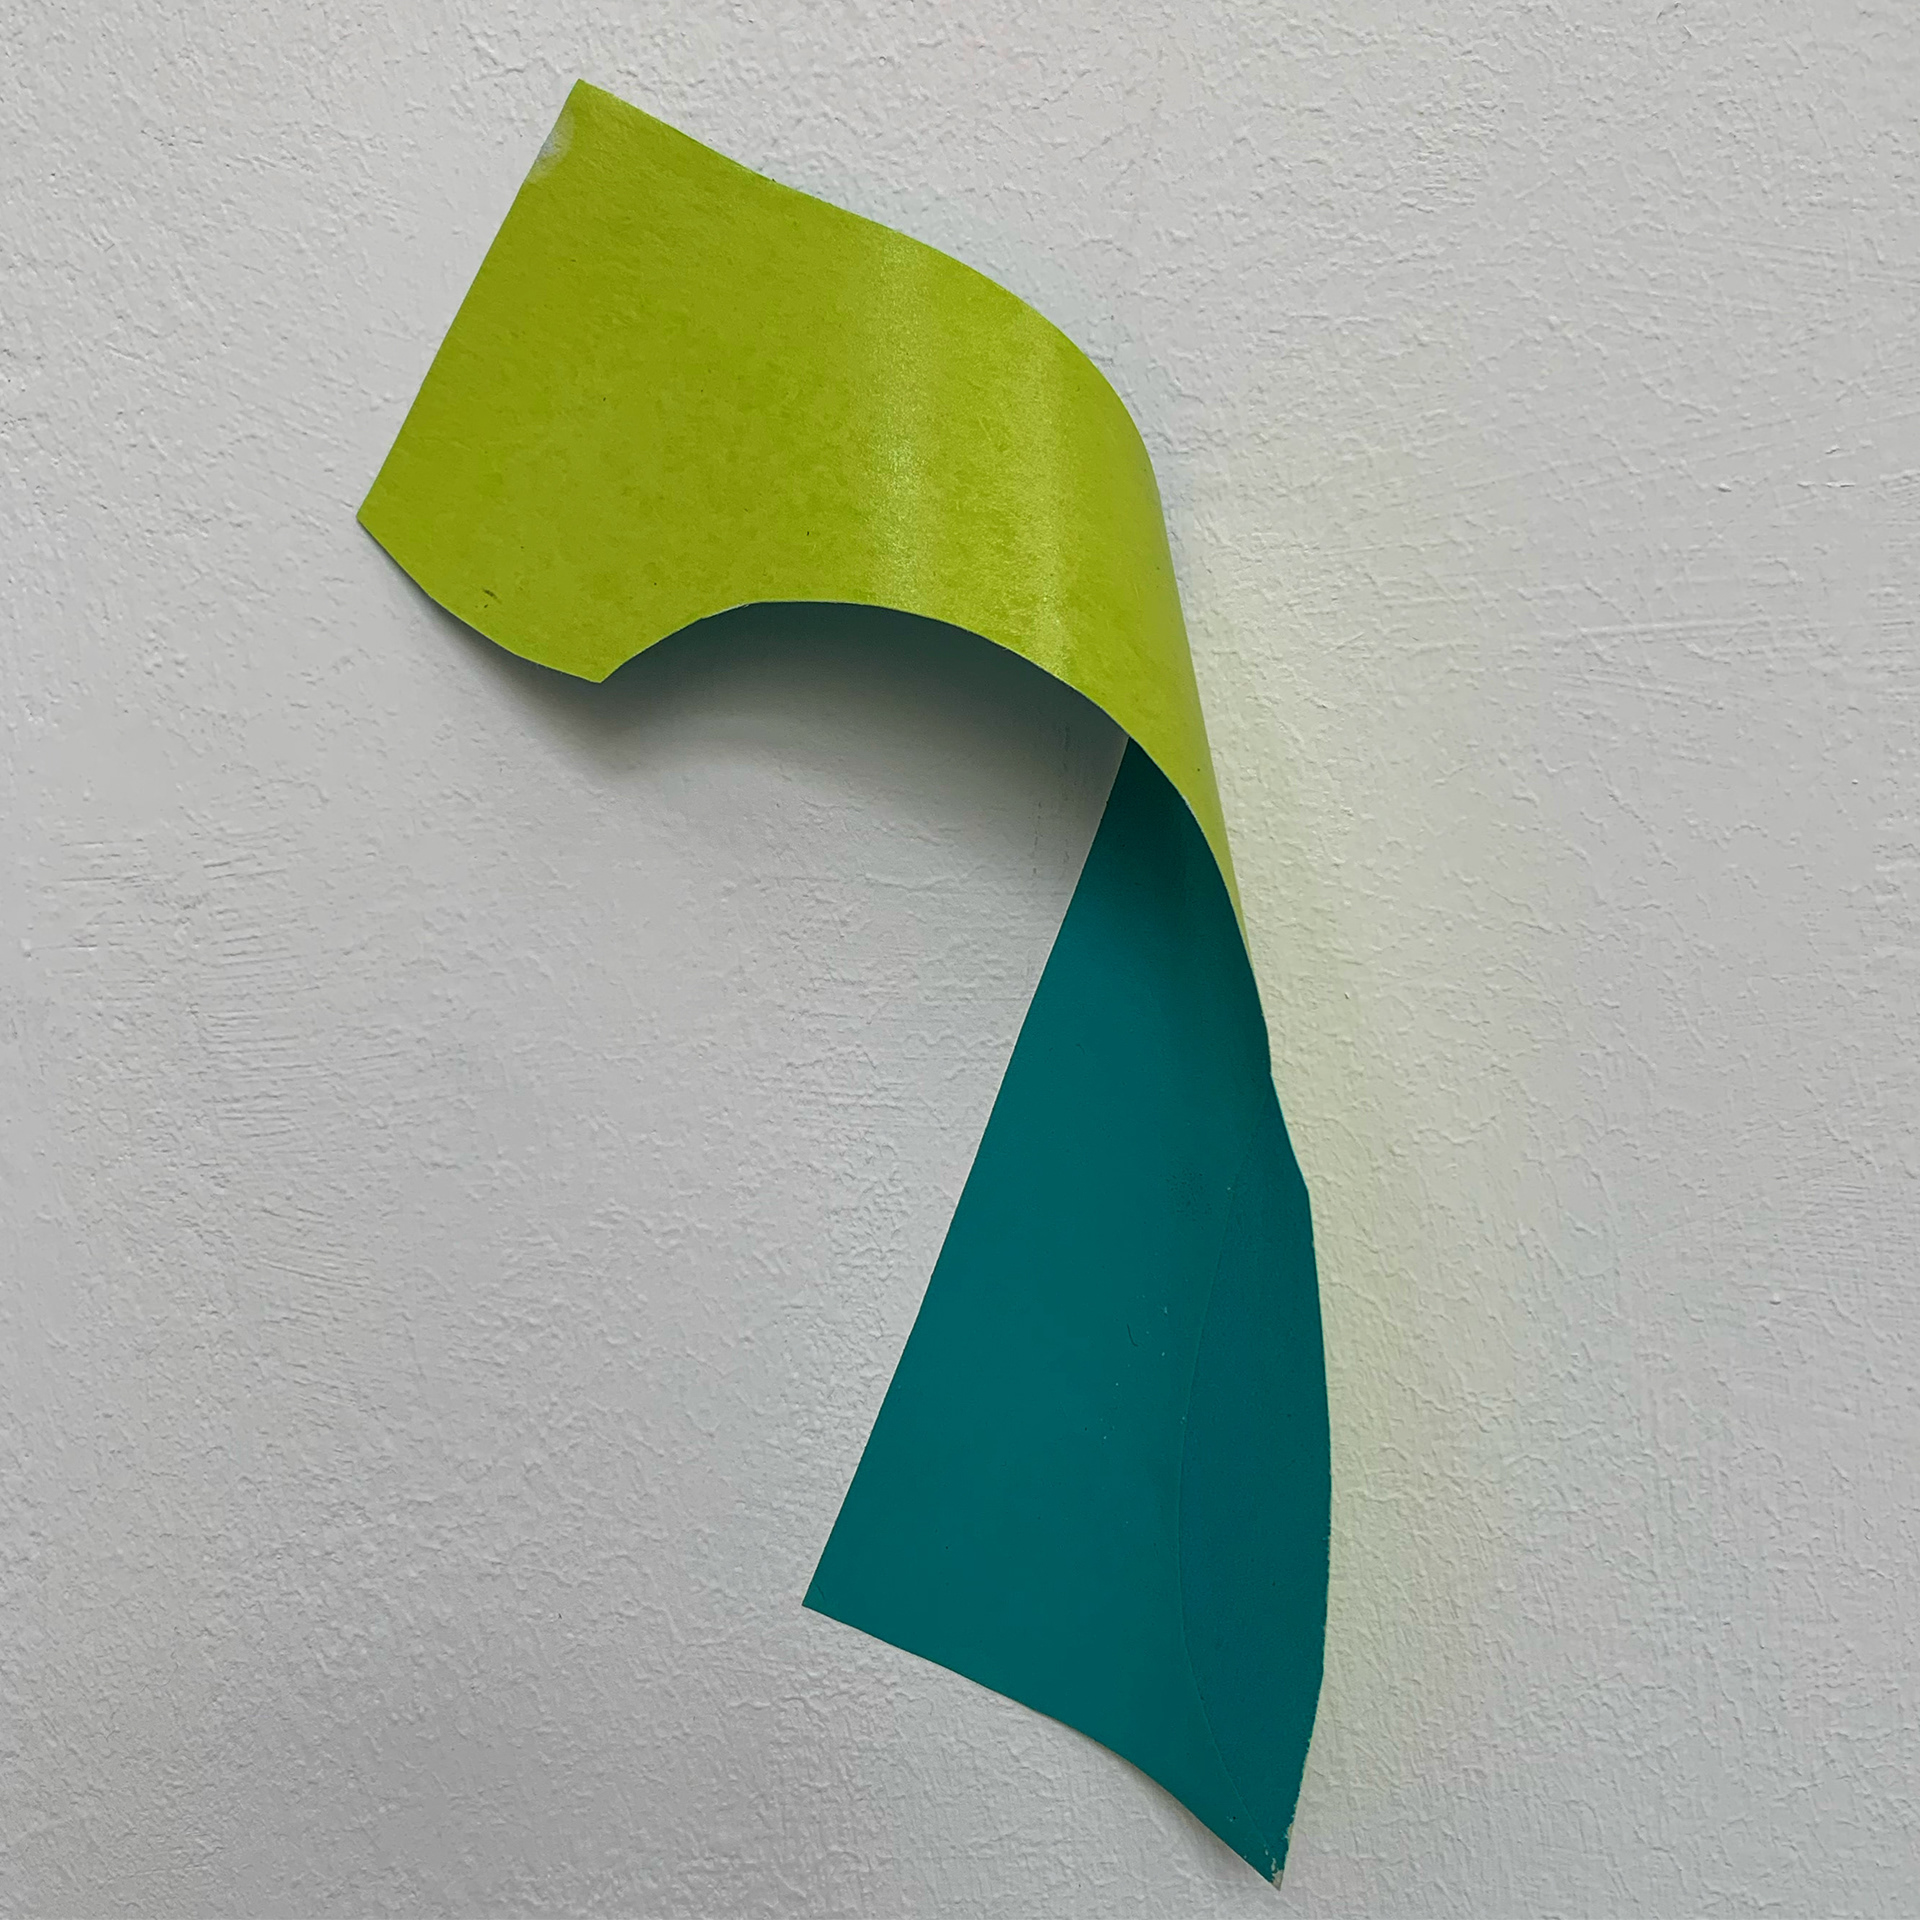
I continue with screenprinting the earlier collaged screenprint. I print on both sides of a thin piece of perspex to use for experimentation of display. I attach one side to the wall and twist it then attach the opposite side to the wall. I have not tried this with any material other than paper, so I am interested in the perception of a similar display technique but with different material qualities.

Sketchbook page, 21 x 29.7 cm

Sketchbook page, 21 x 29.7 cm

Sketchbook page, 21 x 29.7 cm
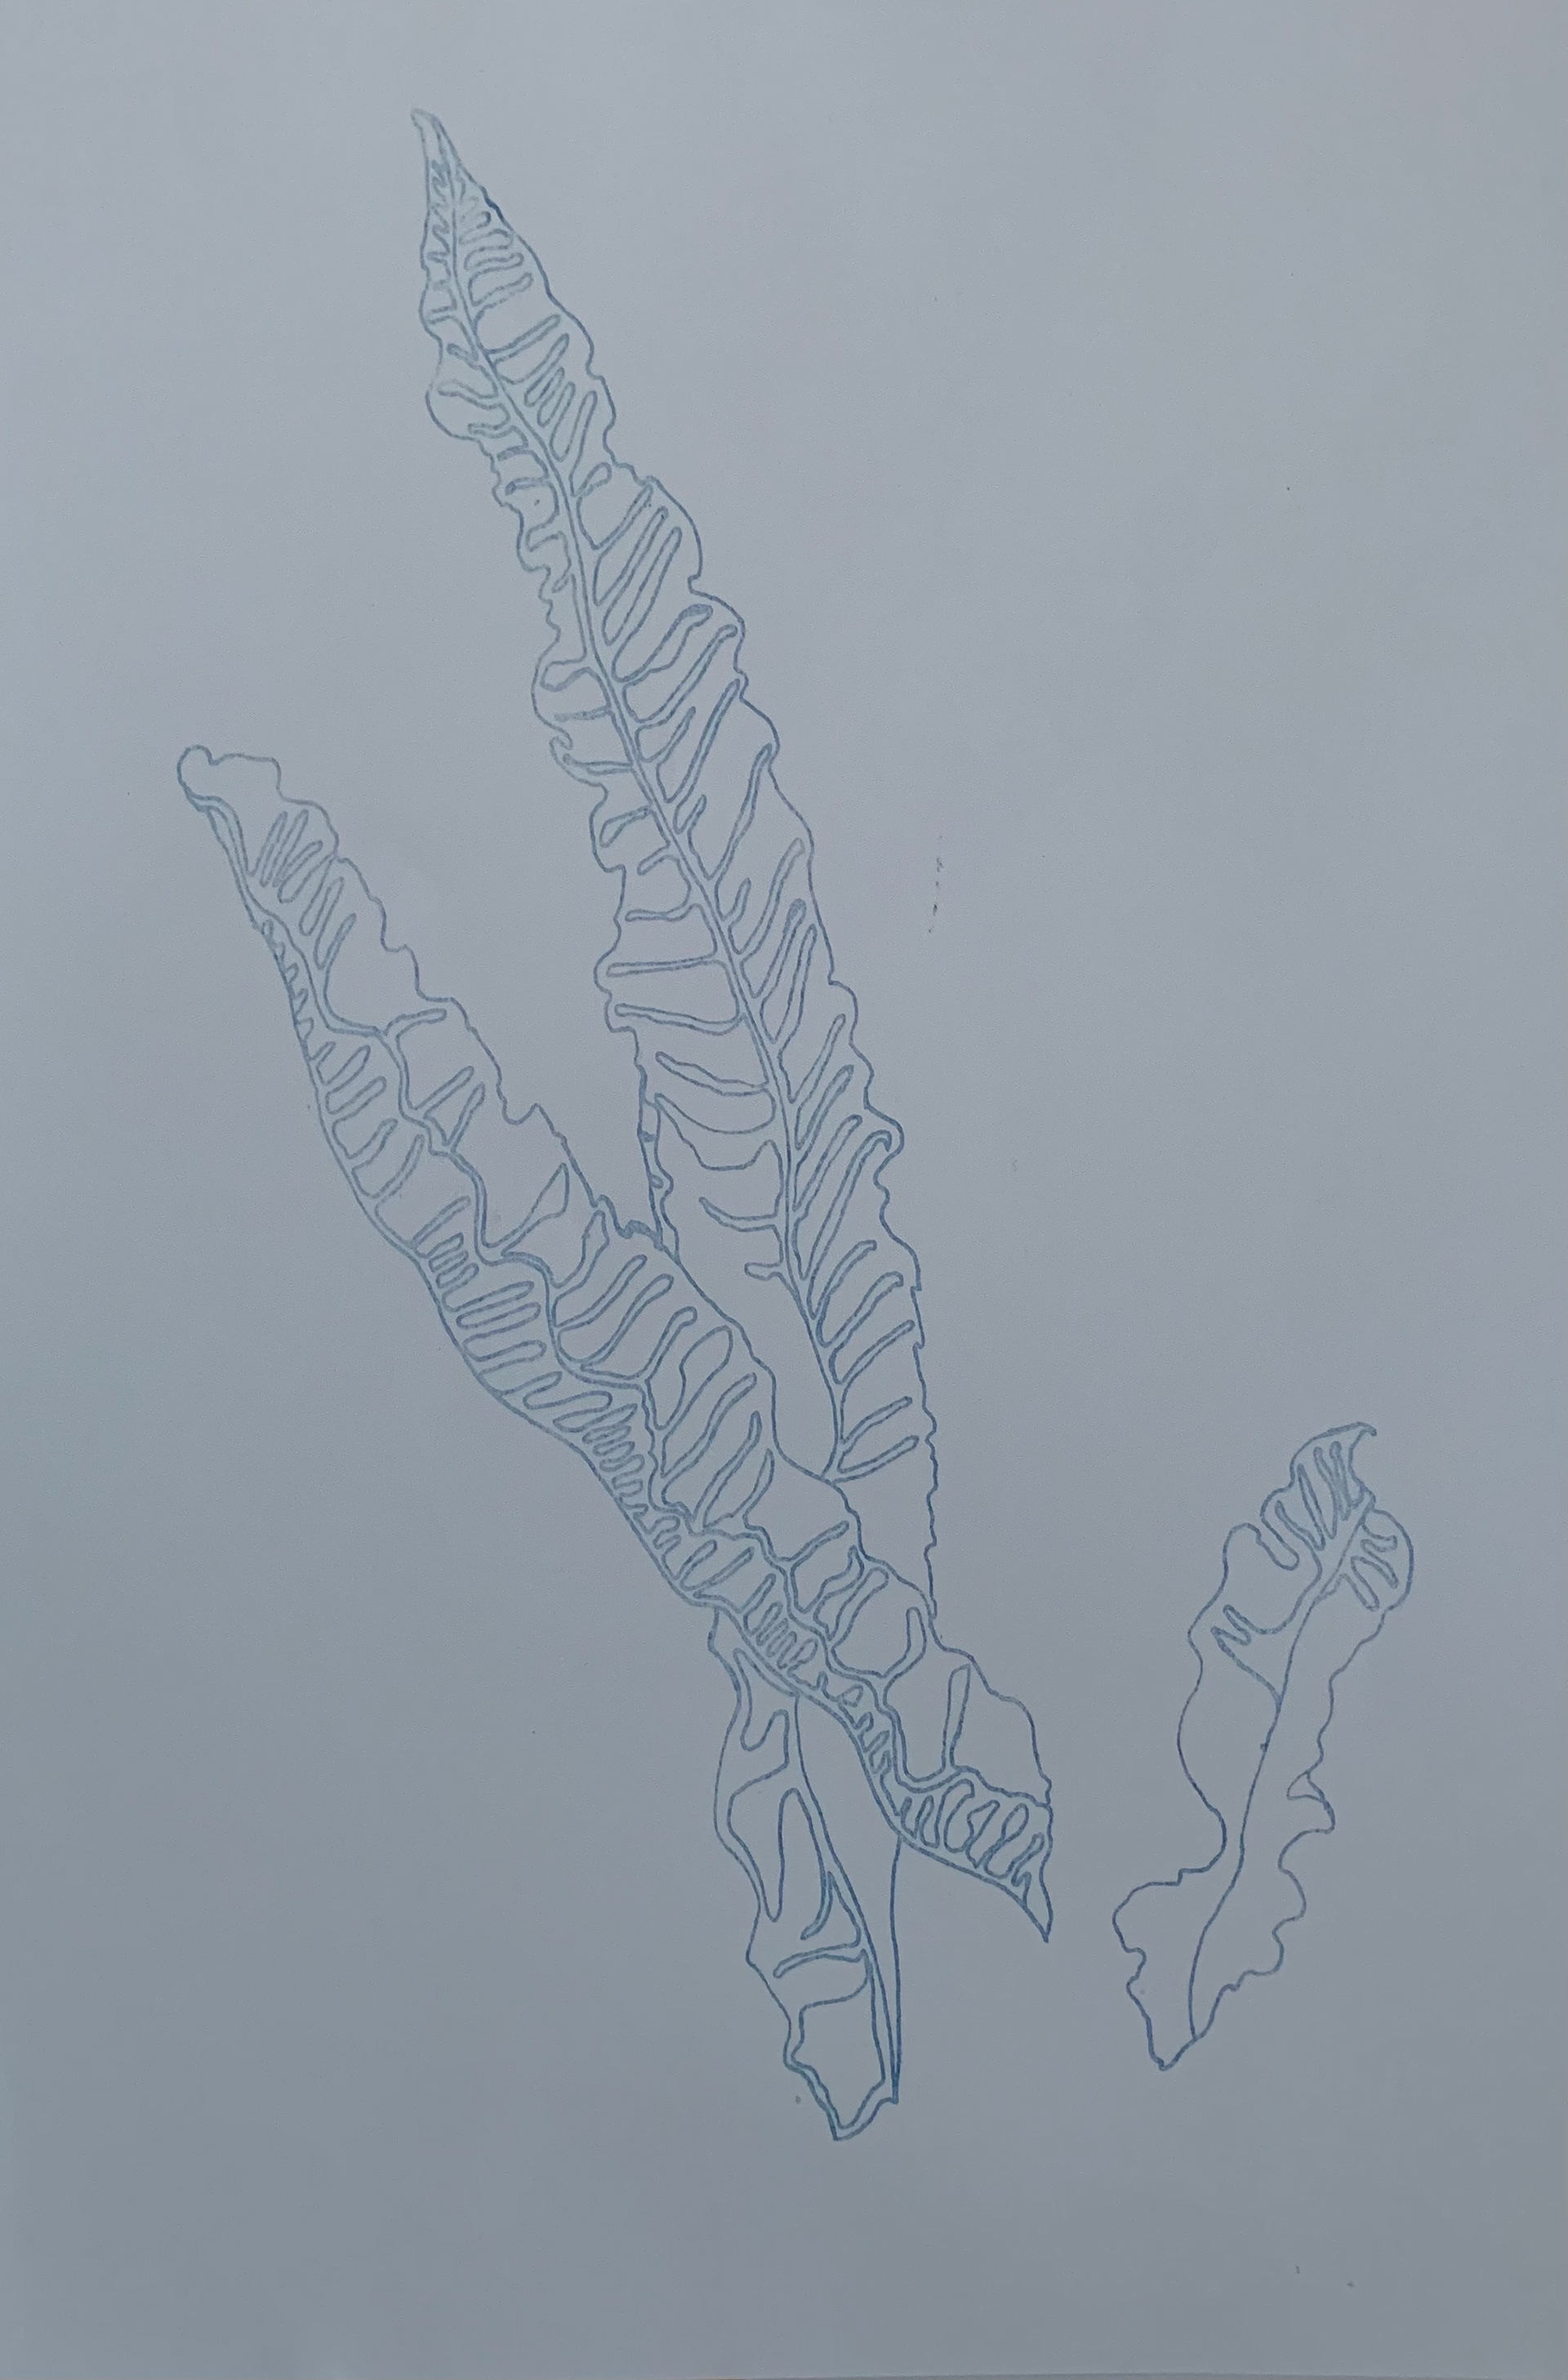
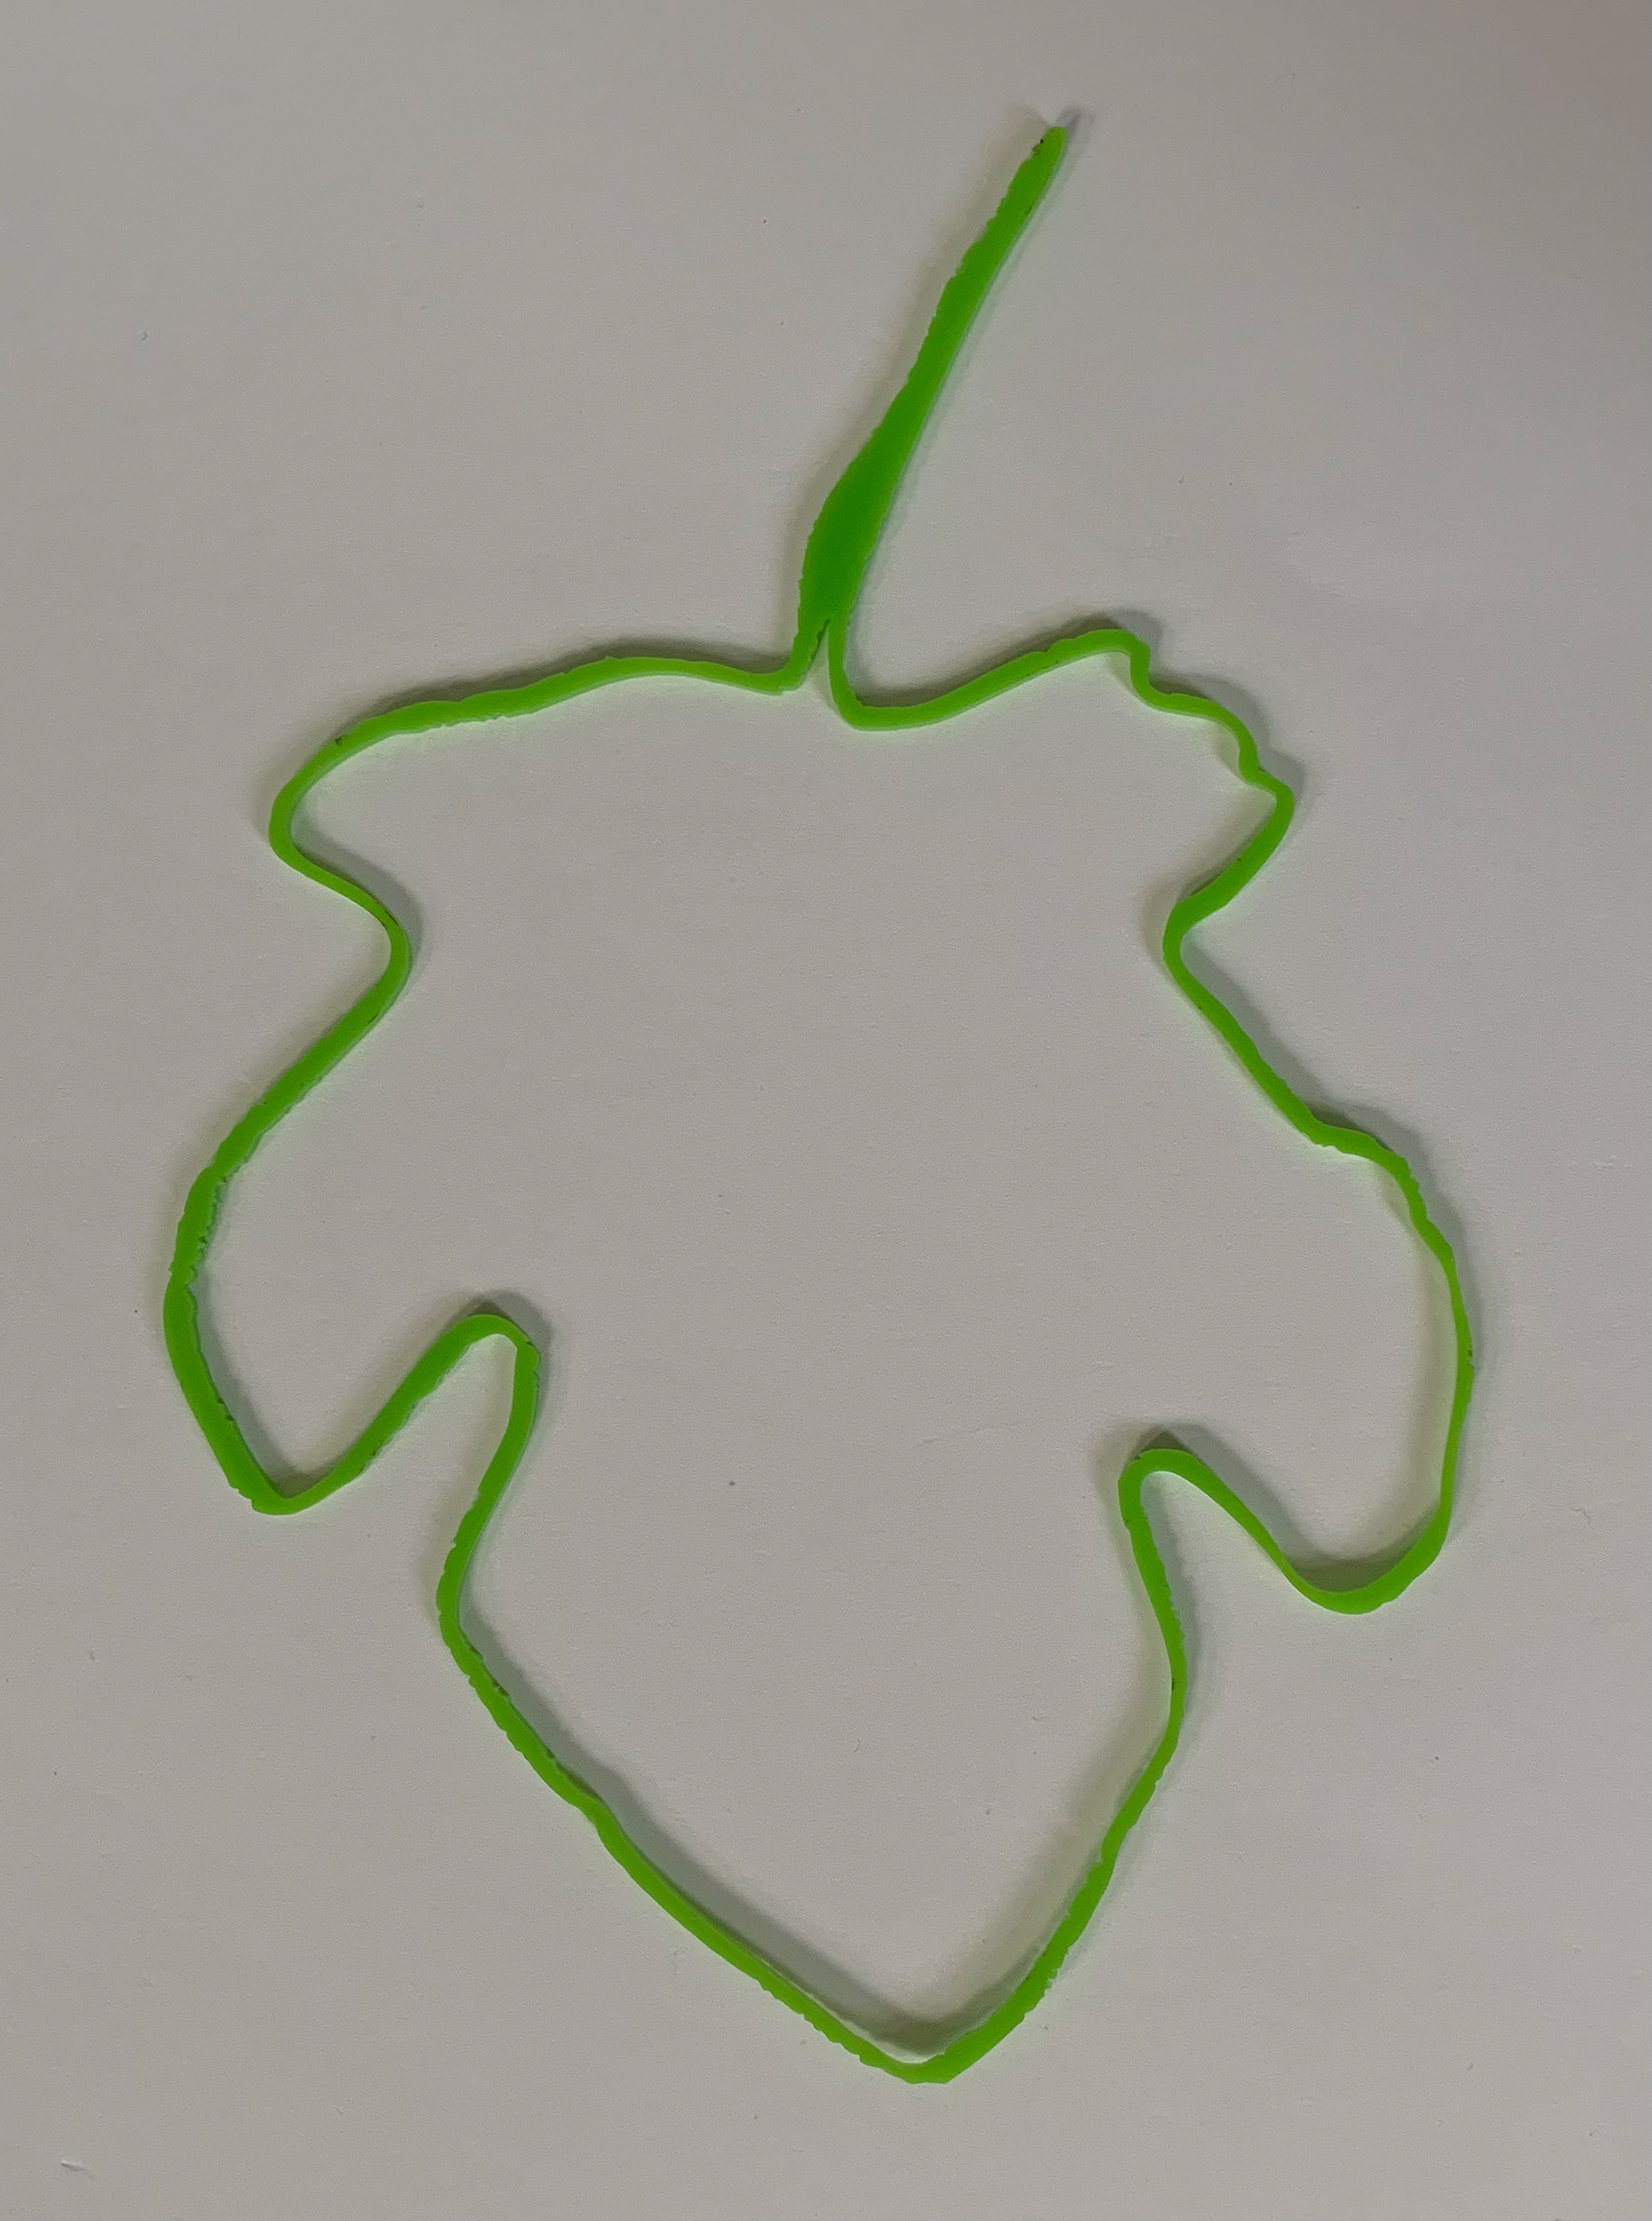
Draw some leaves eaten by caterpillars, just like nature edits the form of the leaf so do I through interpreting it.


I make different stencils to use in monoprinting, exploring the combination of the curved and the straight line, but also the seemingly straight hand drawn line and the ruler drawn line. This emphasises how the human eye subtly corrects visual information to create a sense of balance, so the line is perceived to be straight even though on close inspection, it is not.
I save all the ink I use to monoprint with, meaning I have a large collection of colours with subtle differences between each. This helps me visualise and plan the combinations of colours in my work.
Sketchbook page, 21 x 29.7 cm

Sketchbook page, 21 x 29.7 cm
Sketchbook page, 21 x 29.7 cm

I go back to the coast to record the different lines and notice how this environment is remarkably different to both the countryside and the city. The forms here are natural but still very different to the countryside. The effects of the sea water are what makes this environment remarkably different, I take photographs using the analogue camera and I do some observational drawing.
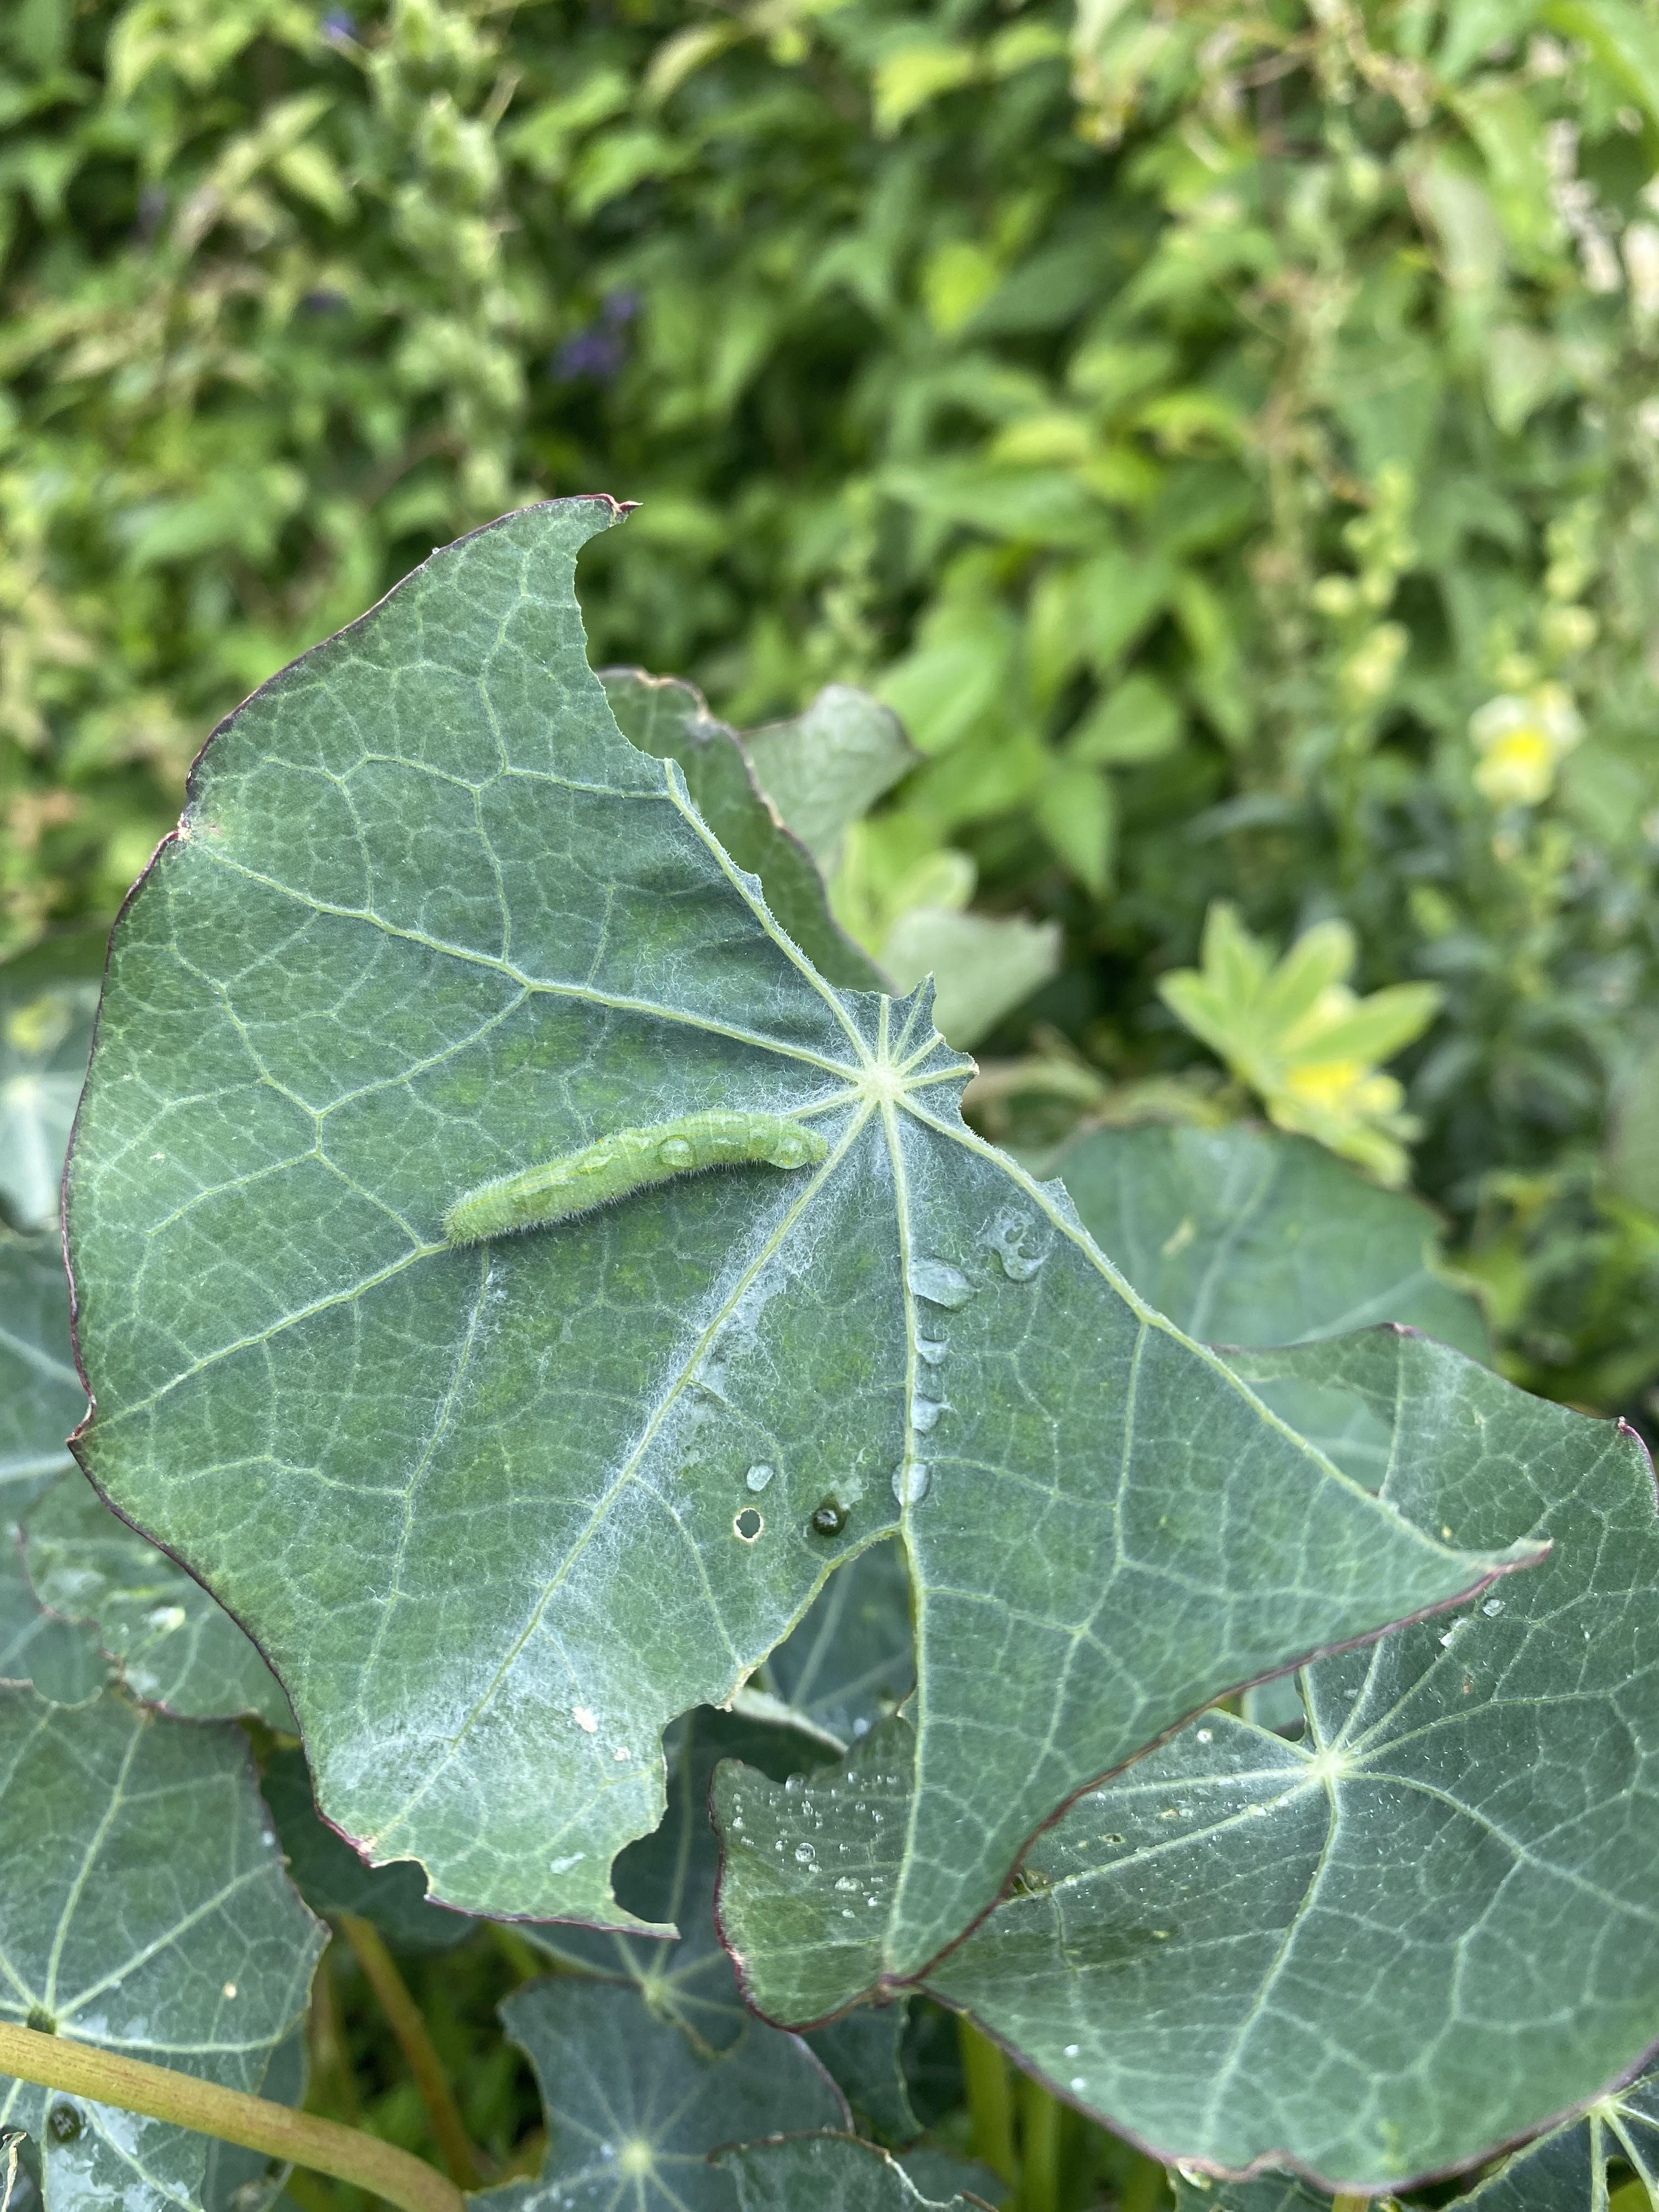

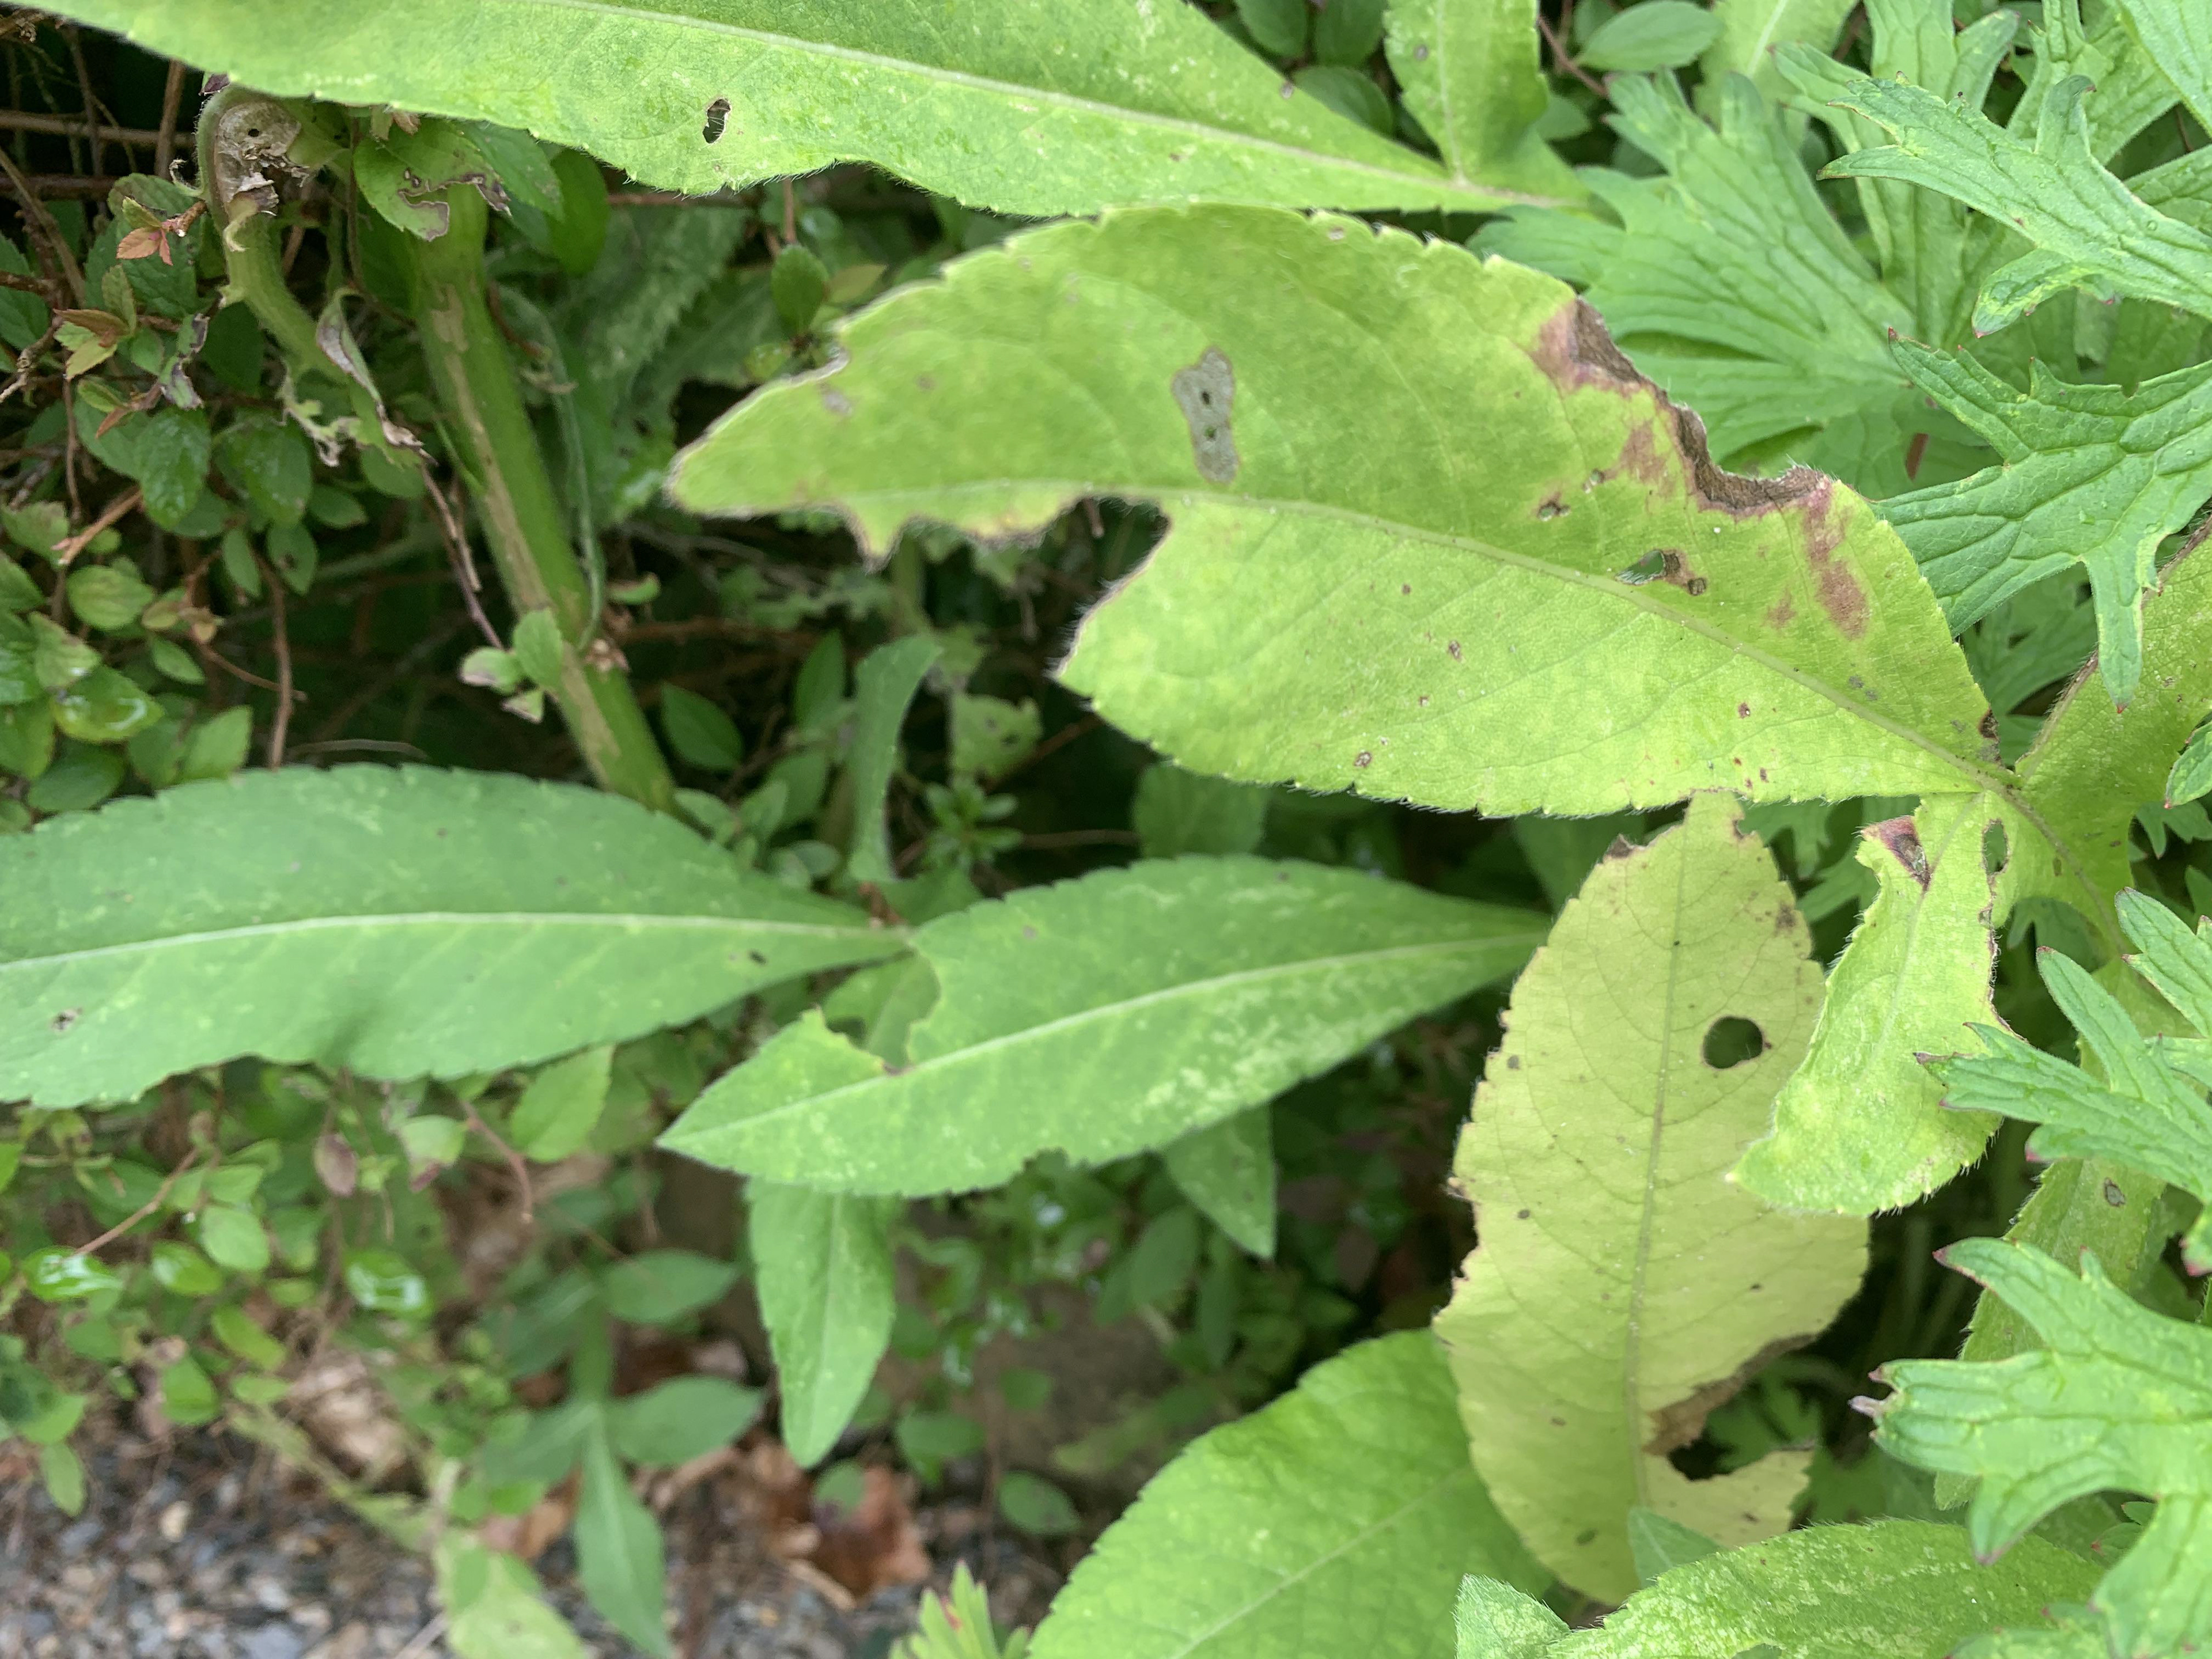


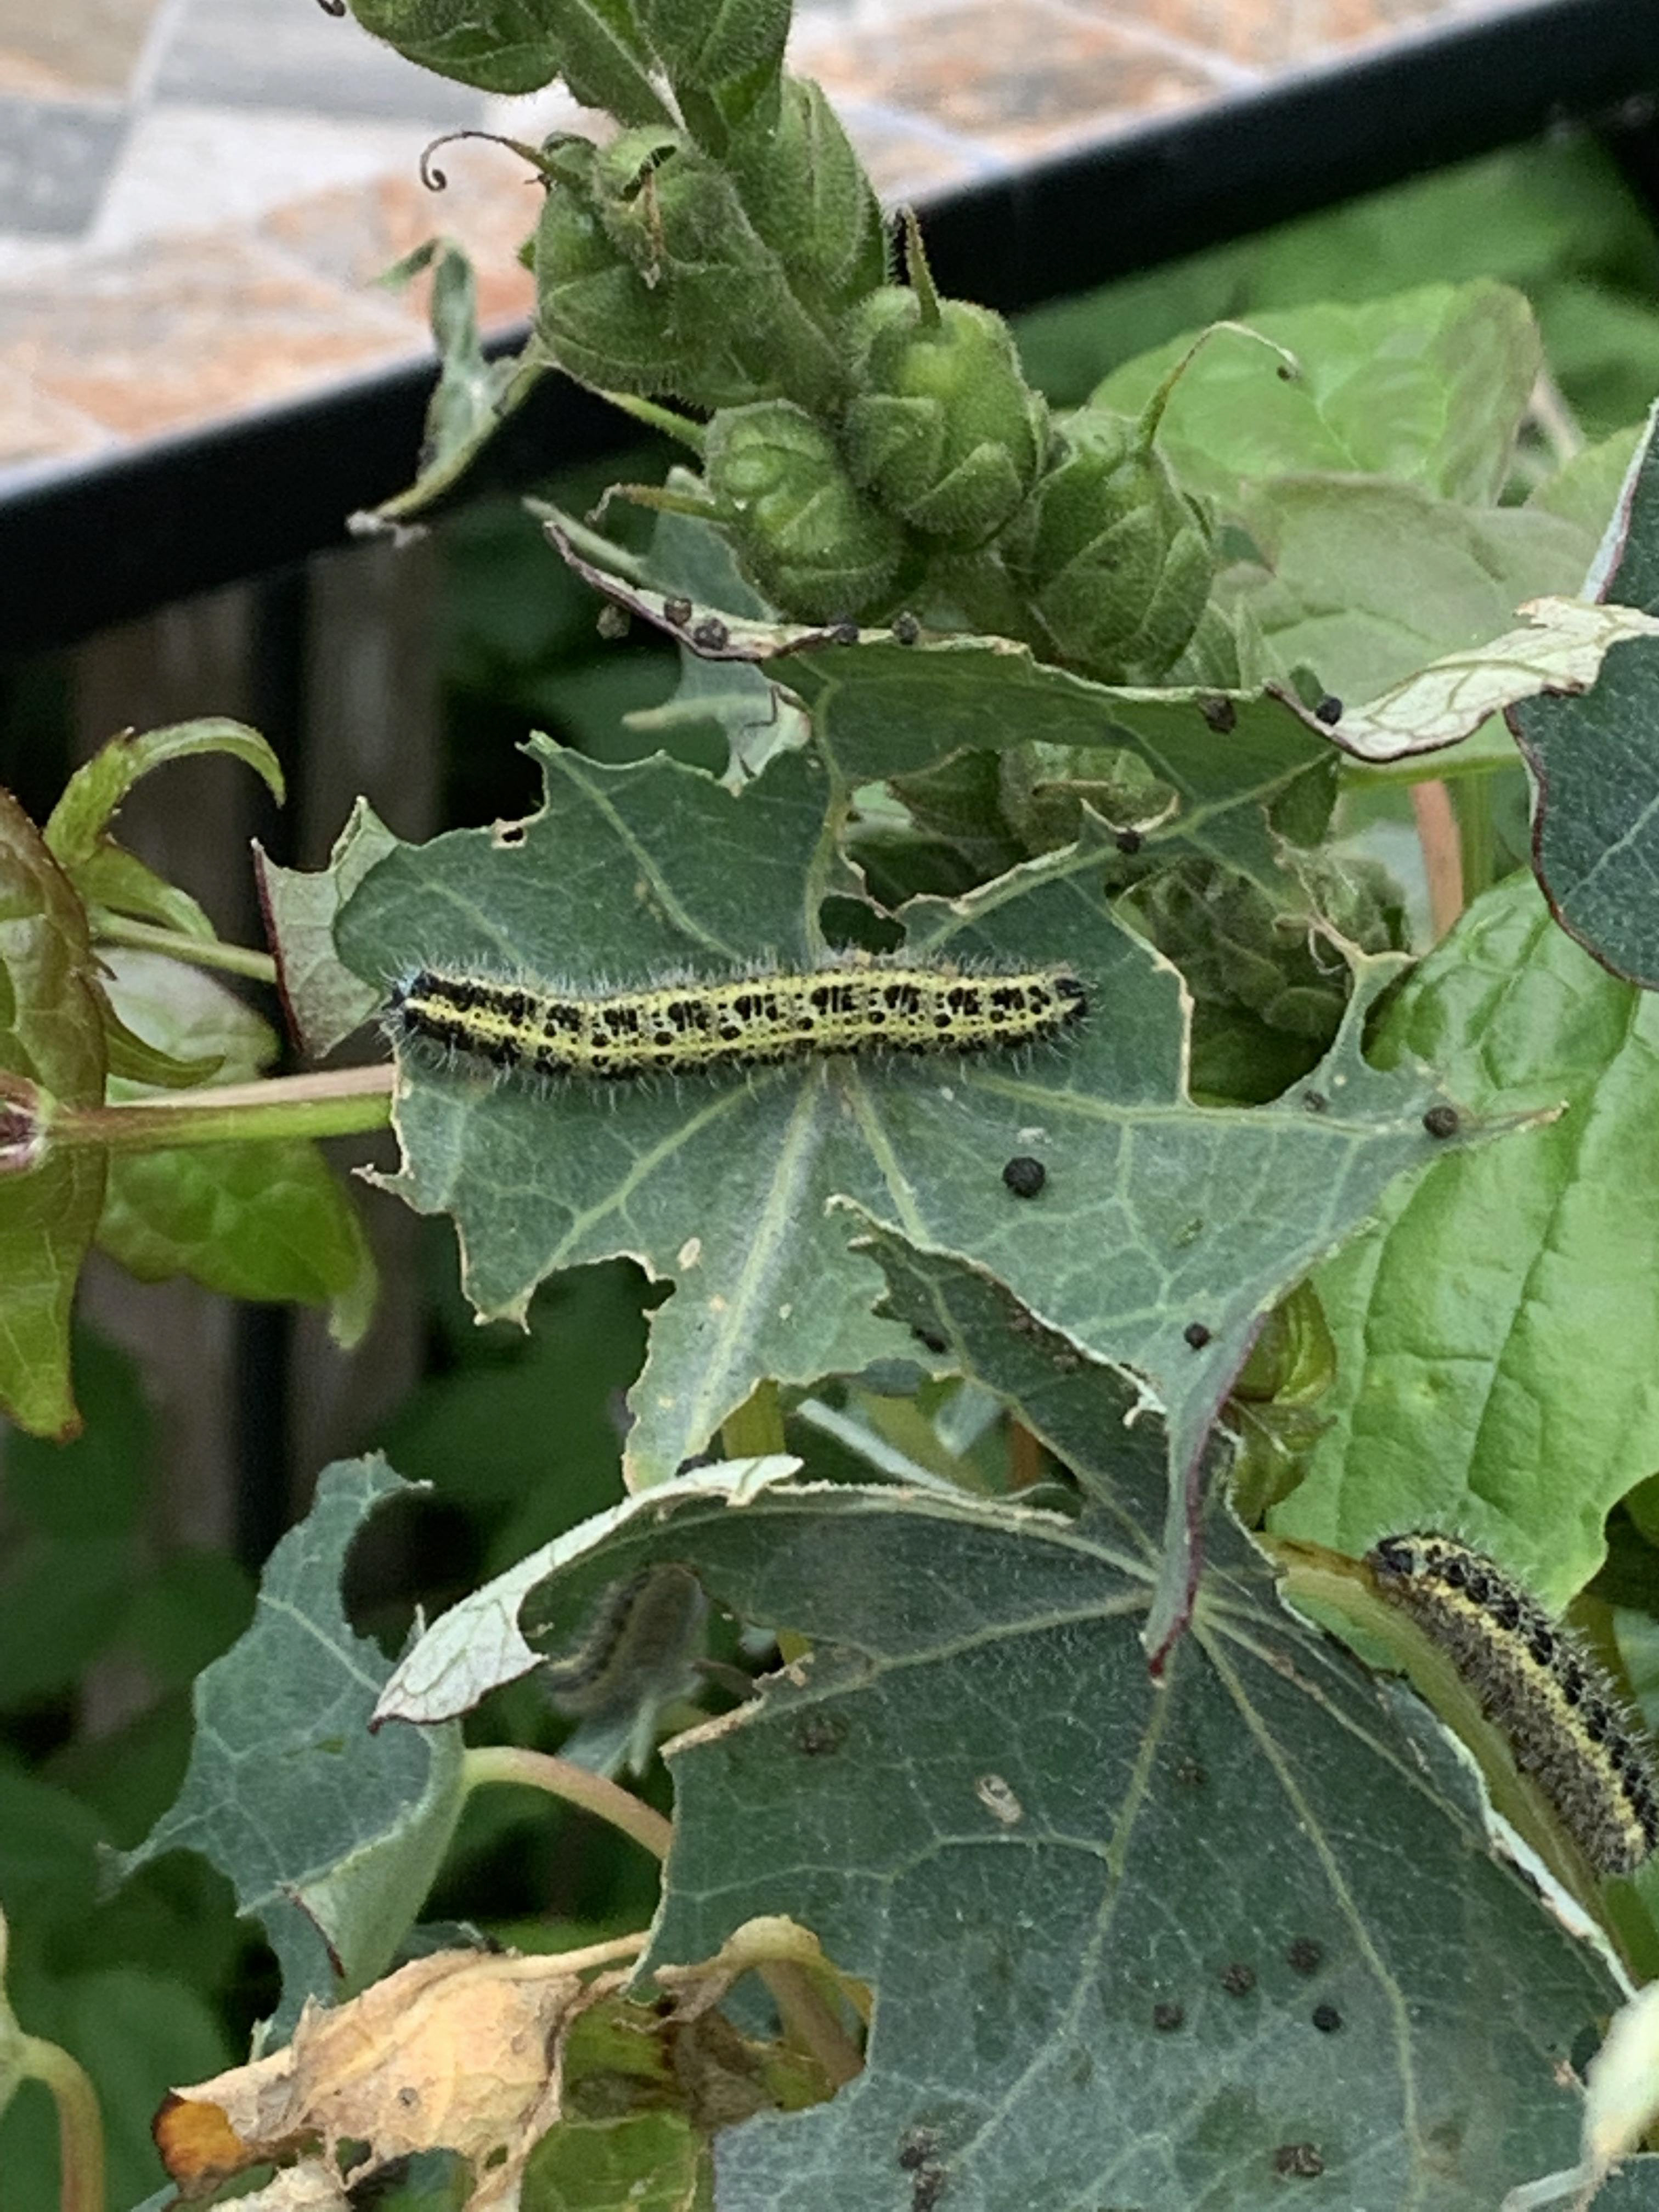

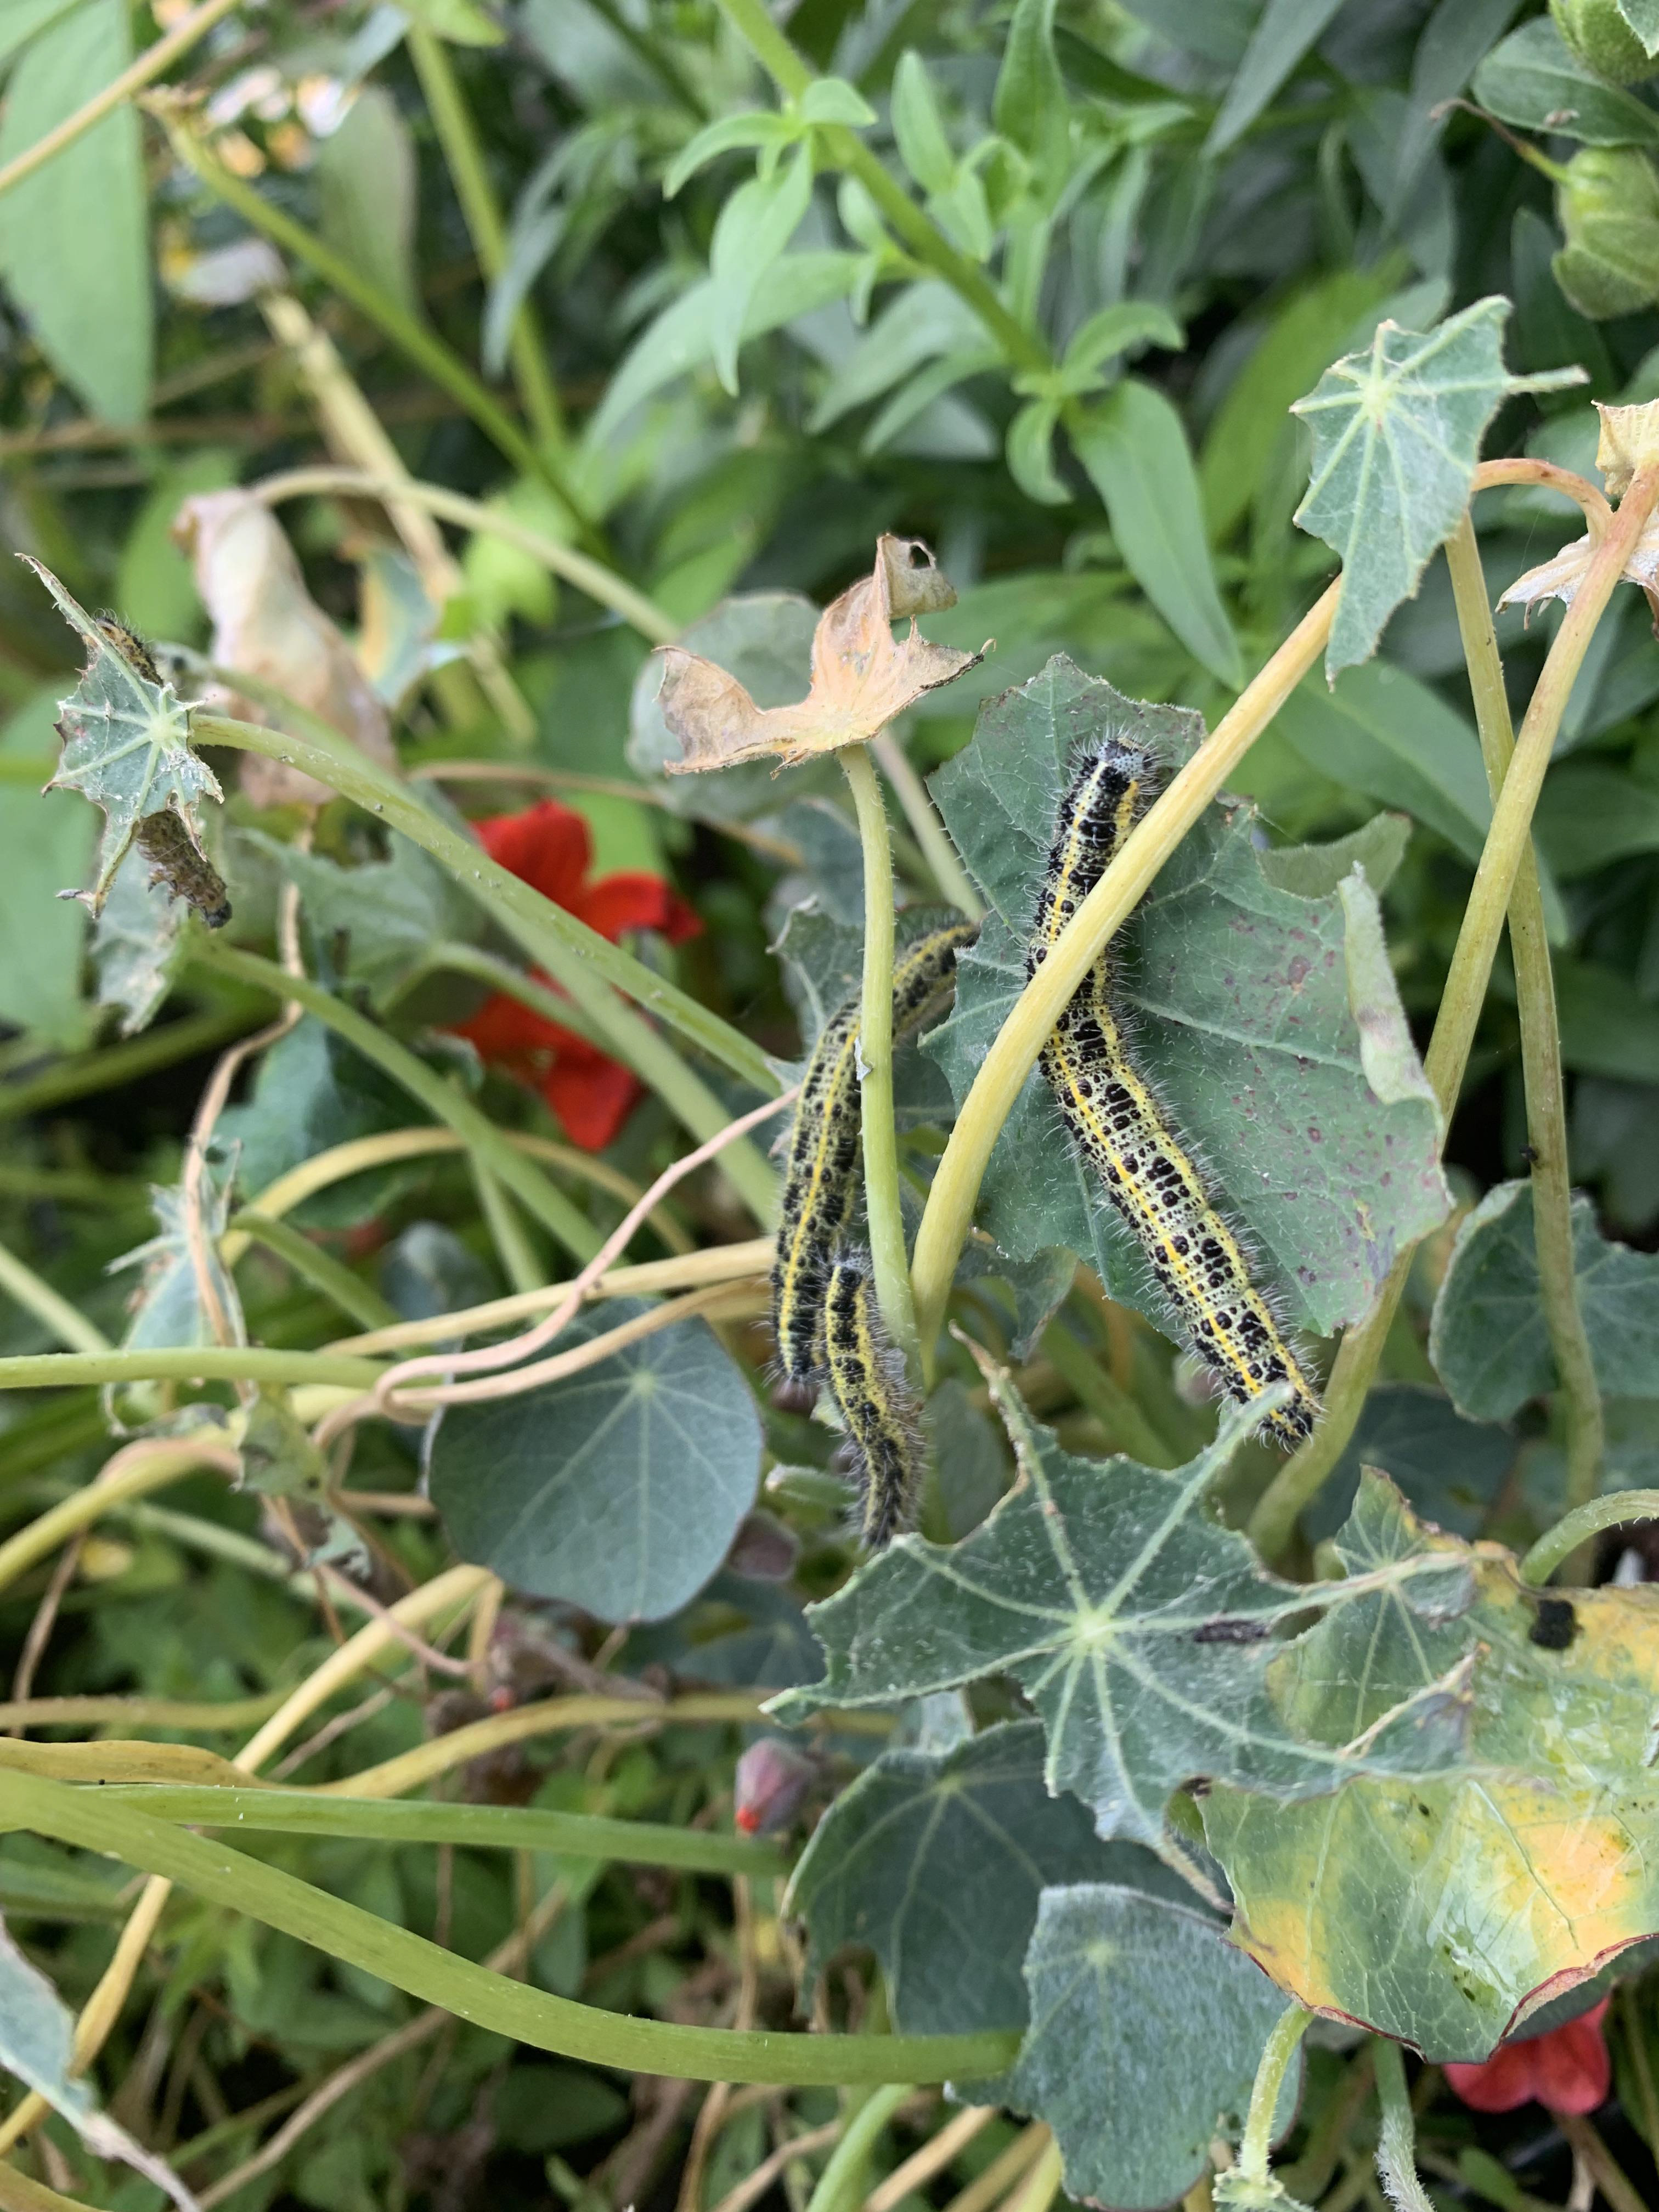

I return to the countryside and record the different leaves and how these have been eaten by caterpillars. The forms have been edited in their natural environment.
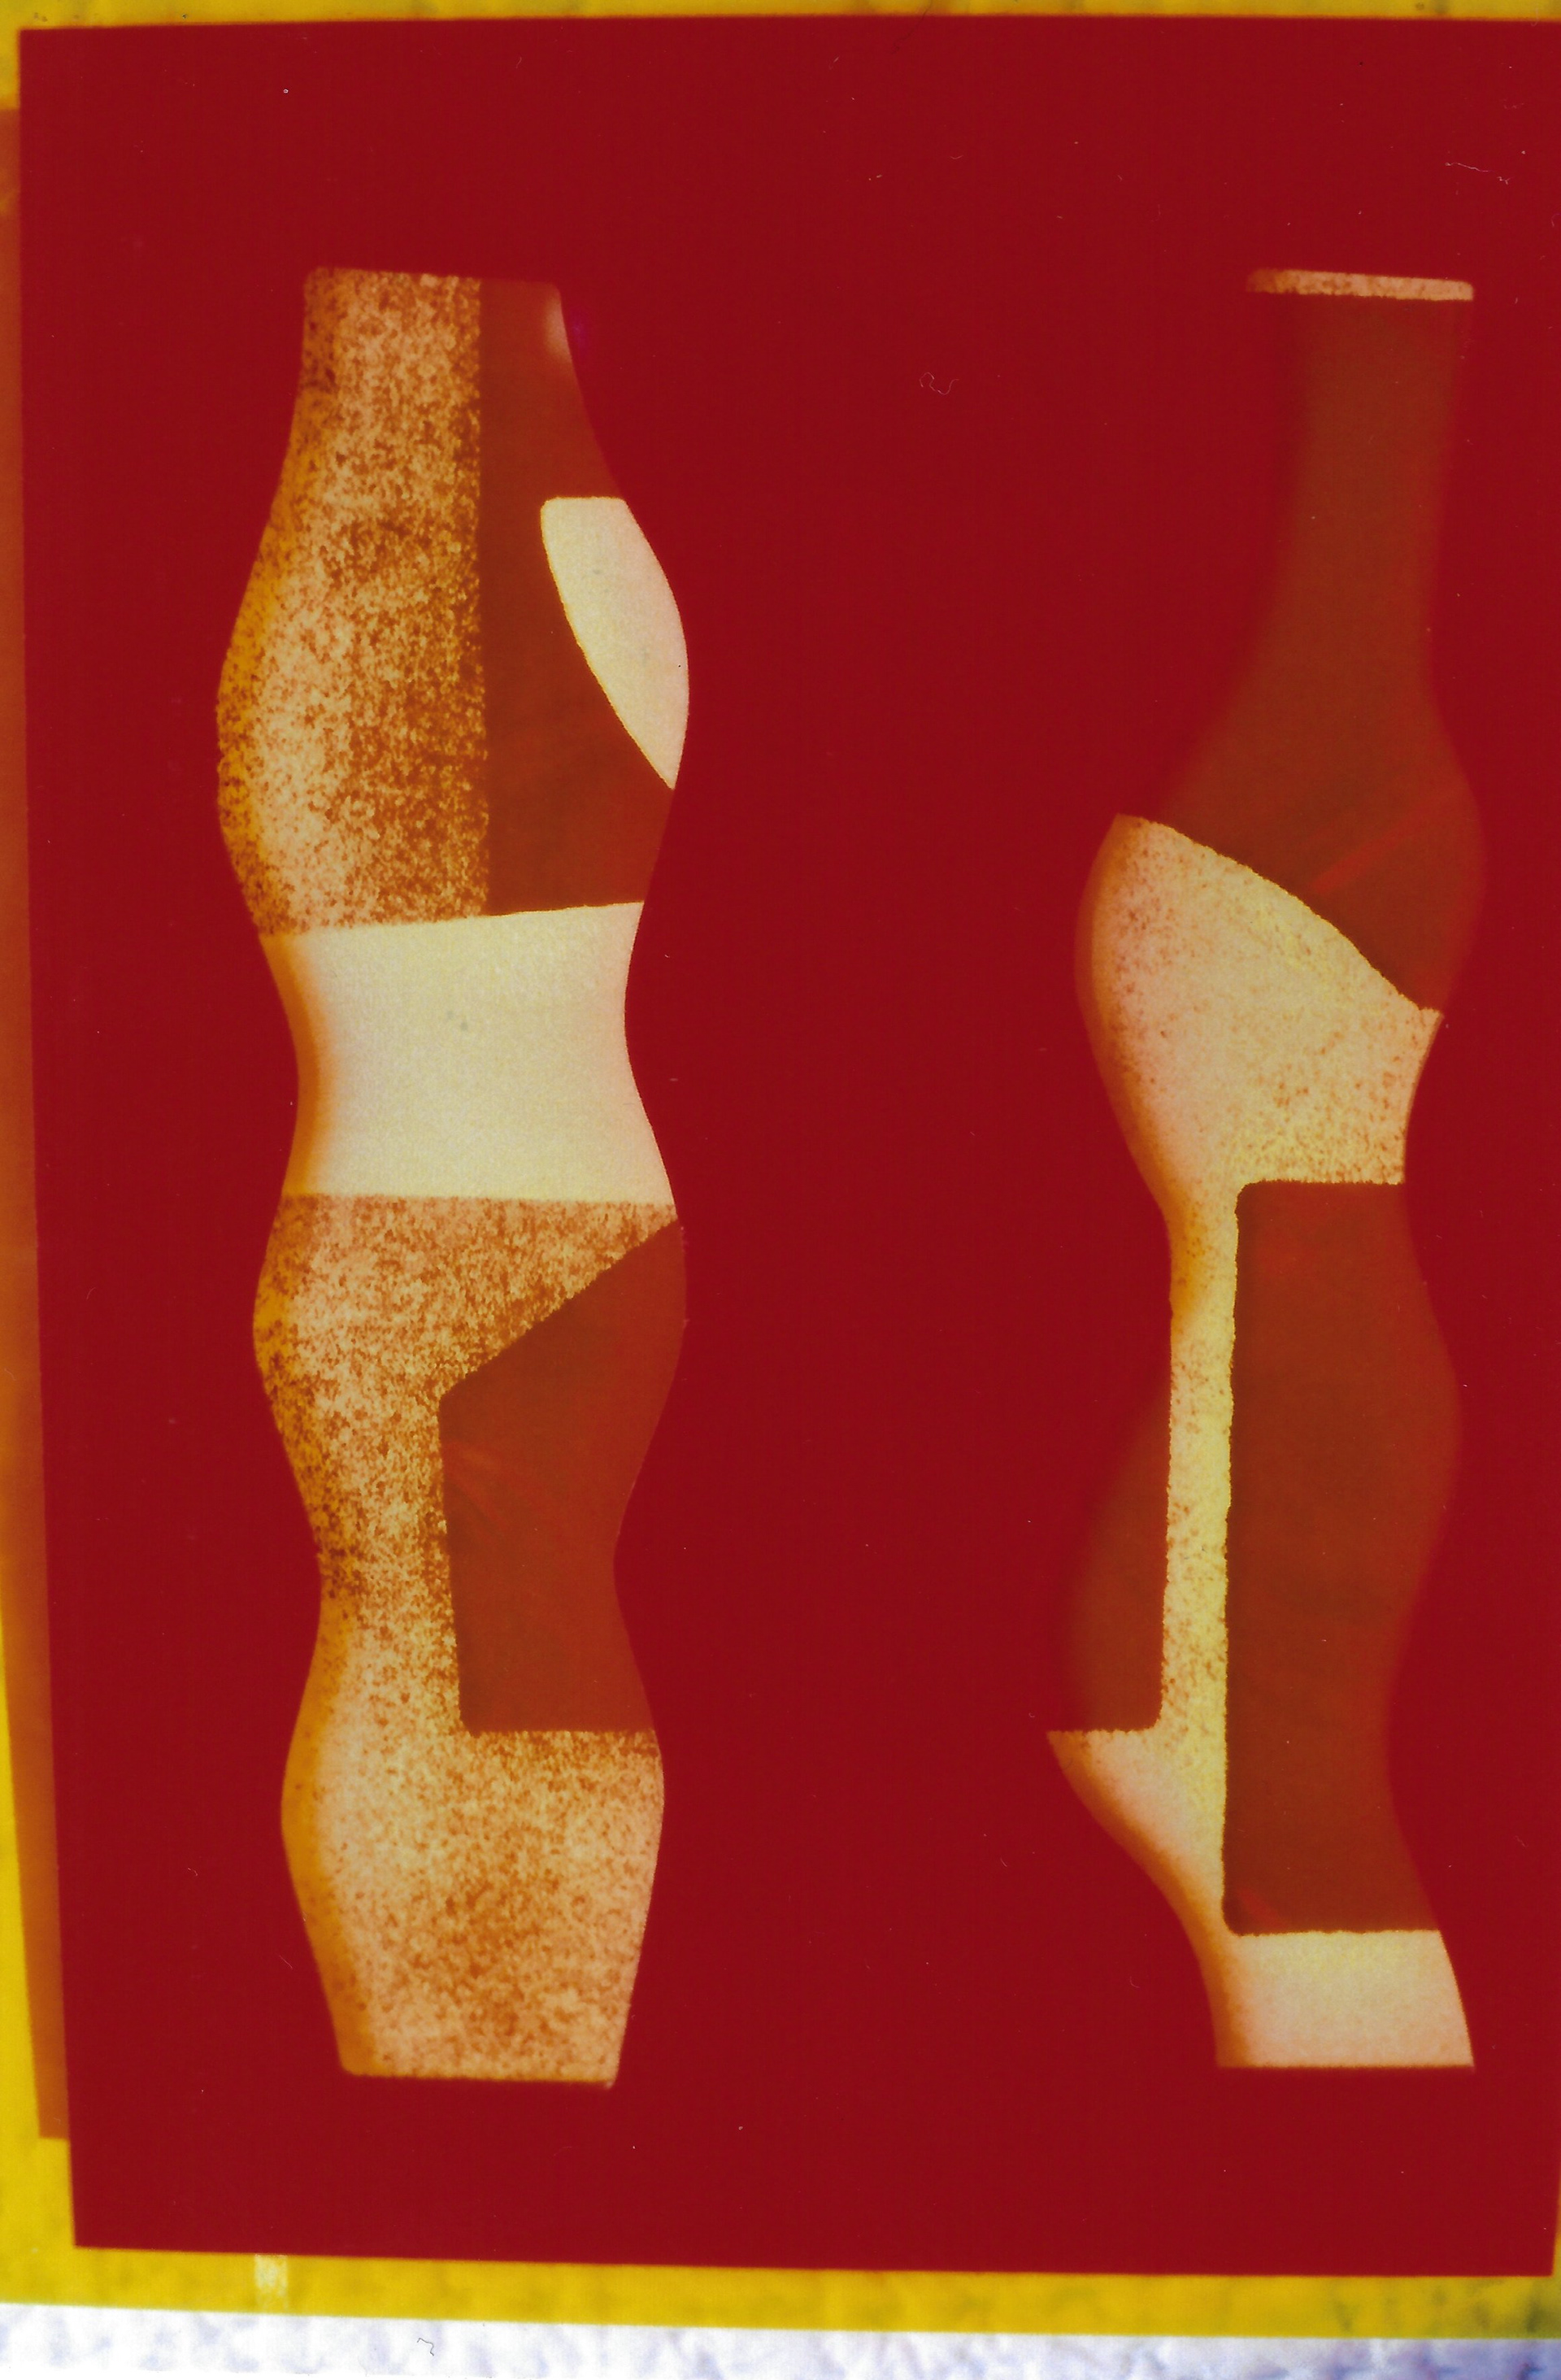
Lithograph on paper, 33 x 47.5 cm
Lithograph on paper, 34.5 x 50 cm
Lithograph on tissue paper, 42 x 60 cm

Lithograph on tissue paper, 46 x 52.5 cm
Lithograph on tissue paper, 53.5 x 76.5 cm
Lithograph on paper, 56 x 38.5 cm
Lithograph on paper, 29.7 x 42 cm
Lithograph on paper, 21 x 29.7 cm

Lithograph on paper, 21 x 29.7 cm
Lithograph on paper, 21 x 29.7 cm
I use the offset press to print a photo litho plate of a drawing I prepared last week. The drawing is an abstract representation of a plant. I paid particular attention to the communication between the different shapes and lines. One of the plates is a3 and the other is a4 but the image has been flipped. When printed on the same piece of paper, they are mirror images of each other, yet the scale does not make this obvious to the viewer at first glance. The lines communicate differently, as although they are balanced being a mirror image of each other, there is tension due to the change in scale.

Relief print on paper, 21 x 29.7 cm

Relief print on paper, 50 x 70 cm
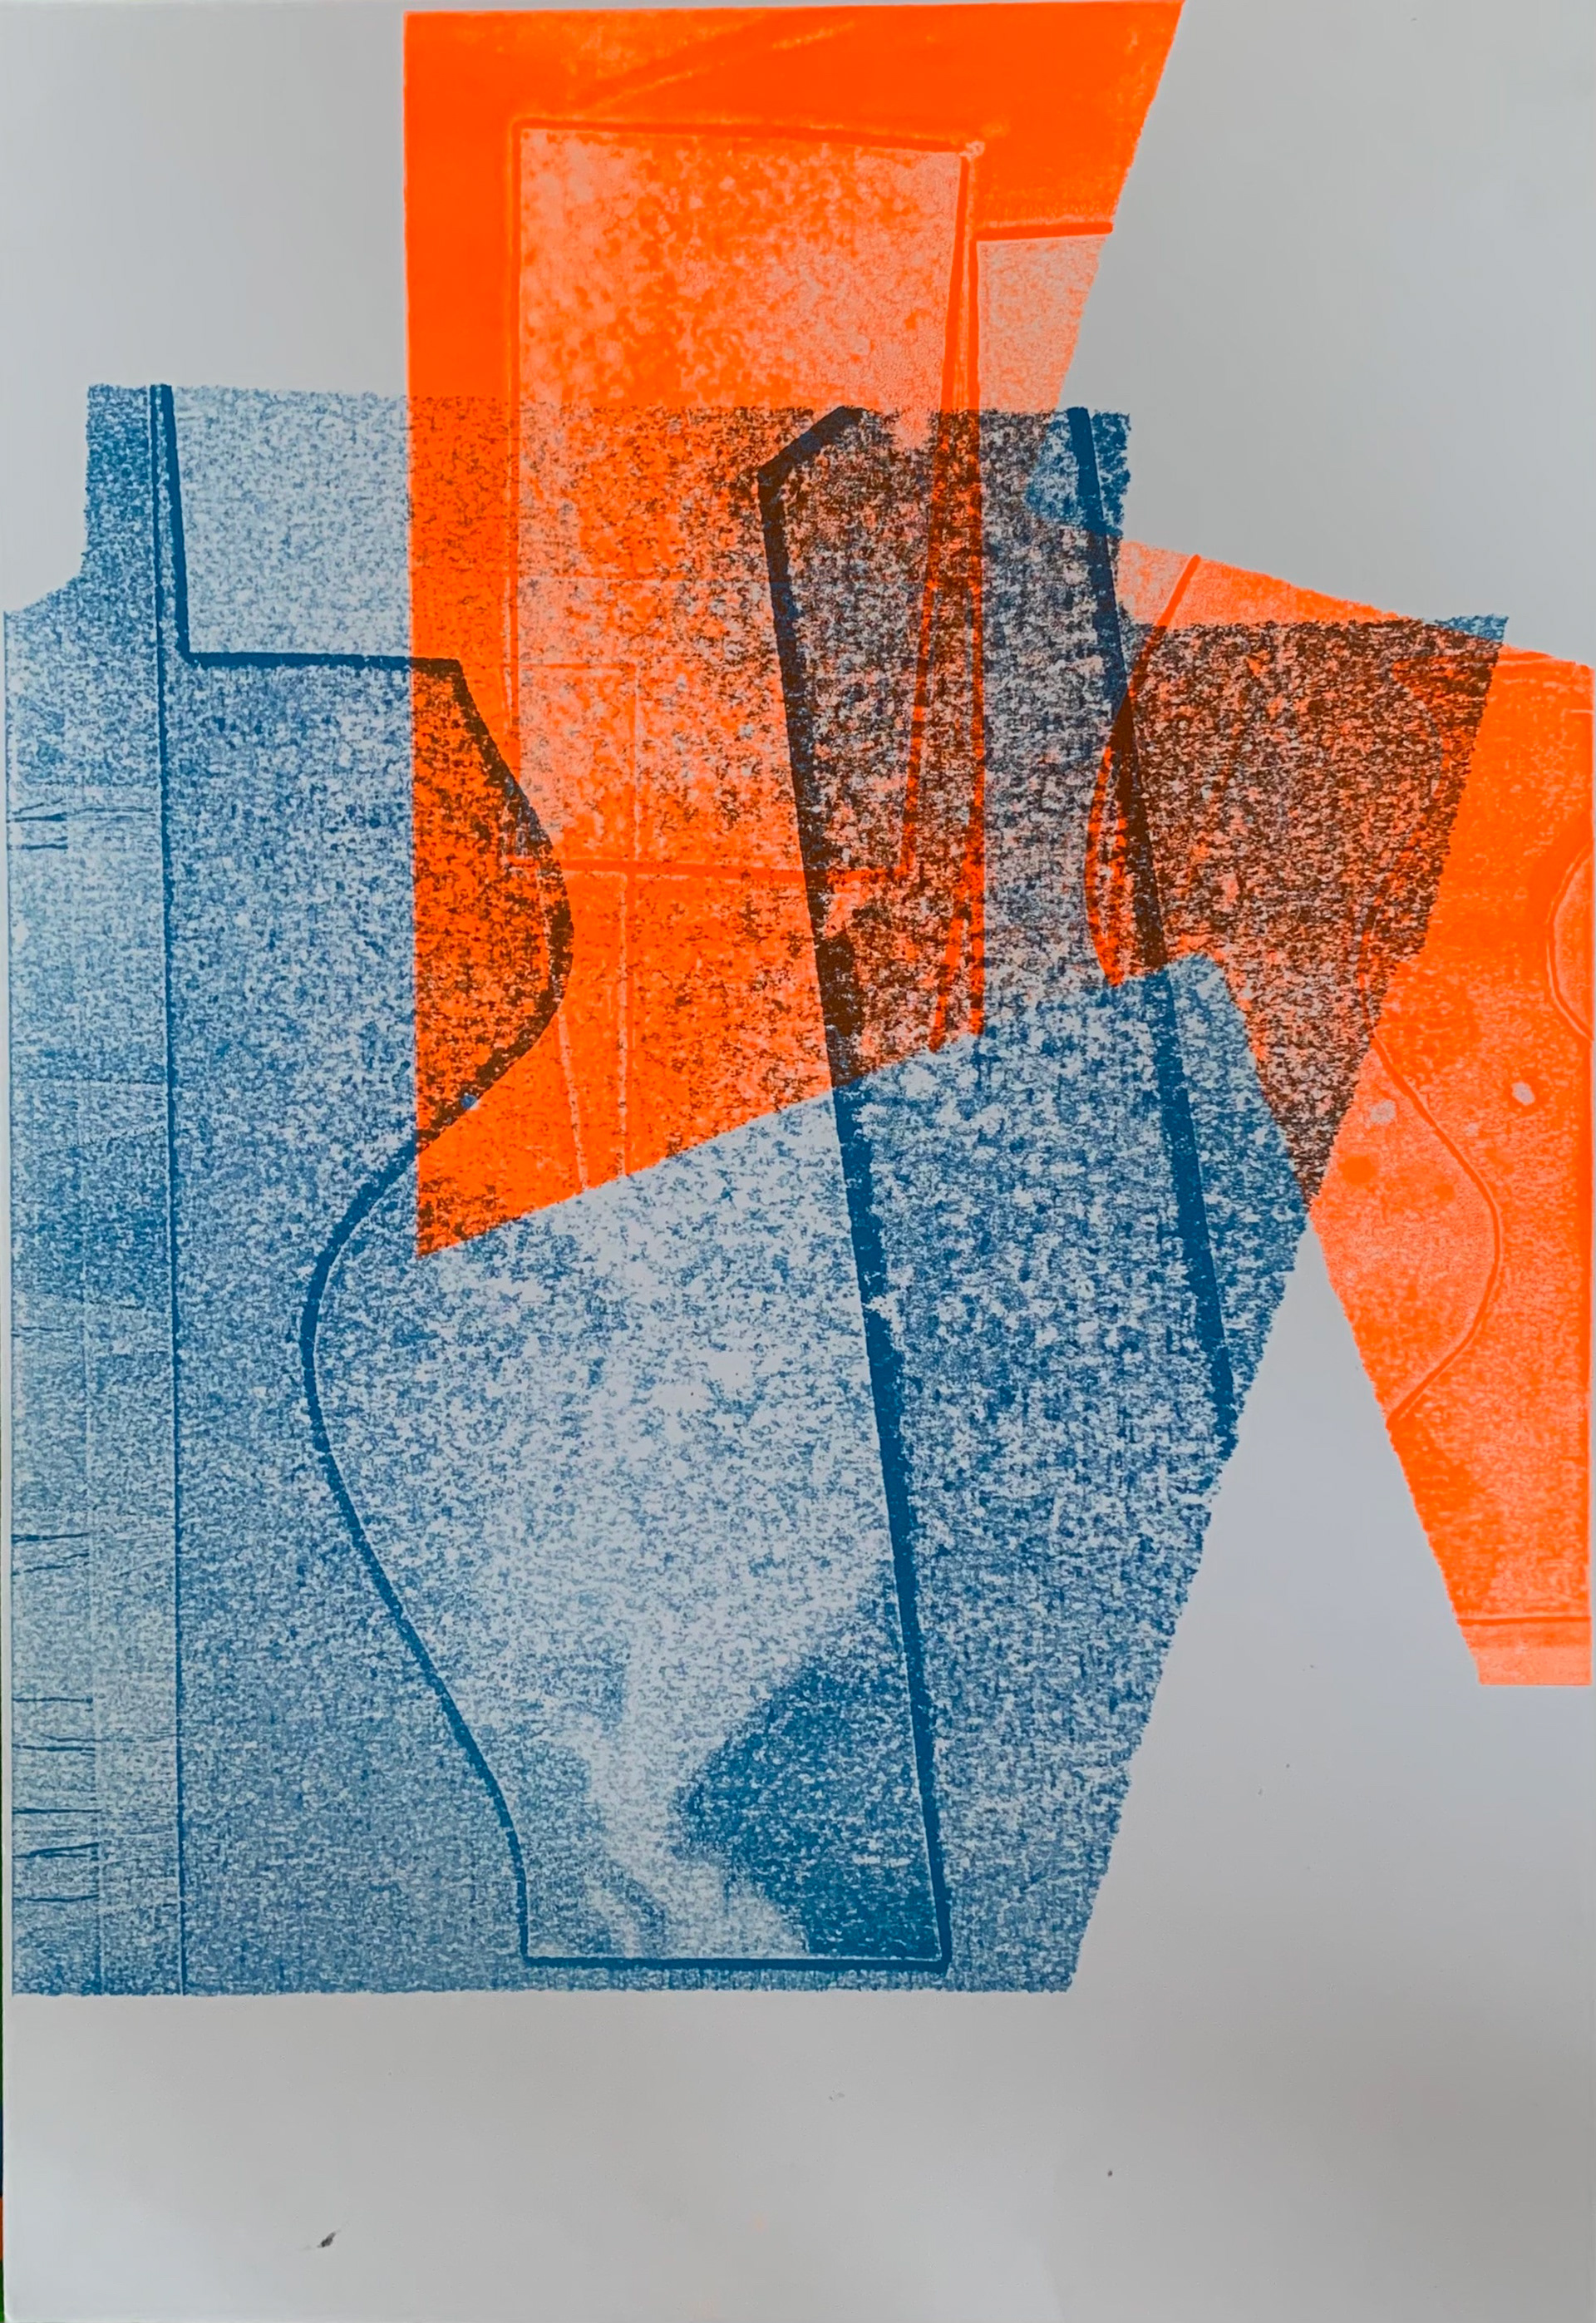
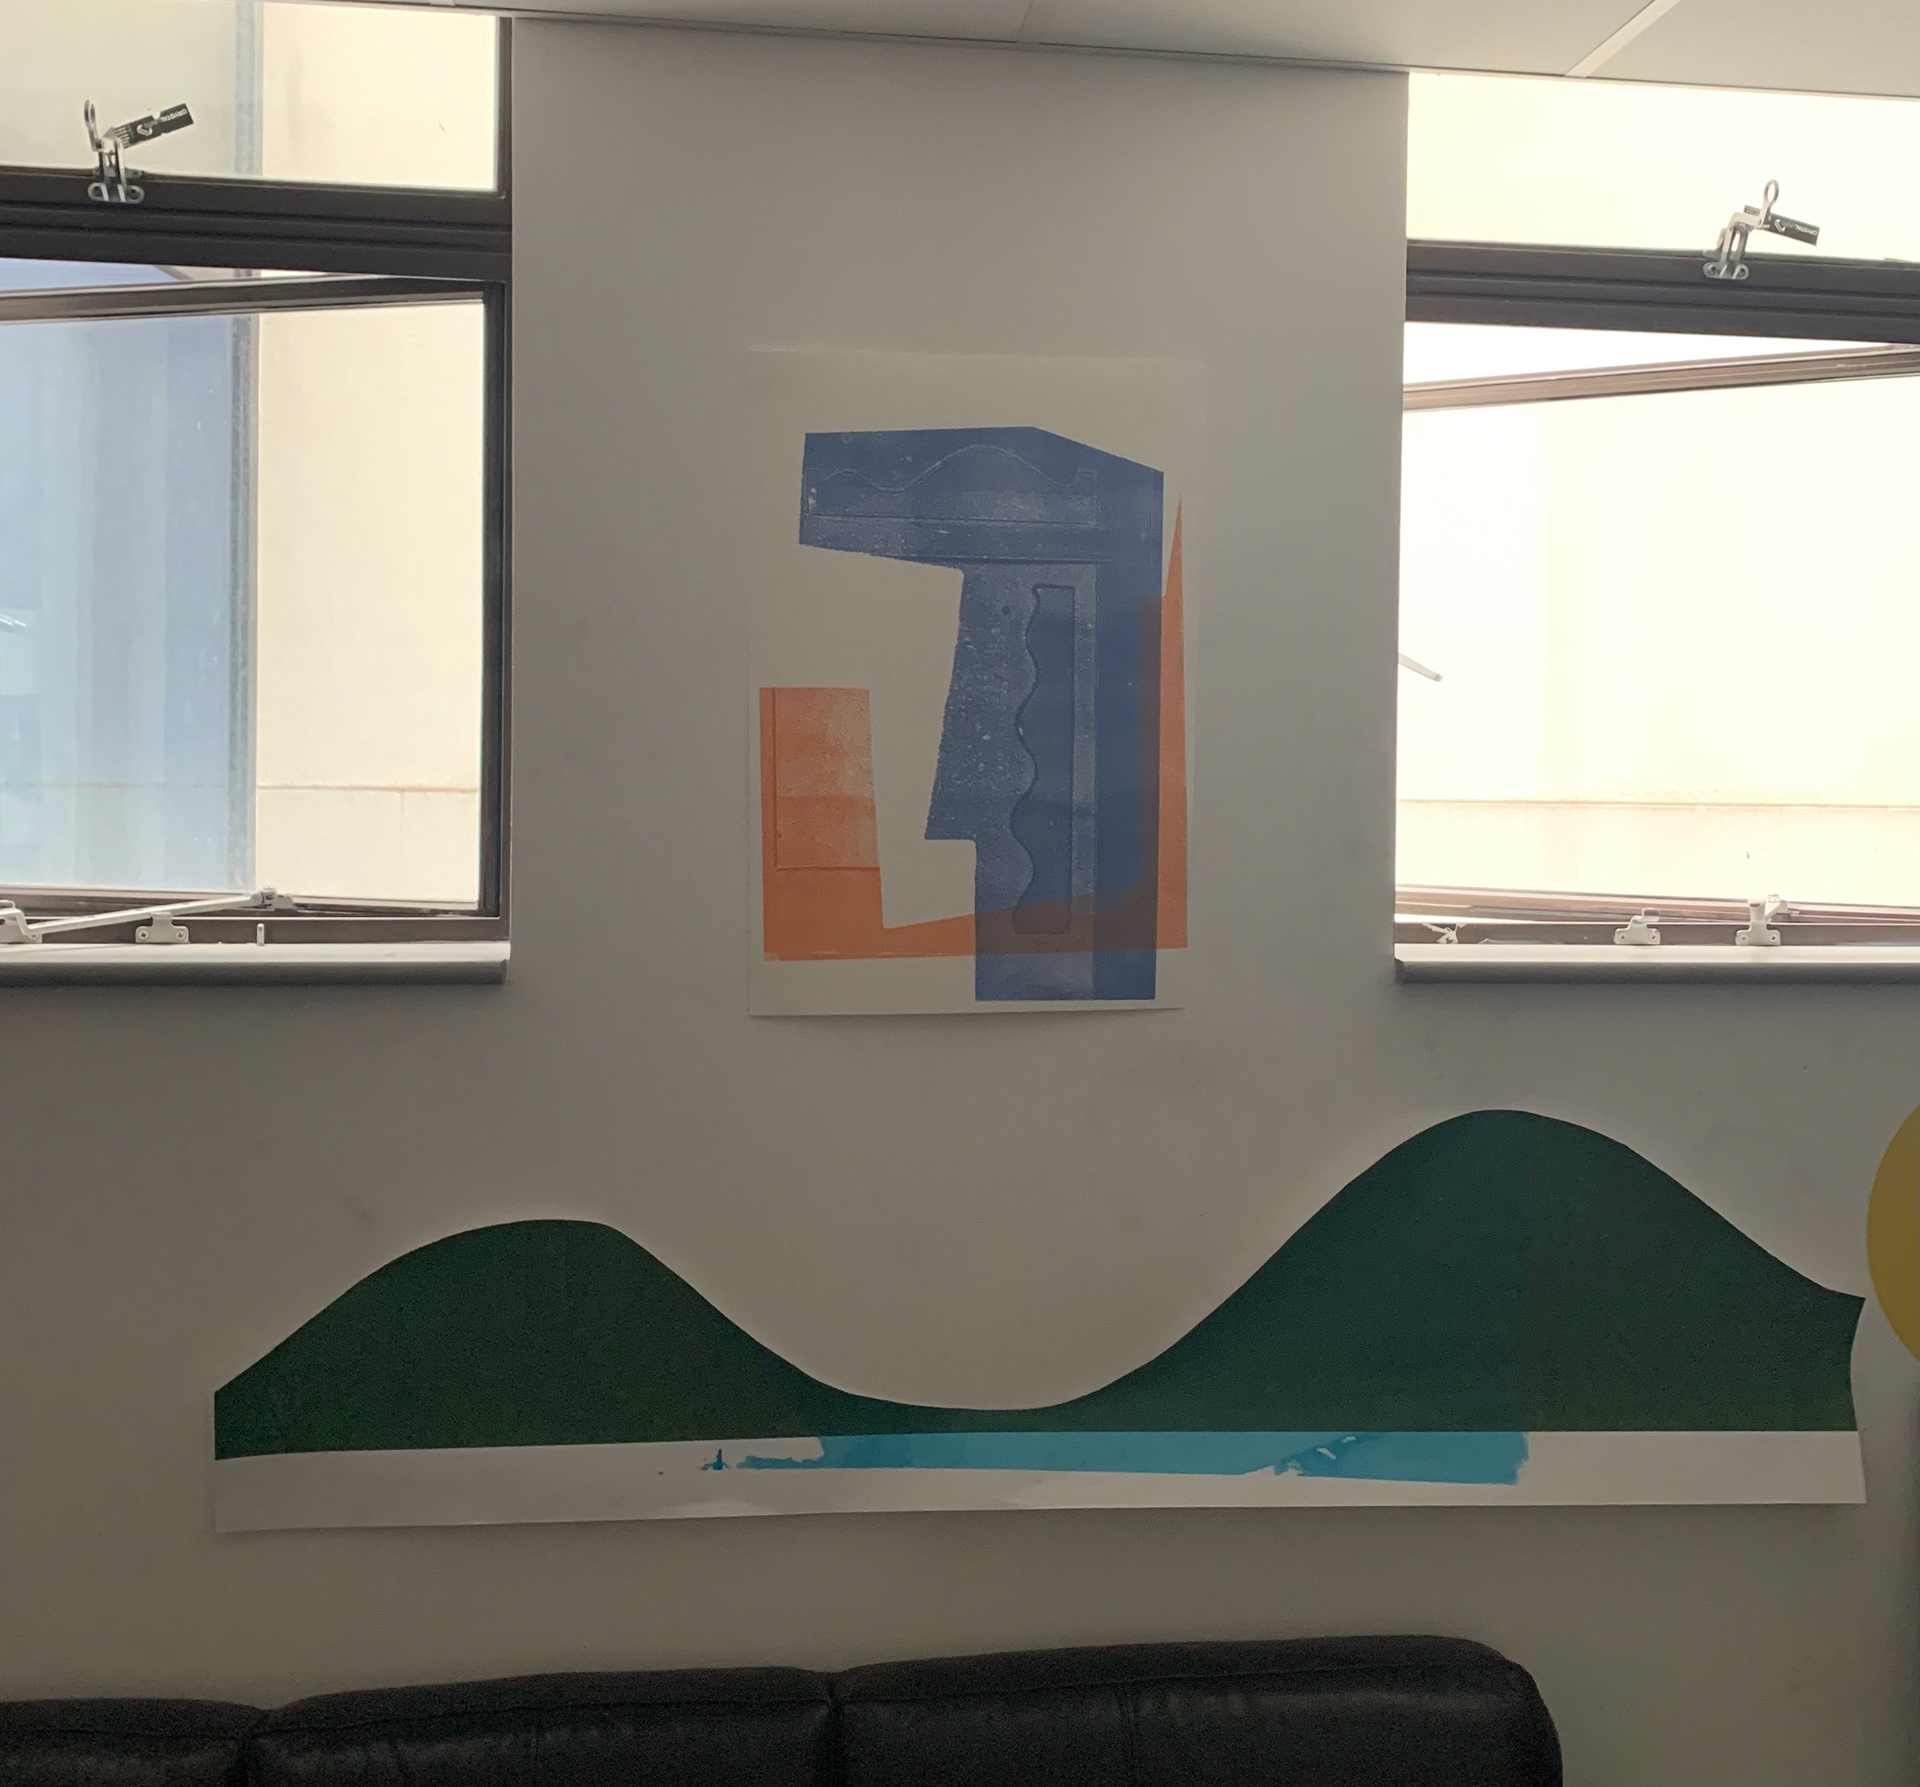
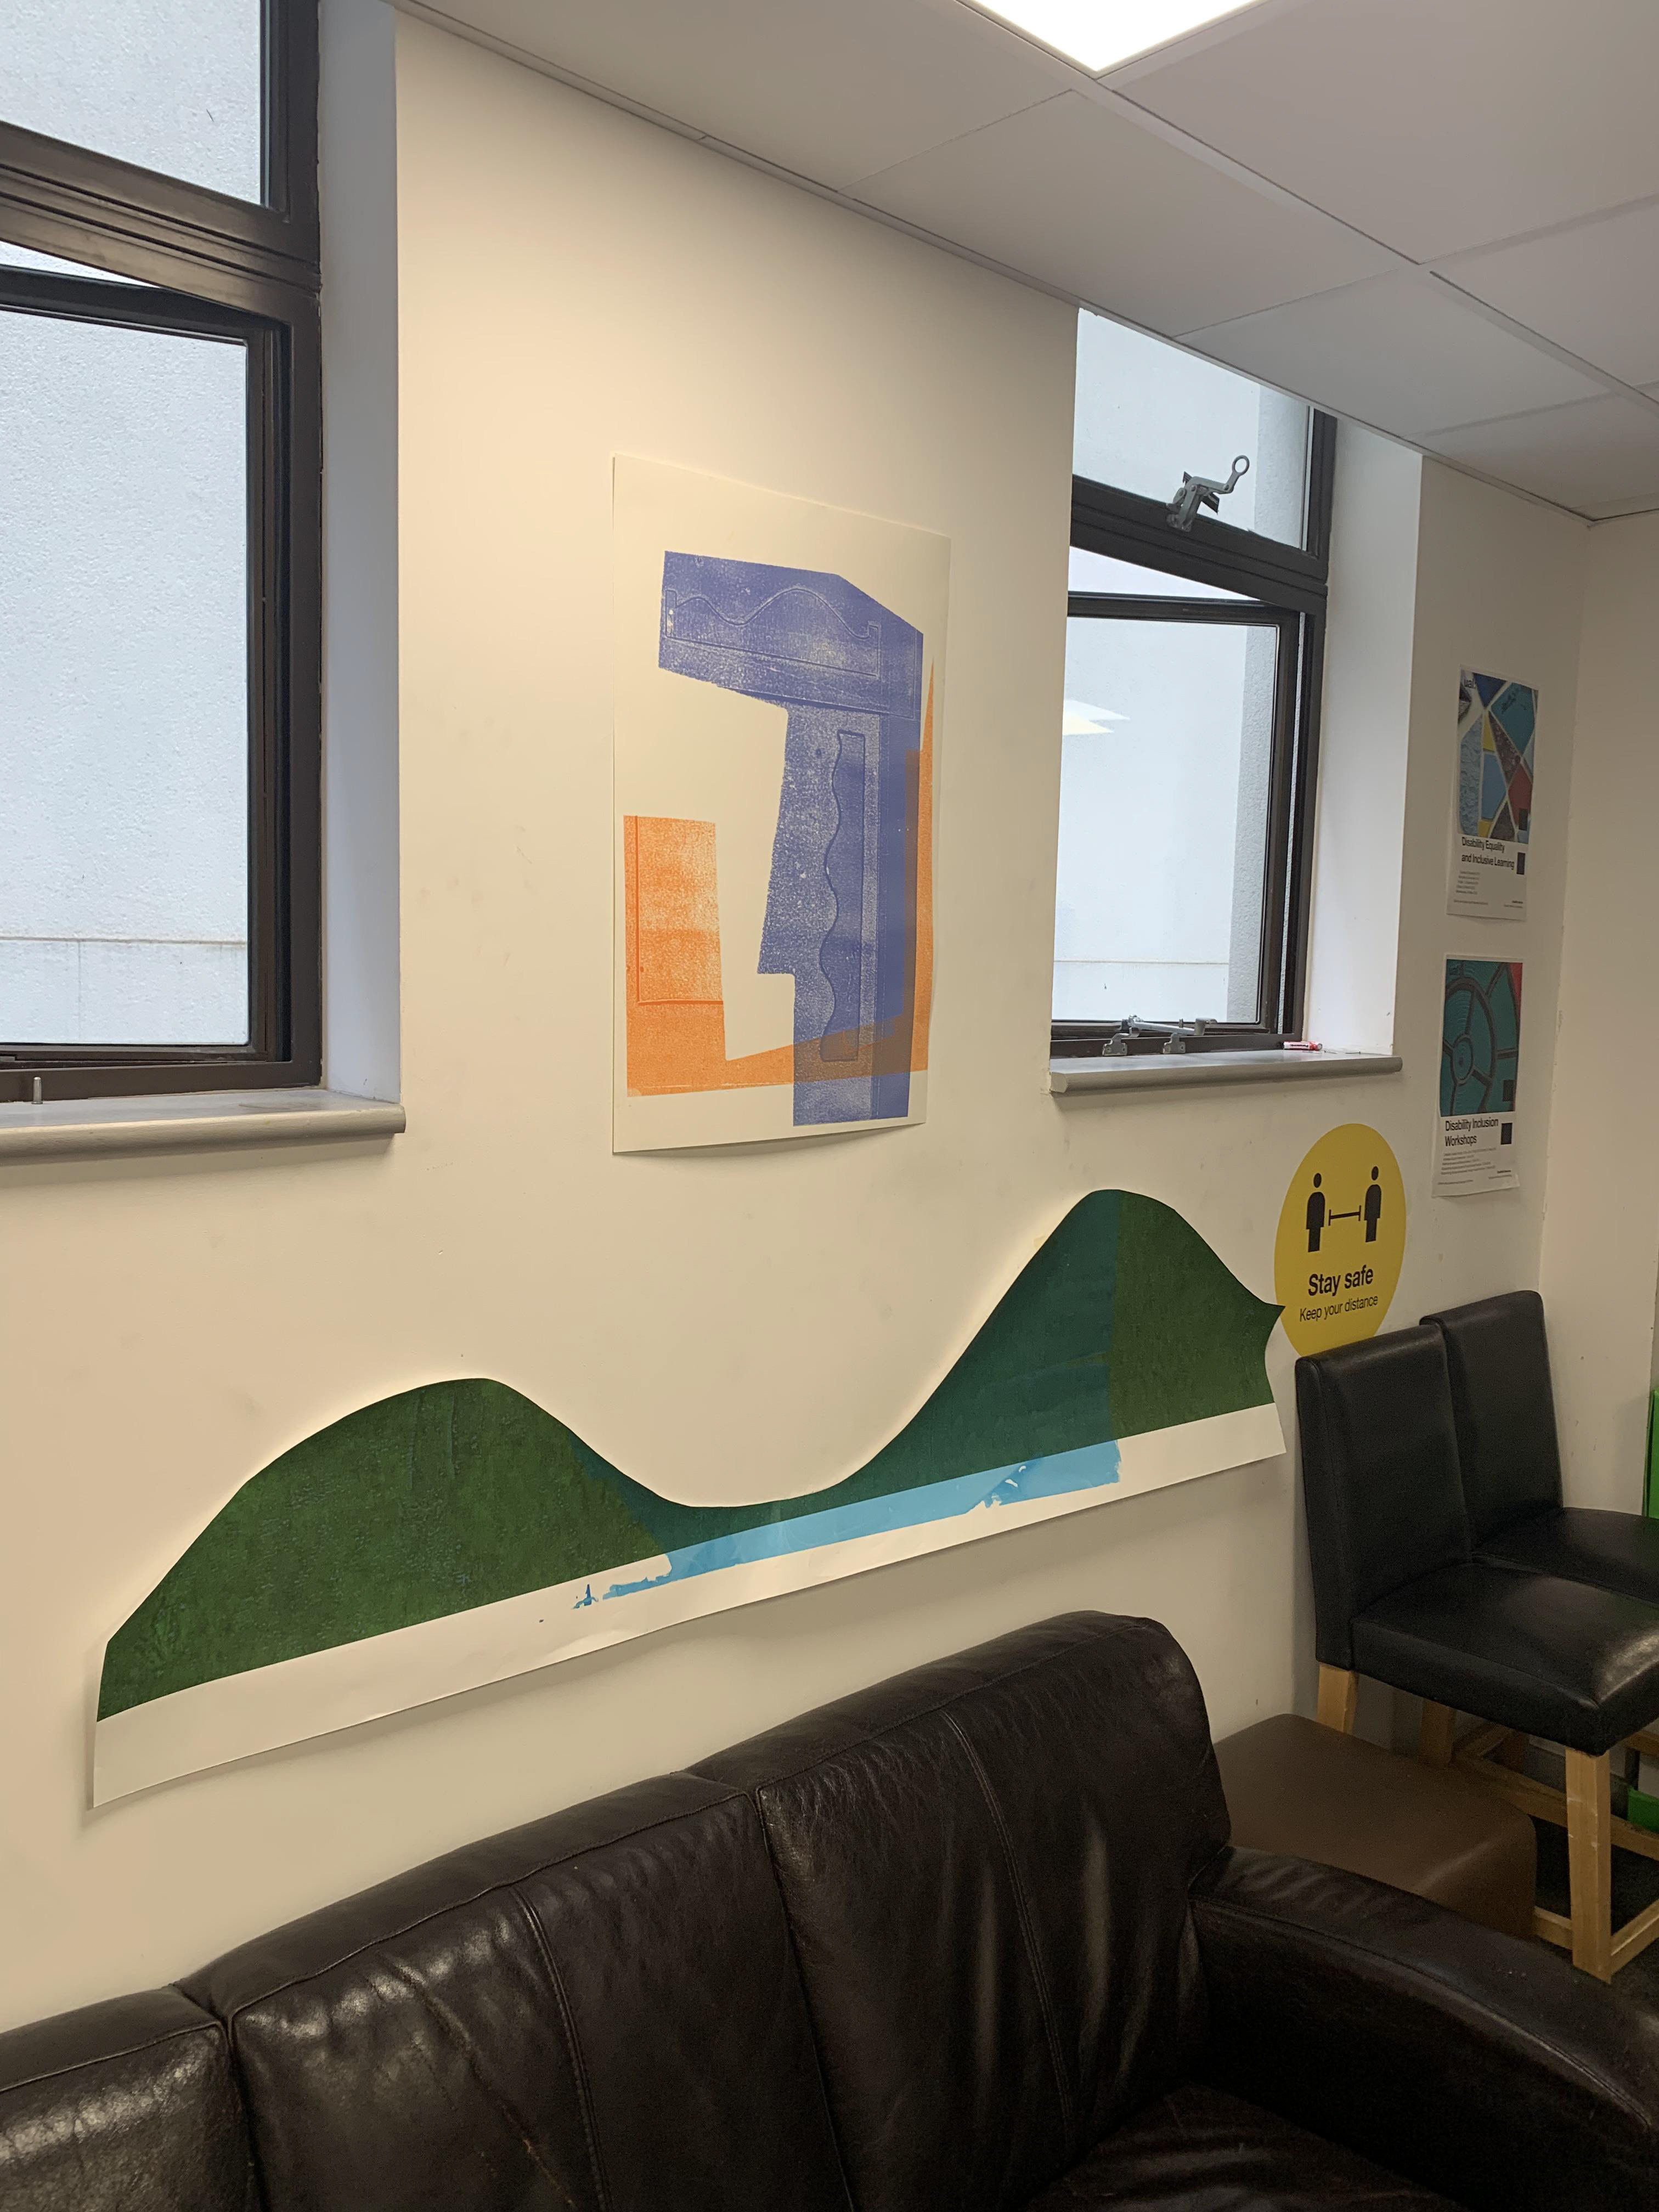
I use the relief press to print my monoprinting plate with paper stencils laid on top. This gives an accurate, sharp line. Yet, when I create larger images using this press, the lines are not so sharp. When comparing a large image to a smaller one, this is visible as well, but it is not as obvious on a smaller scale. Printing on a larger scale using this format highlights the materiality and the physical quality of the process, drawing attention to the surface.

Relief print on paper, 59.4 x 42 cm

Relief print on paper, 59.4 x 42 cm

Relief print on paper, 29.7 x 42 cm
Relief print on paper, 29.7 x 42 cm

Relief print on paper, 29.7 x 42 cm

Relief print on paper, 21 x 29.7 cm

Relief print on paper, 29.7 x 42 cm
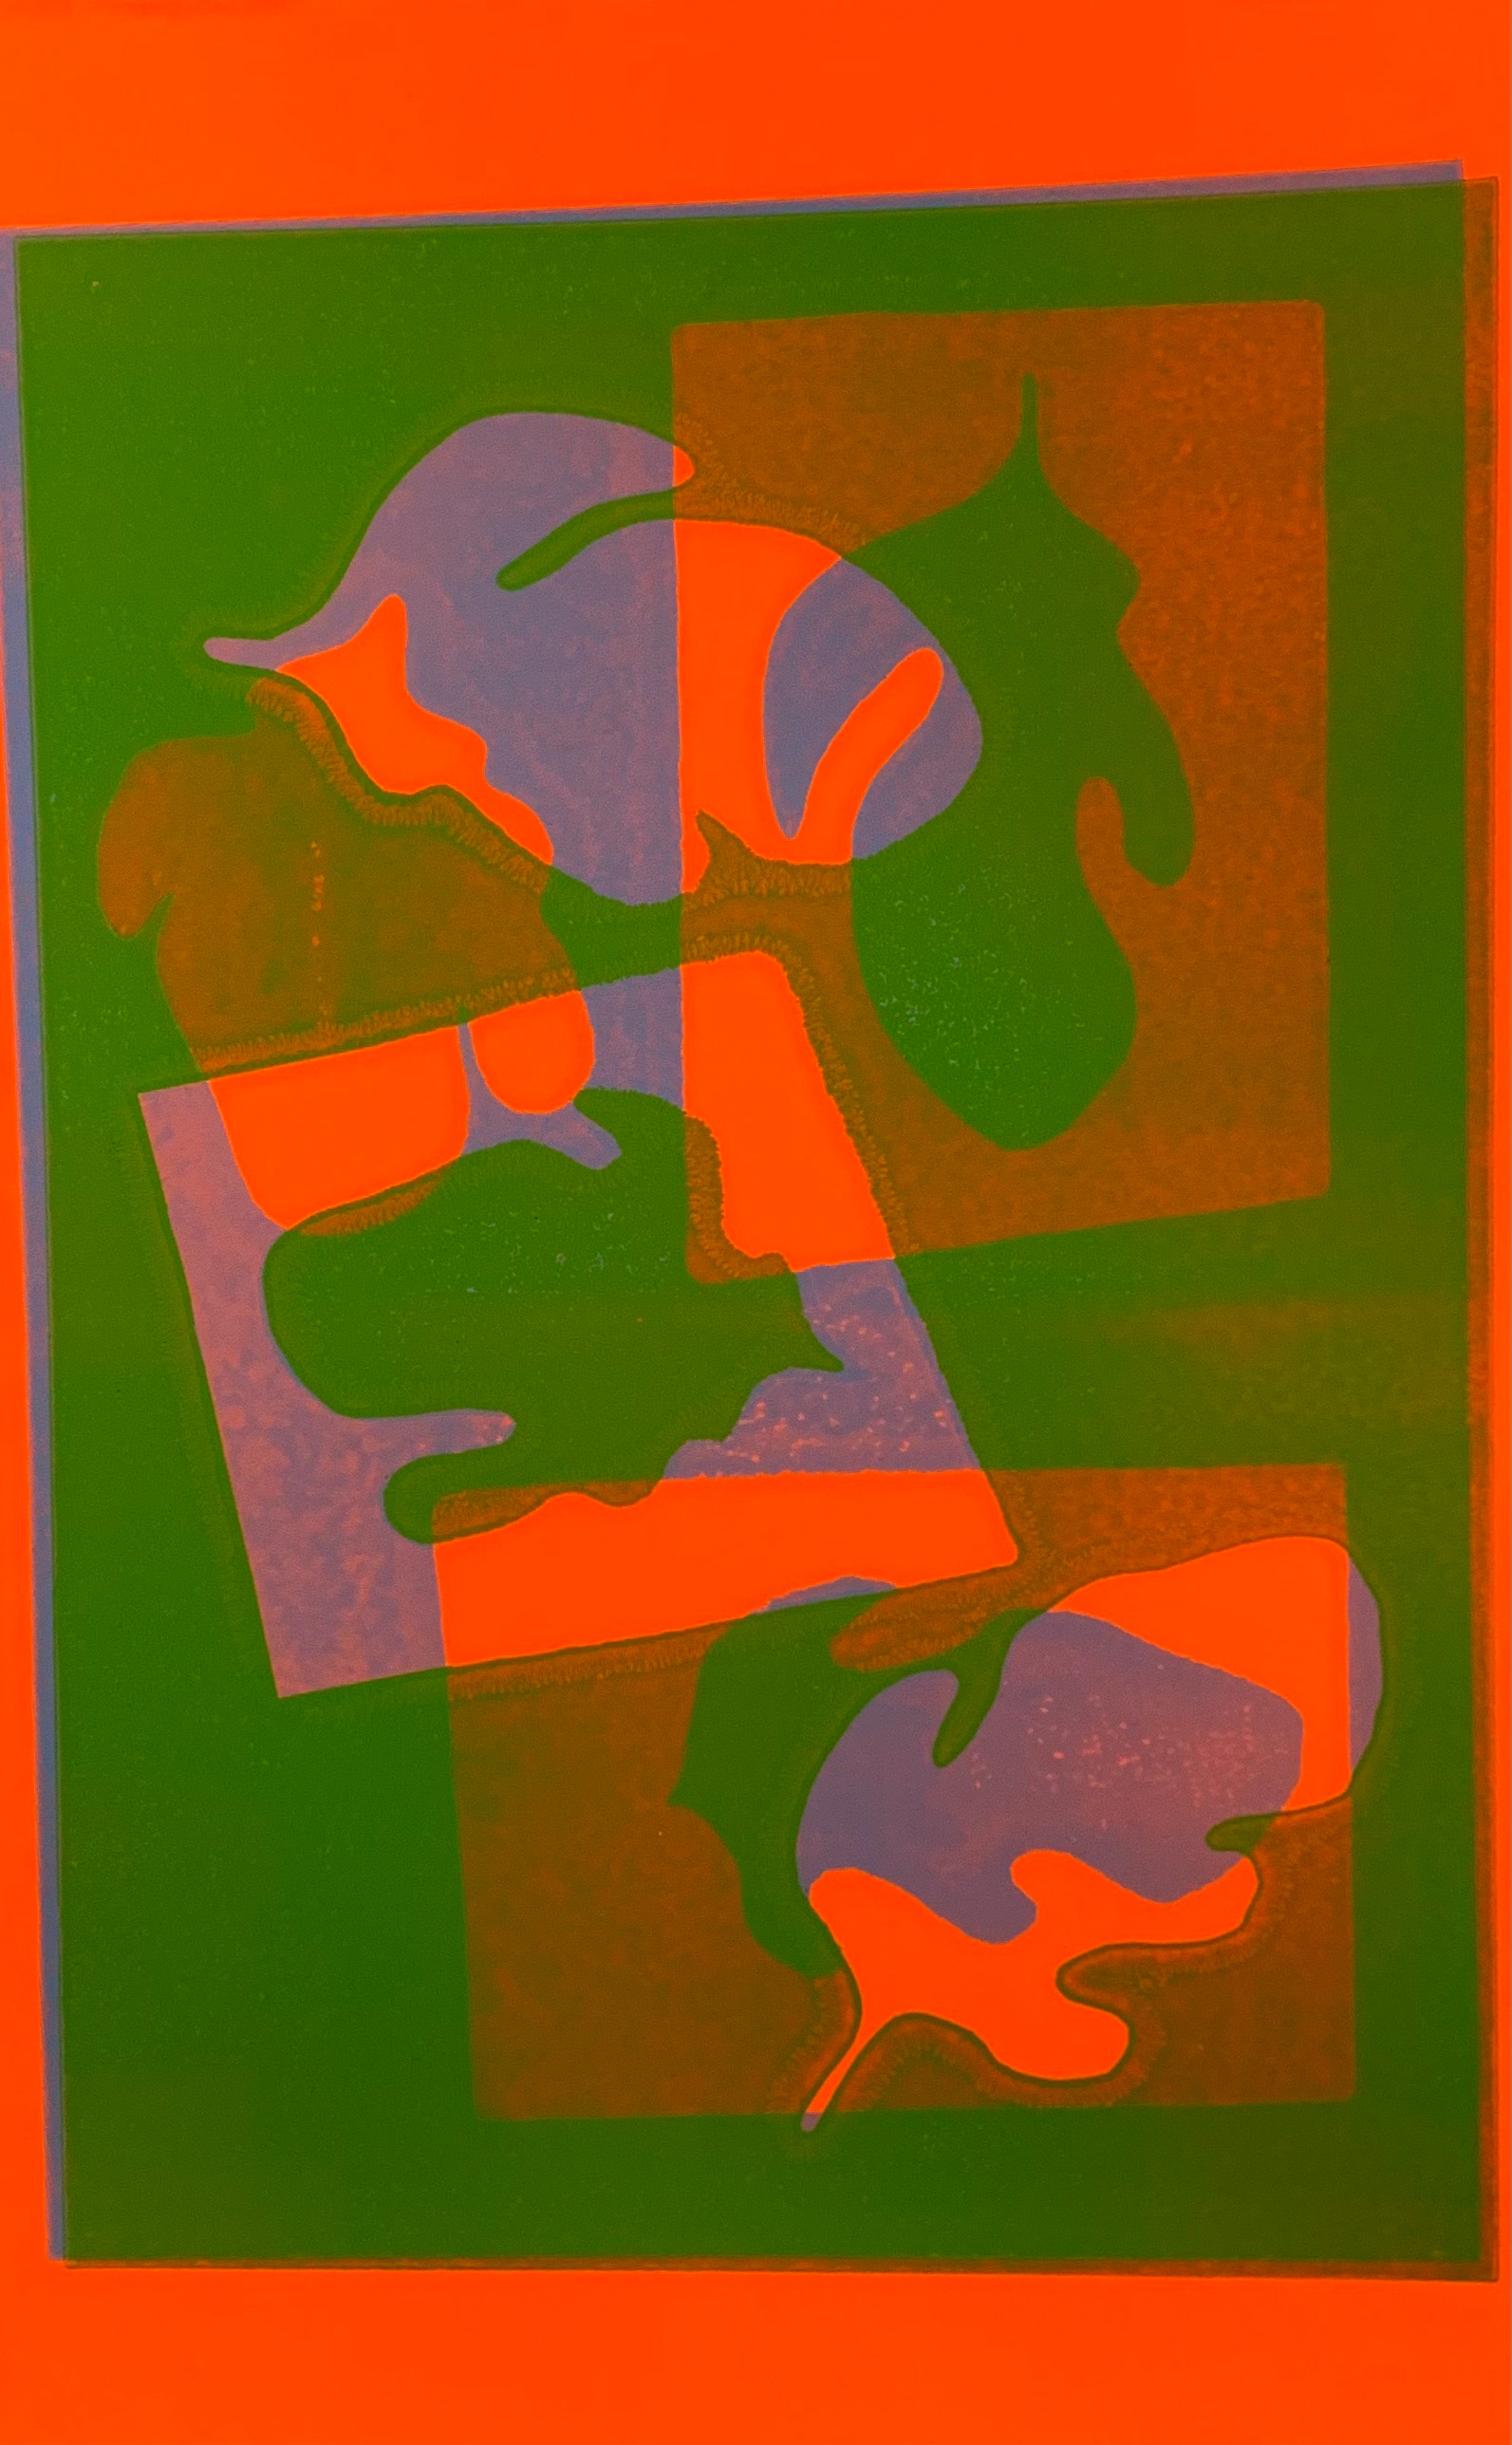
I play with layering my monoprints and using different opacities of ink on top of each other, the vibrance of the ink is still visible yet the ink from the layer beneath is visible. This draws attention to the materiality but also adds depth to the image as different shapes and lines are pulled forward depending on their opacity and colour.
Relief print on paper, 56 x 76 cm

Relief print on paper, 56 x 76 cm
Relief print on paper, 59.4 x 84.1 cm
Relief print on paper, 59.4 x 84.1 cm

Relief print on paper, 59.4 x 84.1 cm
Relief print on paper, 59.4 x 42 cm
Relief print on paper, 35.5 x 50 cm
Relief print on paper, 50 x 70 cm
I experiment with using fluorescent ink in combination with the normal selection of colours I use. I establish a balance between the two different types of colours by using only a small amount of fluorescent in comparison, yet this does depend on the richness and opacity of the other colour used in combination. There is no set prescribed way to balance out the different types of colours. Just like when balancing out the different qualities of colour, for example using matt and shiny in combination does not solely depend on that characteristic alone as all the elements are in dialogue with one another. Everything is relative and dependent on the surroundings.


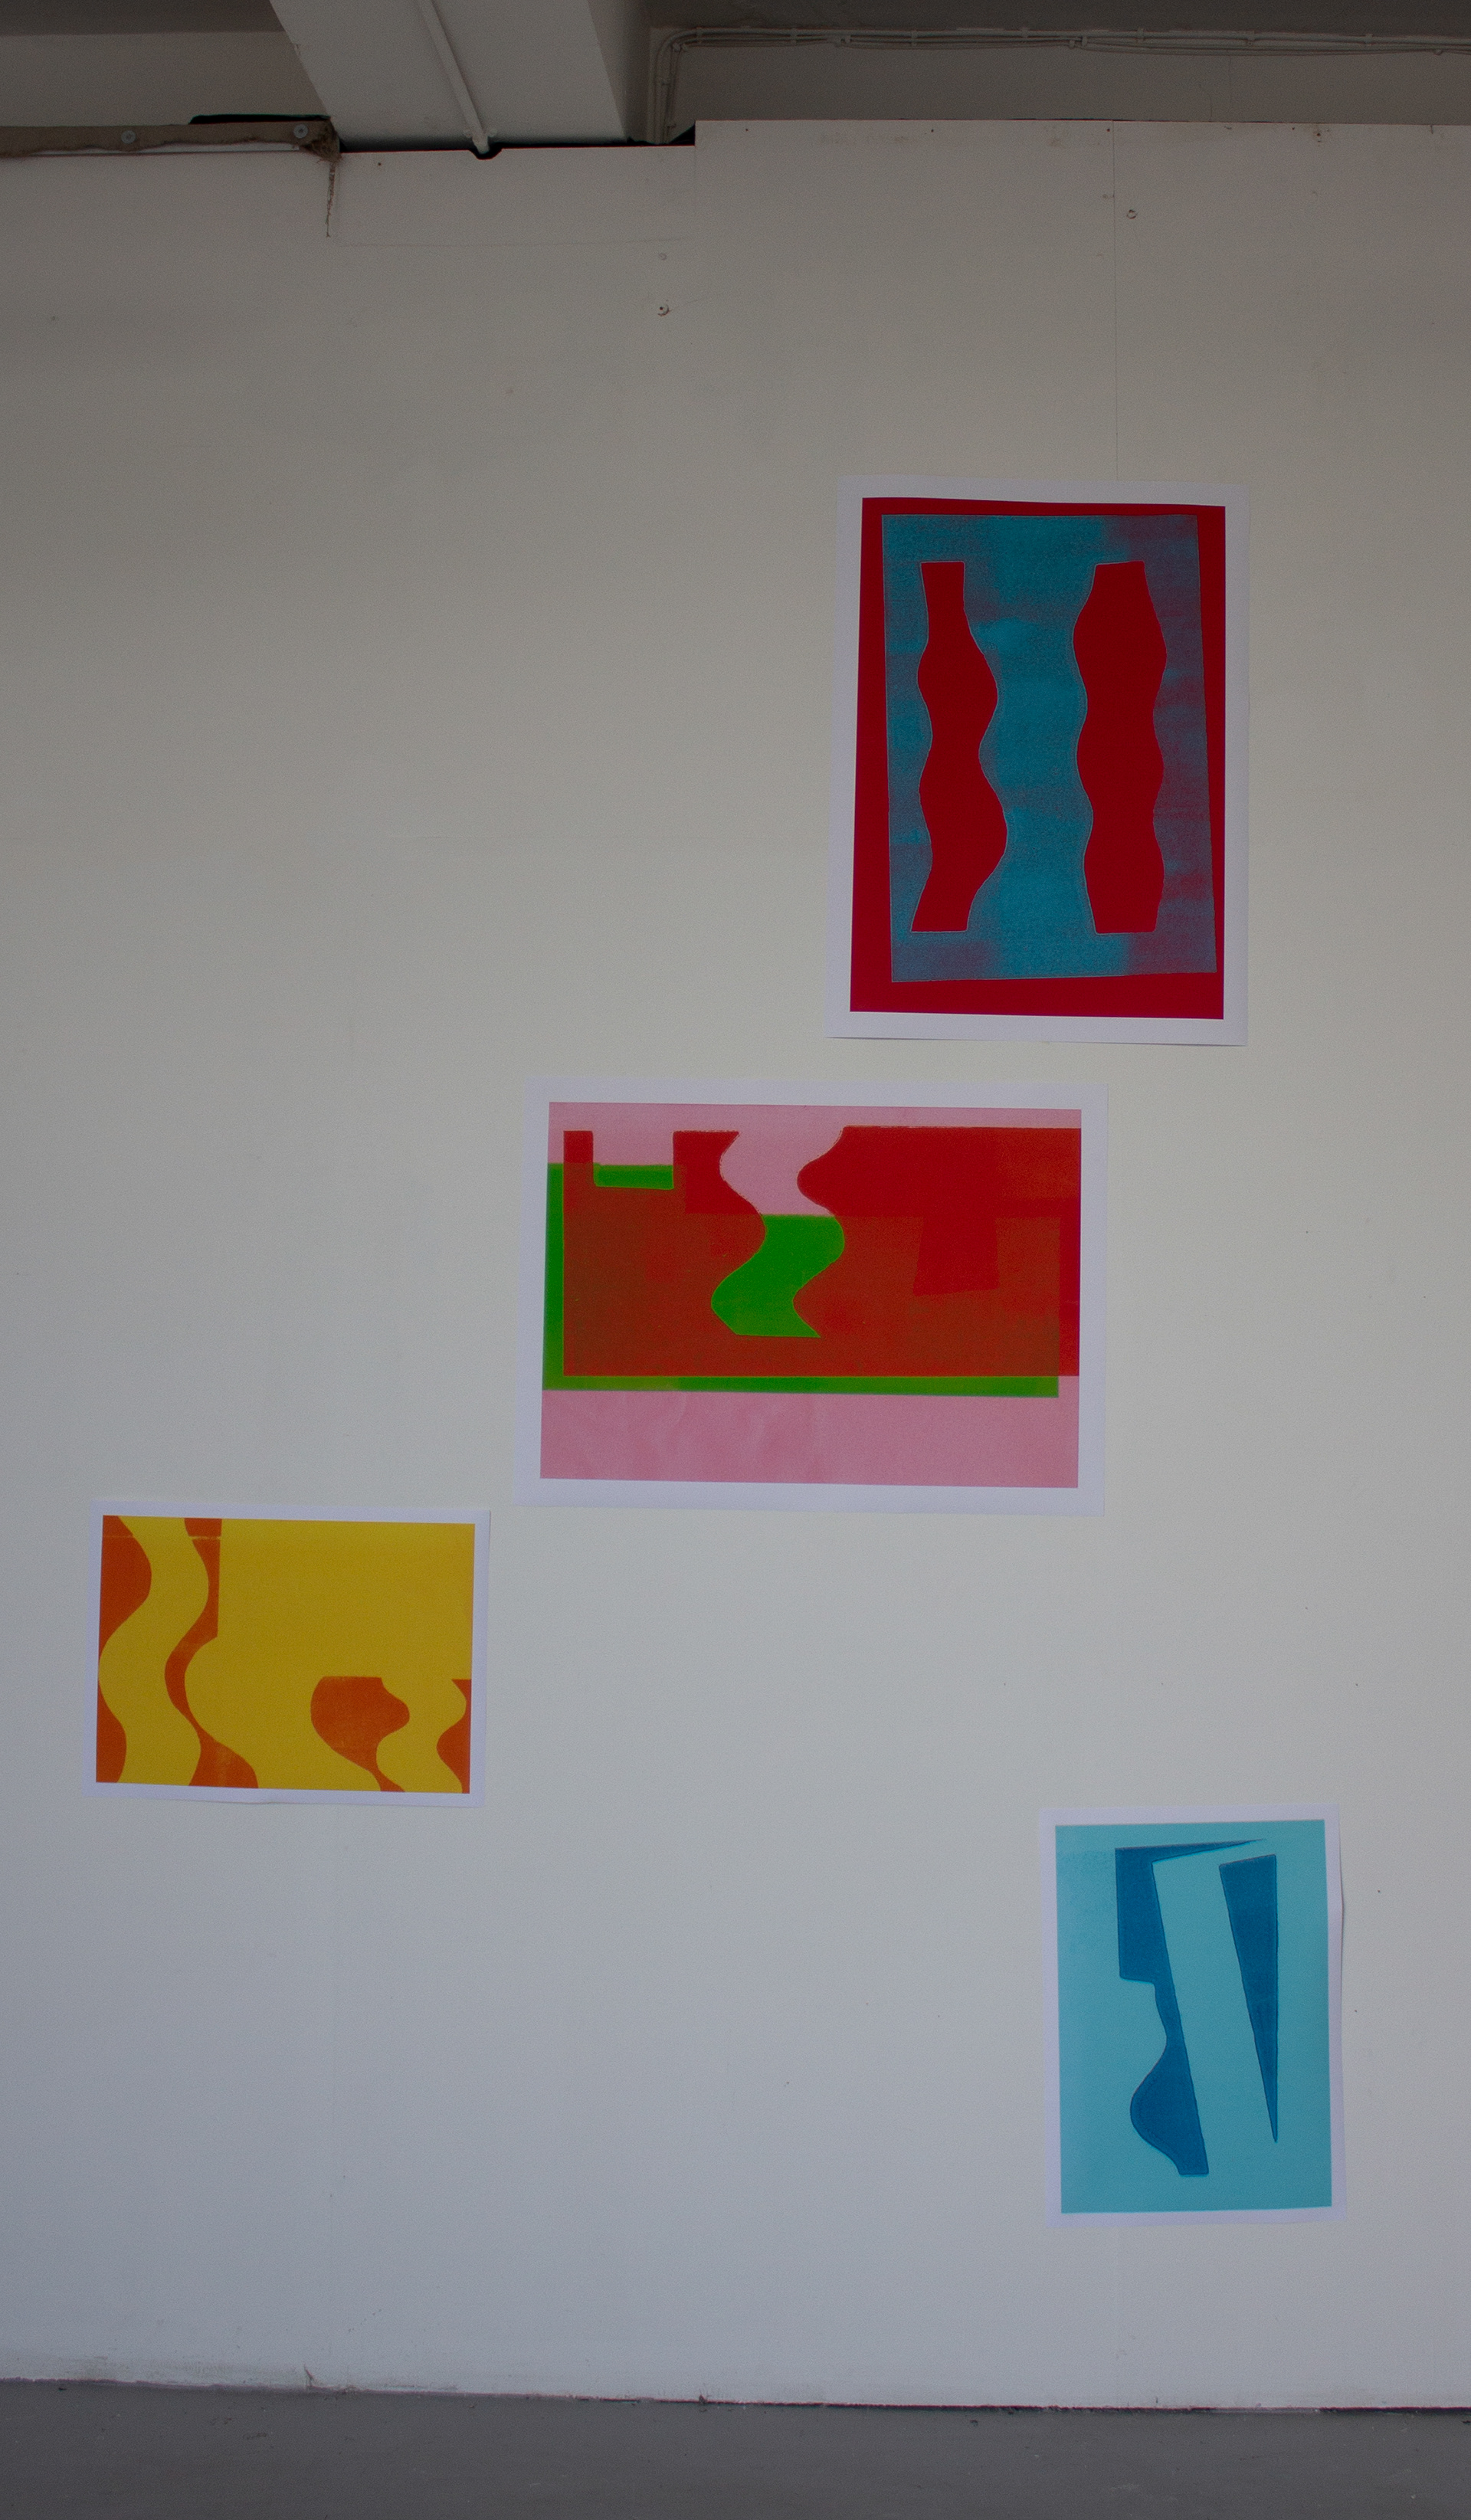
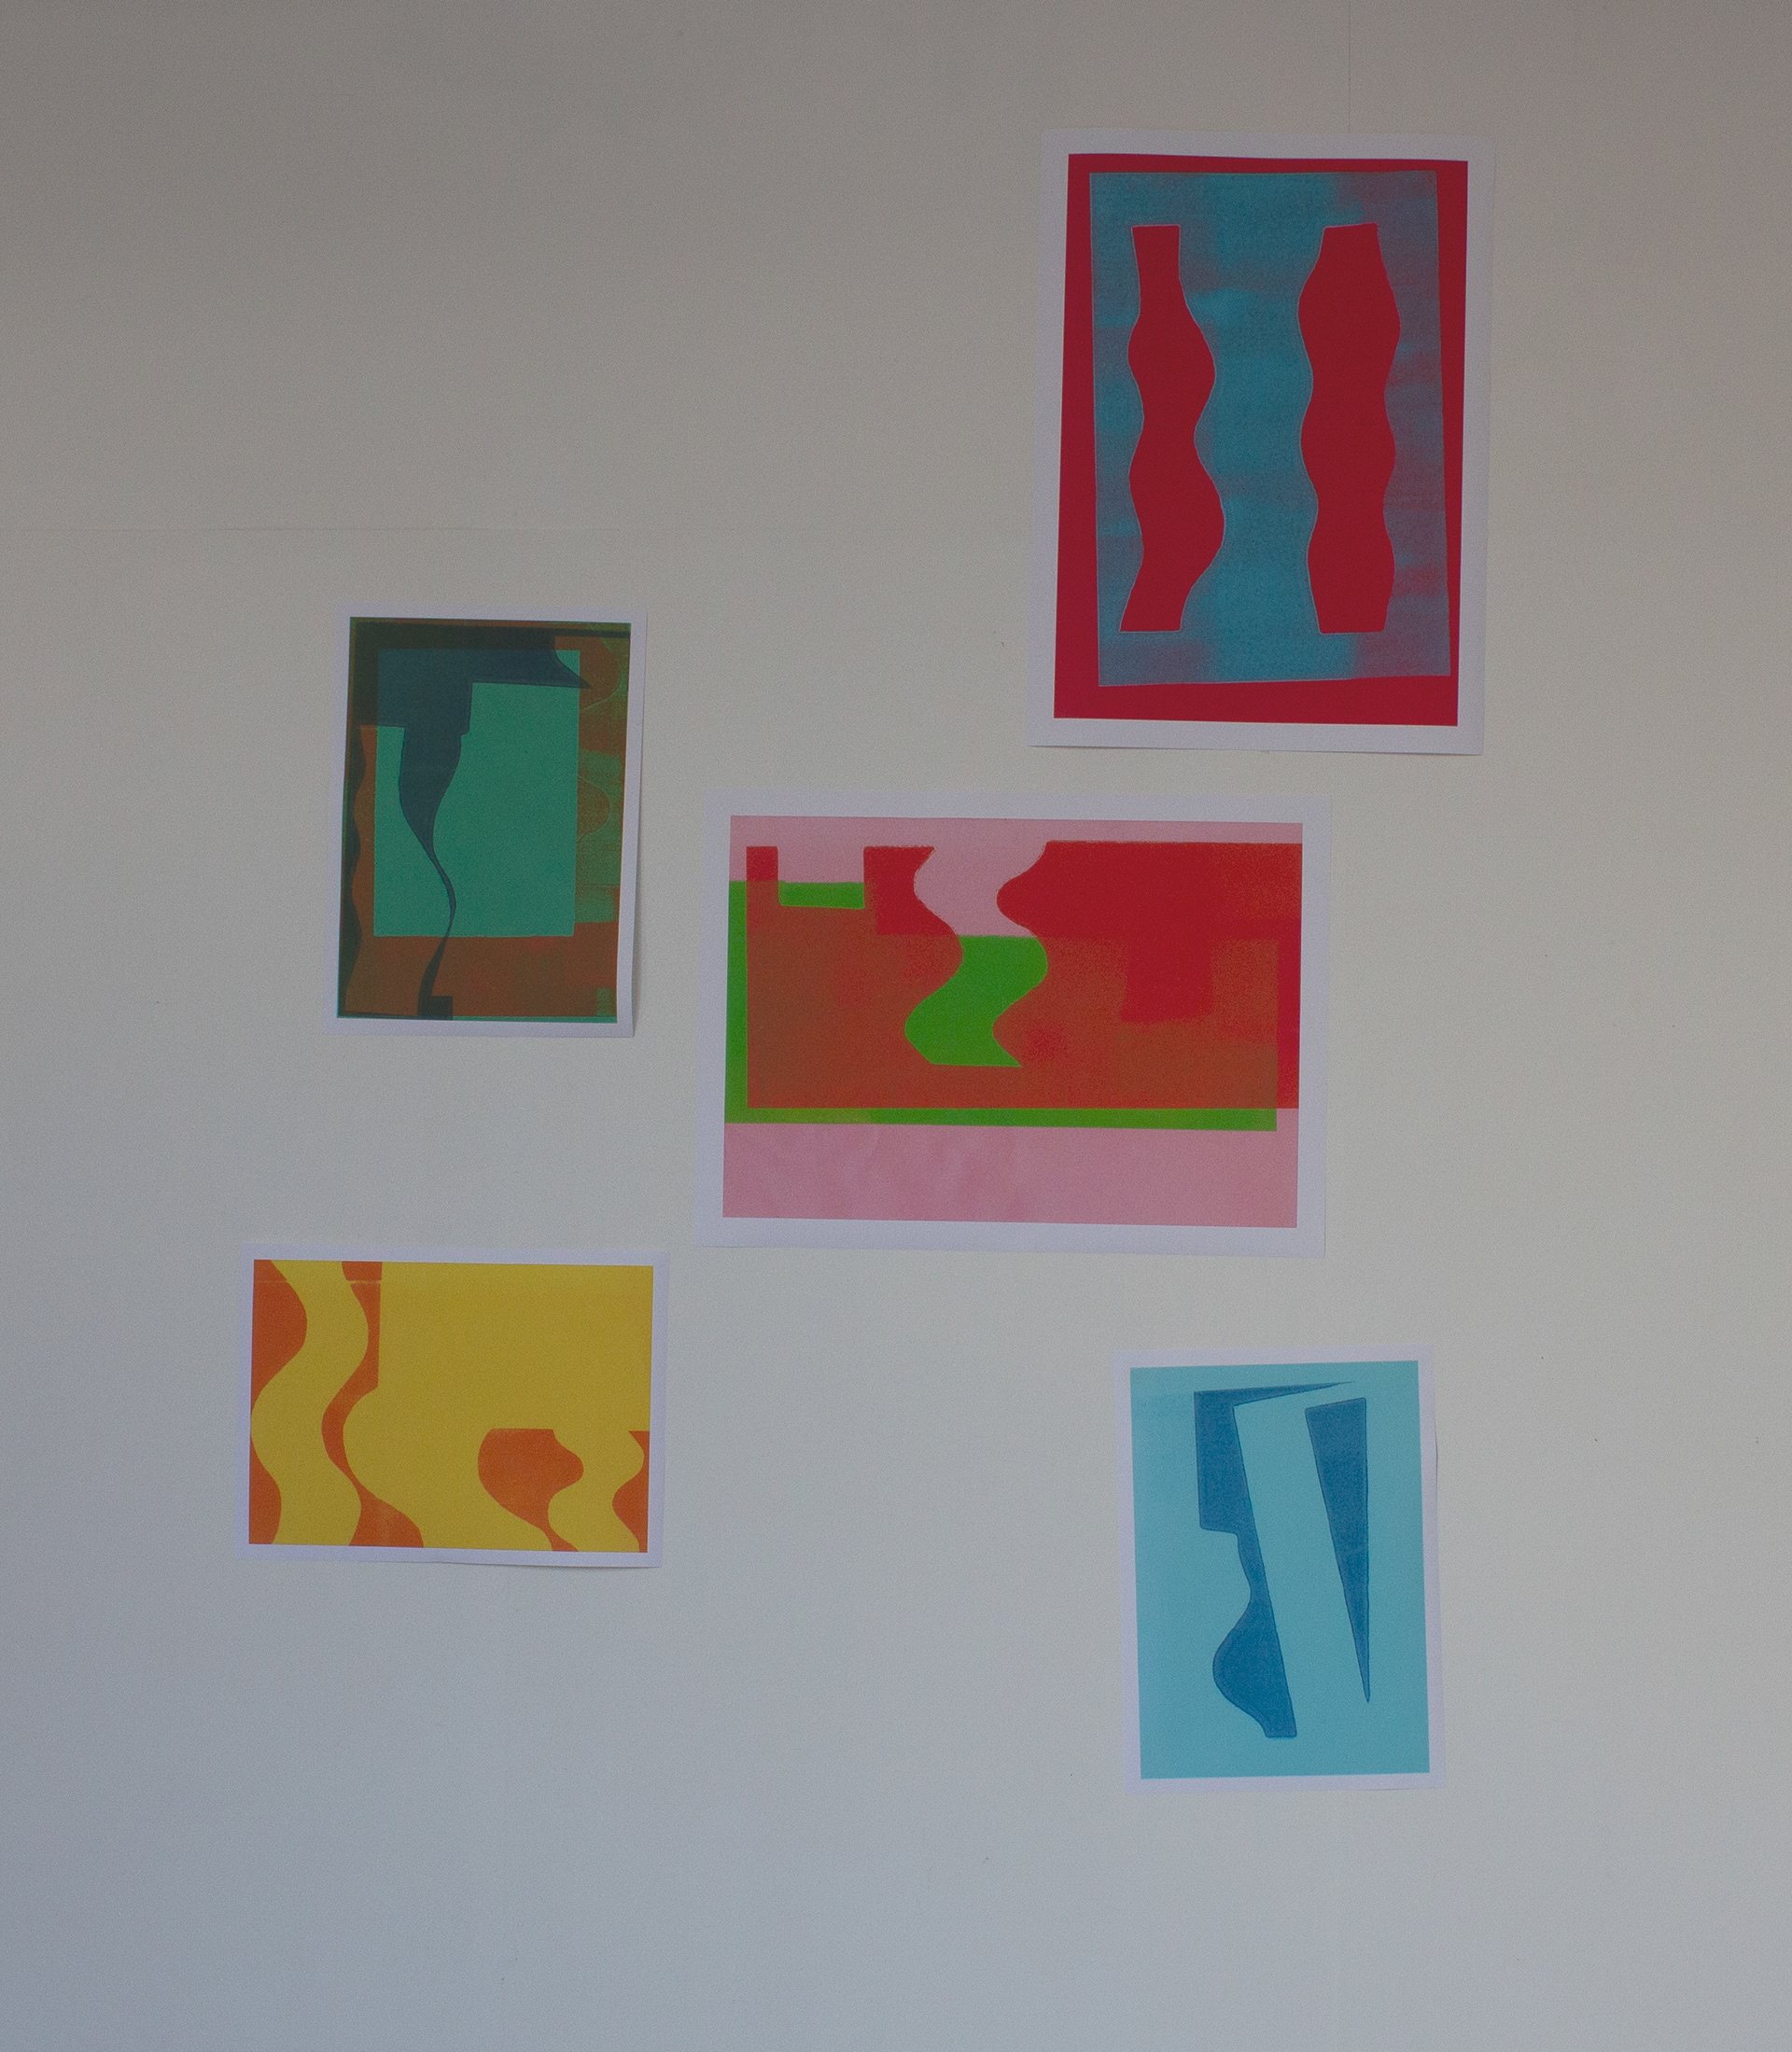
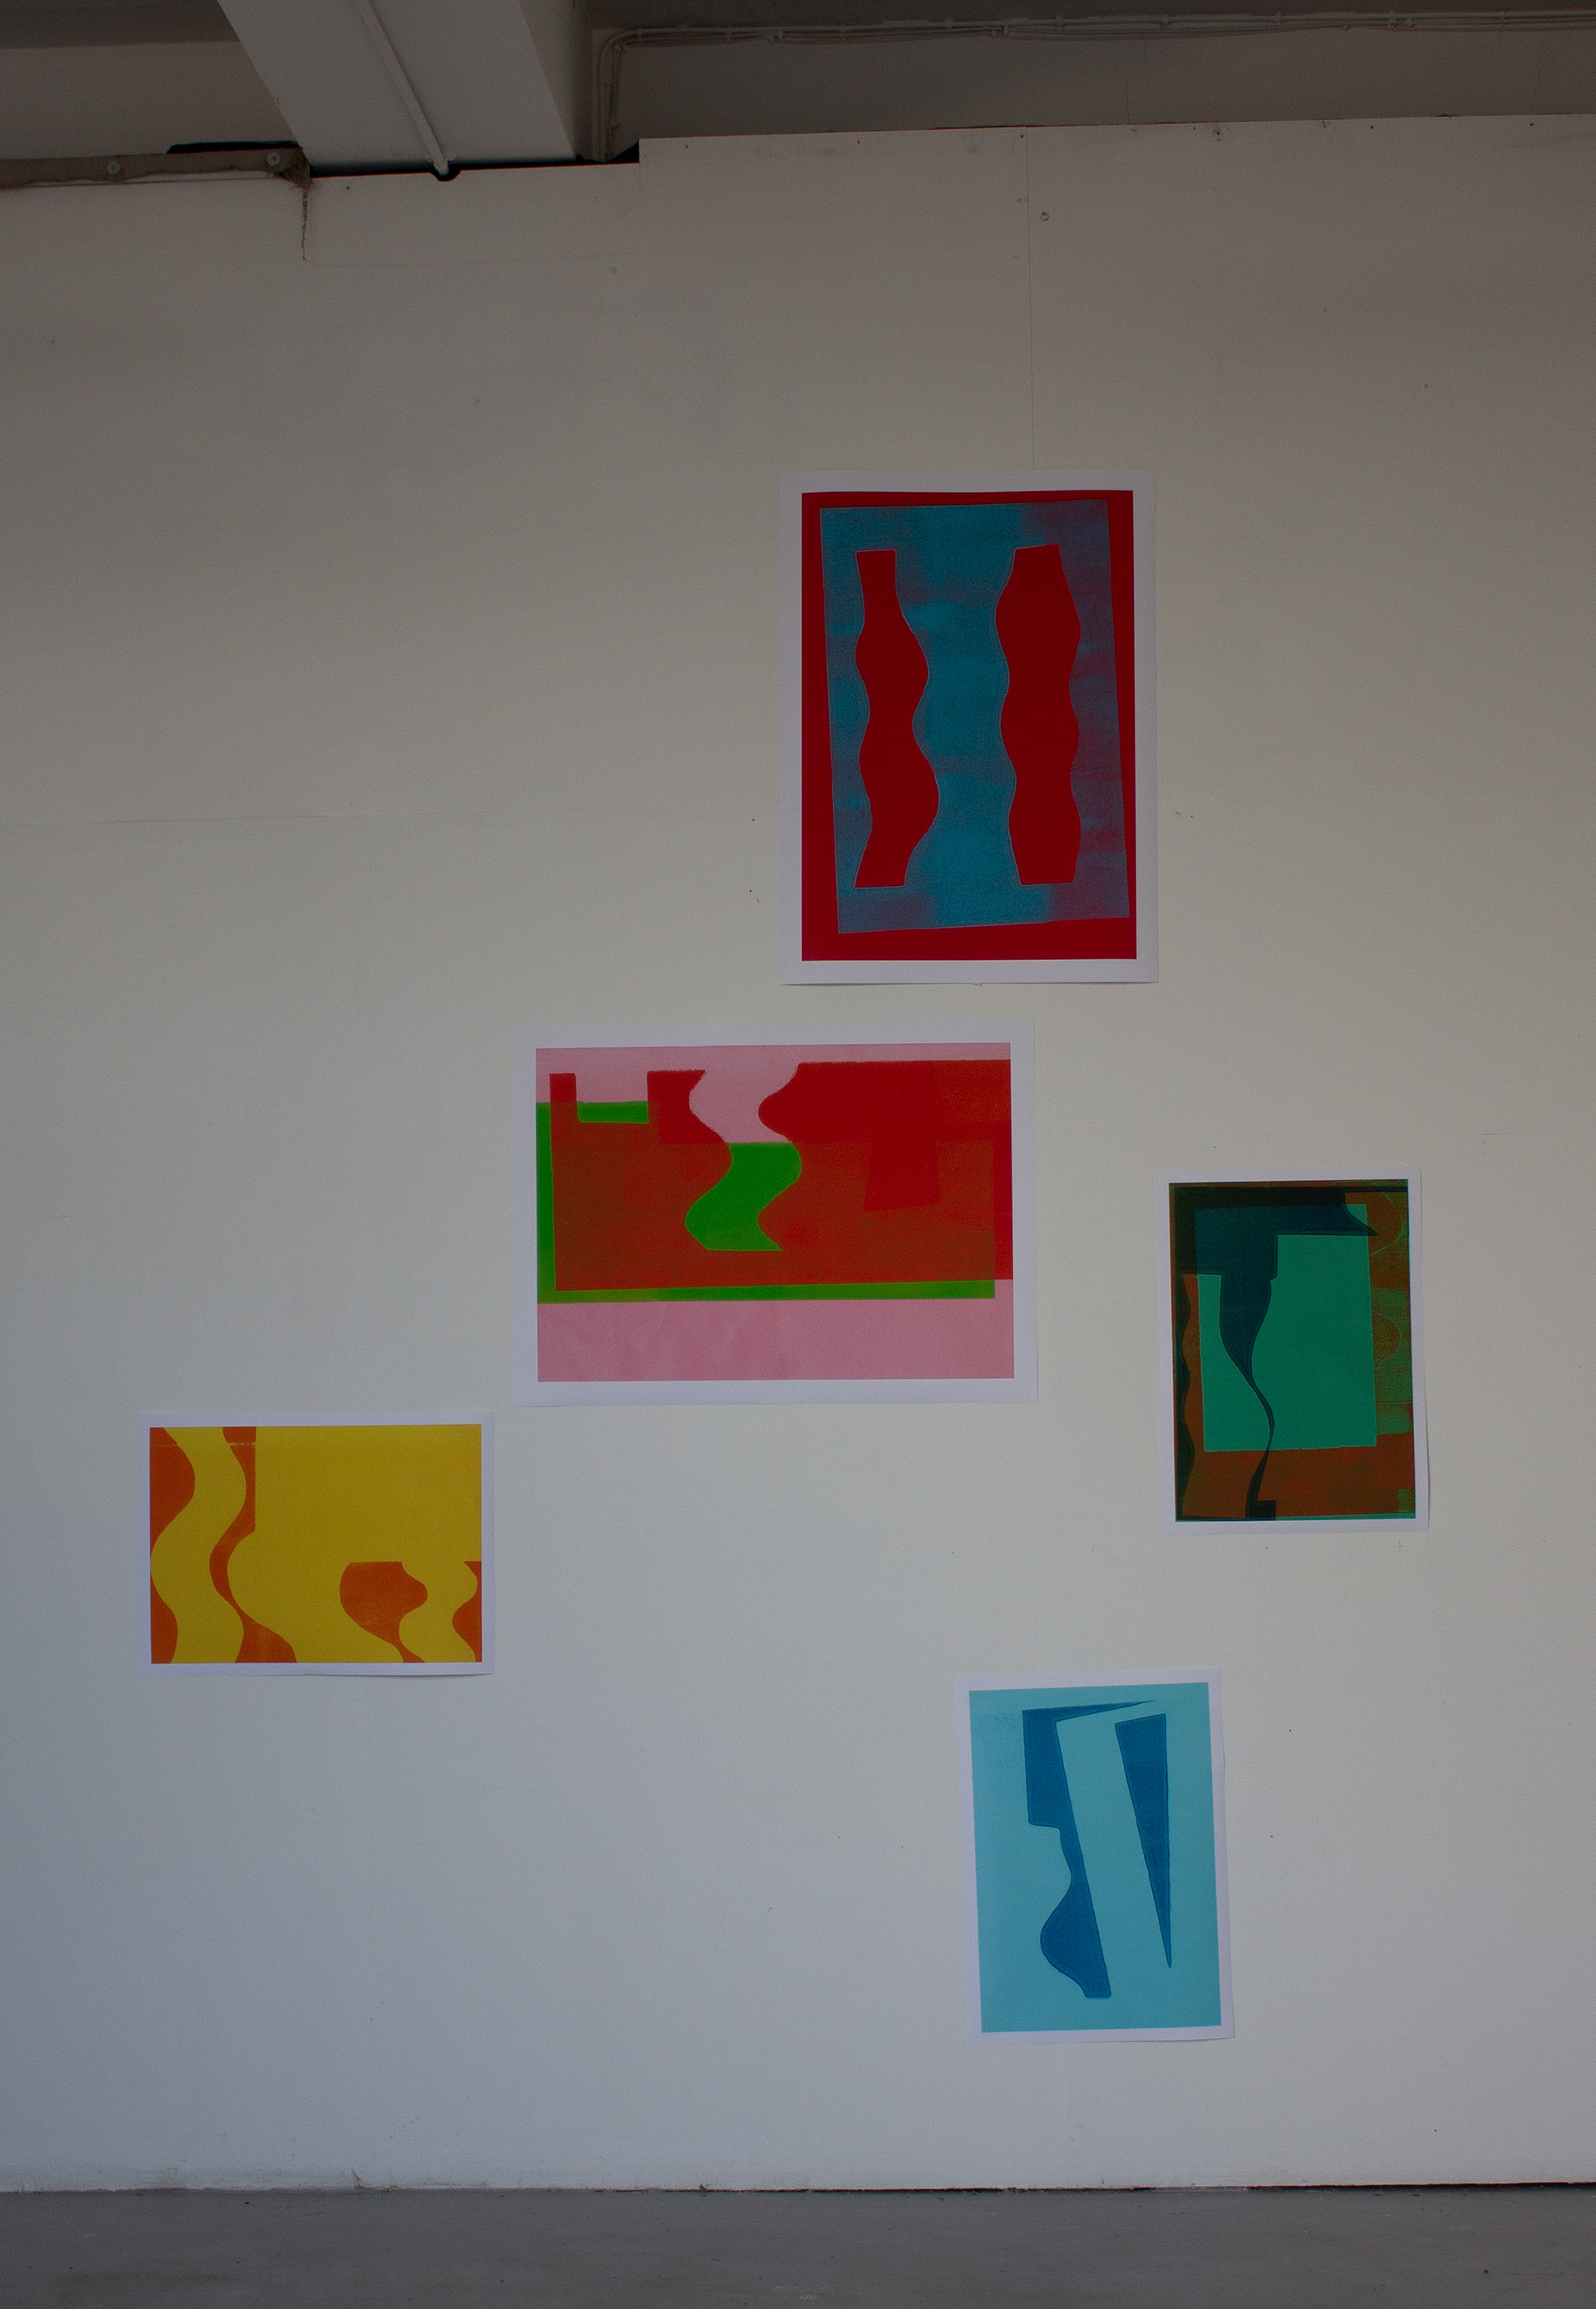
I set up an exhibition in the University with some fellow peers. We all have very different styles and ways of working. Through installing my work, I establish a rhythm which unites the different works together through line and colour. My work is not confined to a specific area but operates throughout the space, as there is variation in size and shape that leads the viewer around the room as they move from one piece to the next.
Original image which is digitally edited collage

Risograph on paper, 29.7 x 42 cm
I use the risograph machine to print an a3 version of a collage that was edited on photoshop. I decide to use fluorescent yellow and pink (instead of yellow and magenta) with cyan and black, as this exaggerates the different elements, giving the image more depth. I plan to make a small book of different risograph prints, which will be digital collages. A mixture of elements made by hand and then digitally edited.
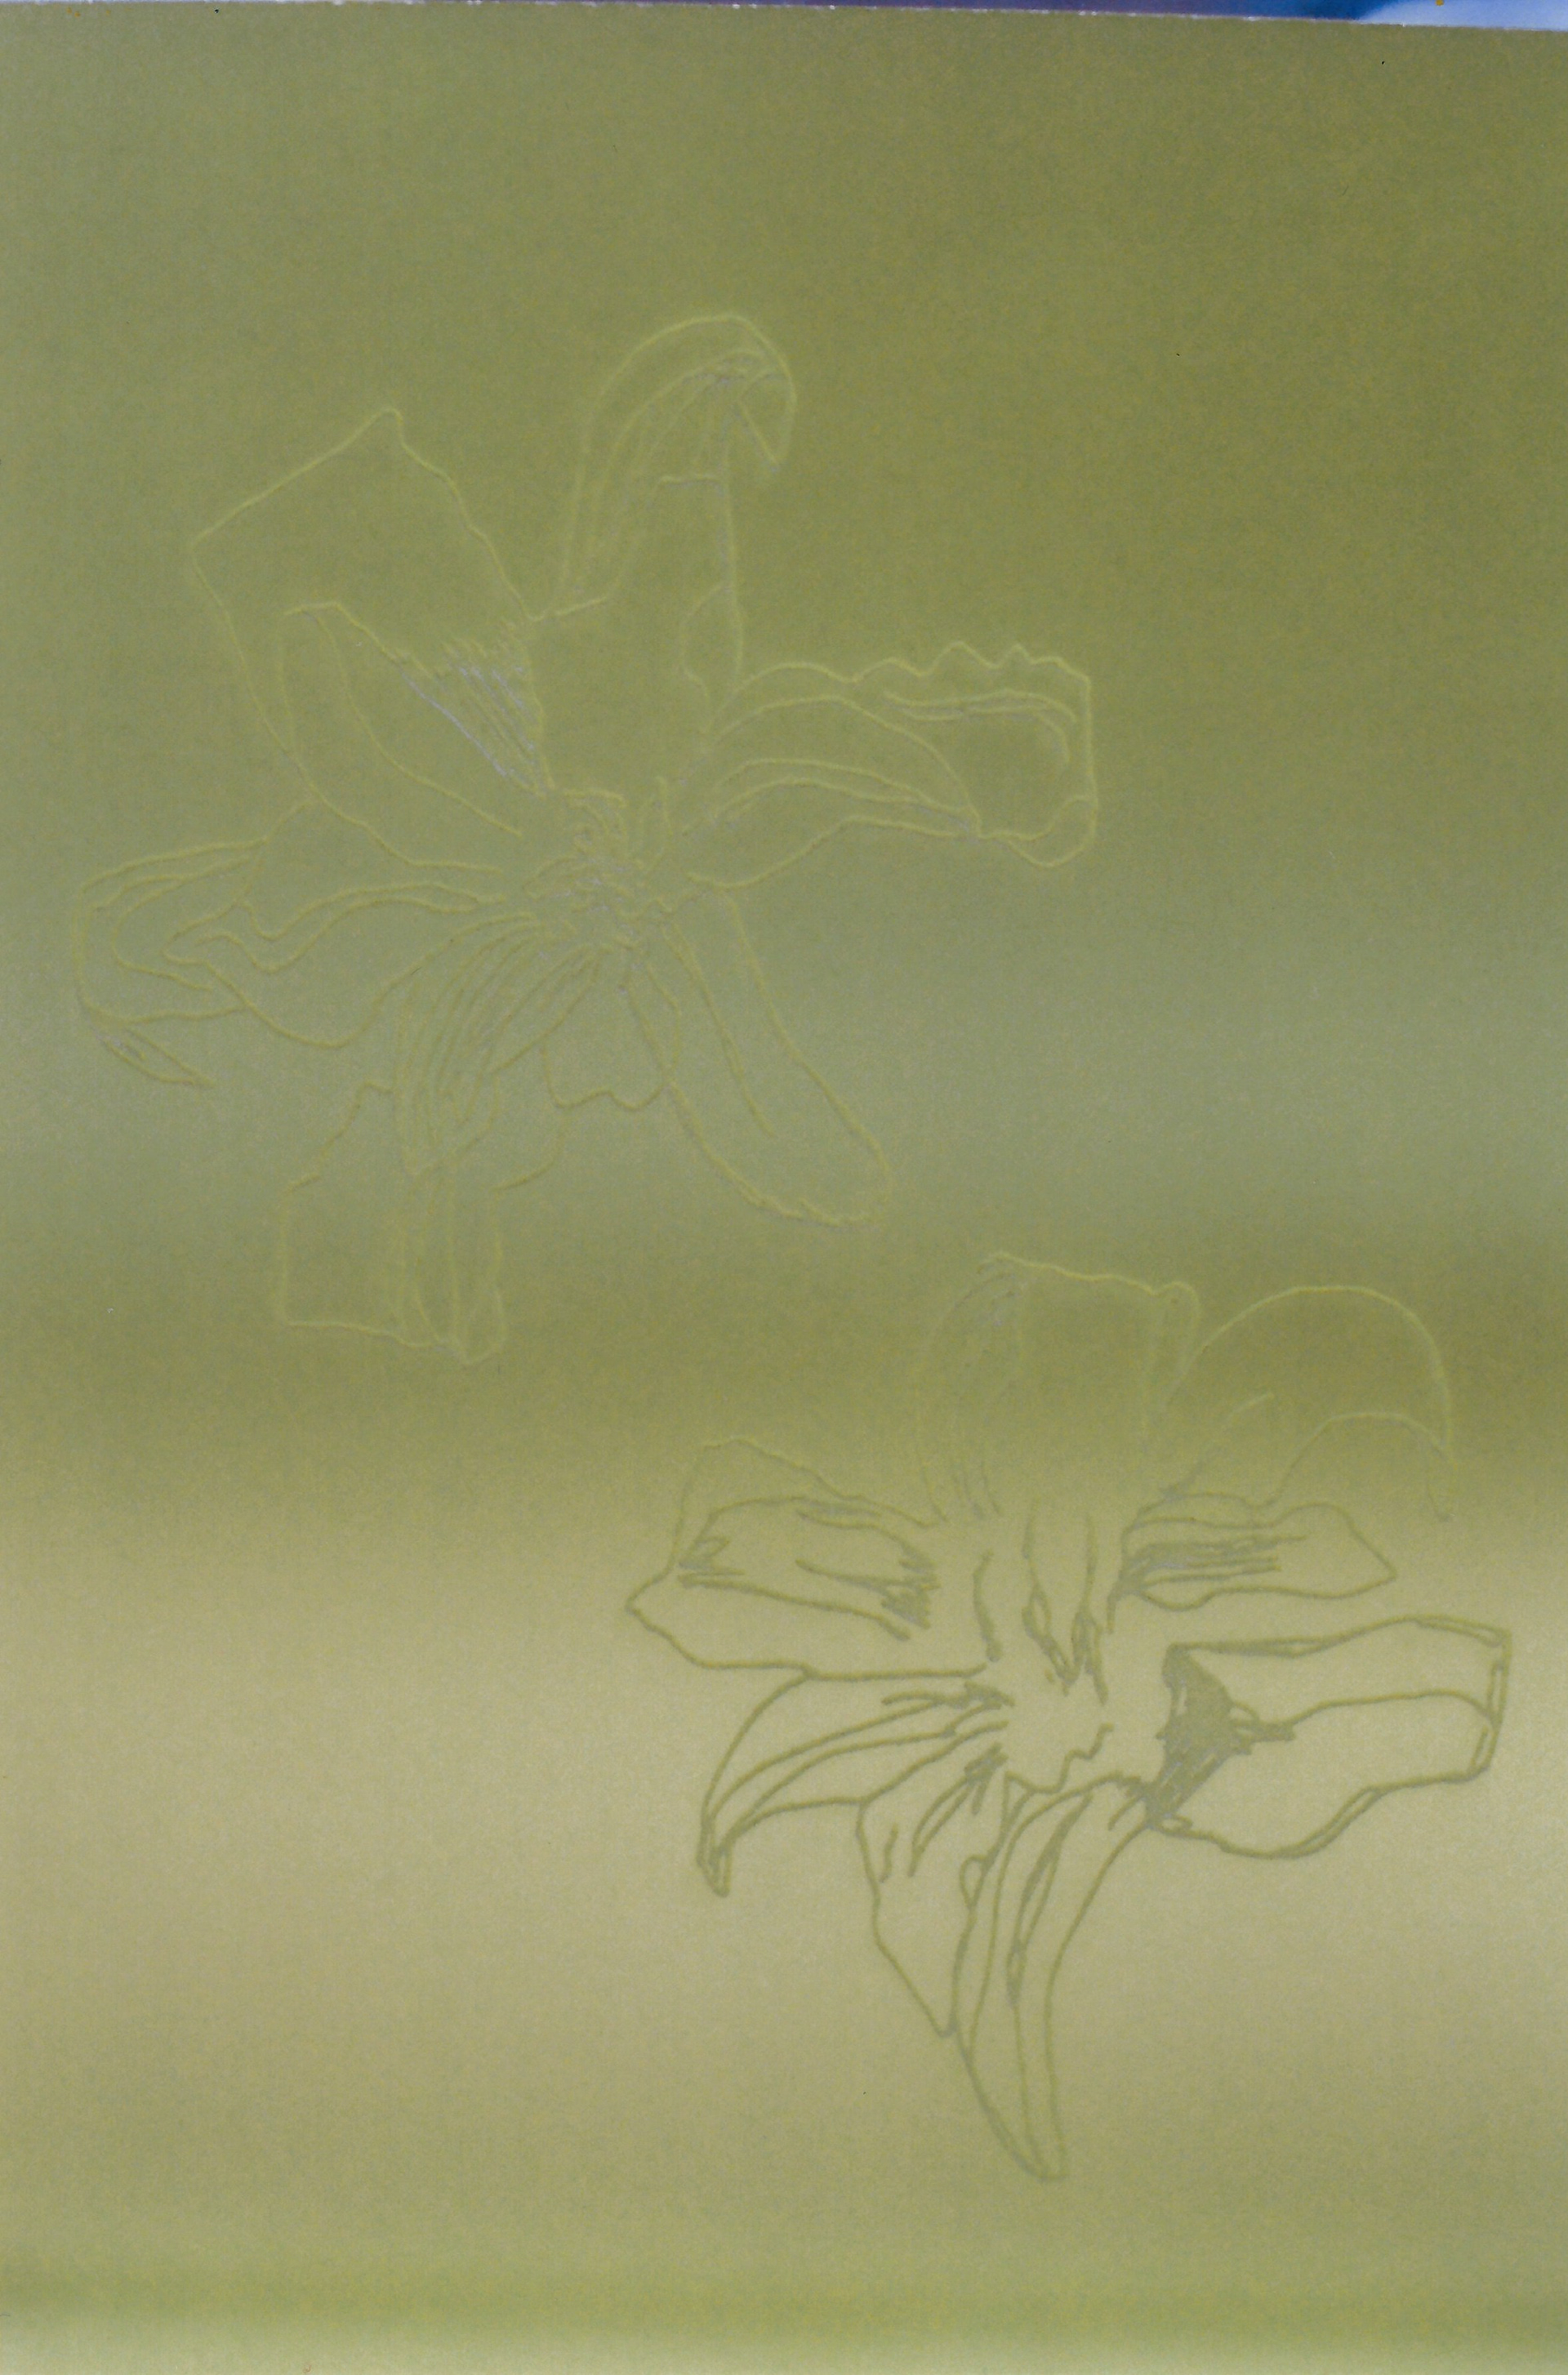
I make paper stencils to use in mono/relief printing. The stencils are made from shapes in my observational drawings.

Relief print on paper, 84.1 x 59.4 cm
Relief print on paper, 29.7 x 42 cm
Relief print on paper, 29.7 x 42 cm

Relief print on paper 21 x 29.7 cm

Relief print on paper 21 x 29.7 cm
Relief print on paper, 32 x 51

Relief print on paper, 59.4 x 42 cm

Relief print on paper, 21 x 29.7 cm

Relief print on paper, 21 x 29.7 cm

Relief print on paper, 21 x 29.7 cm
Relief print on paper, 56 x 76 cm
I use the relief press with paper stencils to create new images; there are endless combinations. The plate gives an even pressure, rather than using the monoprint press as this pushes the plate through, so the pressure is rolled over in parts rather than all at once. I experiment with using different levels of opacity in the ink to allow other layers to be present, whilst mixing to create new colours. Also, I experiment with the thickness of ink, so some layers are thicker than others.

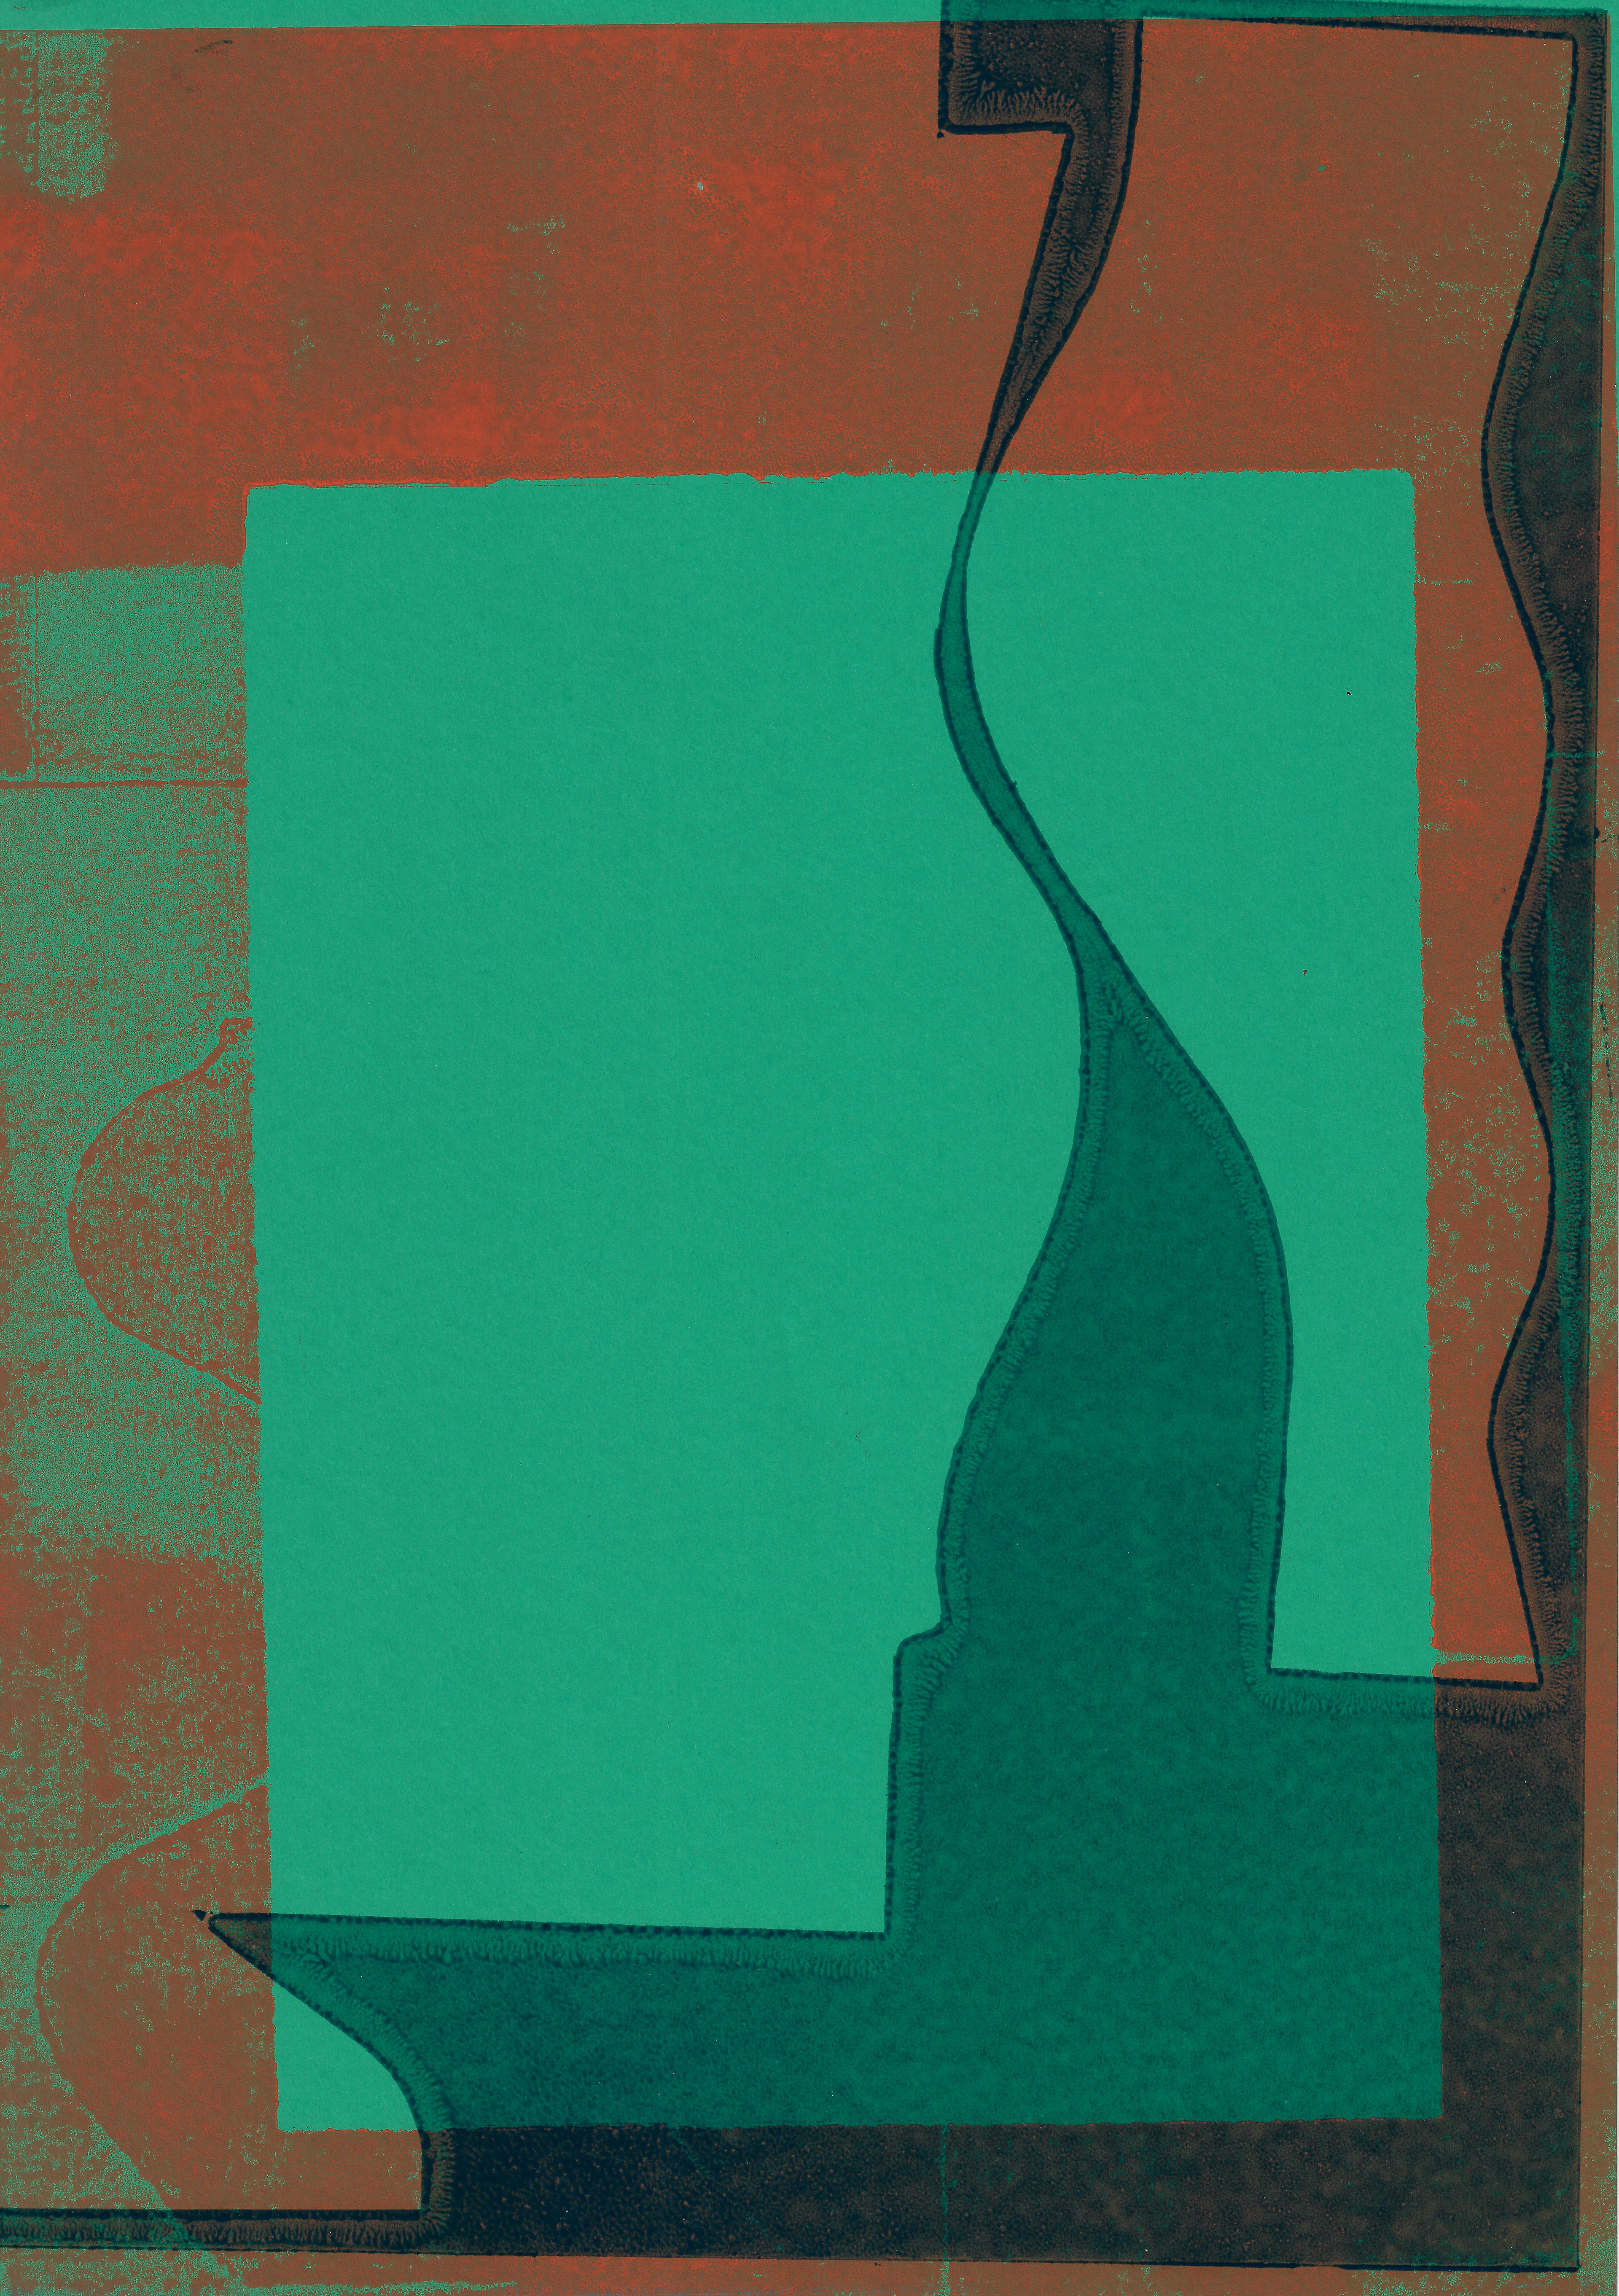
Digital print on paper, 59.4 x 84.1 cm
Digital print on paper, 42 x 59.4 cm
Digital print on paper, 59.4 x 84.1 cm
Digital print on paper, 42 x 59.4 cm

Digital print on paper 42 x 59.4 cm
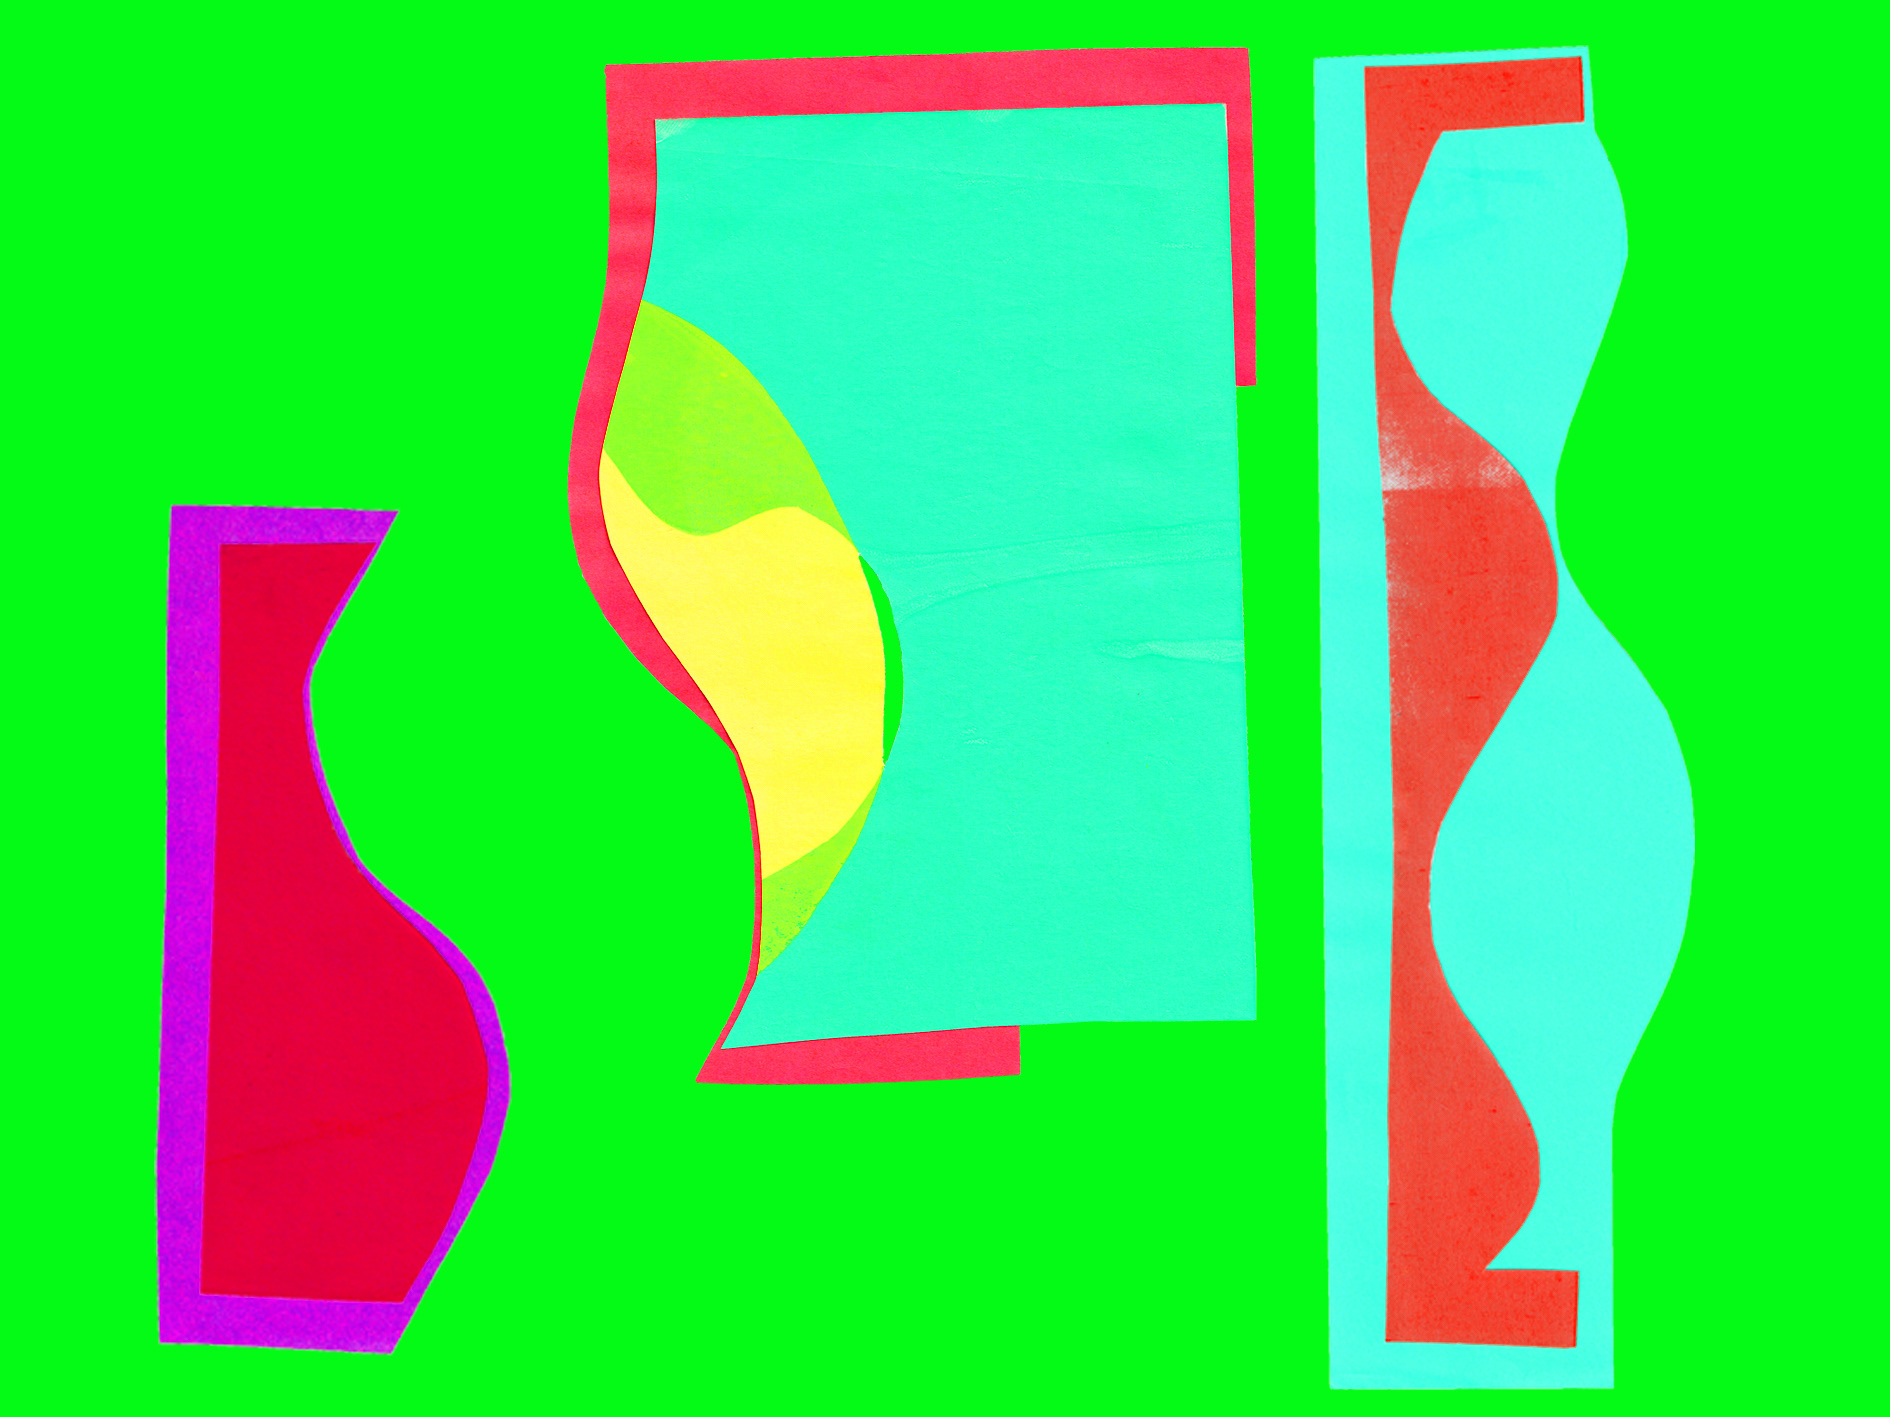
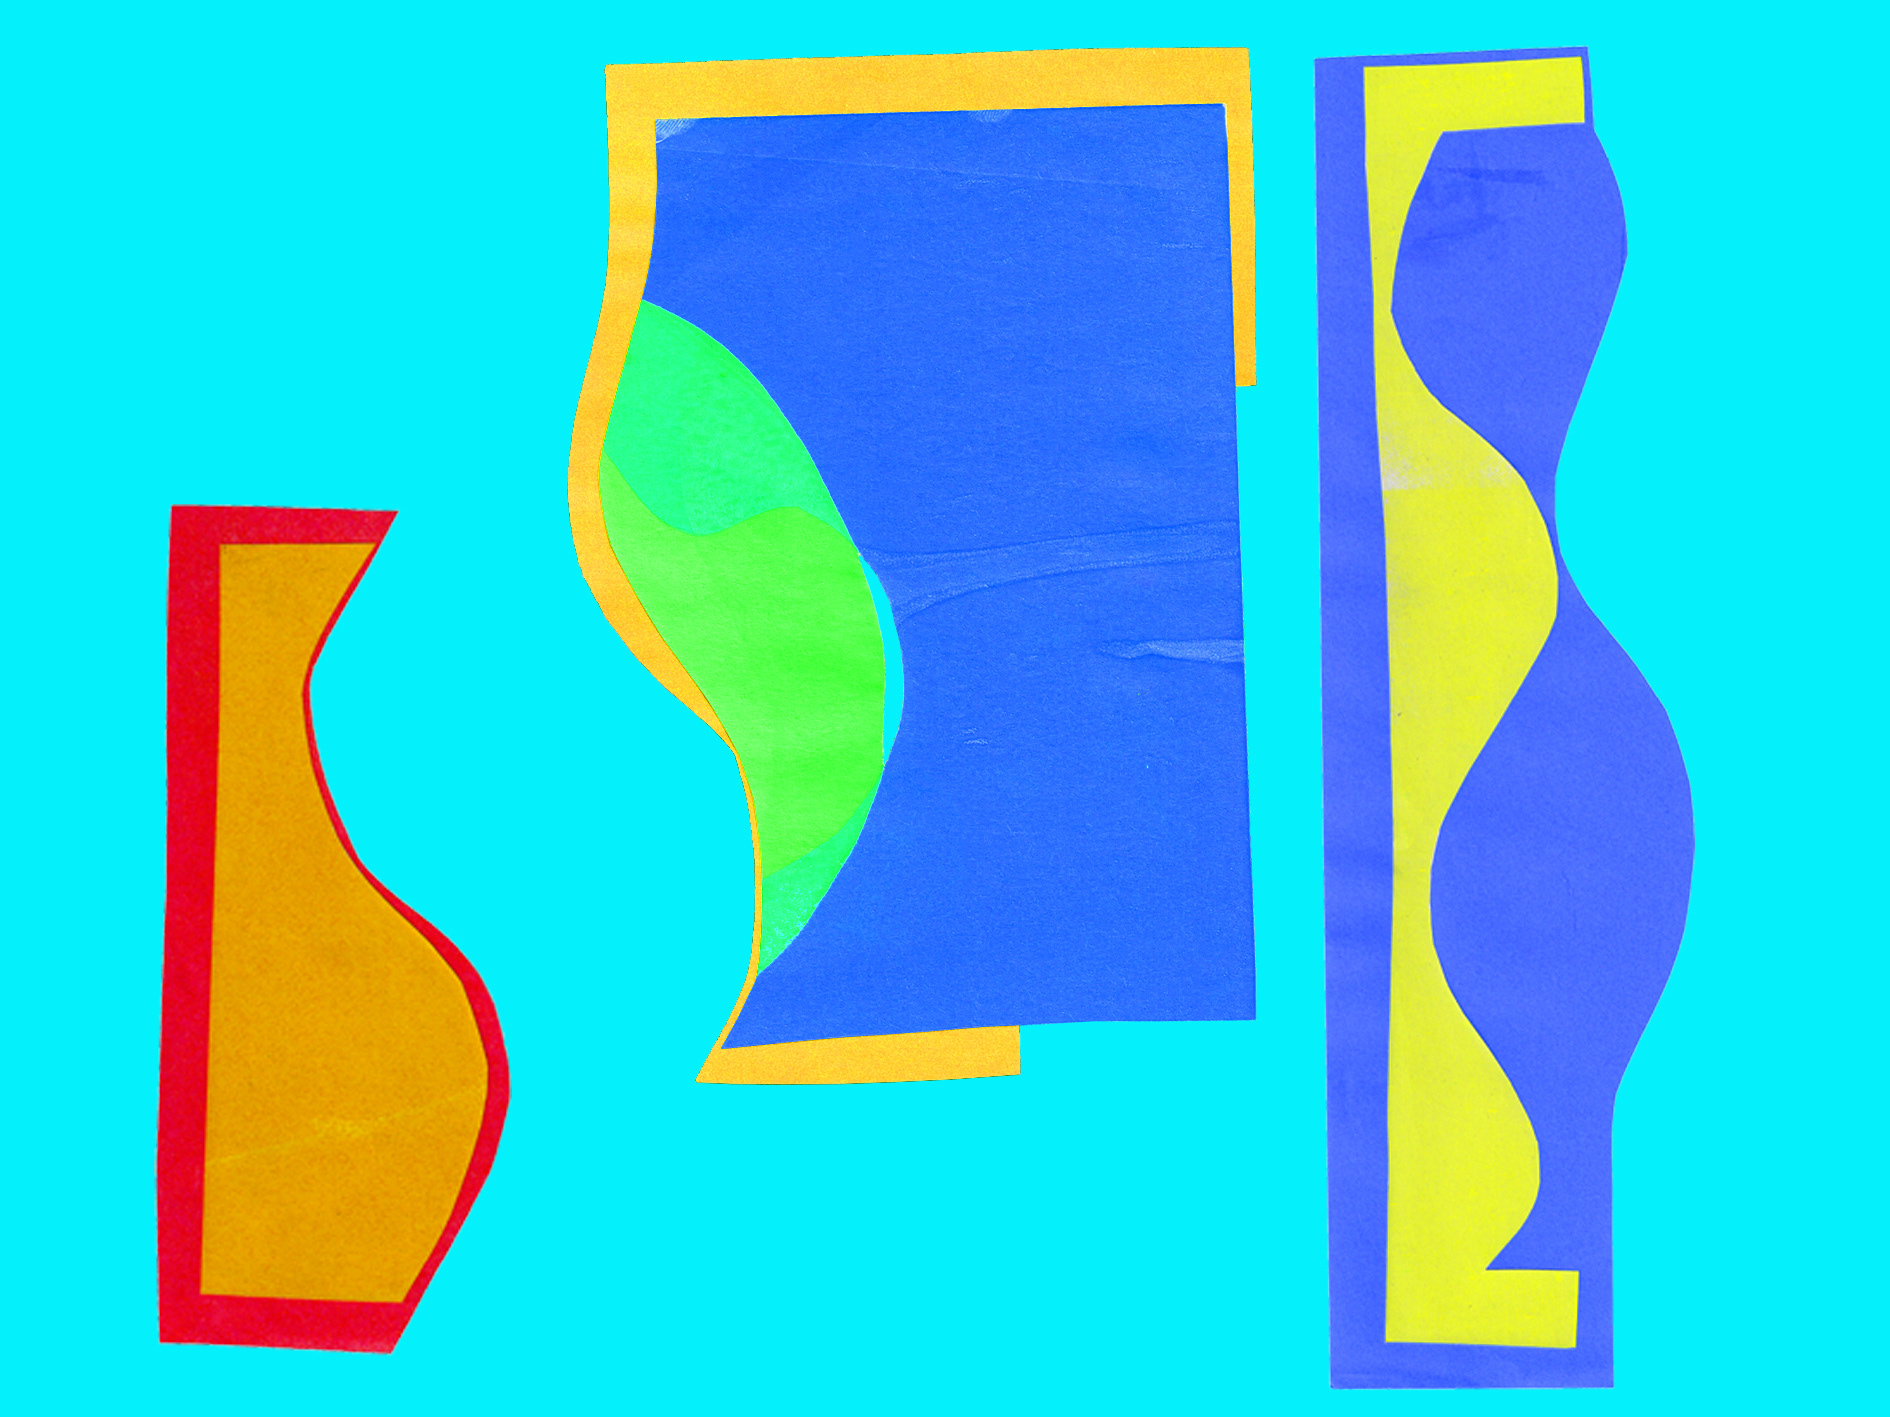
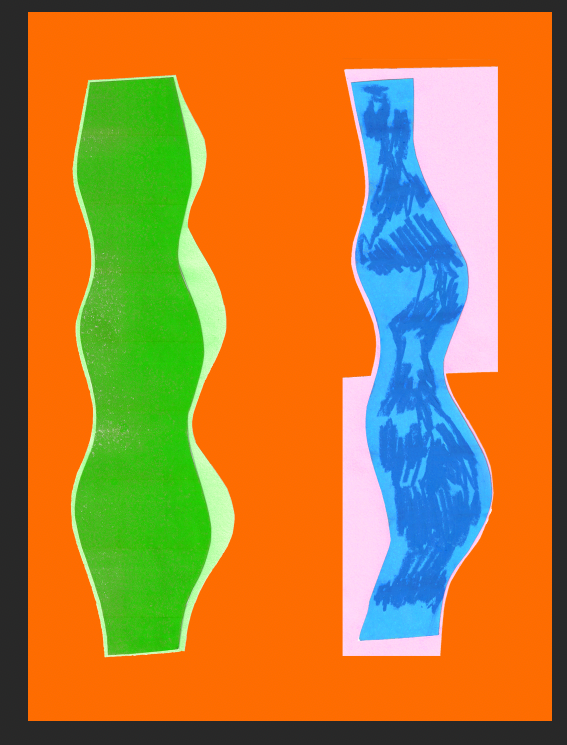
I digitally print enlarged scans of earlier relief prints. I enhance the saturation and vibrancy on photoshop before printing these out larger than the originals. I displayed the prints in a variety of arrangements, emphasising how through their arrangement they can create different rhythms dependent on their arrangement.

Relief print on paper, 21 x 29.7 cm
Edited relief print
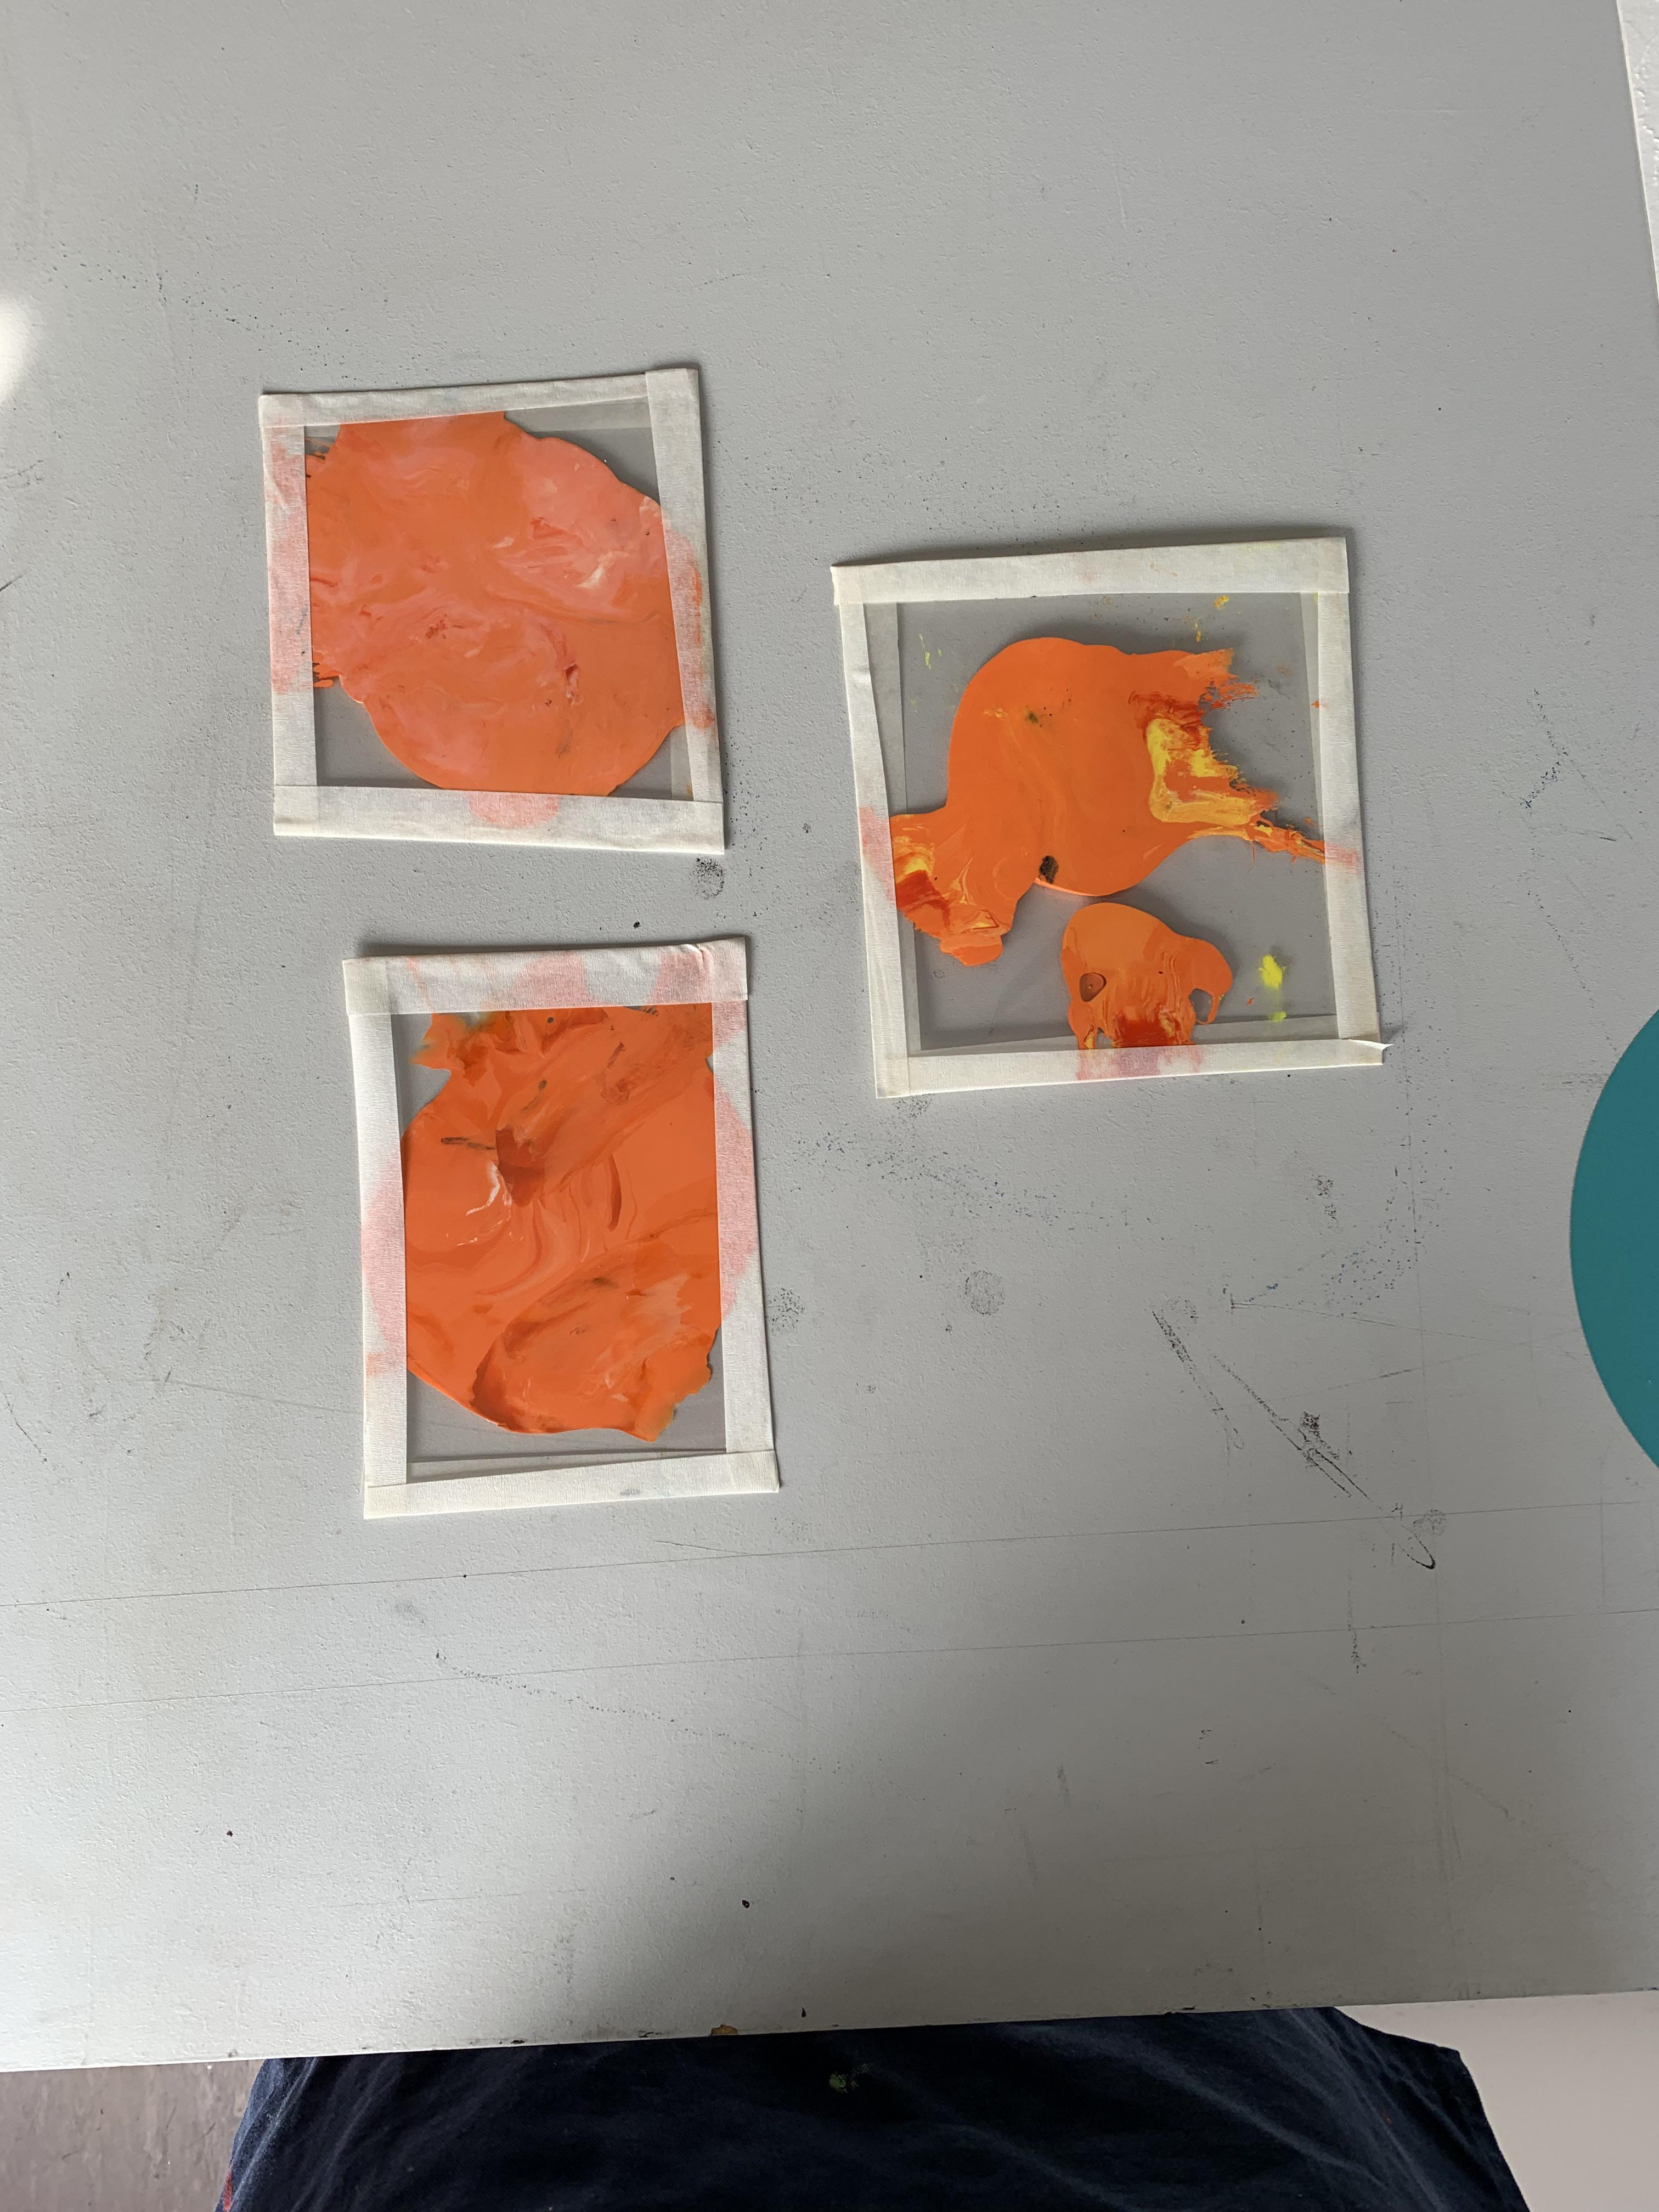
I make risograph prints of an earlier relief/monoprint, which I have scanned in. I did not edit the image too much, I only lighten it, following advice from the technician that the risograph prints the image out slightly darker than expected compared to the image seen on the screen. I split the image into CMYK, but I edit my choice in inks. I use fluorescent orange instead of magenta, blue aqua for cyan, fluorescent yellow for yellow, and teal for black. The risograph produced is still muted and does not turn out as expected.


I create a variety of arrangements with the digital prints of enlarged relief prints. There is a continuity of rhythm through the variety of arrangements. There is no set way for the work to be hung, portrait, landscape, upside down or right way up. Obviously, when displayed it is my decision how they are arranged, but each viewer will have different opinions on their arrangement. When the viewer is arranging my work in their own environment it is up to their discretion which way the print is hung.


I digitally arrange the prints on illustrator how I imagine they will be hung in the South London Gallery.
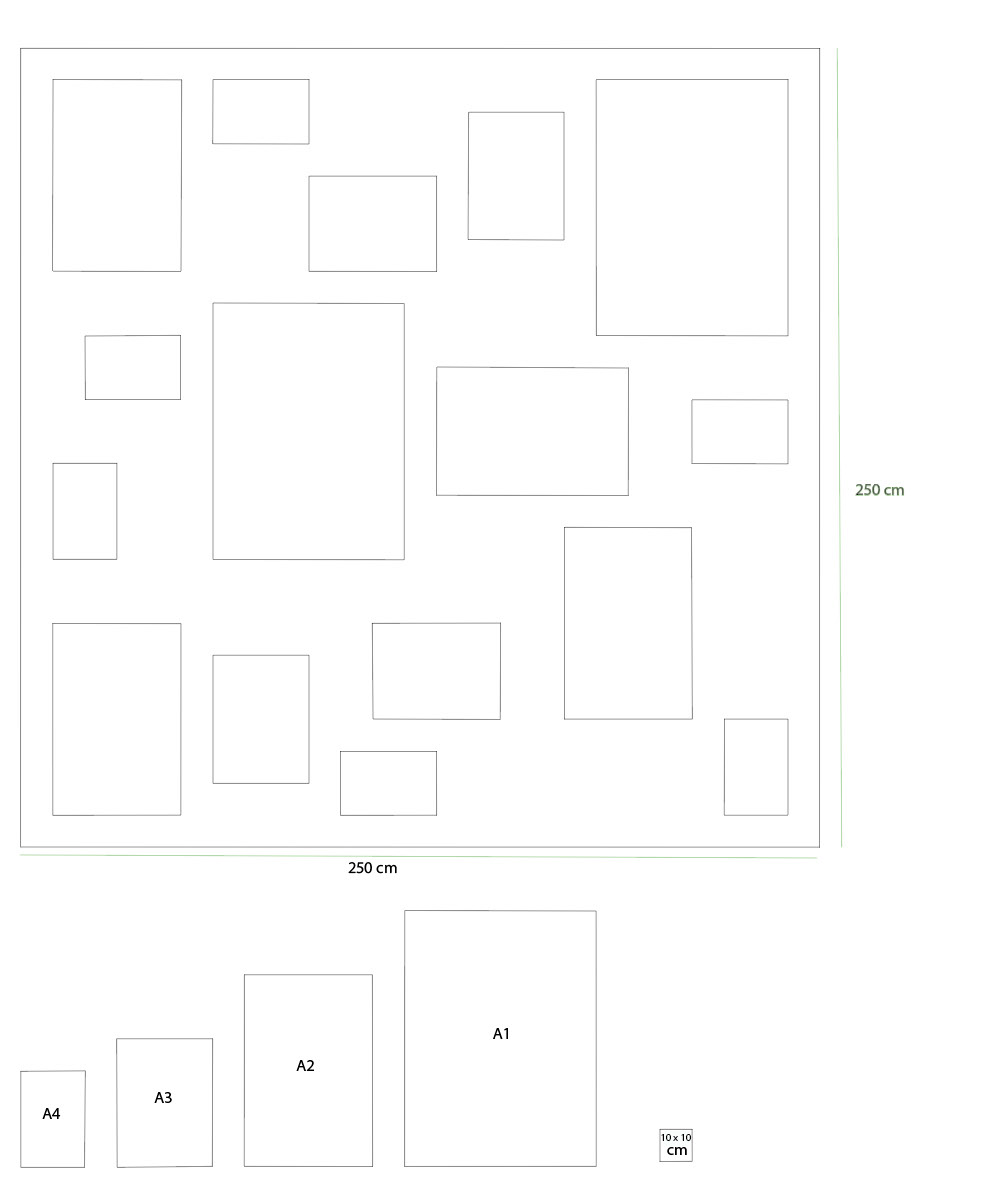
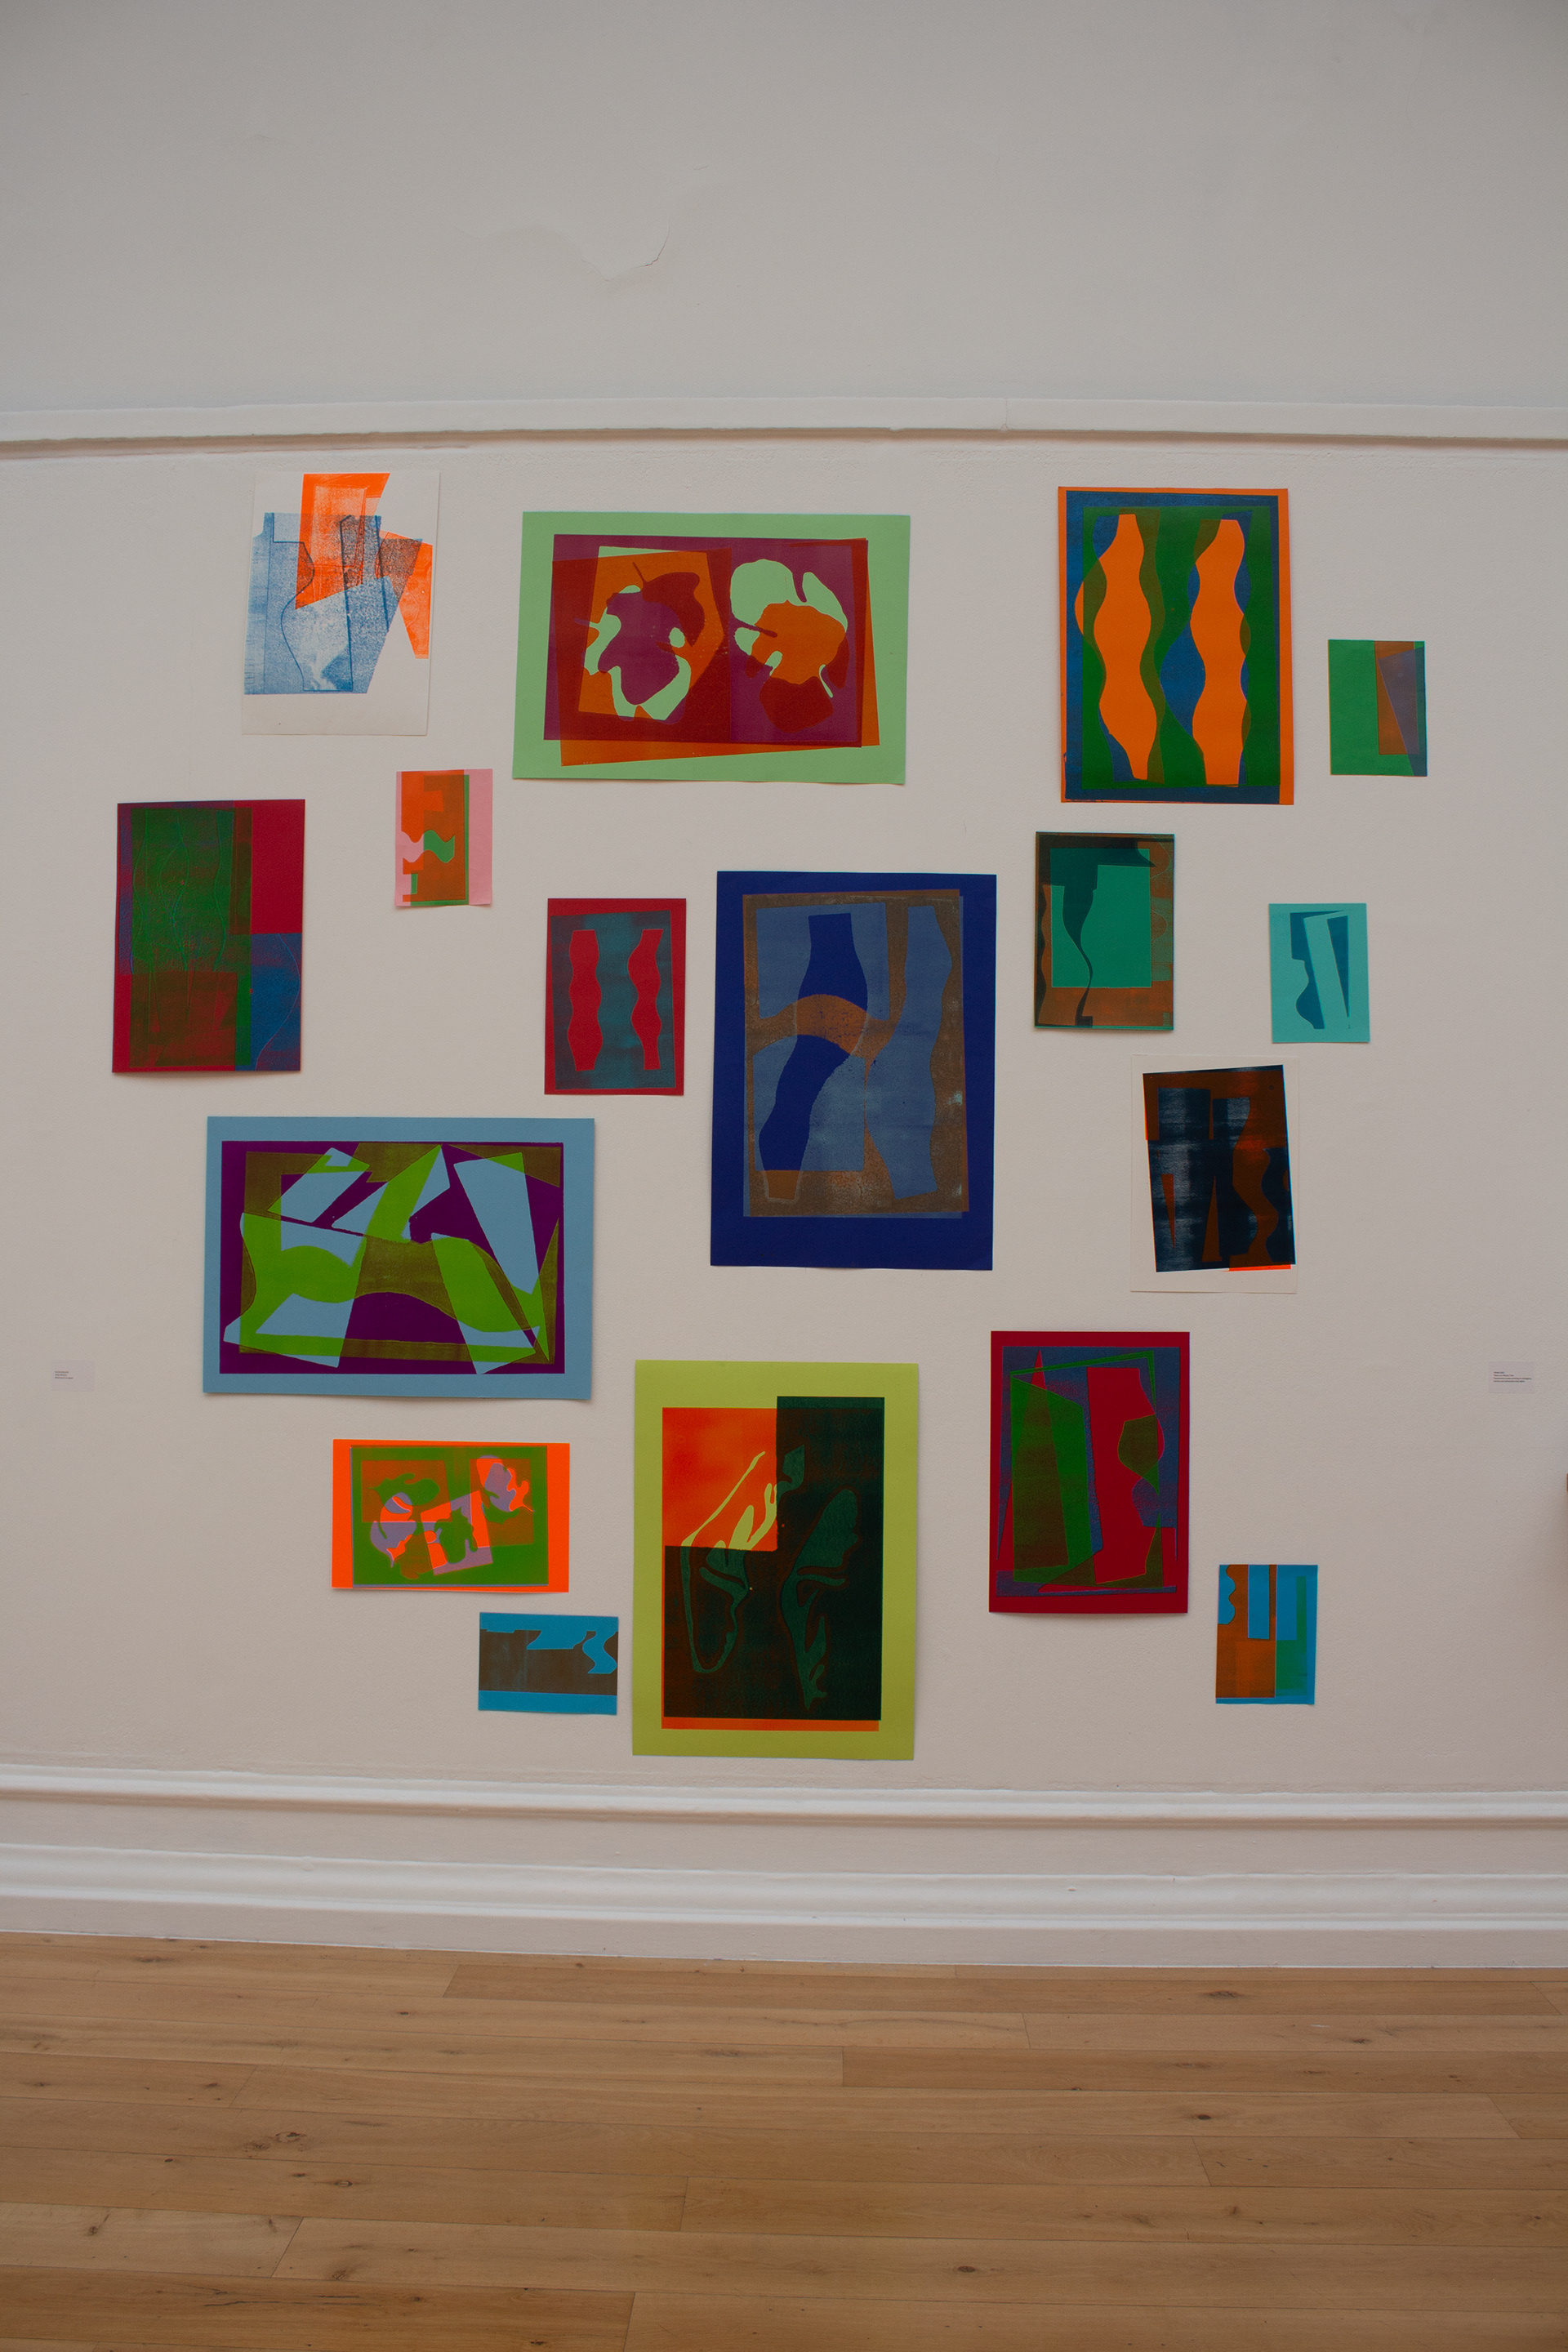
I utilise the grid formation as a starting point for the arrangement of the prints; I had previously created this grid for the proposal, which had systematically arranged the prints according to size and orientation. Fowler outlines (2005, p. 82) the reasoning behind using a grid formation to visually organise my work, ‘constructive and system-based works will then appeal for their purity of form, for the visual aspects of balance and tension, and for the subtlety of the inter-relationship of lines and forms to each other and to the systems on which they are based’. The viewer would sense the imbalance if the prints were not thought through in their arrangement, as this is key to the success of the work. This is because as Fowler further affirms (2005, p.82) that there is ‘timeless universality of the basic shape, structures and systems’.
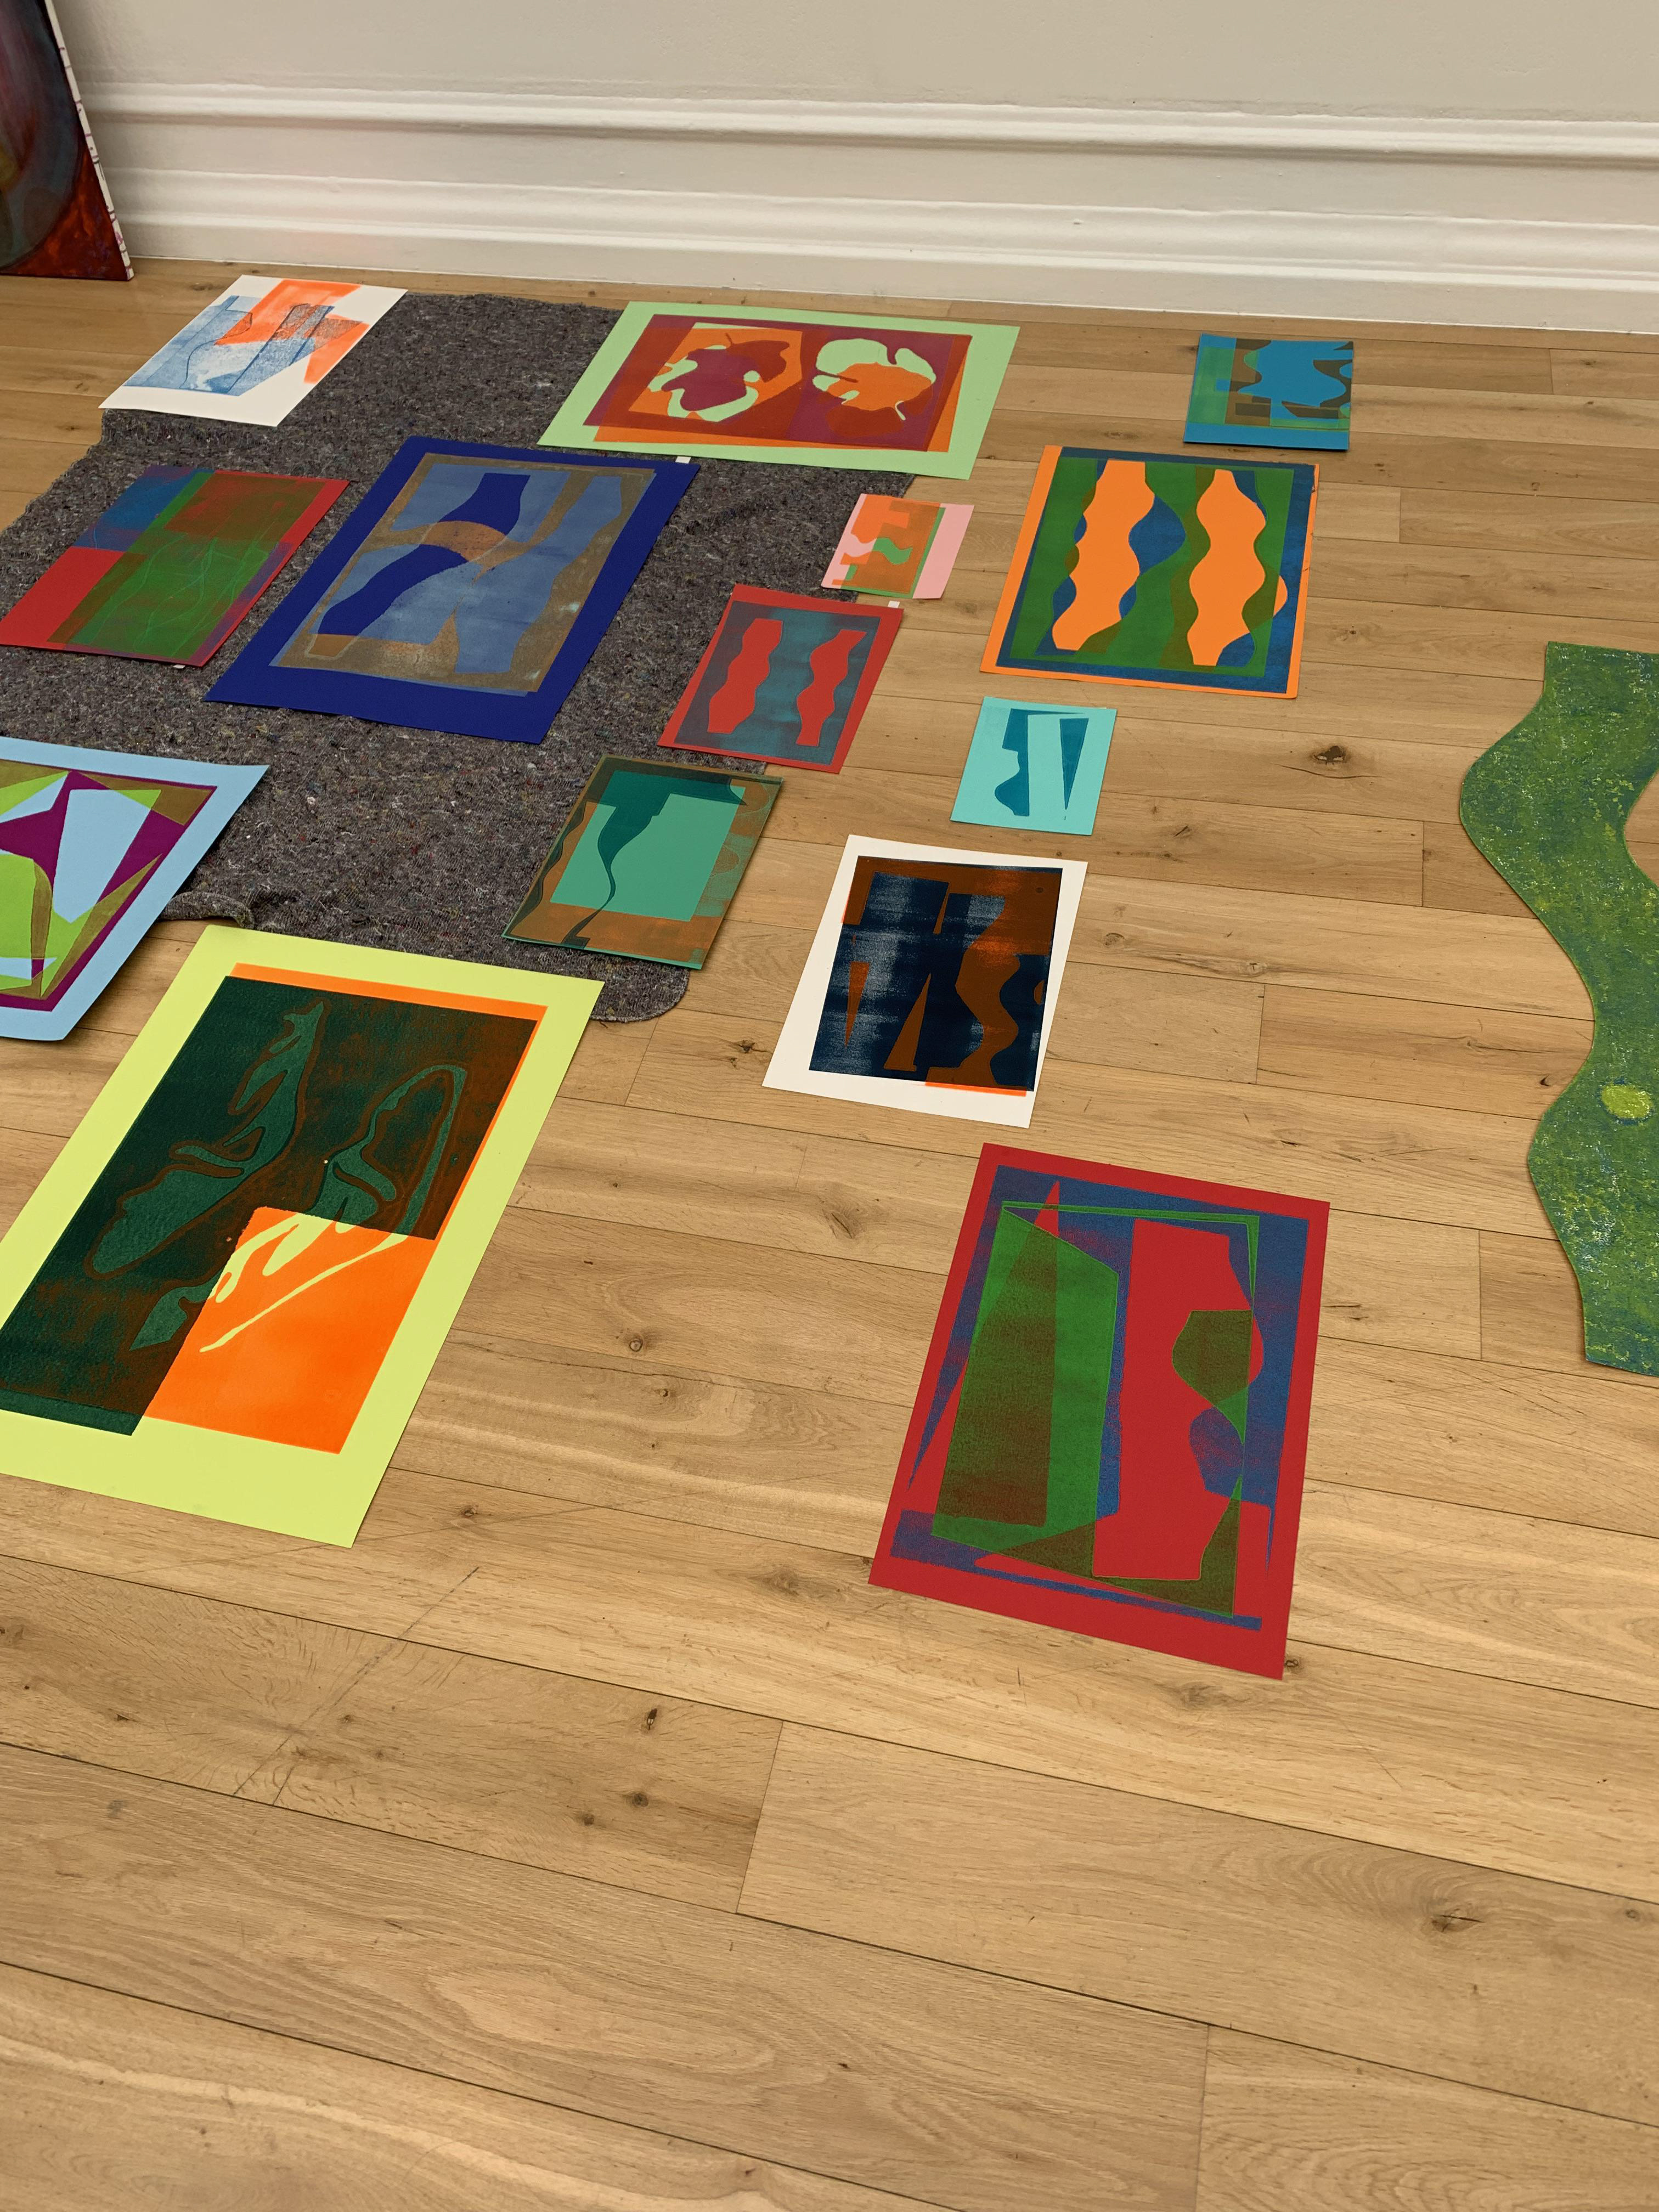


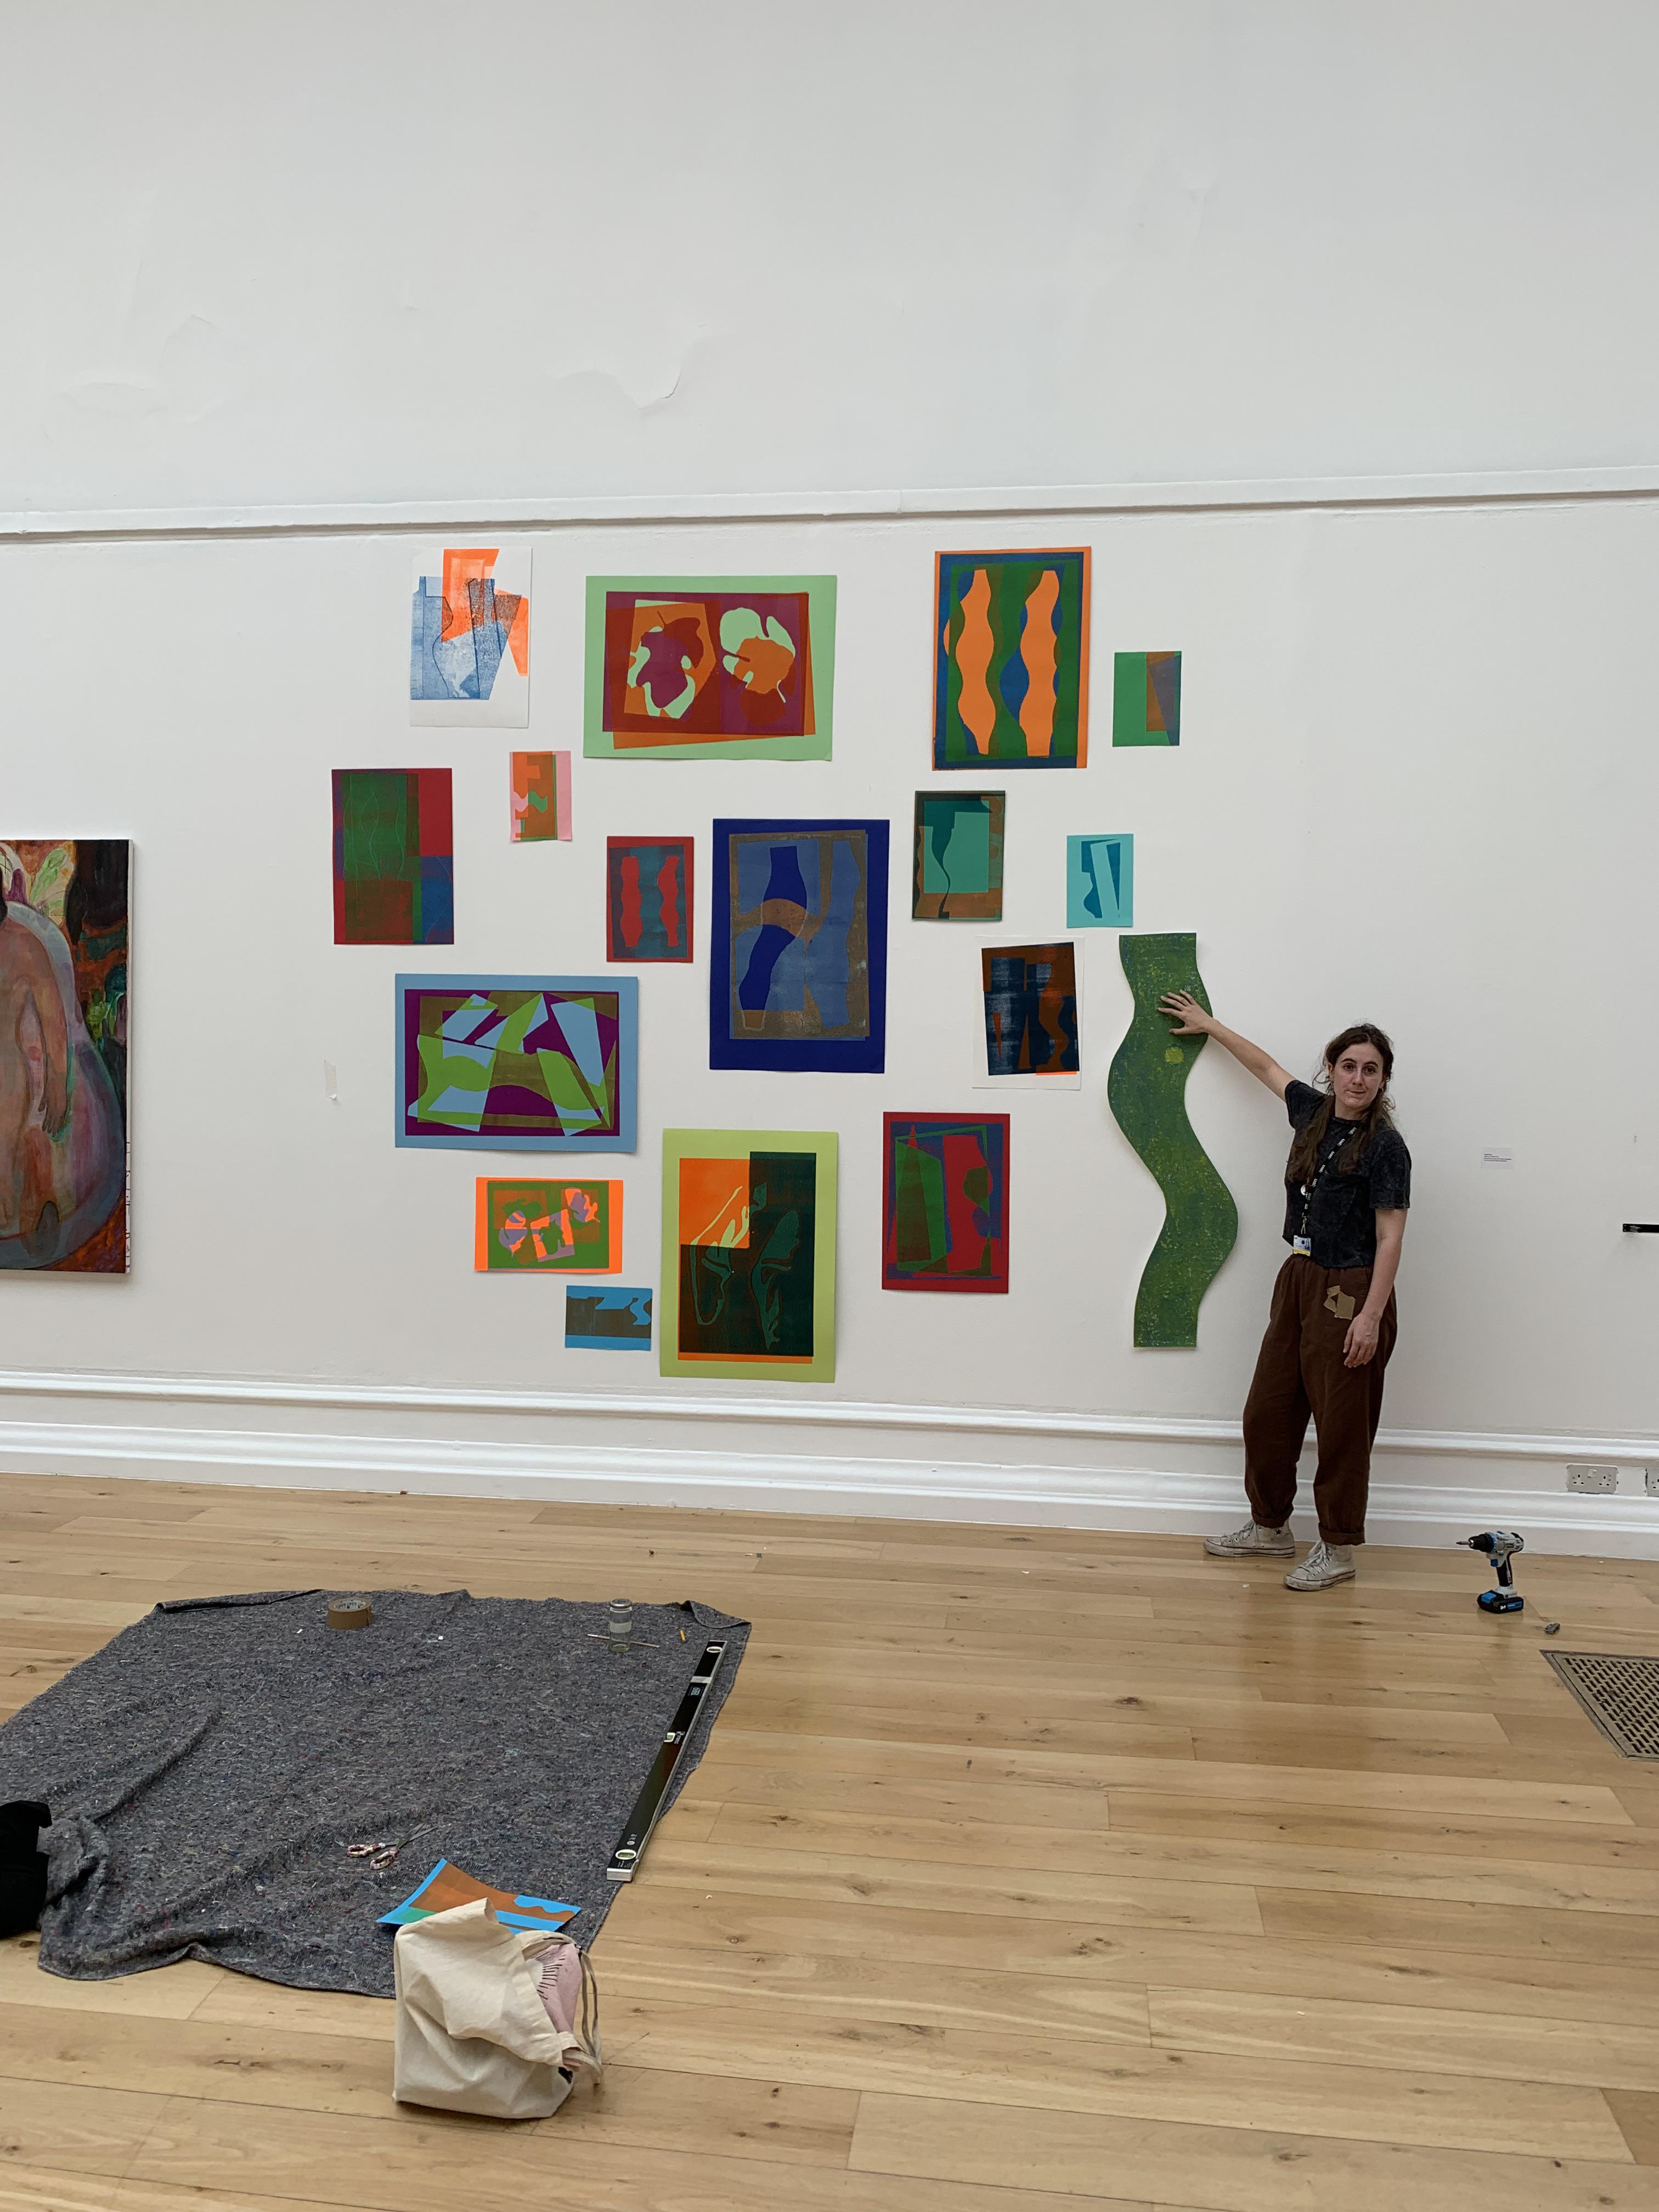
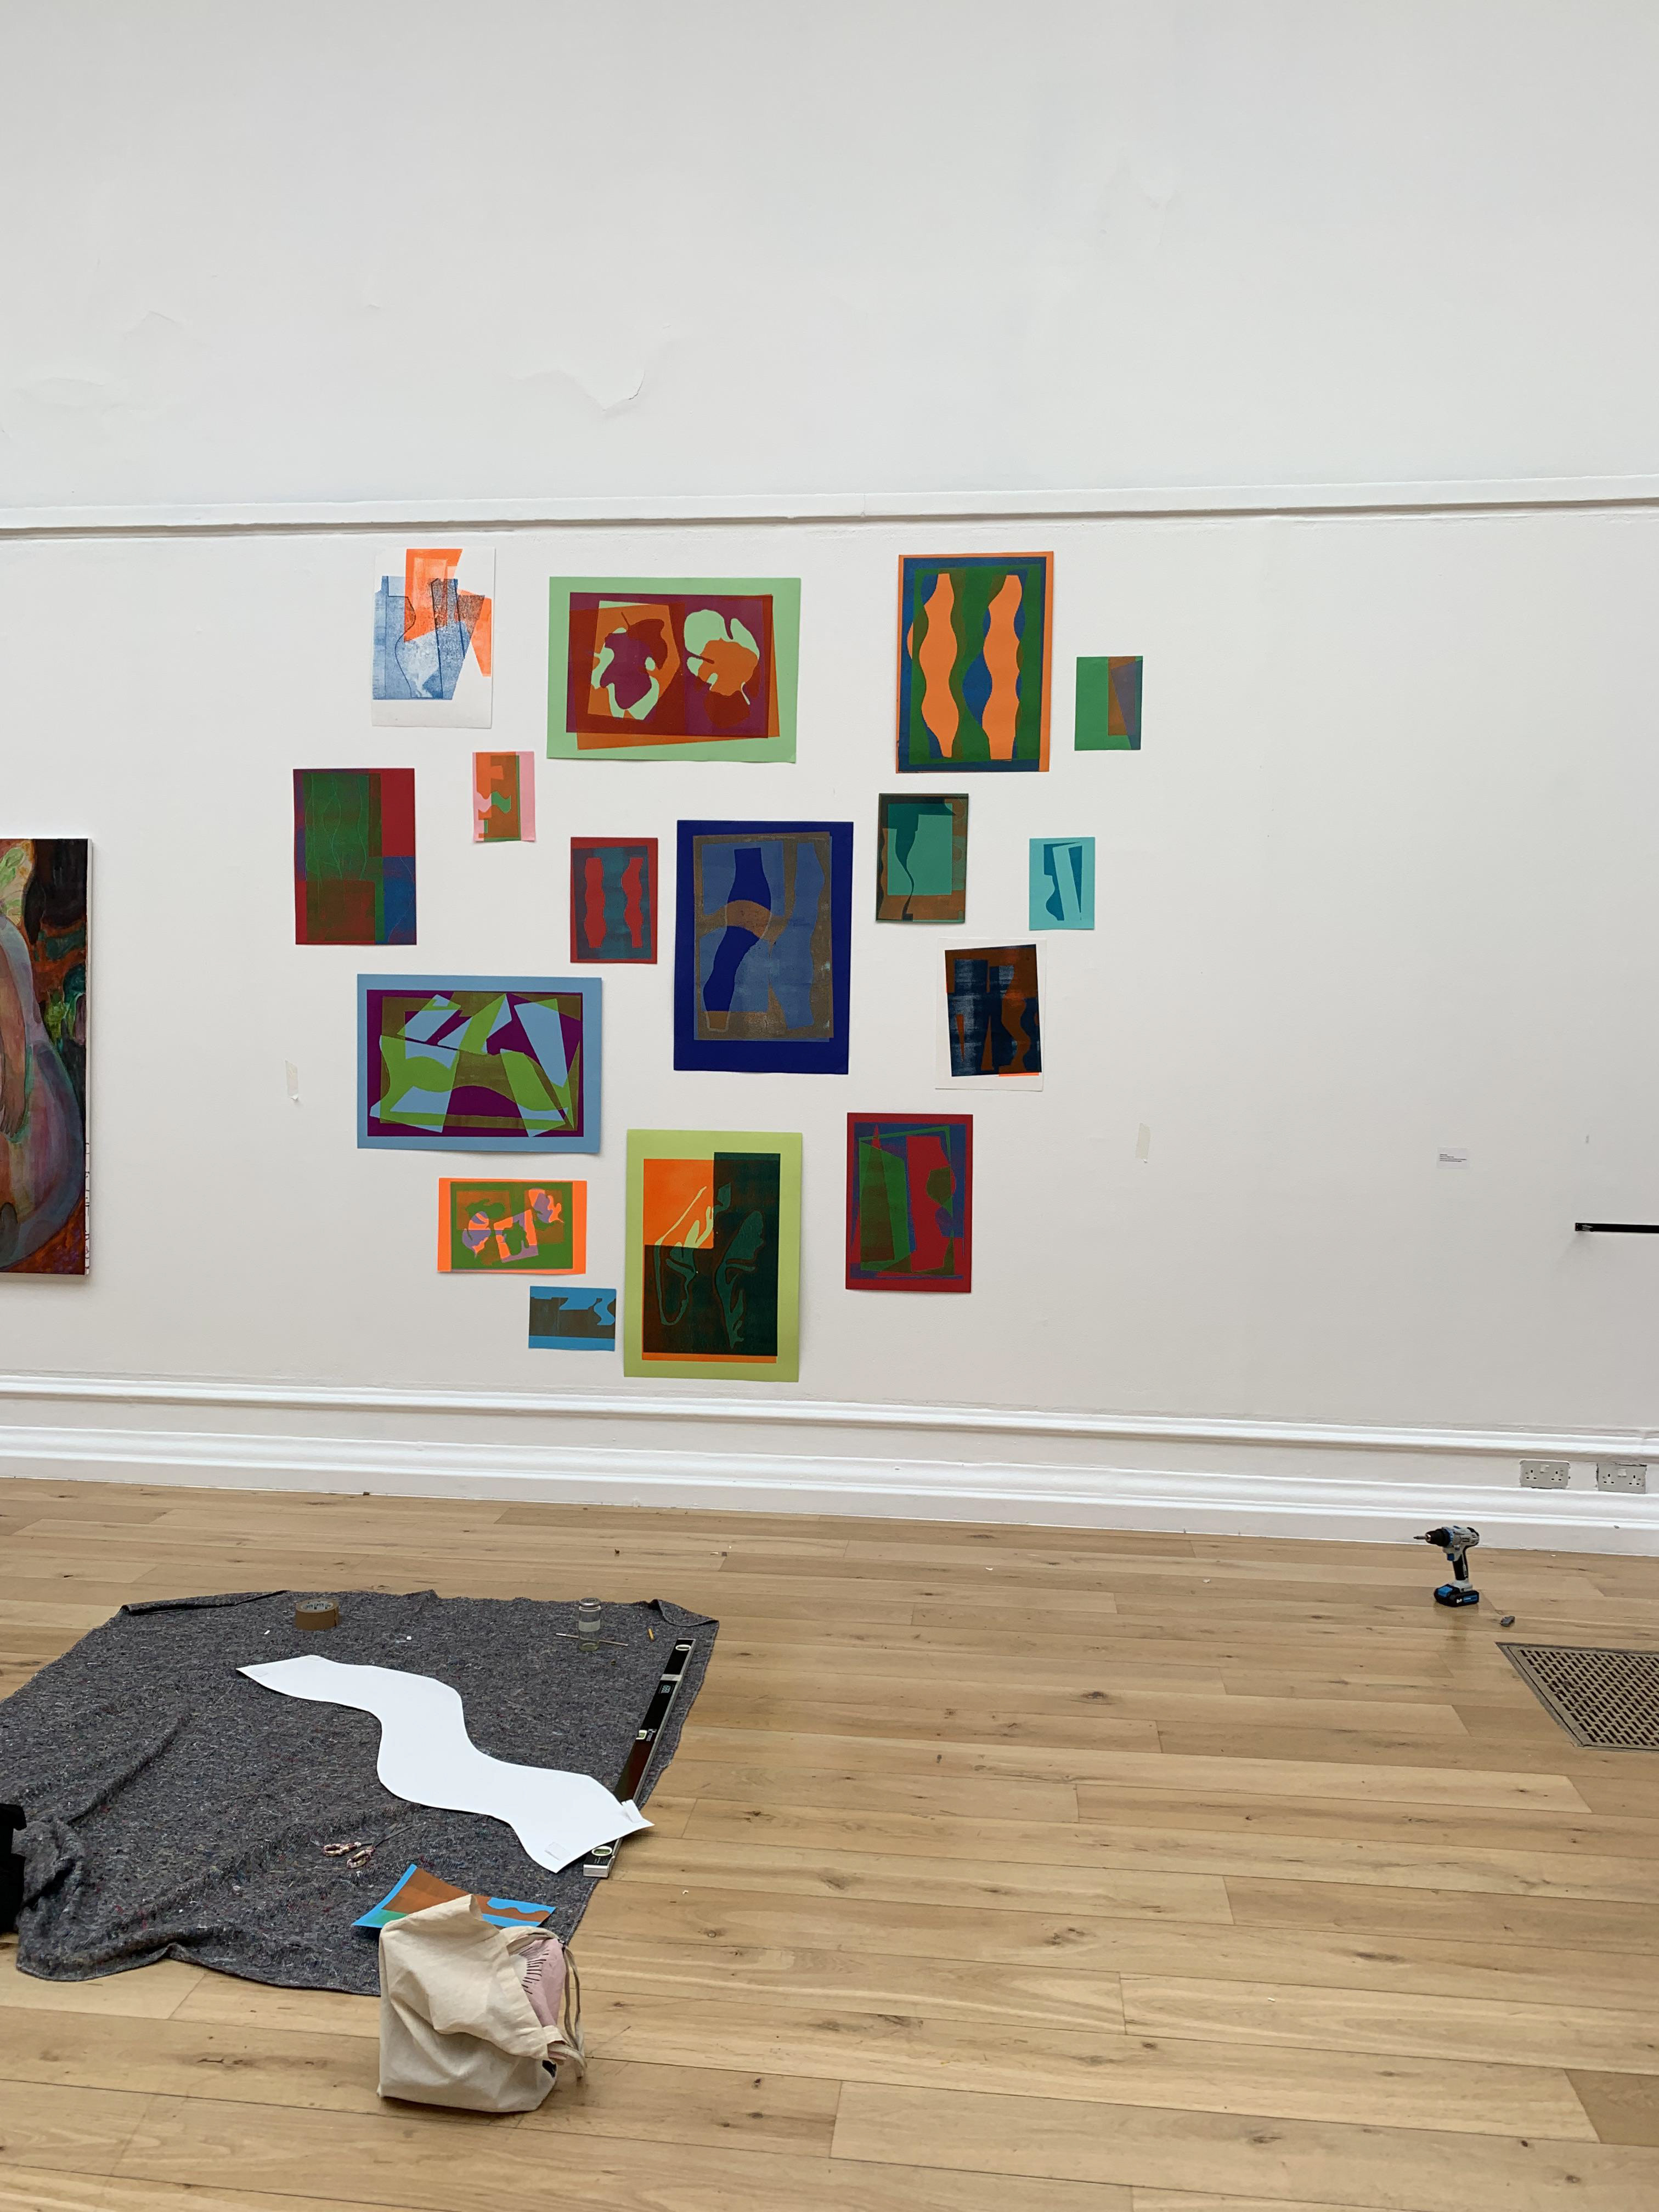


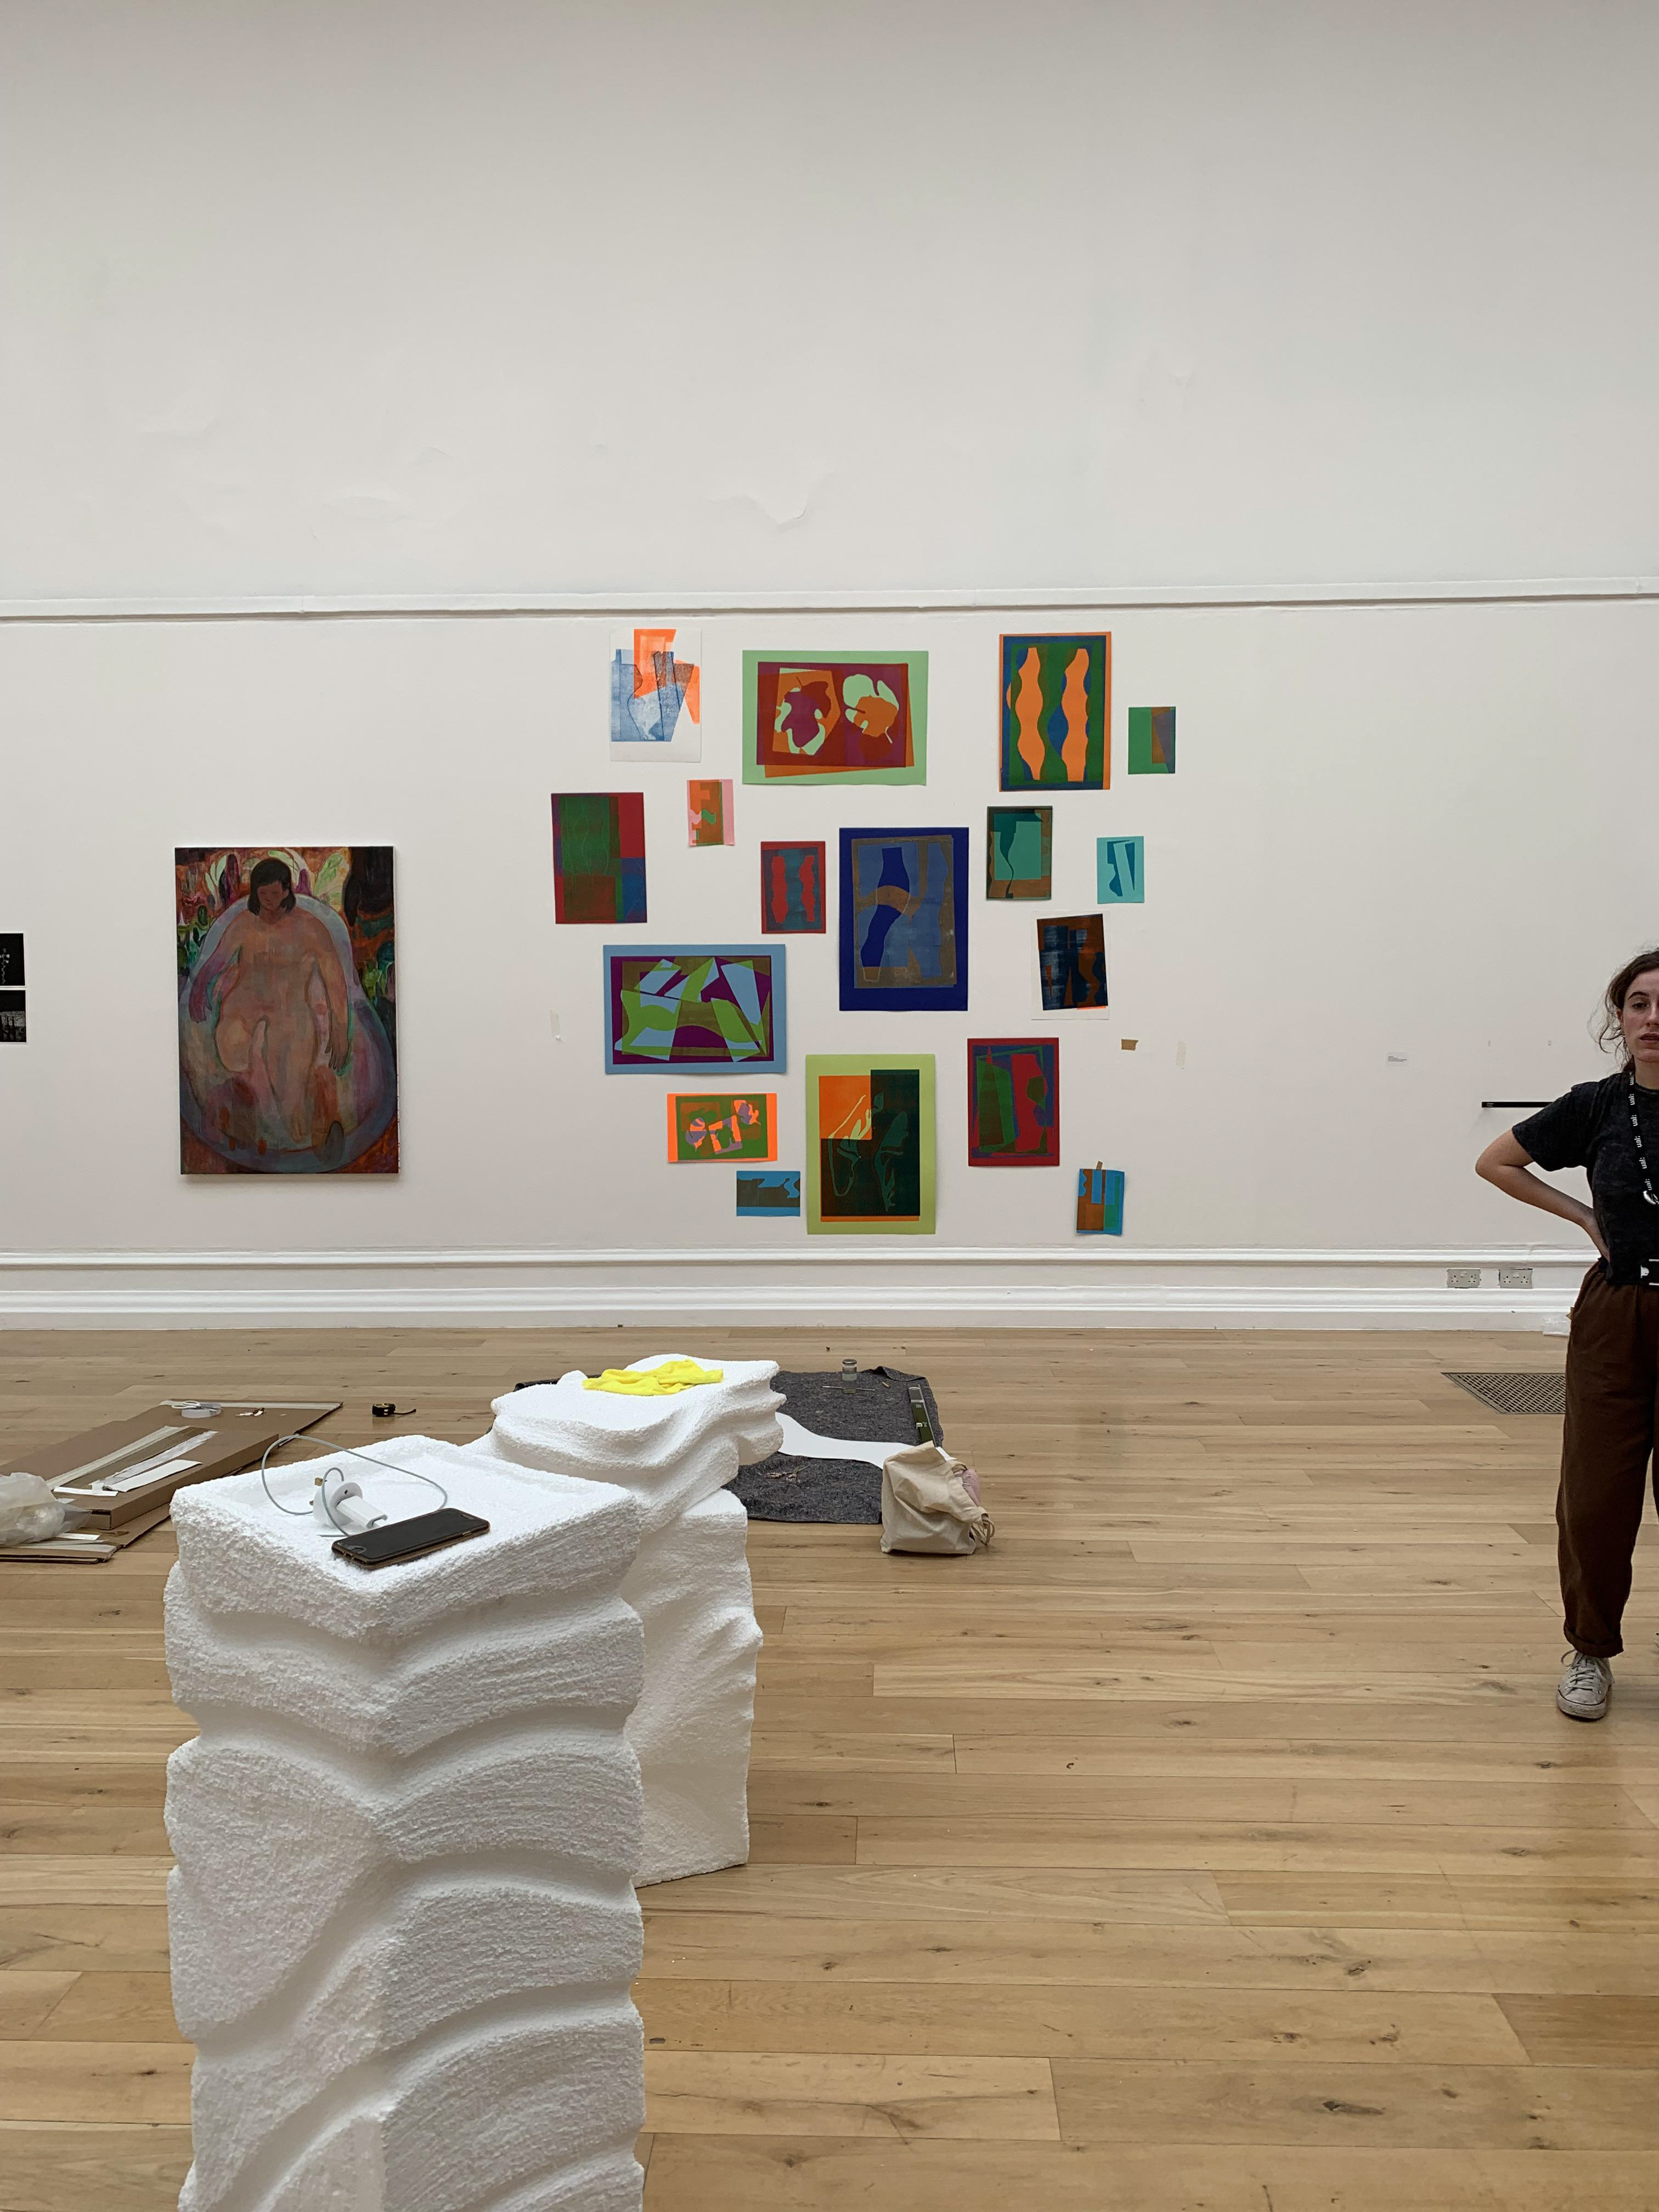

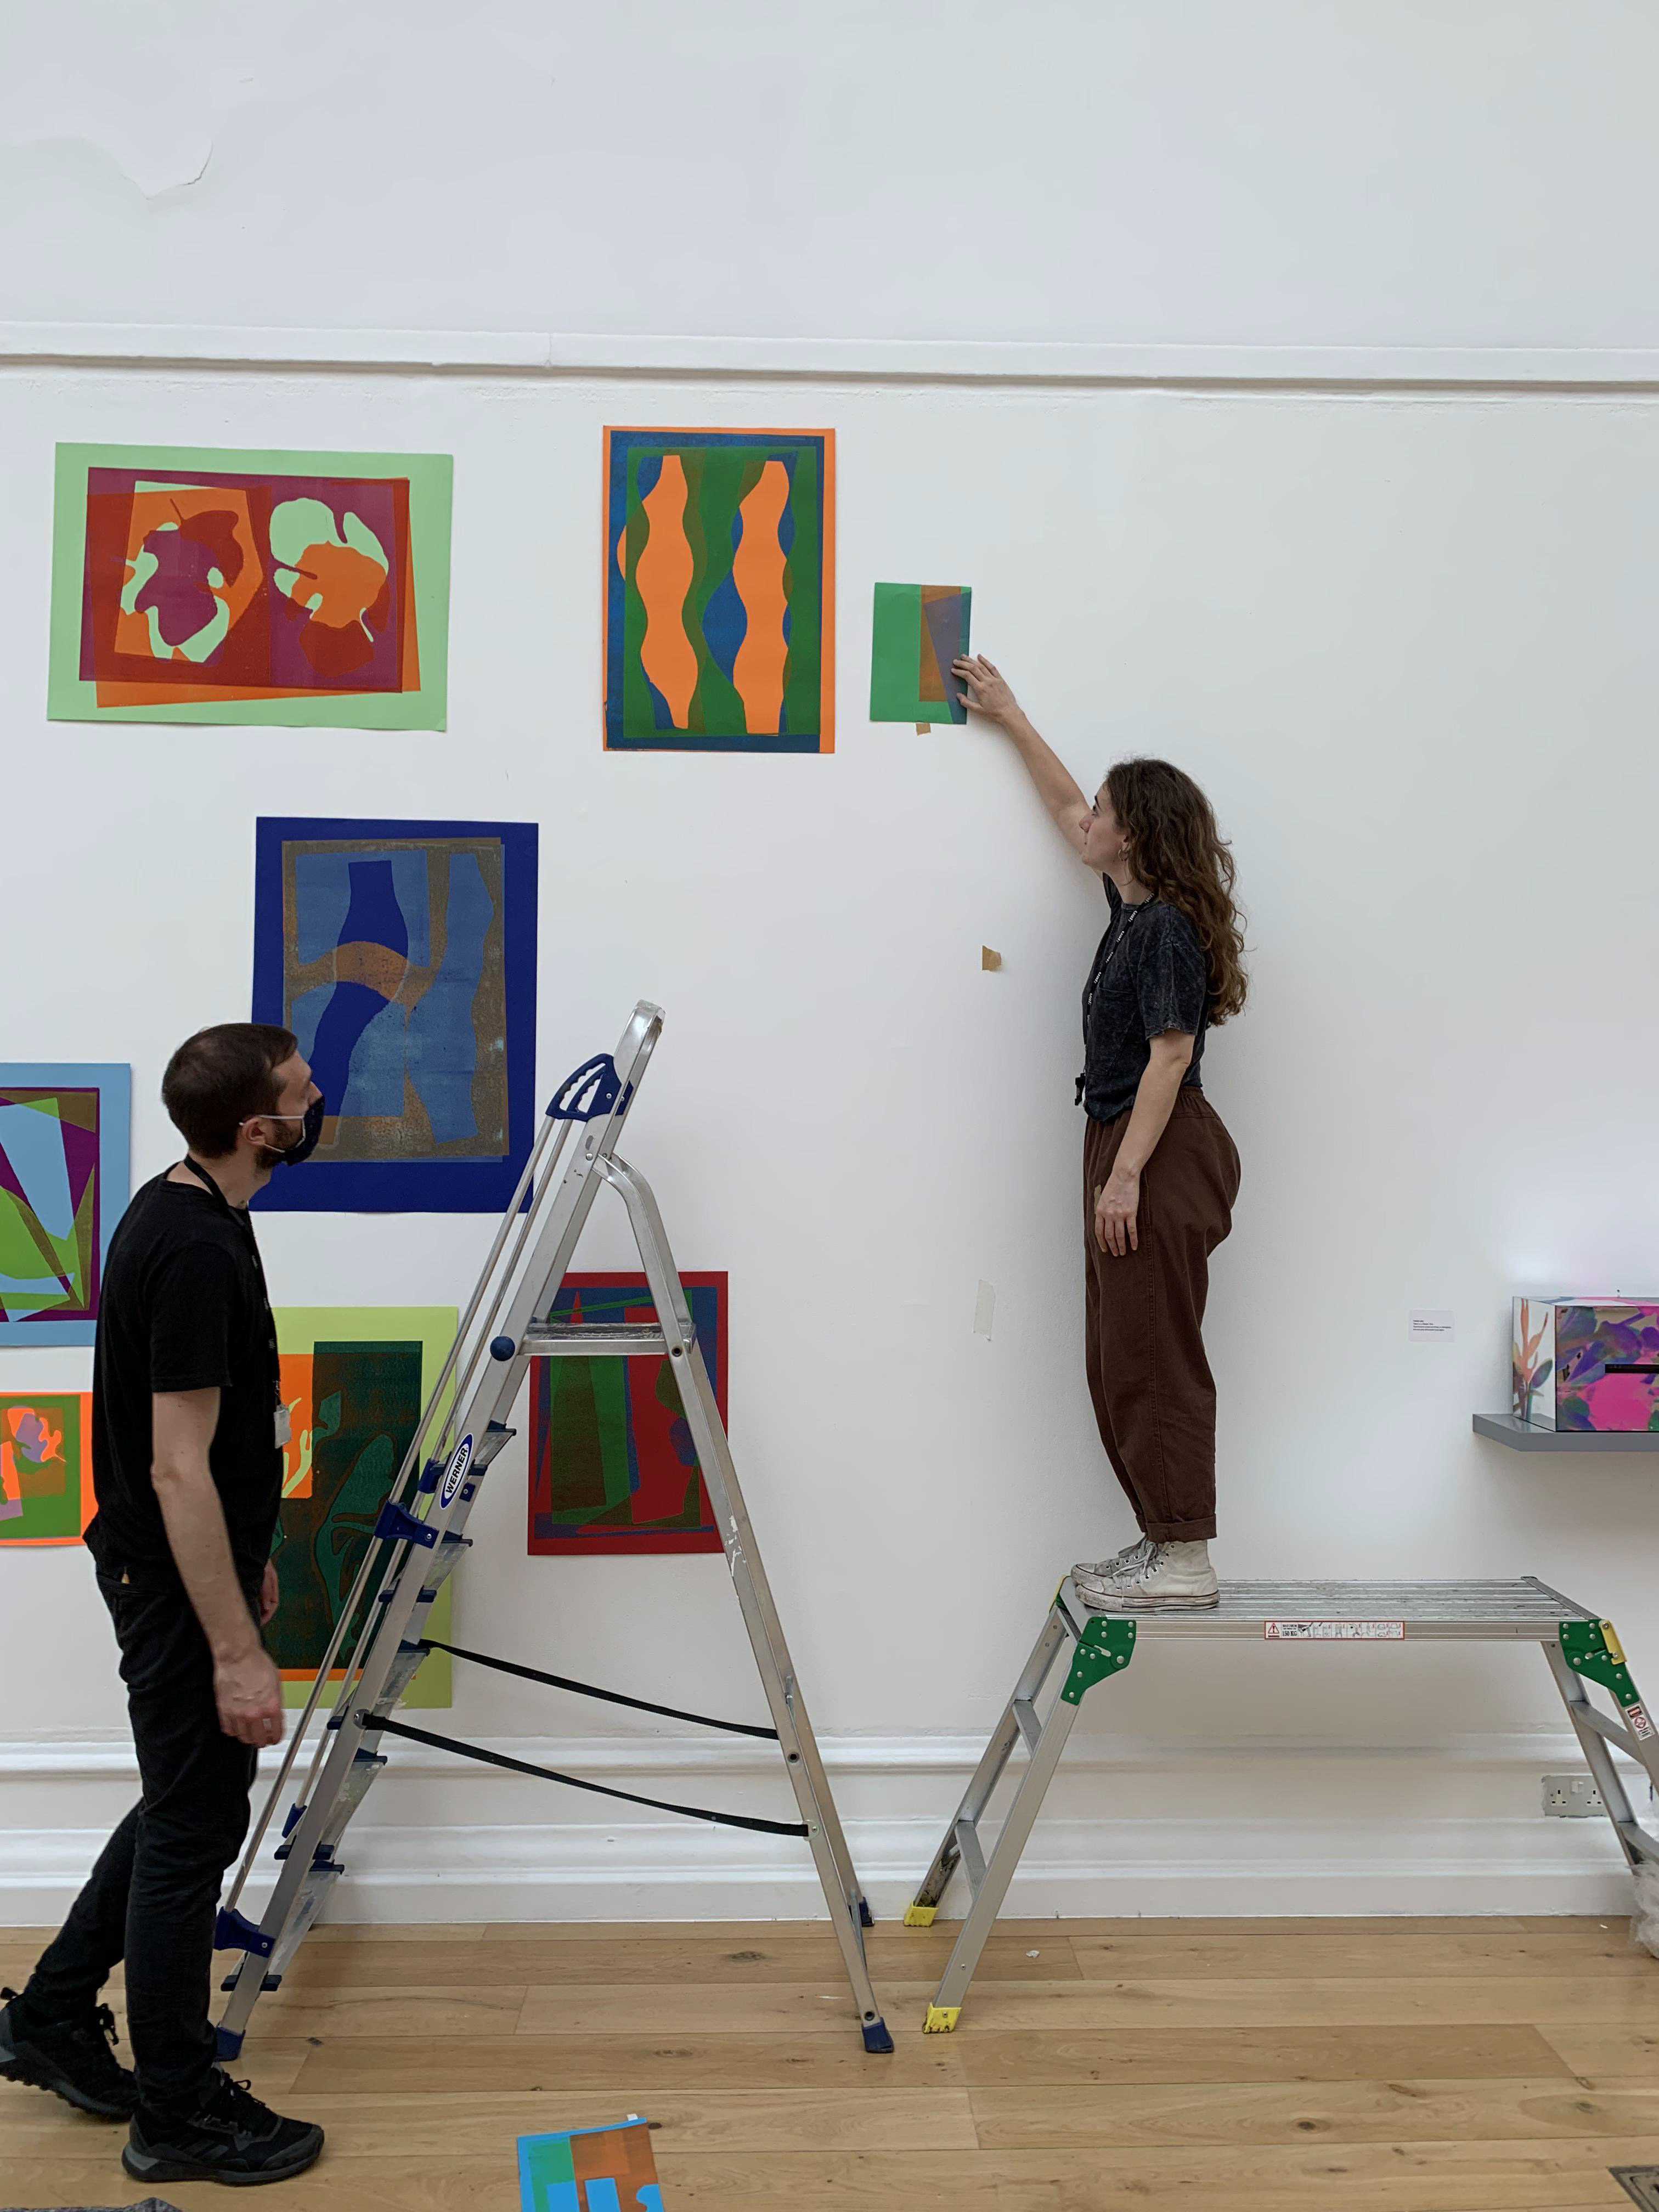
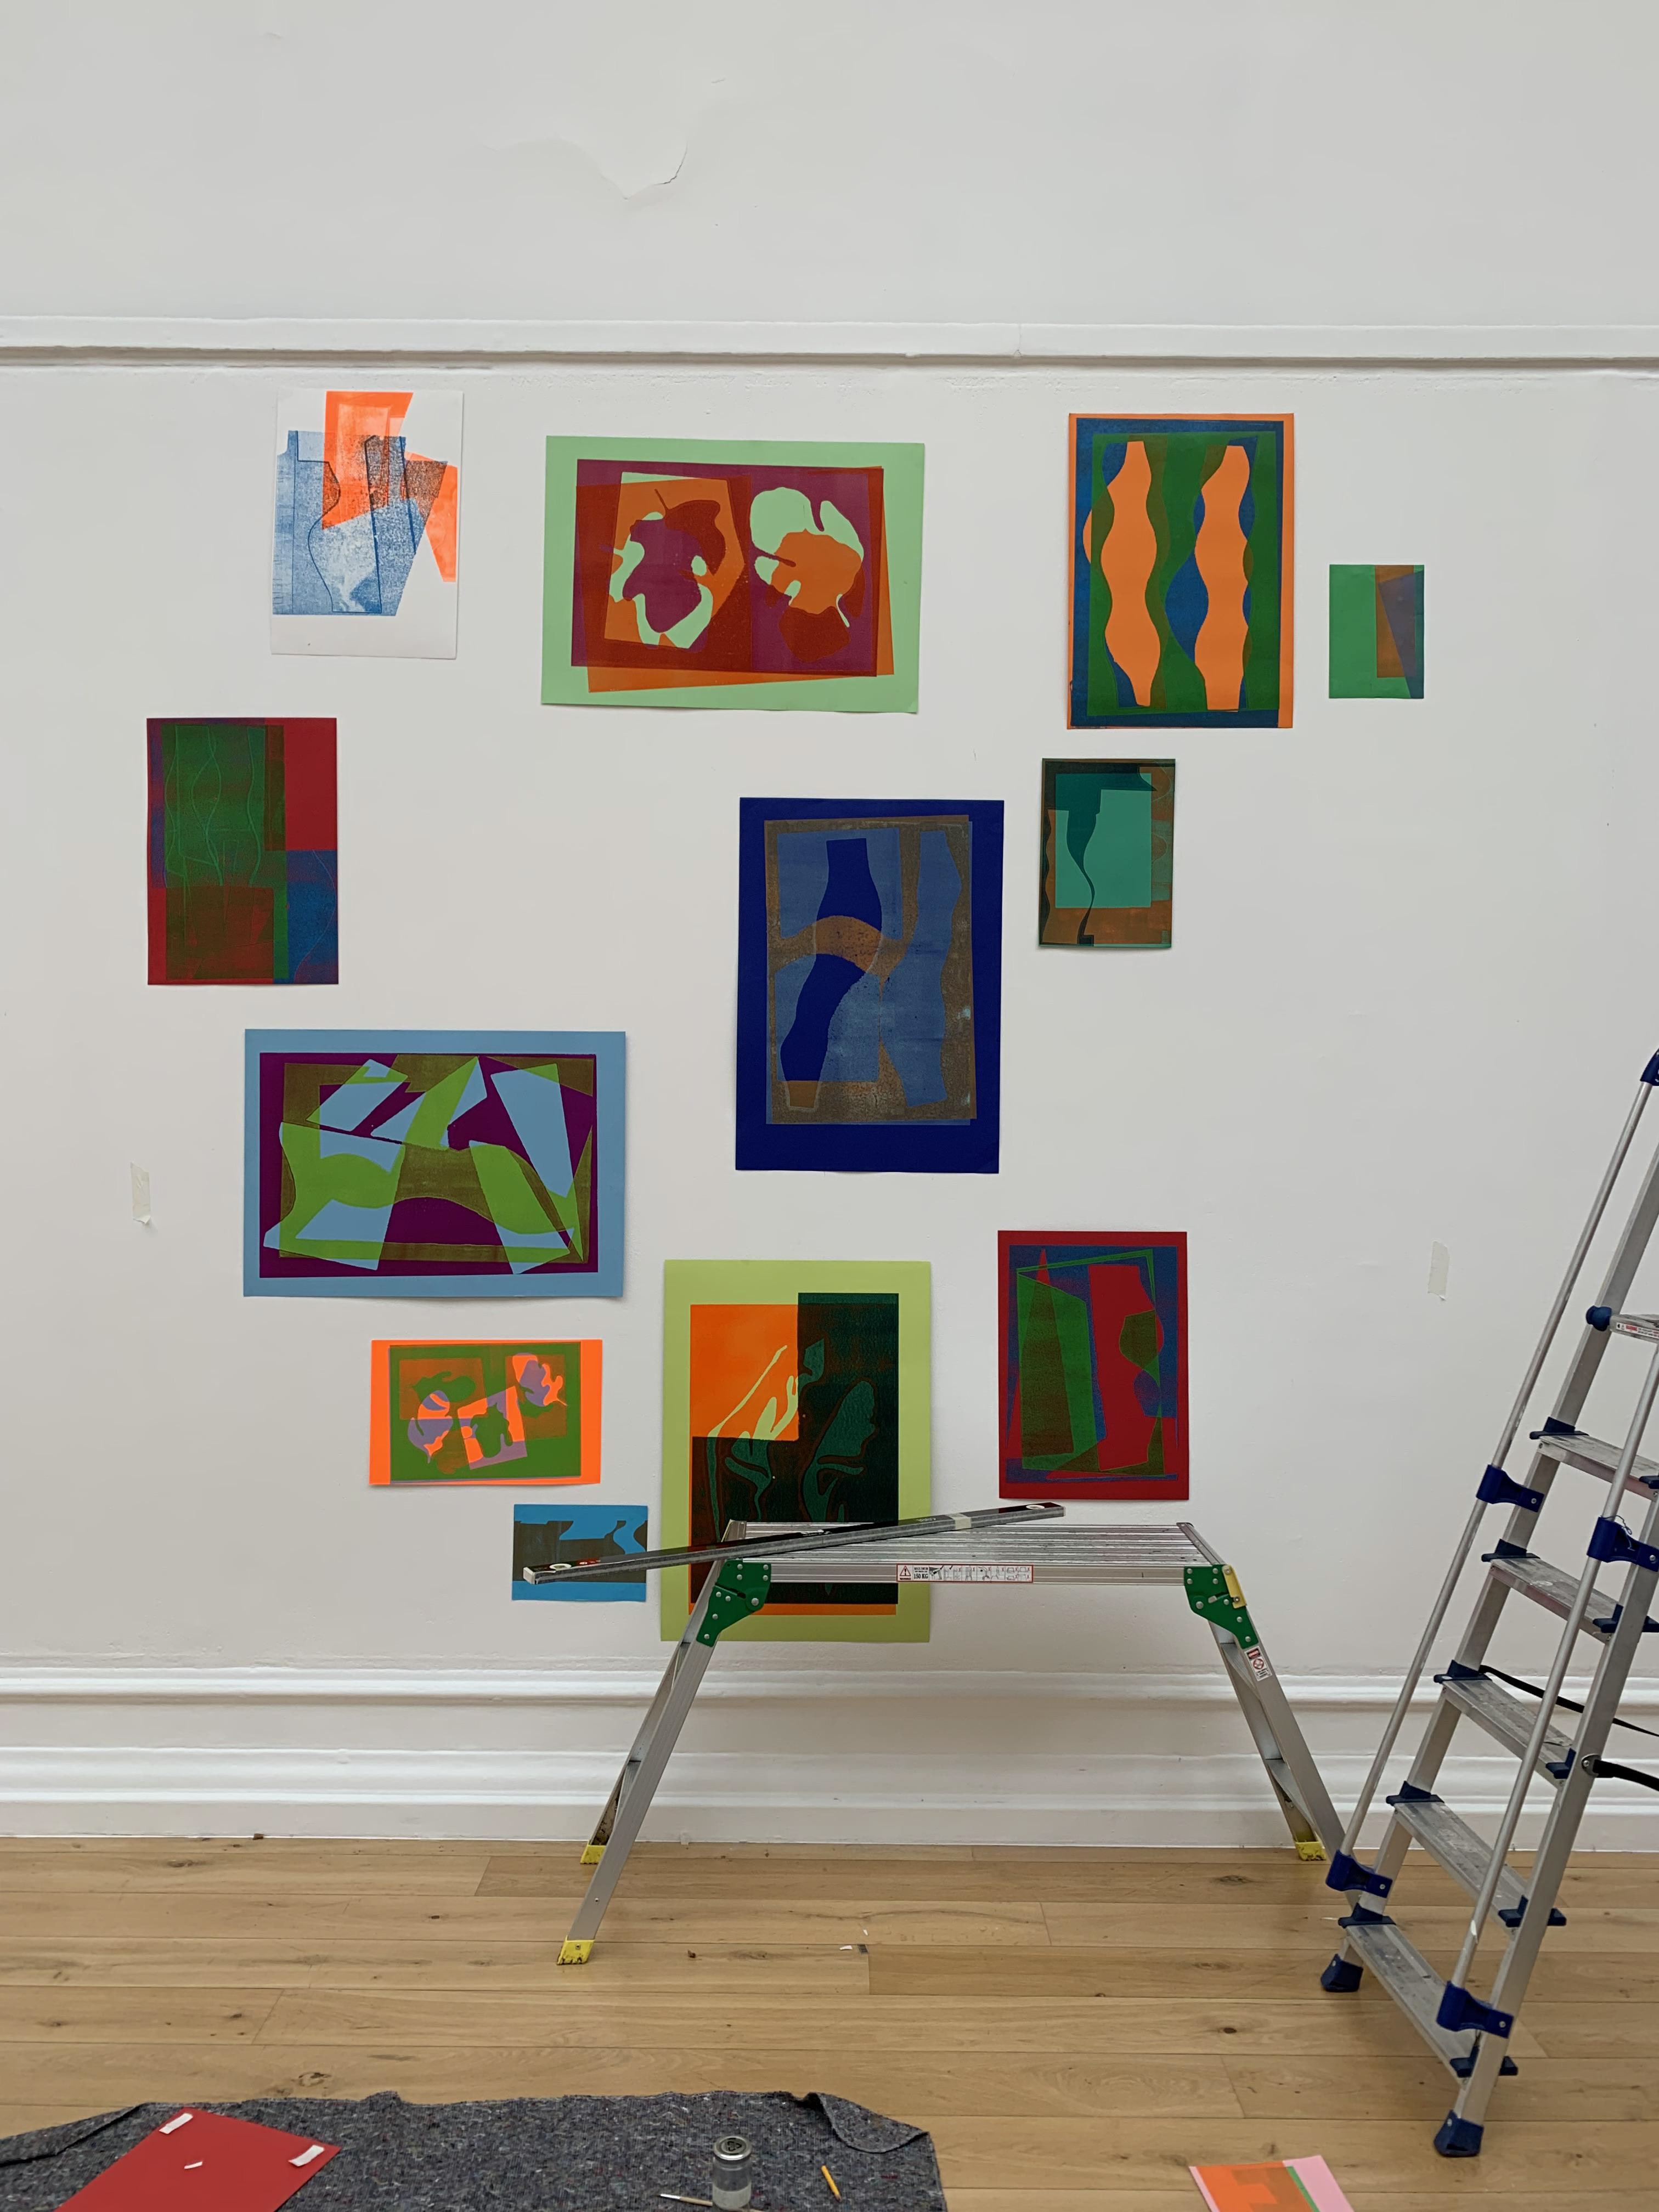
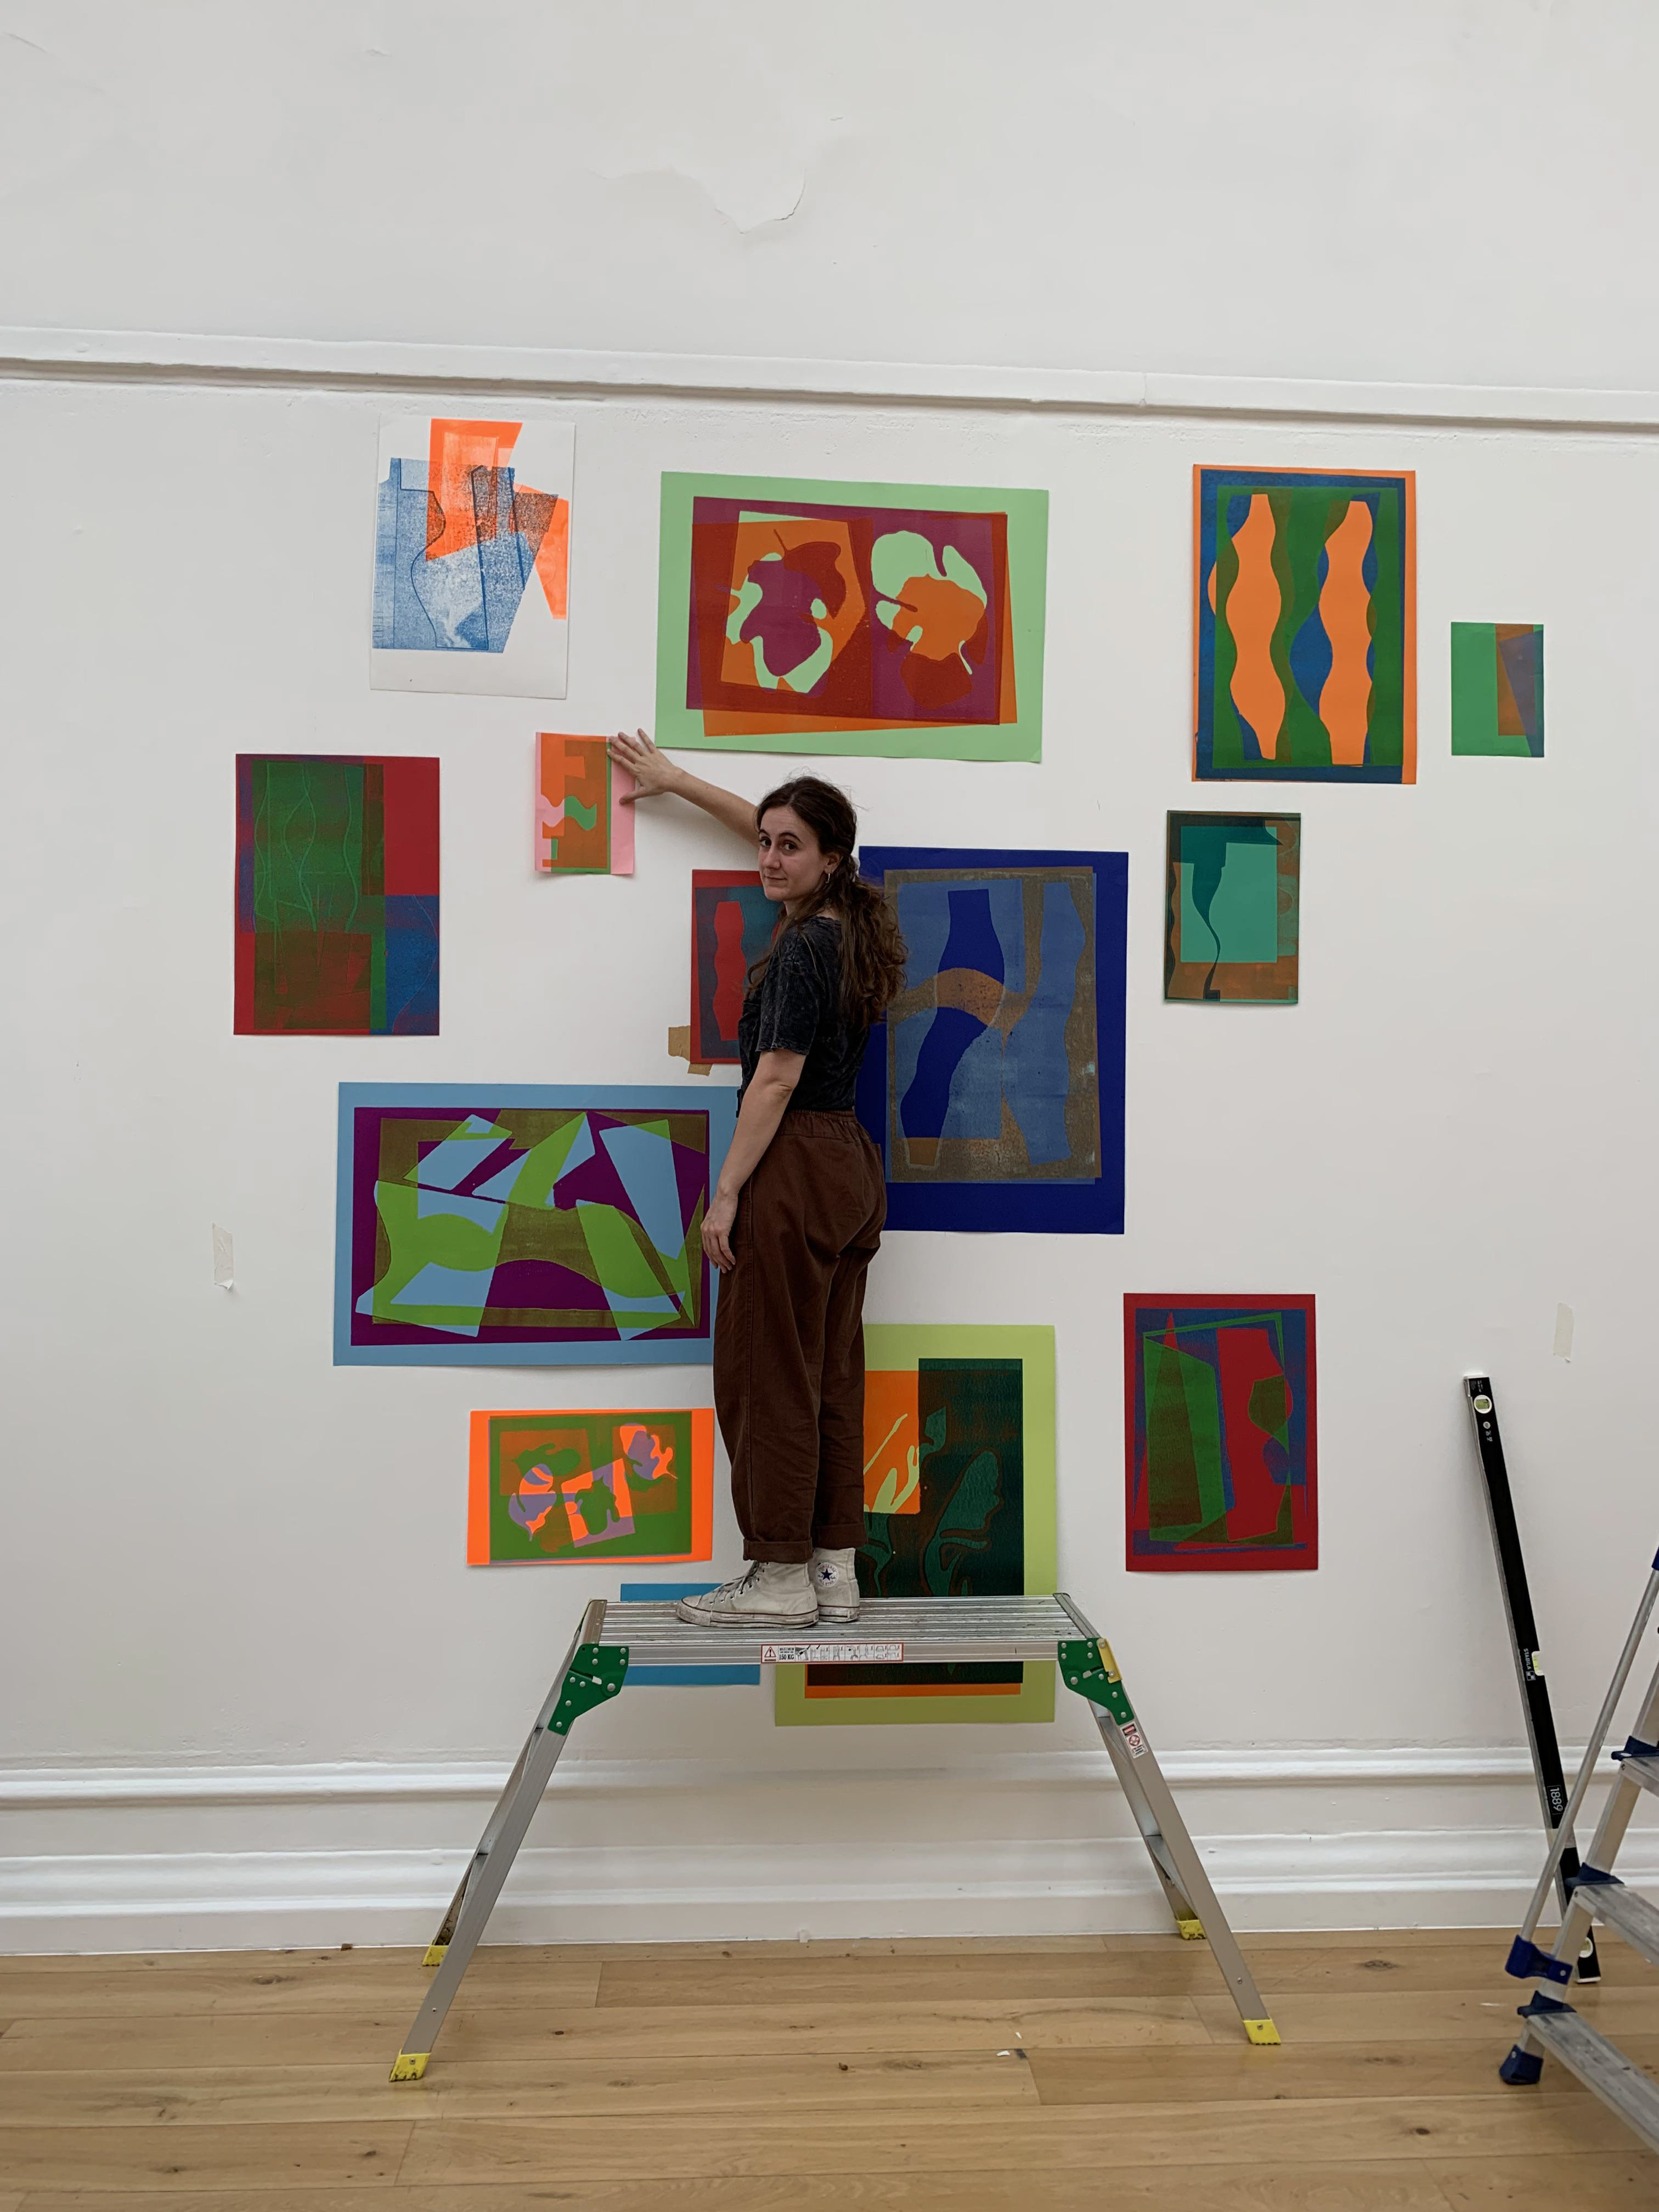
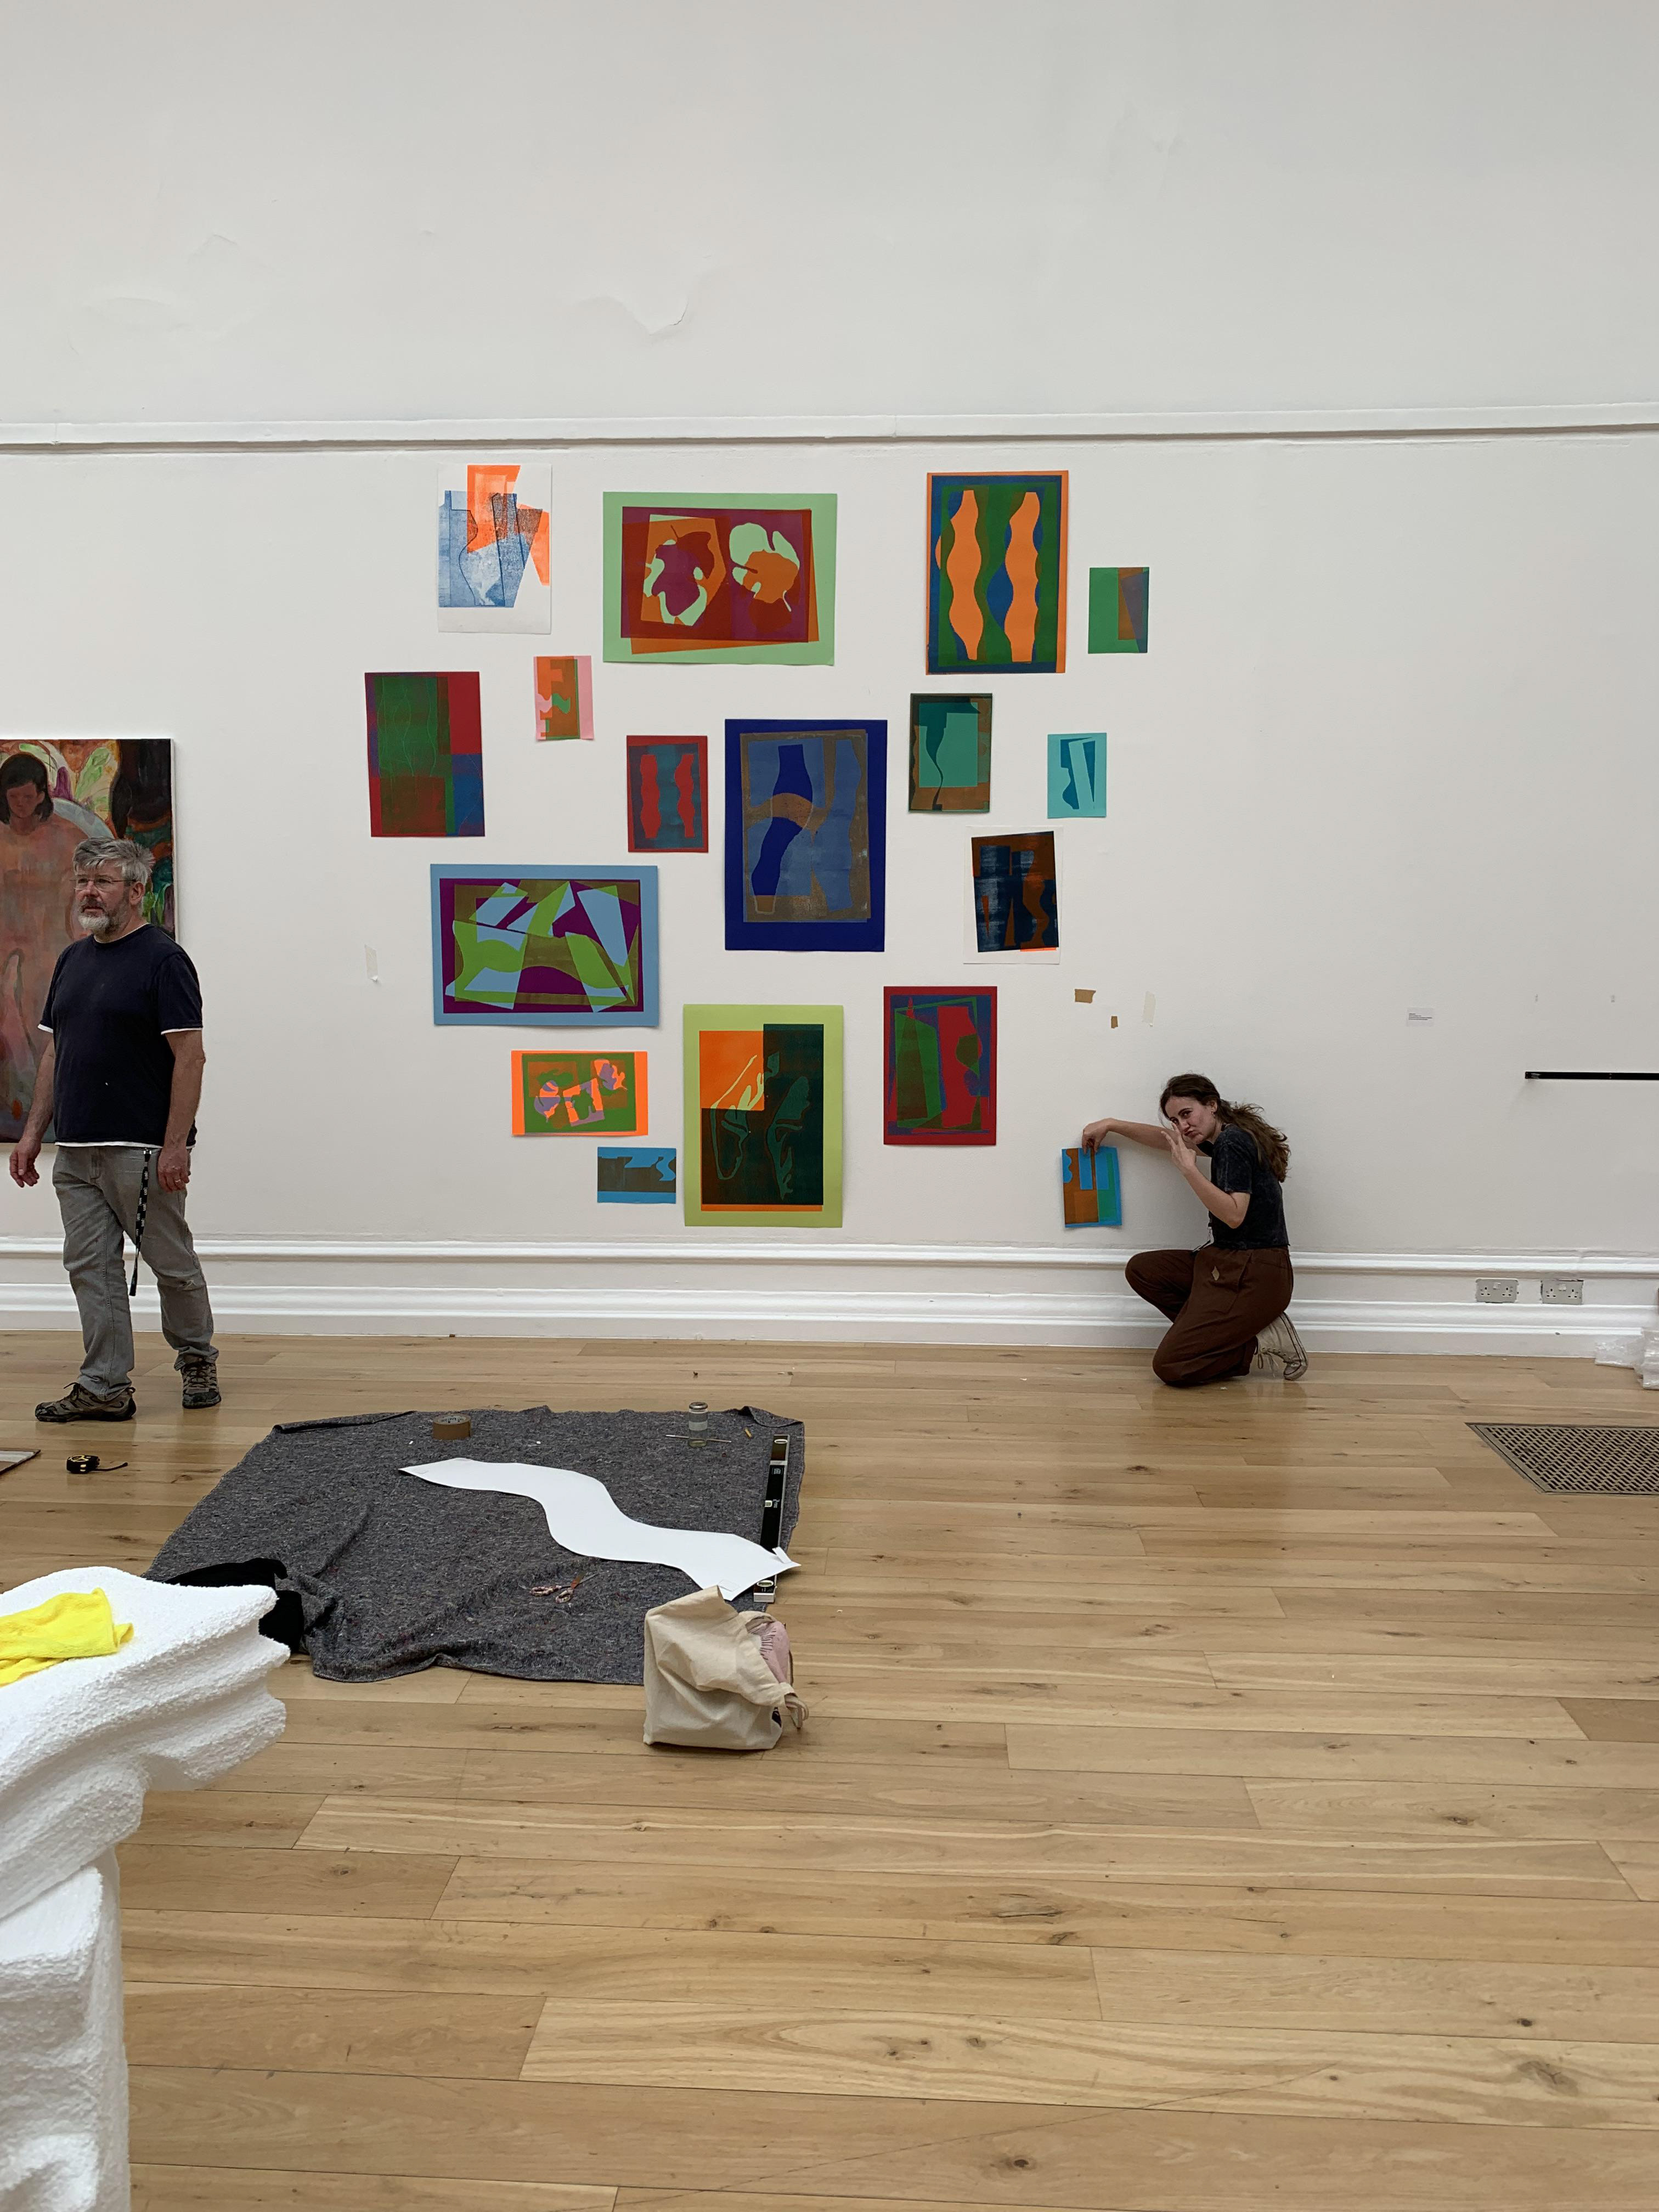
I arrange my prints on the floor in front of the wall space I am allocated in the South London Gallery. I use the digital mock-up as a starting point for their arrangement. I brought more prints along with me than I plan to hang, so that I have multiple options. The hardest decision to make though is whether to include the squiggle shape or not. The reason for including it in the arrangement is because it provides a break from the conventional rectangular shapes, also it echoes the combination of lines within the prints themselves. However, I decide not to include this shape as the rectangular prints speak loudly enough, and the alternative shape would confuse the viewer too much.
I loosely match the lines, whether undulating or straight, to echo the surrounding forms. This creates a sense of rhythm for the viewer, which I also create through the repetition of colour throughout the arrangement.
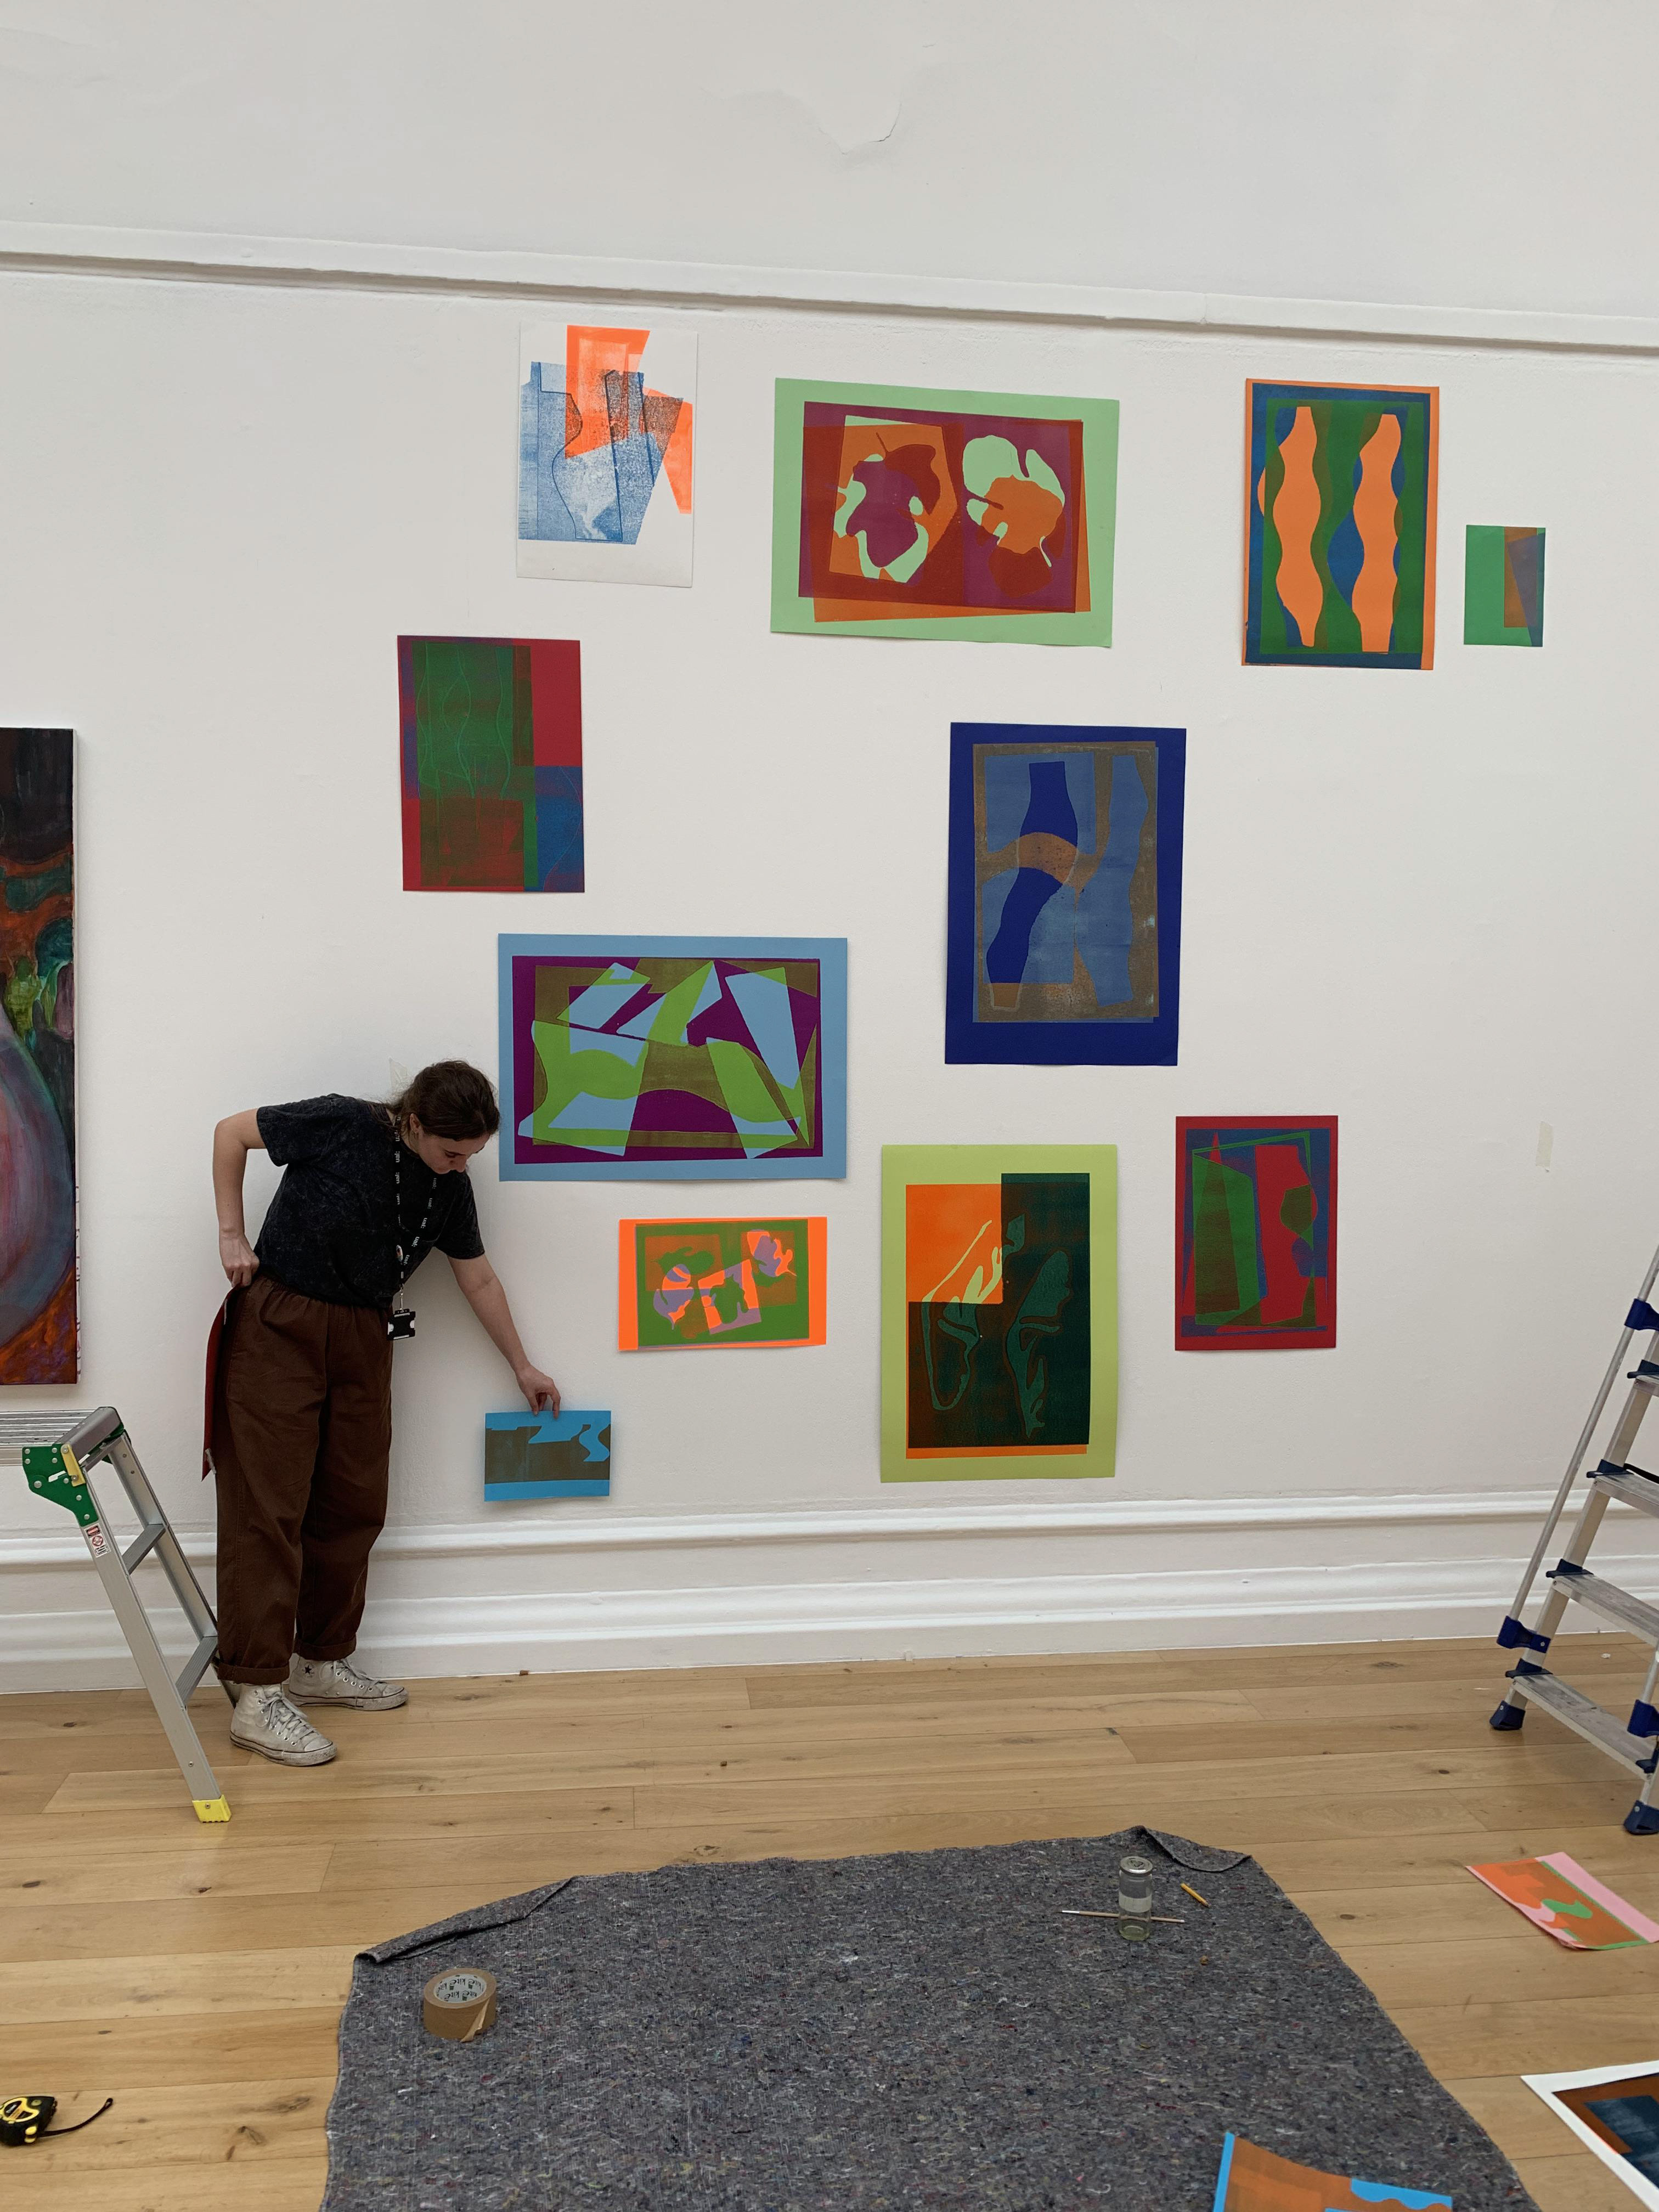
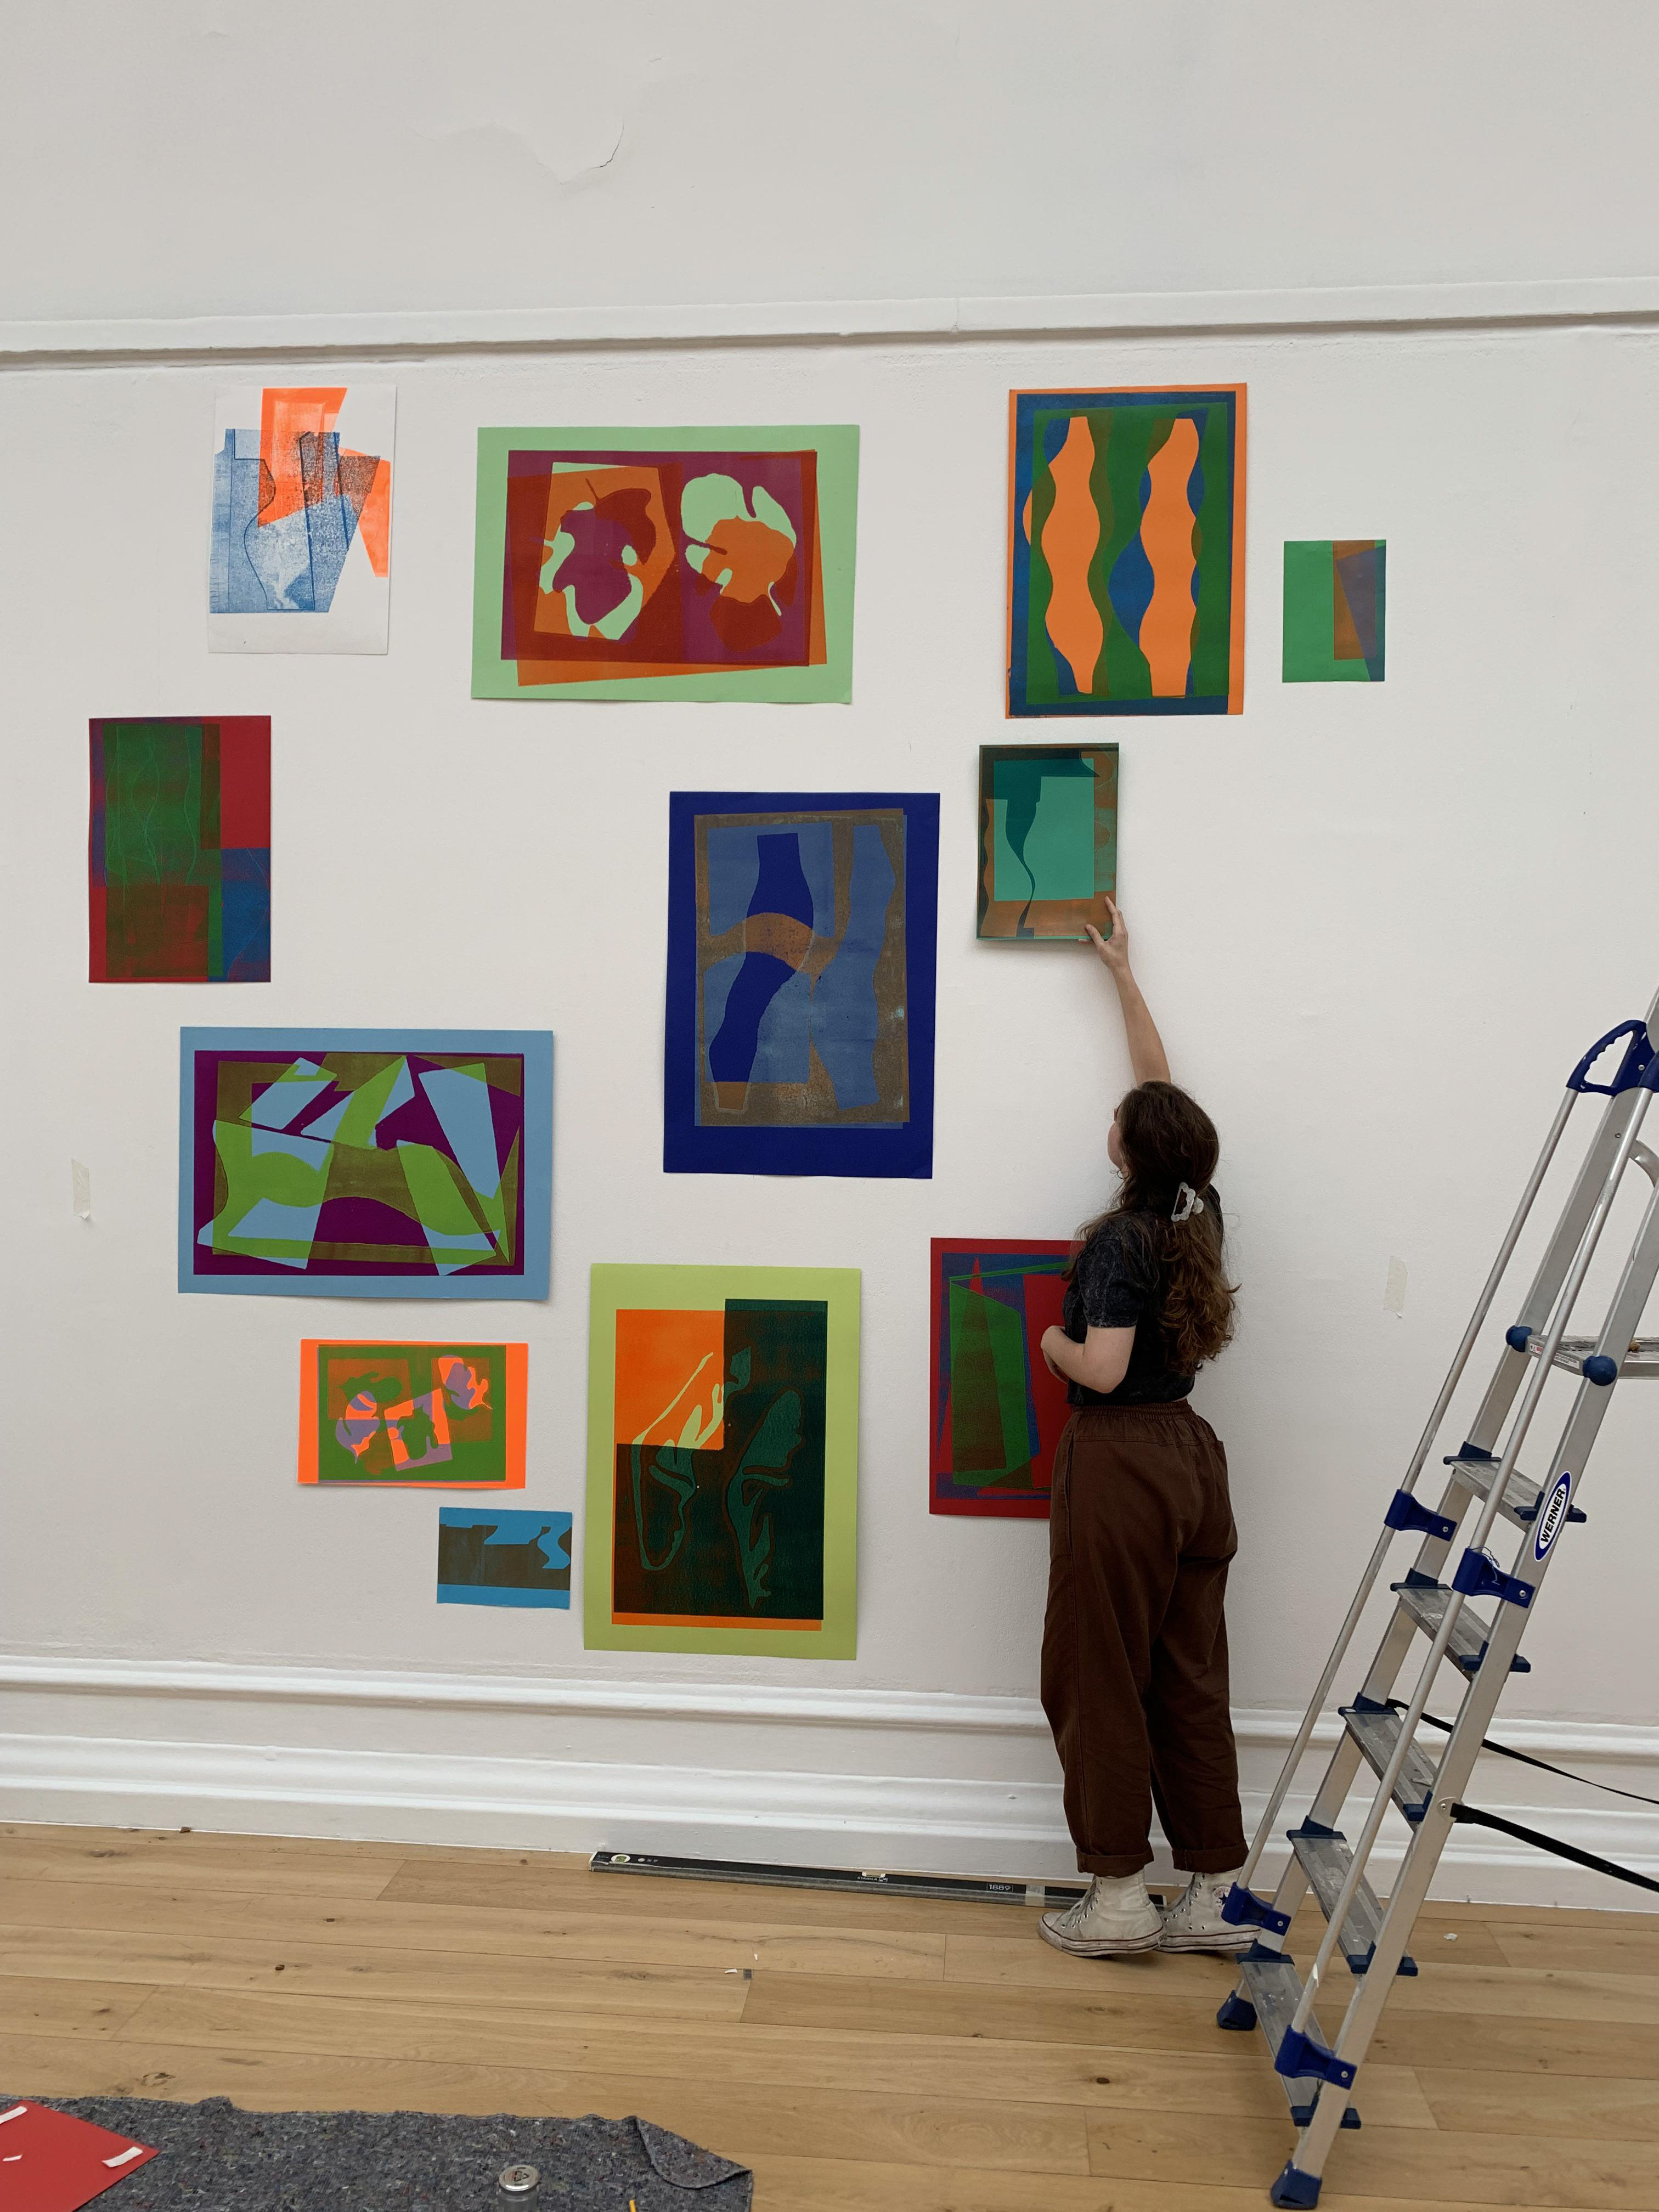
I have difficulty attaching the prints to the wall using the acrylic adhesive tape, so I use kavano double sided tape along with the adhesive attached to the back of my work so that it does not leave a mark.
With this arrangement, much like the other arrangements of my work, it is hard to know when to stop. I level each print and measure the distance between all of them to emphasise the sense of order in their arrangement. This adds to the sense of harmony and balance that the piece of work produces.


I decide to print another shape on some of the risograph prints as an additional layer in fluorescent pink. On some other risograph prints I print a similar shape, to the peach-coloured shape, in fluorescent pink. This adds multiple layers of depth to the image and additionally each risograph is different. There is a wide range in the different variations of the same image that I originally was going to produce. Through the process of printing, the image morphed as I manipulated the process.
The a5 risograph prints, made earlier, are to be given away at the exhibition. They are placed to the left beneath my work and in the shop too. I write my name on the back four times at each edge, so that the viewer can choose which way round the work is displayed.

Carborundum on paper, 14.5 x 15 cm

Carborundum on paper, 15 x 21 cm
Carborundum on cotton, 15.5 x 22 cm
Carborundum on cotton, 16 x 22 cm
Carborundum on paper, 17 x 23.5 cm
Carborundum on denim, 16 x 39 cm
Caborundum on paper, 19 x 21.5 cm

Carborundum on paper, 21 x 29.7 cm

Carborundum on paper, 21 x 29.7 cm

Carborundum on cotton, 19 x 24 cm
Carborundum on cotton, 20 x 24 cm

Carborundum on paper, 27.5 x 37 cm
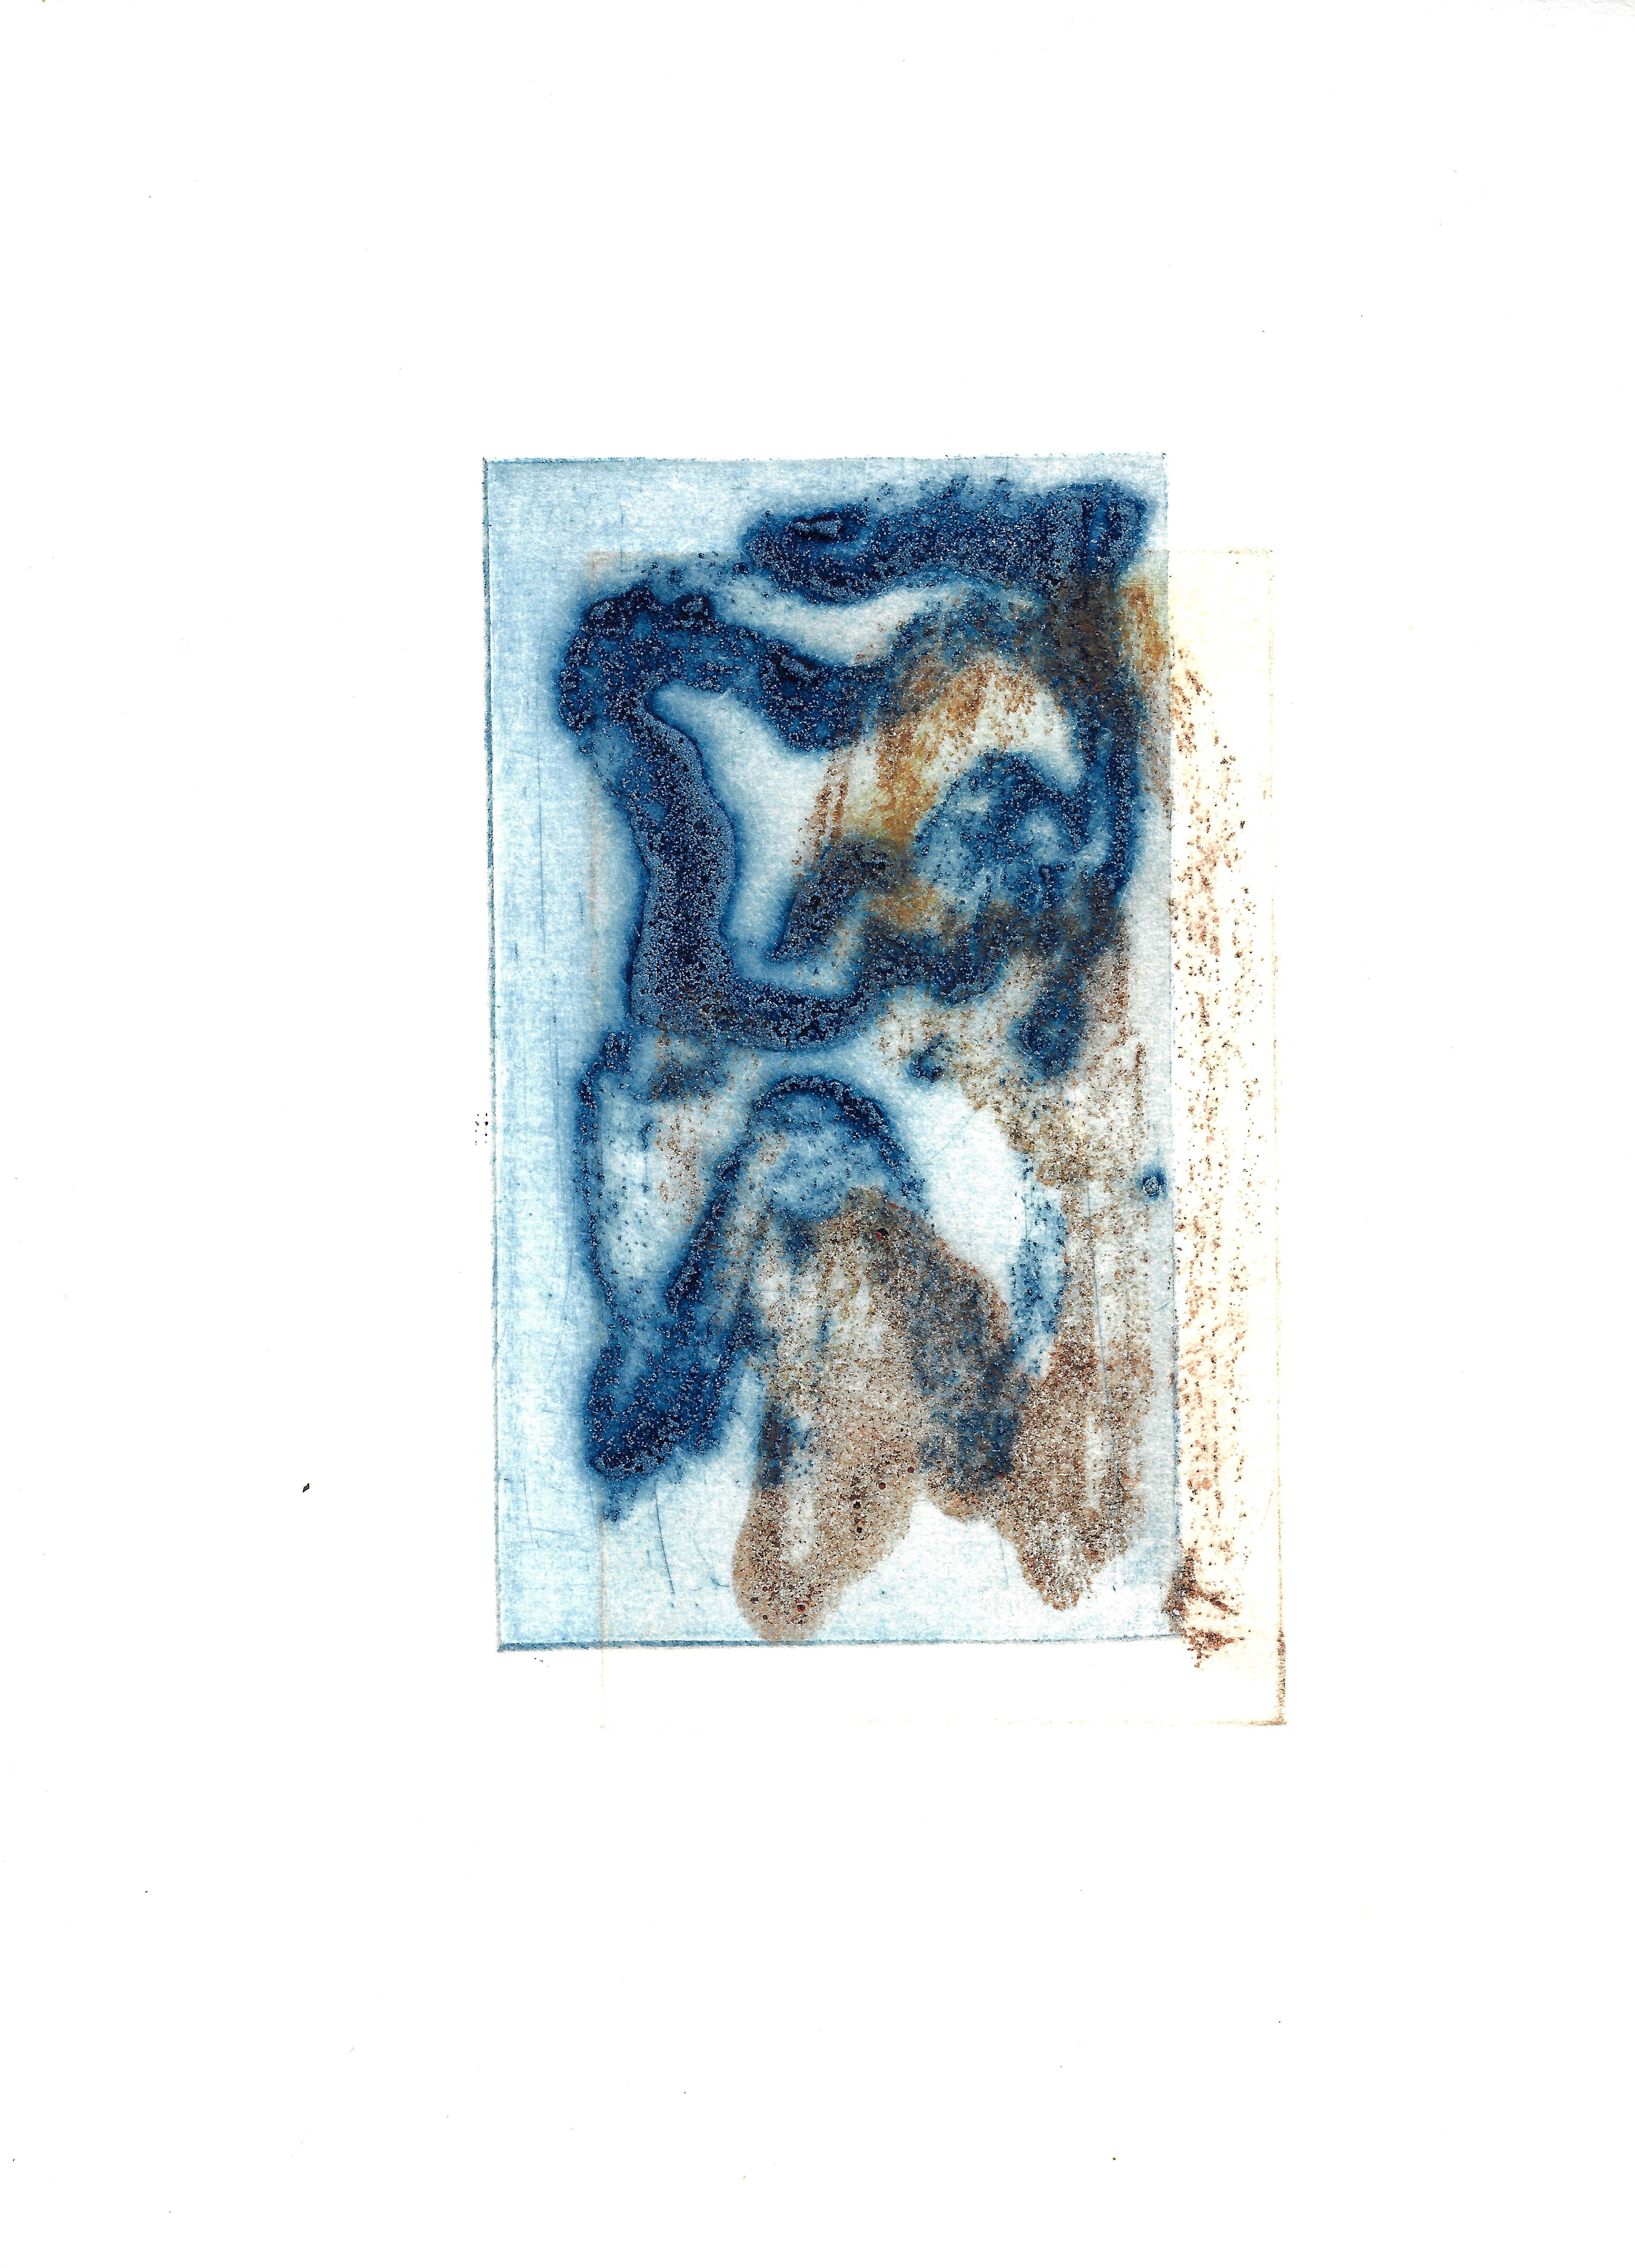
I print the carborundum aluminium plates in a variety of different ways, using different colours and different materials. I use a variety of fabrics as well as paper. Also, I layer some of the plates, so that different plates are used on the same print (yet they are distinguishable because I use different colours). Additionally, I do not remove the ink entirely when changing colour, creating an unknown distribution of colour on the plate. I control the colour combination but not entirely how it is distributed across the plate.

Relief print on paper, 21 x 29.7 cm

Relief print on paper, 21 x 29.7 cm
Relief print on paper, 21 x 29.7 cm
Relief print on paper, 35 x 50 cm
Relief print on paper, 35 x 50 cm
Relief print on paper, 42 x 59 cm
Relief print on paper, 42 x 59 cm
Relief print on paper, 50 x 70 cm

Relief print on paper, 31 x 51 cm
Relief print on paper, 31 x 51 cm

Relief print on paper, 42 x 59 cm
Relief print on paper, 42 x 59 cm

Relief print on paper, 29.7 x 42 cm
Relief print on paper, 29.7 x 42 cm

Relief print on paper, 29.7 x 42 cn
Relief print on paper, 29.7 x 42 cm
Relief print on paper, 29.7 x 42 cm
Relief print on paper, 21 x 29.7 cm

Relief print on paper, 21 x 29.7 cm

Relief print on paper, 21 x 29.7 cm

Relief print on paper, 21 x 29.7 cm
Relief print on paper, 21 x 29.7 cm
Relief print on paper, 21 x 29.7 cm
Relief print on paper, 14.8 x 21 cm
When monoprinting, I use a variety of different transparencies of the same colour, printing on previous prints as the second or third layer, allowing for a variety in depths.

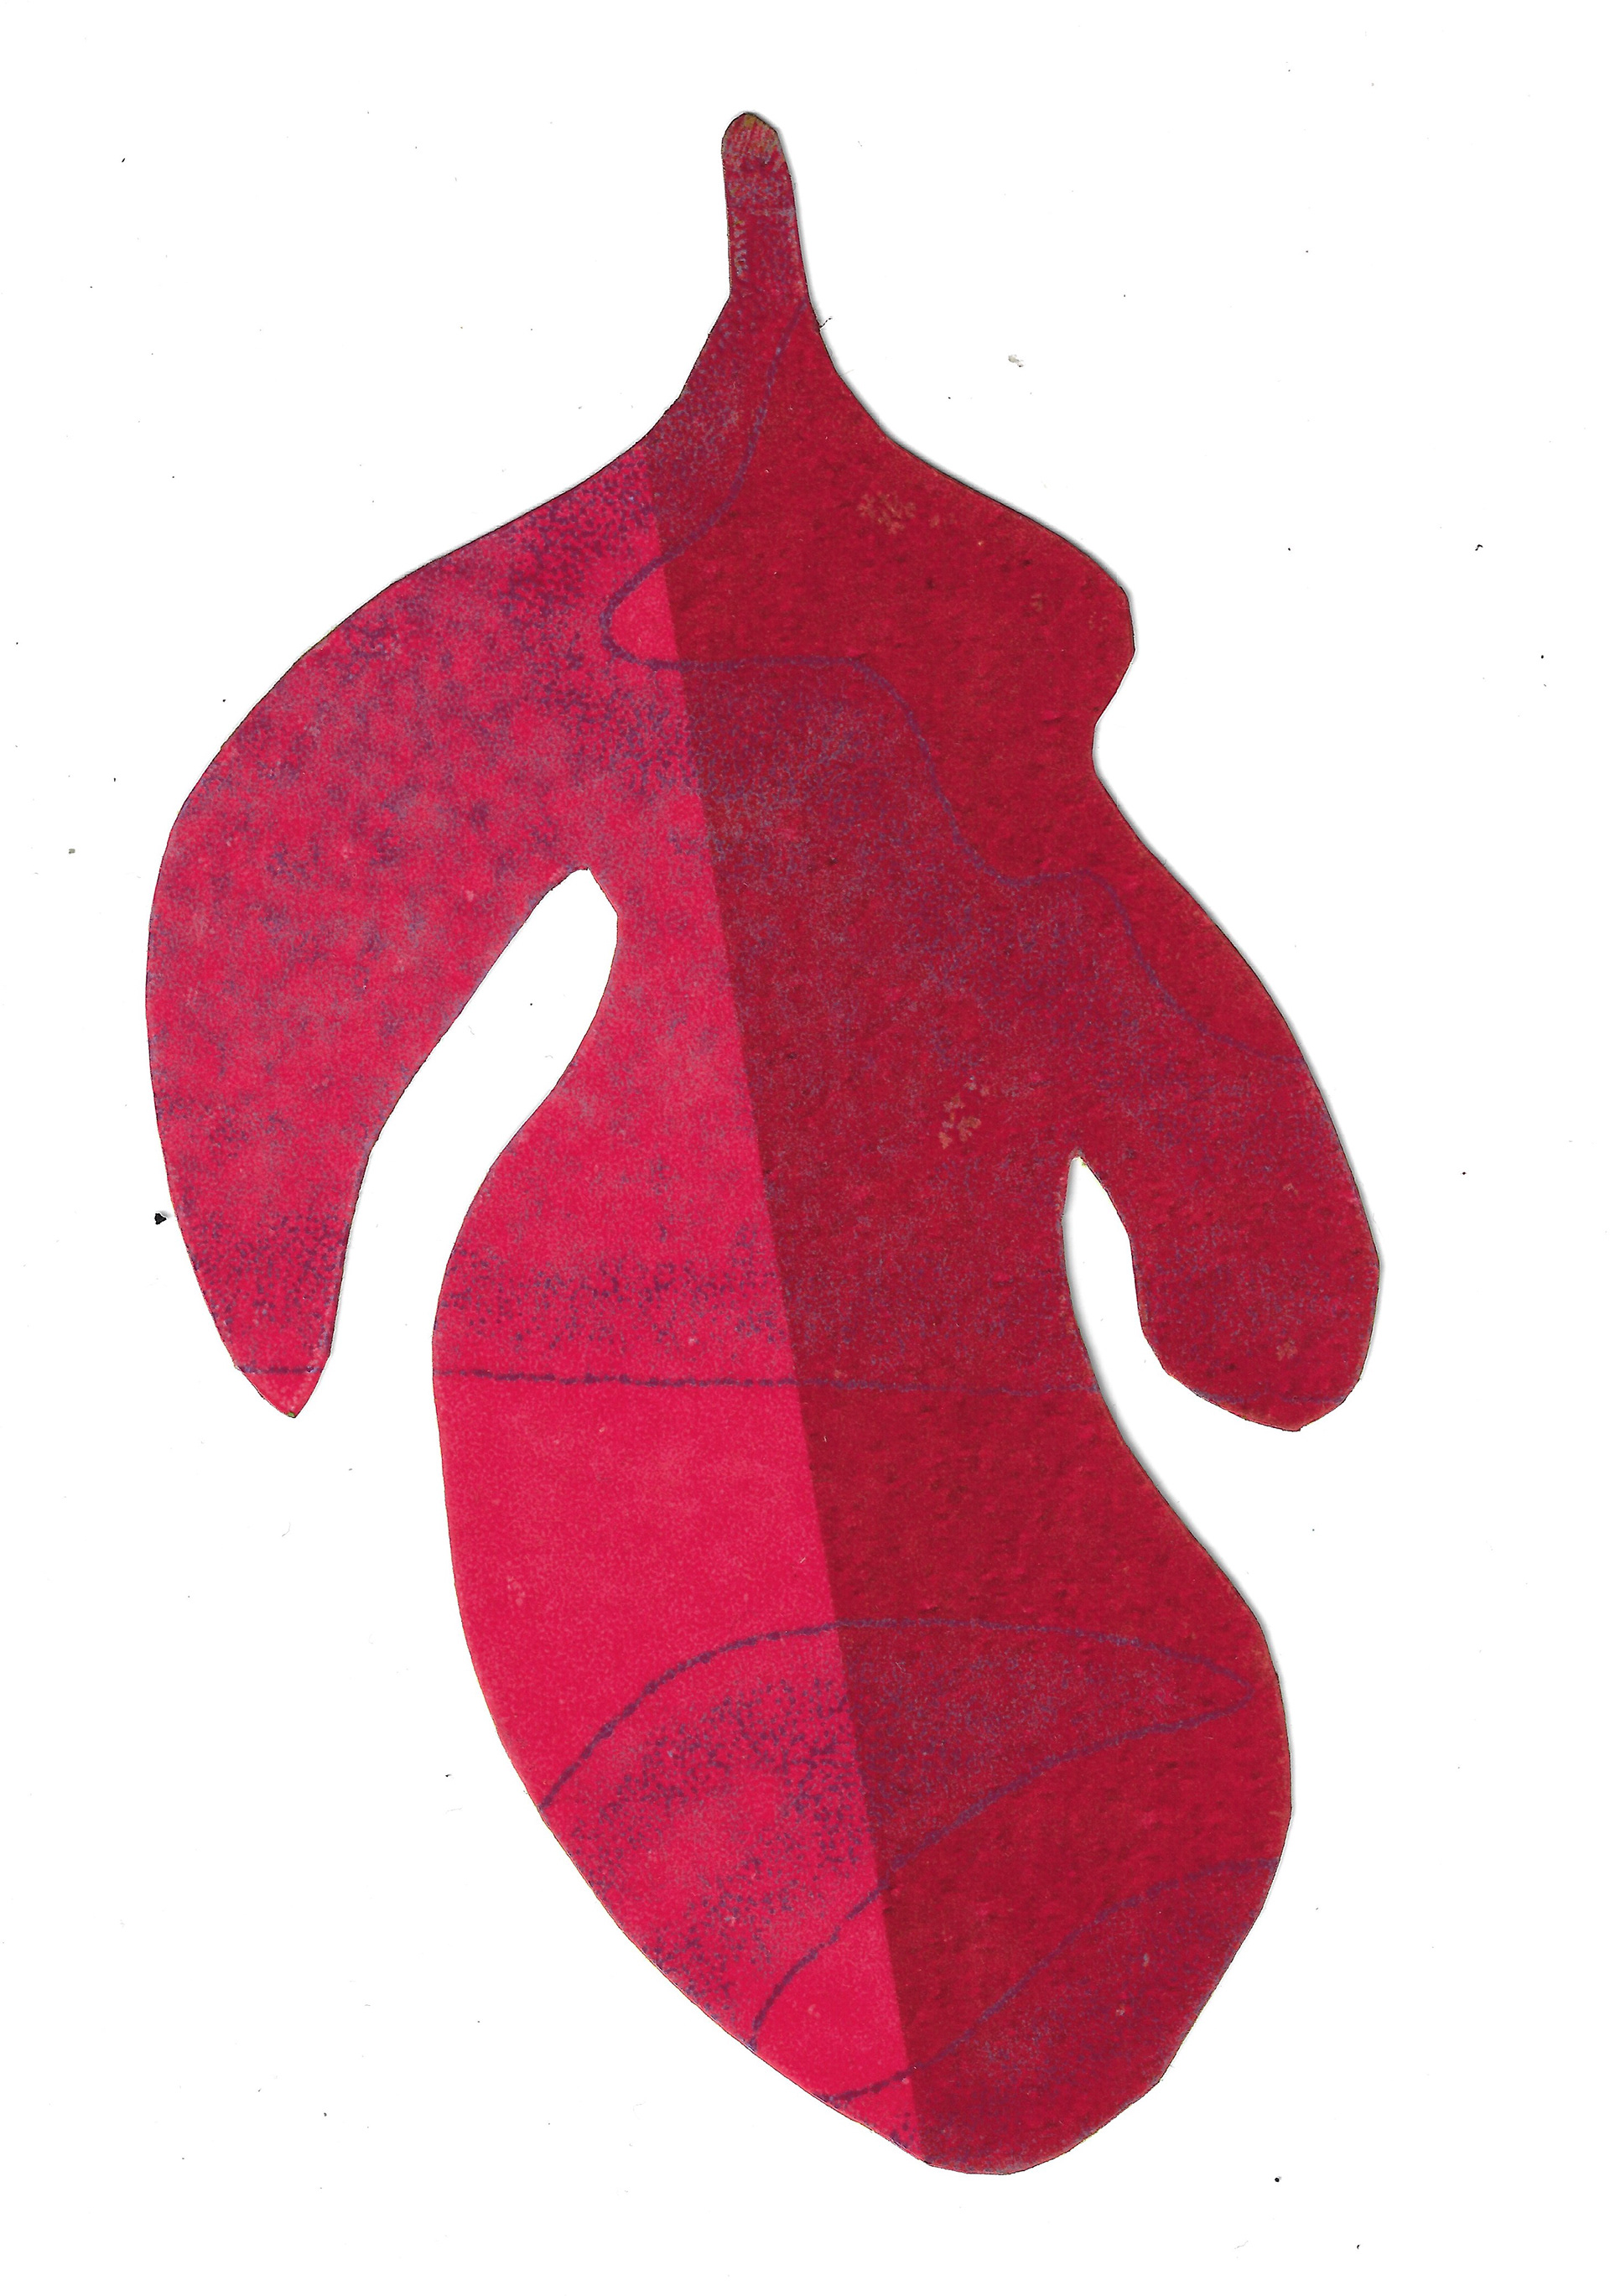

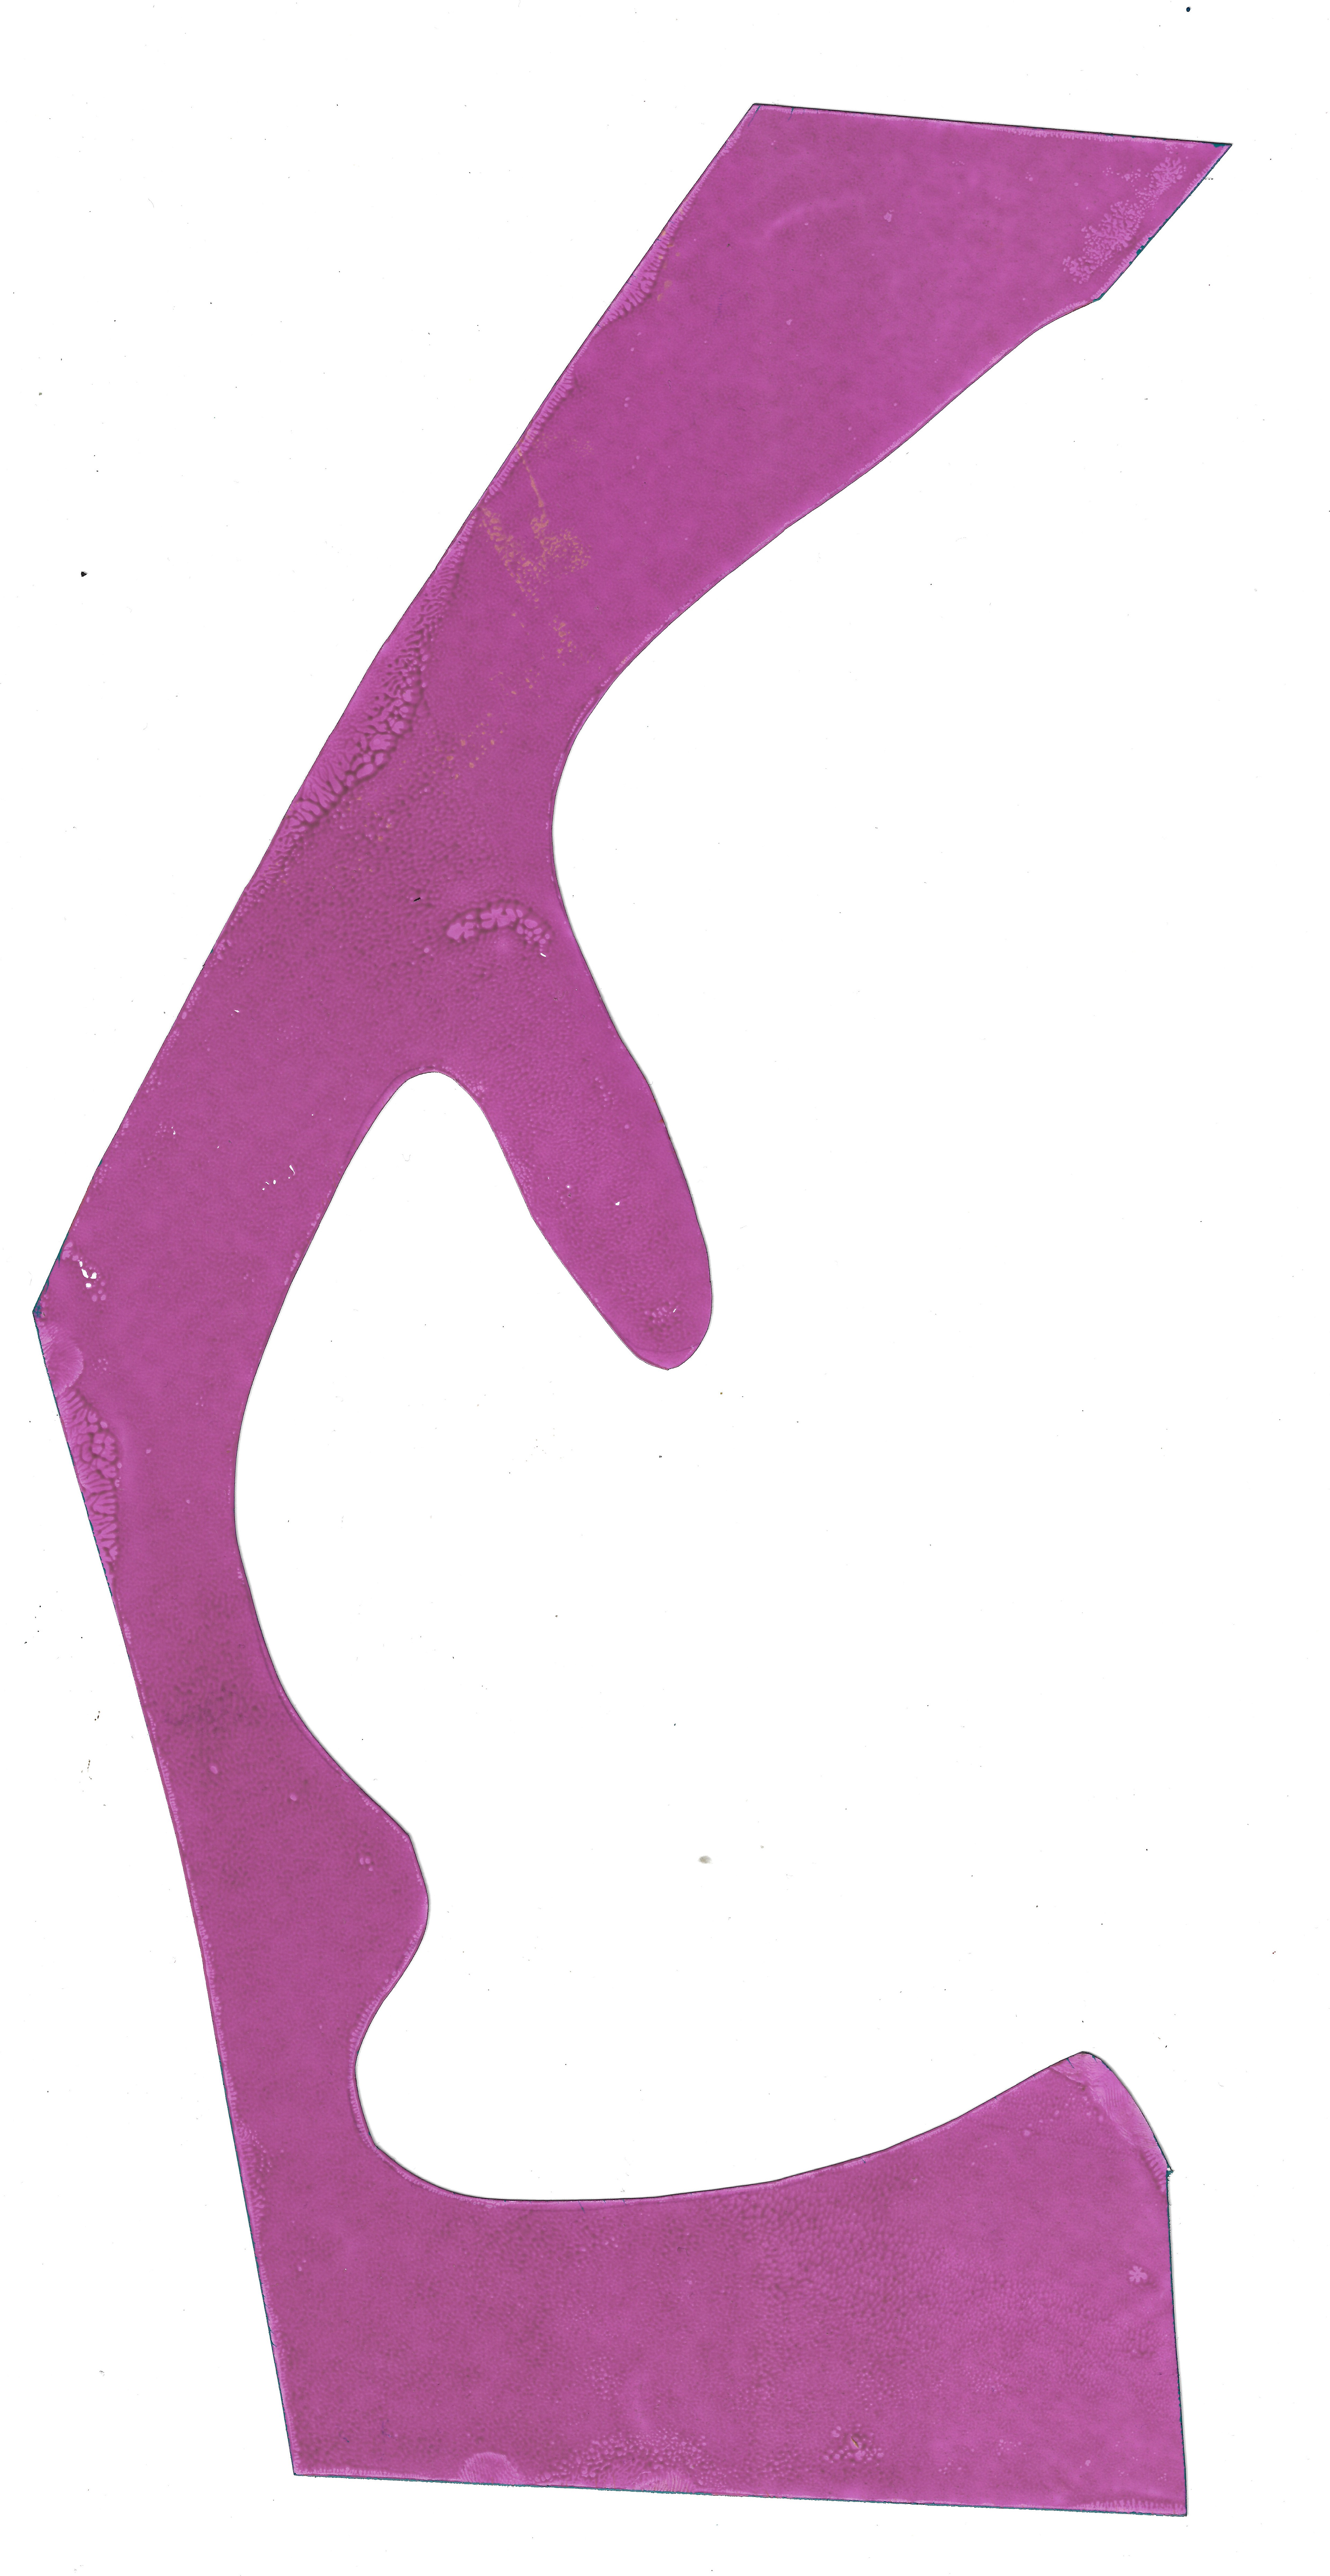


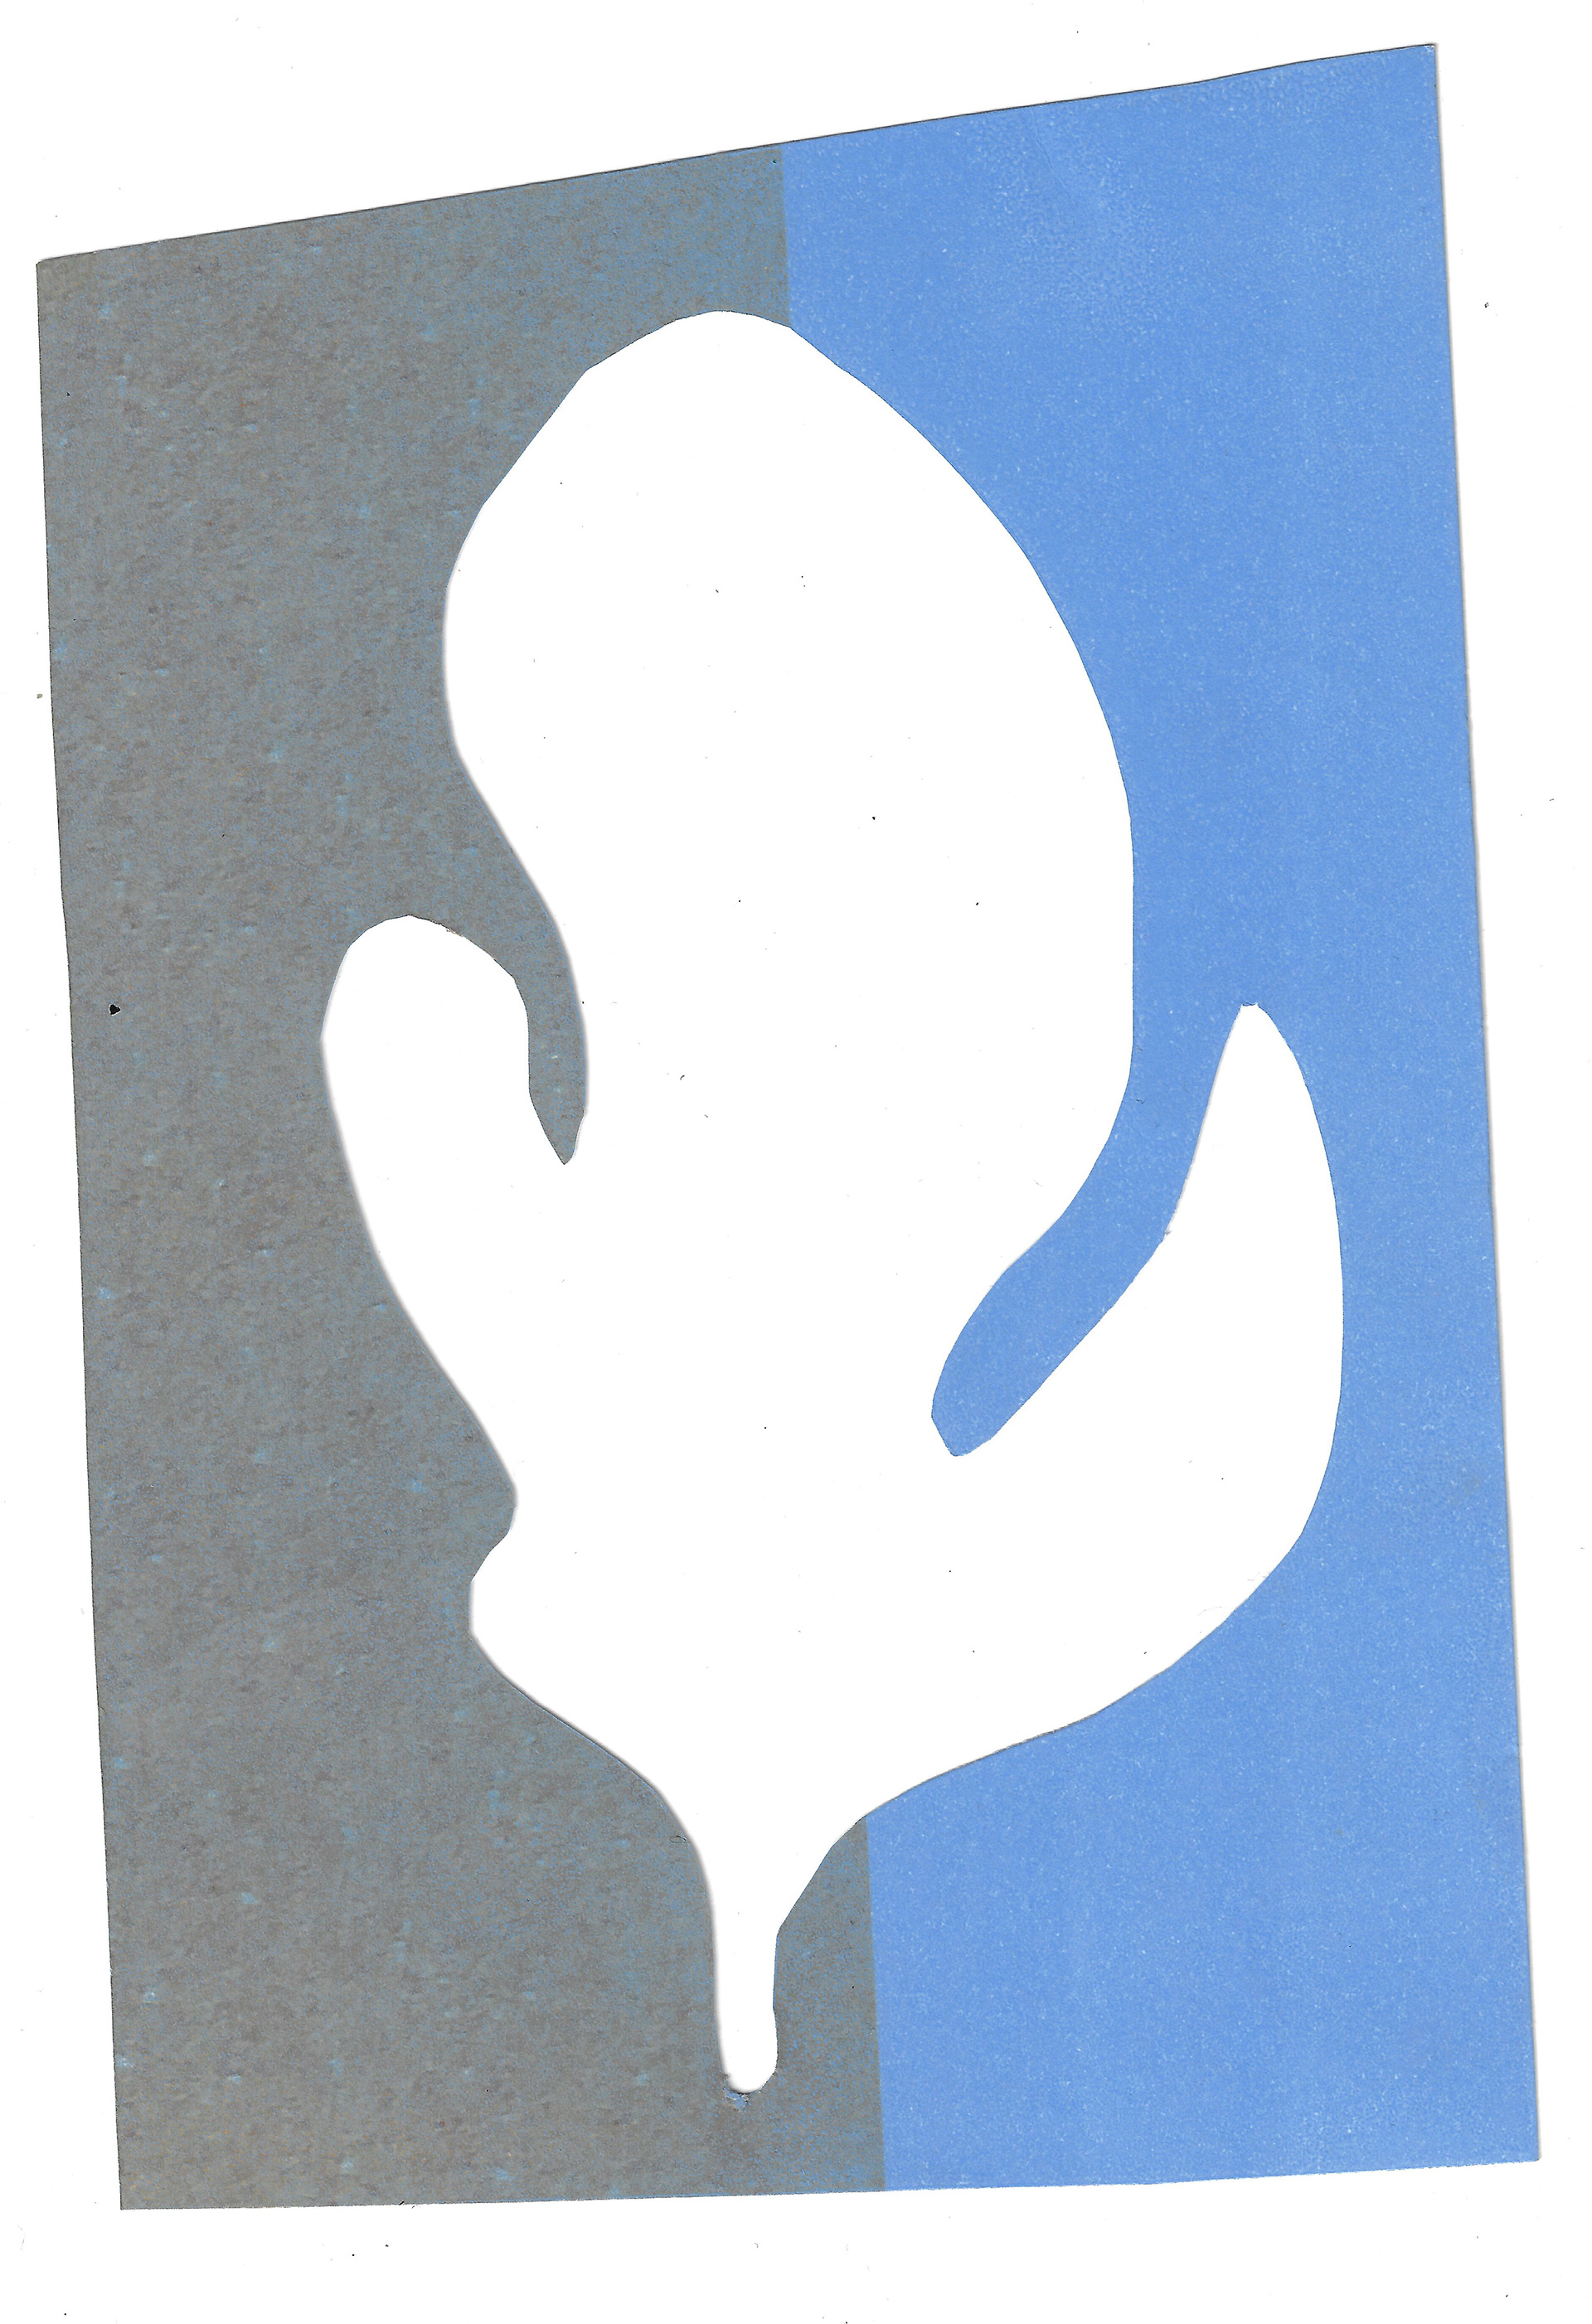


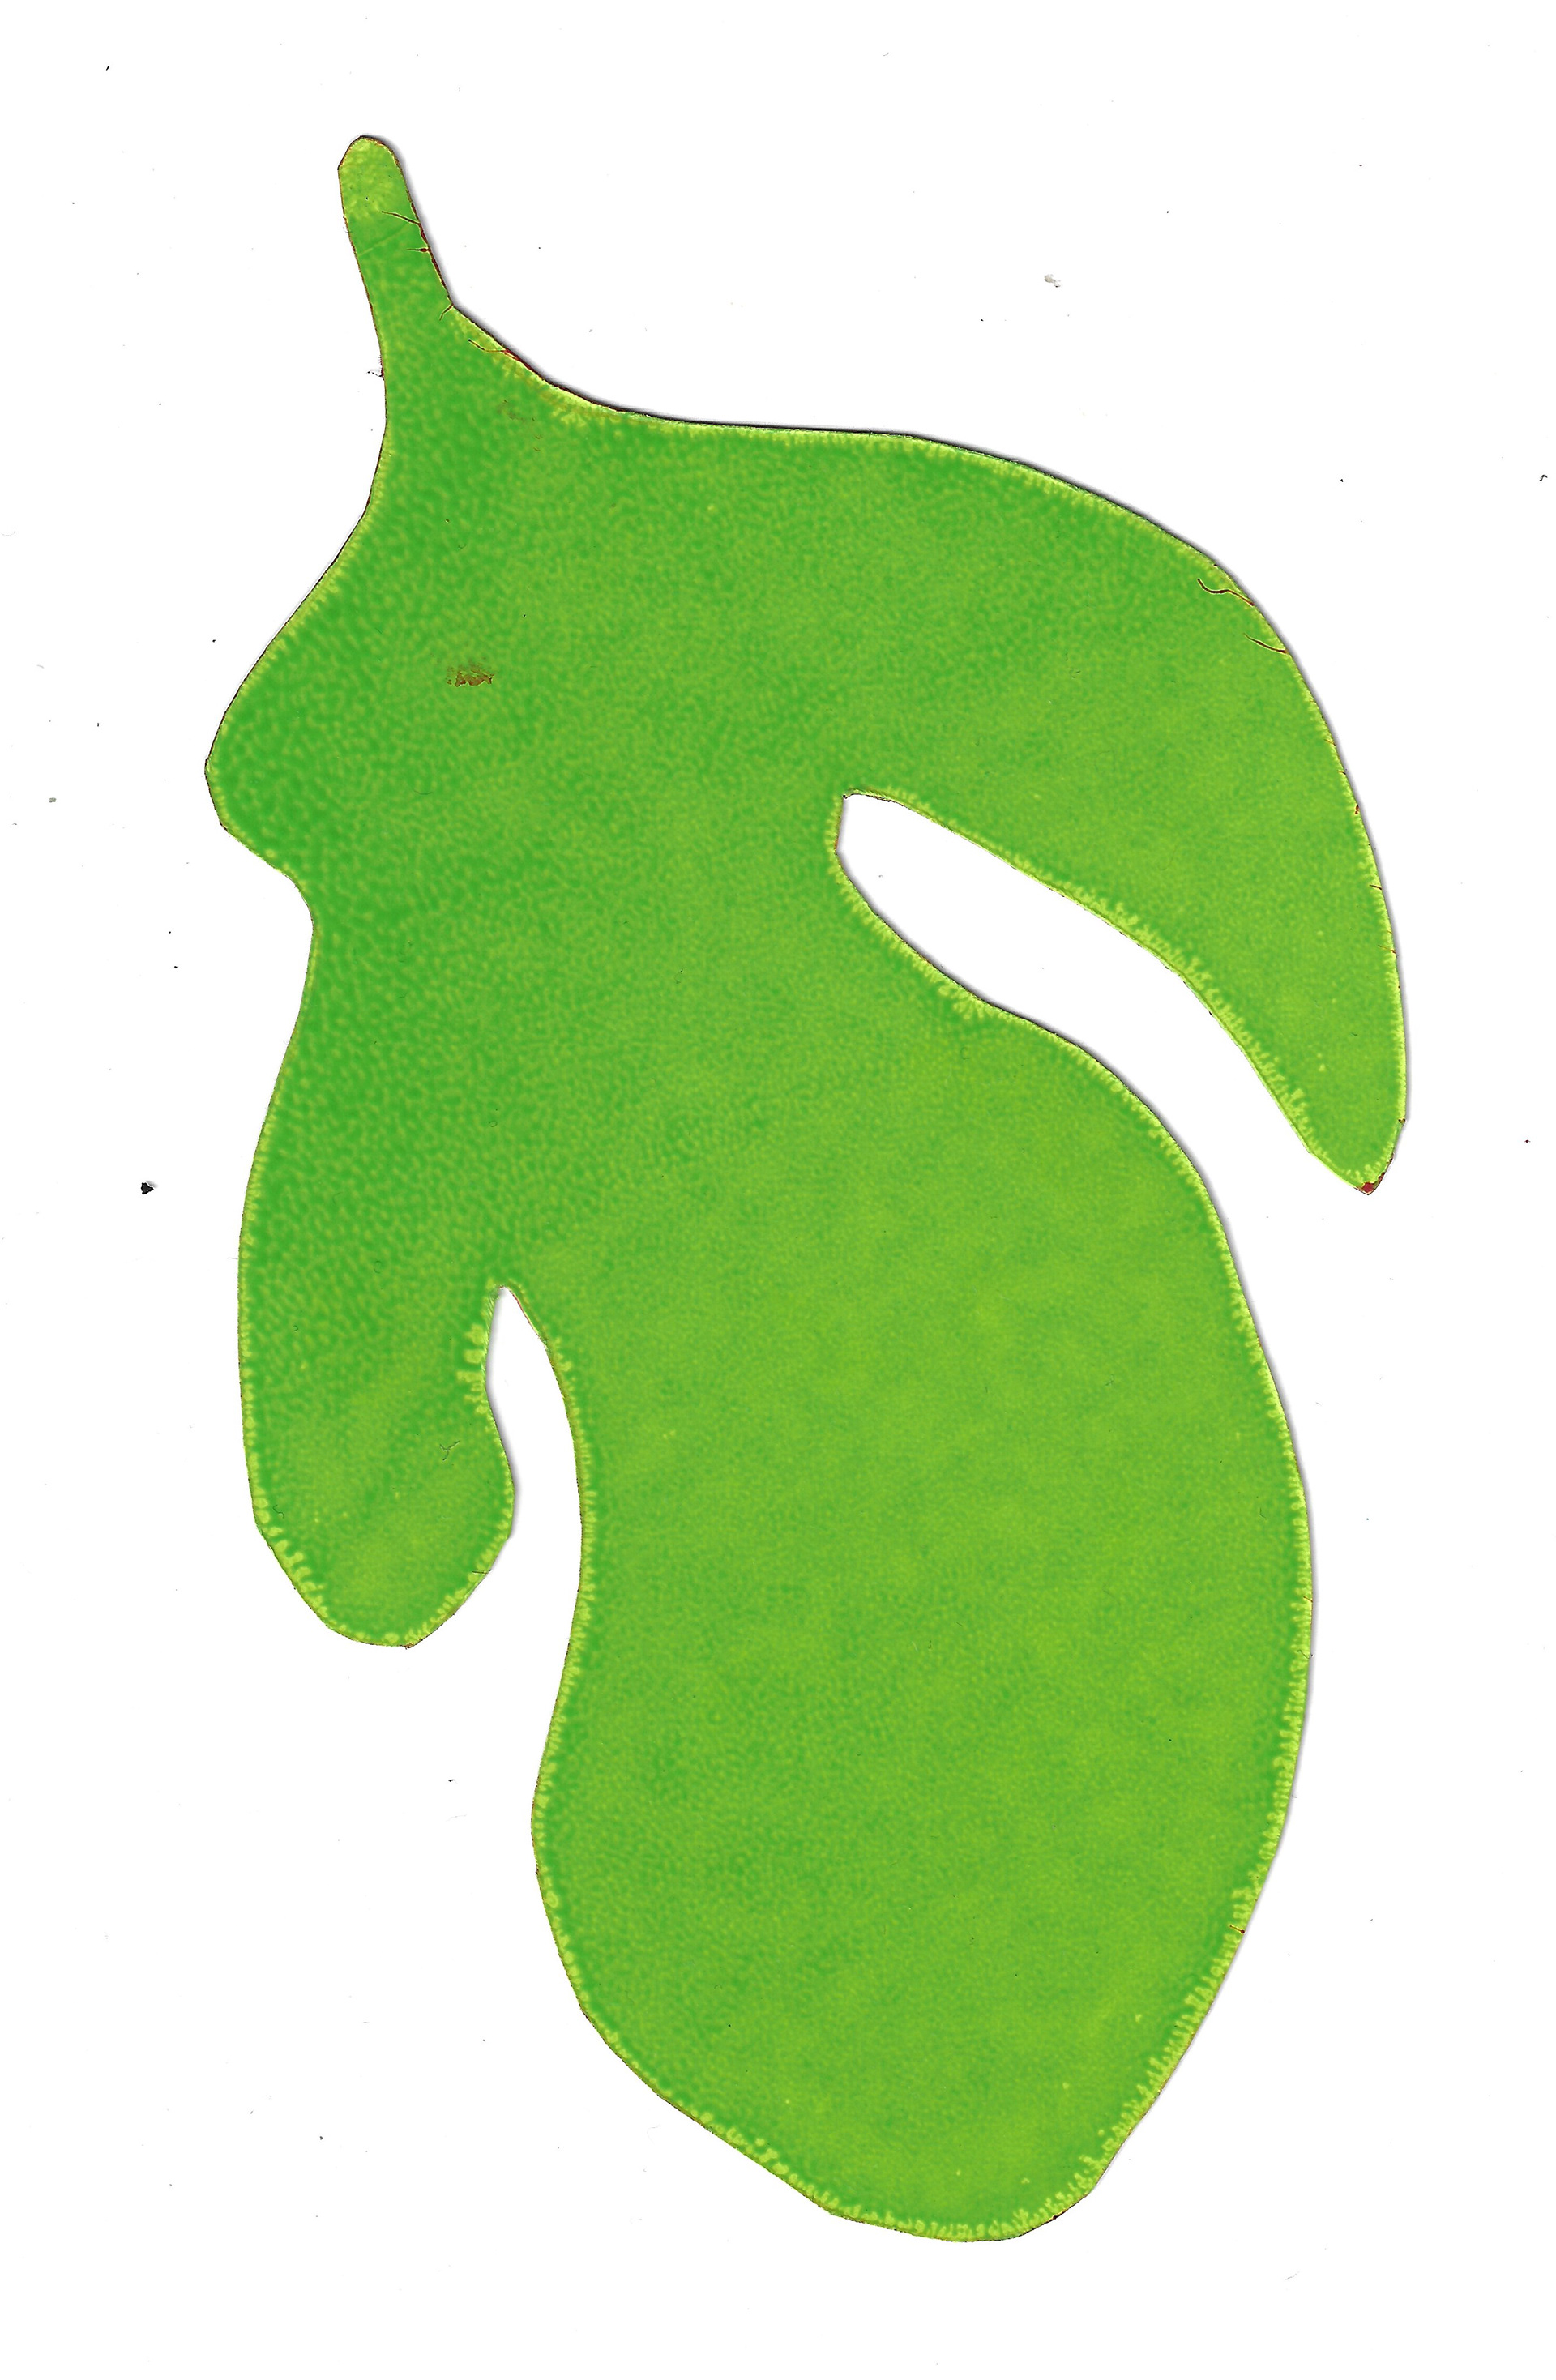

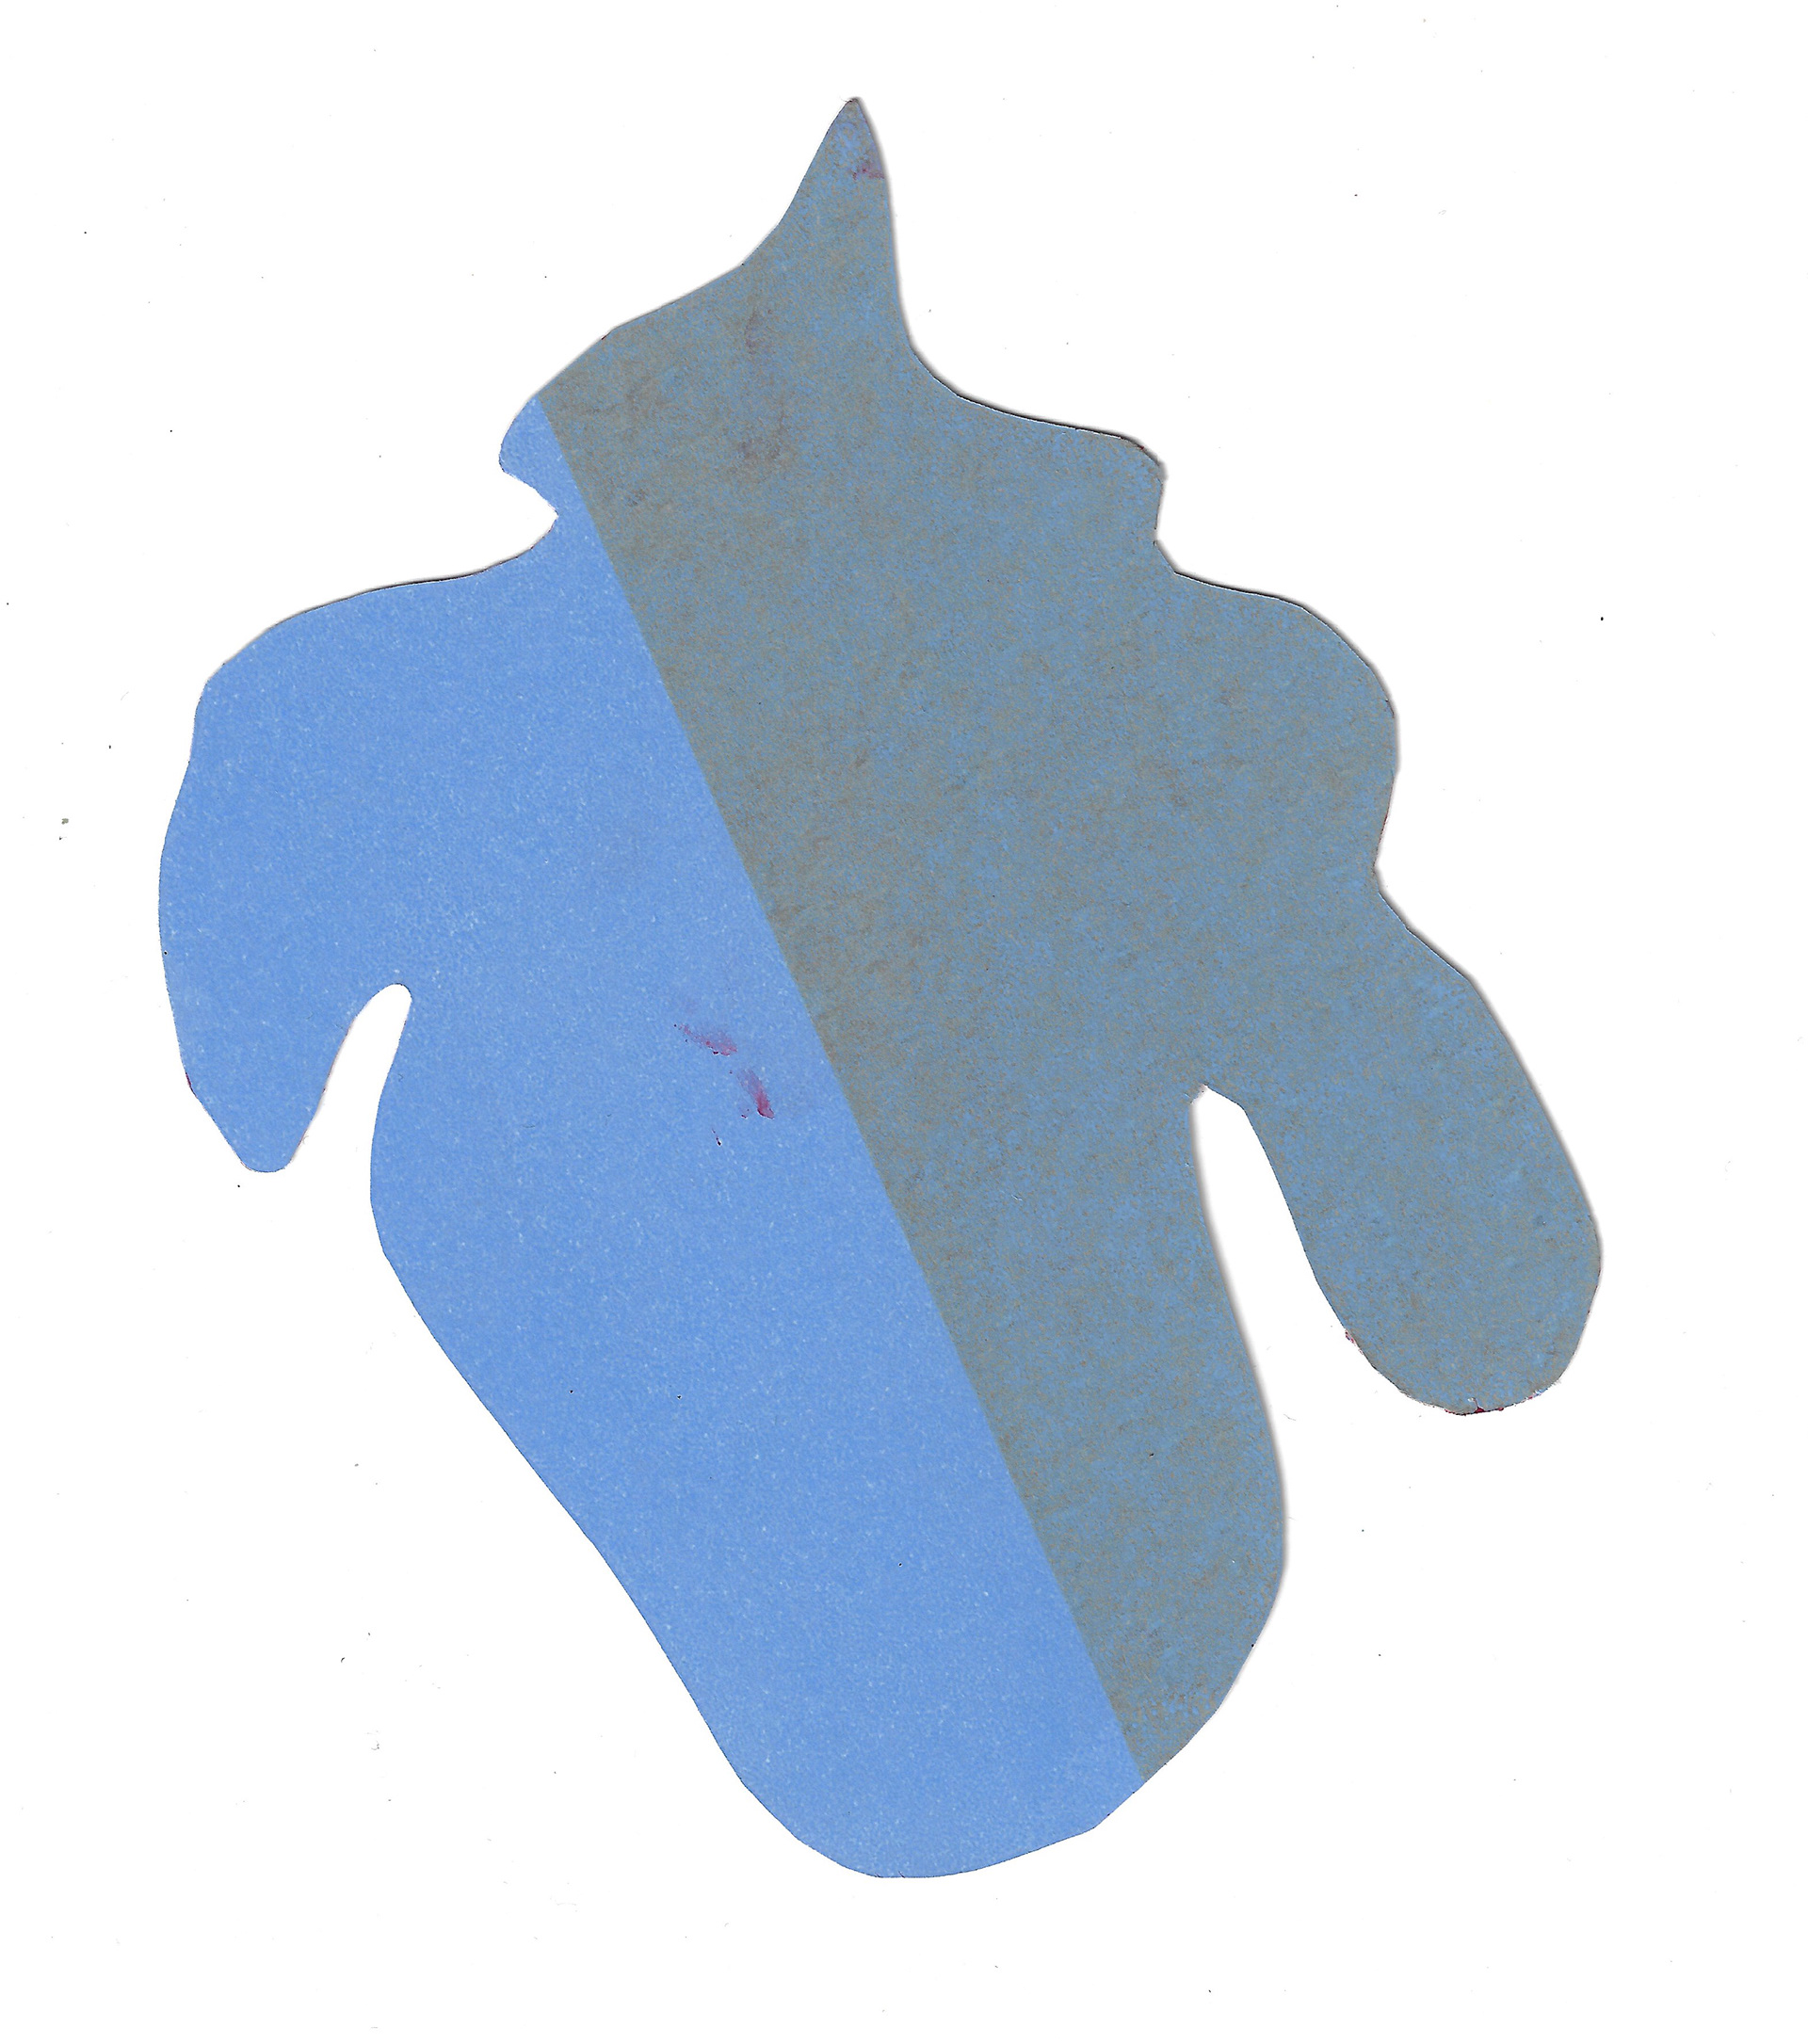
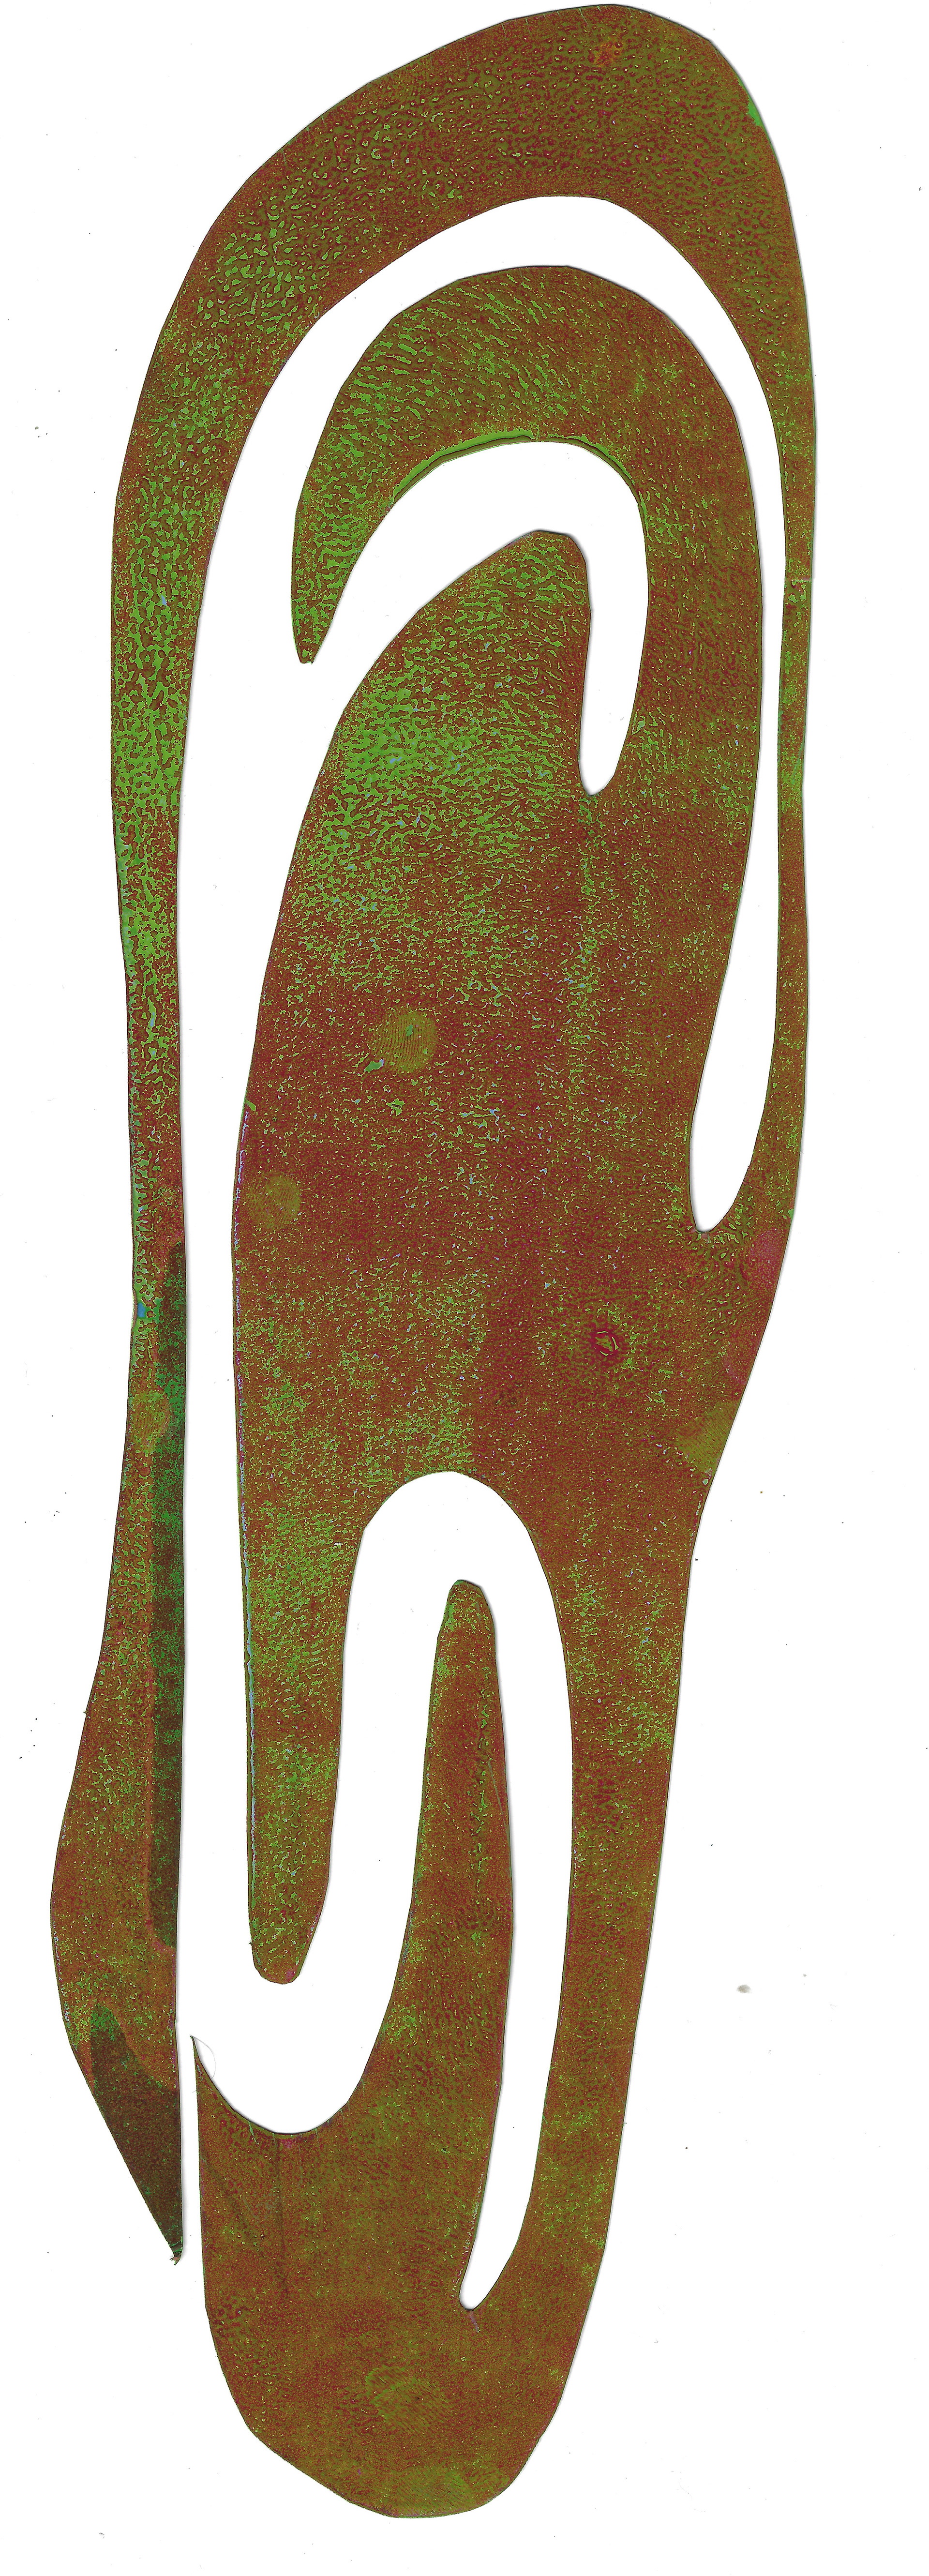

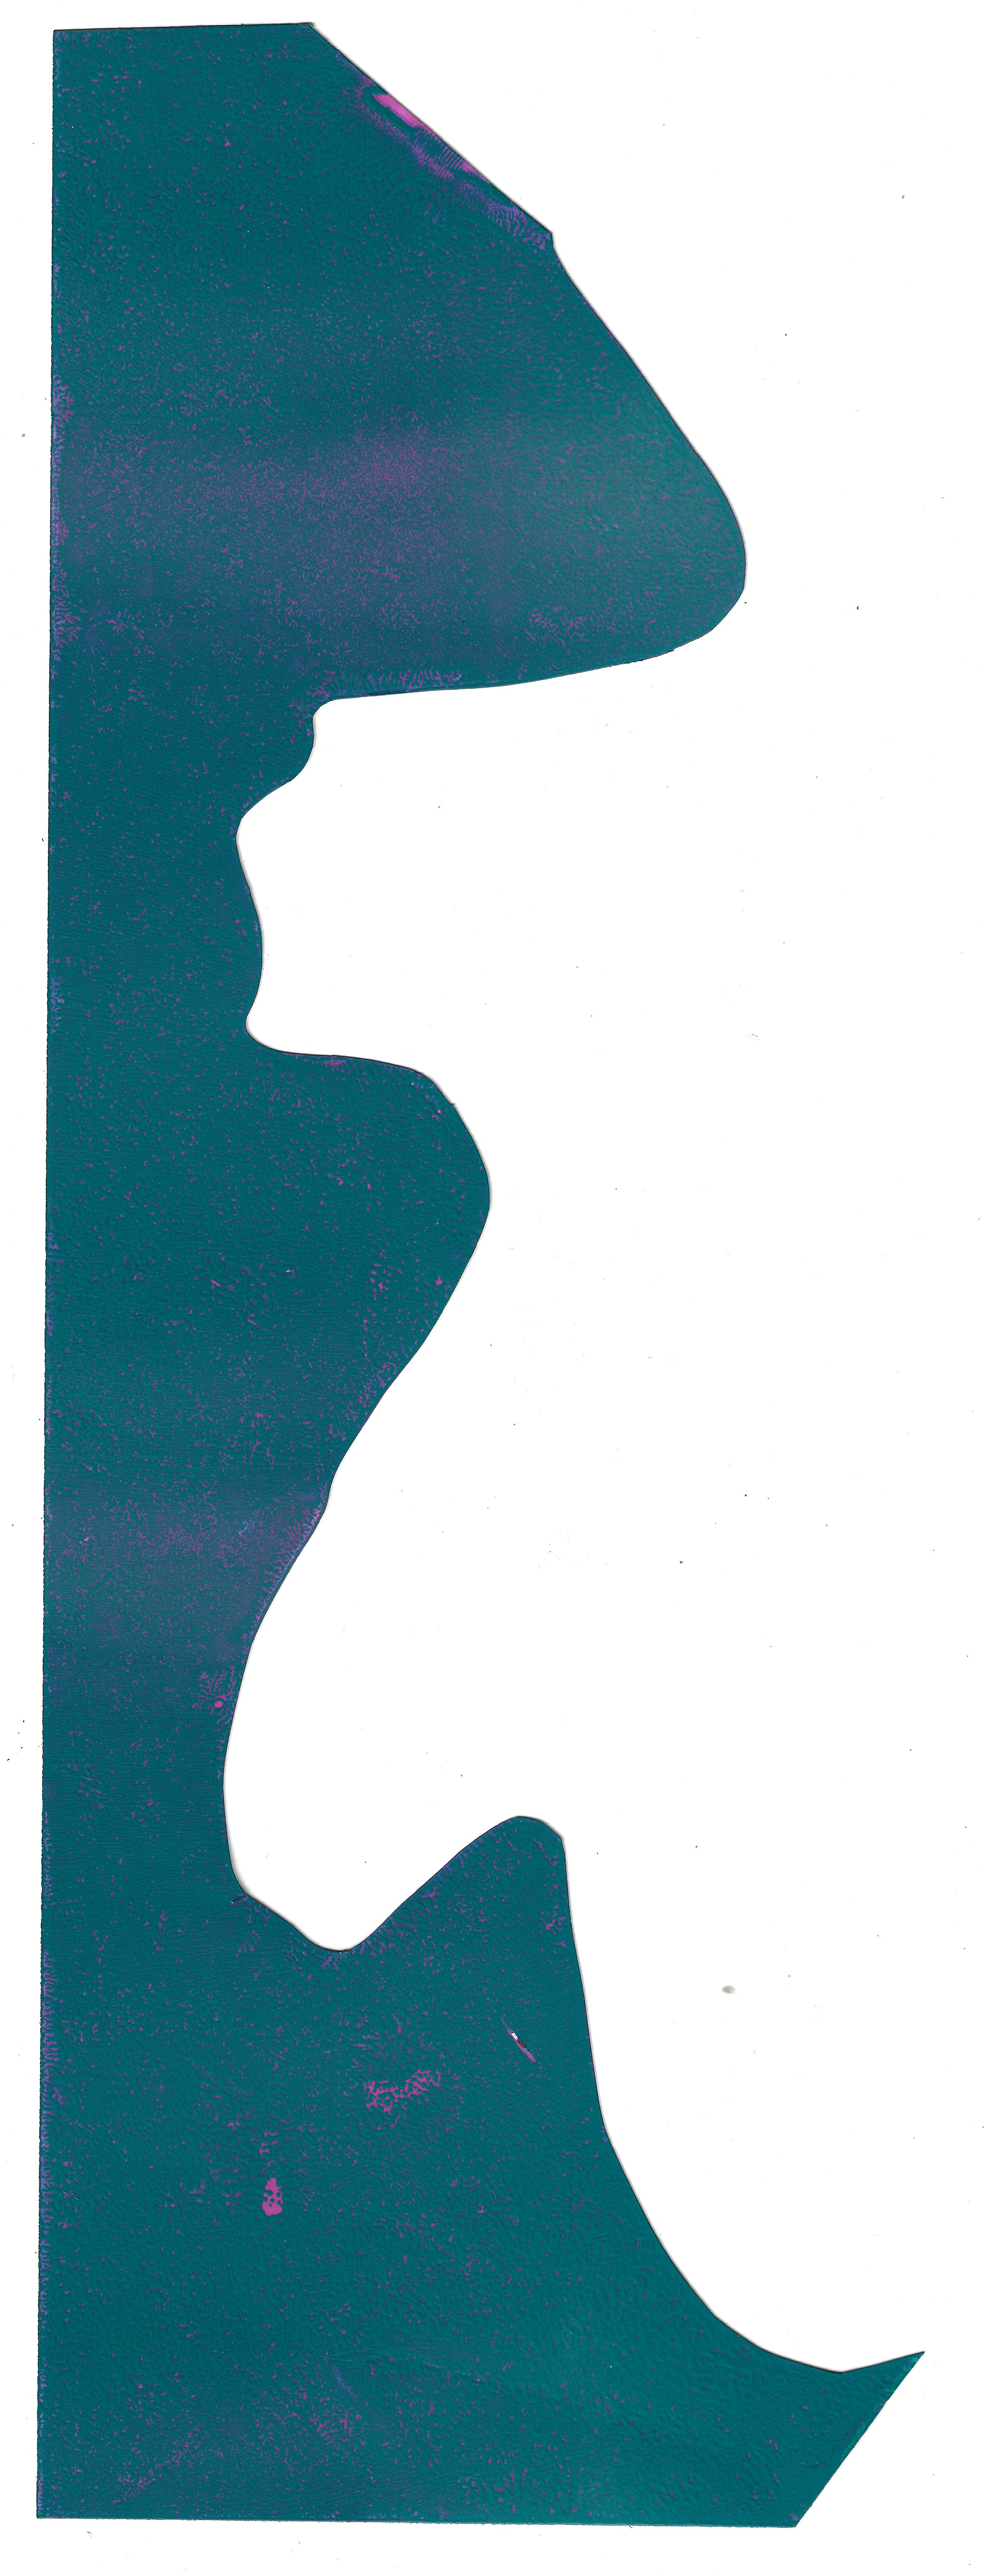

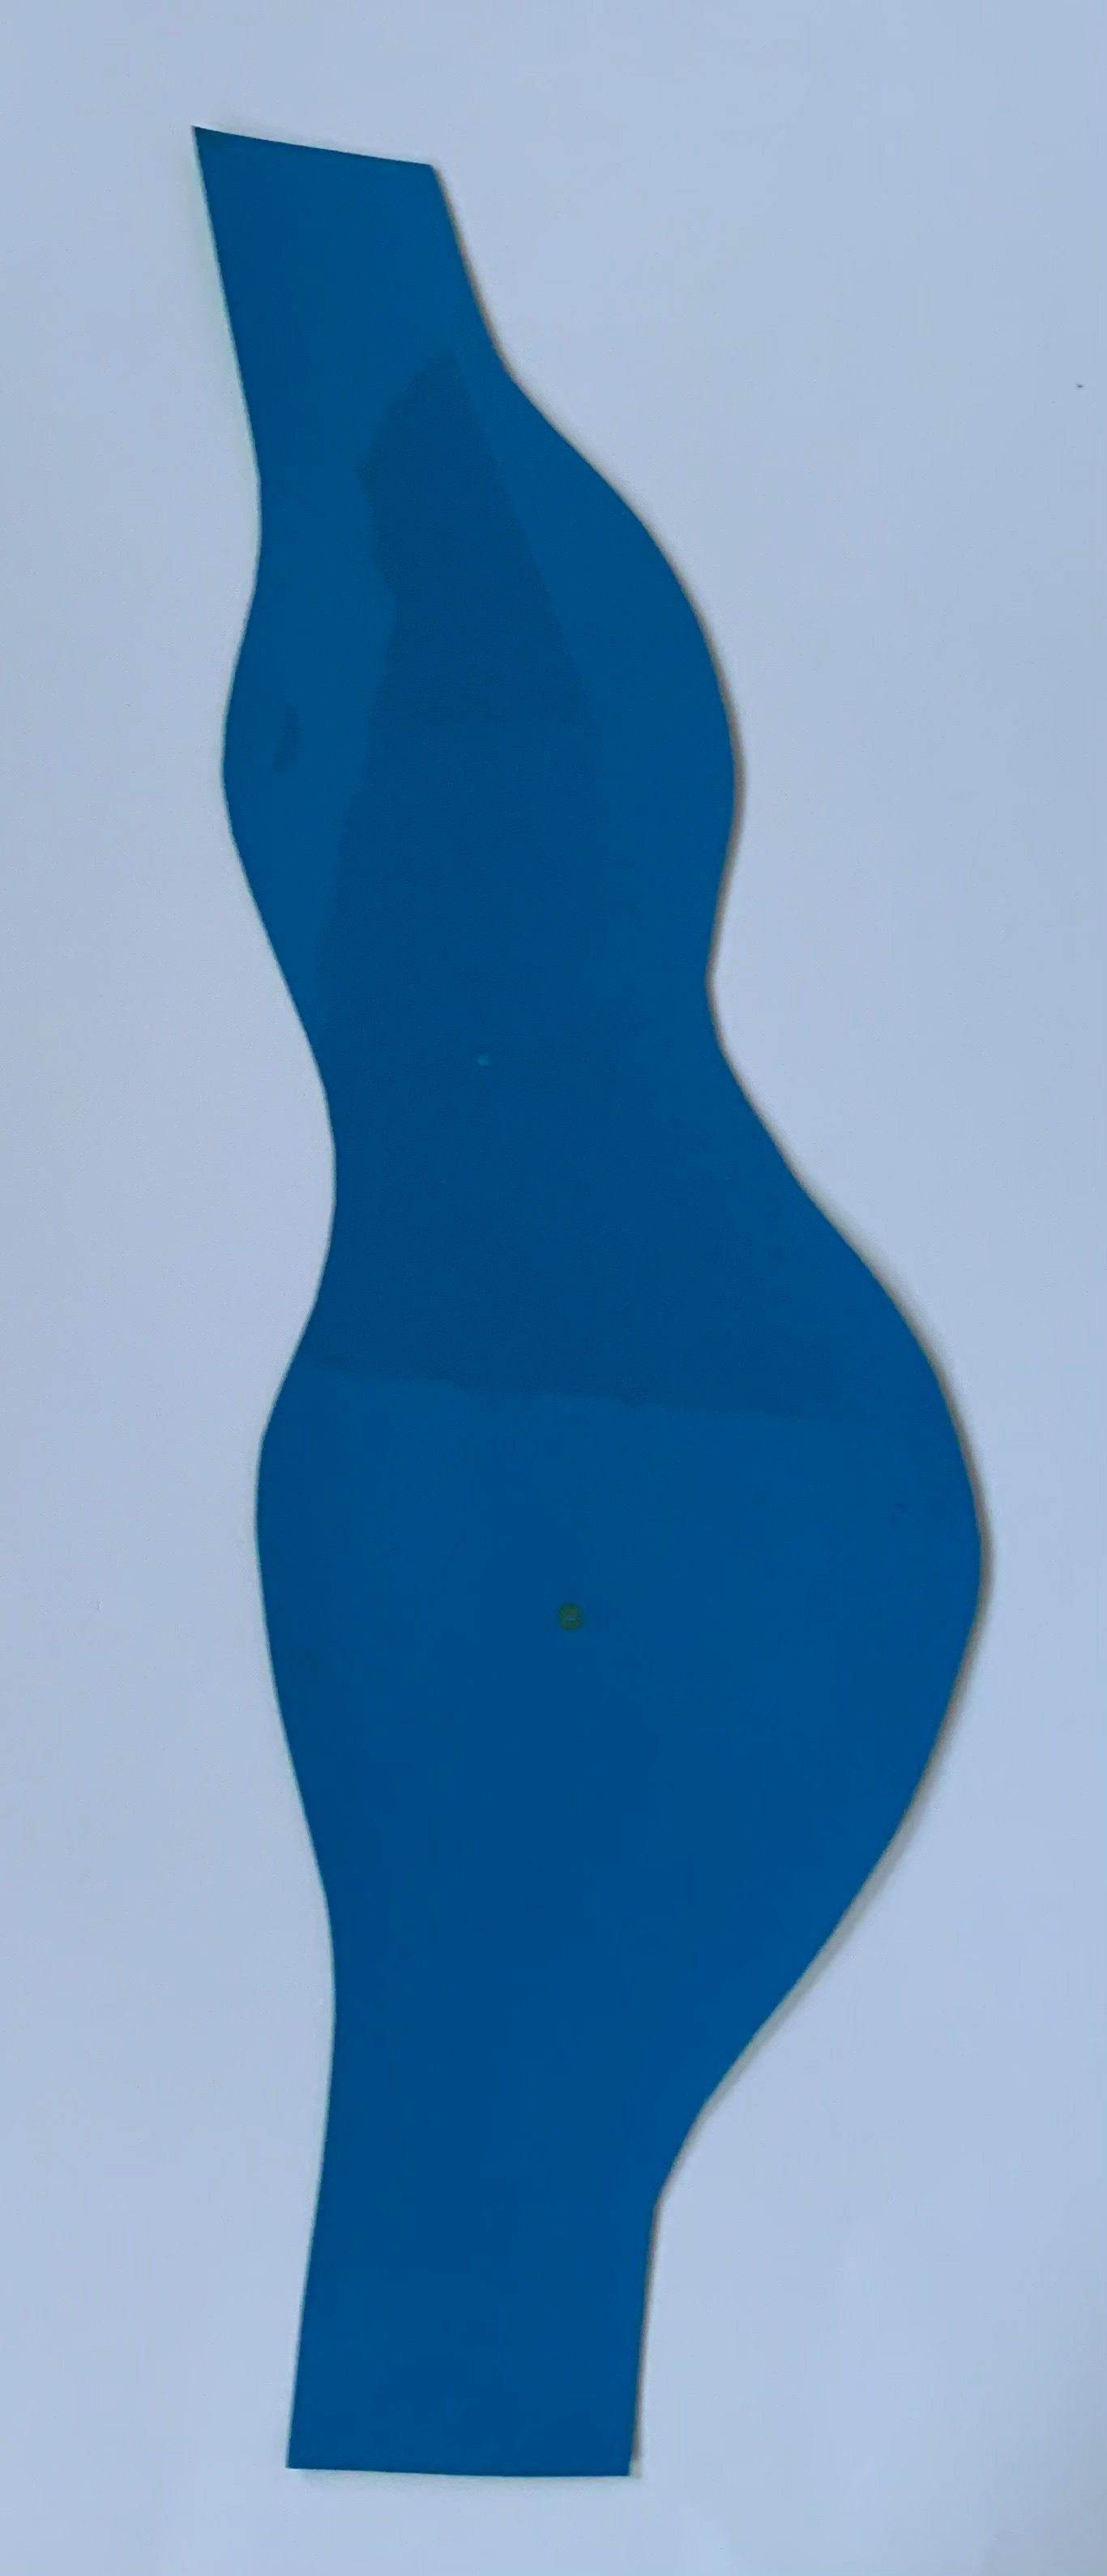


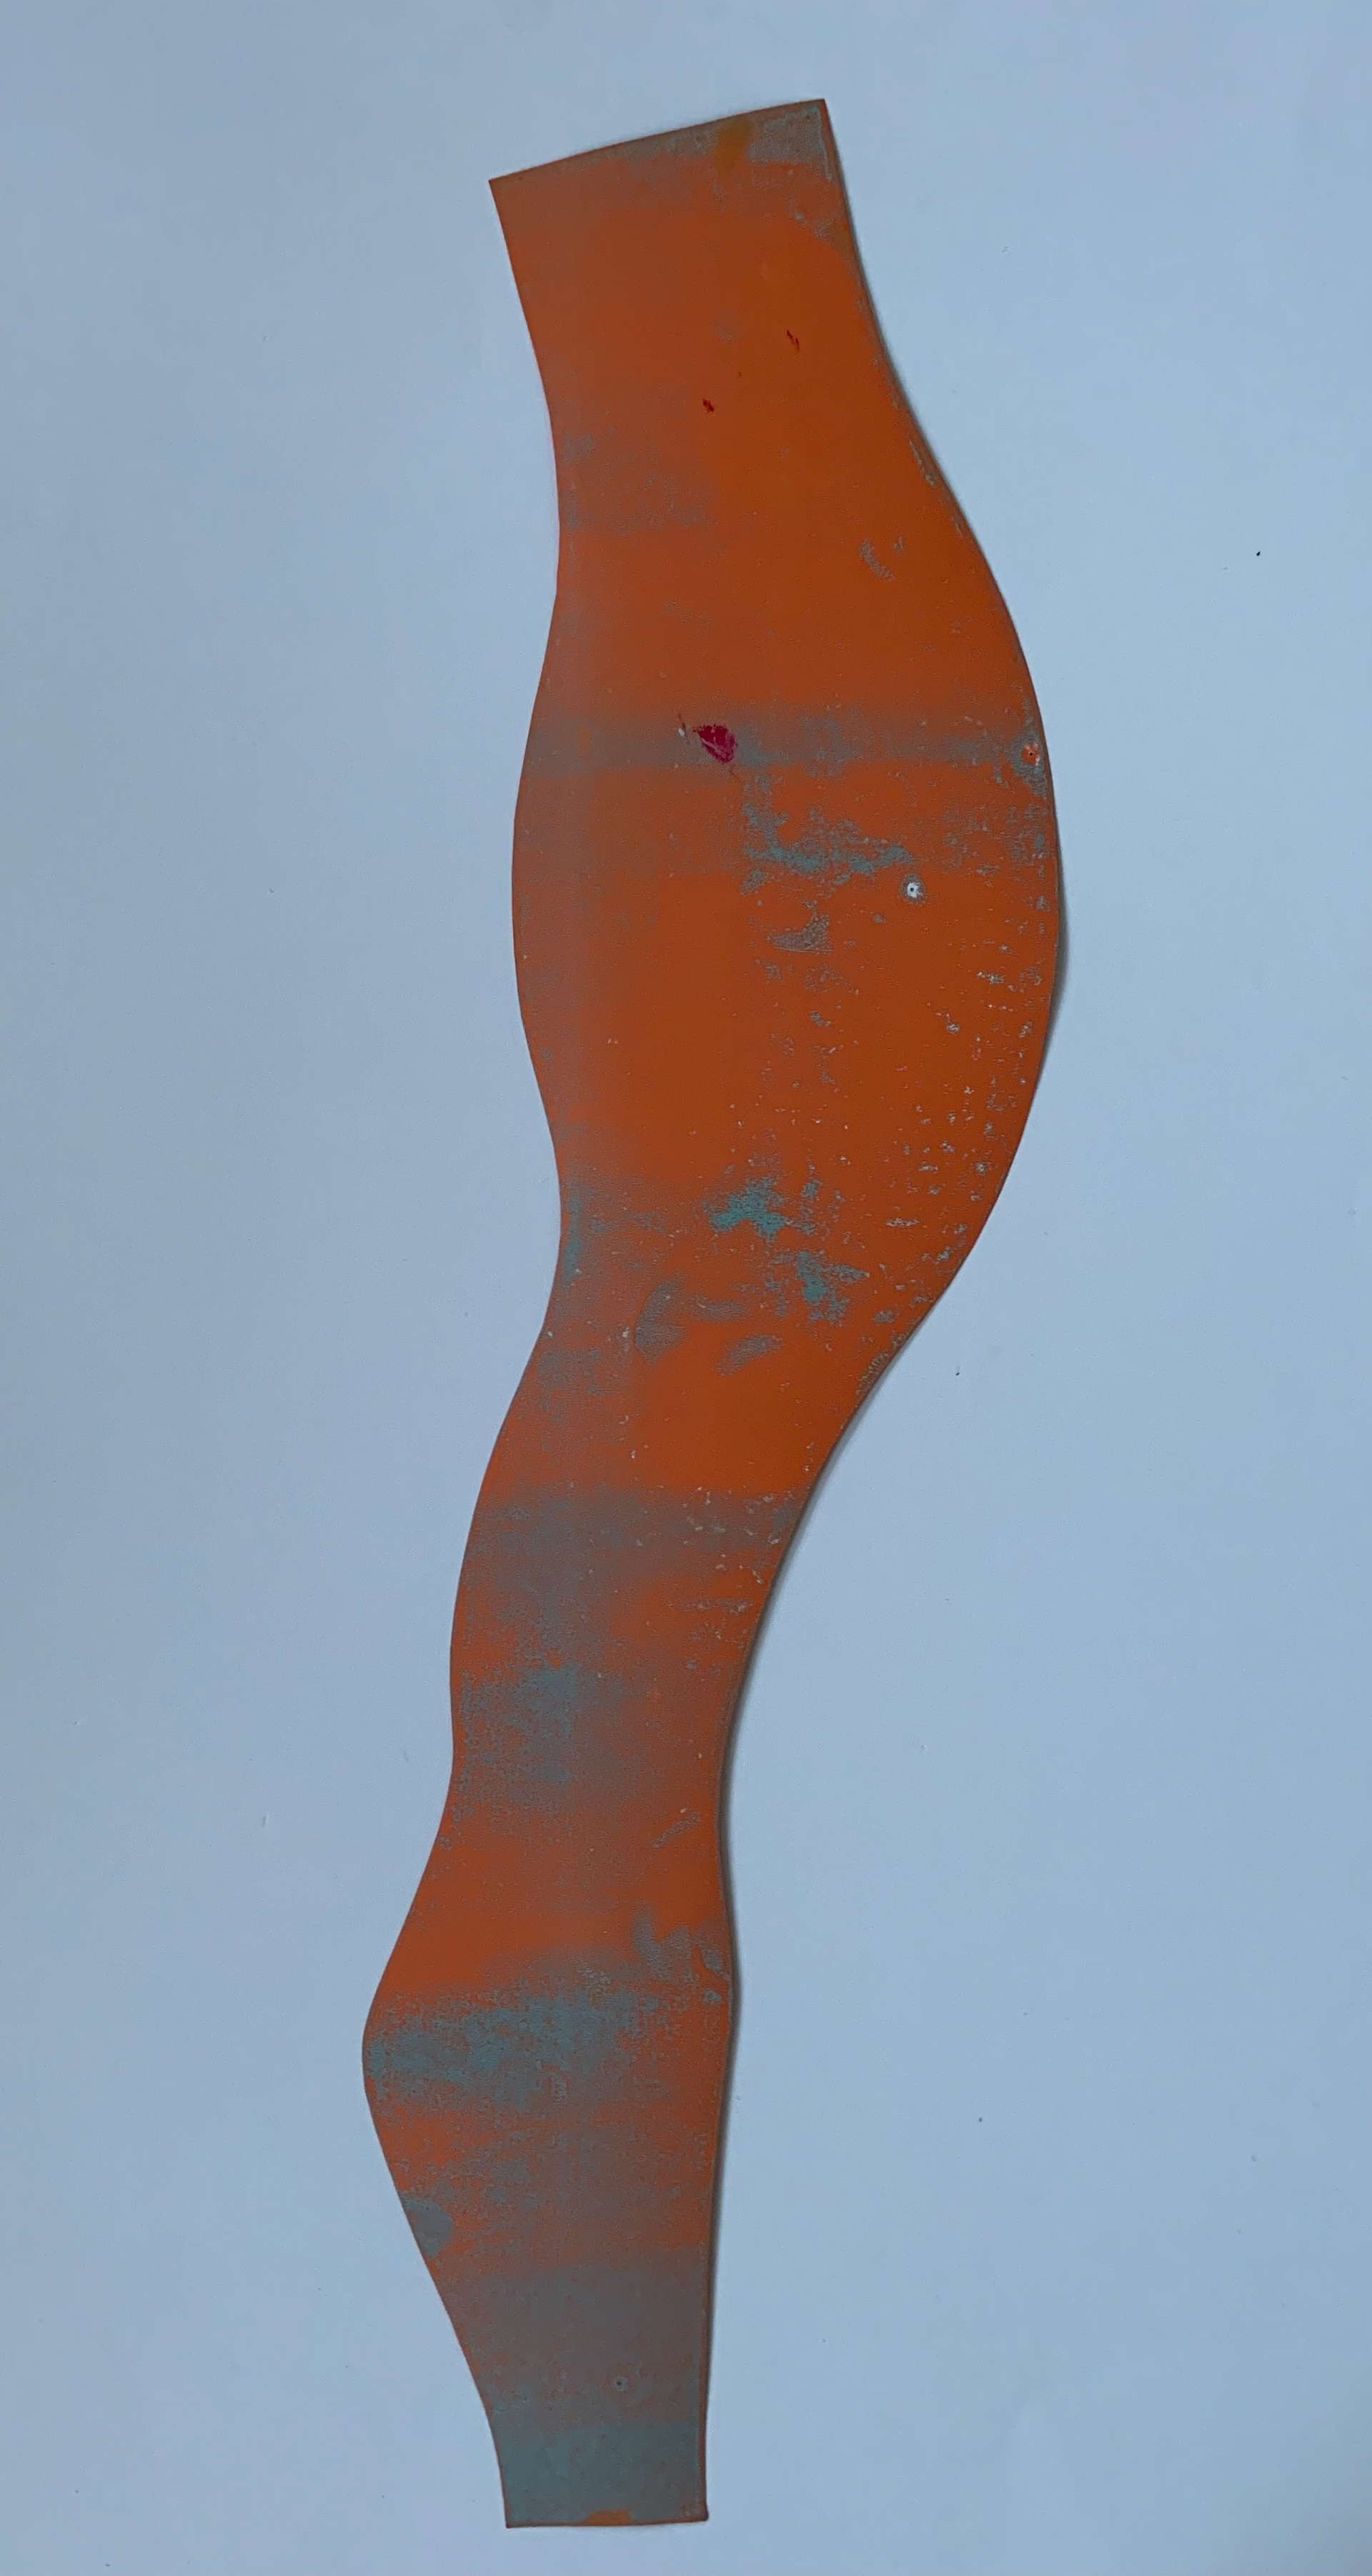
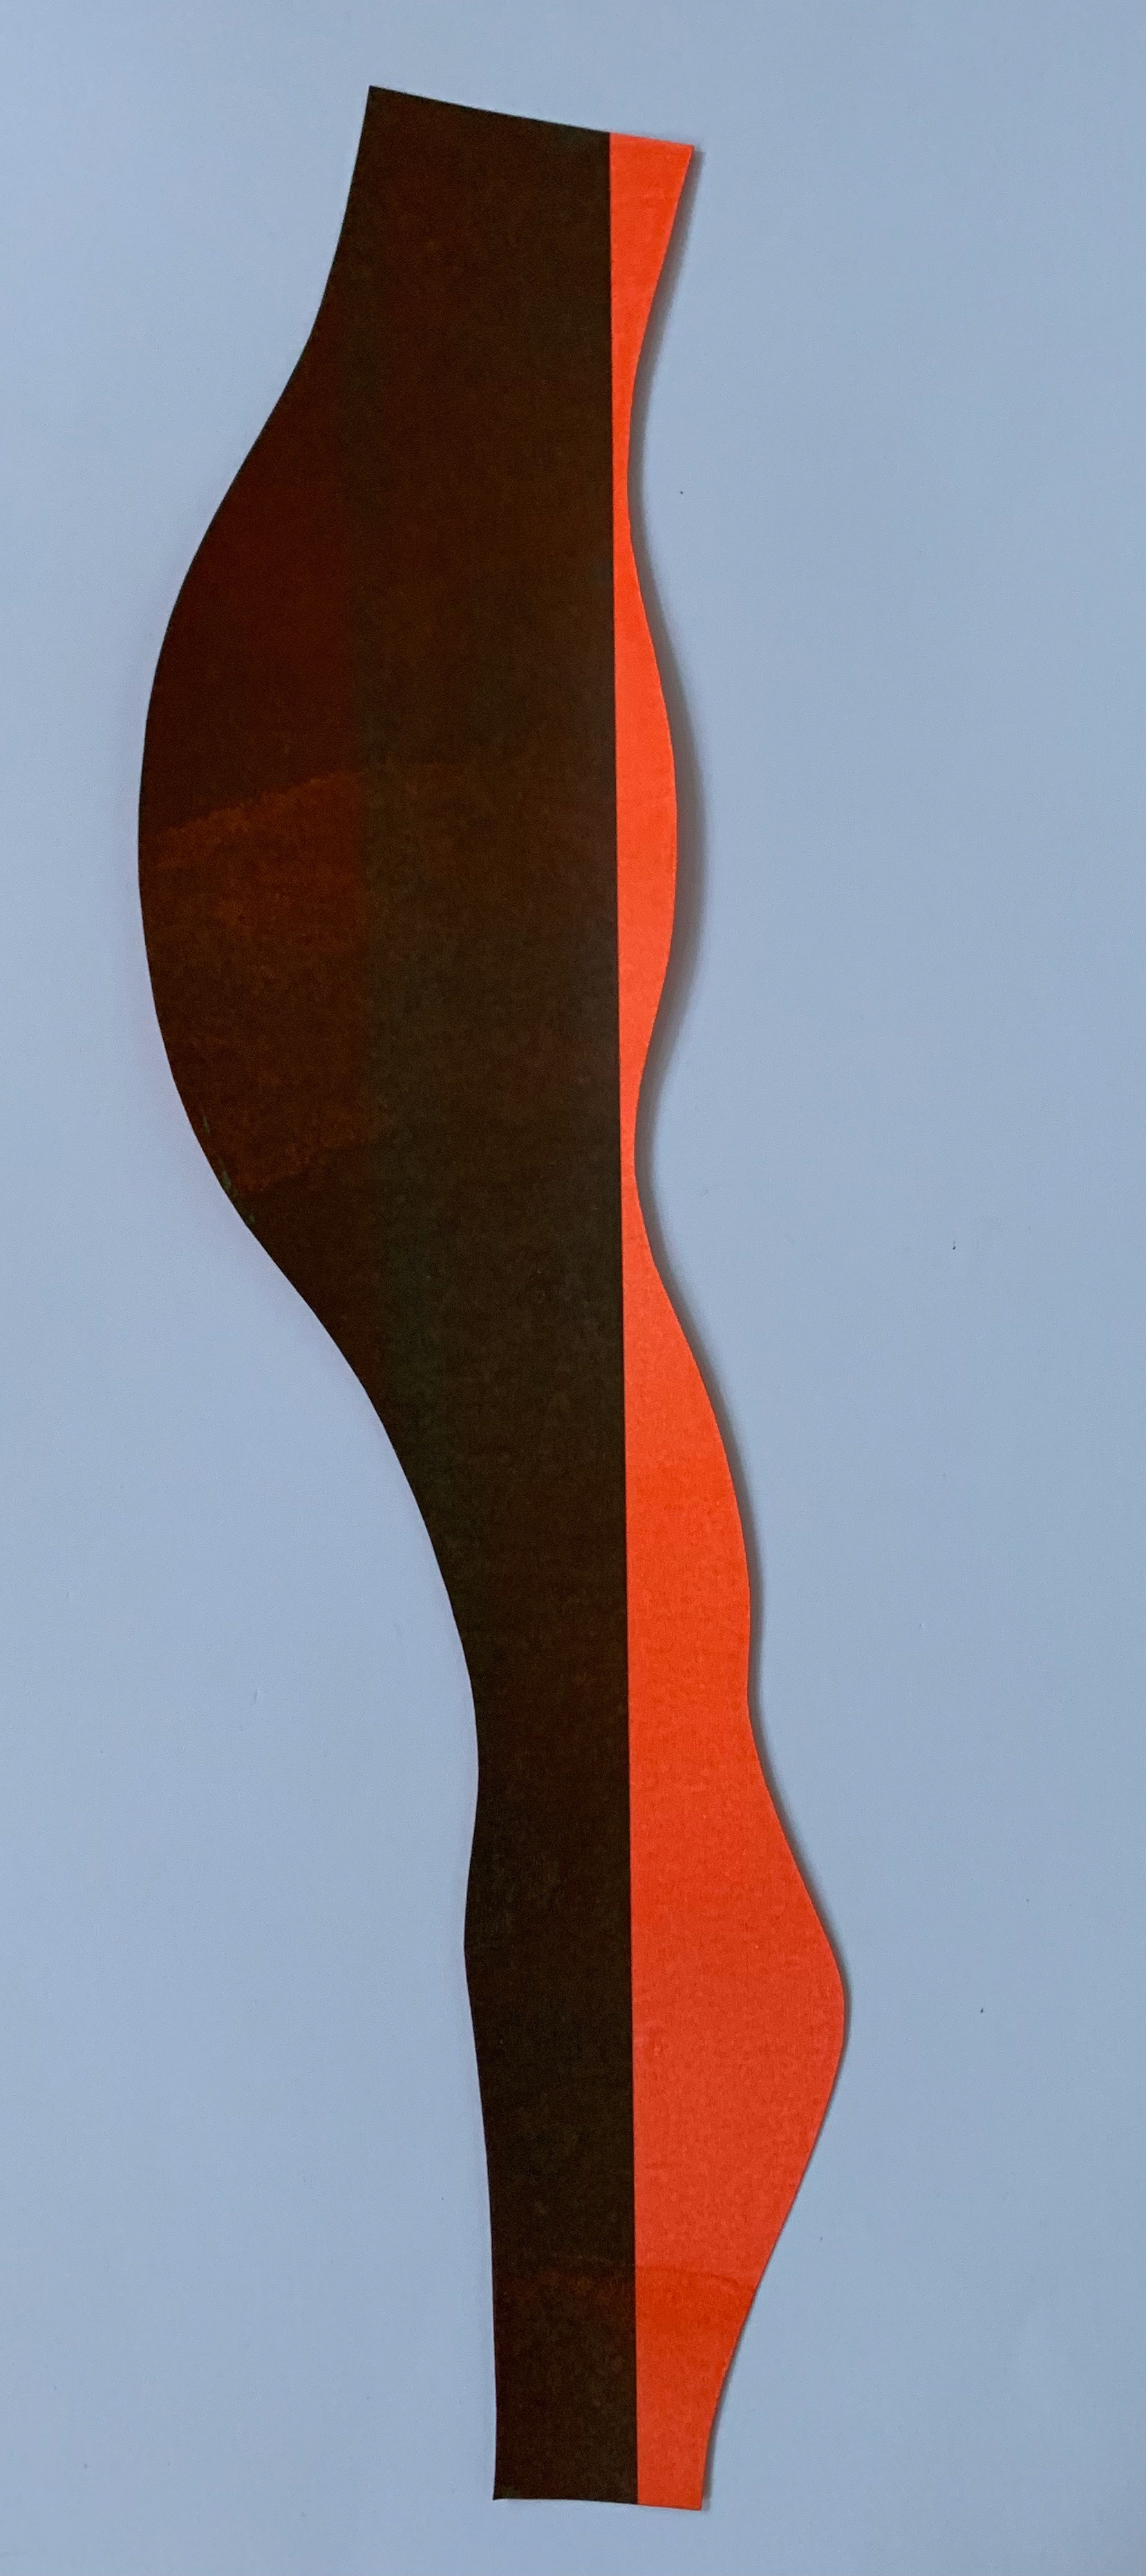

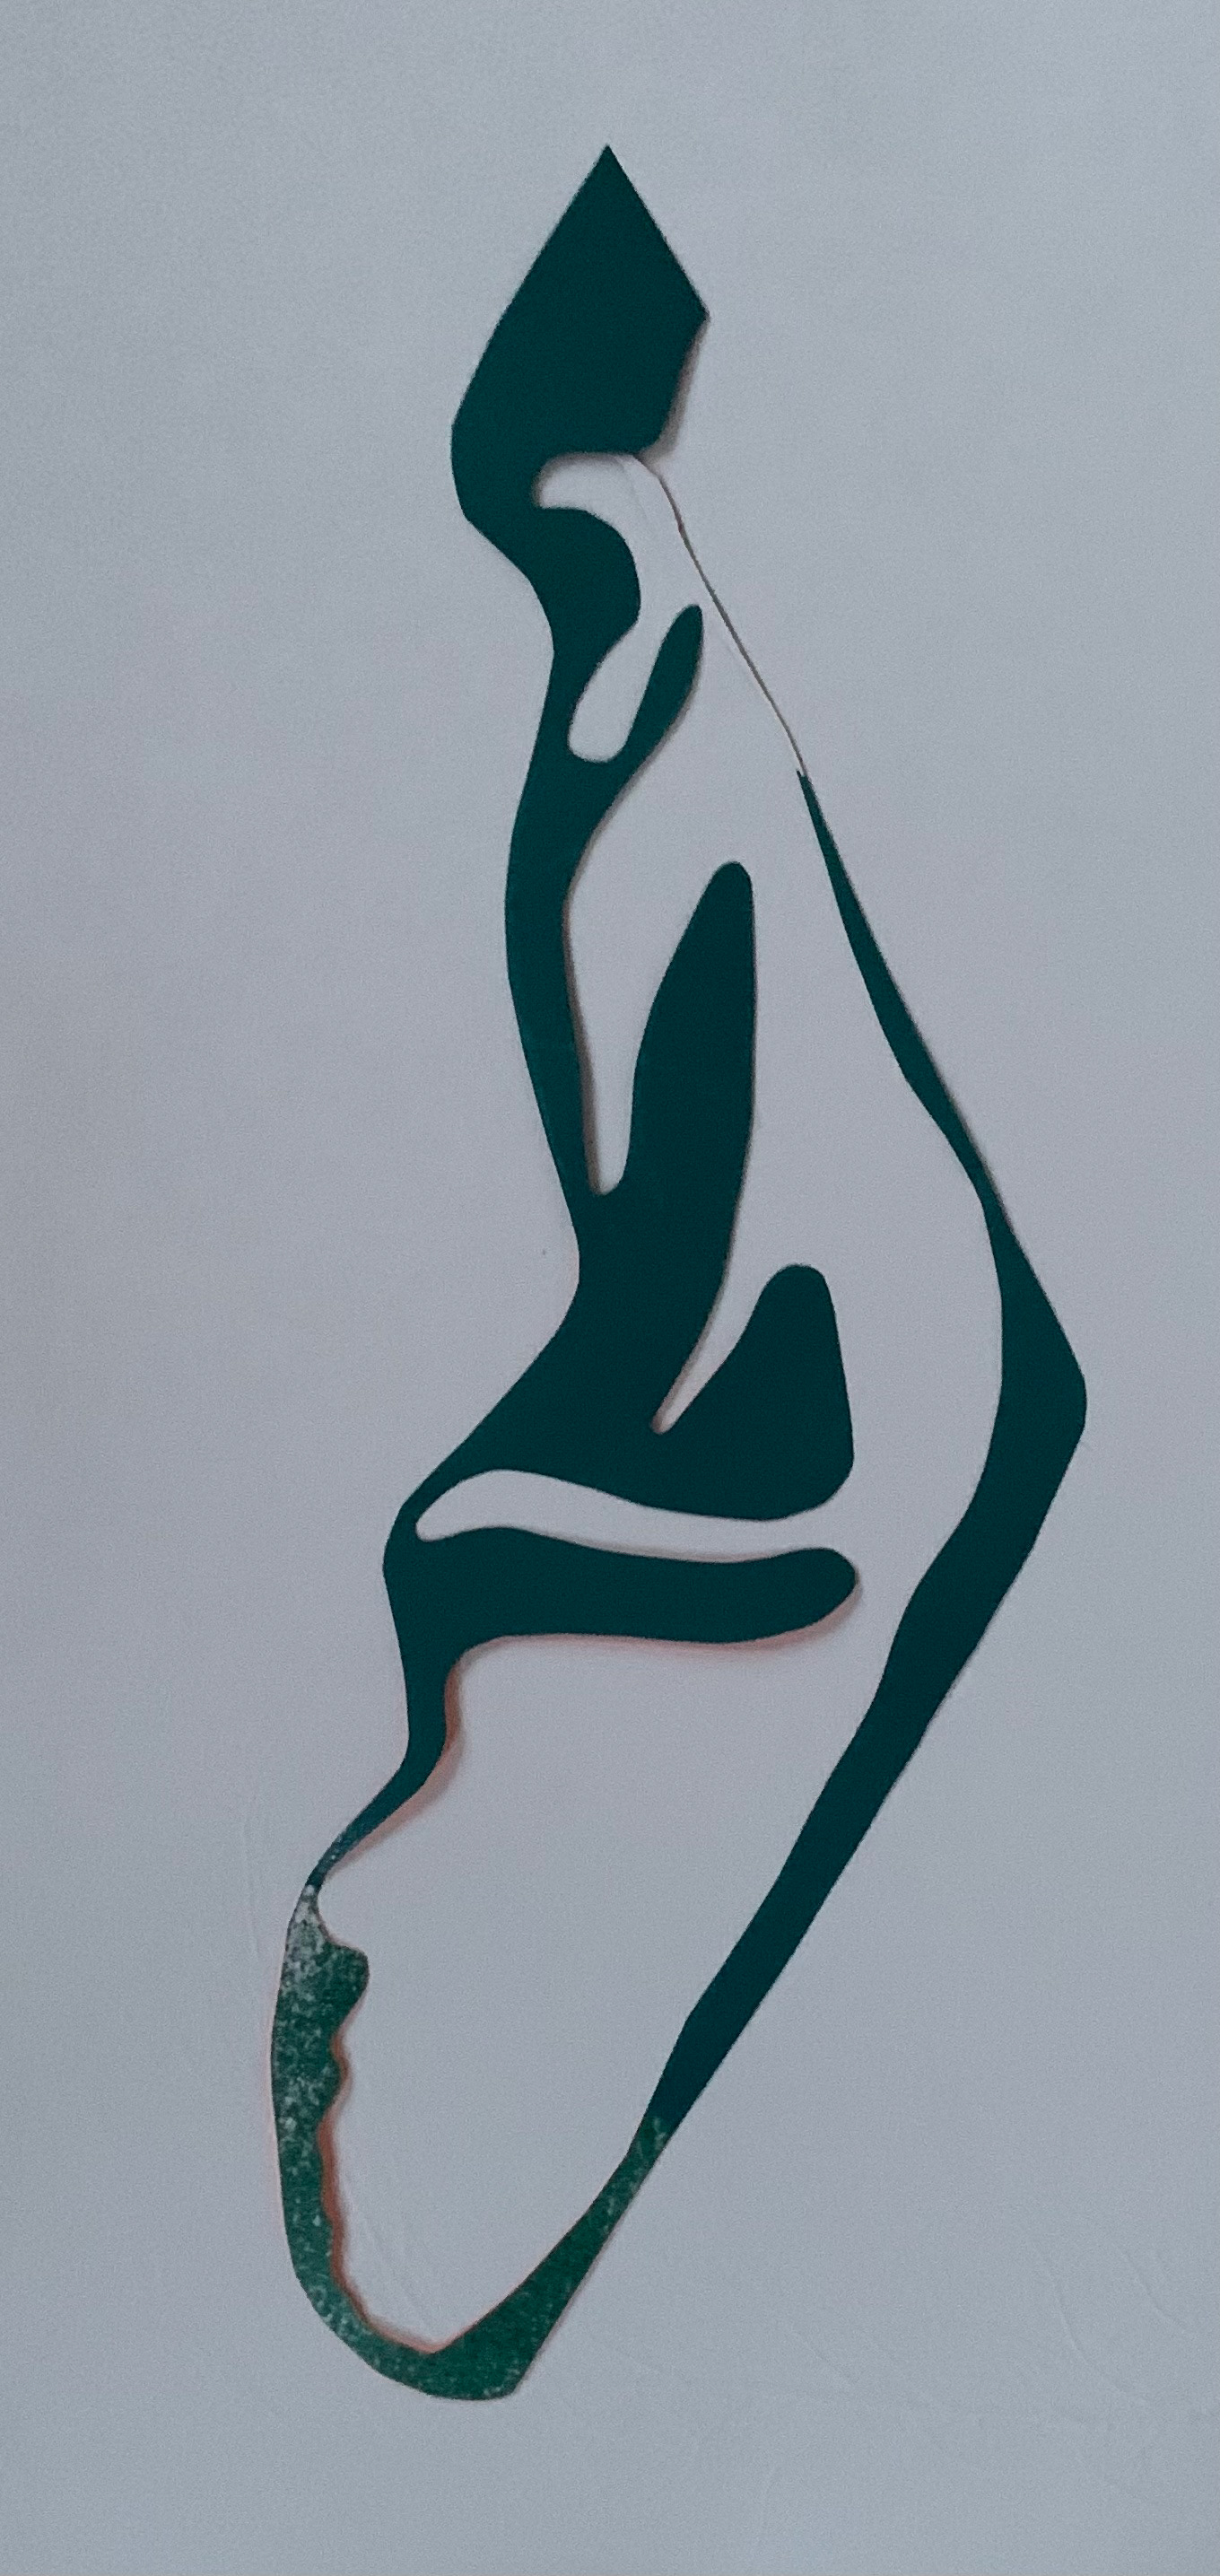
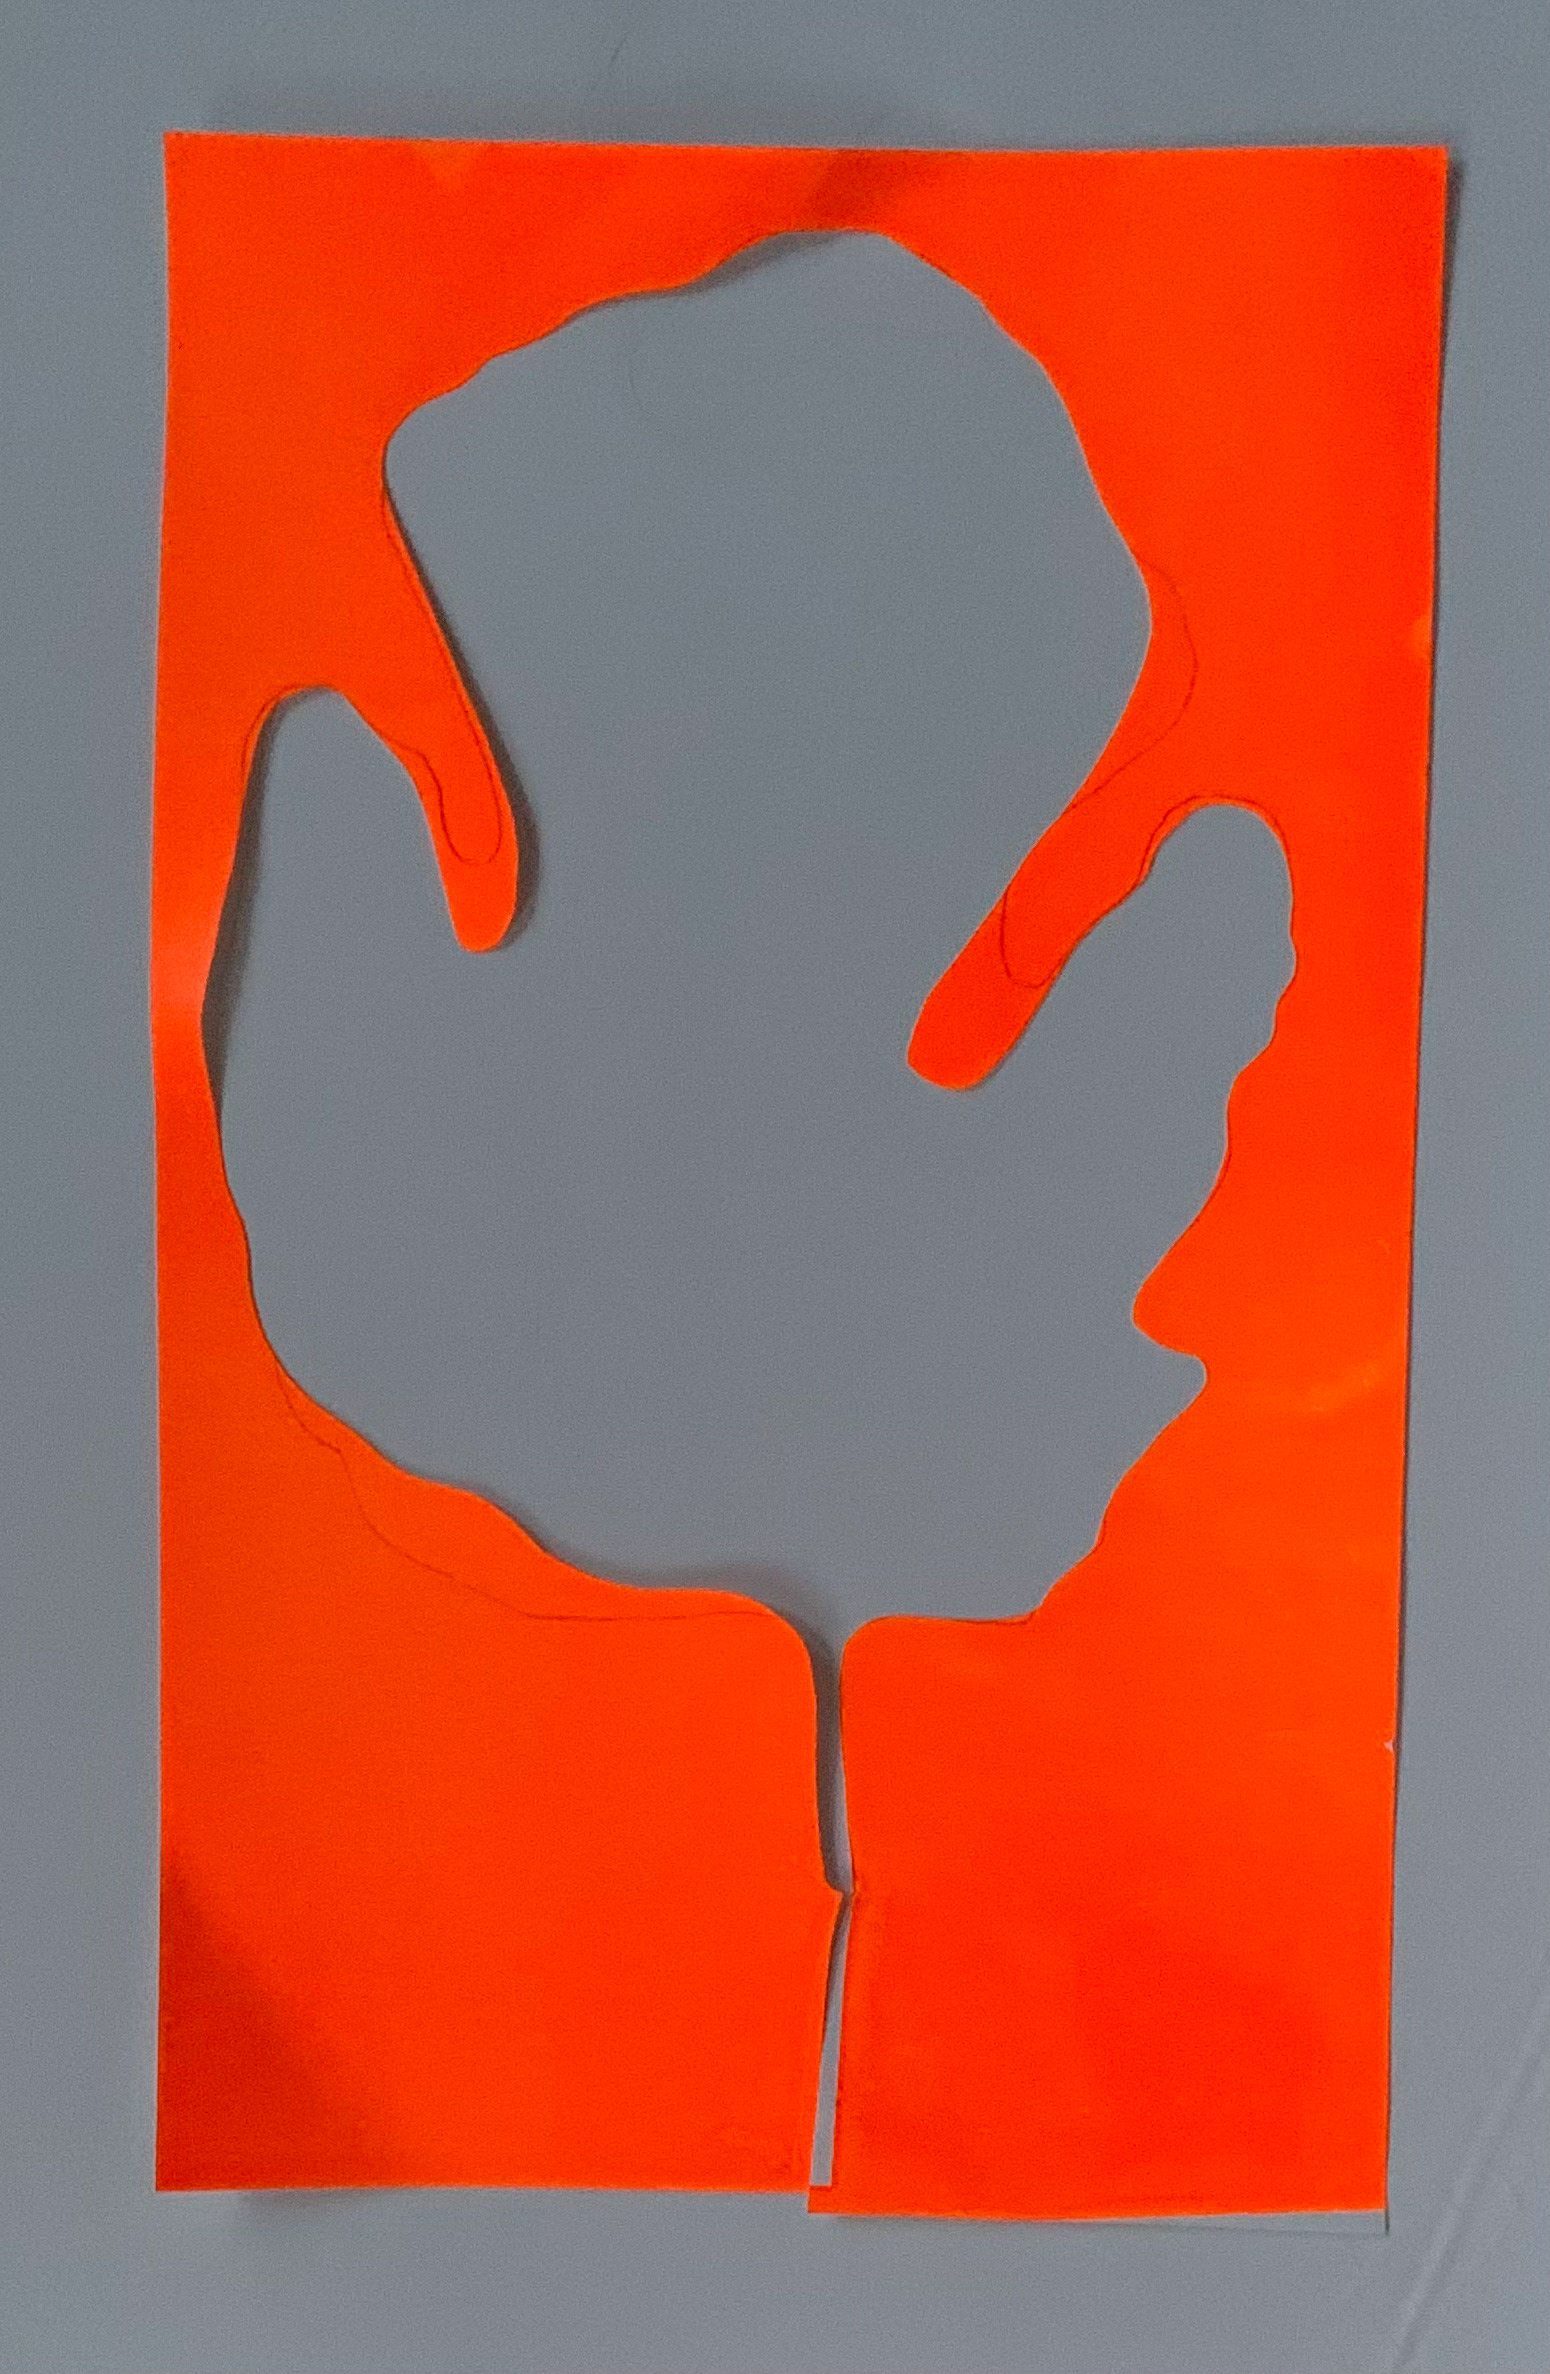
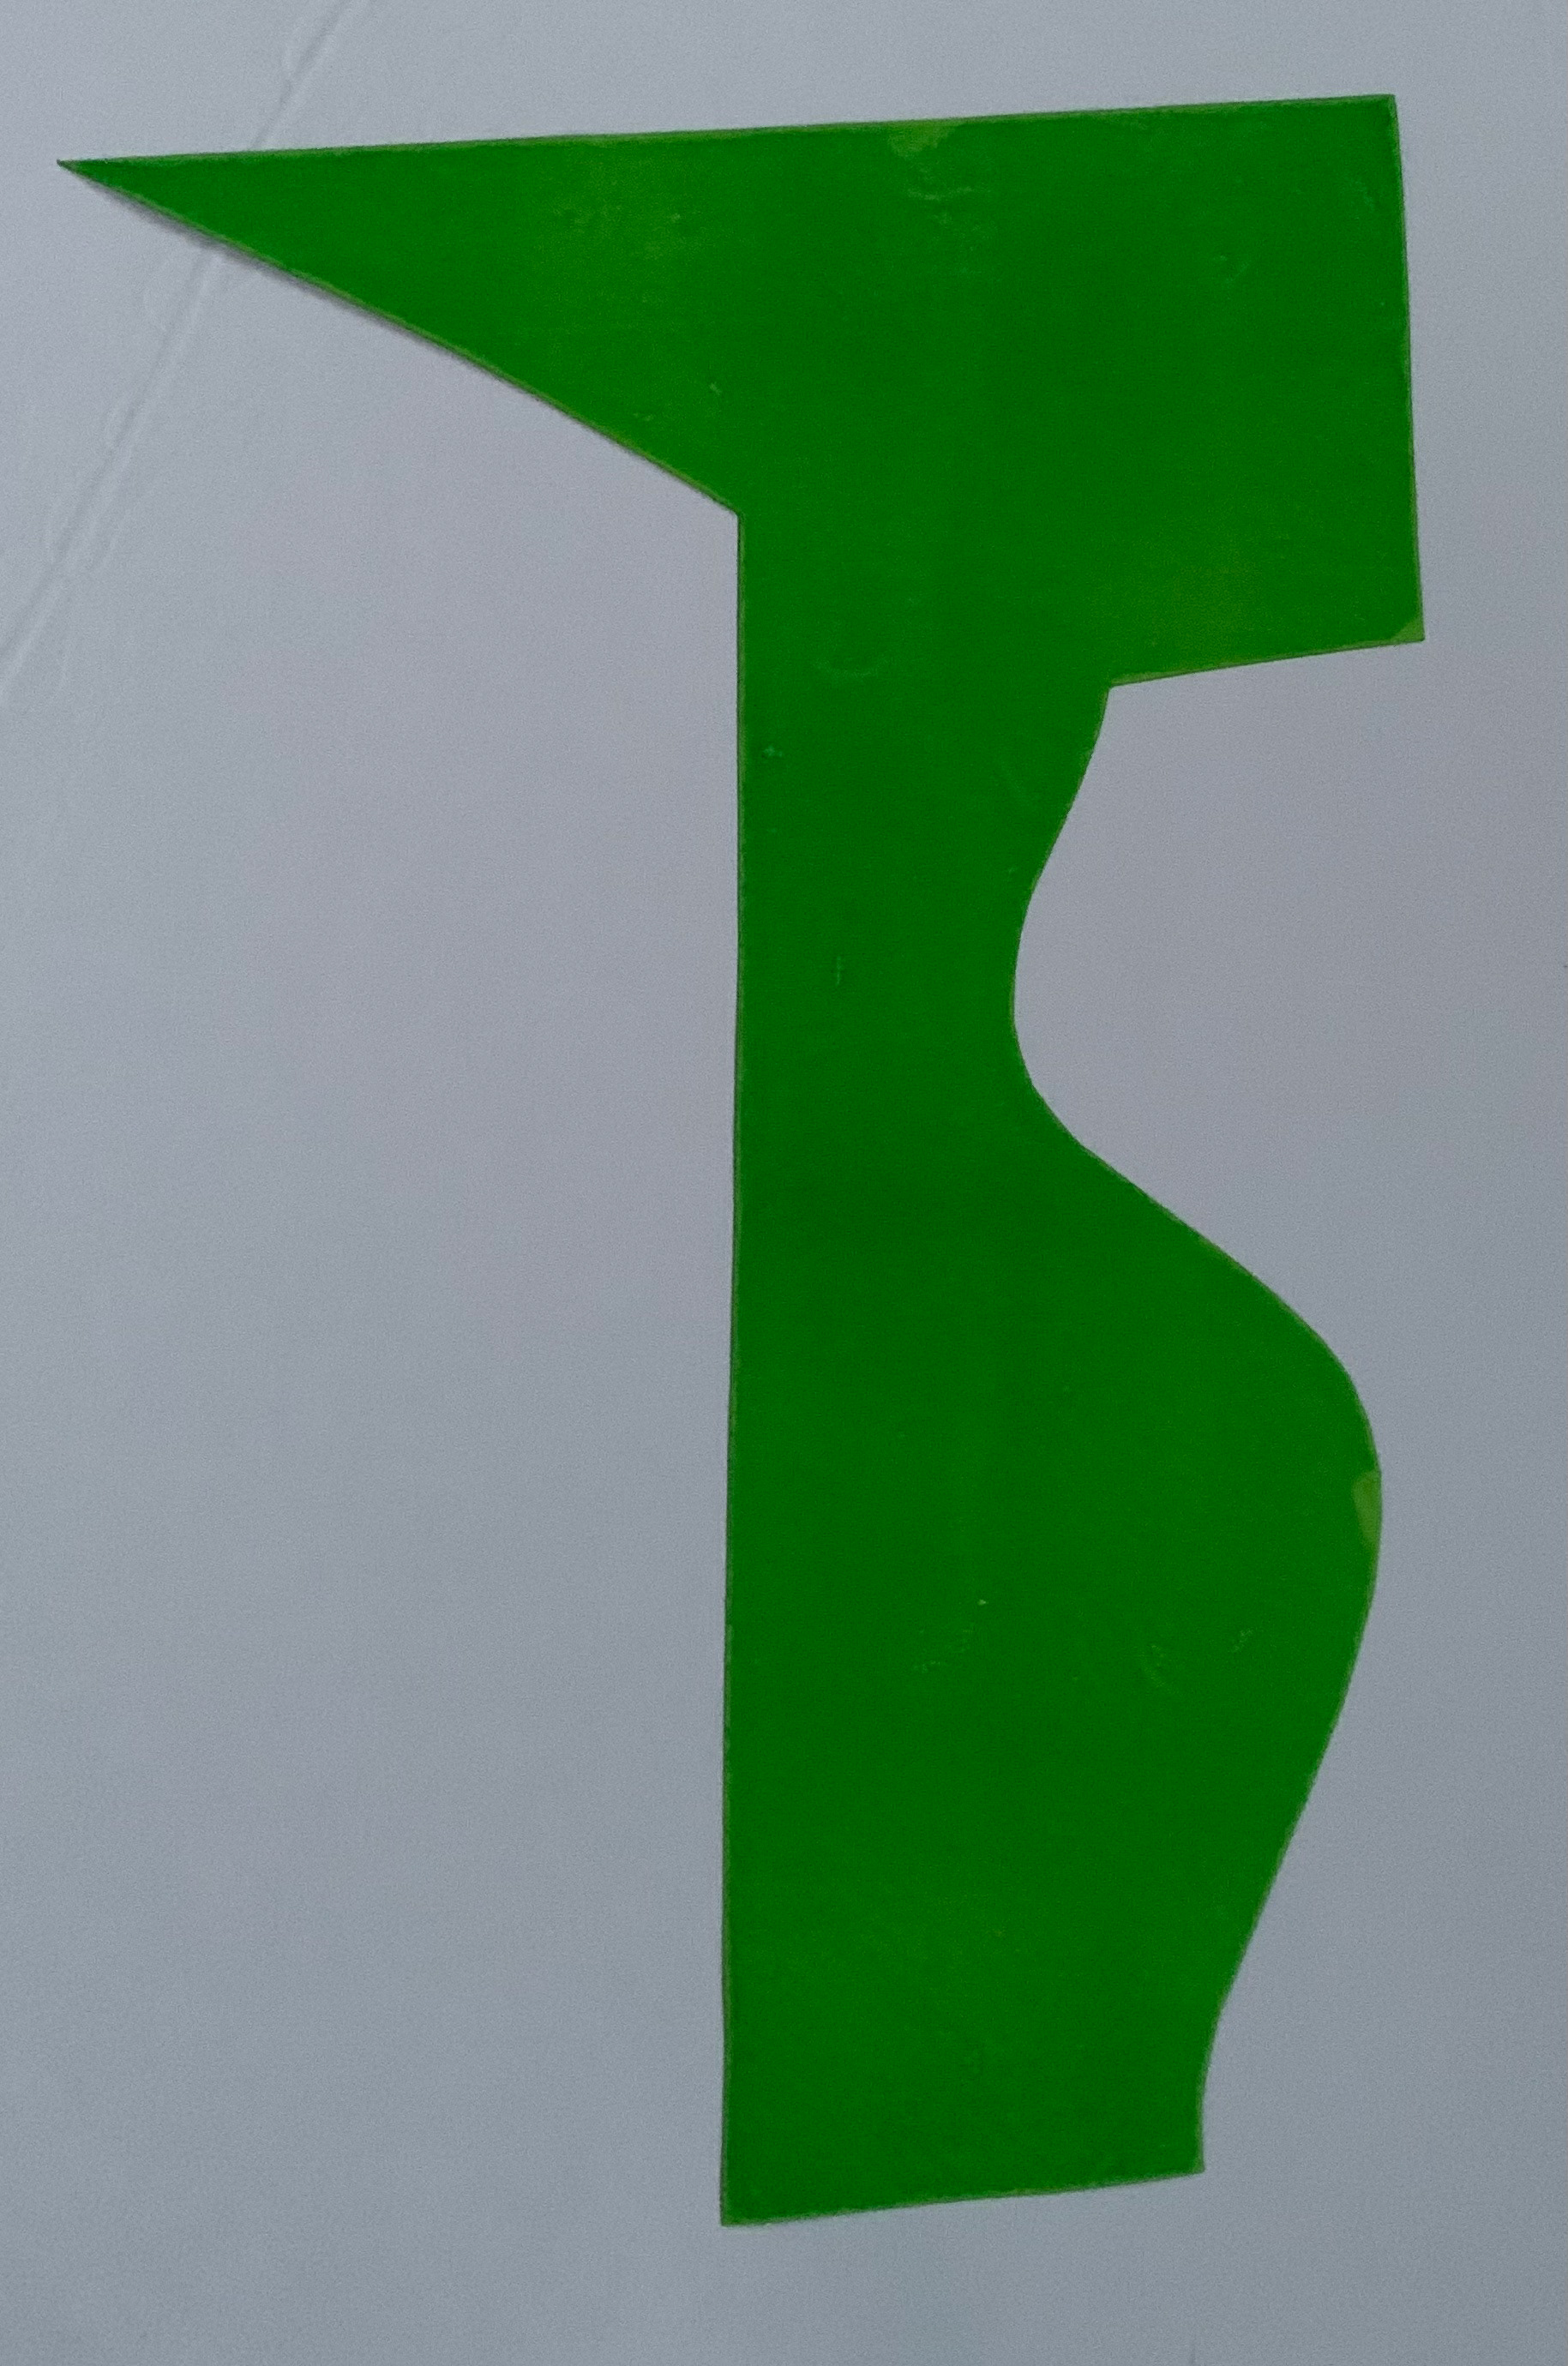
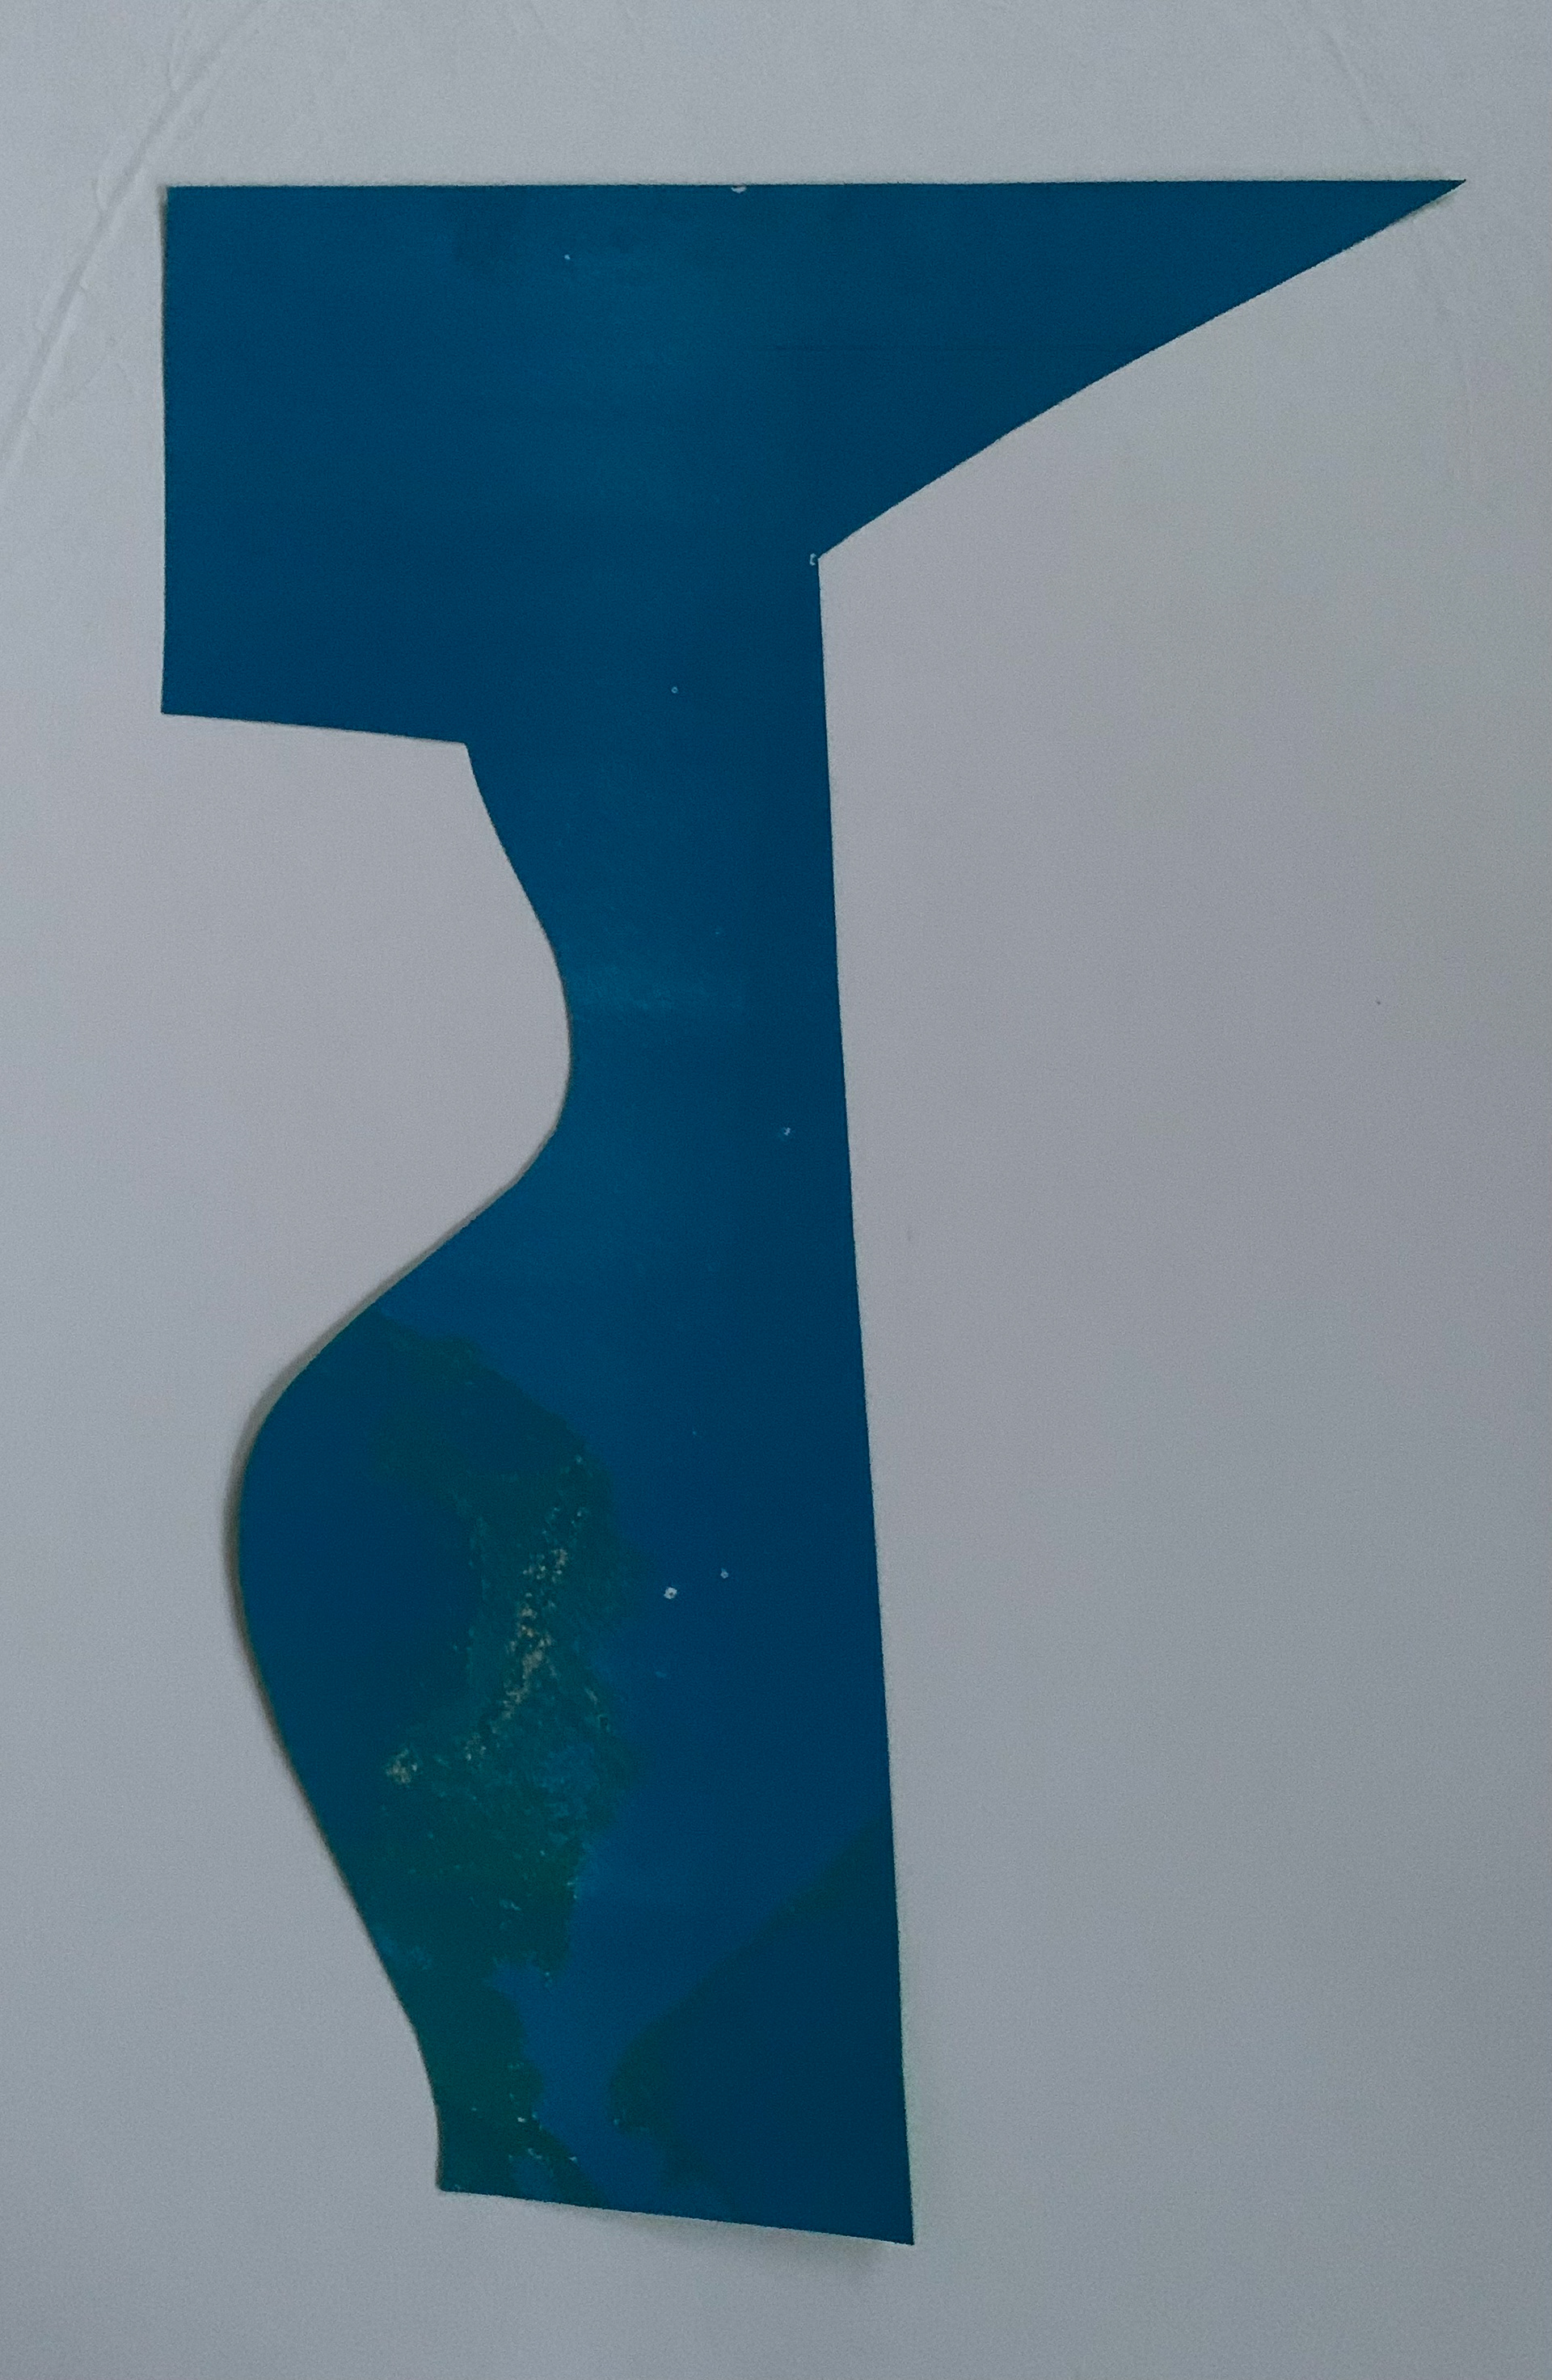
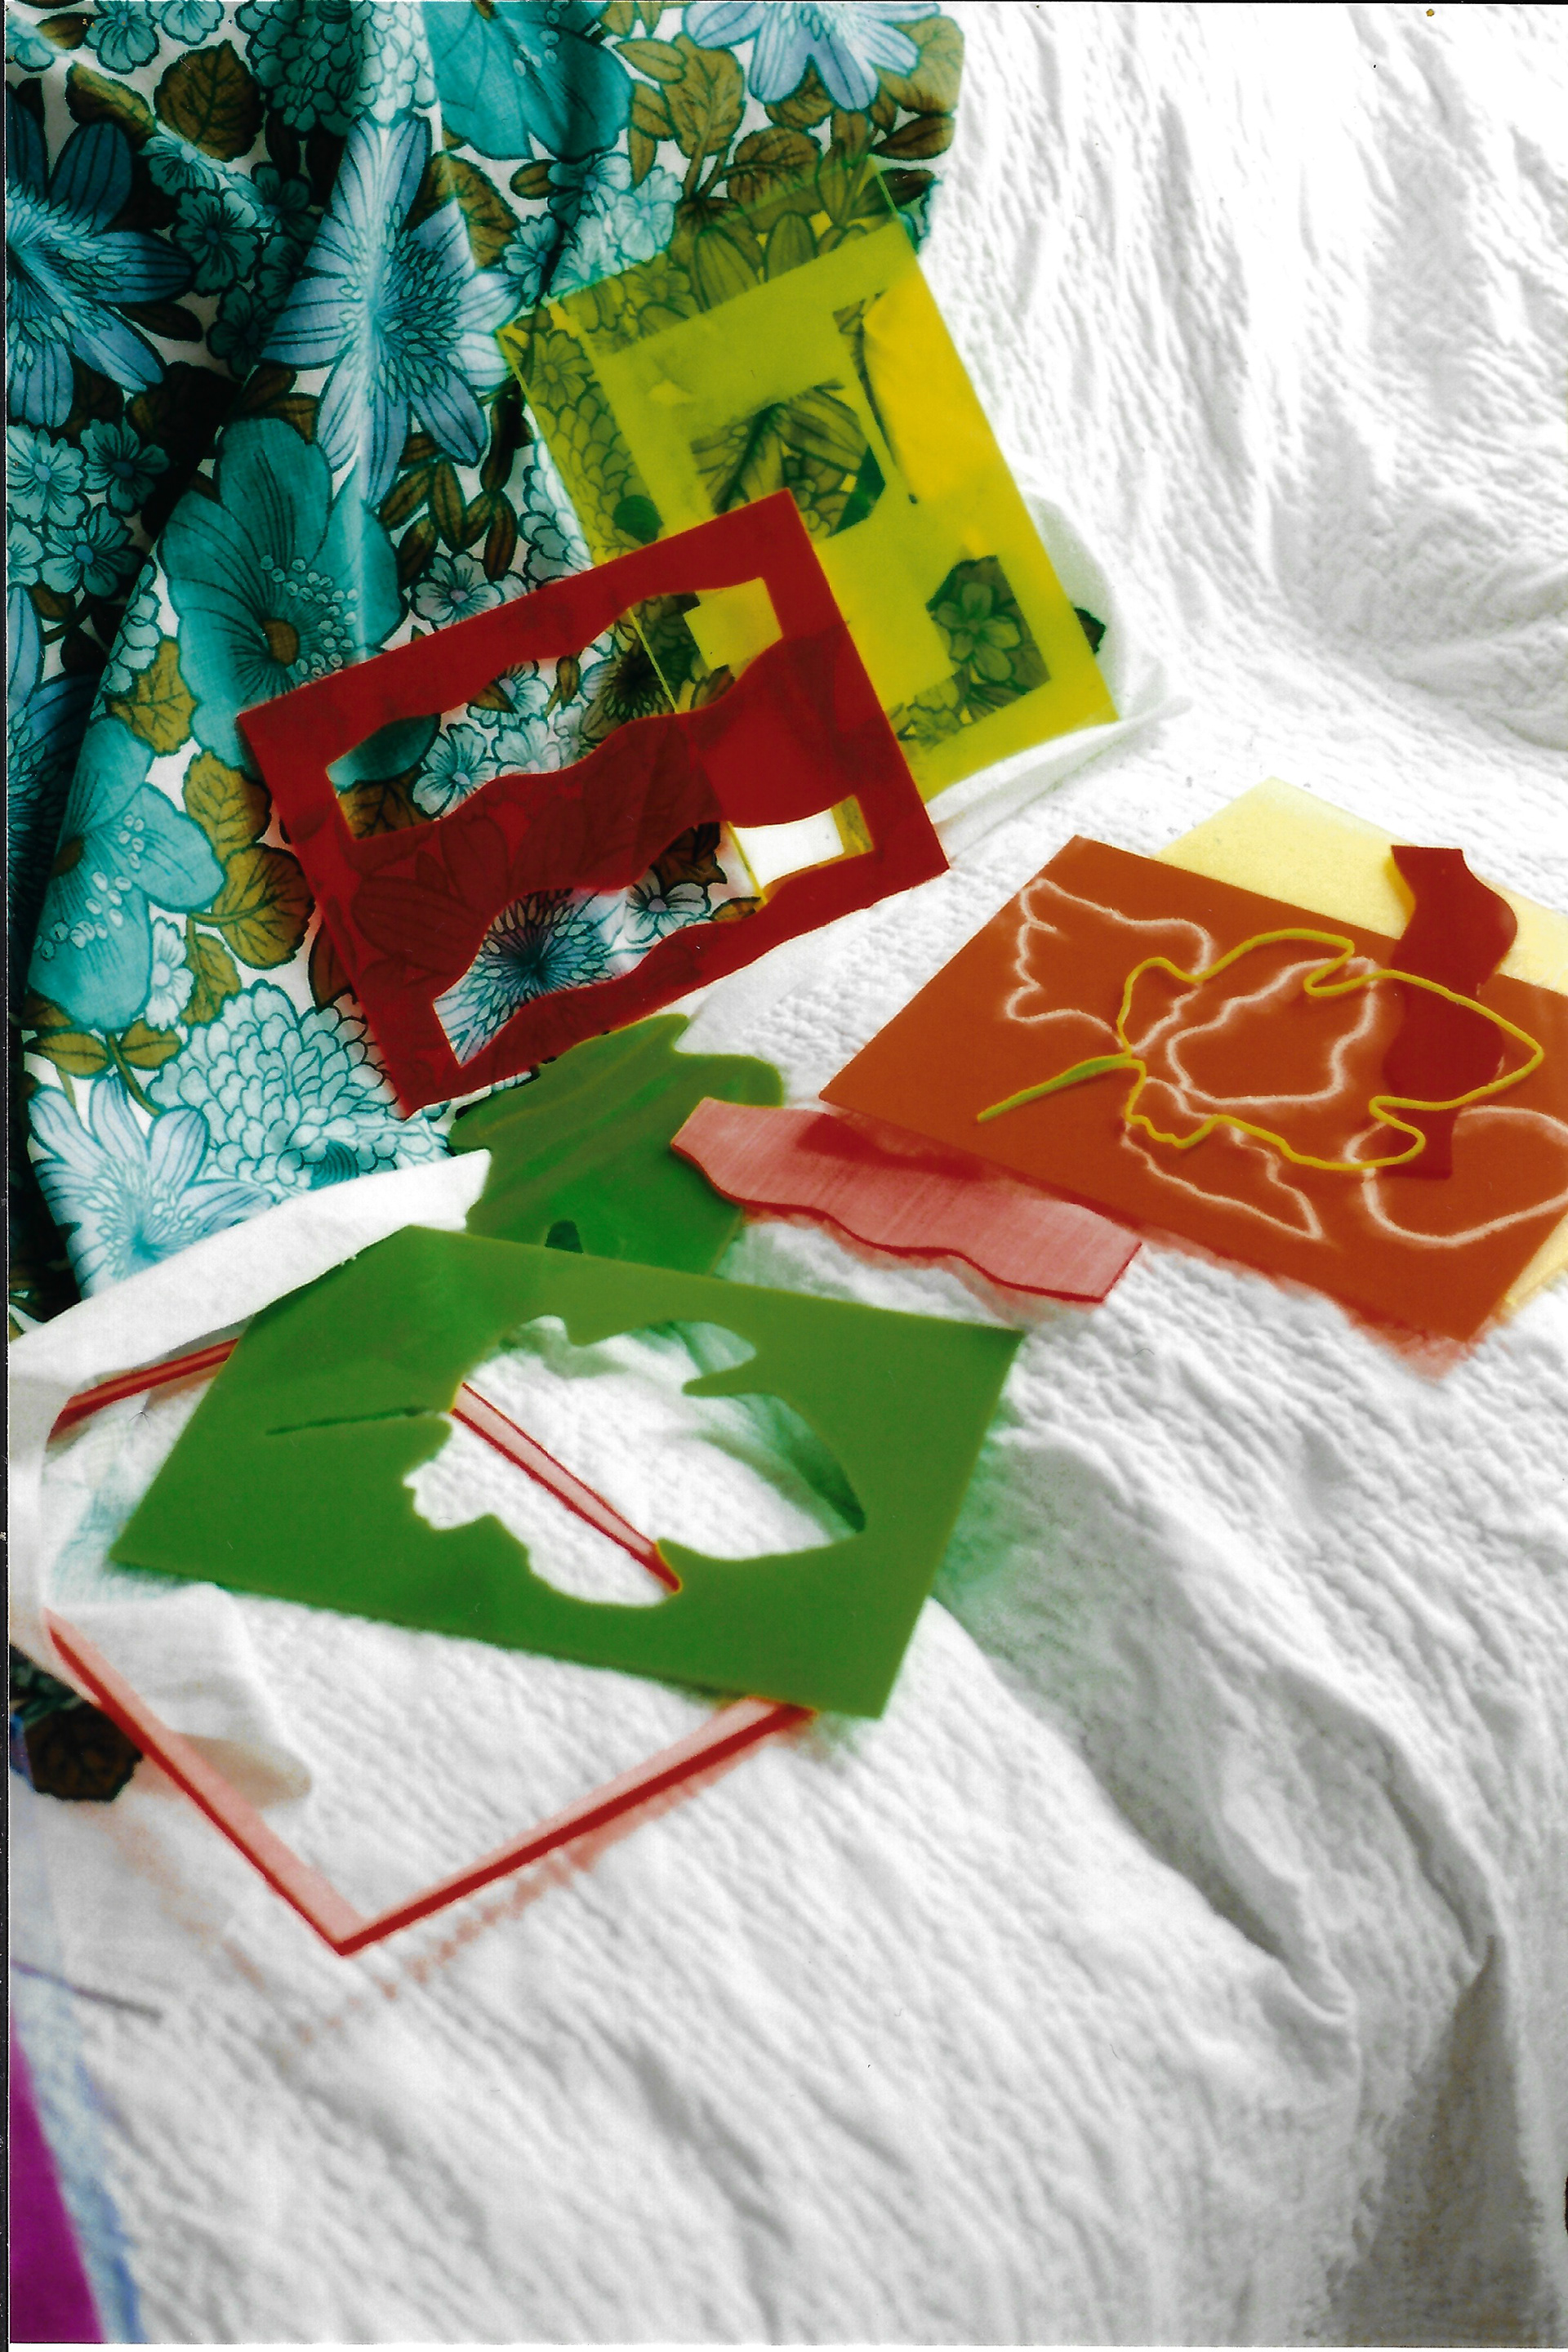
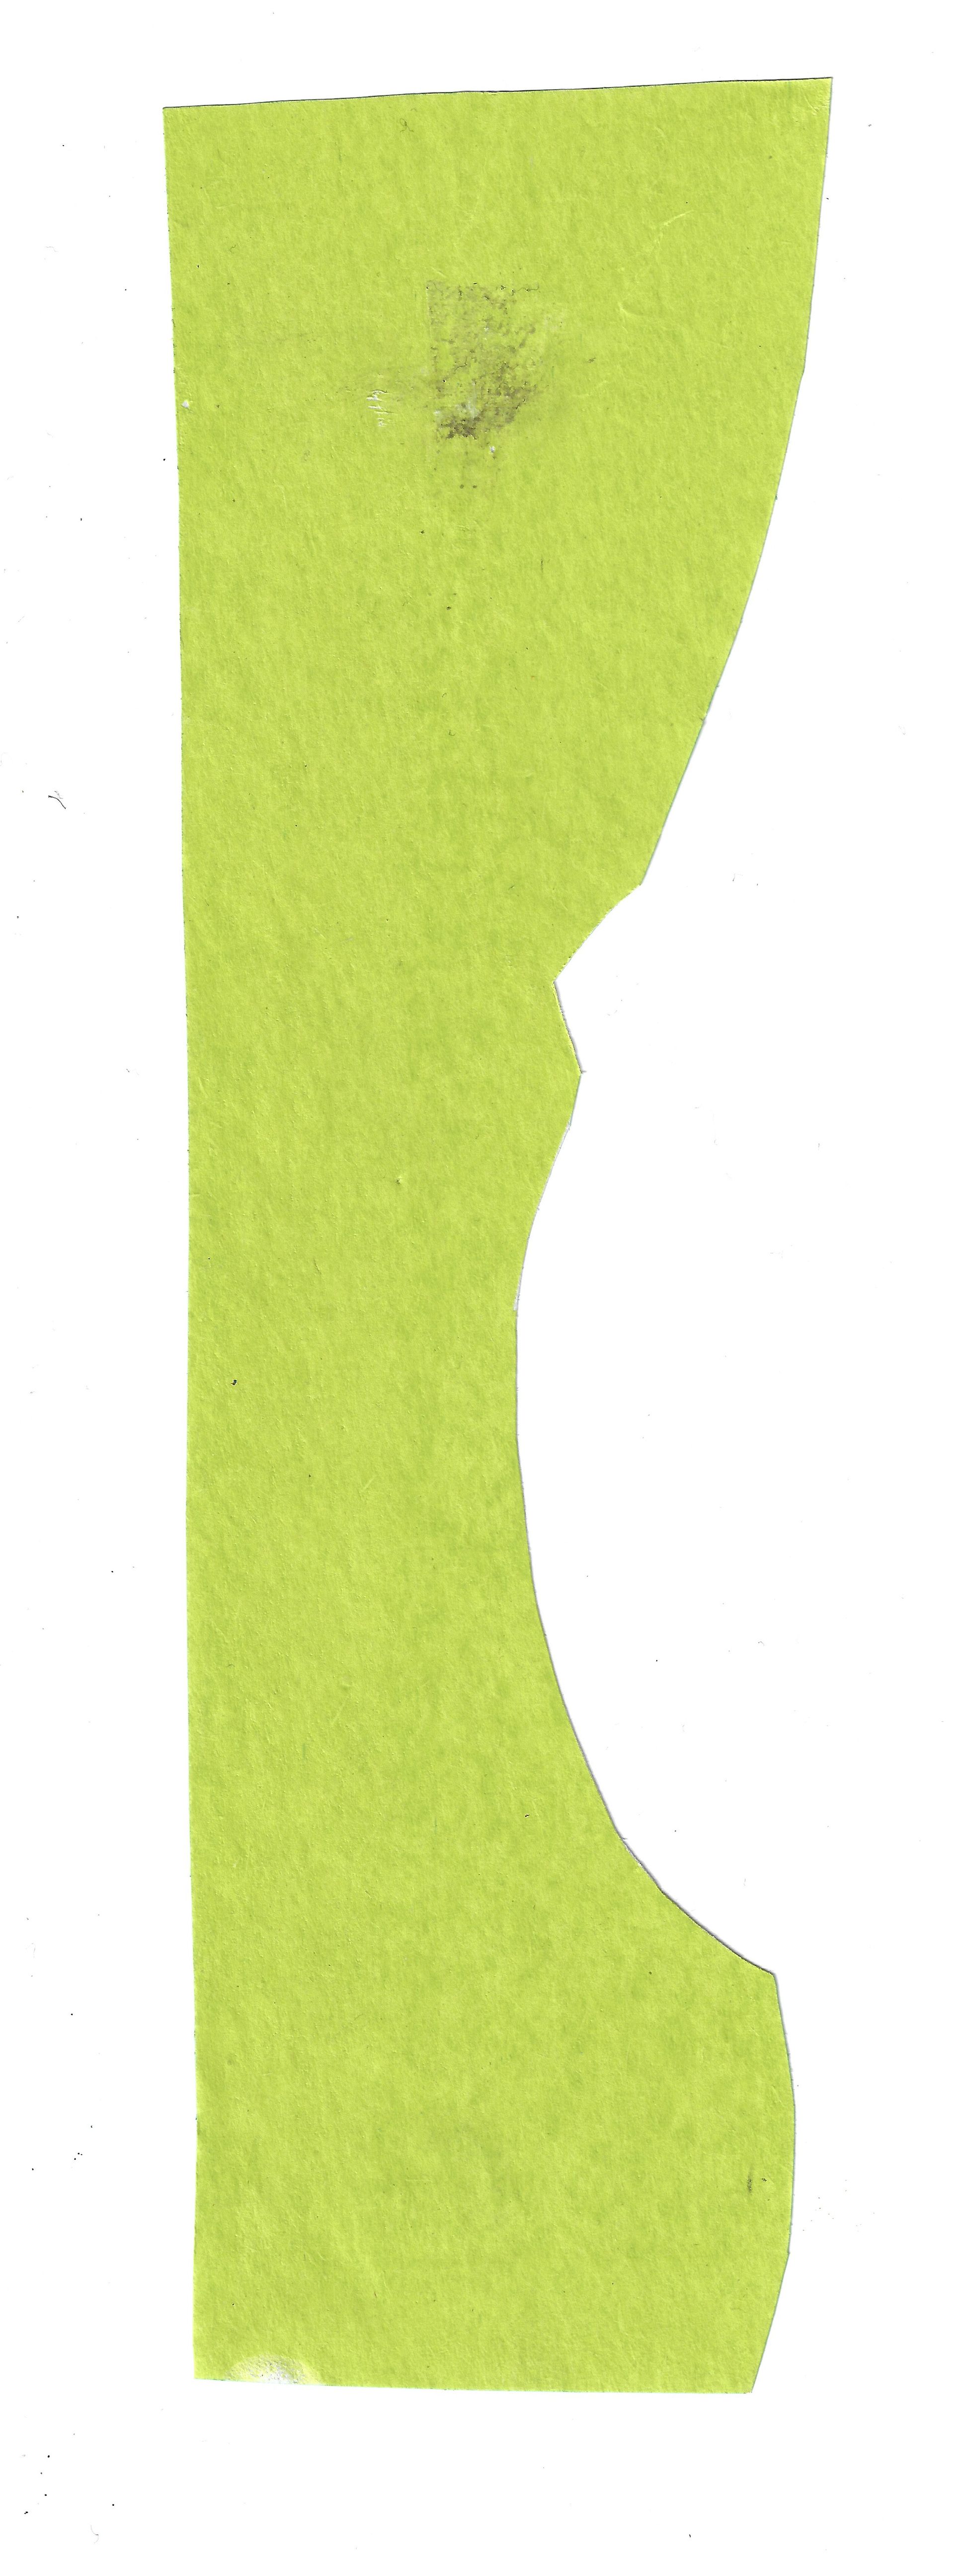
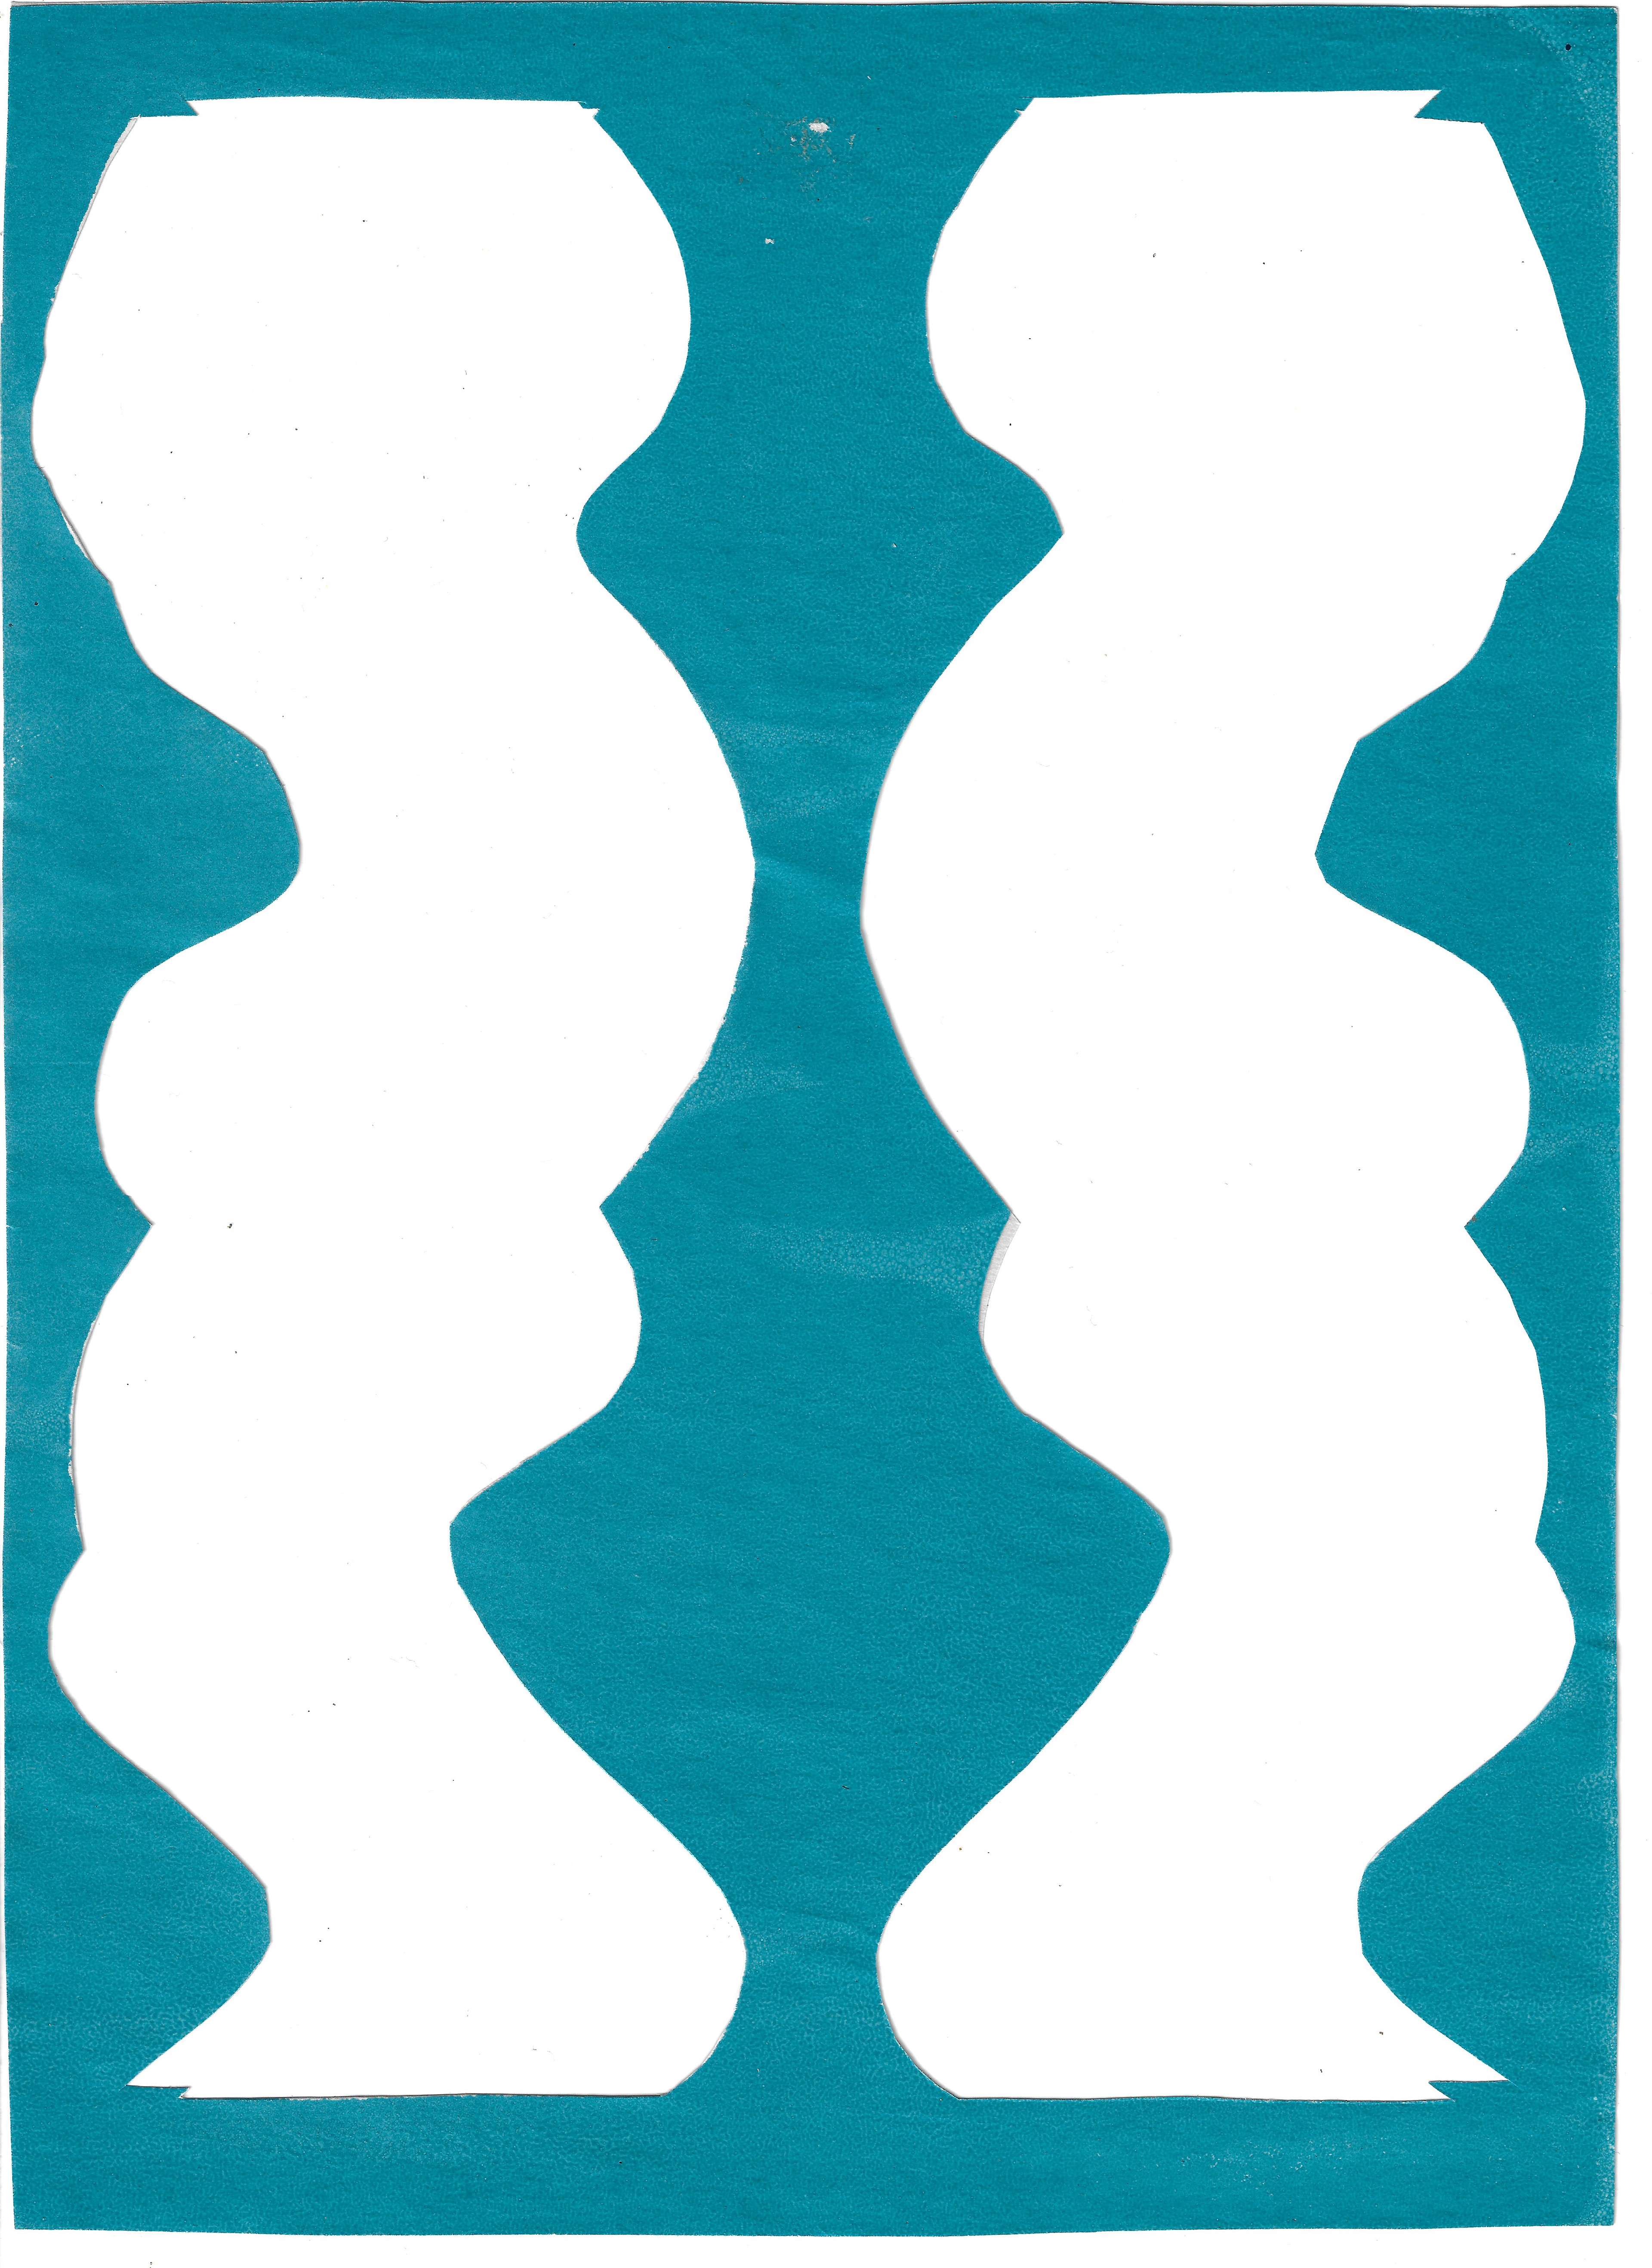
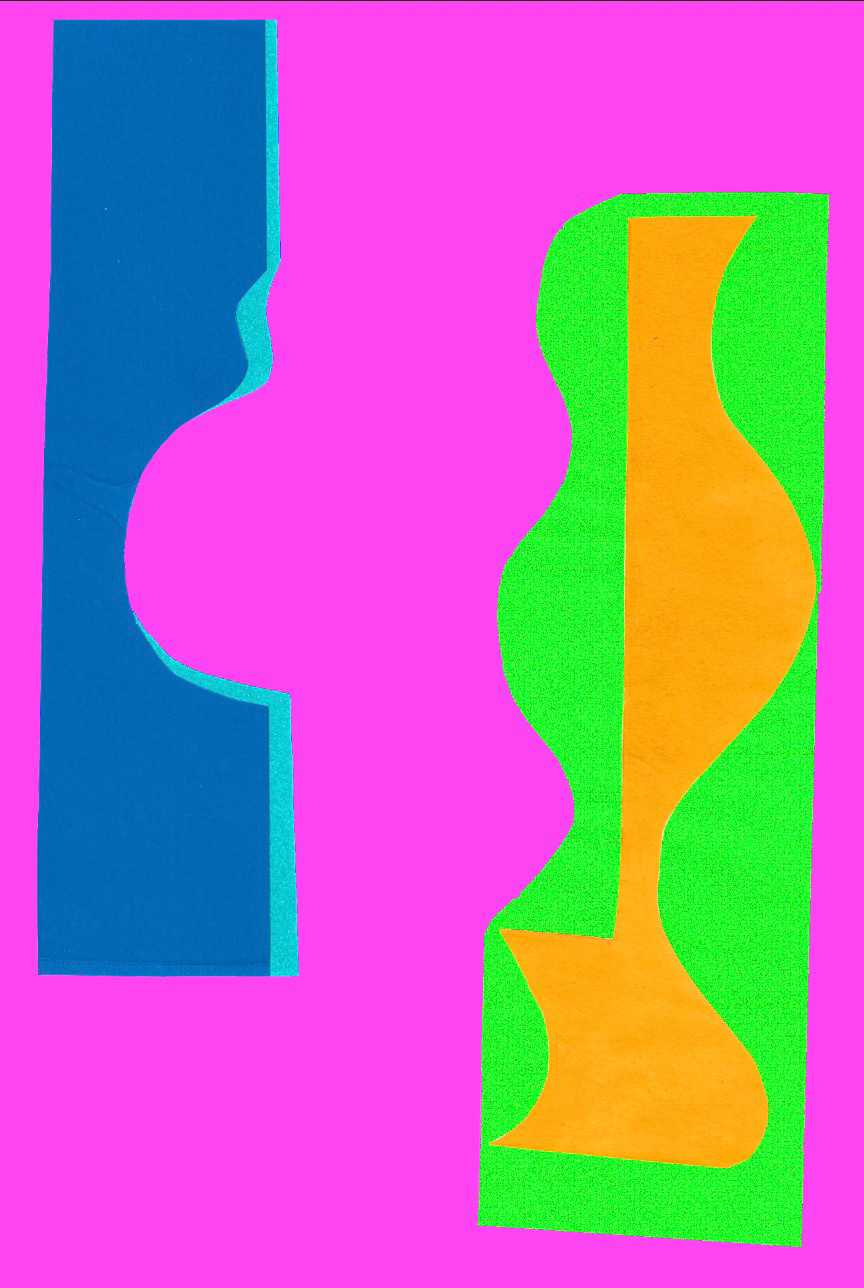
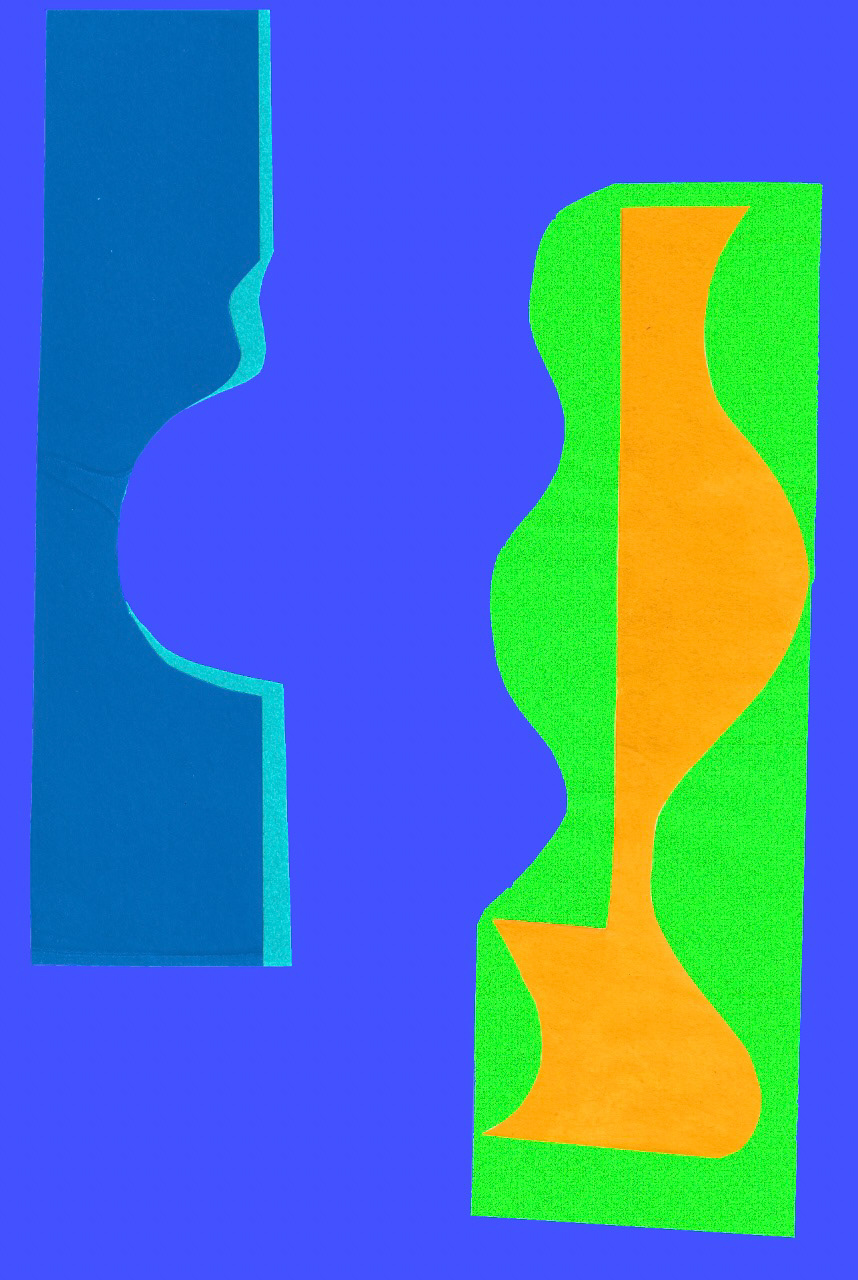
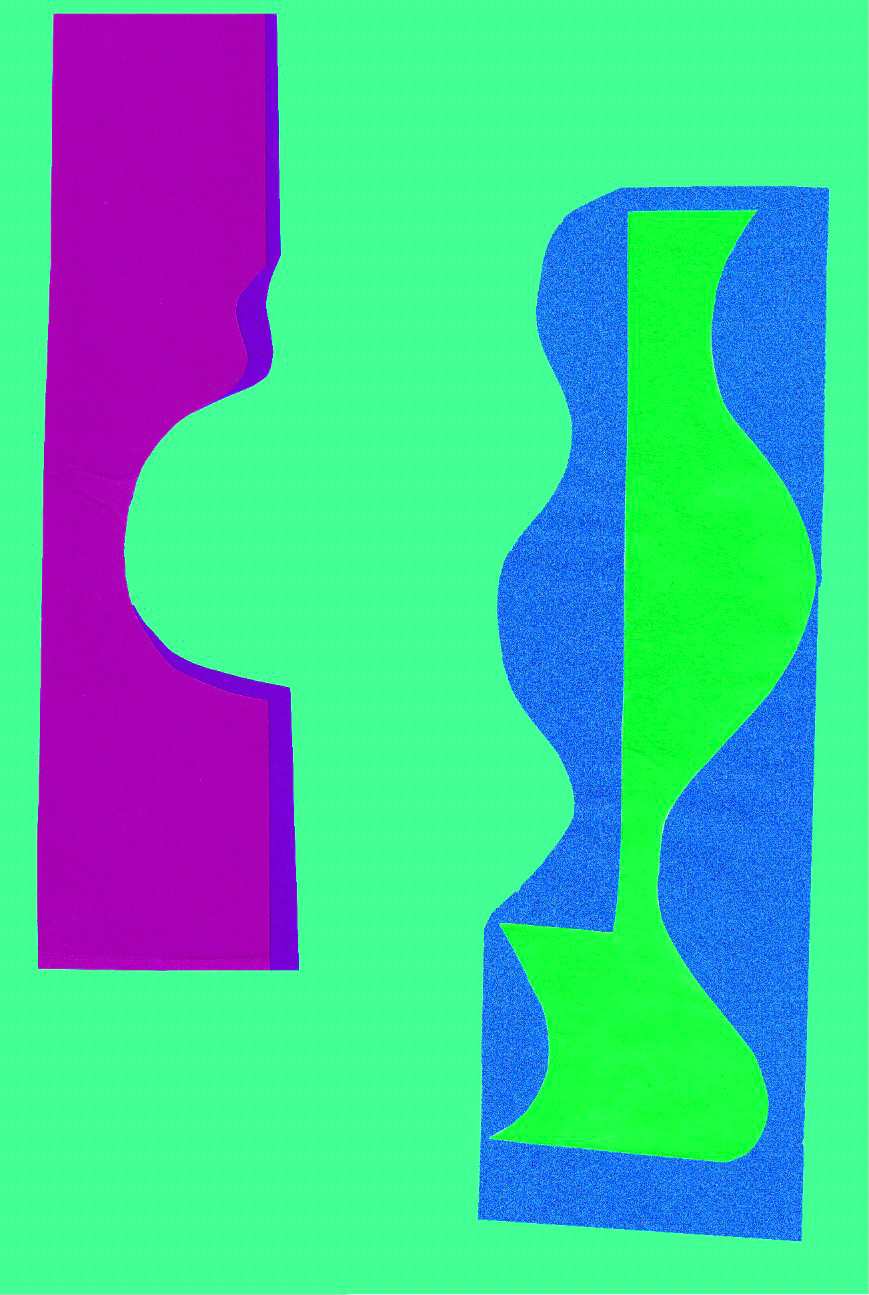
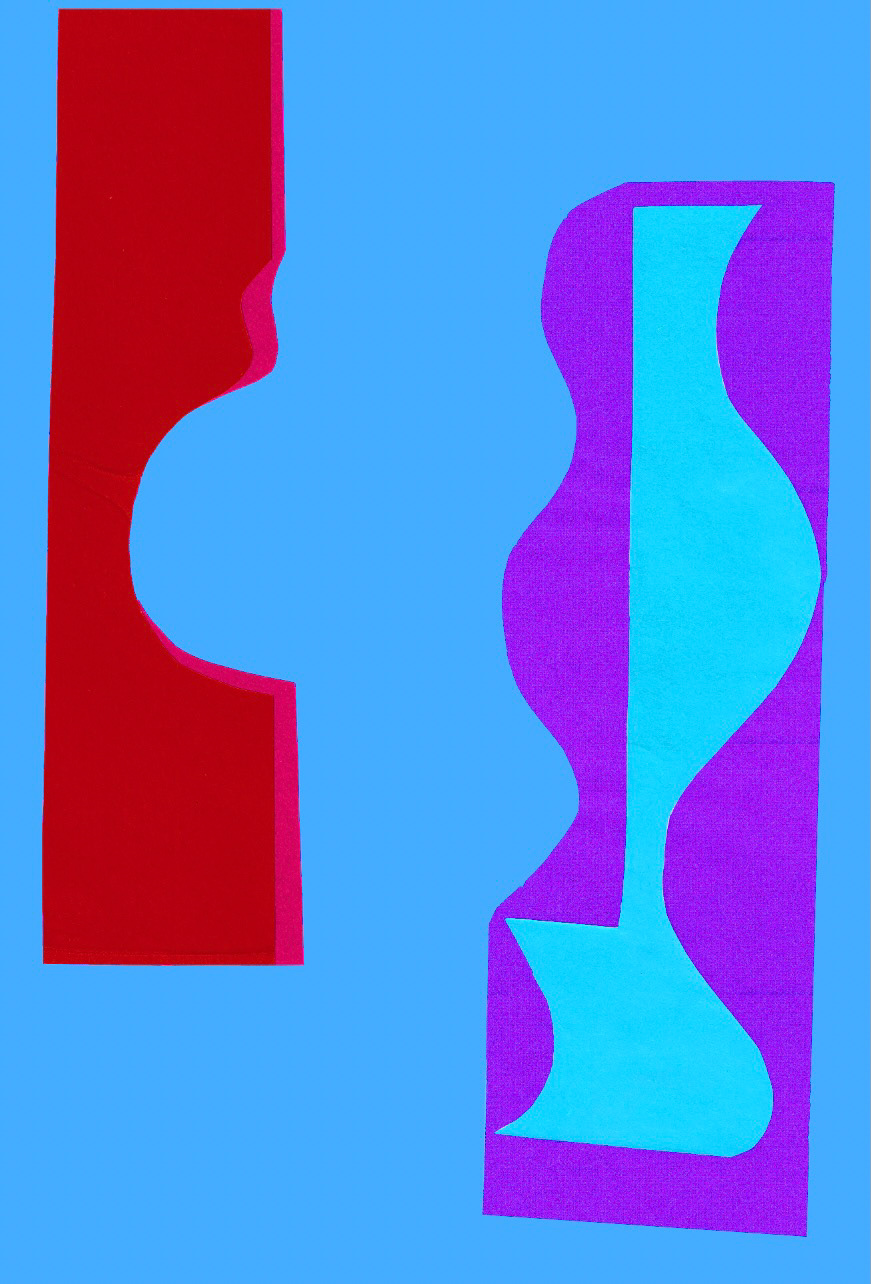
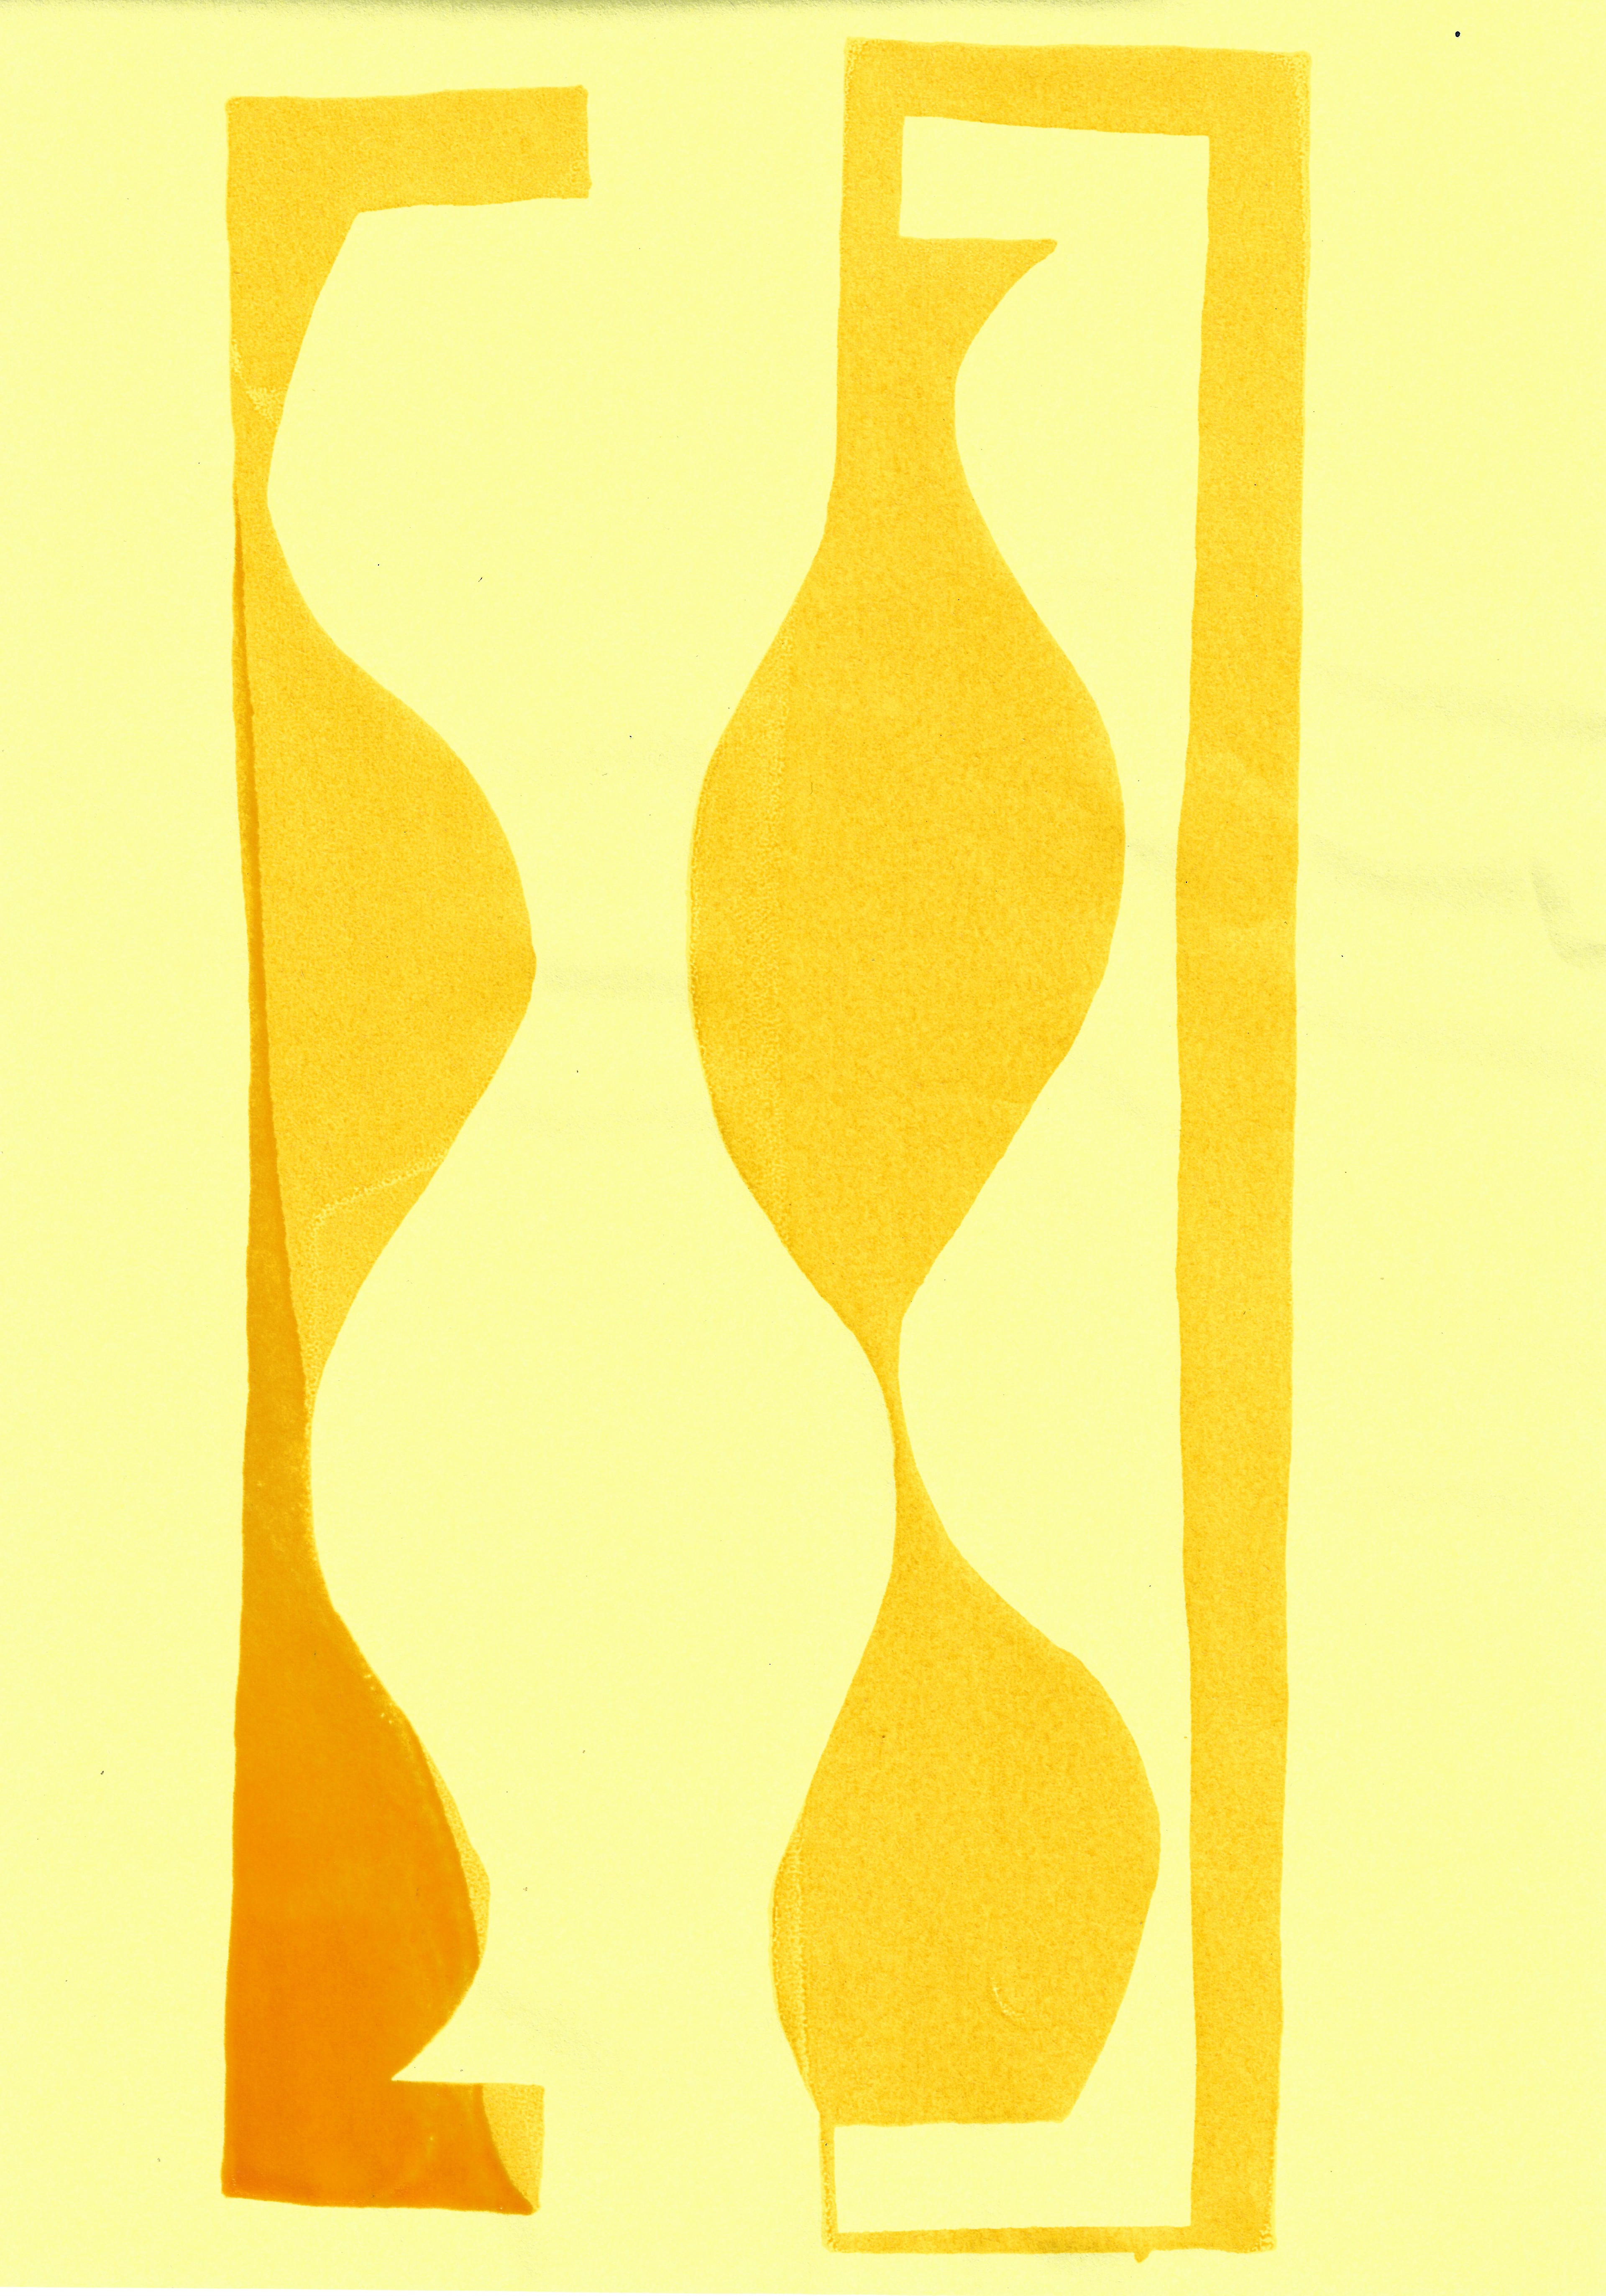
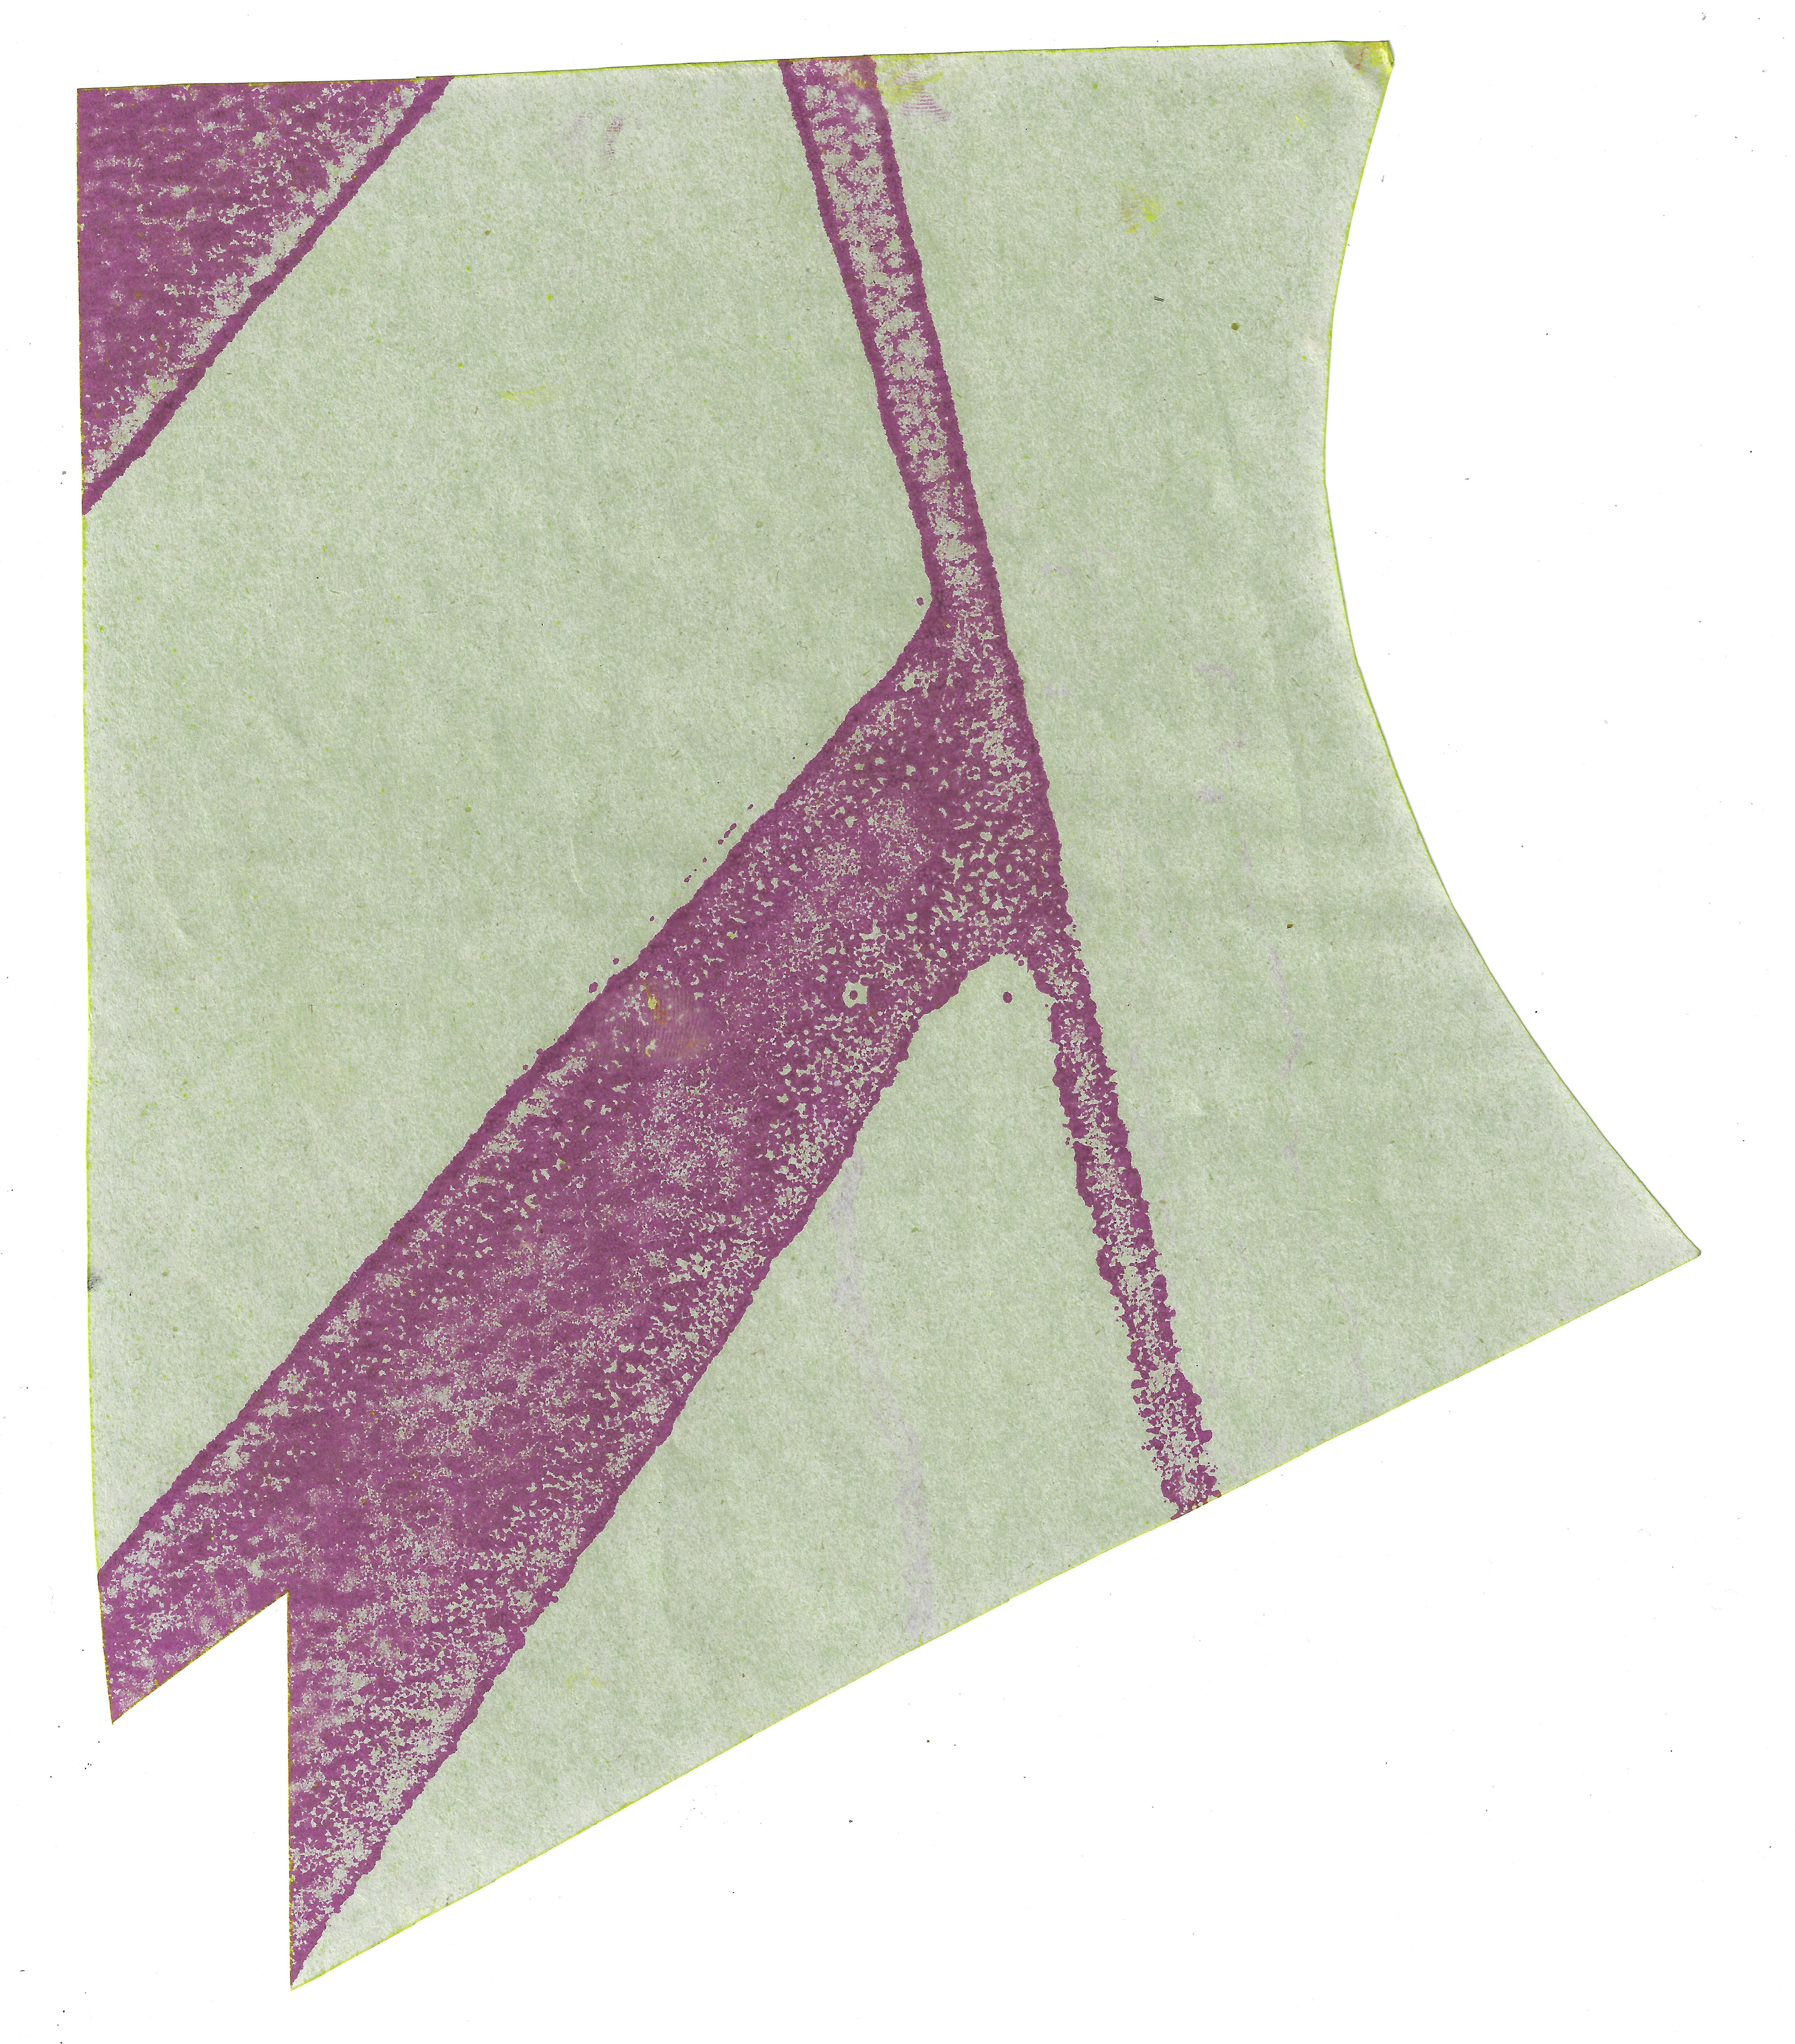
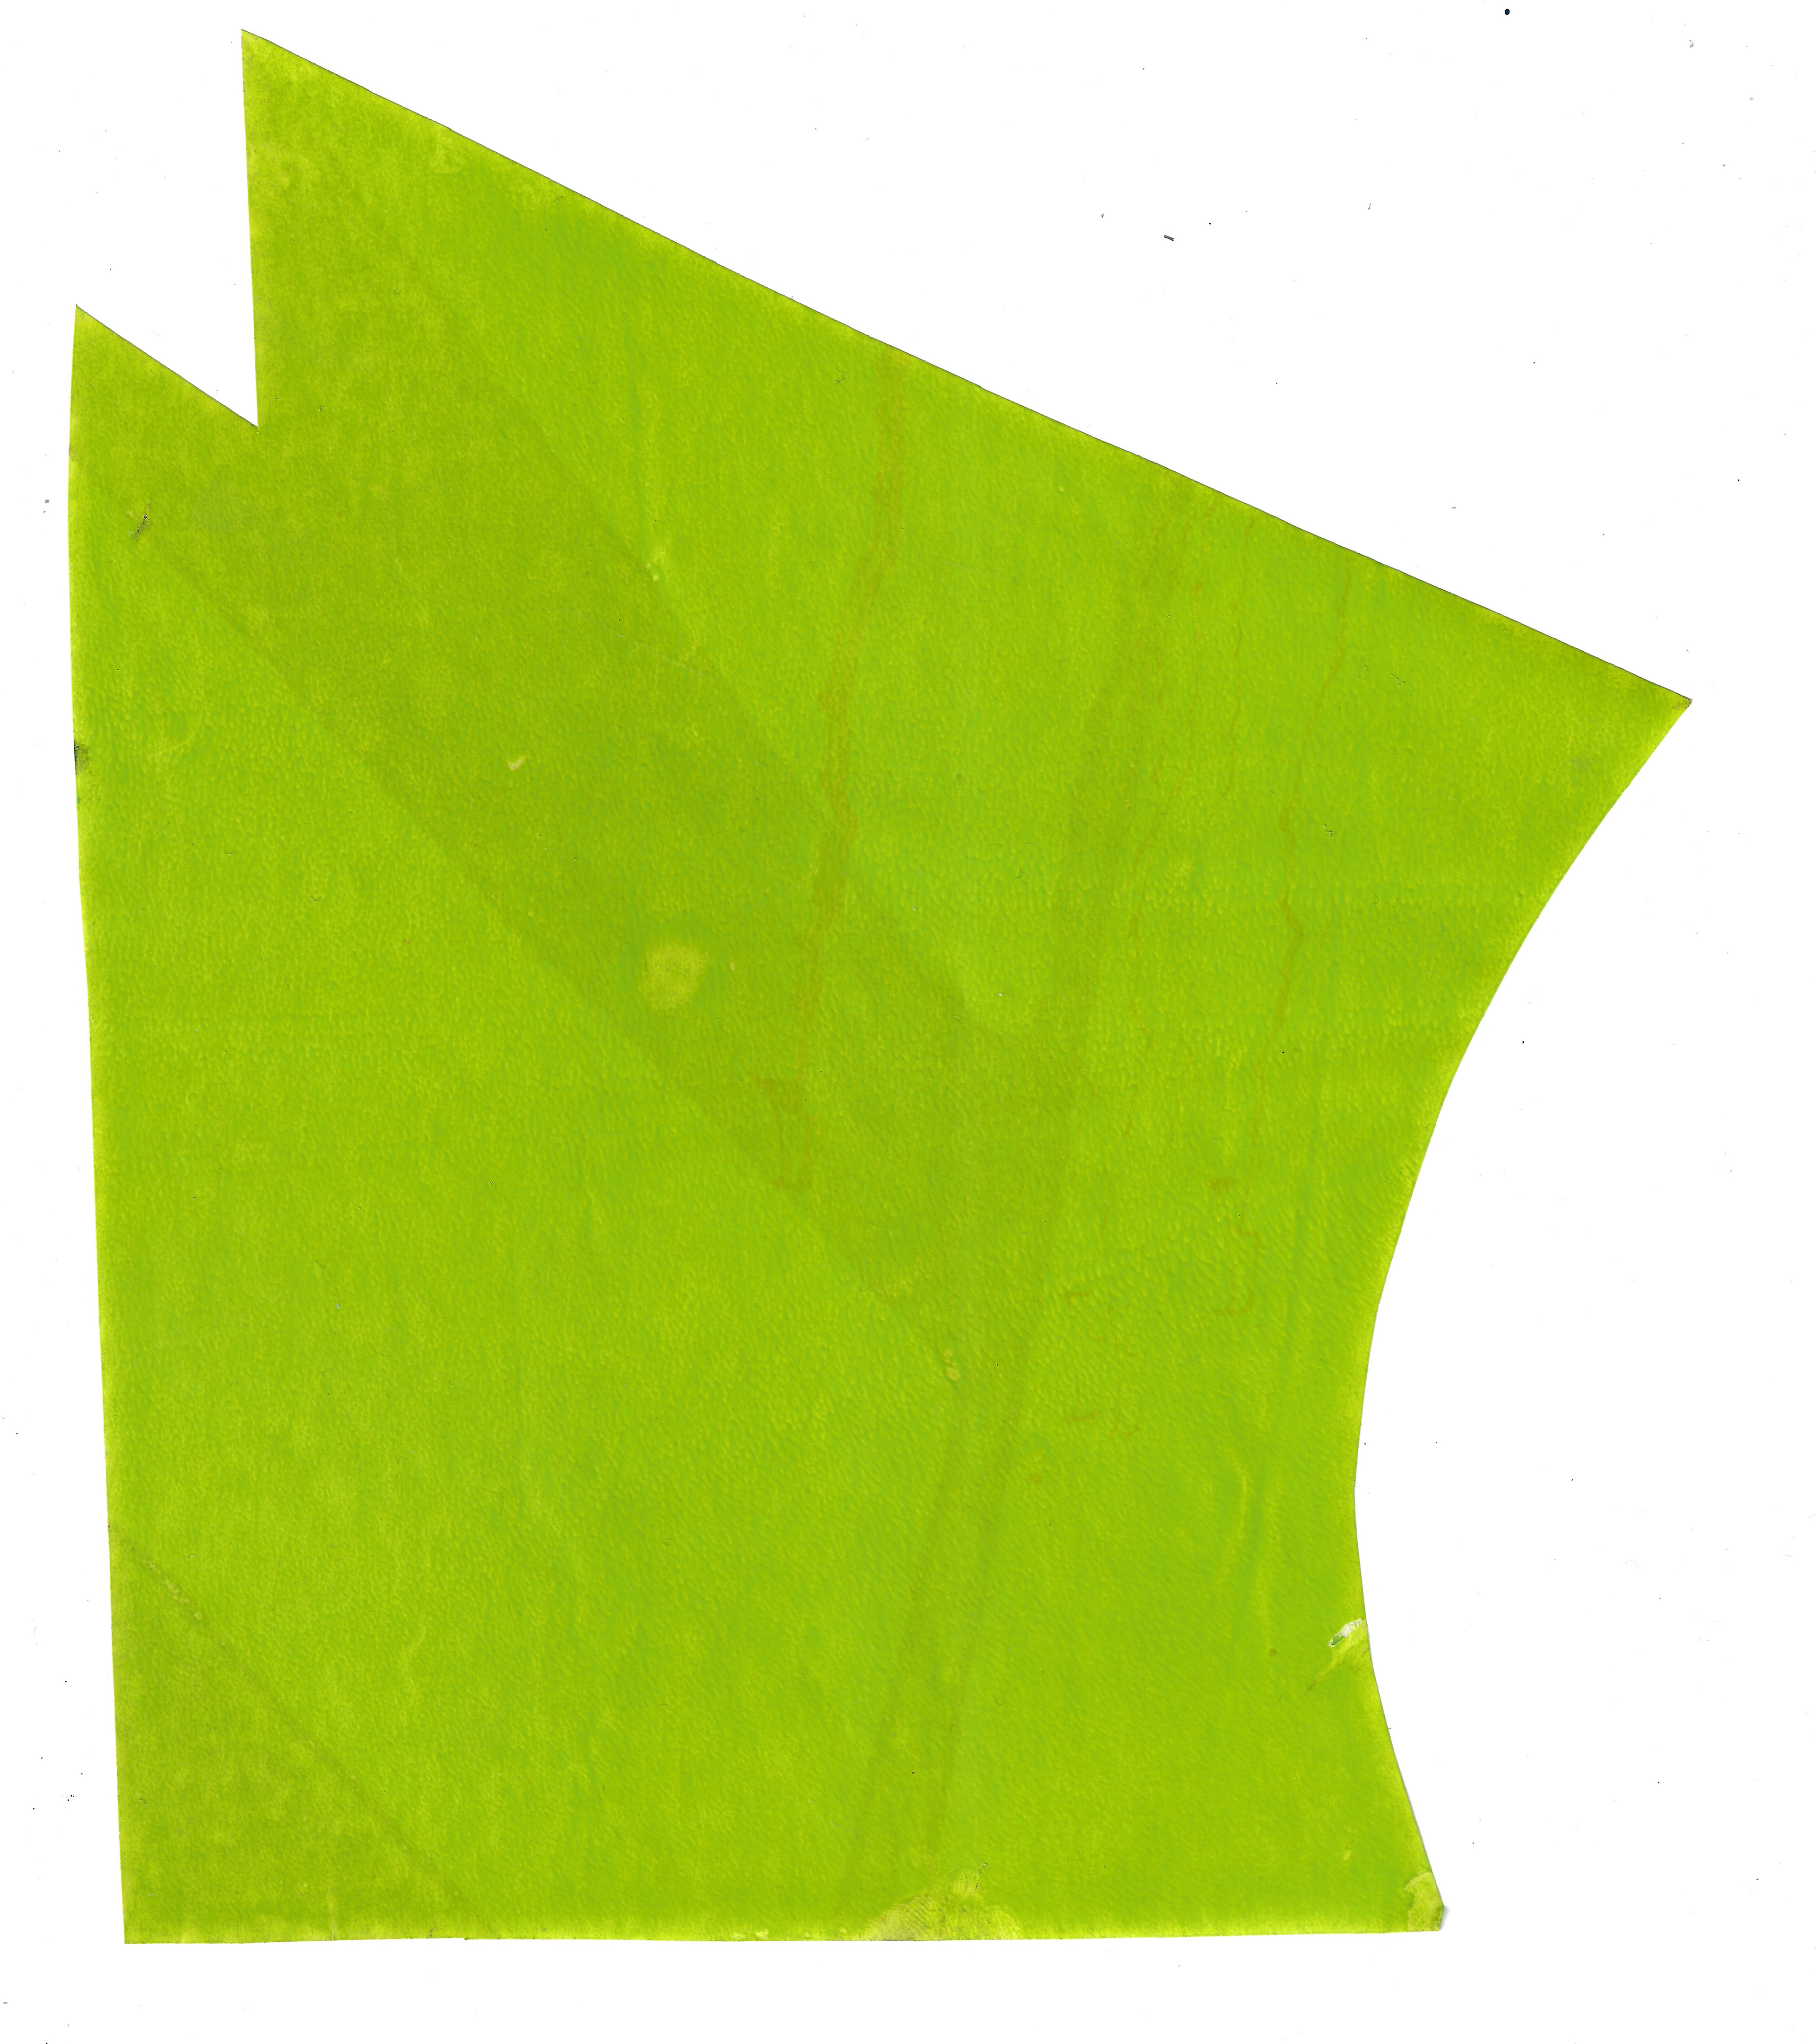
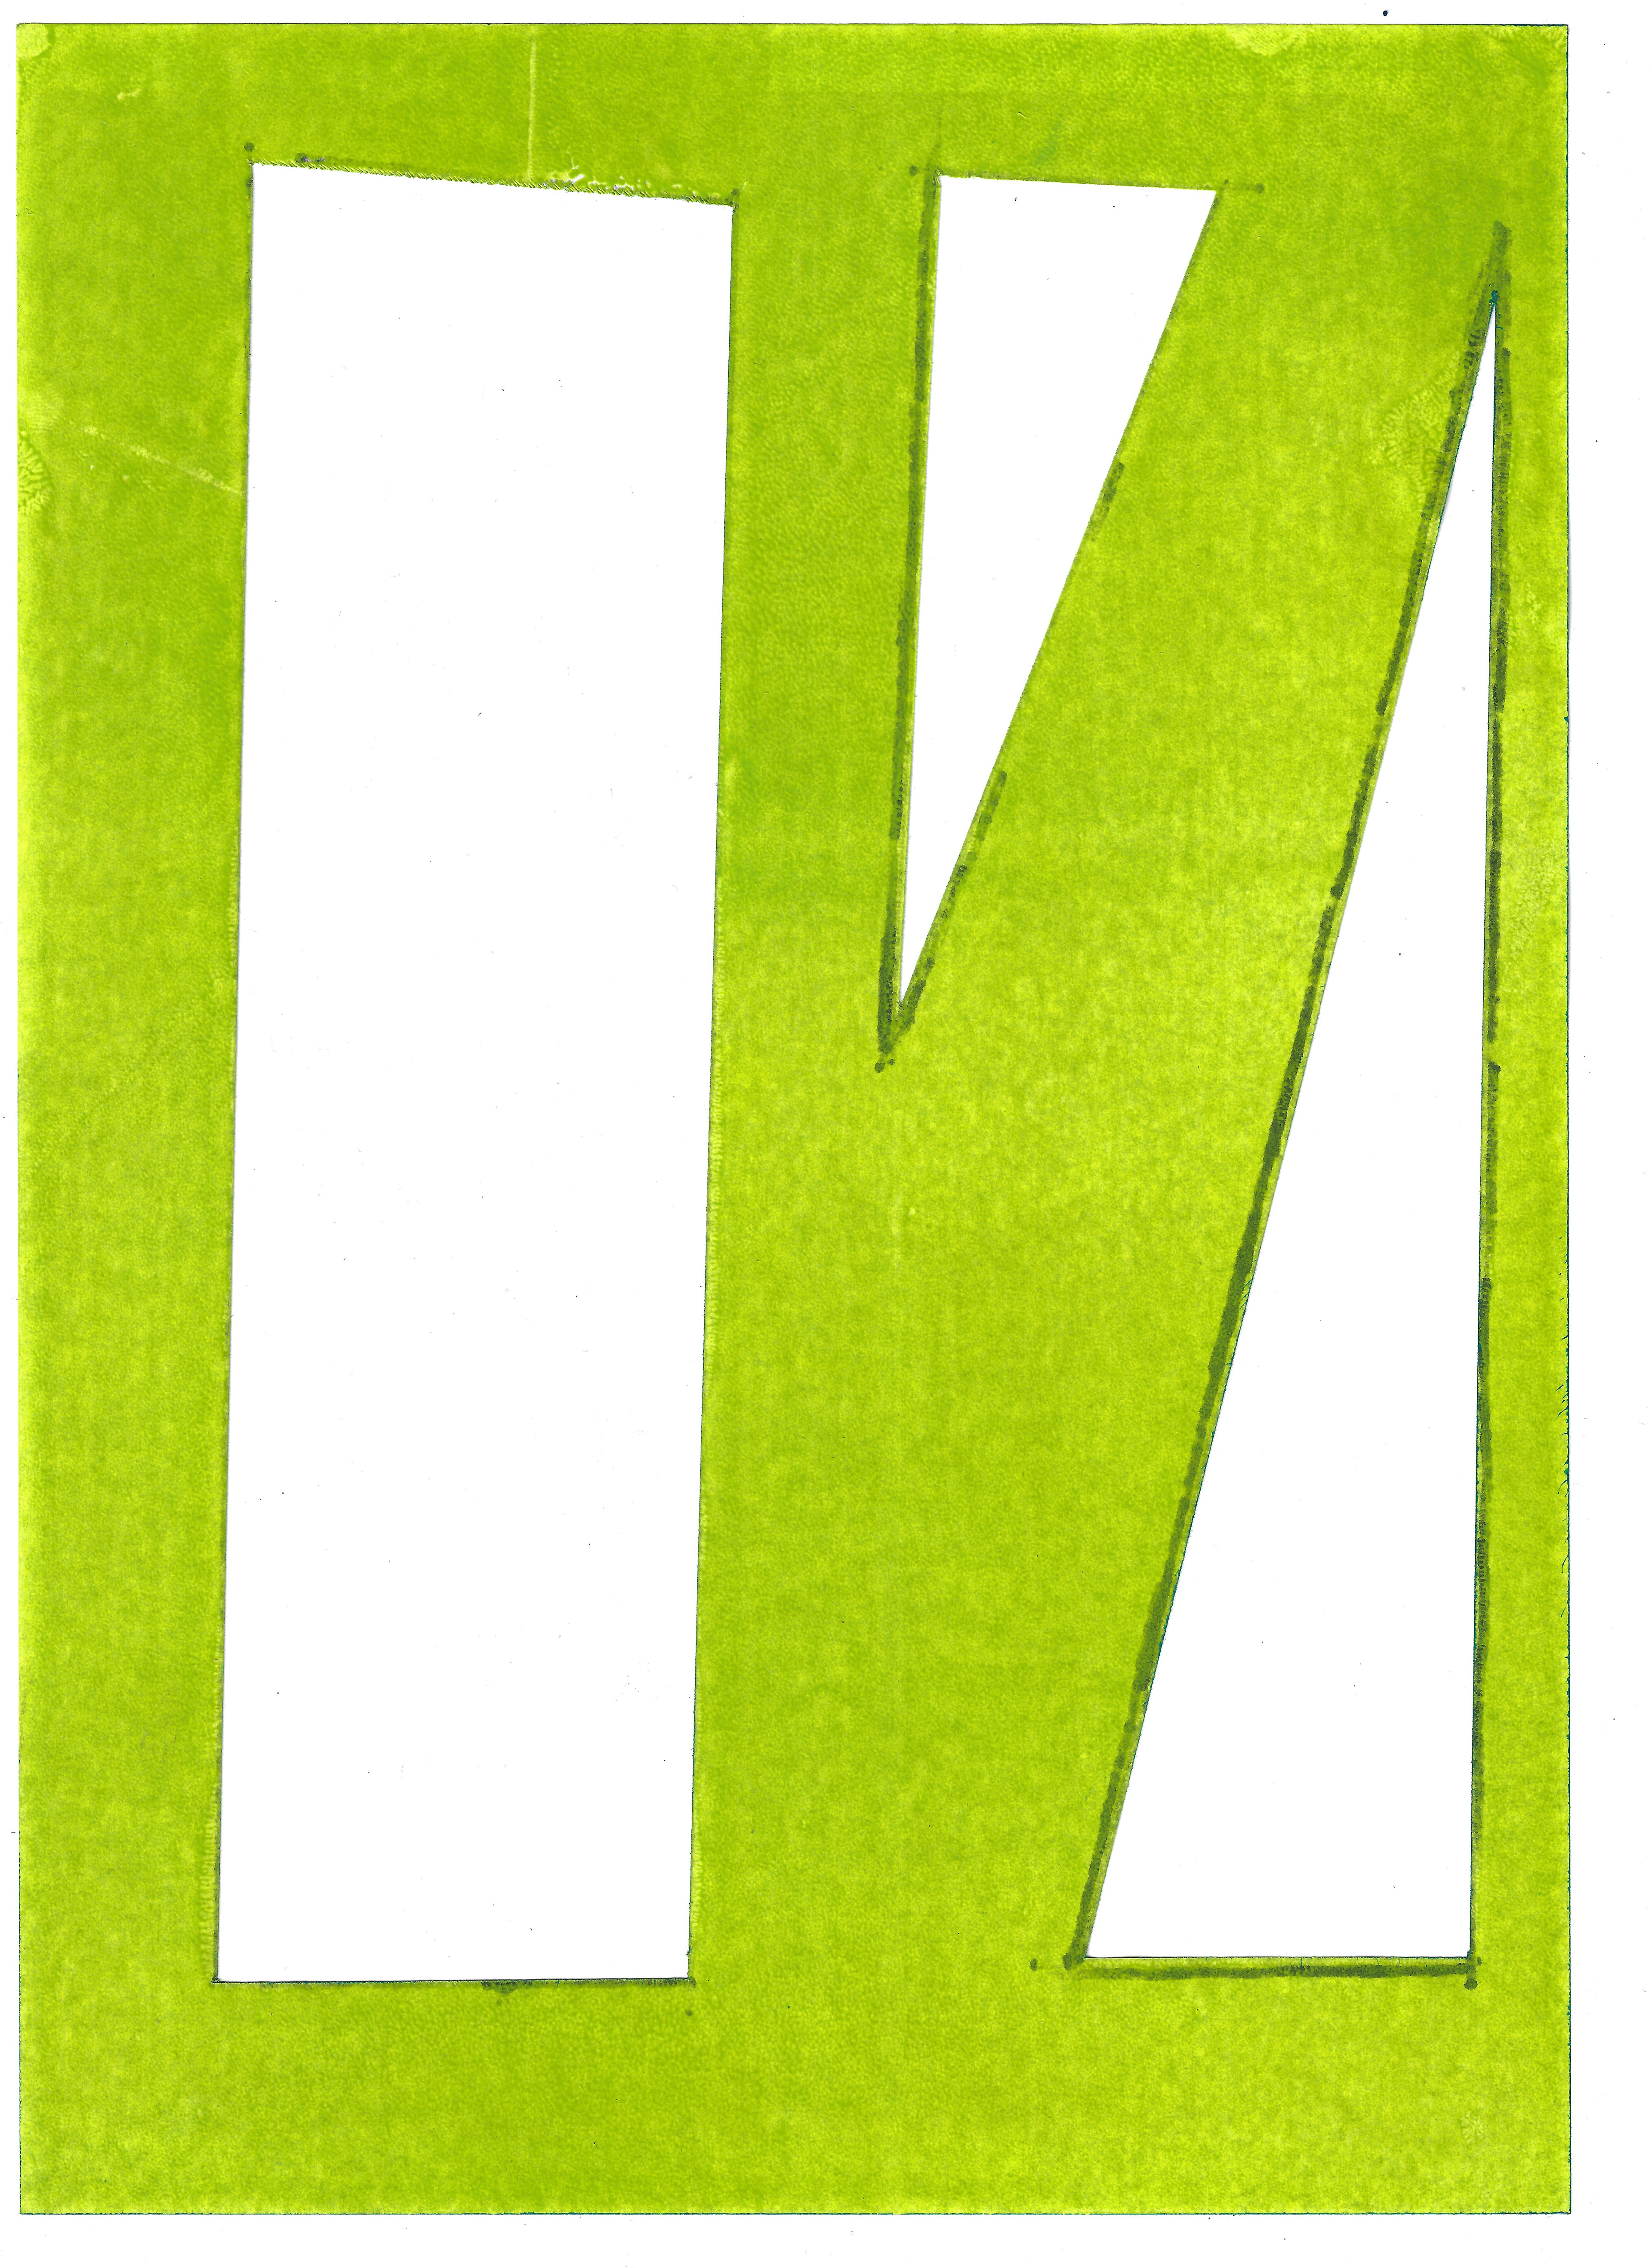
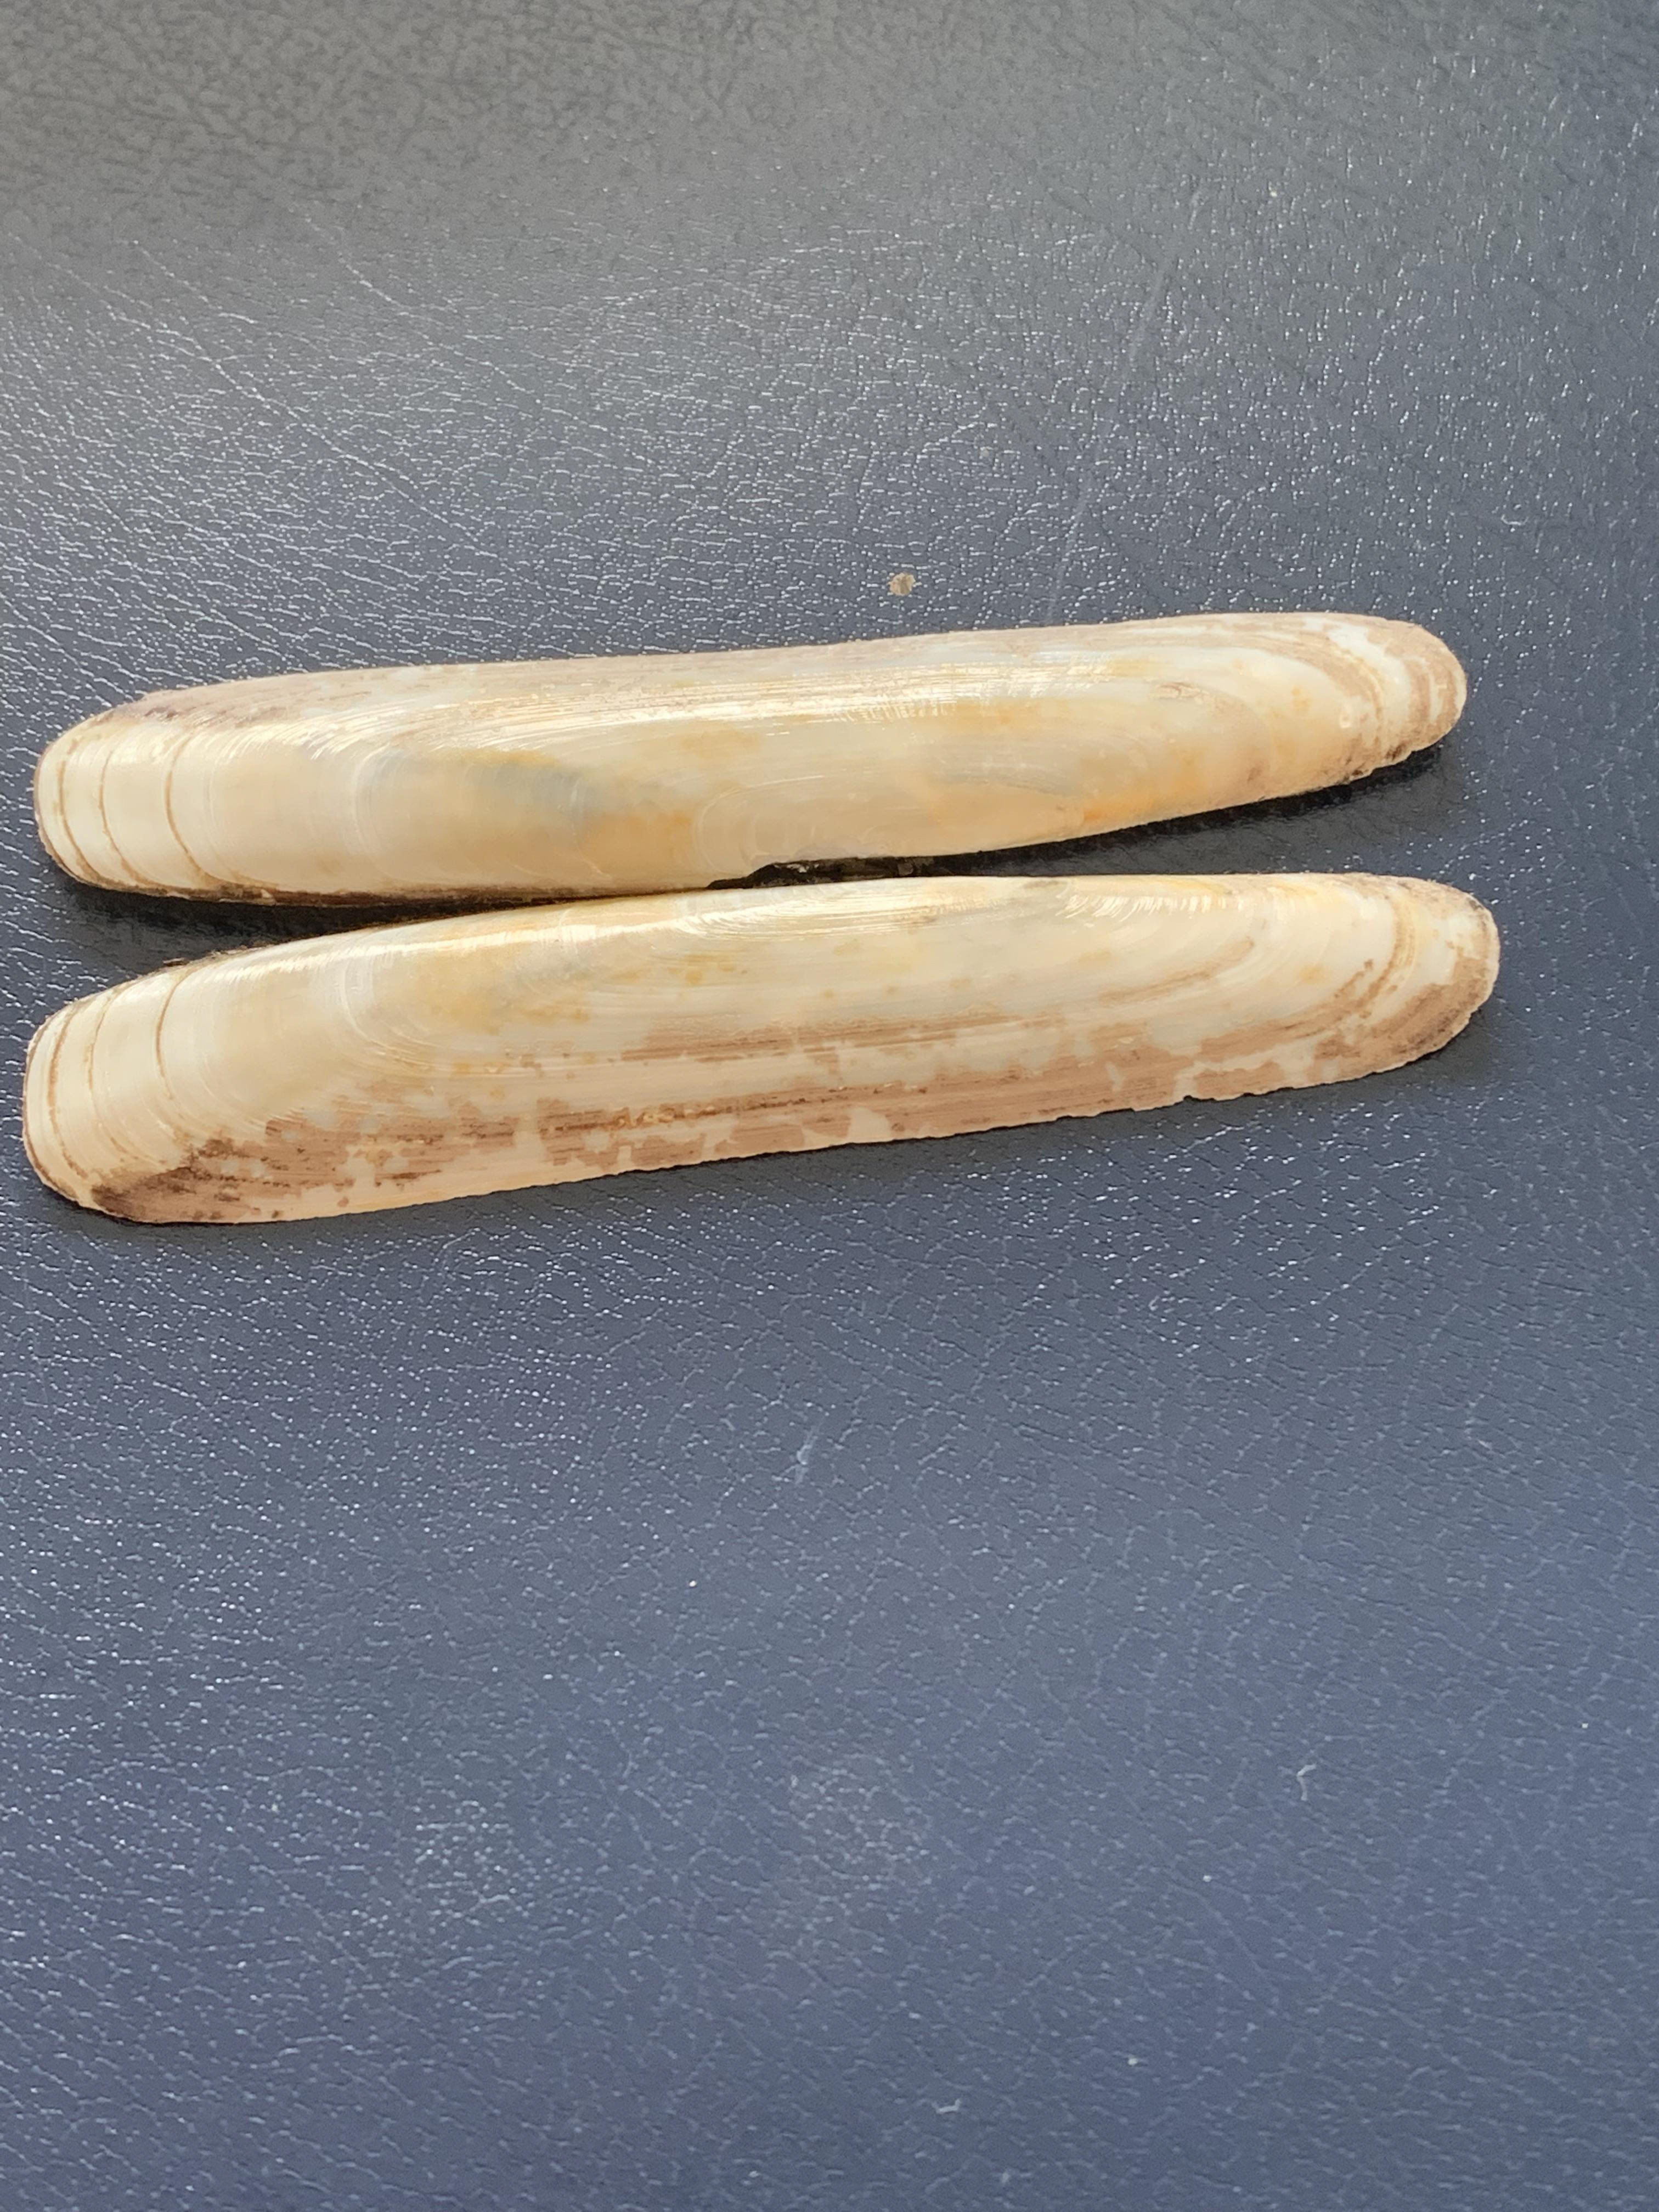
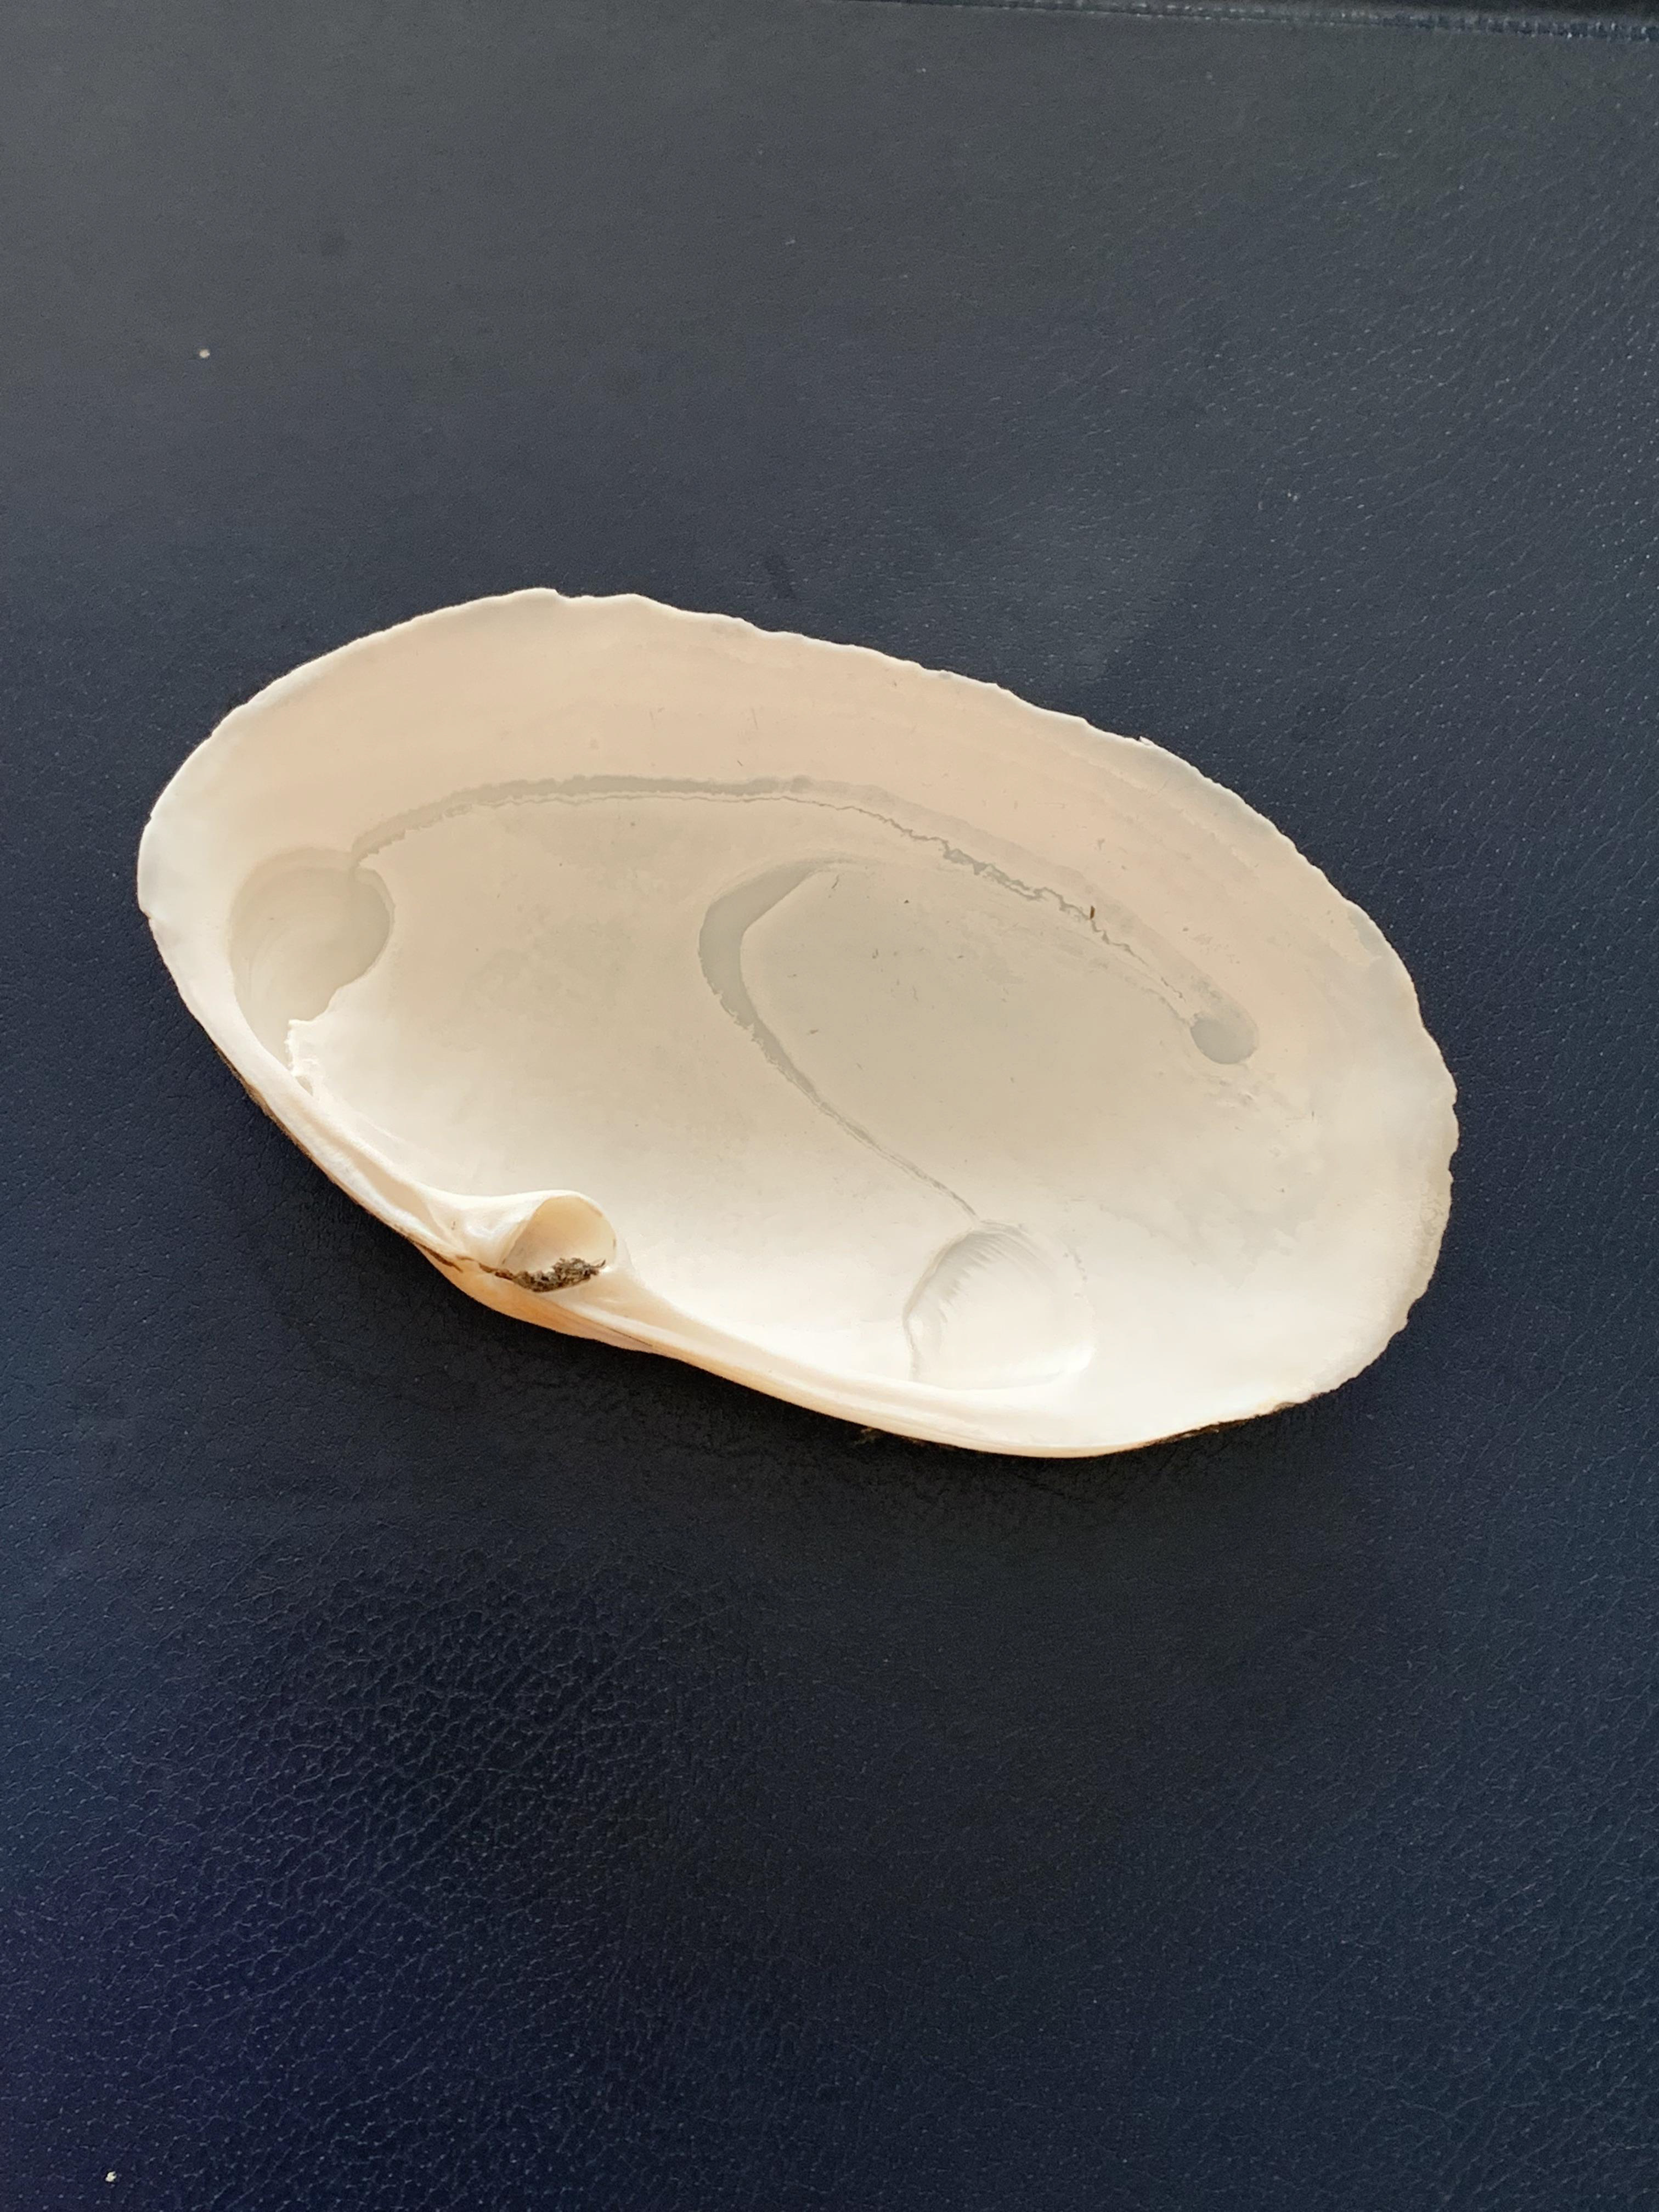
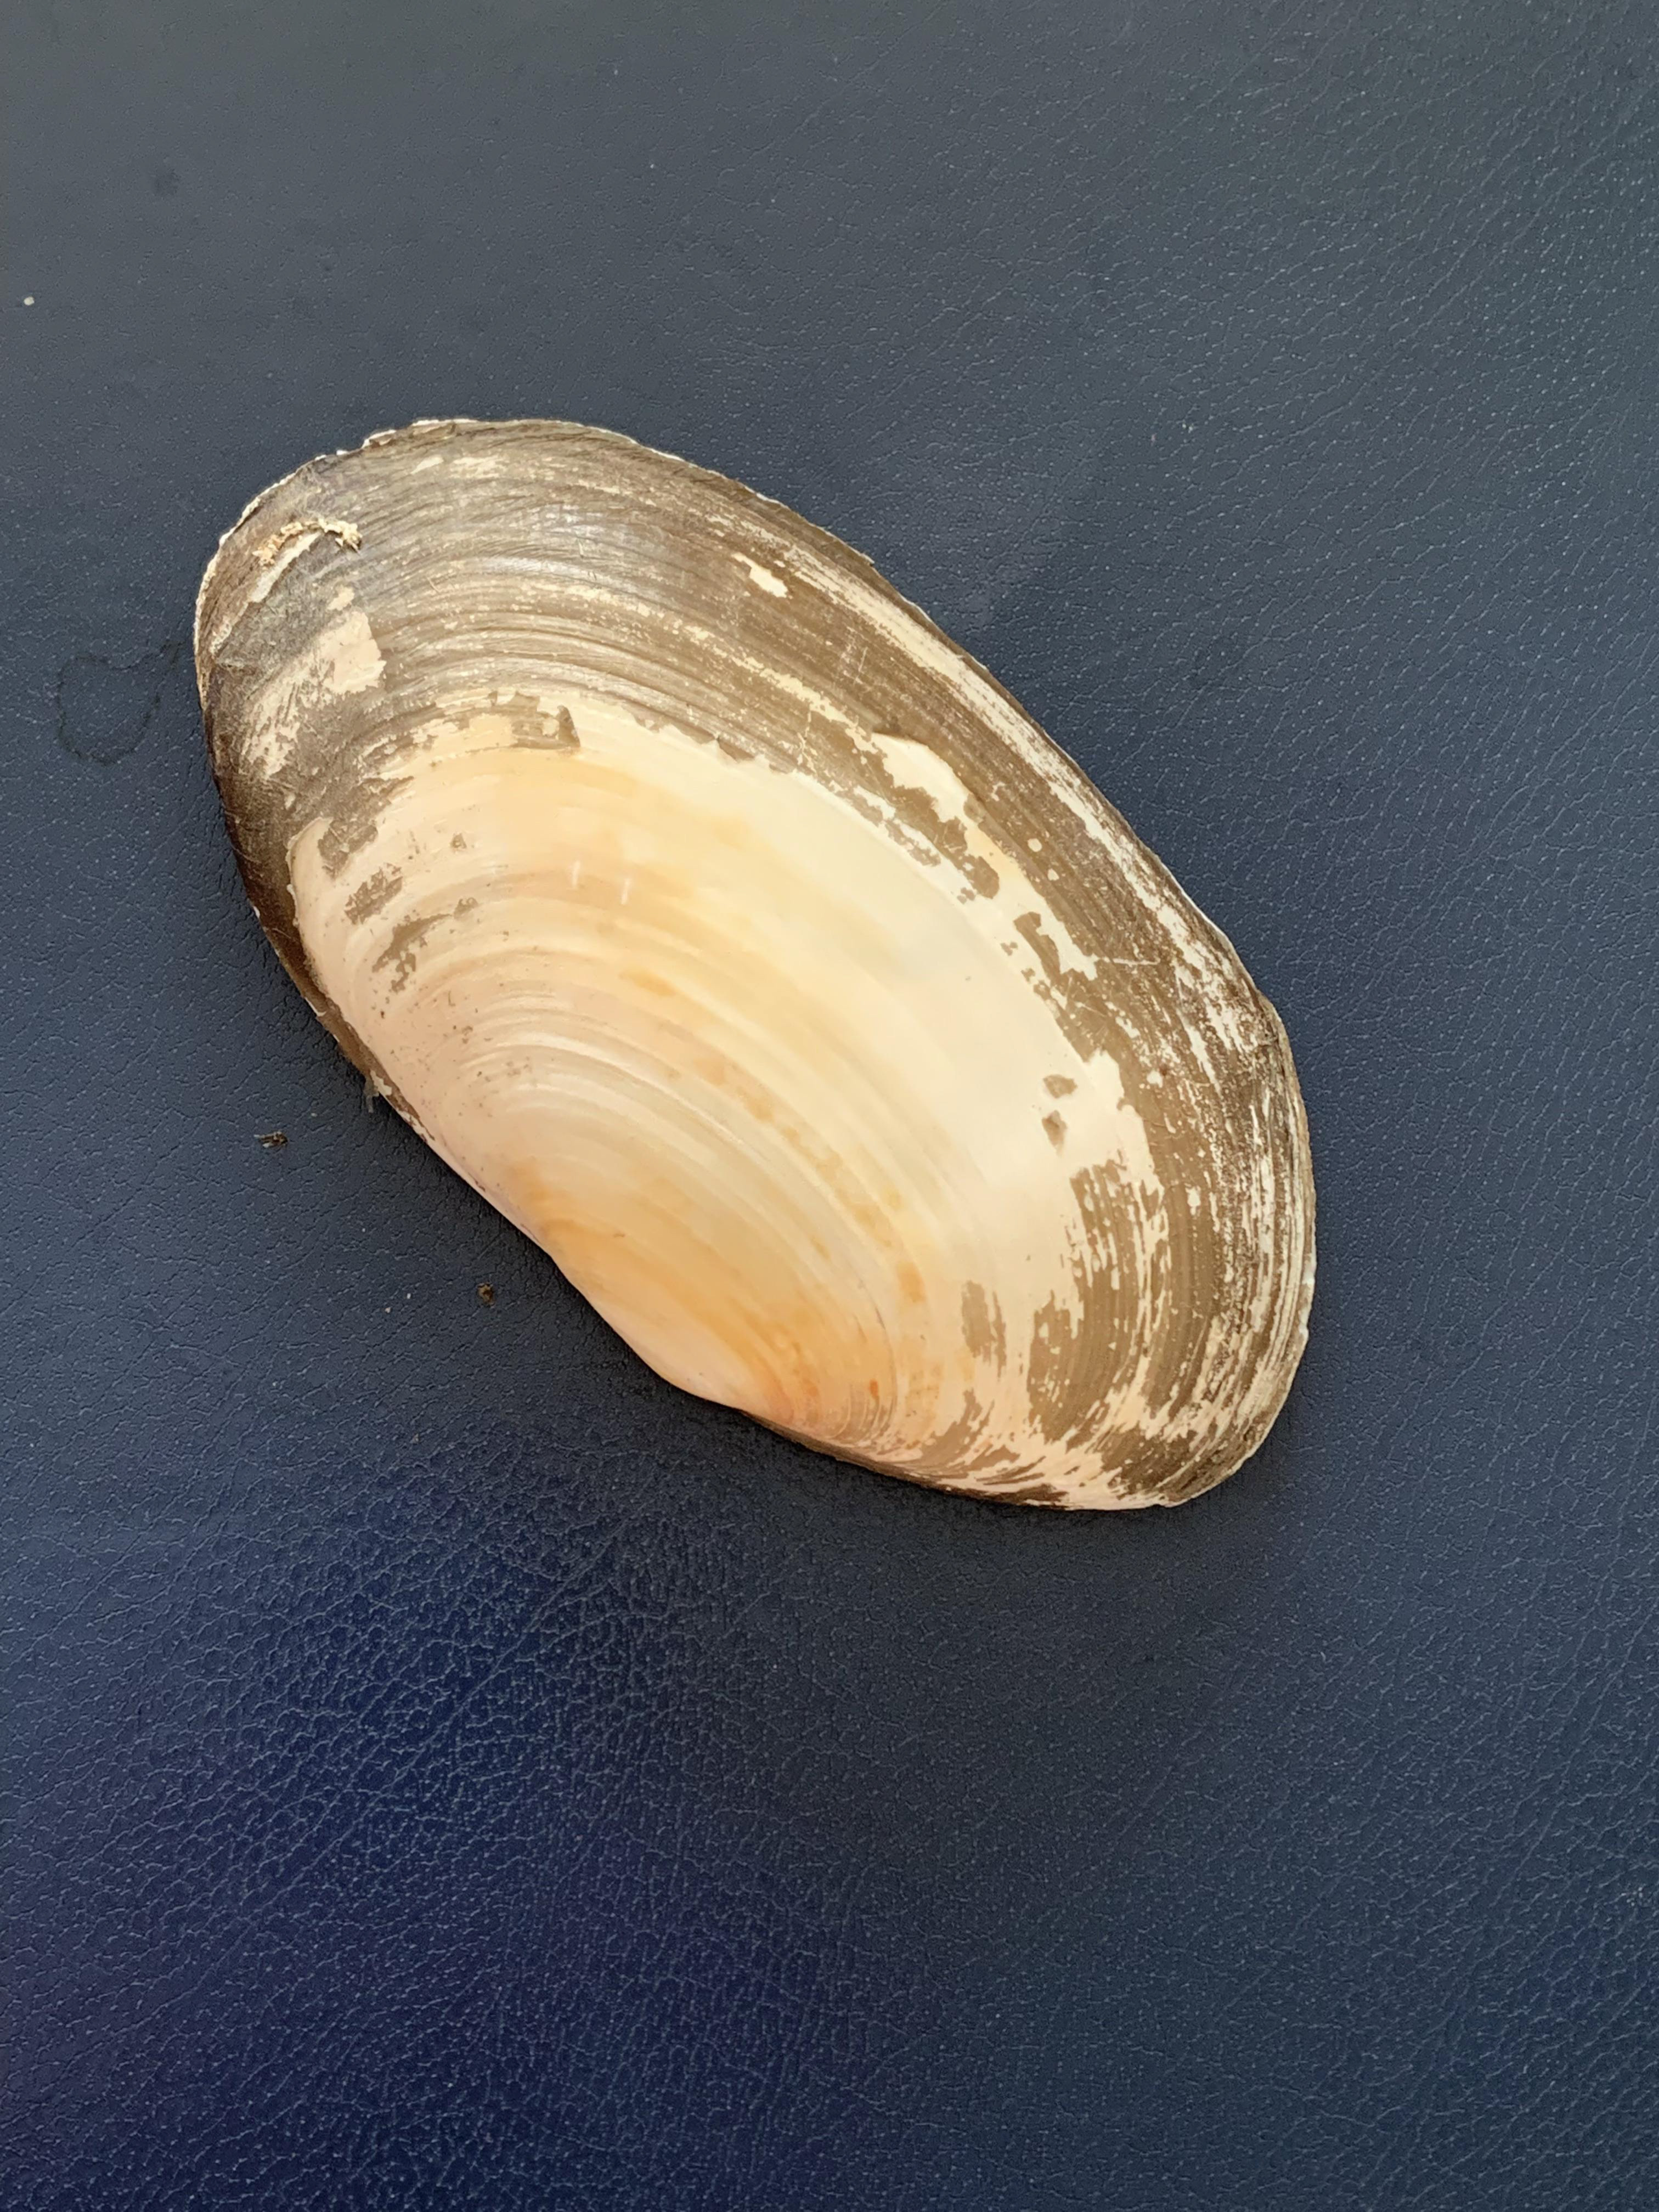
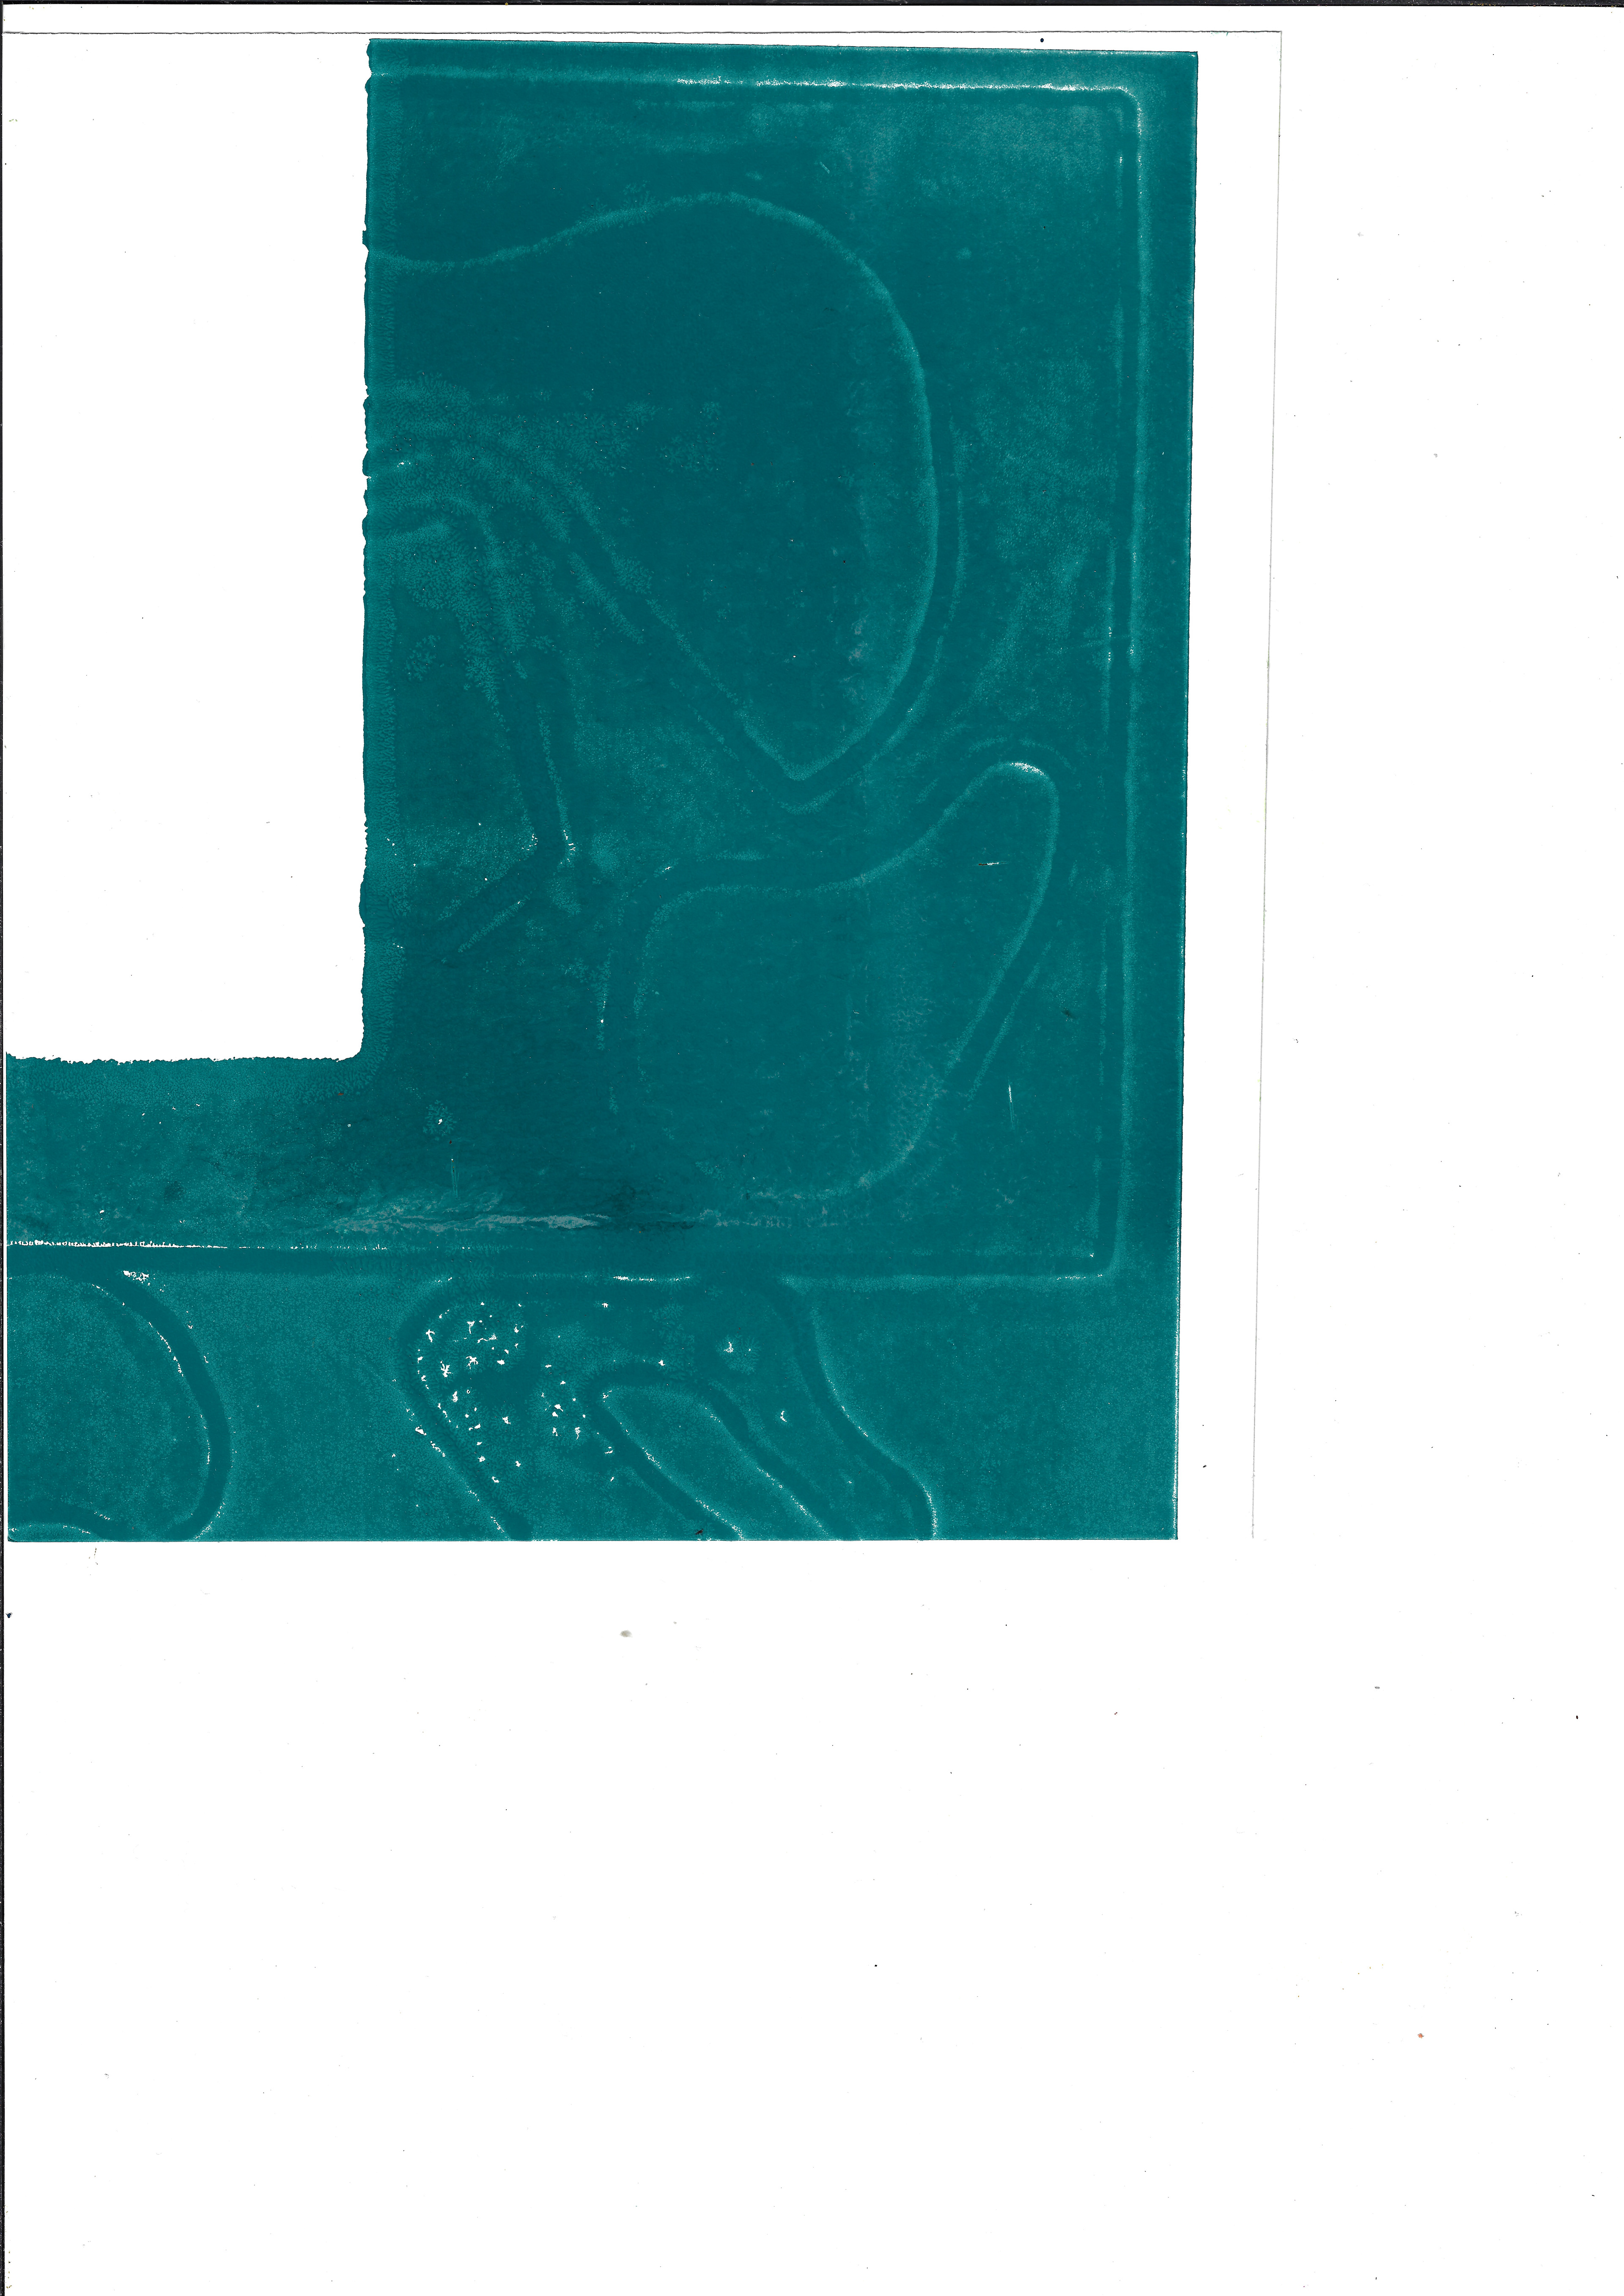
These are the paper stencils I have used and reused throughout the duration of this unit of work. I utilise both sides of the shape. Just like in the Copeland Gallery exhibition, I regard the stencils I use to make prints just as important as the prints themselves.

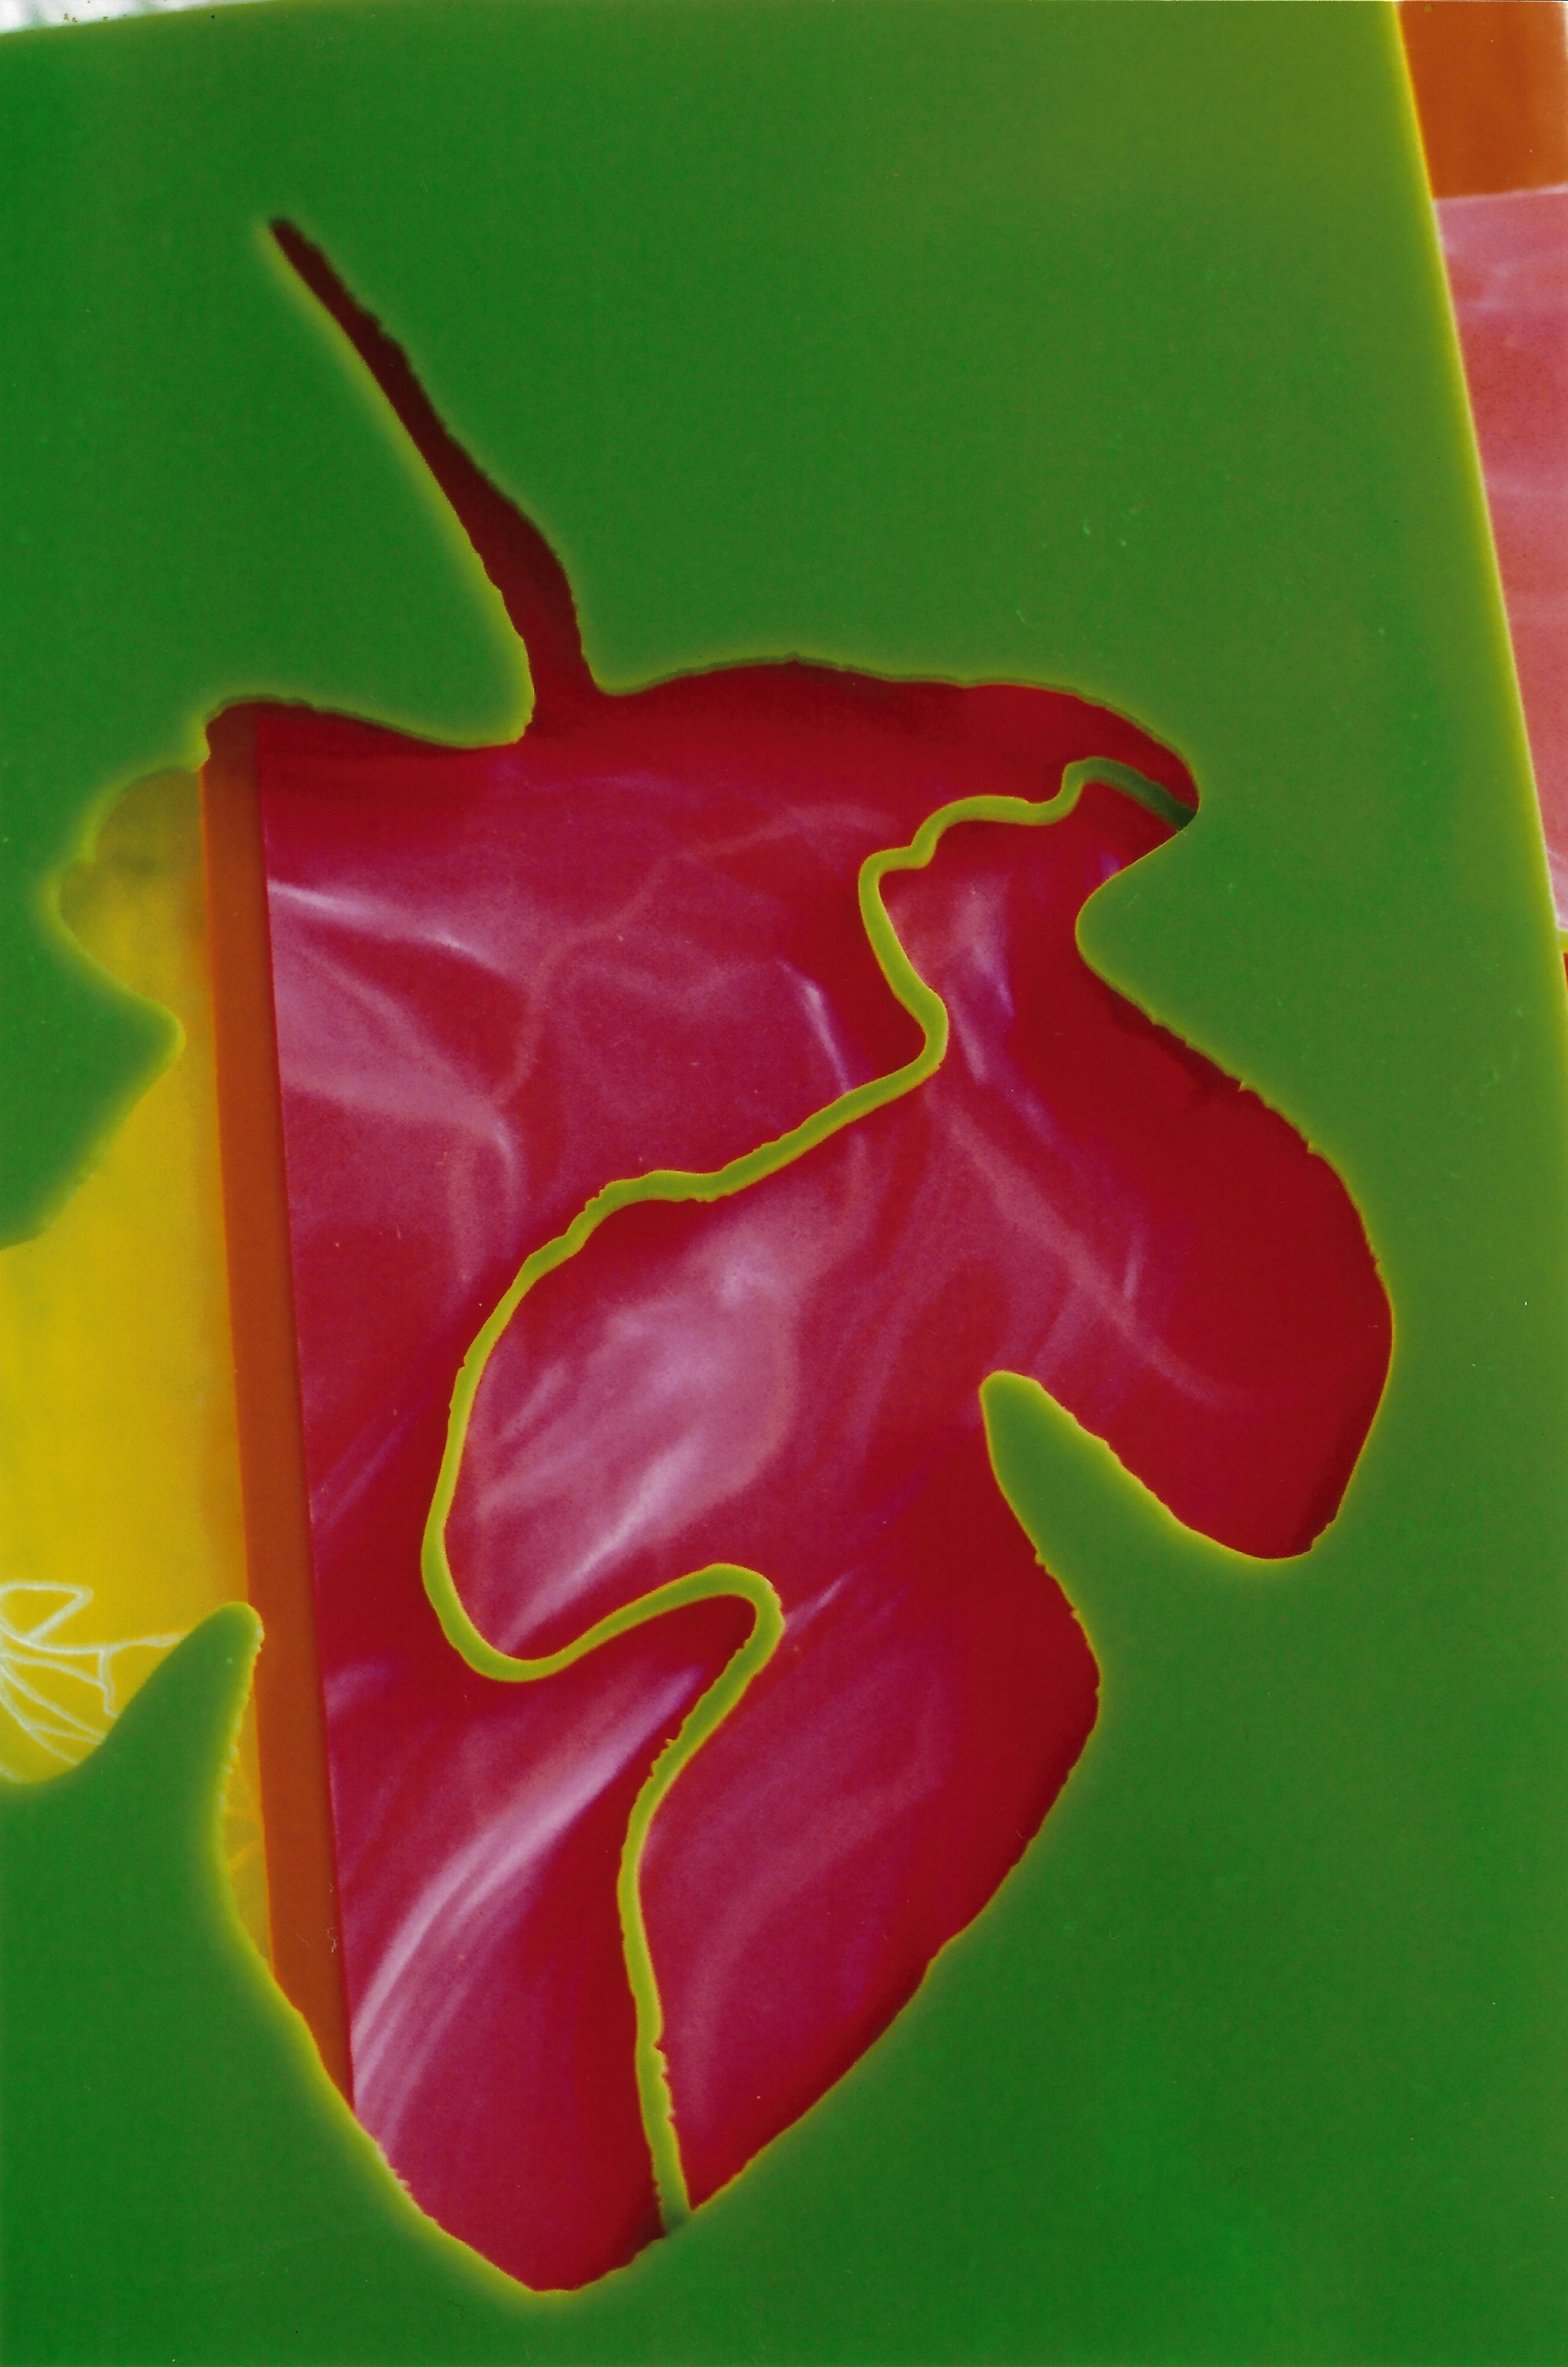
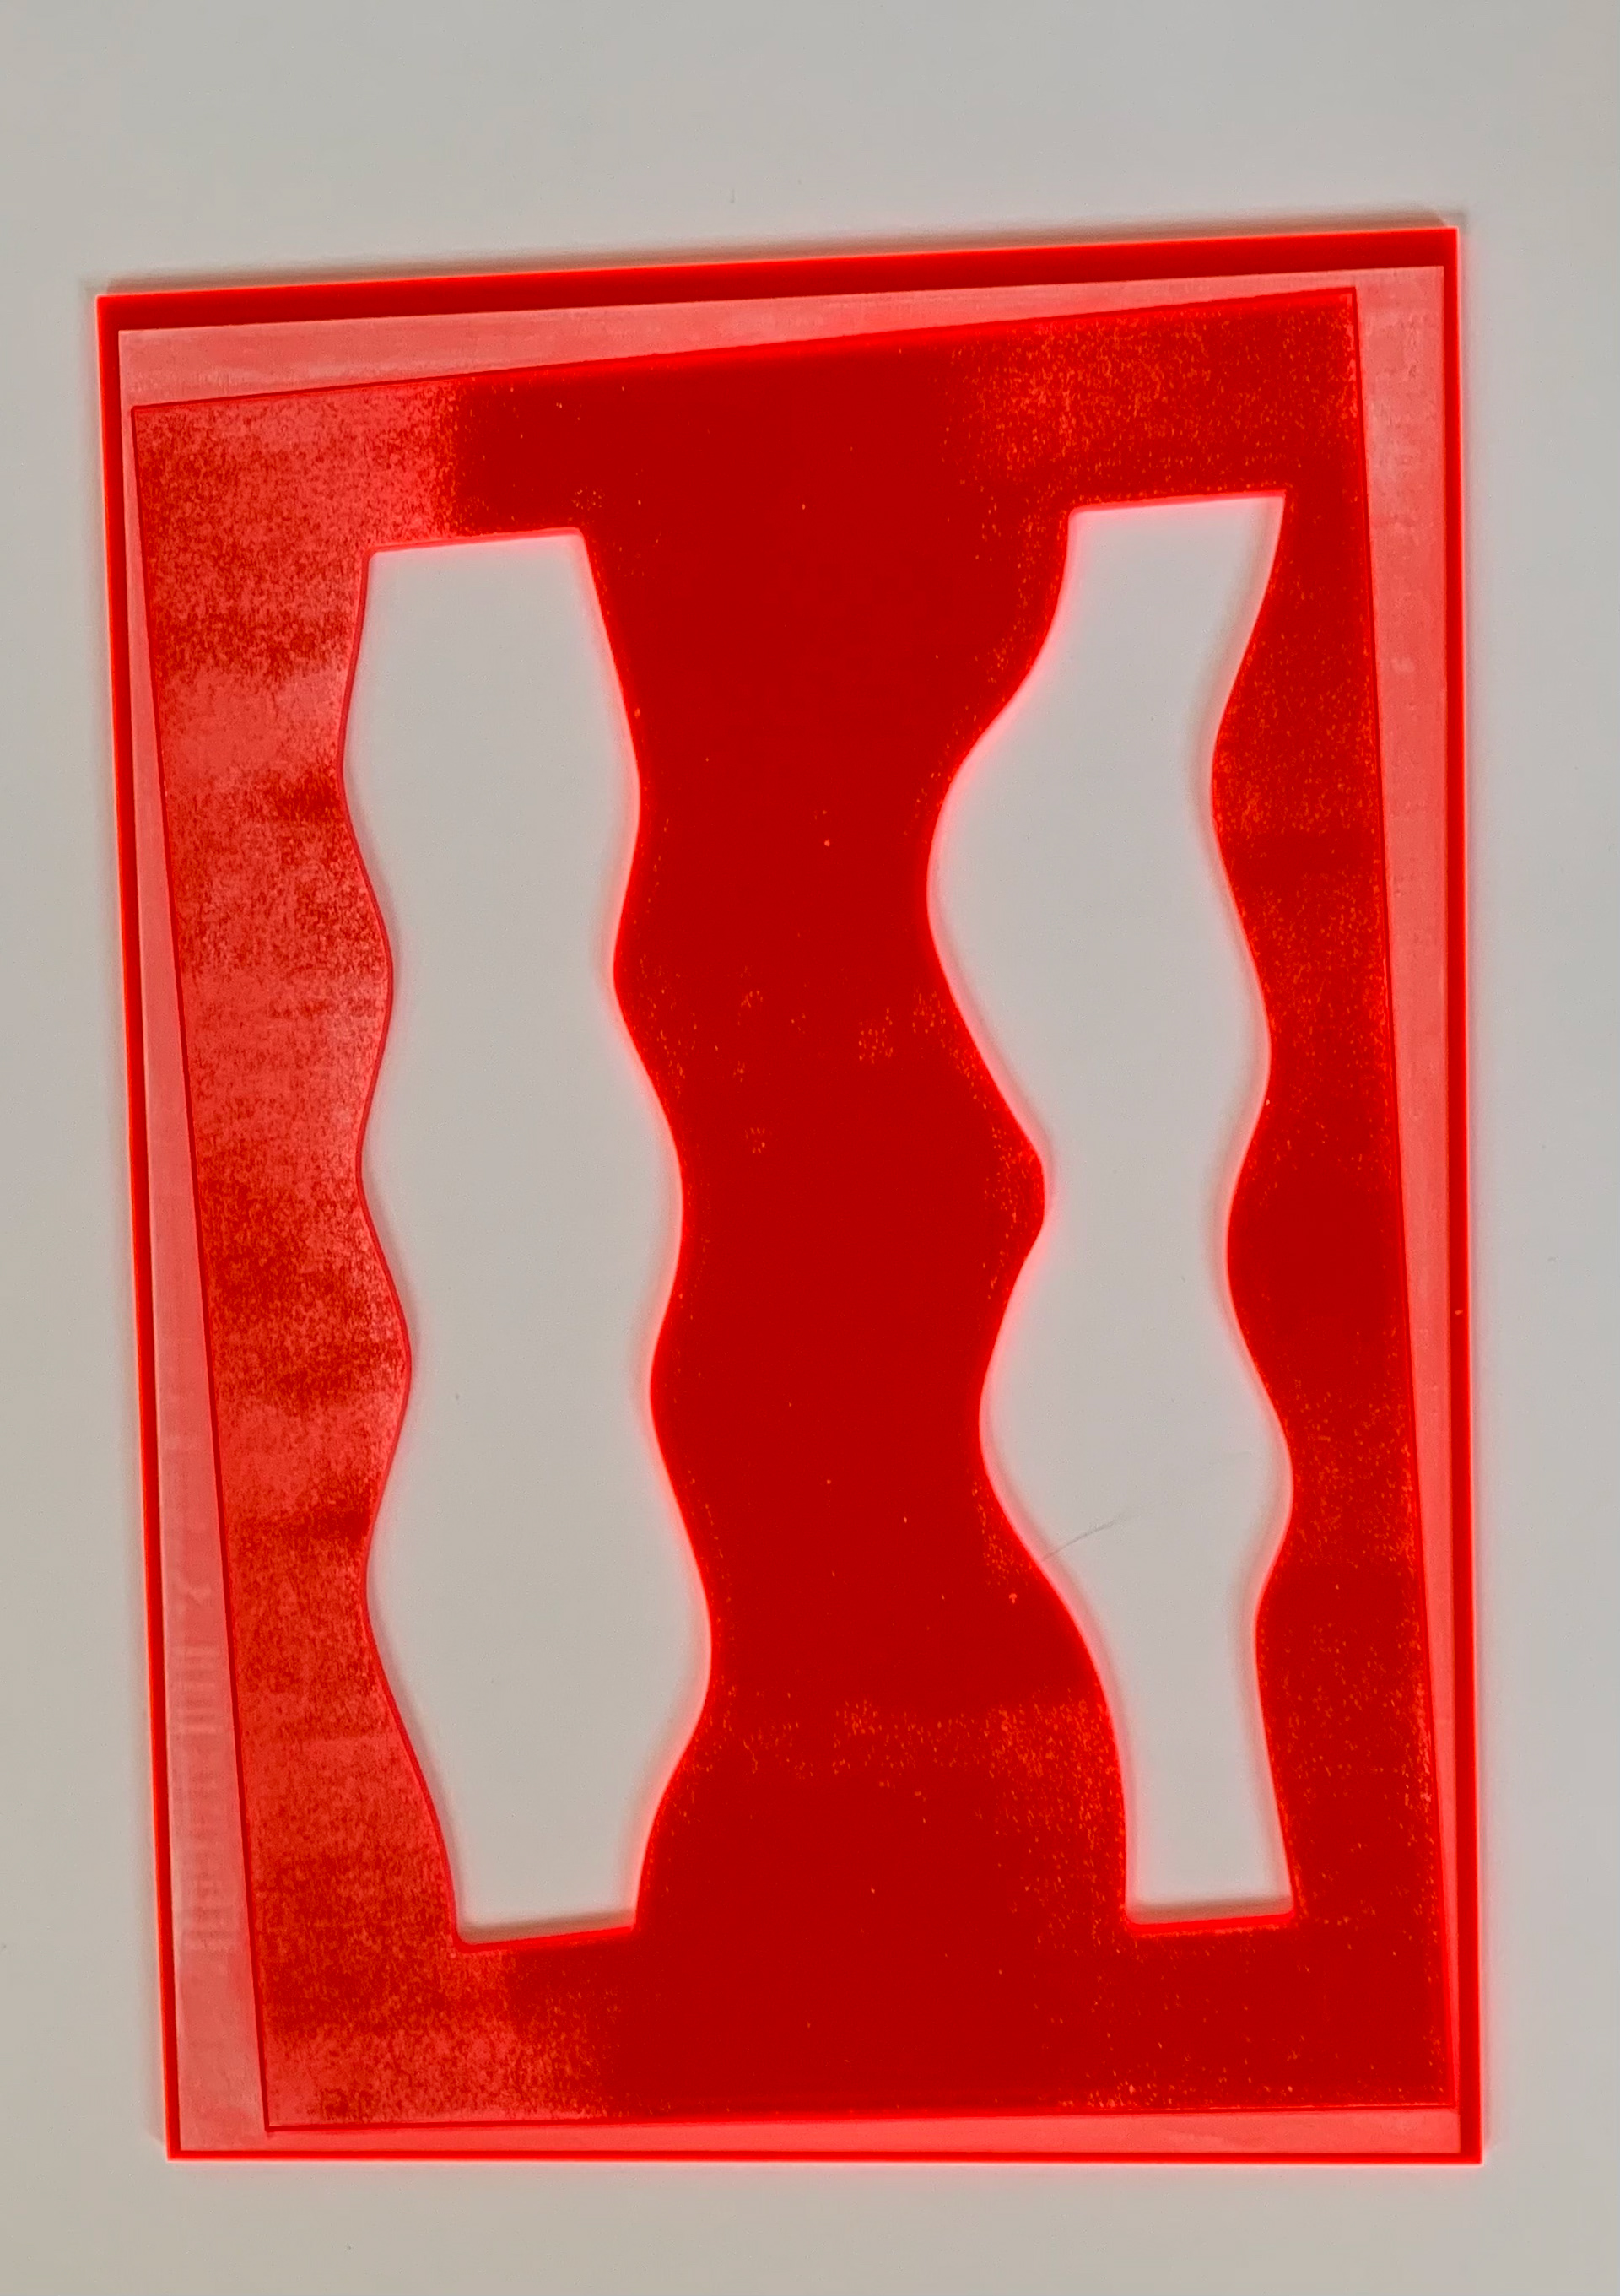
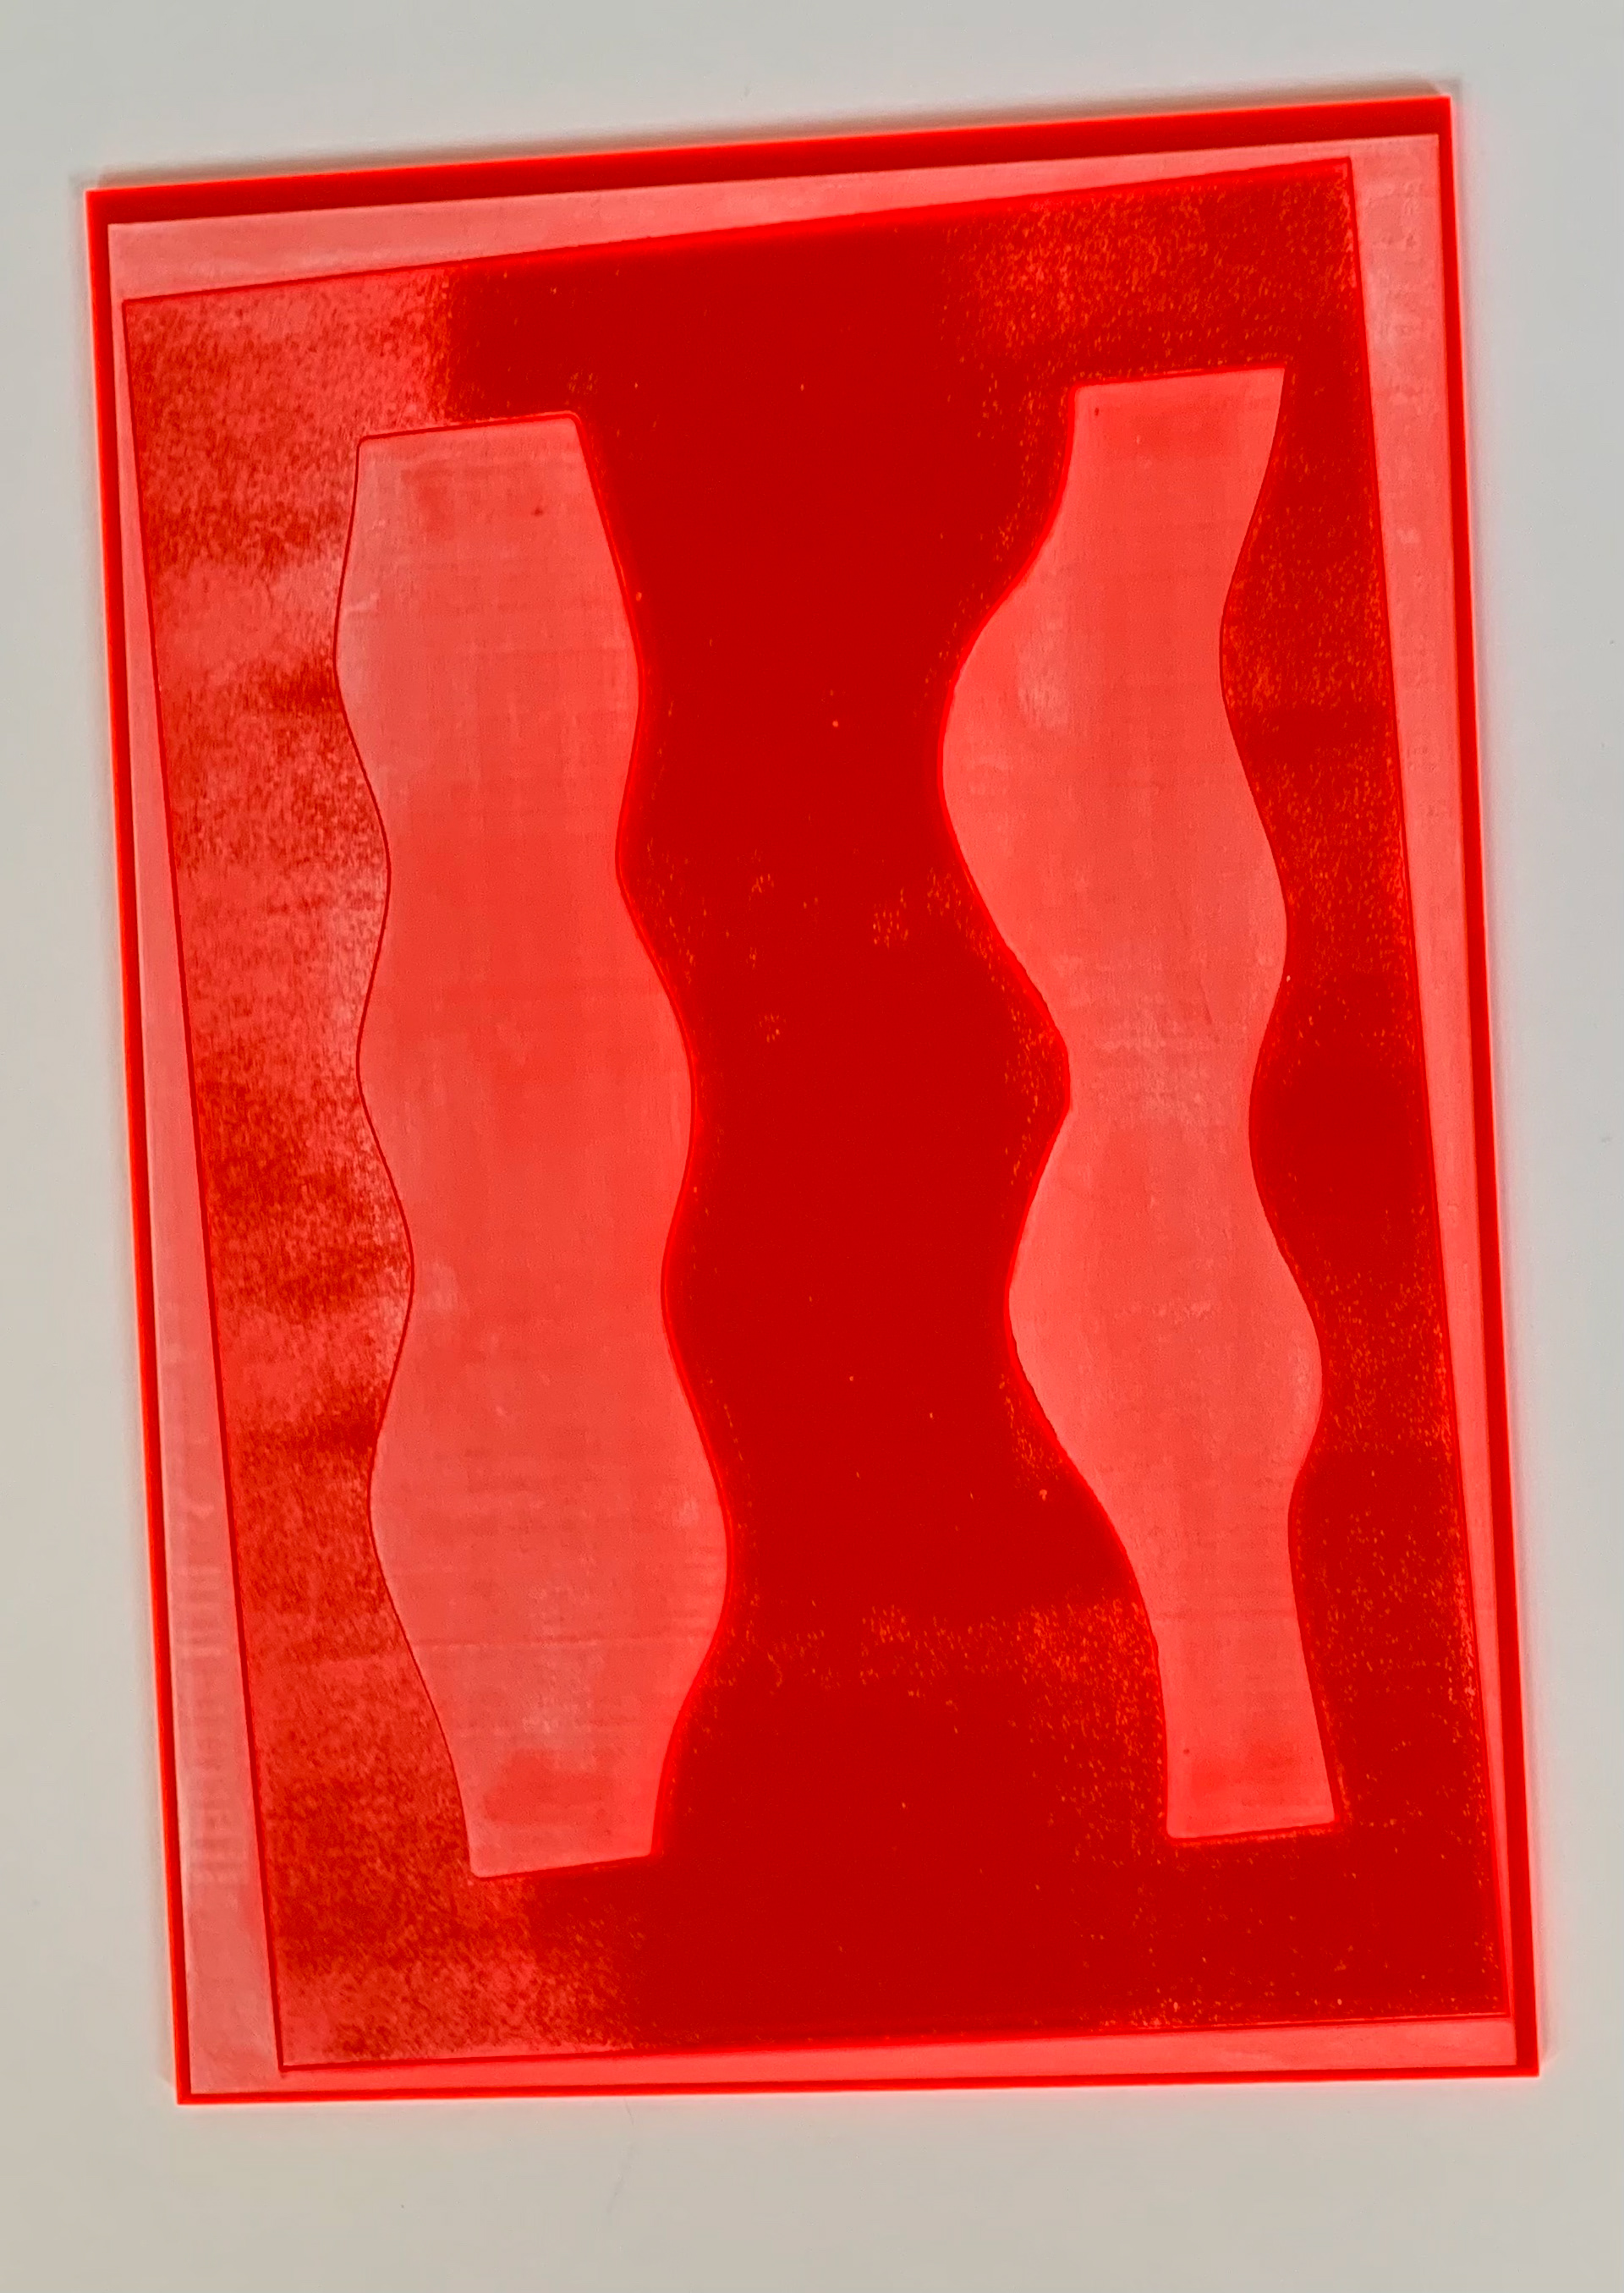
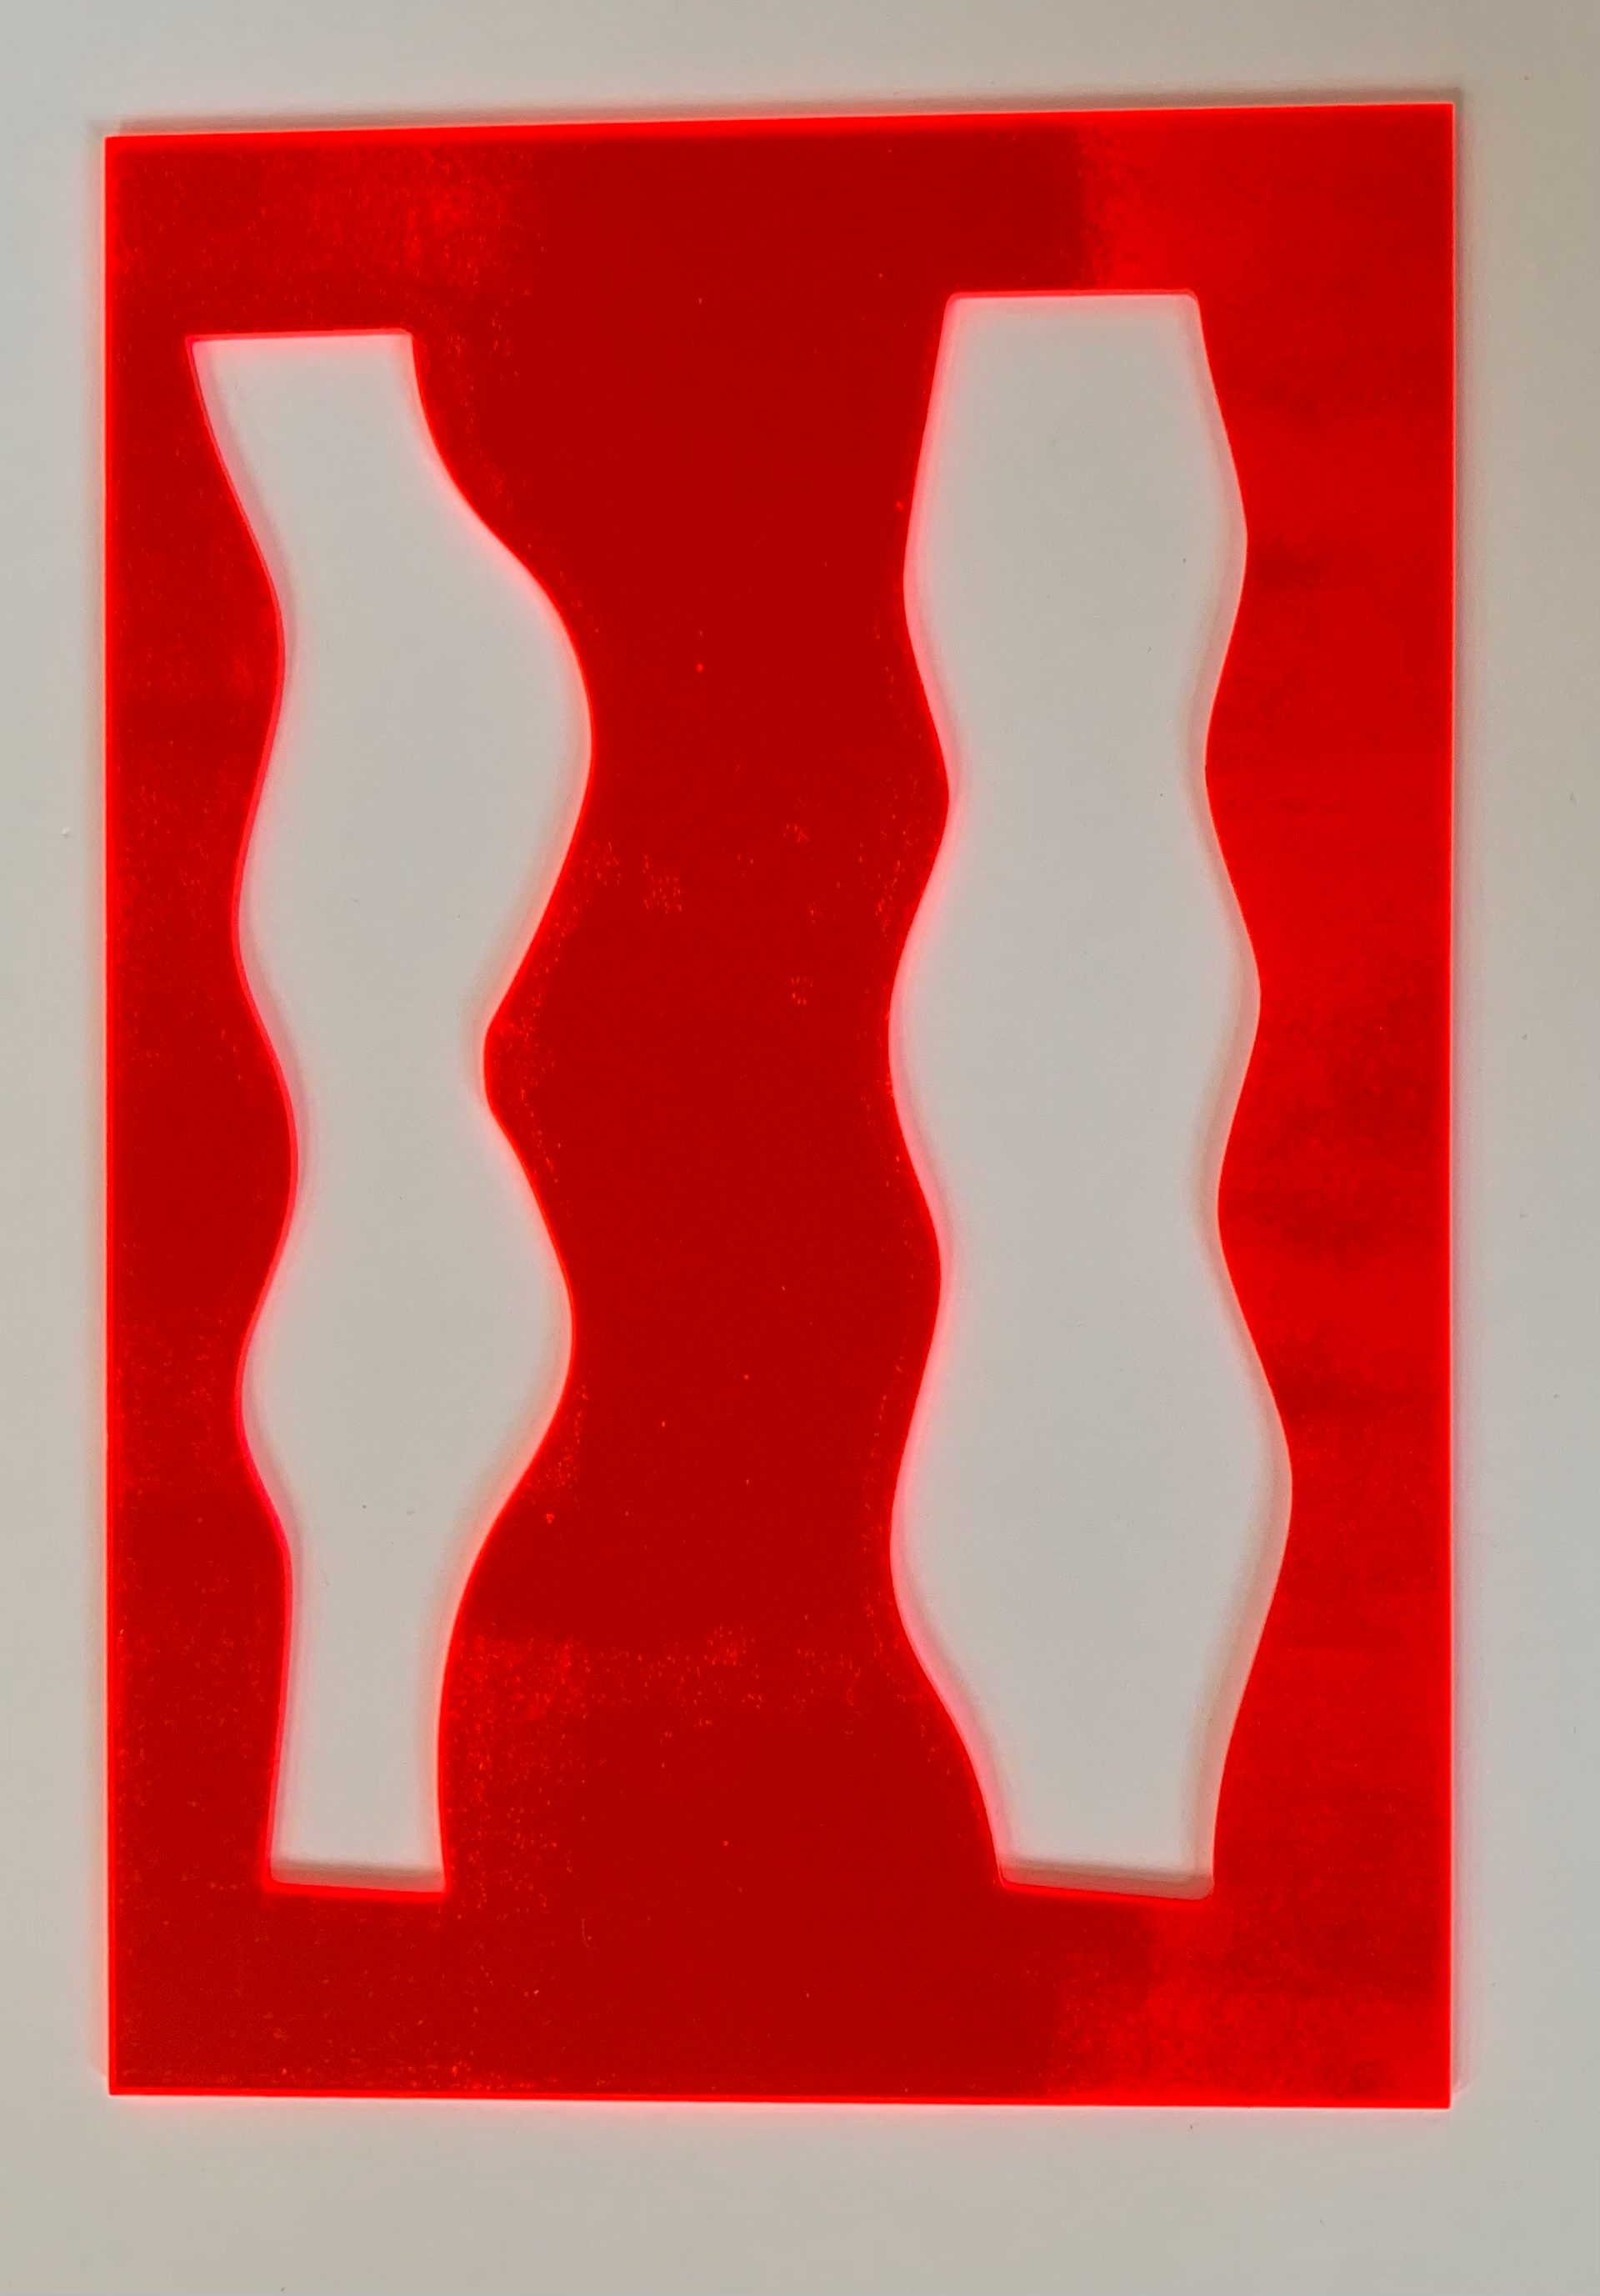
Perspex 21 x 29.7 cm
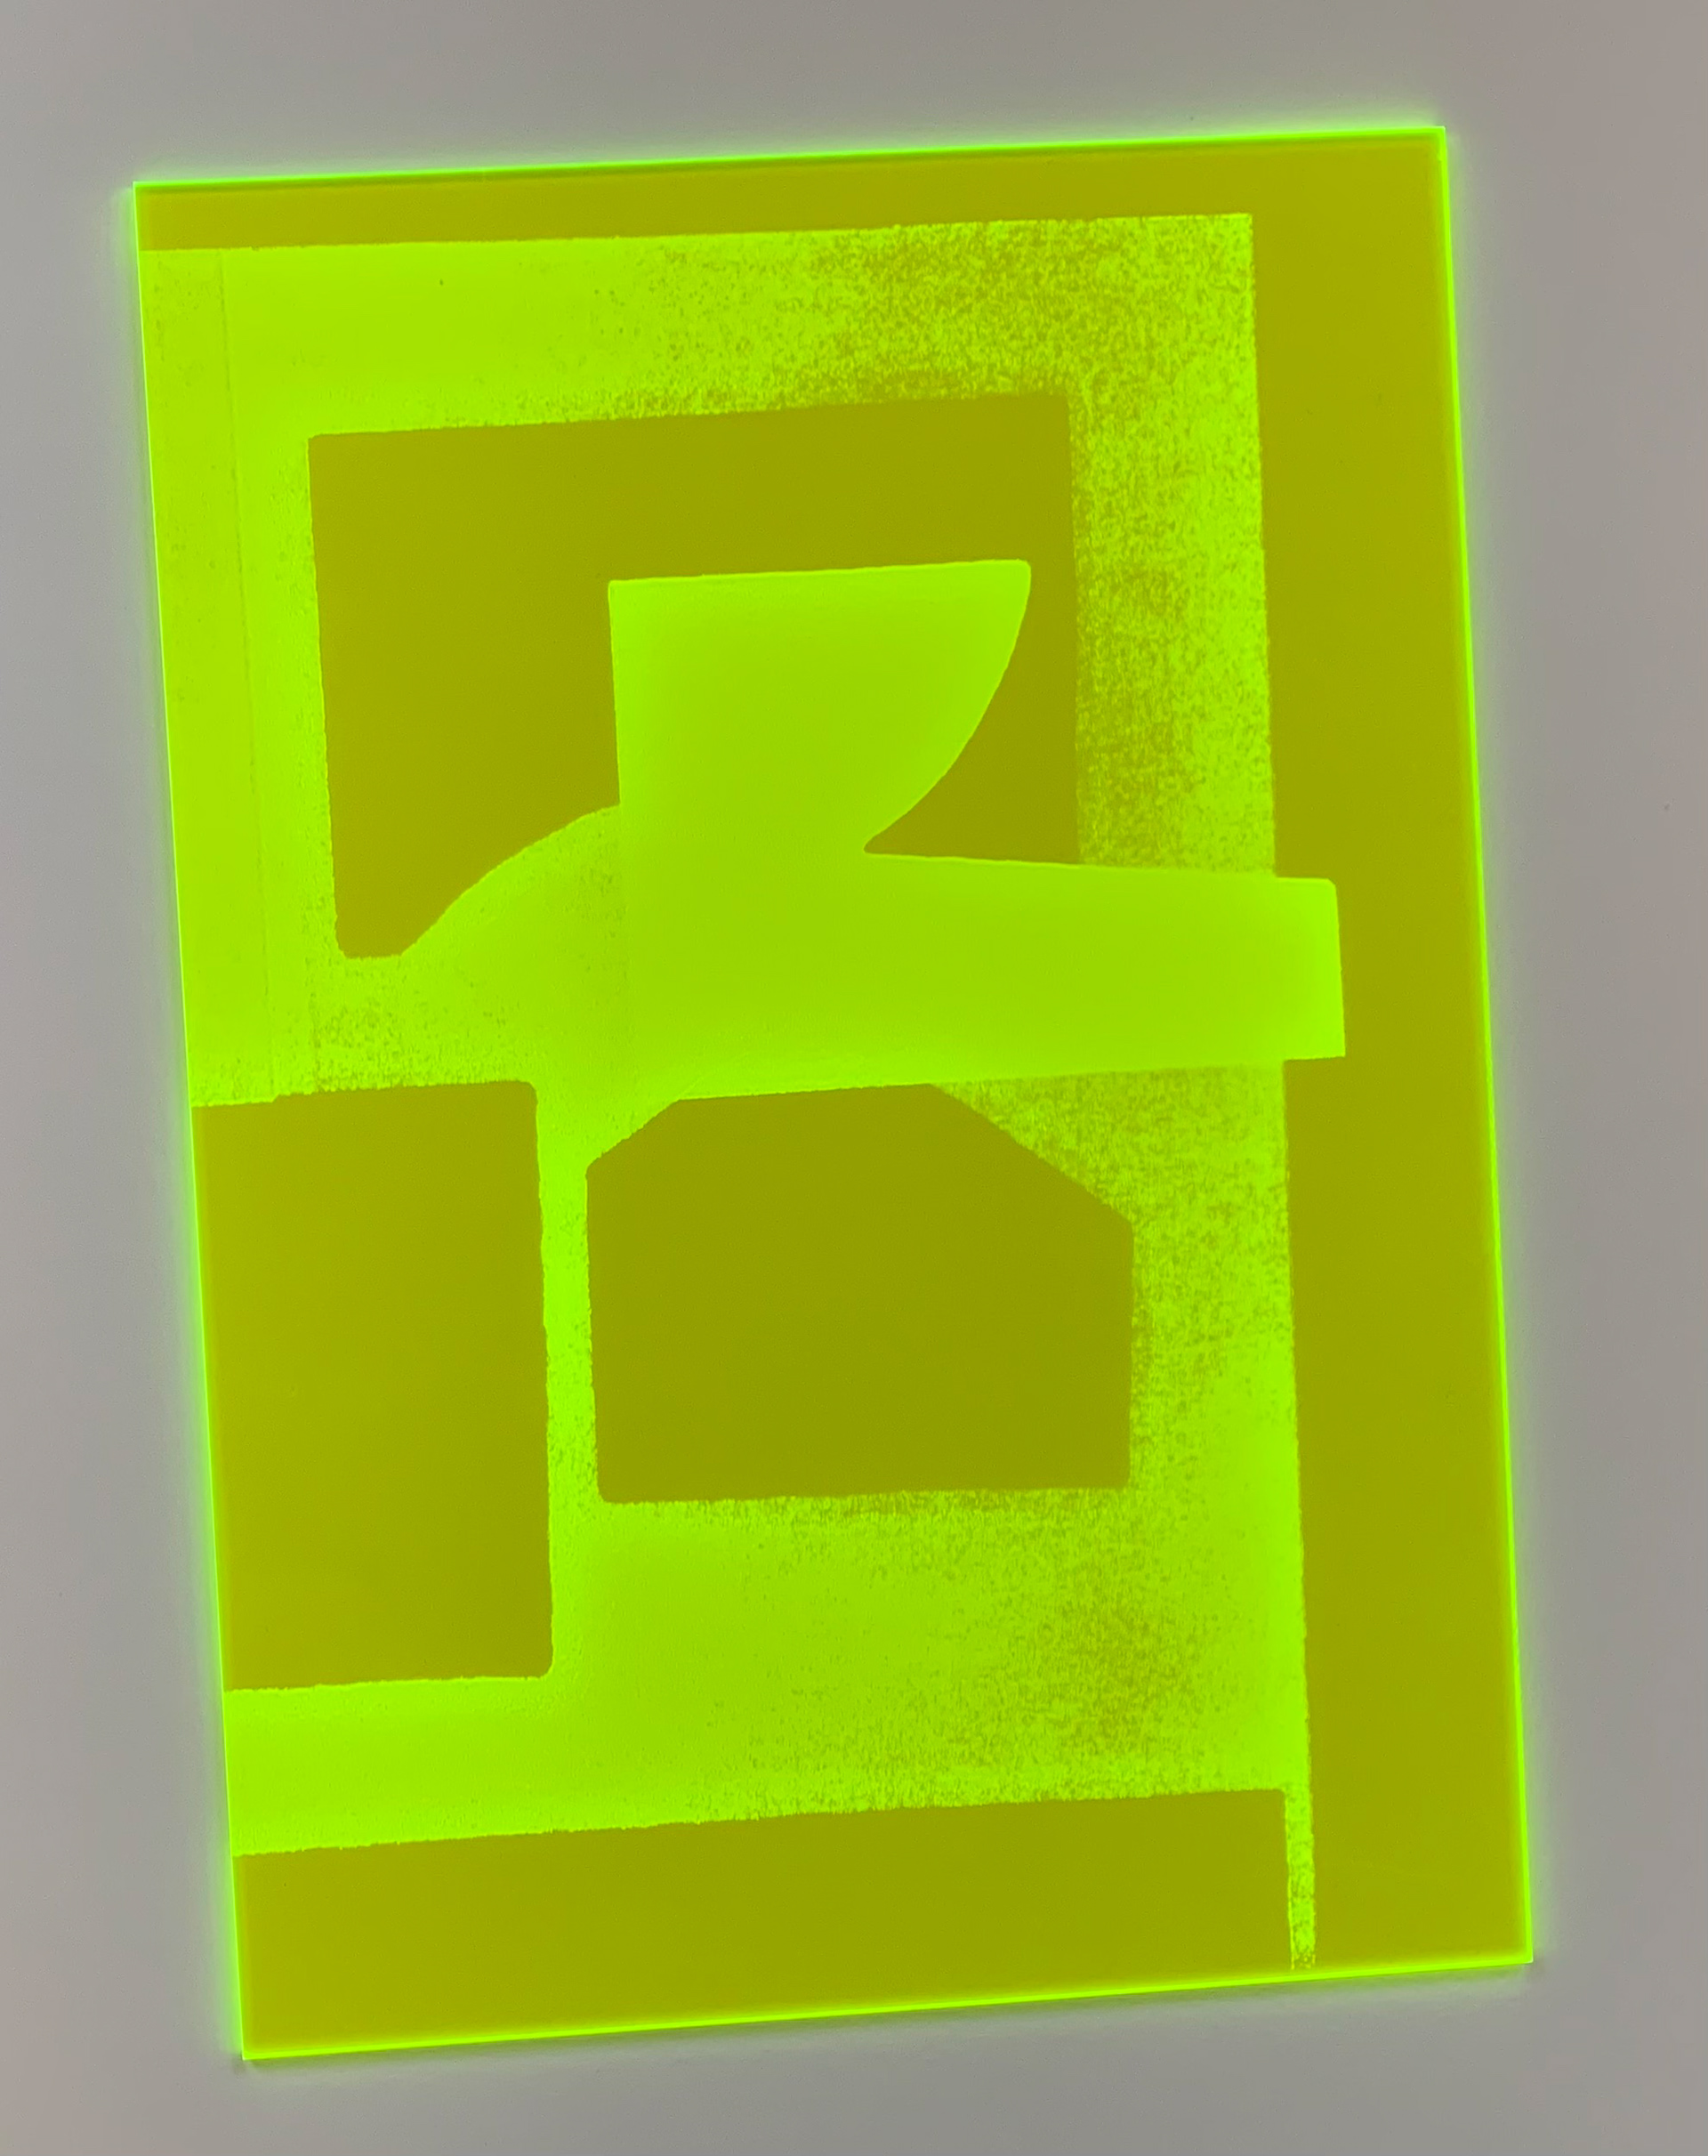
Perspex 21 x 29.7 cm

Perspex 21 x 29.7 cm
Perspex 21 x 29.7 cm
Perspex 21 x 29.7 cm

Perspex 21 x 29.7 cm

Perspex 21 x 29.7 cm
Perspex 21 x 29.7 cm

Perspex 21 x 29.7 cm
Perspex 21 x 29.7 cm
Perspex 21 x 29.7 cm
Perspex 21 x 29.7 cm
Perspex 21 x 29.7 cm
Perspex 21 x 29.7 cm
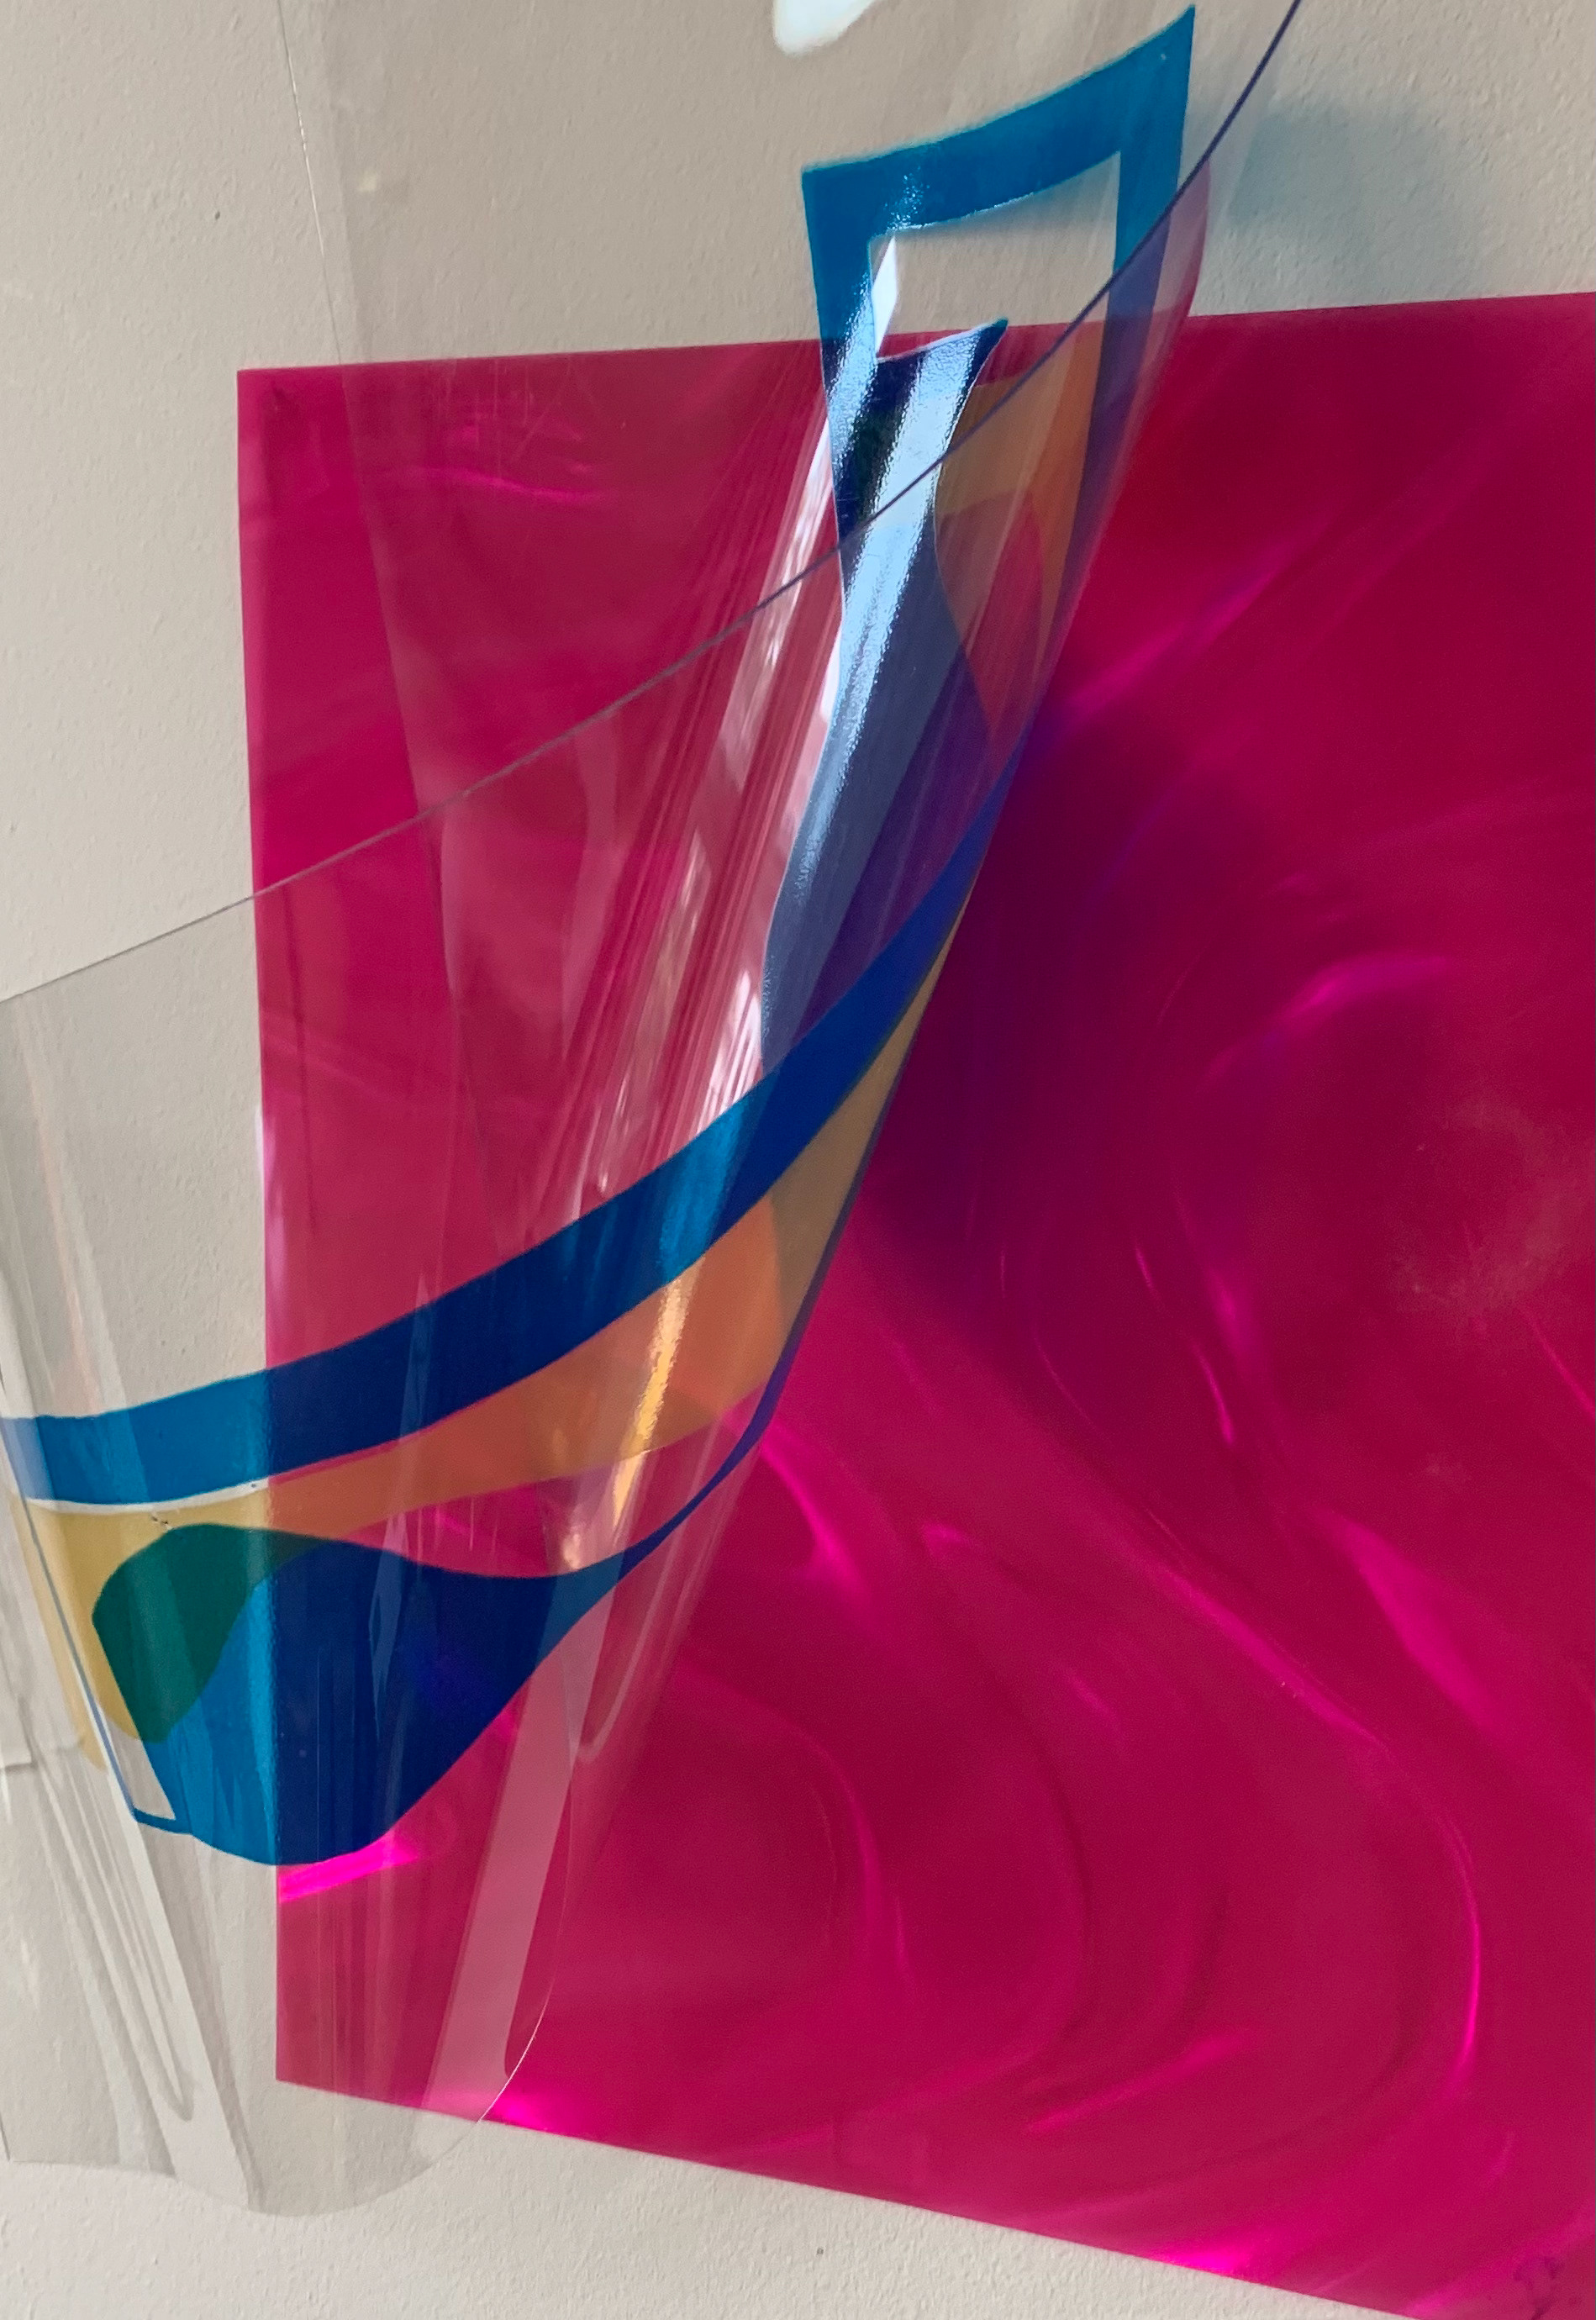
I use the laser cutter to engrave and cut into various acrylic sheets. They vary in opacity and colour. I am able to translate my ideas into different mediums; different aspects become more prominent than others but this all depends on the material the work is expressed in.